Over Labor Day weekend, we did a re-do of Gresham and Owen’s bedroom. They are so excited about their new “dino” space!
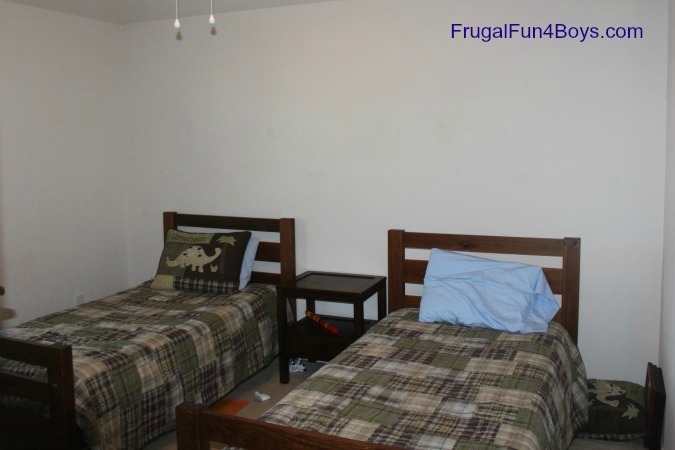
Here’s a “before” shot of the room: (To be fair, I probably should have cleaned up the clutter in the before shot, but even so, it’s pretty plain!)
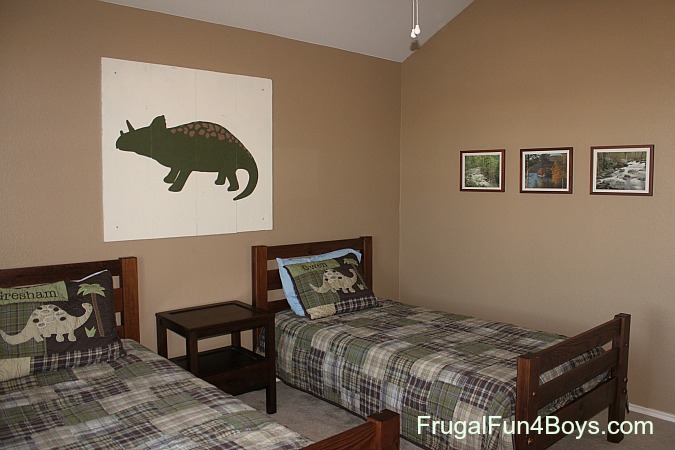
Here is what the room looks like now:
The wall color made a huge difference! We used a paint color called “Hotel Carl Tan” from Valspar.
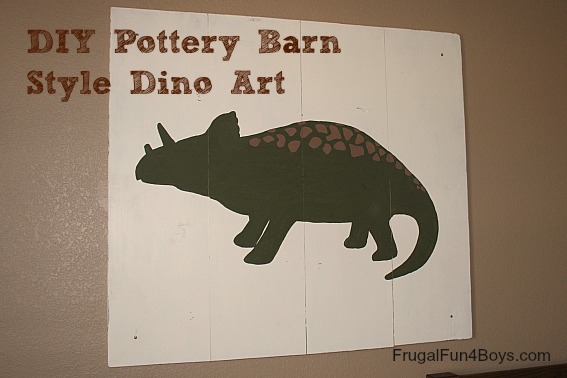
We bought the bedding new at Pottery Barn Kids in May when Owen moved from his toddler bed to a twin sized bed. It was on sale for a decent price, but I couldn’t afford this awesome dinosaur wall art that went with it. After we painted the room, the walls definitely needed something on them! I decided to attempt making the dino art myself.
For this project I used:
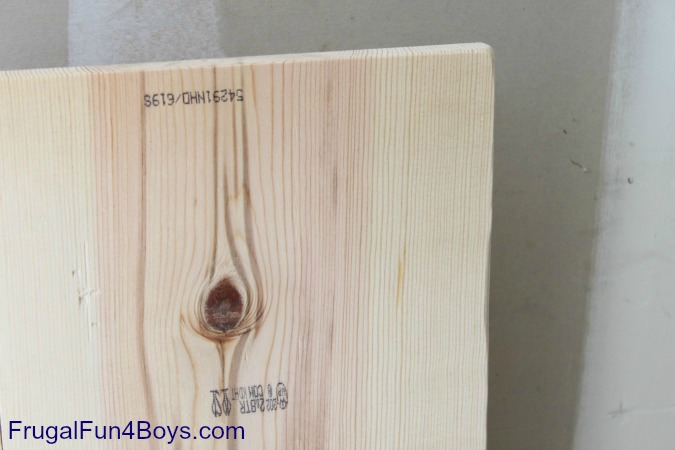
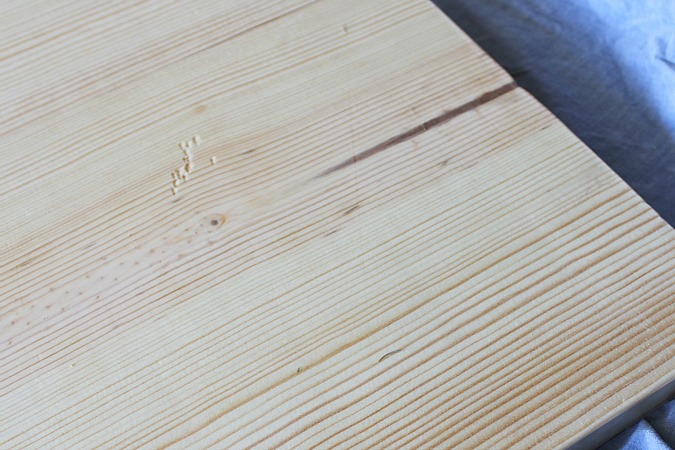
- Four pine boards – I chose boards that were 12 inches wide and had them cut to 40 inches long.
- 6 metal brackets to hold the boards together side-by-side
- Screws to attach the brackets – I used 1/2 inch, and it would have been good if they had been a little longer.
- Wall anchors
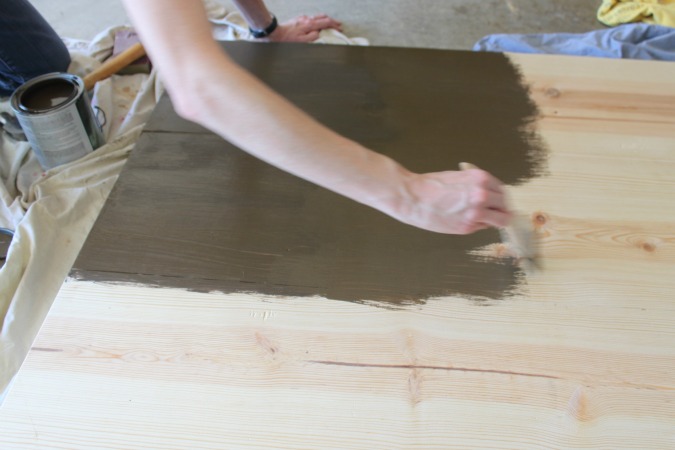
- Paint – dark brown and cream latex paint, both with an eggshell finish
- Acrylic paint for the dinosaur
- Hammer
- Drill
- File and sandpaper
Step 3.5: Spill half a quart of paint on the garage floor.
Actually, you might want to leave out that step…
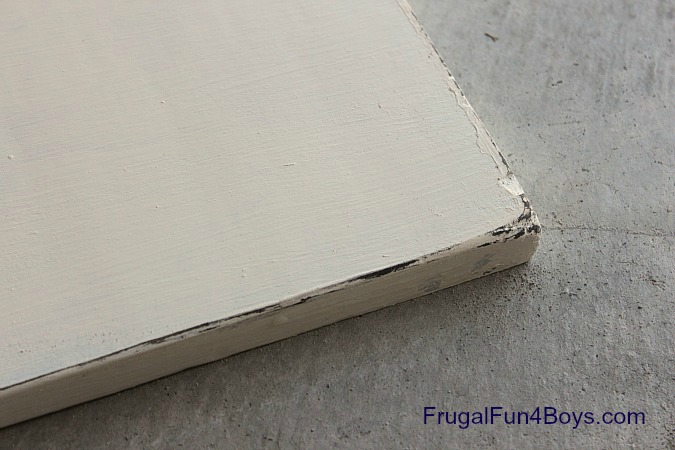
Step 4: Once the paint is completely dry, use some sandpaper to weather the paint a little, especially on the edges.
Before weathering:
And after:
I was really happy with how the weathering turned out!
Step 5: Draw the dinosaur
I knew it would be hard to do a long necked dino and have it look as good as the Pottery Barn one without copying it exactly, and I didn’t want to copy it exactly. So I decided to do a triceratops because I knew that that was one dino I could make look right.
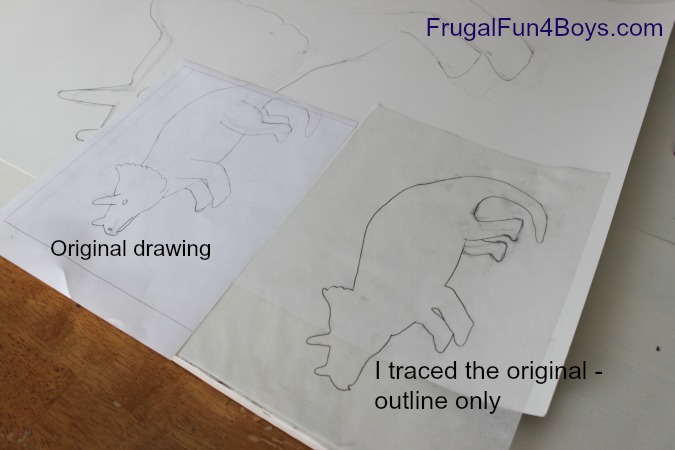
I started out by drawing a triceratops with eyes and mouth, etc., even though I was planning to just paint the outline. Then, I traced my original drawing (outline only) with tracing paper.
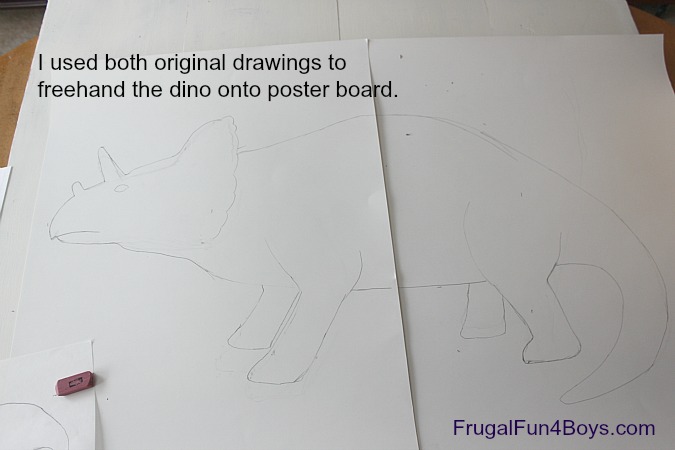
At this point, I was planning on freehanding the triceratops outline onto the board, but with as much trouble as I had drawing it in the first place, I decided that that would be a bad idea. I finally came up with the idea of drawing it full-size on posterboard, cutting out the shape, and then tracing it onto the board.
I was GLAD I did, because my posterboard version had a TON of erasing!
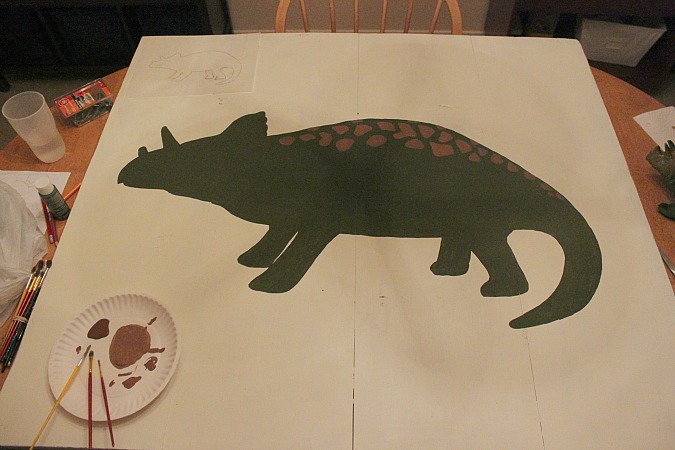
Step 6: Paint the dinosaur with acrylic paint.
A flat brush works the best for painting a straight edge.
Step 7: Mount the artwork on the wall
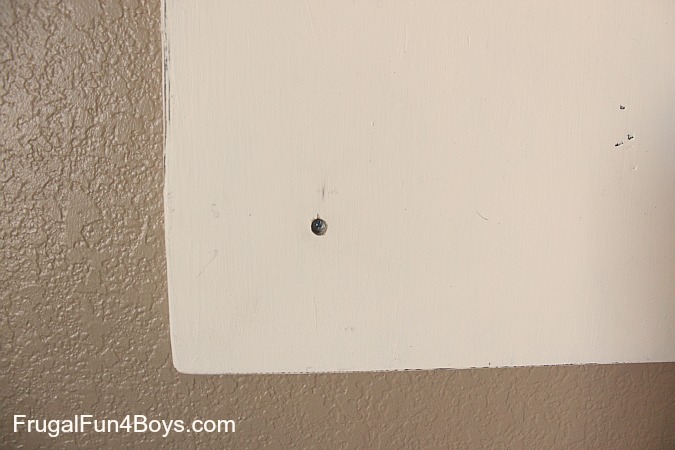
We used wall anchors that can be driven into drywall or a stud, and they are rated up to 50 lb. per anchor. We put one anchor in each corner and drove the screw through the artwork into the wall anchor. In order to make sure that enough of the screw was in the anchor, we drilled holes in the artwork first so that the head of the screw would sit halfway through the board. I thought about filling in the screw holes, but the exposed screws kind of add to the vintage look!
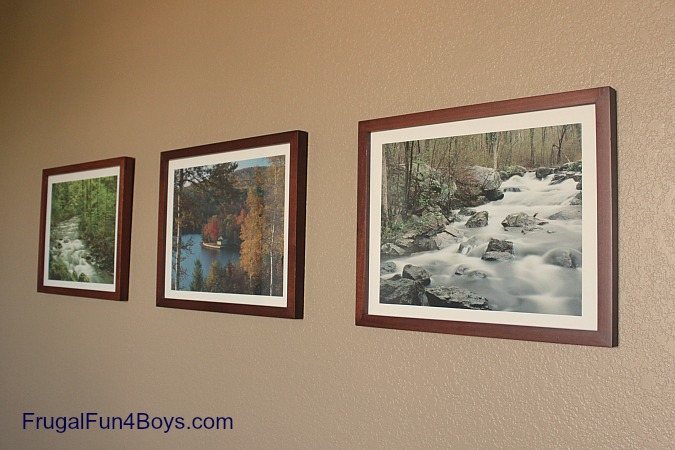
On the other wall, we hung three pictures that we had in the boys’ room at our old house:
I framed calendar pages in matching frames purchased on clearance at Target – a frugal way to get a great look! We also have two ledge shelves that still need to be hung that the boys can display toy dinos on.
A few last thoughts:
The materials for the dino art cost me $75. Was it worth it? Yes, but I can now see why something like this costs much more than that in the Pottery Barn Kids catalog! The whole project took me the better part of a Saturday. It was fun to work on, and we couldn’t have afforded the Pottery Barn artwork anyway, even if I had decided that I preferred to just spend the extra money (plus the dino art is not available anymore anyway). So I’m glad that I was able to do it and that we have such a great looking bedroom!
Some ways to save:
The wood cost $26. Recycling some old boards would have saved a ton, and provided a better vintage look as well. If I had a way to get some, I would have done that! The paint was another big expense at $10.99 per quart. However, I could have easily gotten away with the $2.00 8 oz. sample size at Home Depot even though the paint lady there assured me that I could not. I didn’t paint the back, so maybe she thought I needed the quart sizes to do both sides? To be on the safe side, I’d recommend getting a quart of the cream color and the sample size of the brown.
One room down, two more bedrooms that are still “builder white” left to go!



2 Comments
MB Sep 10, 2012
I love this room! It looks like it should be in a magazine! Great use of resources. I really like the re-purposed calendar idea and color scheme.
Debbie Mar 12, 2014
Love both boys rooms! The dino art is awesome! I too have used a calendar, Lighting McQueen for wall art works, great easy to change out and quite inexpensive! Now lets see that baby girl's room!! lol
Post a Comment