
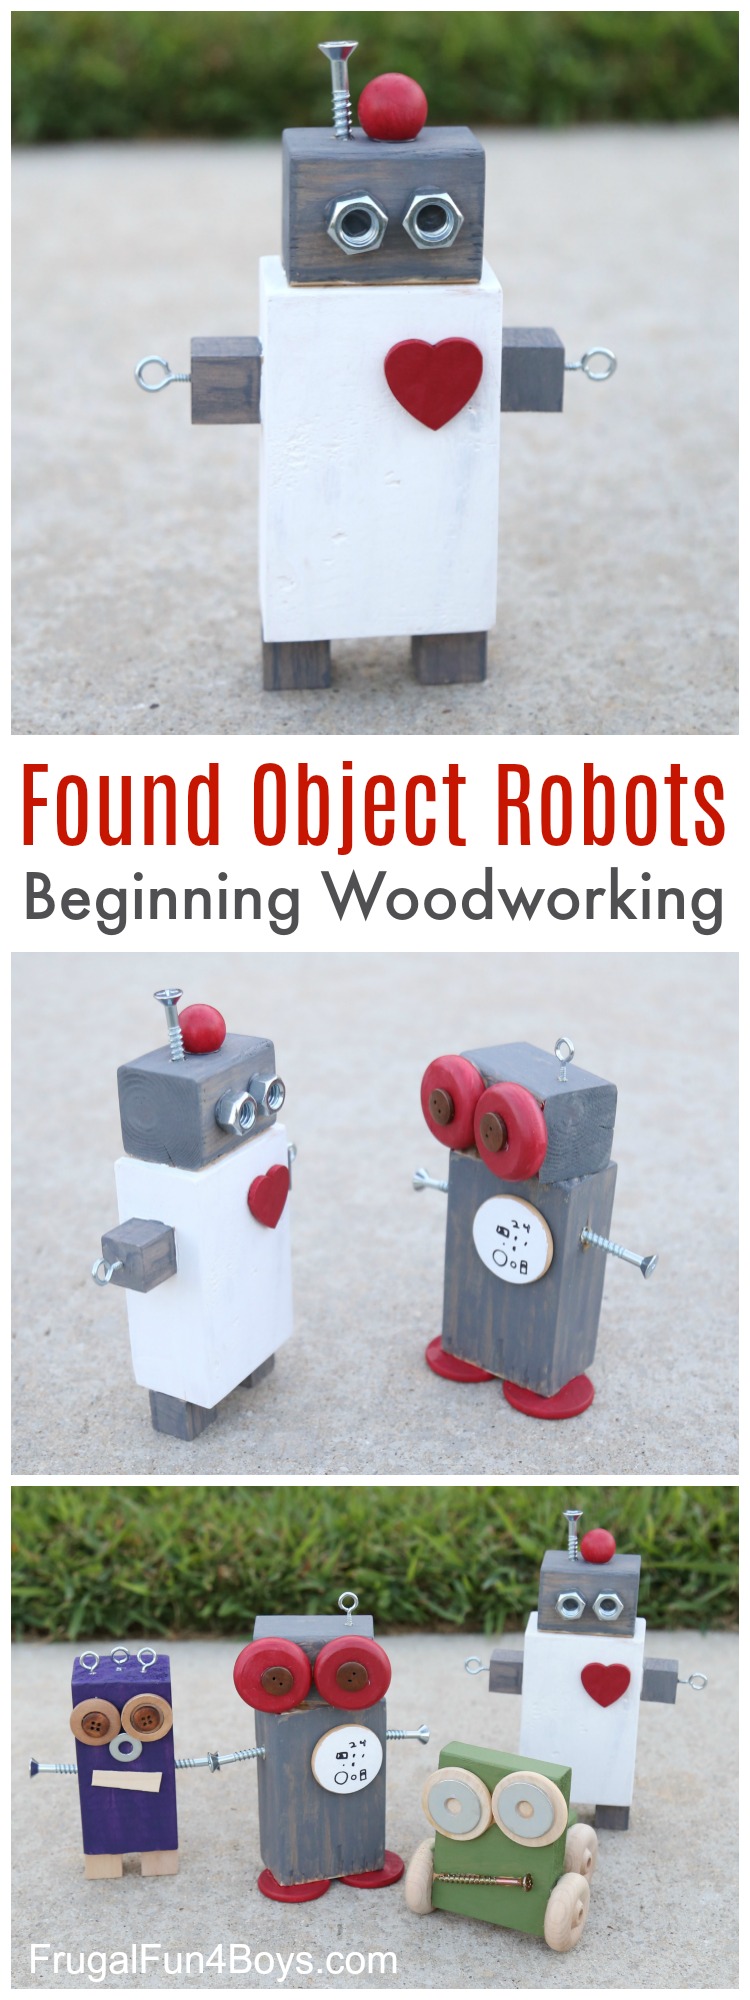
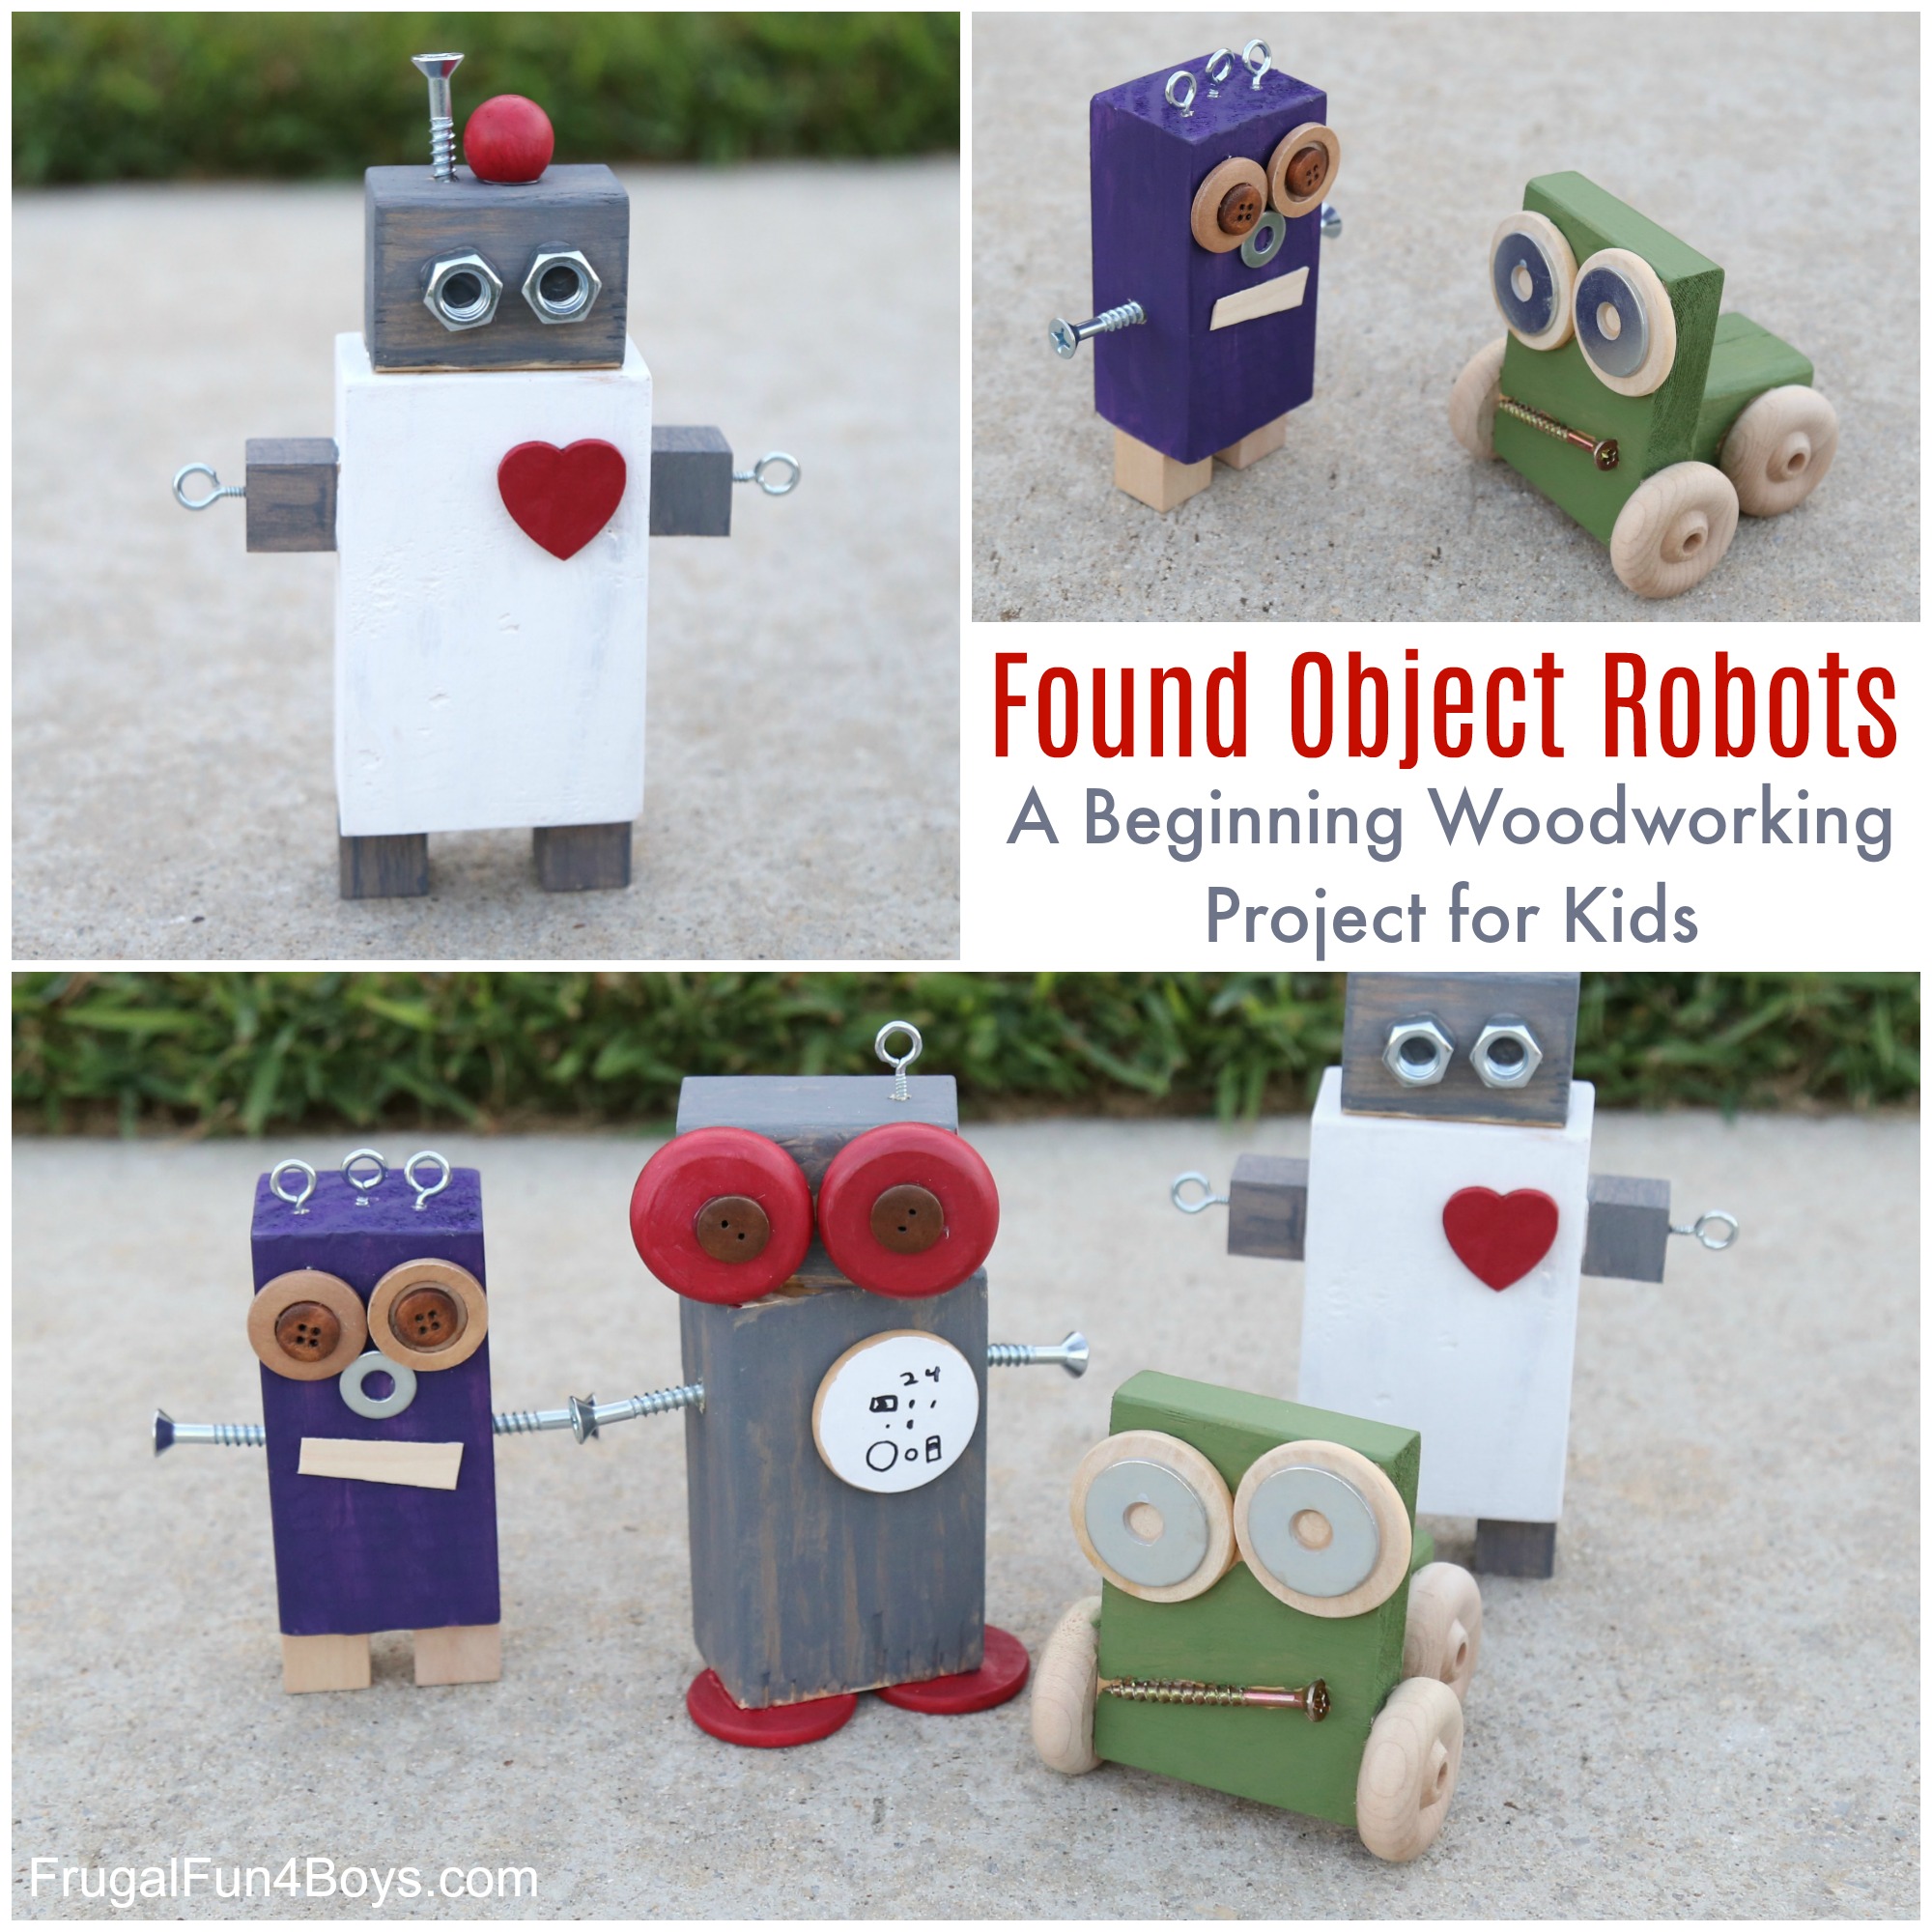
The boys and I had a blast this week creating these adorable wood robots! This is a great beginning woodworking project for kids because exact measurement is not important, you can use glue instead of nails, and you can use whatever scrap wood and materials you have on hand. And it’s FUN! Total win.
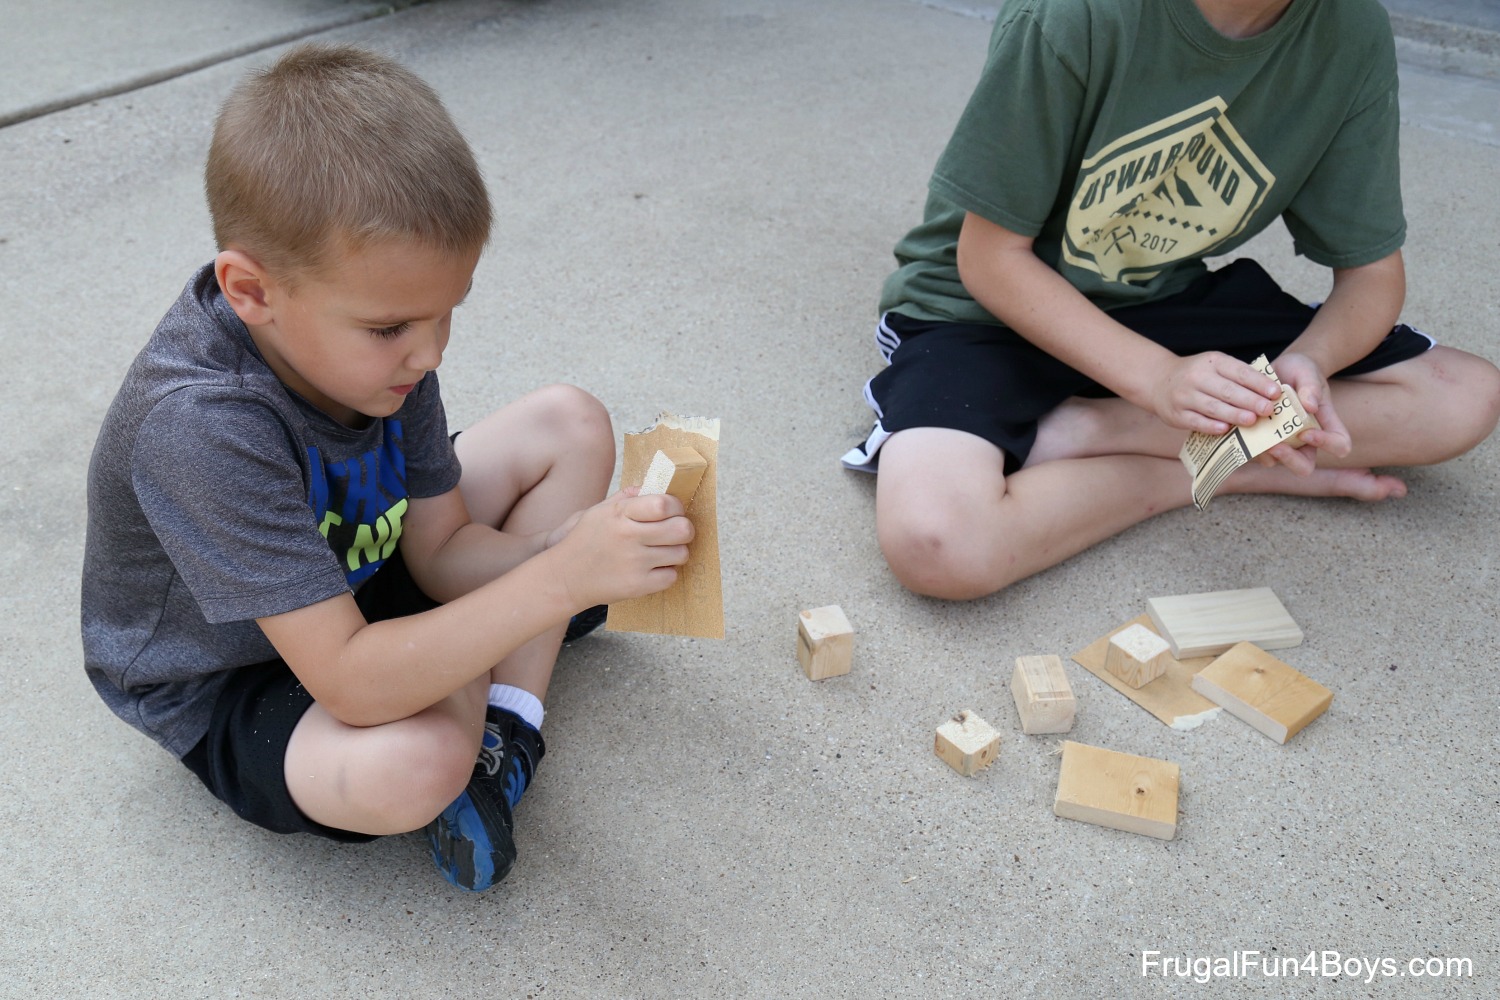
We started with pieces of wood cut to all random sizes. I had a couple of boards of various sizes, and Aidan used our power saw to cut them into chunks. If you don’t have a power saw, a hand saw will work just fine. The cuts don’t need to be perfect!
The boys enjoyed sanding all the boards.
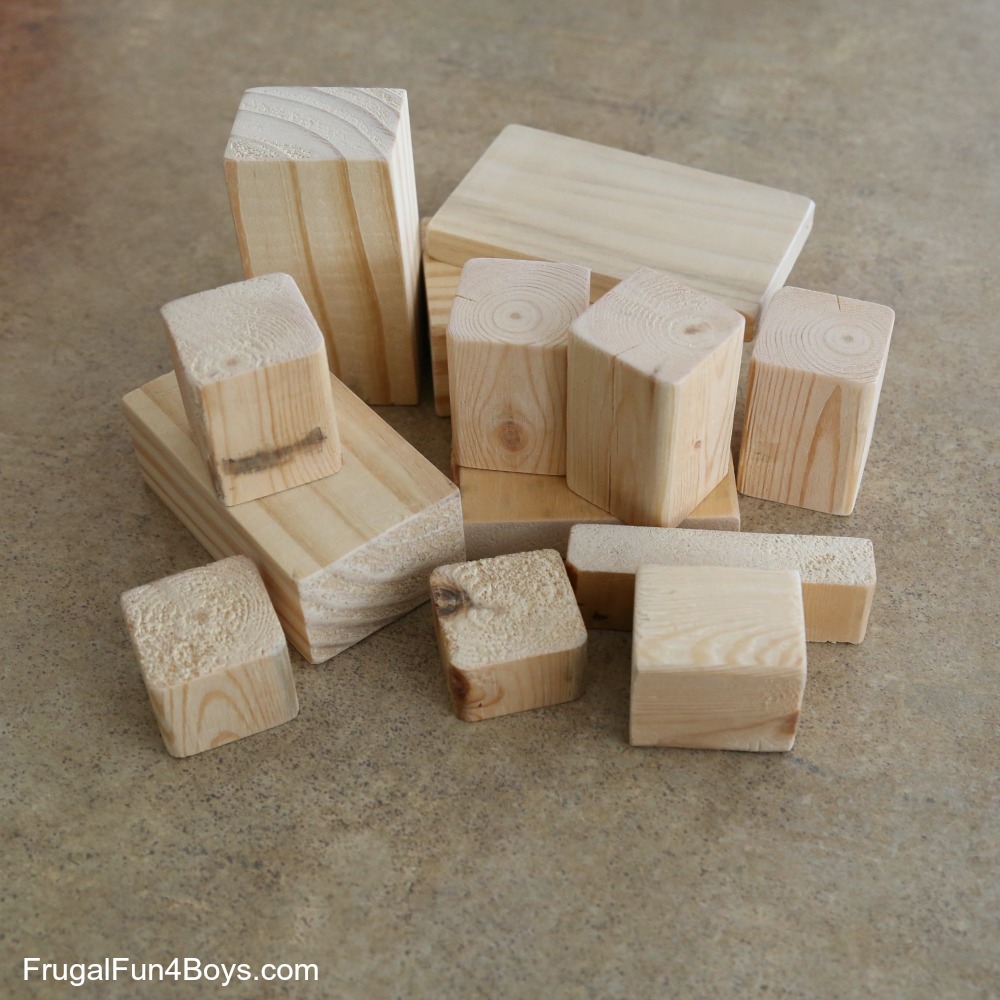
Here’s our stack of wood pieces. We had a nice variety of sizes and shapes.
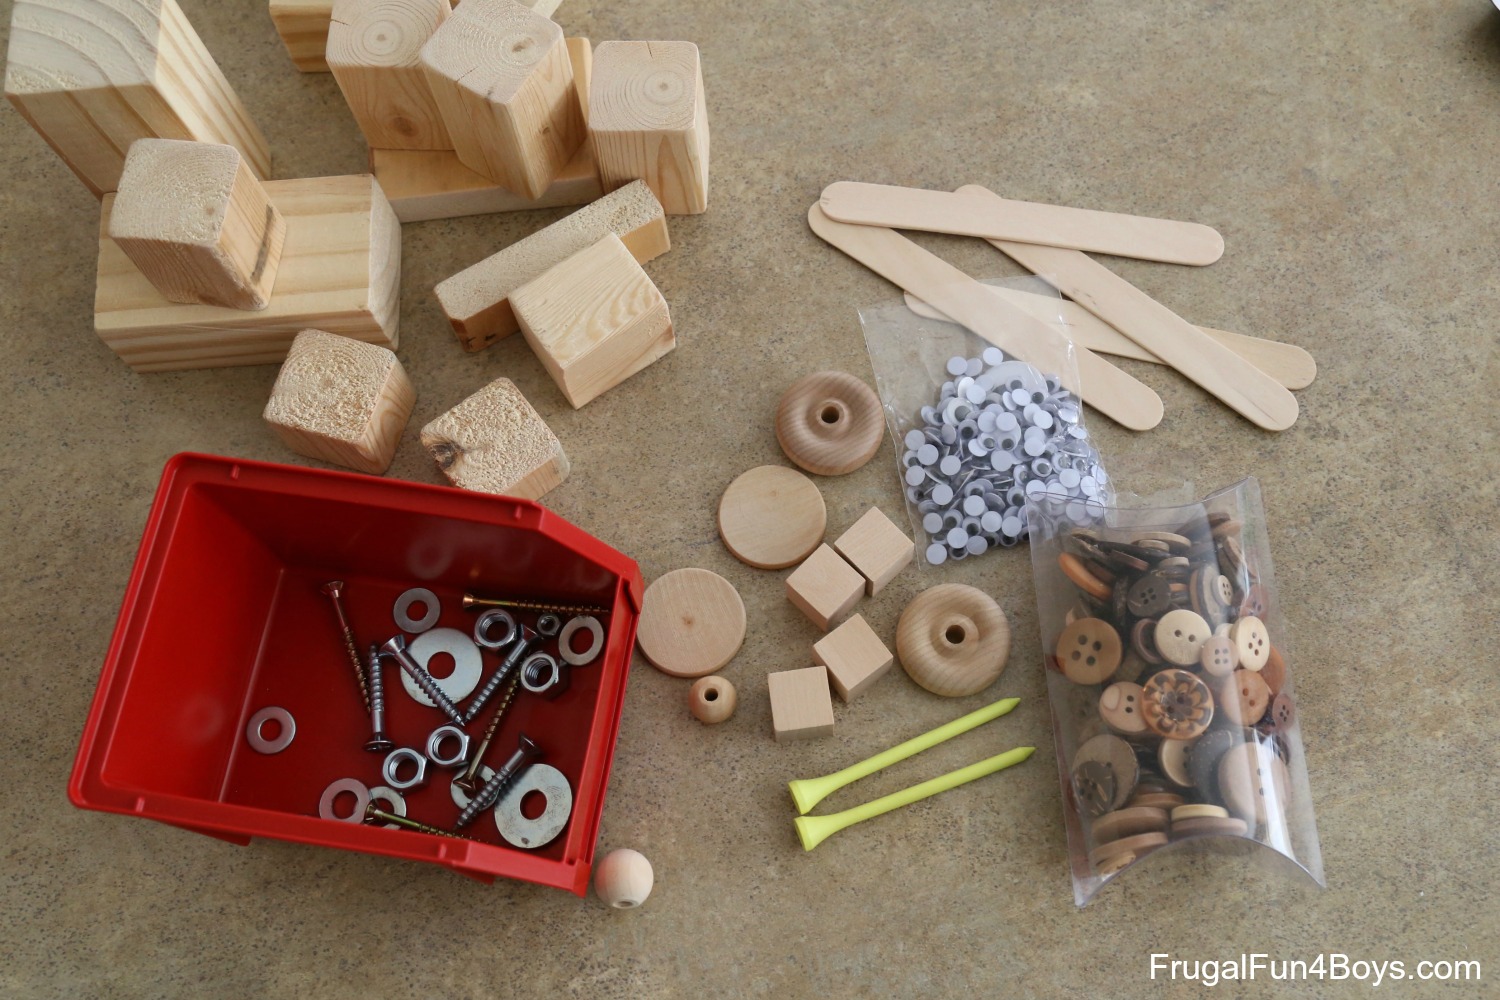
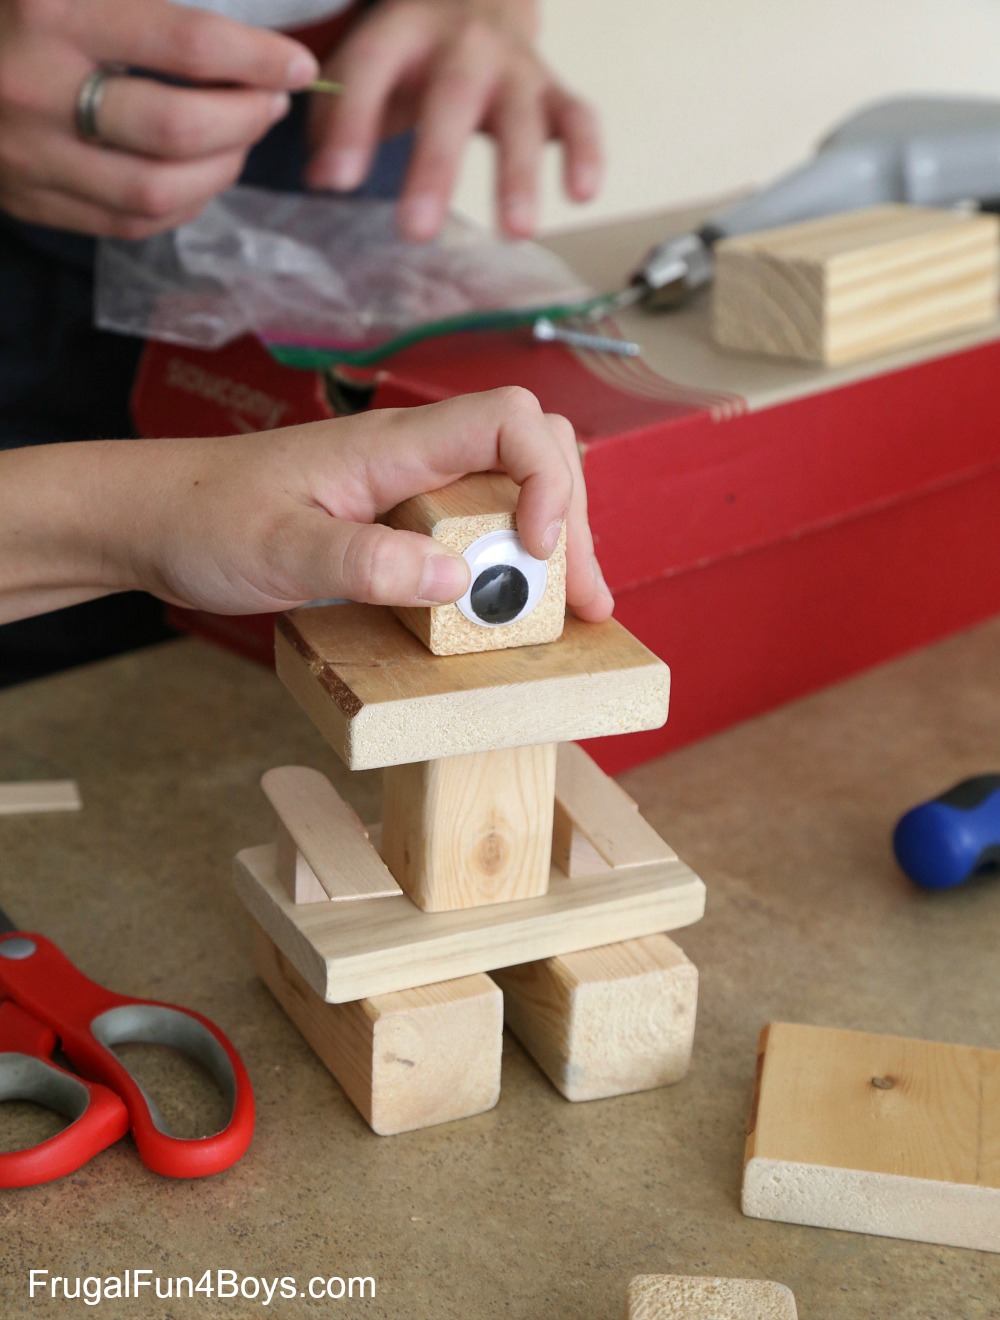
I found some robot inspiration on this fun website! Then we gathered all kinds of odds and ends for decorating the robots – screws, washers, nuts, and wood craft items. I have accumulated quite a stash of craft supplies after 7 years of blogging, and I have a plastic shoe box full of wooden items. We got out cubes, craft sticks, buttons, and wooden wheels (all from Hobby Lobby). We even used some golf tees! Aidan sawed the ends off to make them shorter (see them in Jonathan’s robot below).
I had the kids plan out their robot completely before attaching anything. Then we used wood glue to hold everything together.
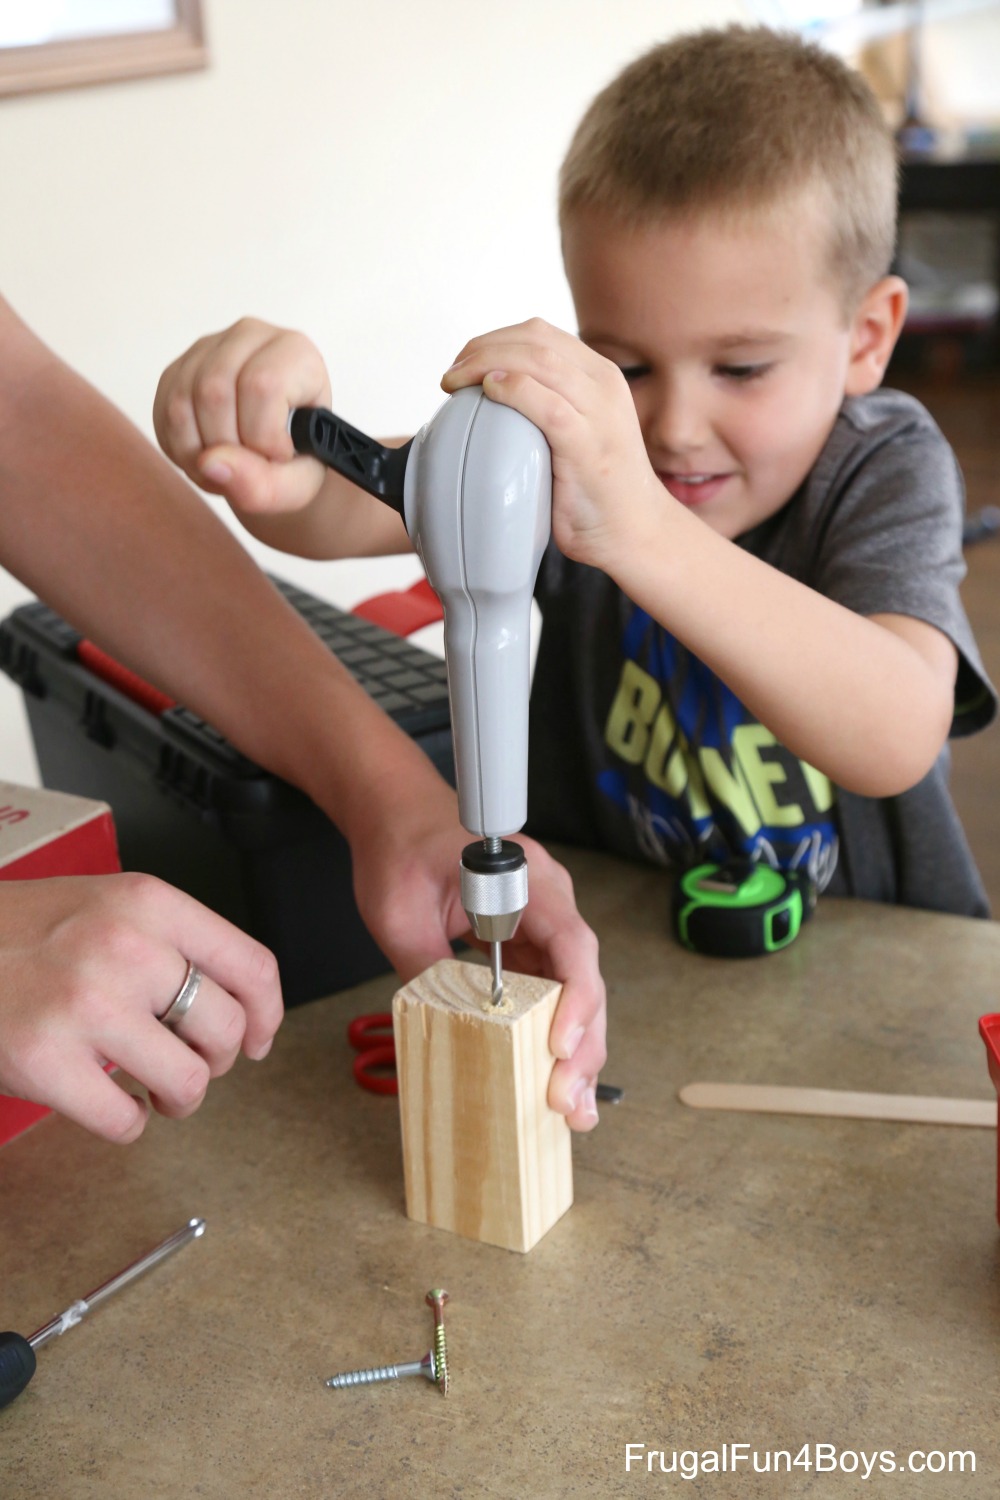
We used Jonathan’s hand drill to make holes in the wood before putting in the screws for the arms and the screws sticking out of their heads as antennas. It’s such a useful tool and a great way for kids to participate! We ordered the drill on Amazon – it’s this Fiskars hand drill (affiliate link).
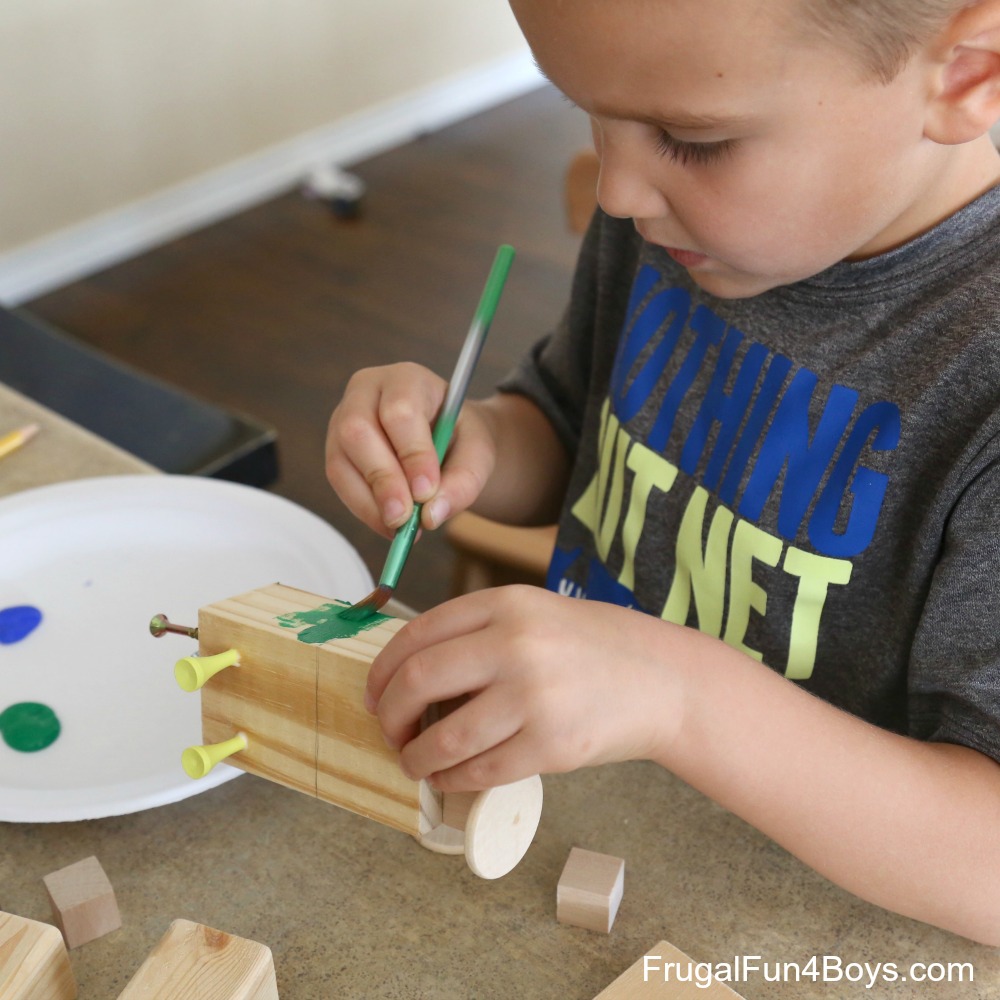
Once the glue was dry, we got out acrylic paints and painted our robots.
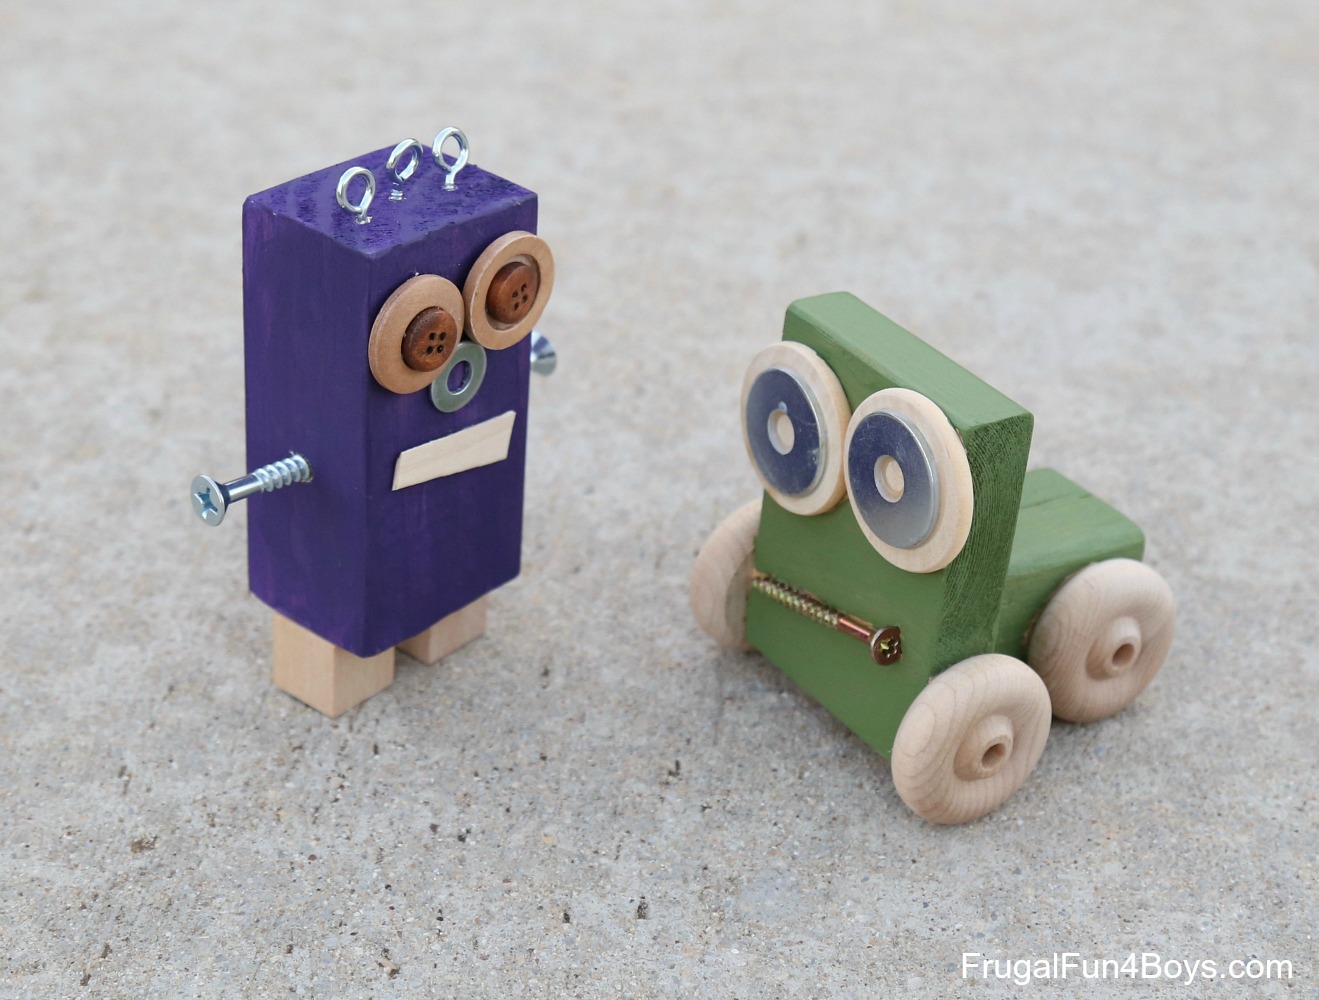
The completed robots are just too cute. Gresham (10) and Jonathan (5) made the robots below.
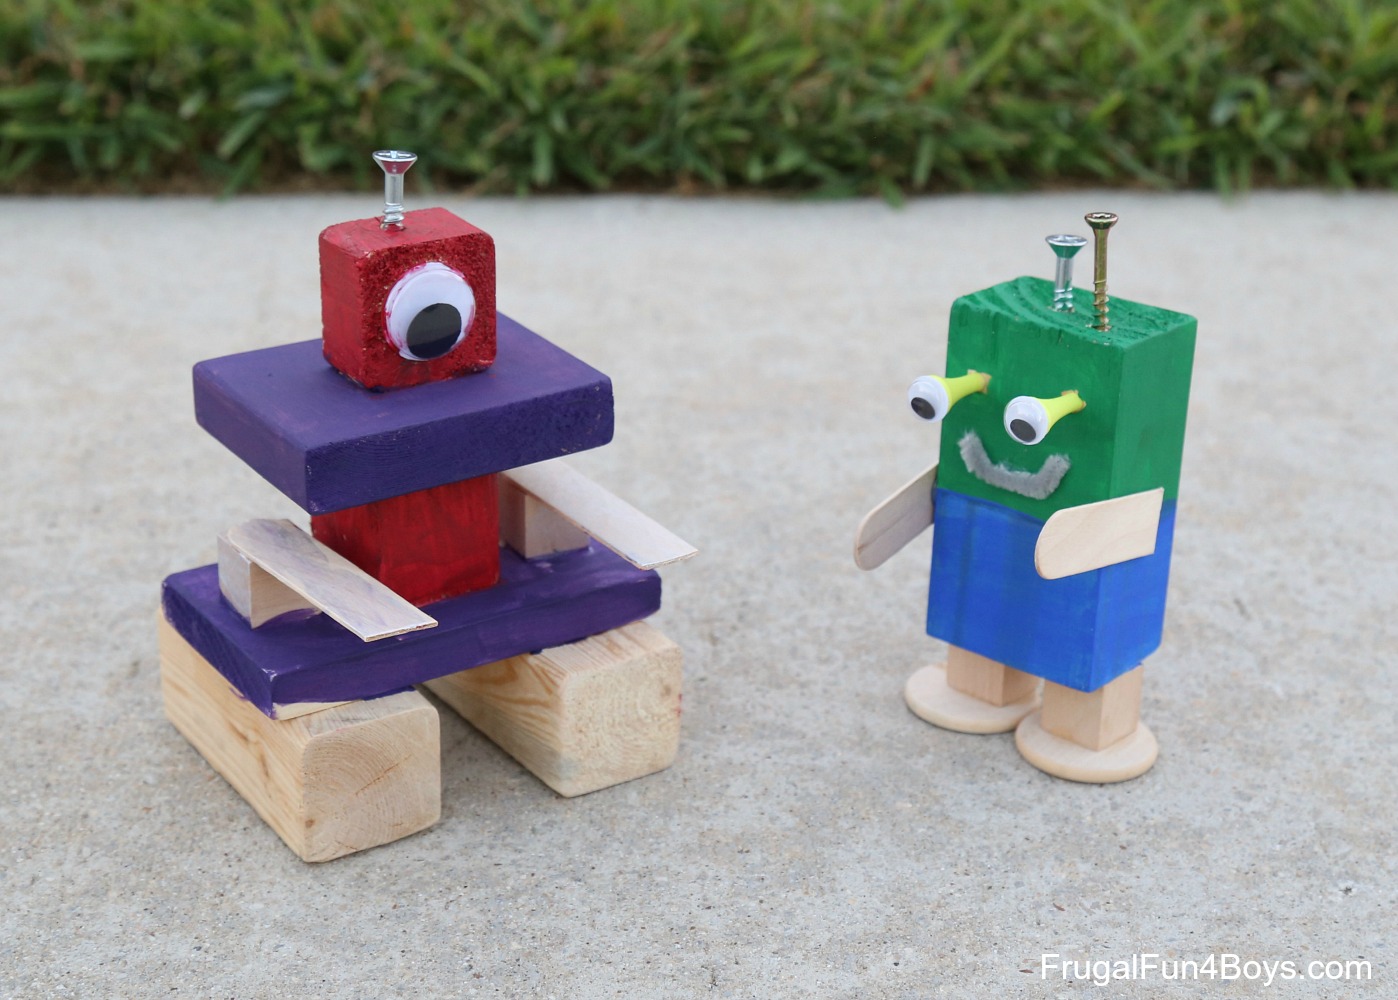
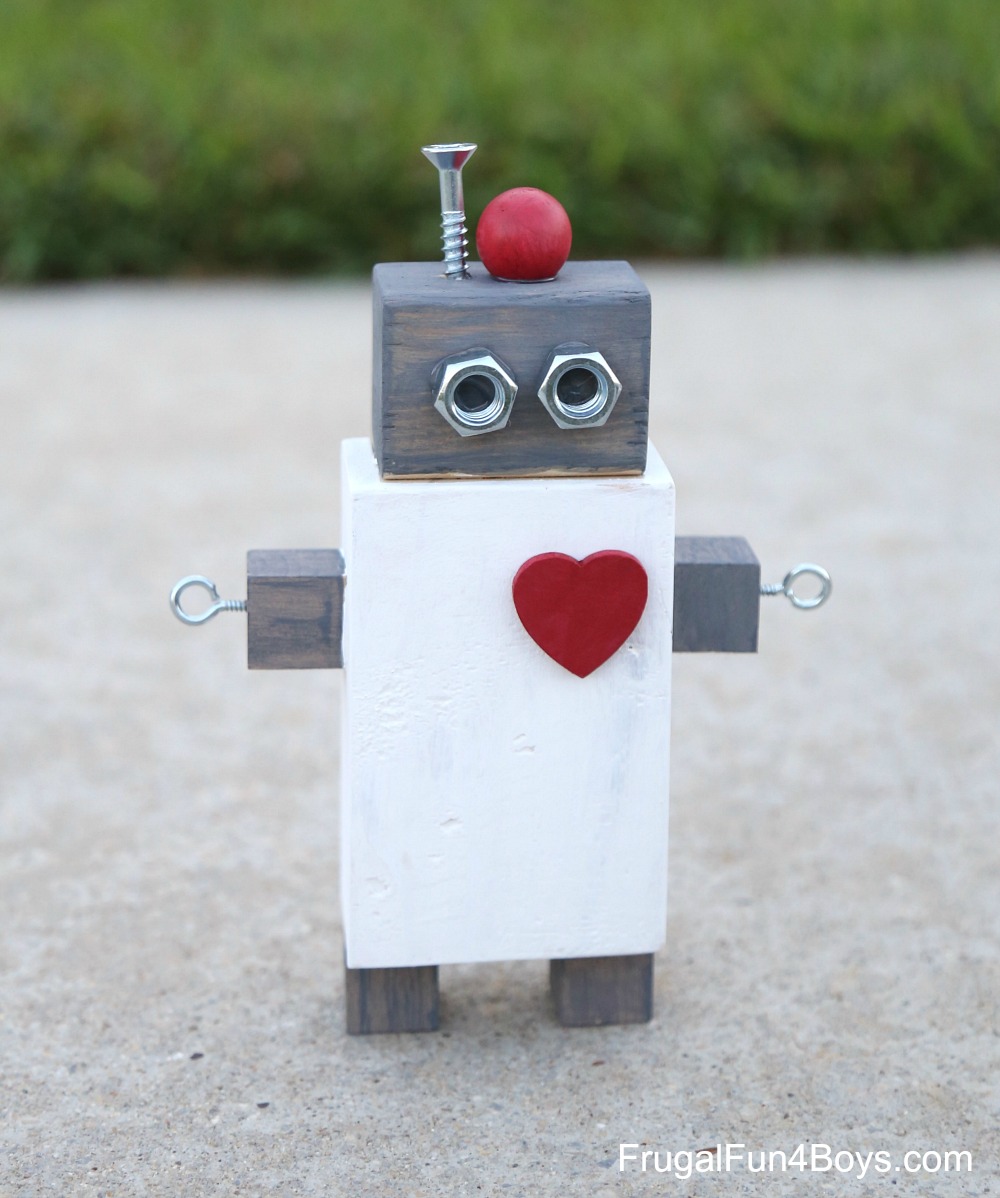
And here’s the rest. The one with the big red eyes is Owen’s (8). My husband made the green one with wheels when he got home from work, and I did the other two. 🙂
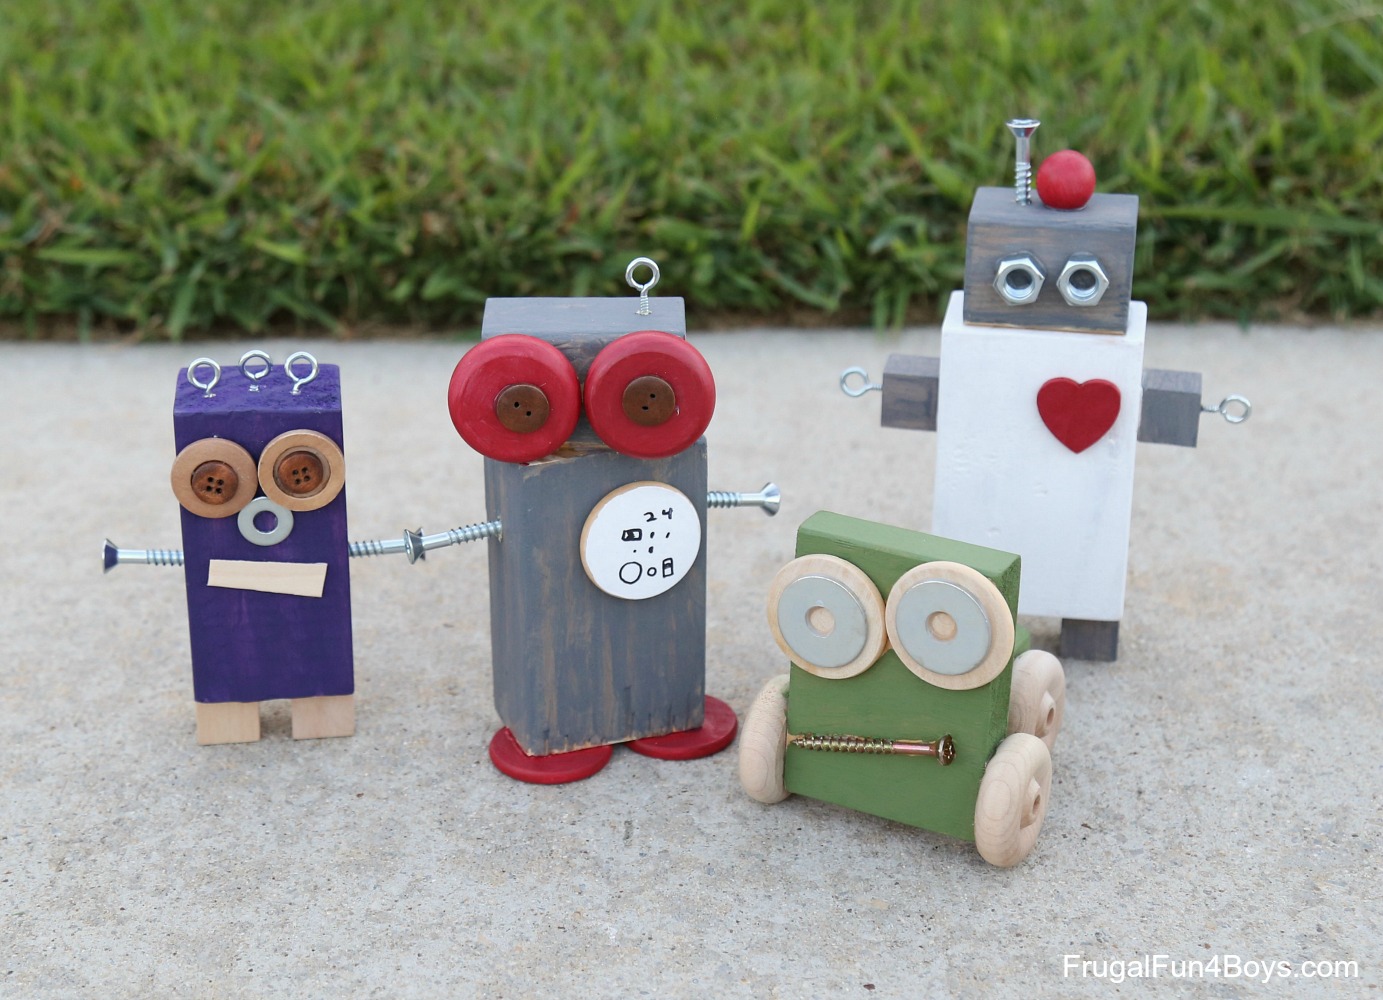
This one is probably my favorite.
The wheels don’t actually turn on the green one, but they look really cute! The kids think they are all fun to play with.
Have fun building!
3 Comments
Steav Smith Sep 9, 2018
Hi! This is my first visit to your blog! We are a group of volunteers and starting a new project in a community in the same niche. Your blog provided us beneficial information to work on. You have done an outstanding job!
Carol Vaughn Jul 13, 2020
Amazing fun, totally amazing! I was a Gramma very interested but had no Legos 'til I found some at the thrift store. I was hoping you might tell me the best way to wash/sterilize - whatever I need to do - to get started with my grandkids and my SS class. I would also love to get the book. Thanks!
Sarah Jul 15, 2020
I have seen people wash Legos in the washing machine in a mesh bag! You can also wash them in the dishwasher. We once washed a whole bunch by putting them in an under-the-bed storage box with hot water and dish soap. I let them soak, and then rinsed them well and dried them in the sun. Sunlight kills germs!
Erinn Mar 13, 2022
What type of glue did you use for the robots?
Sarah Mar 18, 2022
We used wood glue.
Post a Comment