
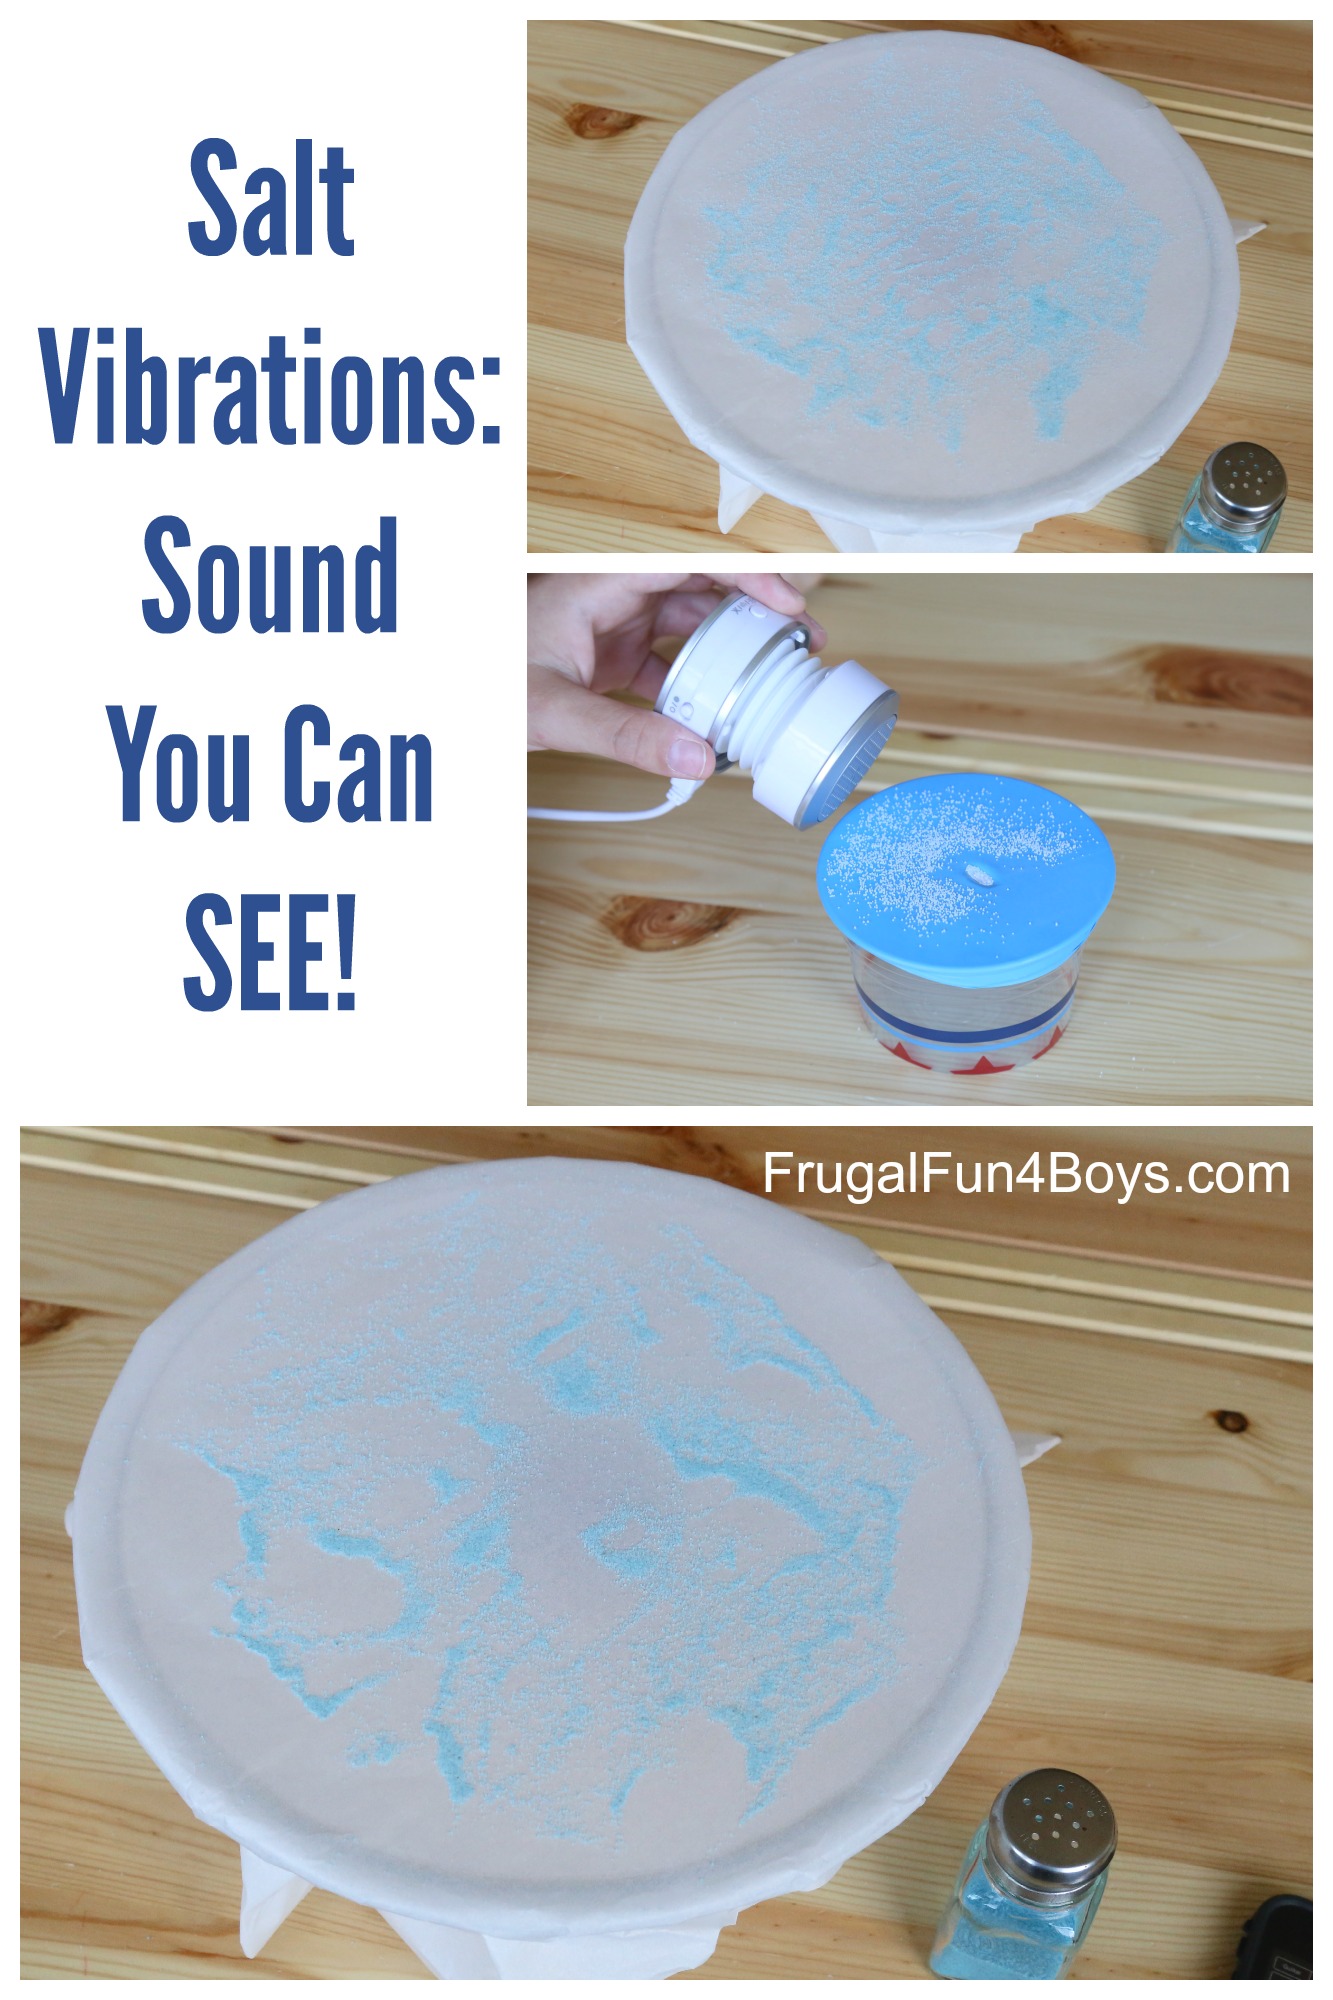
It’s easy enough to tell kids that sounds are caused by vibrations, but that can be a tough concept for them to really grasp! Here are two simple demonstrations that allow kids to actually SEE sound waves in action.
This post is the final installment in the Summer STEAM Camp that we have been taking part in! STEAM stands for science, technology, engineering, art, and math, and several awesome bloggers have teamed up to bring you fun STEAM activities for kids. You can find more posts in the series at the bottom of this post.
This post contains Amazon affiliate links.
The boys and I studied sound in our science book this past year (Exploring Creation with Chemistry and Physics), so they were familiar with sound waves. I explained that our ears are equipped with an ear drum to receive sound waves and carry messages to our brains. The Magic School Bus Explores the Senses is a great book for learning about how our ears work, and it covers the other senses as well. After learning about ear drums, we were ready to see one in action.
For this demonstration, you will need:
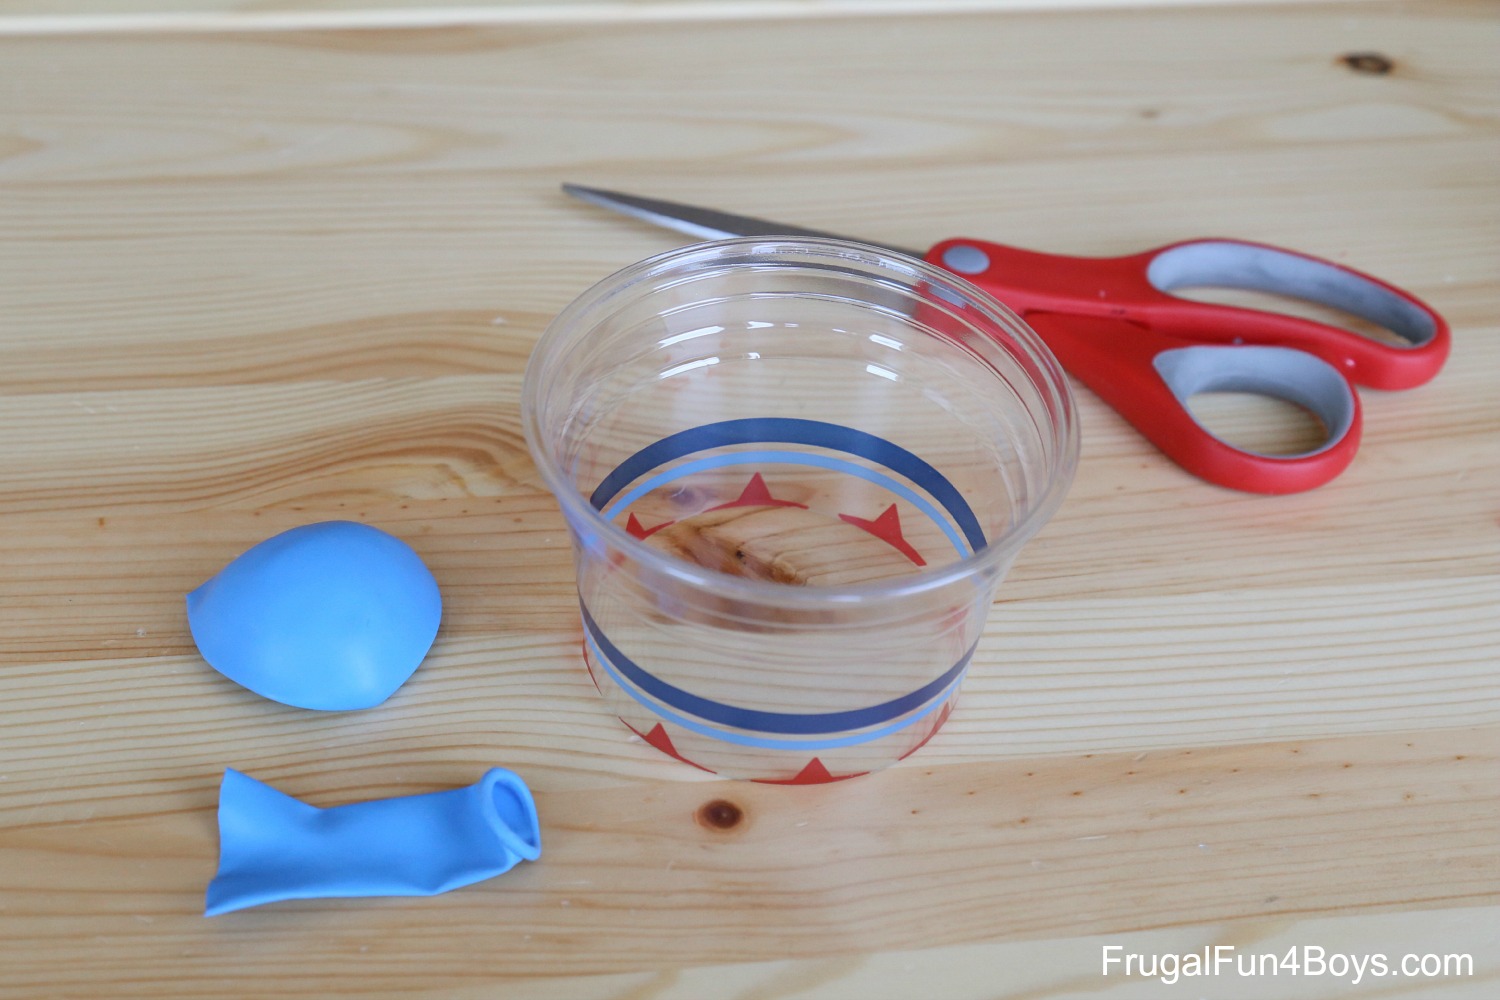
- A plastic cup
- A balloon
- Salt
- Scissors
- A speaker or CD player
I cut down our plastic cup to make it shorter. That ended up not mattering with the way we used the speaker… you’ll see in a minute. Cut the neck off the balloon so that you can stretch it over the cup.
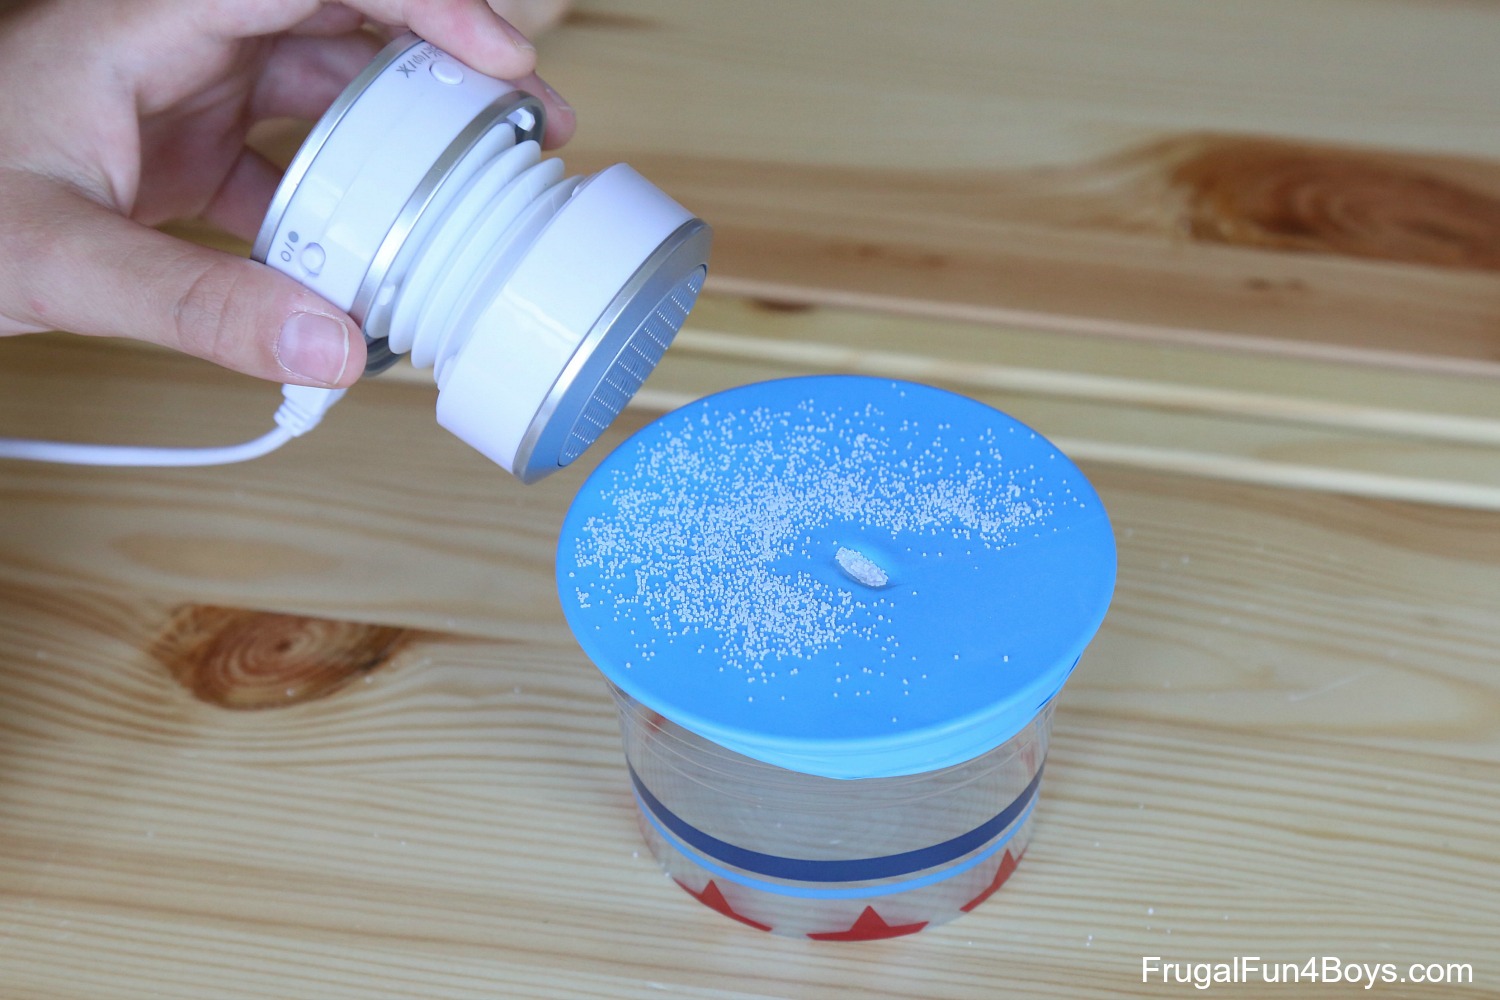
Once the balloon is secure on the cup, sprinkle salt over the top of the balloon.

Then we cranked up the music and watched the salt dance!
If you have a large enough speaker, simply putting the cup next to the speaker will be sufficient. We ended up holding our portable speaker over the cup.
After making the basic ear drum demonstration, I ran across Chladni Plates while looking up a few terms for this post. Ernst Chladni was a scientist who studied acoustics in the 1800’s. He discovered a fascinating way to “see” sound waves by using a violin bow to vibrate a metal plate covered with a fine powder, such as salt. The vibrations cause the salt to settle into geometric patterns that show how the metal is vibrating. Different frequencies of vibration create different patterns.
You can read more about Chladni Plates here at The Physics Classroom. This article has a lot of great information for older students (high school+). Scroll down to find the part about Chladni Plates, but all of it is relevant to this topic.
I have a video to show you with an awesome Chladni Plate demonstration, but first check out our homemade version! We don’t own the equipment needed to create the patterns that Chladni discovered, but with some basic materials from around the house we were able to create salt patterns with high notes and low notes. SO COOL!
Here’s what you need:
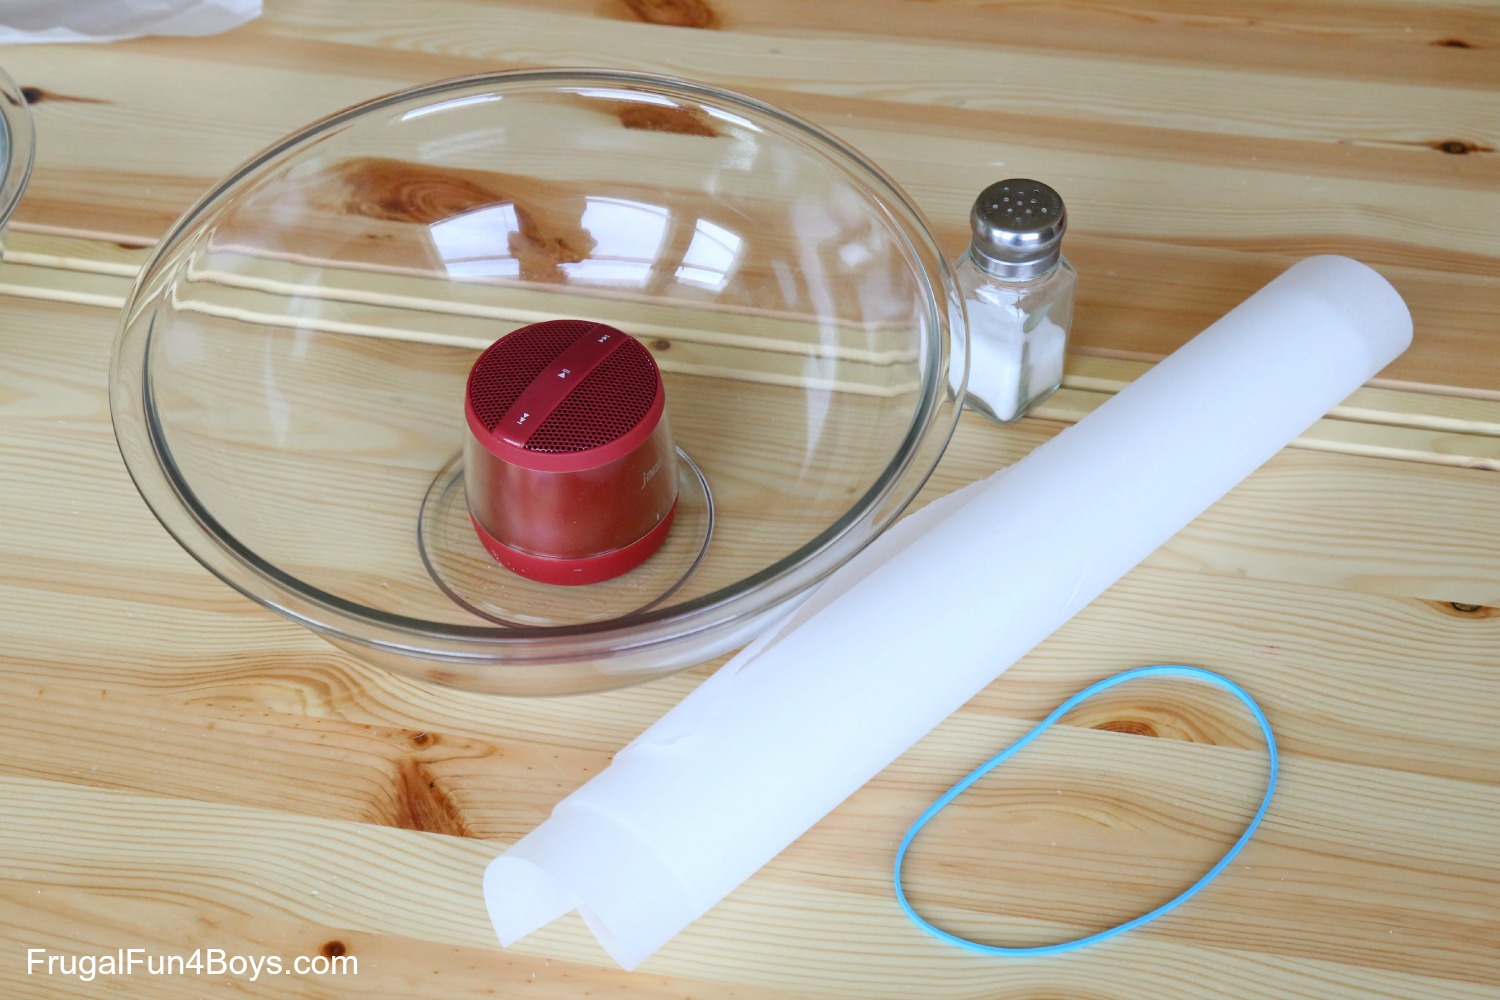
- A glass bowl
- Parchment paper
- A large rubber band
- Salt – we colored ours blue with a few drops of food coloring to make it easier to see
- A portable bluetooth speaker
- A phone with a tuner app – there are several free tuner apps that will play tones.
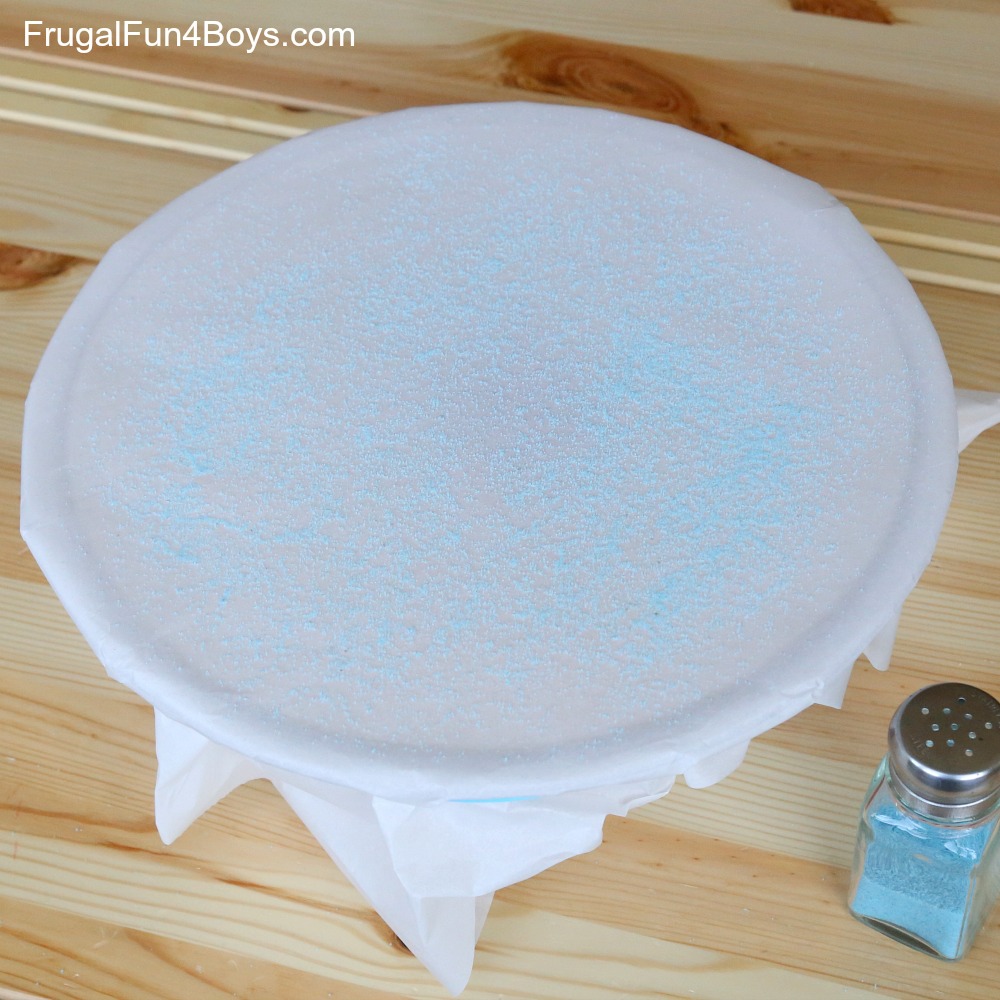
Step 1: Place your speaker inside your bowl. Cover the top of the bowl with parchment paper. We used one large rubber band to attach the paper to the bowl.
Step 2: Sprinkle a good layer of salt over the parchment paper.
Step 3: Turn on your tuner app, and experiment with different notes.
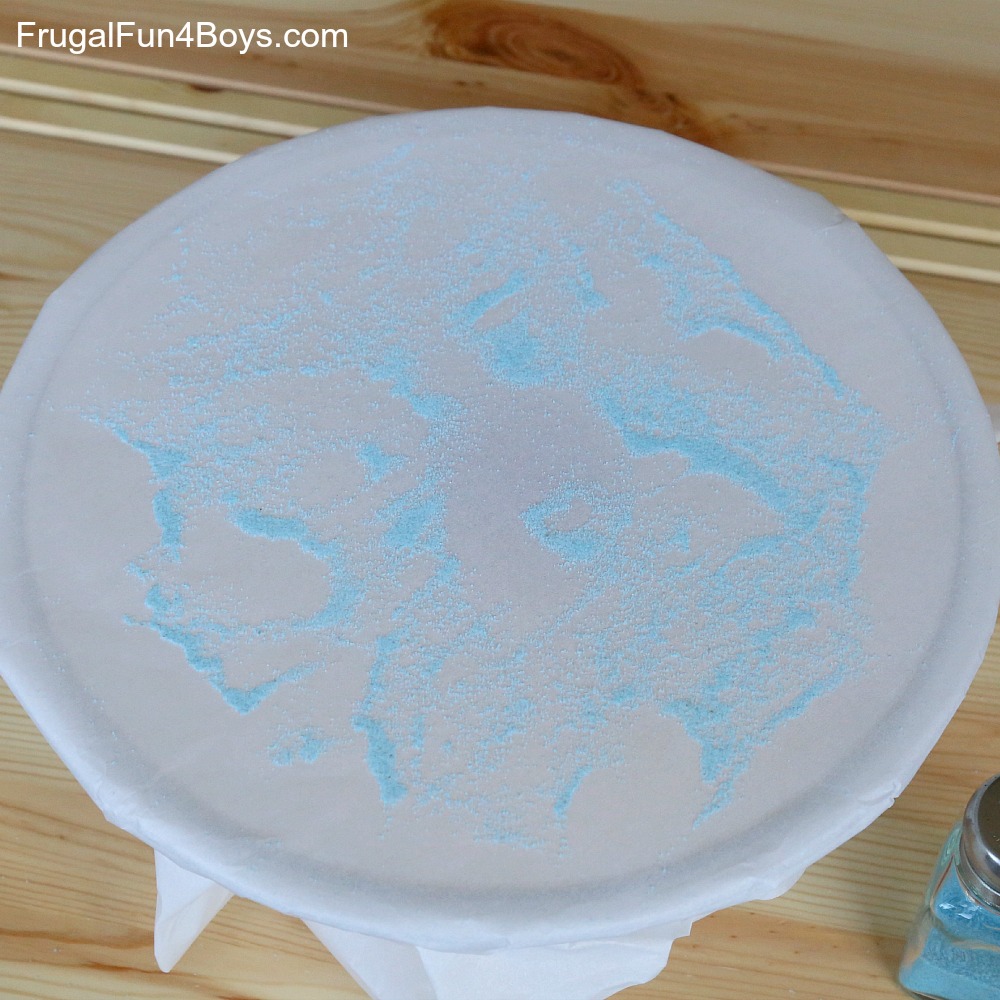
This is a low note (large patterns):
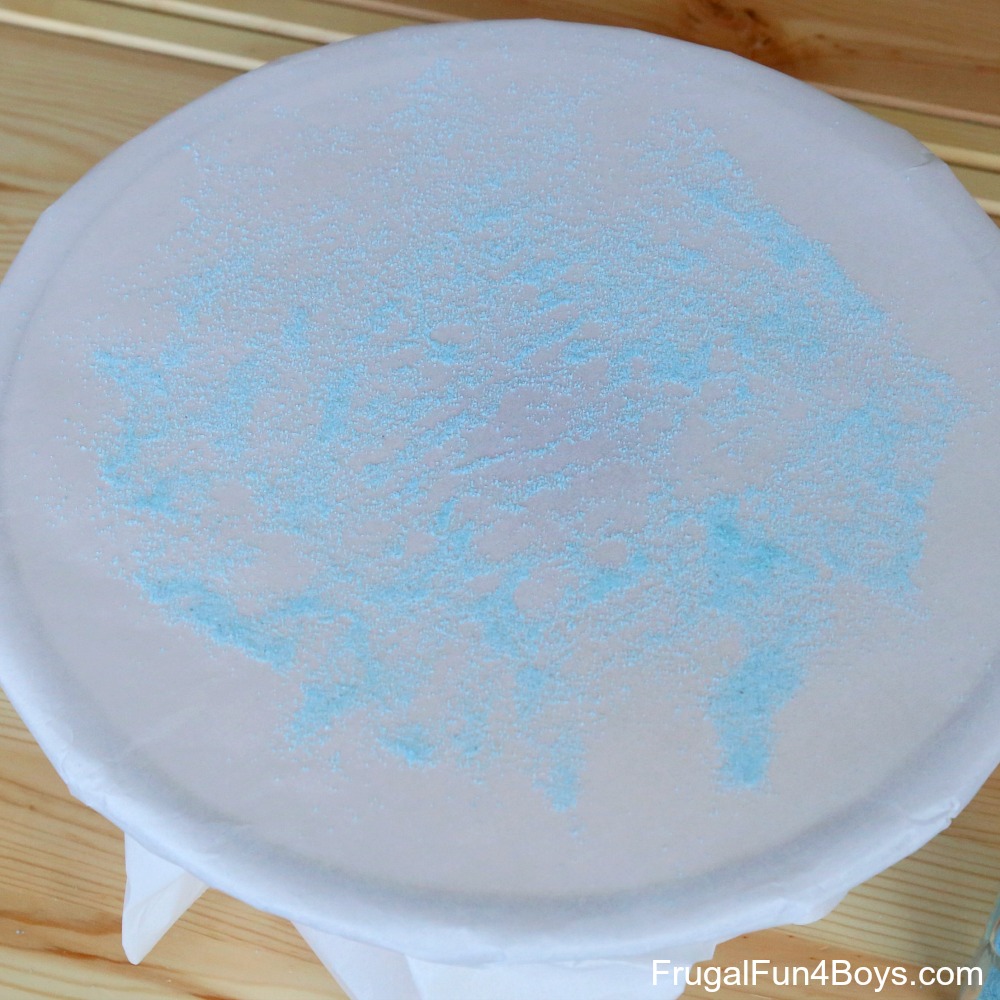
And this is a high note:
If you scroll through the notes on the tuner, you will probably notice that the salt dances around a LOT more for certain frequencies, both high and low. This is because all objects naturally resonate (vibrate) at certain frequencies when you strike them. When you find your bowl’s natural resonance, the salt will really go crazy!
Here’s a video of our homemade salt vibrations:
And here is a fantastic demonstration of Chladni Plates:
NOTE: Keep your volume low for both of these videos!
This post is a part of Summer STEAM Camp, where several bloggers are teaming up to bring you fantastic science, technology, engineering, art, and math activities for kids. Be sure to check out the rest of the posts in this series!
- Modern Art Steady Hand Game from Left Brain Craft Brain
- Pop Rocks Science Exploring Viscosity from Little Bins for Little Hands
- Spinning Noise Maker from What Do We Do All Day?
- How to Learn from a Failed Experiment from One Time Through
- Build a Water Xylophone from Pink Stripey Socks
1 Comments
Sue Jul 11, 2015
Sarah - I really hope you drop by my site and check out our failed "seeing-sound" machine experiment! LOL - you basically demonstrated what I was wanting to show my son. Such a cool idea - We can now give this a try! He'll be ecstatic!
Post a Comment