
Need a fun art project for kids? Make some air dry clay mosaics!
This is such a simple and classic craft, and the finished mosaics look amazing.
We used dried beans for our mosaics. I bought a bag of bean soup at Walmart, and I really love the variety of colors we ended up with!
This post contains Amazon affiliate links, which means that I earn from qualifying purchases at no additional cost to you.

Supplies Needed:
- Air Dry Clay – we used this tub of Crayola Air Dry Clay
- Dried beans in a variety of shapes and colors
- Hot glue or another craft glue (I’ll explain why below)

Our first step was to sort our beans. I decided that it was a little too time consuming to pick through the bag of beans to find the colors I wanted! It was definitely worth taking a few minutes to just sort them at the beginning.

Then we rolled out our clay to make a good surface to work on. I used a popsicle stick to flatten the sides so that I had a rectangle shape.

Then just push beans into the clay to make a picture or design.
You’ll want to push the beans down well into the clay. We found that the peas and lentils stayed attached once the clay dried, but the larger beans fell off if they weren’t push in far enough. If you have beans fall off, you can glue them back on with a dab of hot glue or another type of craft glue.

Flower designs are fun to make.

Or try making a leaf with black beans for the veins. Split peas make a great leaf color.

Then this larger flower is probably my favorite! This is the one that needed glue for the larger beans. Either push them down farther into the clay or plan to add some glue later.

So fun! Display your finished mosaics on a desk or window ledge.
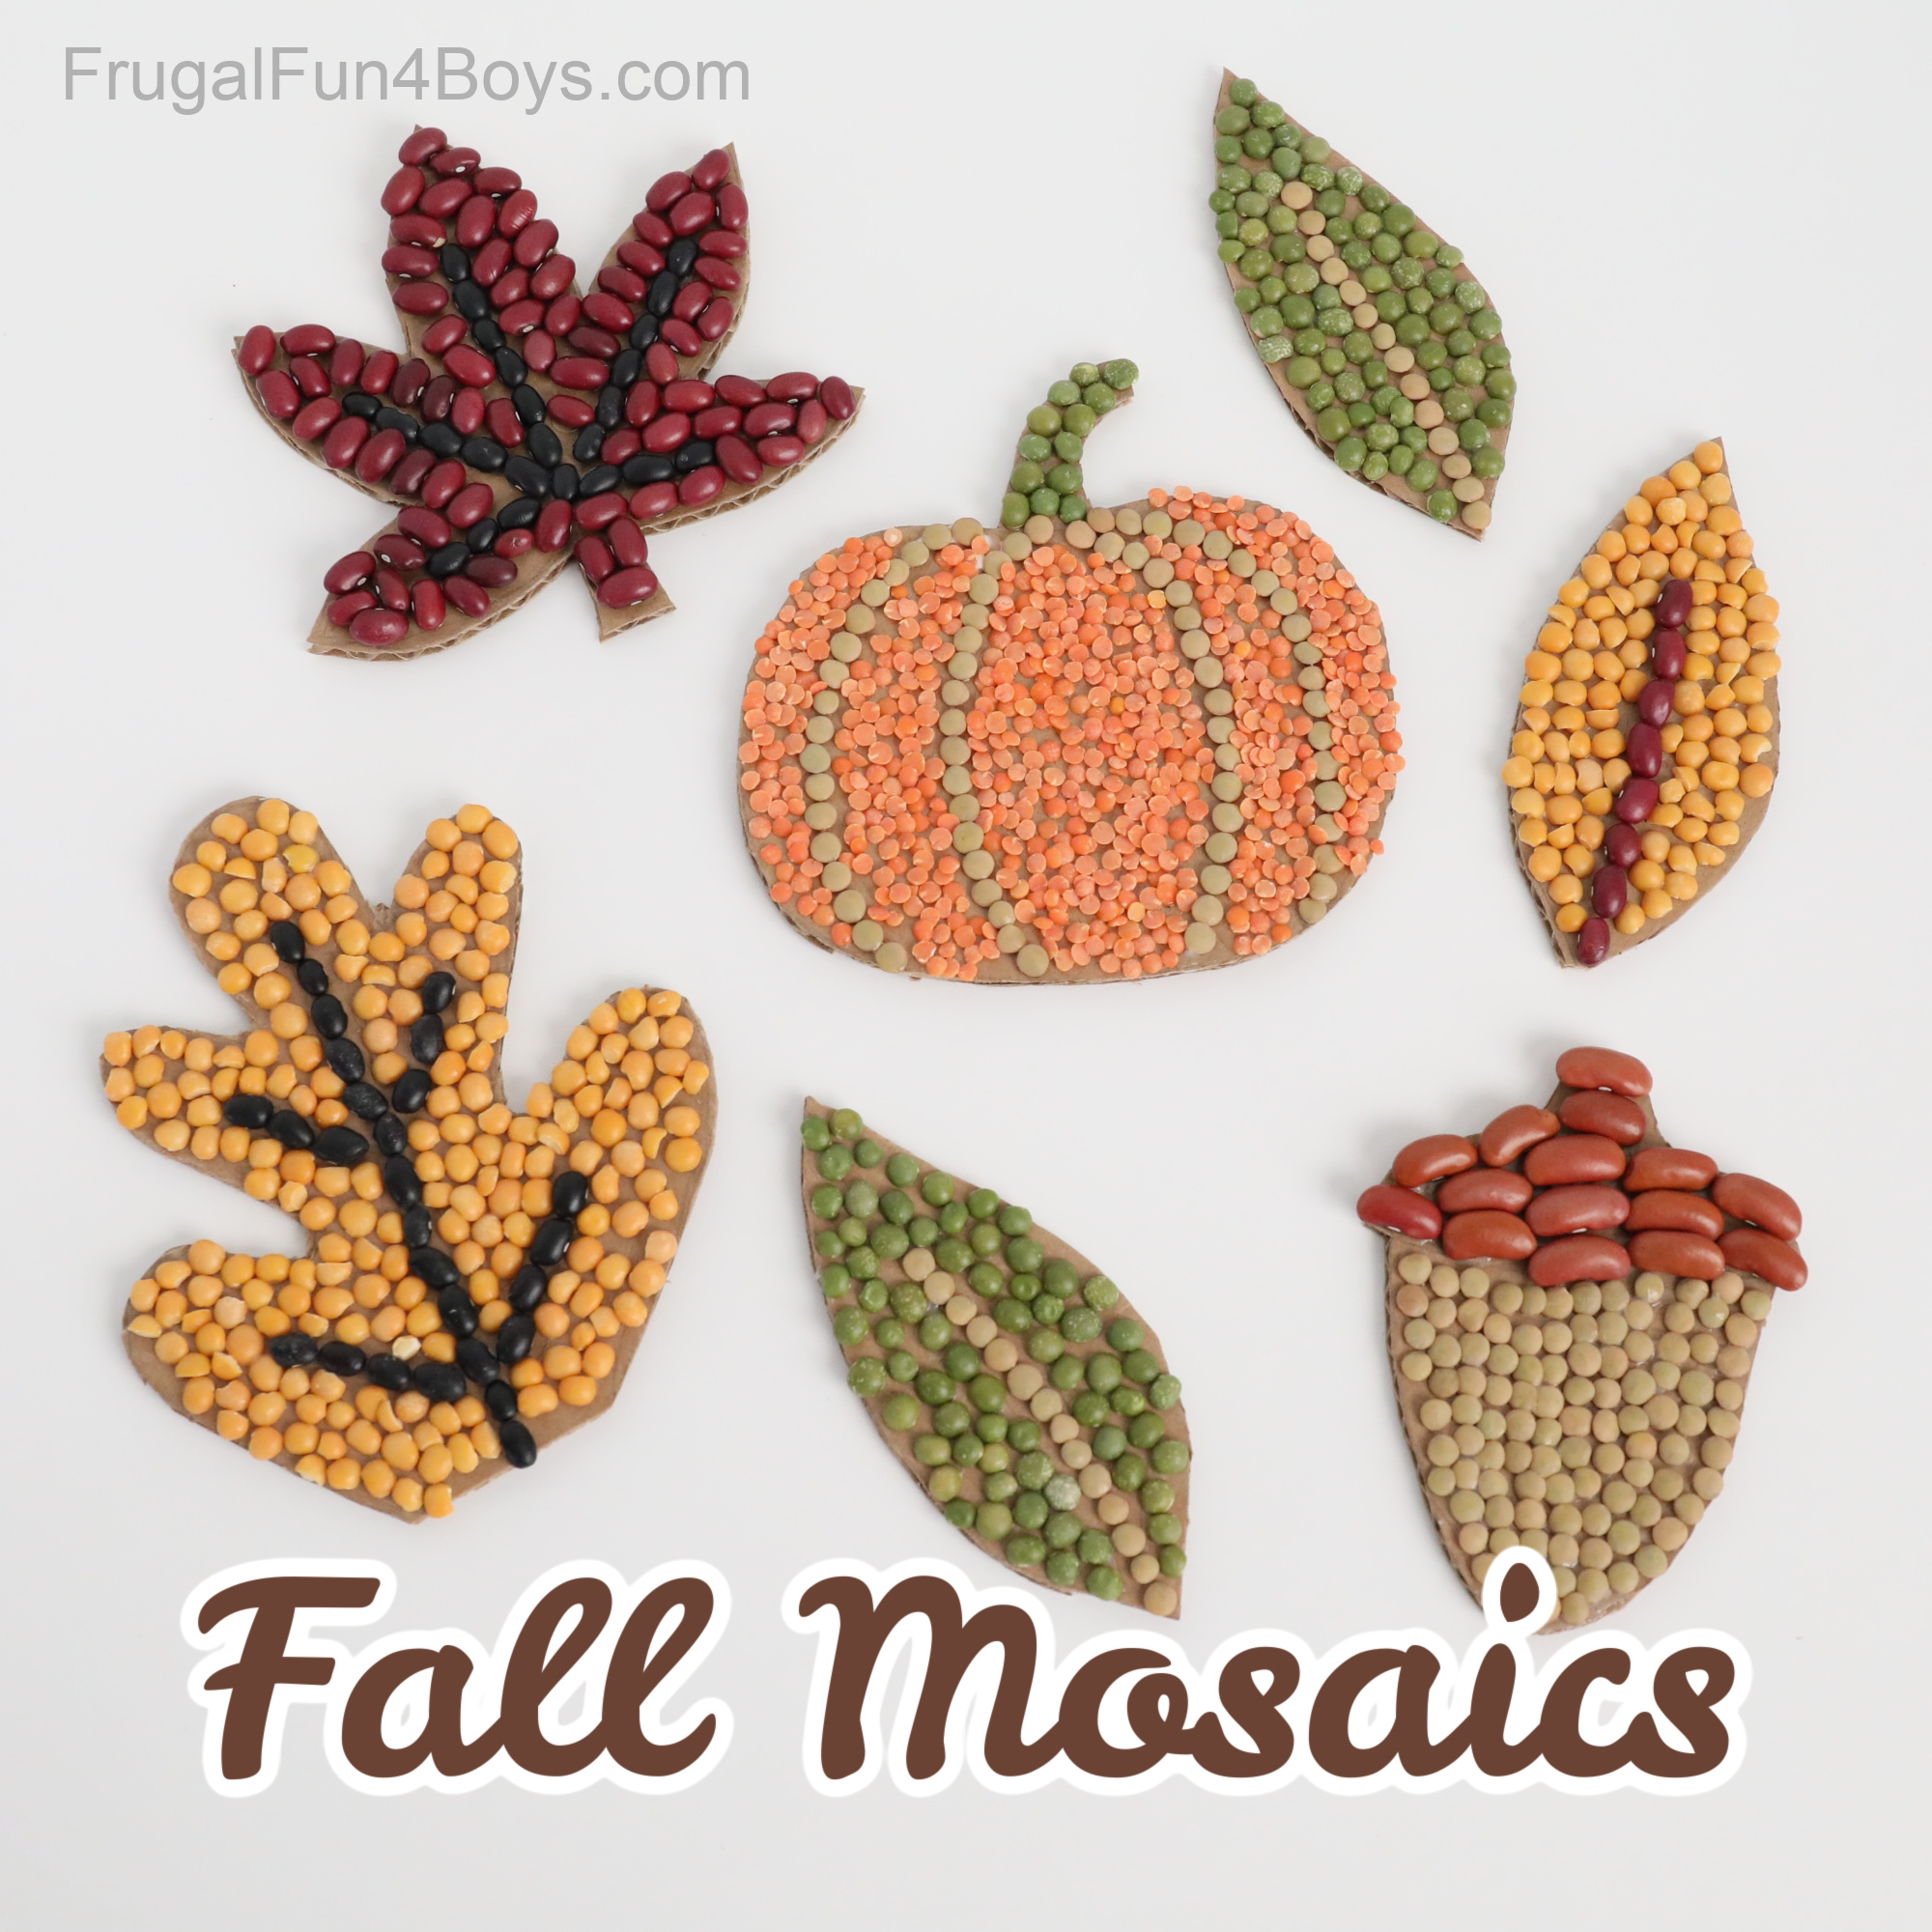
We also have a fall version of this project!
Here are Fall Mosaics to Make with the same bag of beans! We used cardboard and glue for these.
0 Comments
Post a Comment