
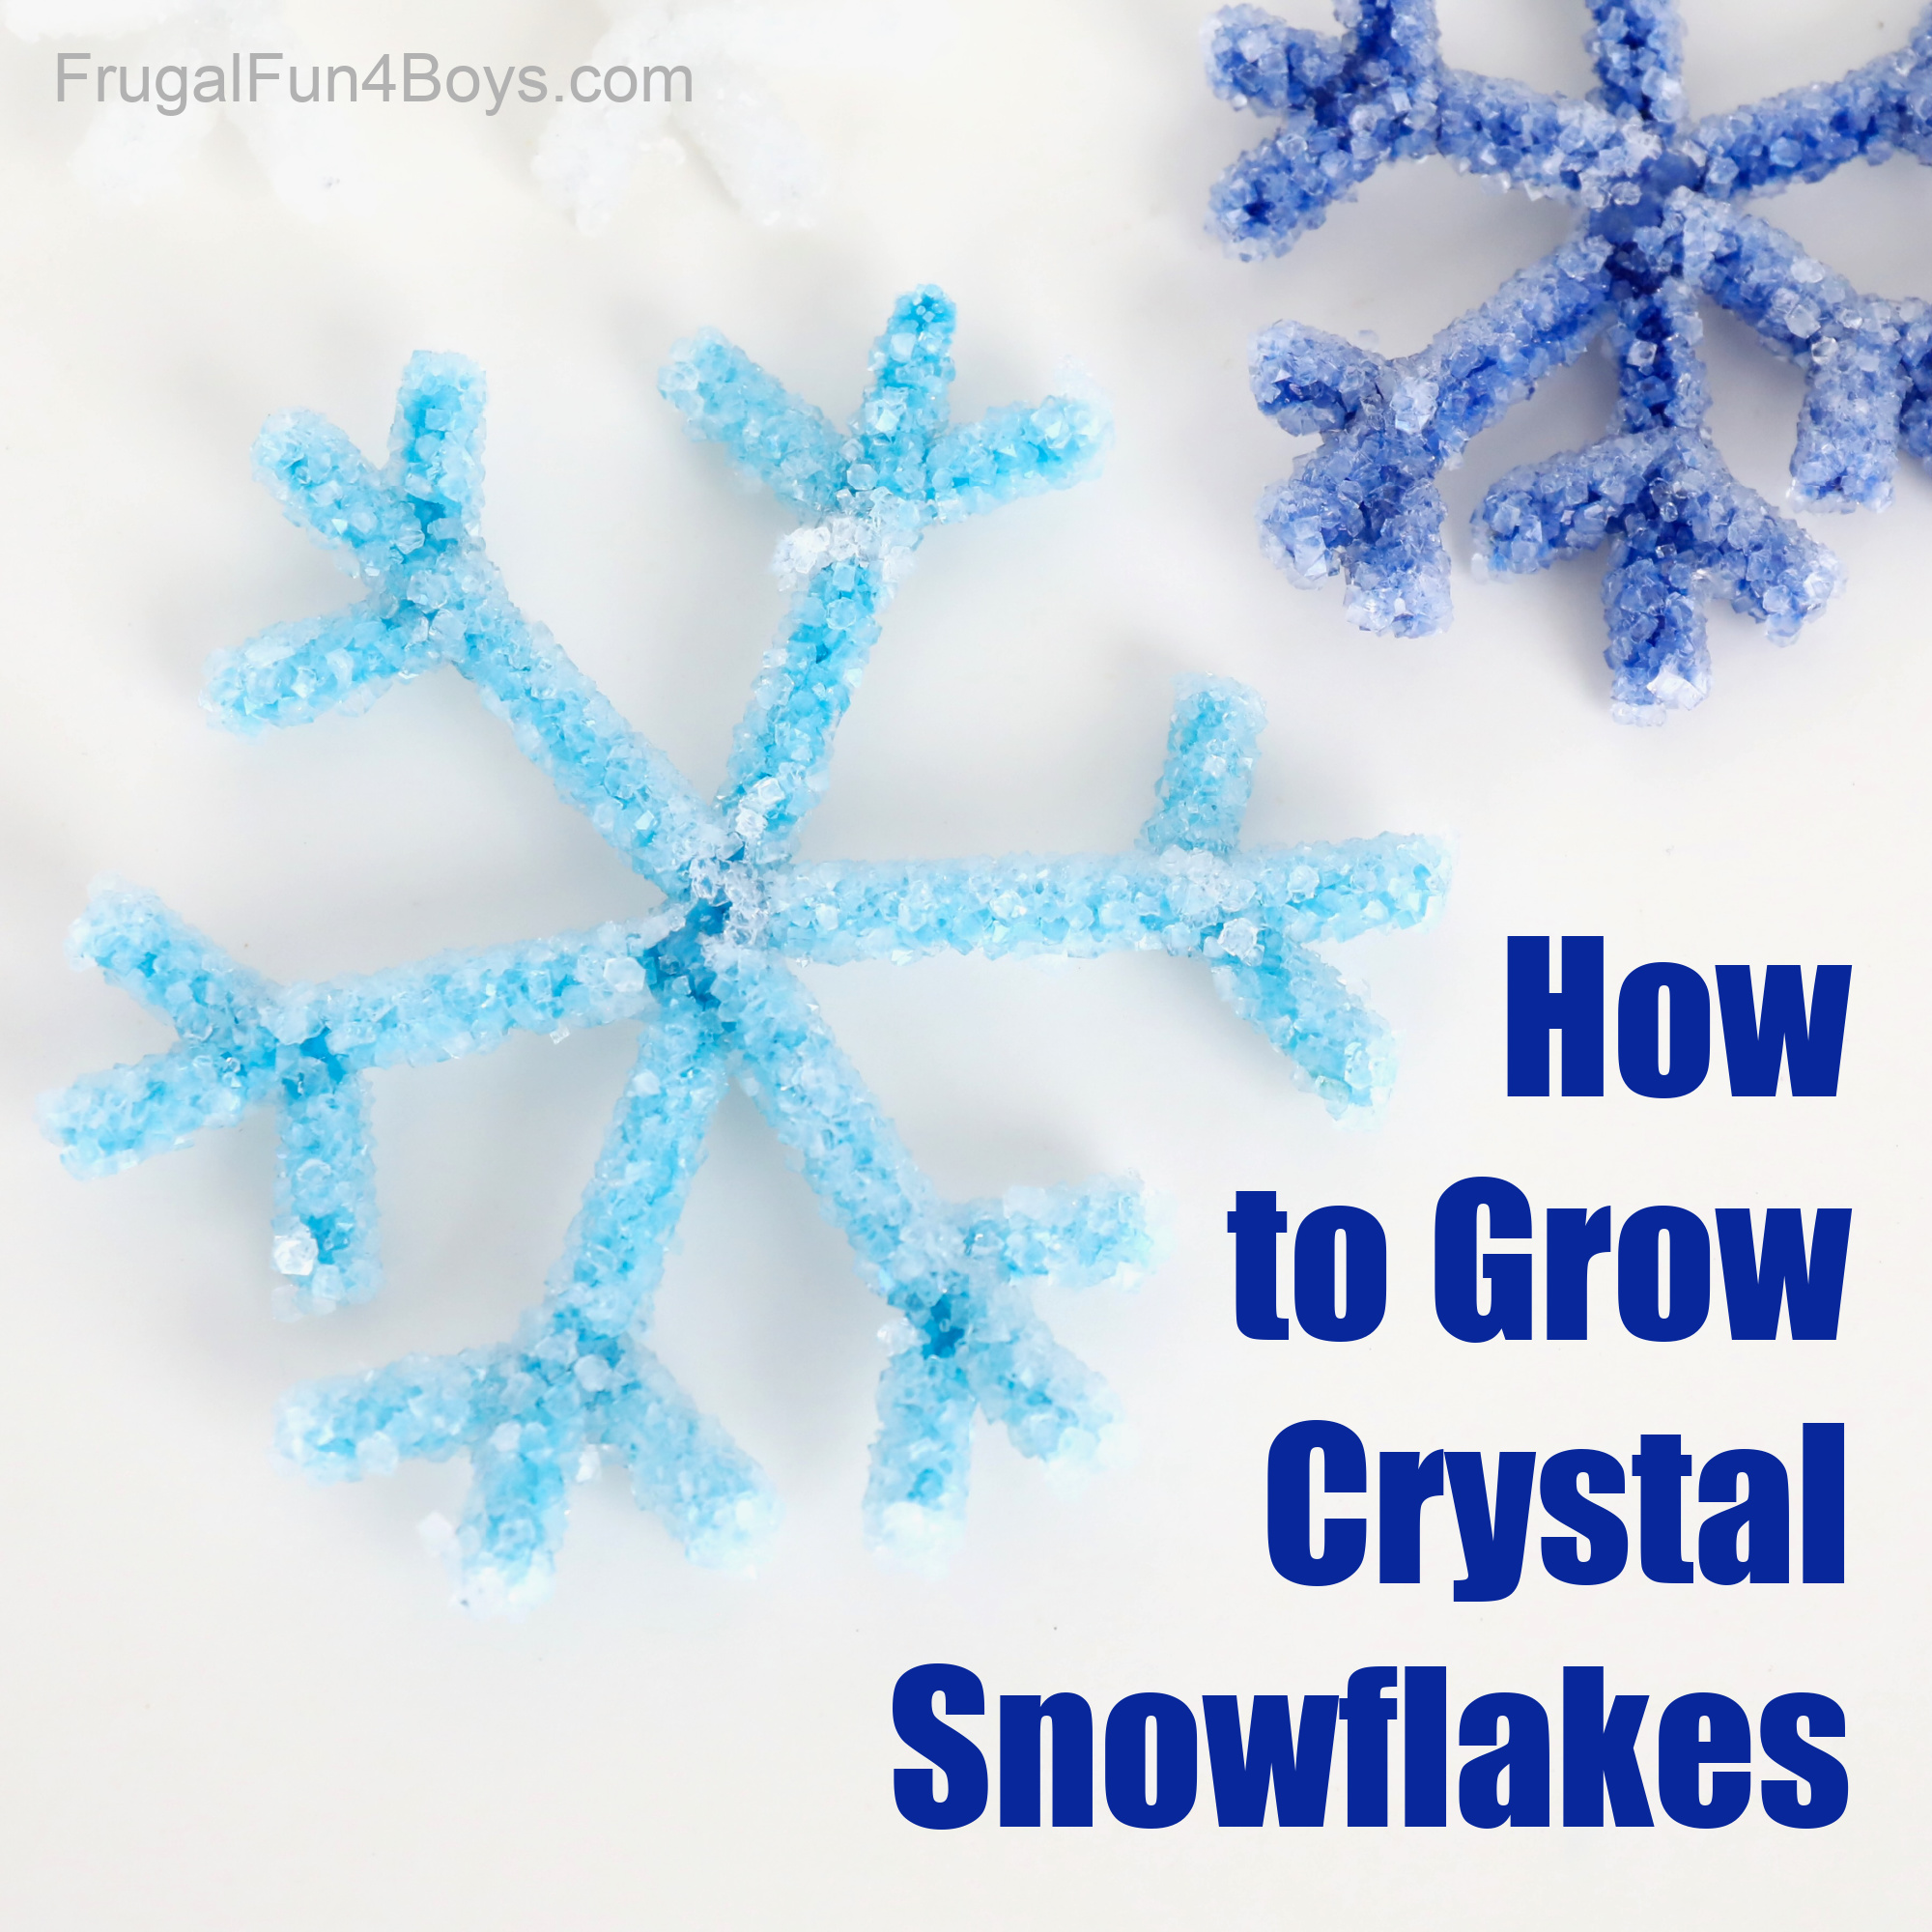
Kids will love growing these beautiful borax crystal snowflakes! This science experiment is so easy to do, and it quickly yields gorgeous results.
If you’re worried about getting this science experiment to work out, then do not fear! These borax crystal snowflakes are foolproof. Let me walk you through the simple steps for completing this experiment.
Borax Crystal Science
Crystals are so cool!
Borax (sodium tetraborate) is a naturally-occurring mineral. Like all minerals, sodium tetraborate molecules arrange themselves into a repeating pattern, which creates the crystal shape. Each mineral has its own crystal structure, which depends on the size and shape of the molecules.
Just like with our fall leaf crystals, we’re going to make a saturated borax solution. Hot water can hold more of a solvent than cold water can. As the borax and water solution cools, the water will have to let go of some of the borax molecules that had been dissolved. The borax molecules will then cling to the pipe cleaners (and the sides and bottom of the jar) and form crystal shapes.
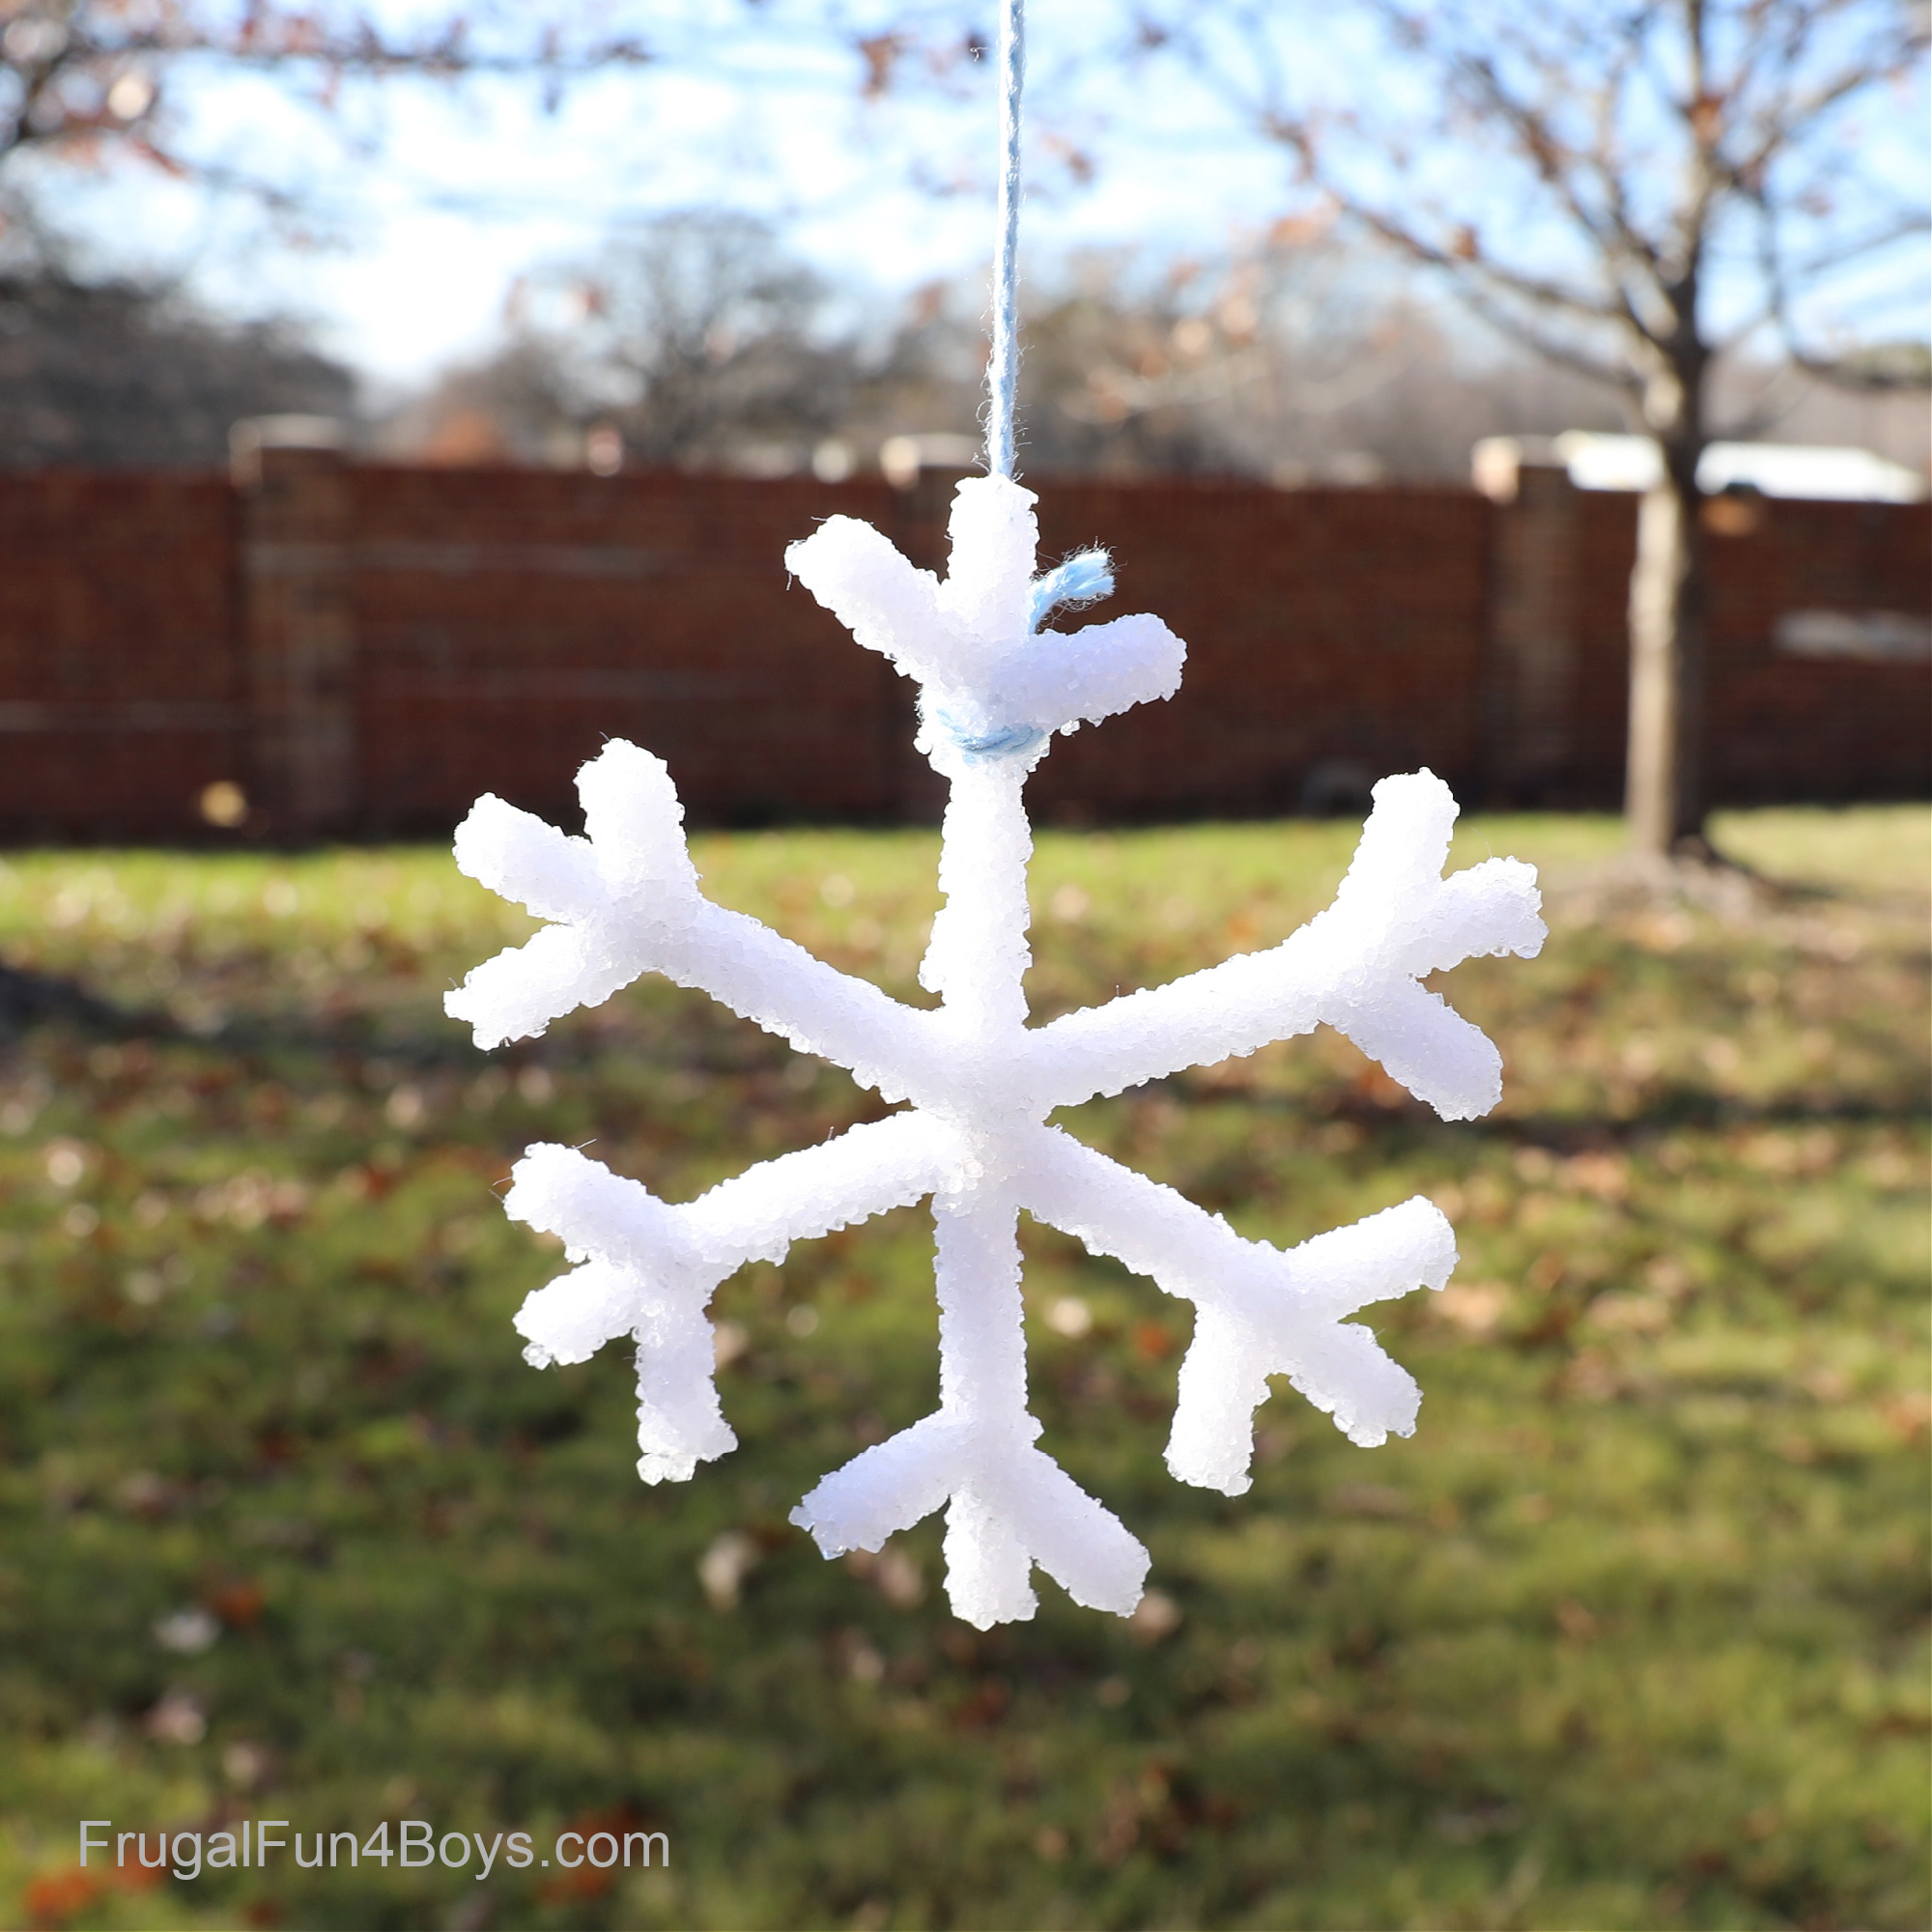
Janie loves the white snowflakes the best, but I like the light blue ones.

Supplies Needed for Borax Crystal Snowflakes:
- Pipe cleaners in blue and white
- Borax – from the cleaning supplies aisle in any grocery store
- Water
- A cooking pot
- Yarn
- Scissors
- A ruler or strip of wood
- Jar
- Hot glue gun (optional)
You can use all kinds of containers for soaking your snowflakes in the borax solution – jars, pitchers, glass storage containers, etc. I’ve even used disposable paper cups before.
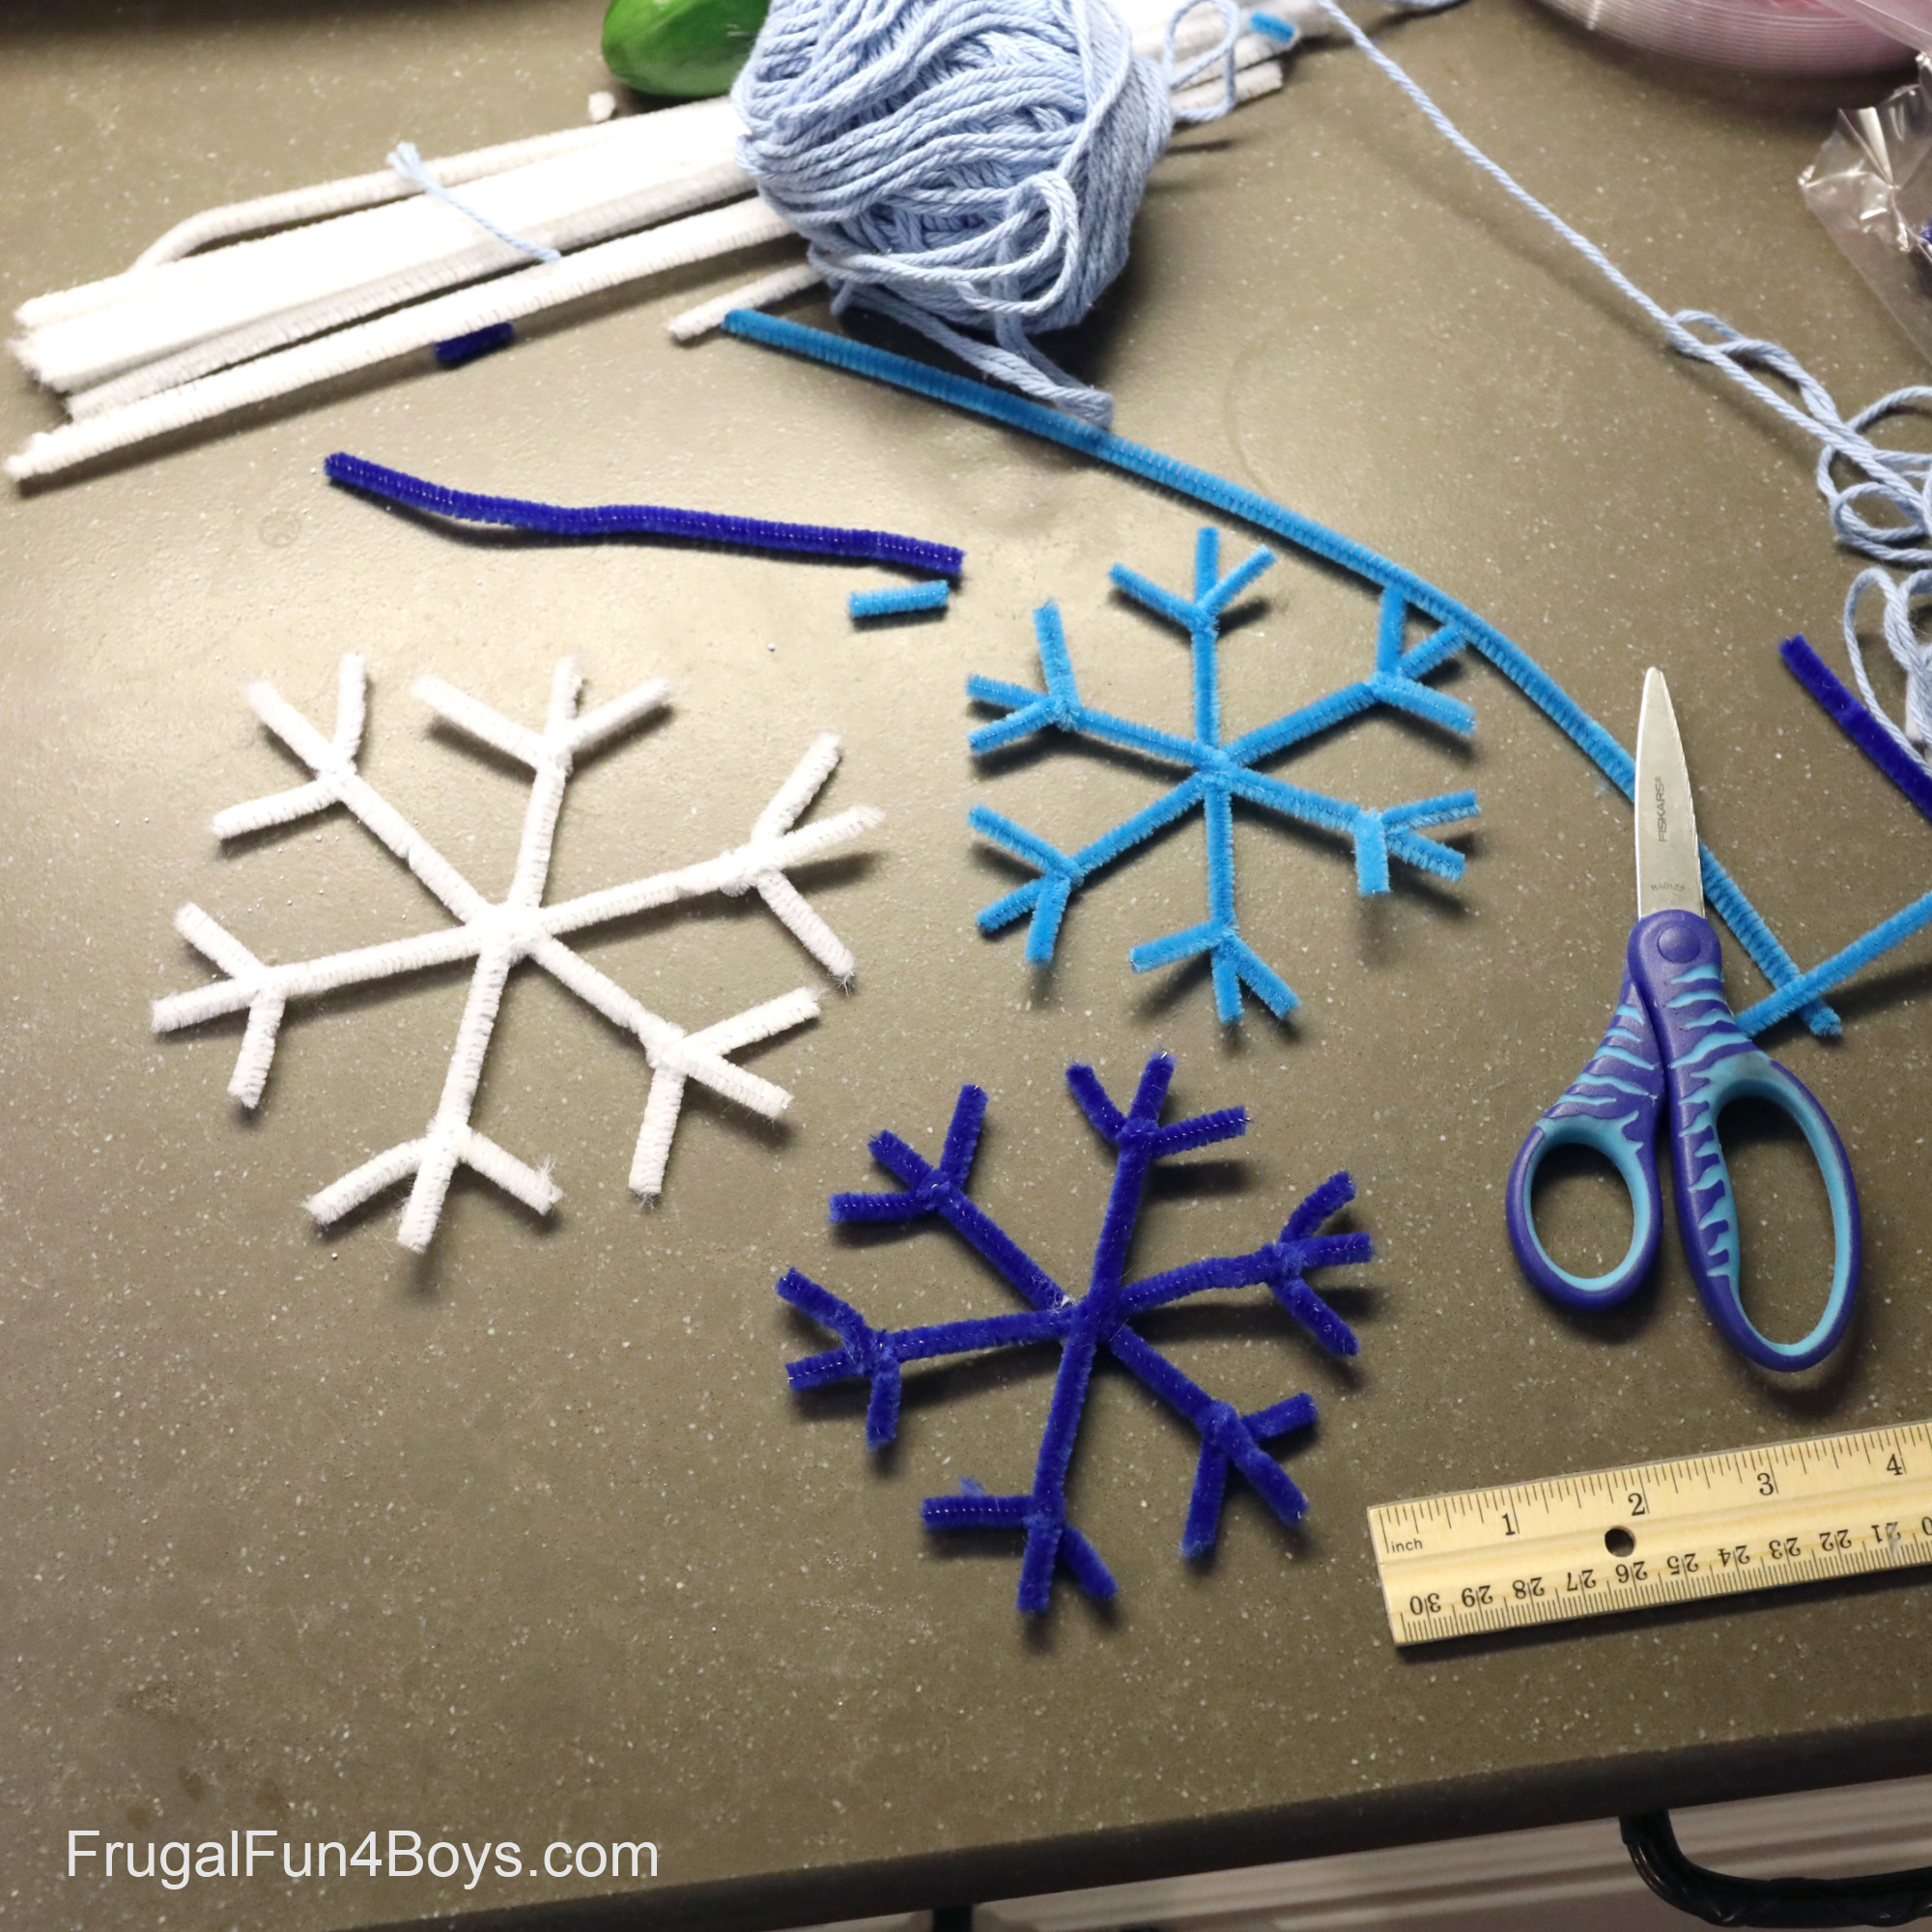
Step 1: Use pipe cleaners to make snowflakes!
Cut three 4 inch pipe cleaner segments. Then cut six 1.25 inch pipe cleaner segments.
Twist the three pipe cleaners together as shown below.

Then add a pipe cleaner segment to each point of the snowflake.

I added a little hot glue in the center of each snowflake to help hold the pipe cleaners together.
I also made more snowflakes in different sizes!
Step 2: Mix up the borax solution. I wanted a lot of the solution, so I used 8 cups of water and 3.5 cups of borax powder. If you’re just making one or two snowflakes, 4 cups of water and 1.75 cups of borax may be enough.
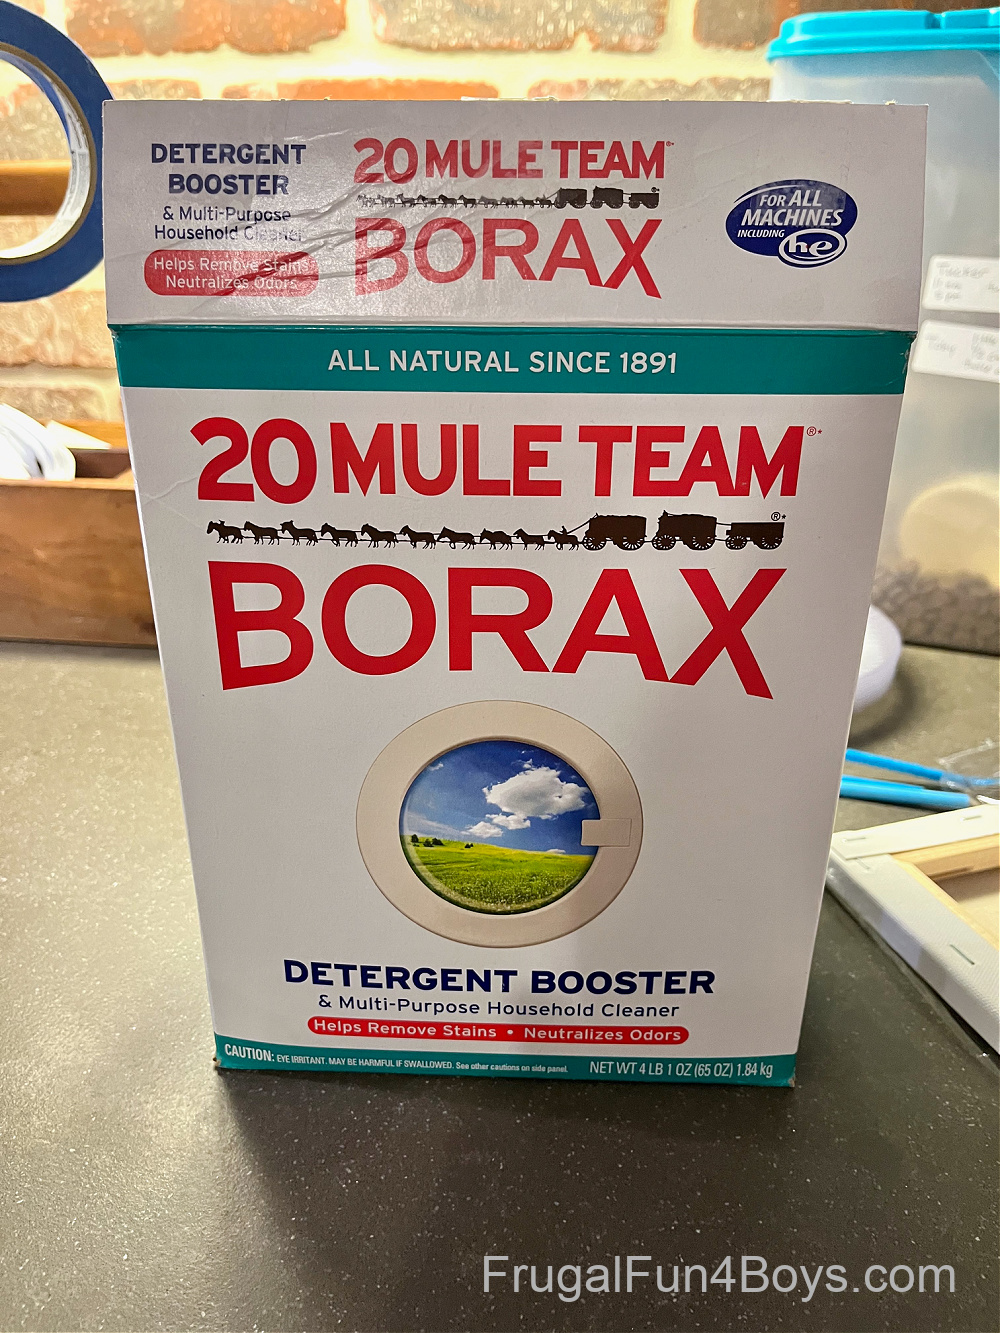
We used 20 Mule Team Borax, which we purchased at Walmart.
Bring the water to a boil. Then turn off the heat and stir in the borax powder. You’ll want to stir until it’s all dissolved, but it’s okay if you can’t get all the powder to dissolve. There will probably be a little sitting in the bottom of the pan.
*The borax will not ruin your pan! In fact, mine came out cleaner! Just wash and rinse it well when you are done.
Step 3: Set up the snowflakes so they are suspended in the borax solution.
Tie a piece of yarn or string around the snowflake. They tie or tape the yarn to a ruler (for a larger container) or a craft stick (if you’re using a smaller jar). It’s important that the snowflakes do not touch the sides or bottom of the container!
I set up my first round of snowflakes suspended in a horizontal position in some shallow containers. This allowed me to use less borax solution, but it DID NOT WORK!! Crystals grew on the bottoms of the containers and then connected to the snowflakes. When I pulled them out, they were covered with thousands of tiny crystals that just looked like sand. Disappointing!!
So then I made another batch of snowflakes and suspended them vertically in pitchers like this:
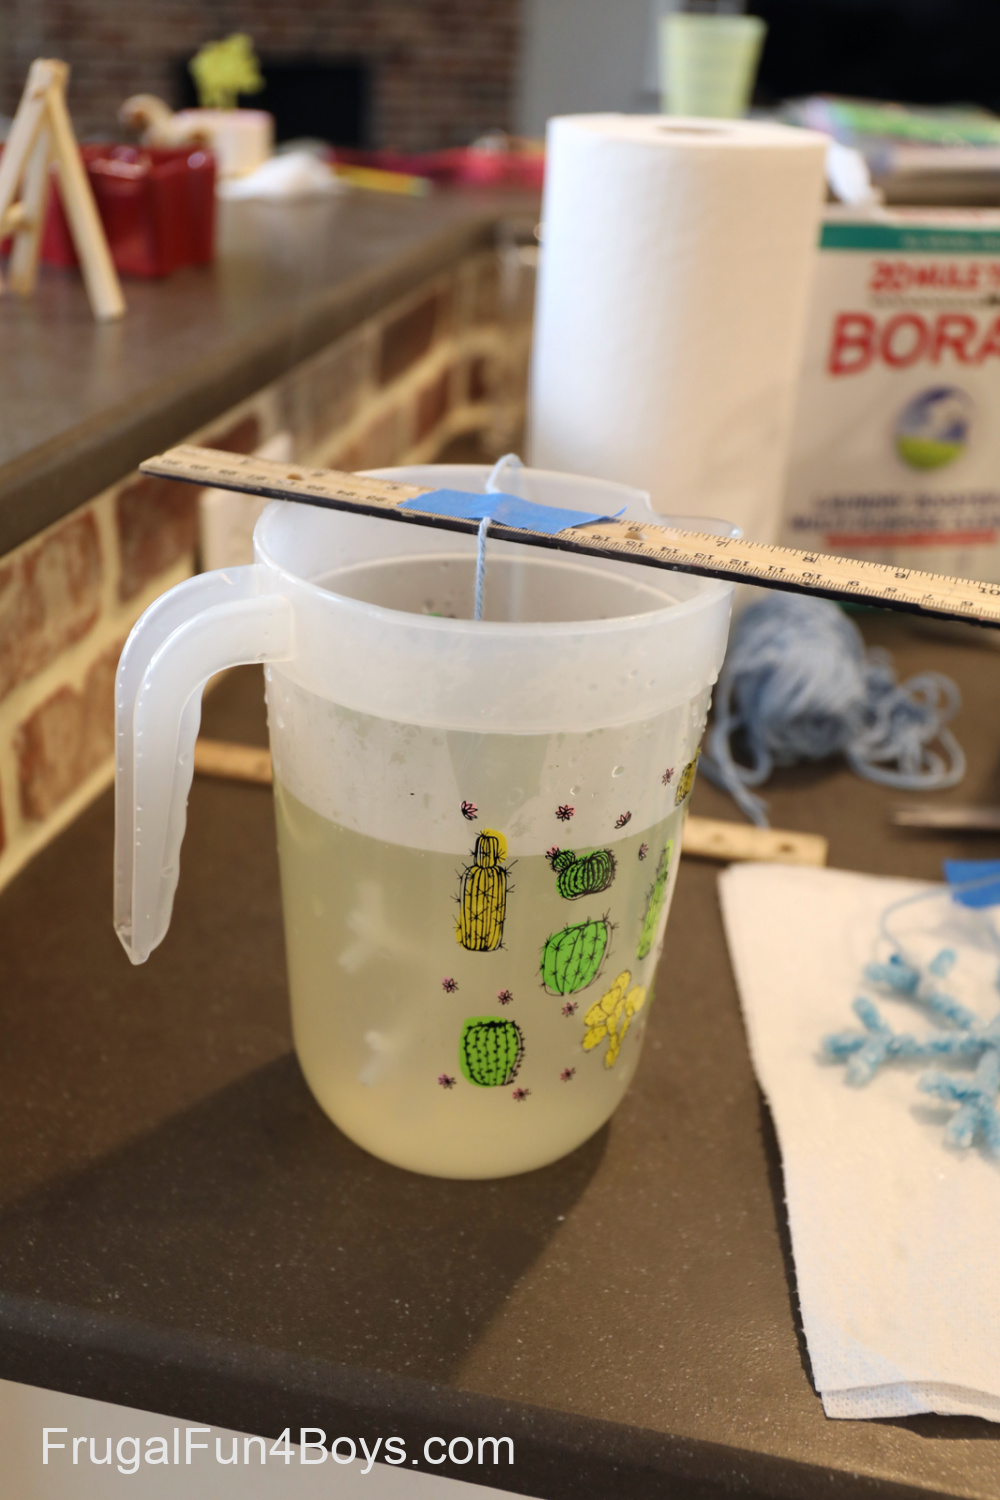
Success!!
If you don’t want to use containers this large, just make your snowflakes smaller. Use pipe cleaners that are 2.5 inches long instead of 4 inches, or whatever size you need to fit your jars.
How long does it take for borax crystals to form?
Crystals will start to form within an hour and a half, and I took our snowflakes out of the solution after about 3-4 hours because we liked how they looked, but you can leave them in the solution for several hours and even overnight. This speed of this process will depend on the temperature of the room and how quickly the solution cools down. You’ll get larger crystals if the solution cools slowly.
This is not a slow process! Kids will be so impressed with how quickly they can begin seeing crystals.
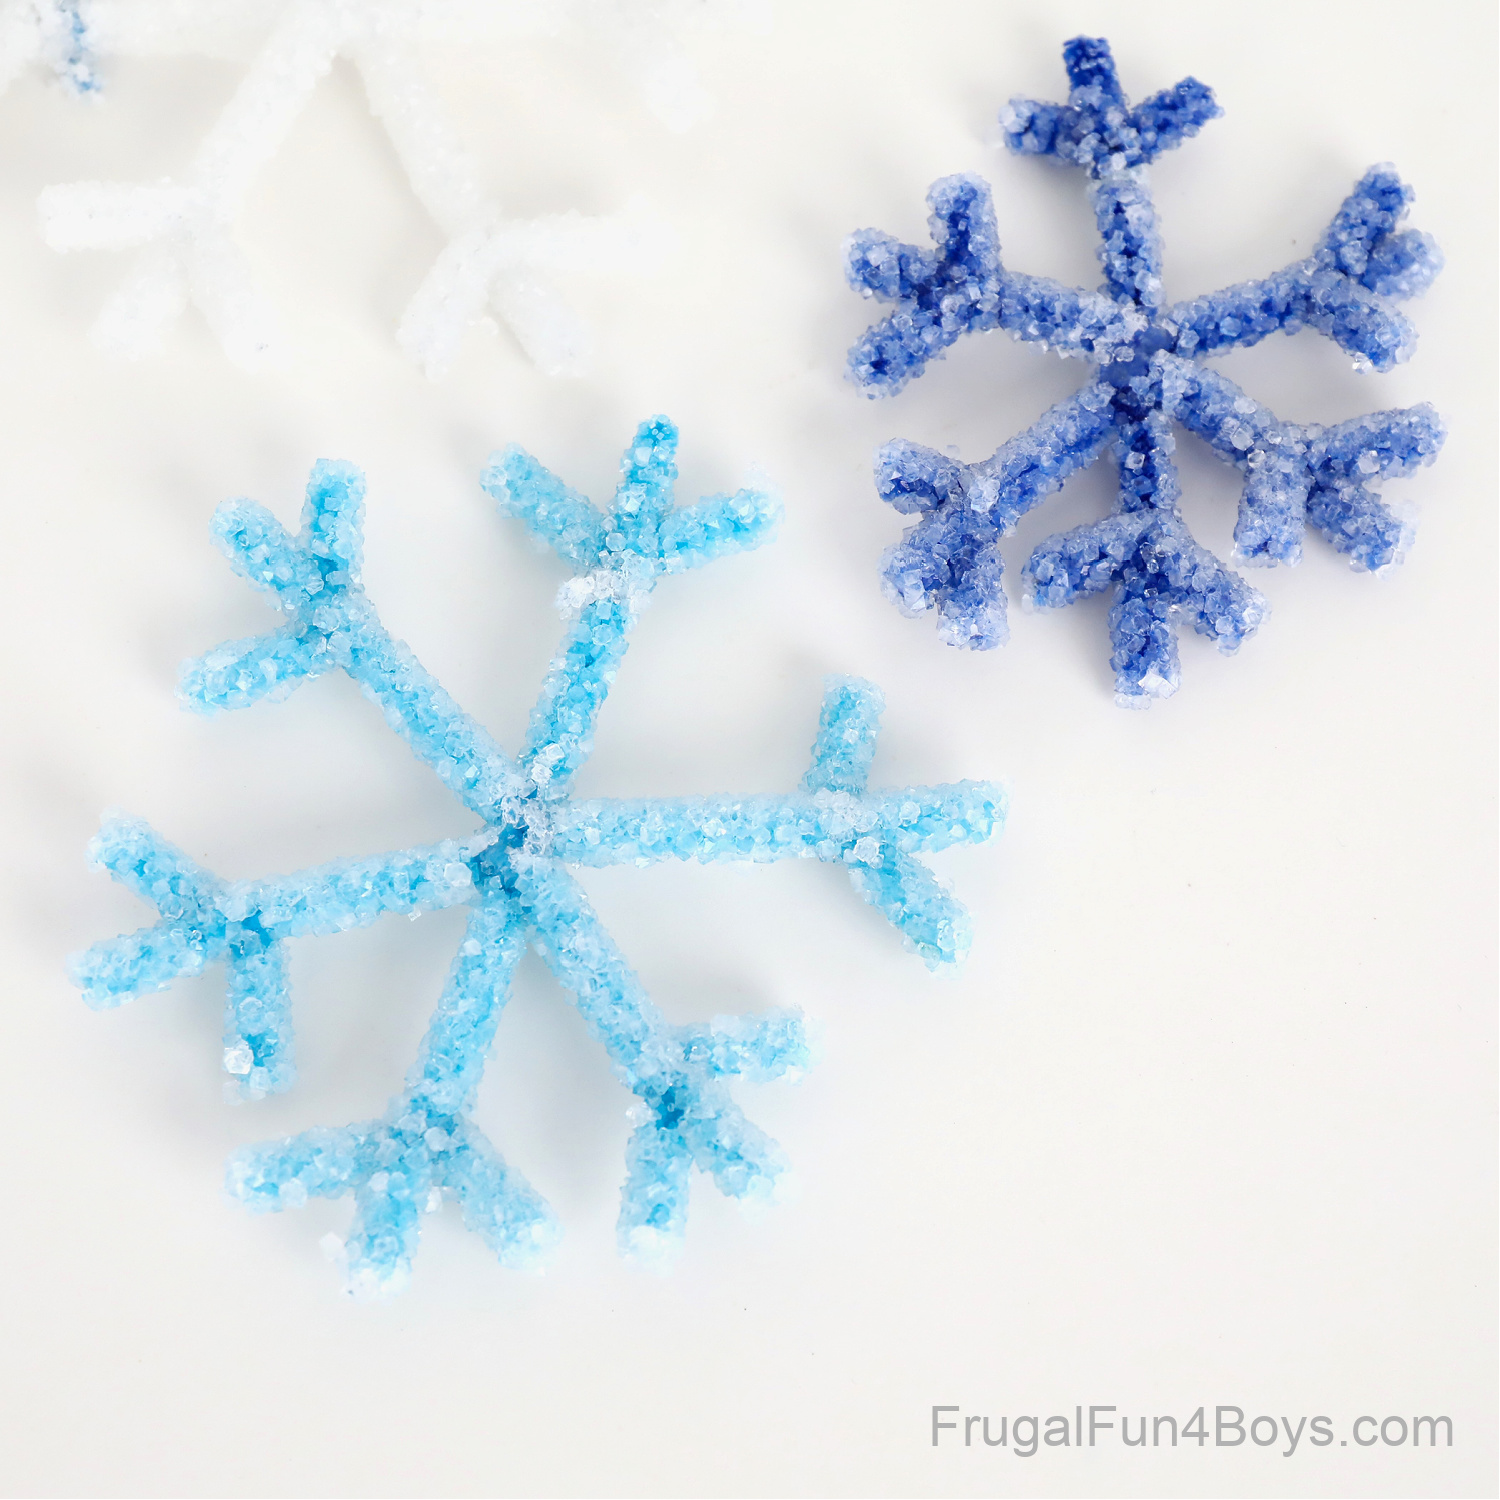
When your snowflakes are done, take them out of the solution and let them dry.
Is borax safe for kids to use?
There has been a lot of confusion regarding the safety borax, especially after the slime fad a few years ago. After doing some research, I truly think that using borax to grow crystals is quite safe. Borax is harmful if you ingest large quantities of it, which won’t be happening with this activity. You really won’t be doing a lot of handling of the borax.
I would recommend not handling the finished crystals more than you need to. The crystals break easily, so you won’t want to allow kids to carry these around and play with them anyway.
These crystal snowflakes are beautiful to make and display! Try making ornaments out of them by adding a piece of ribbon or string. Maybe hang them in the window where the sun can make them shine!
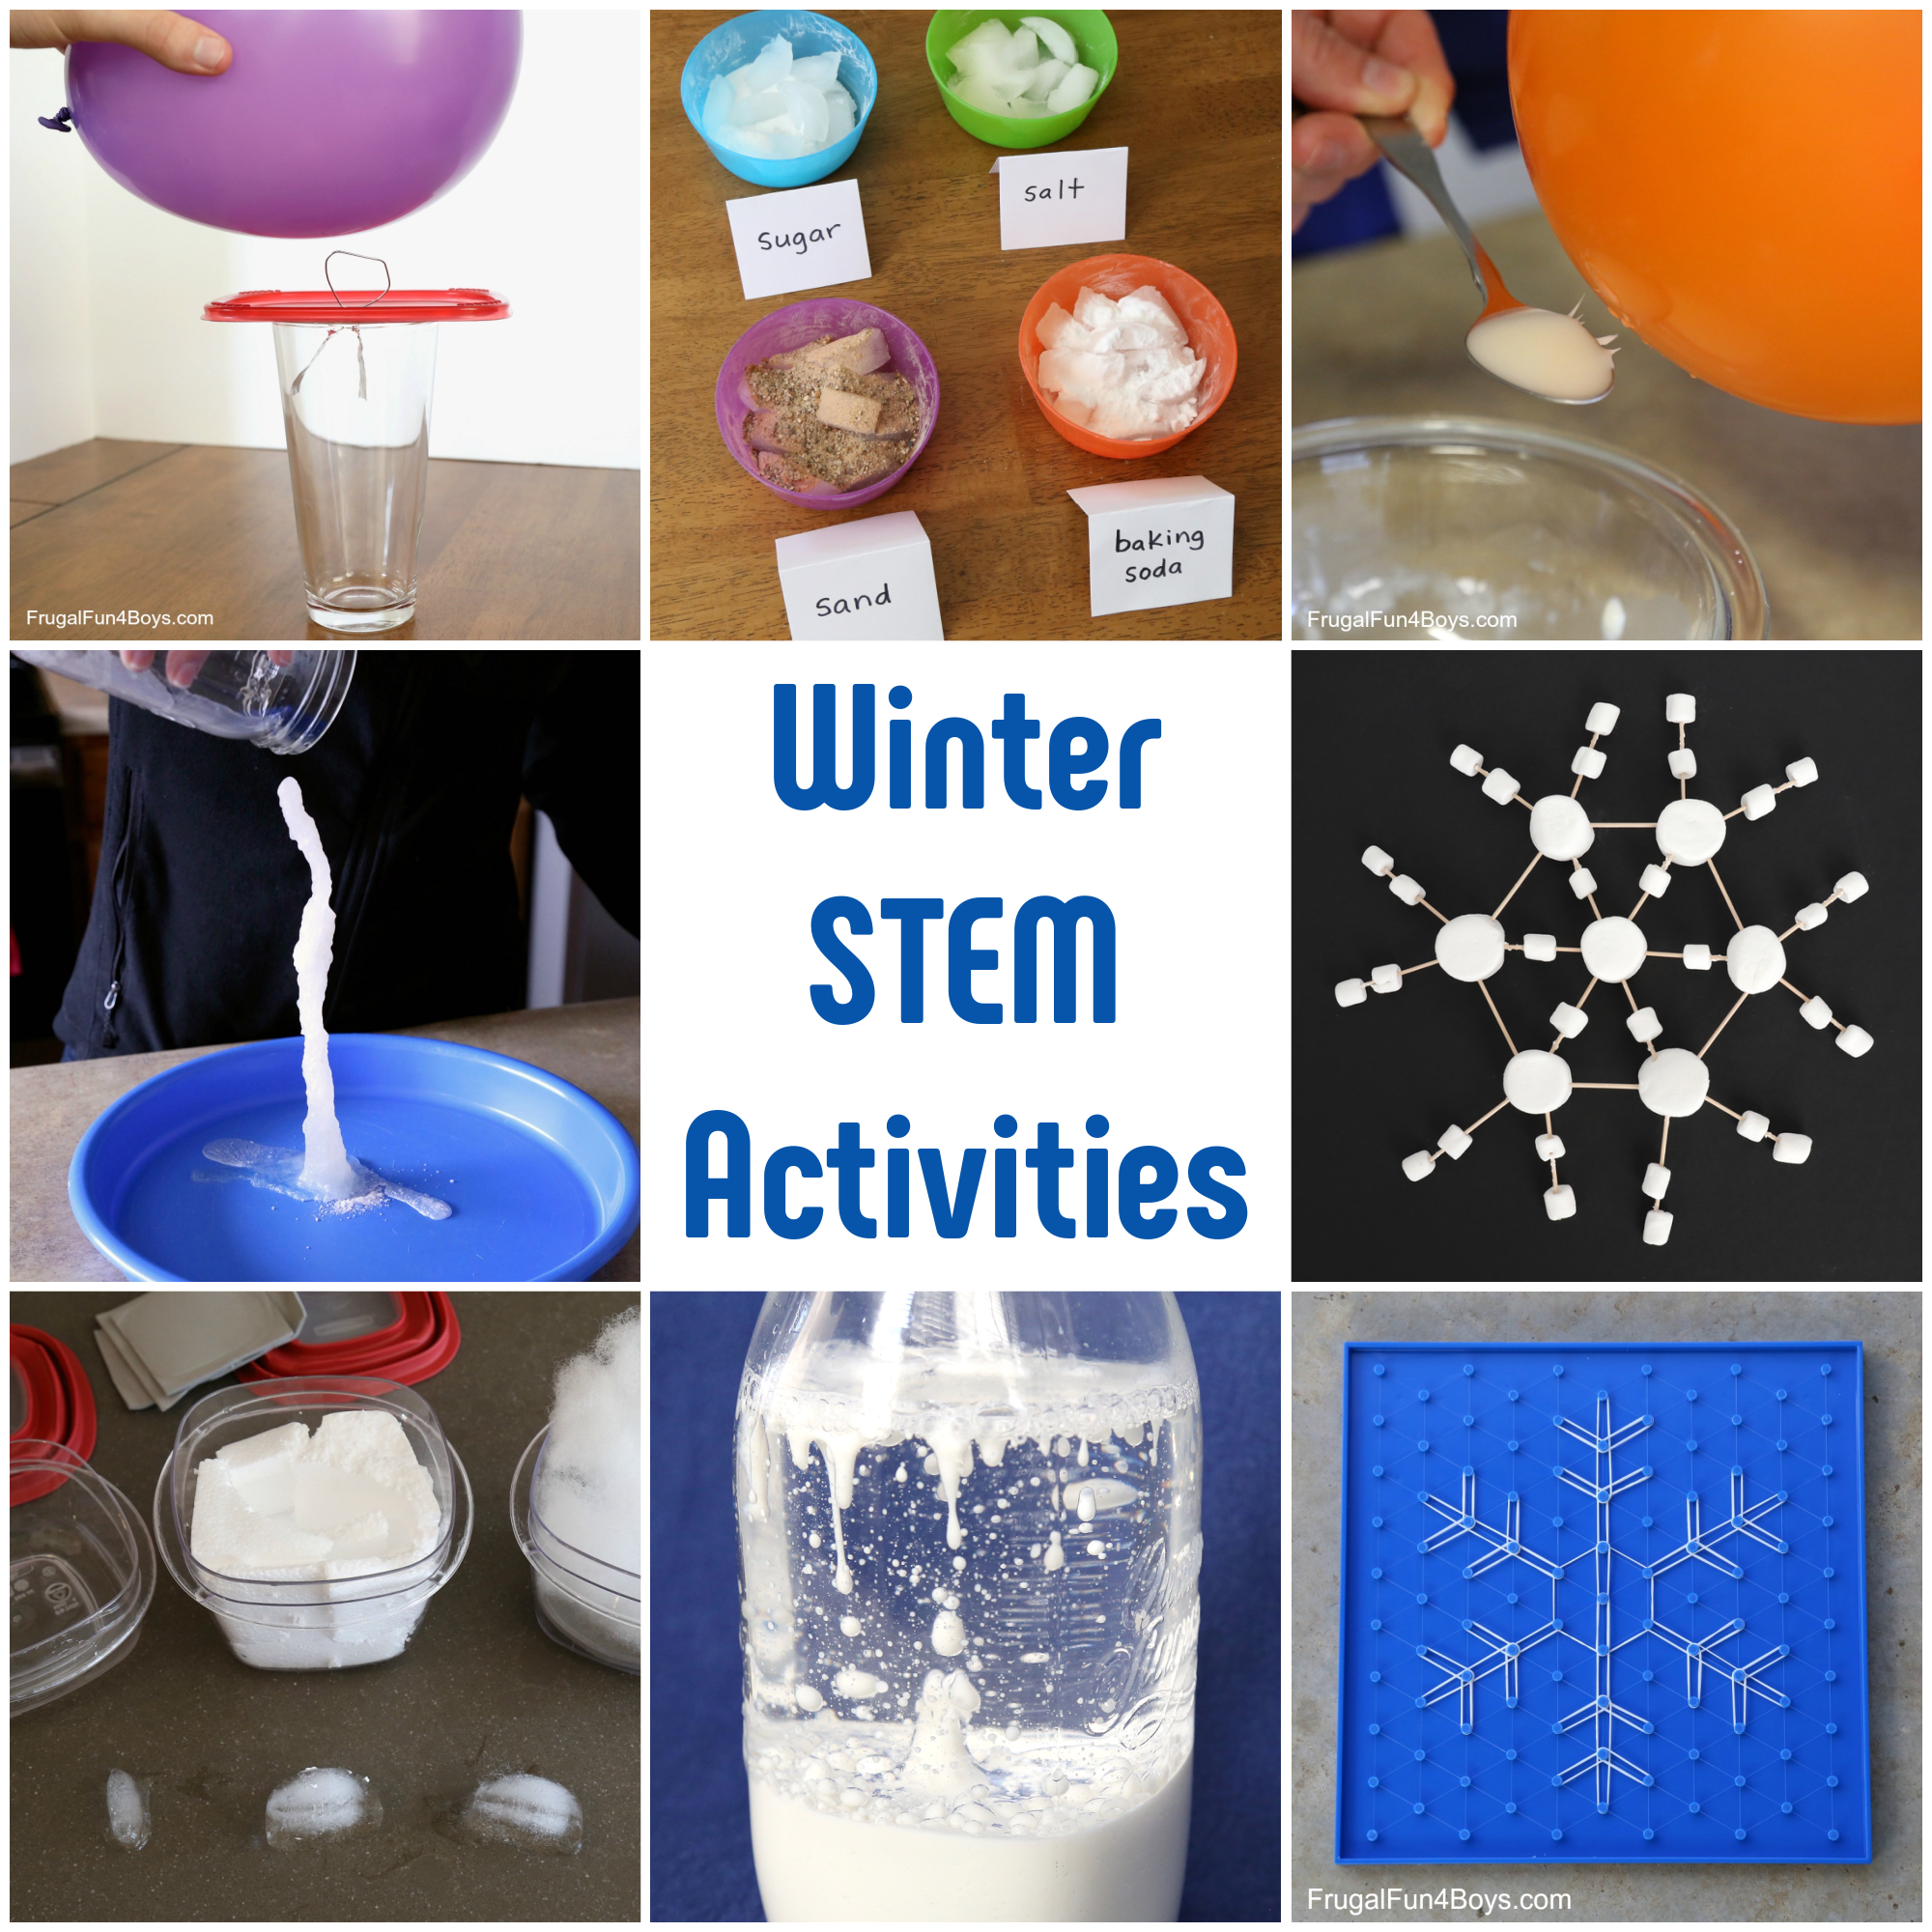
Need more Winter STEM Activities?
Here’s a collection of our favorite Winter STEM Activities? Make a snowstorm in a jar, explore static electricity, design a container that prevents ice from melting, and lots more.
0 Comments
Post a Comment