
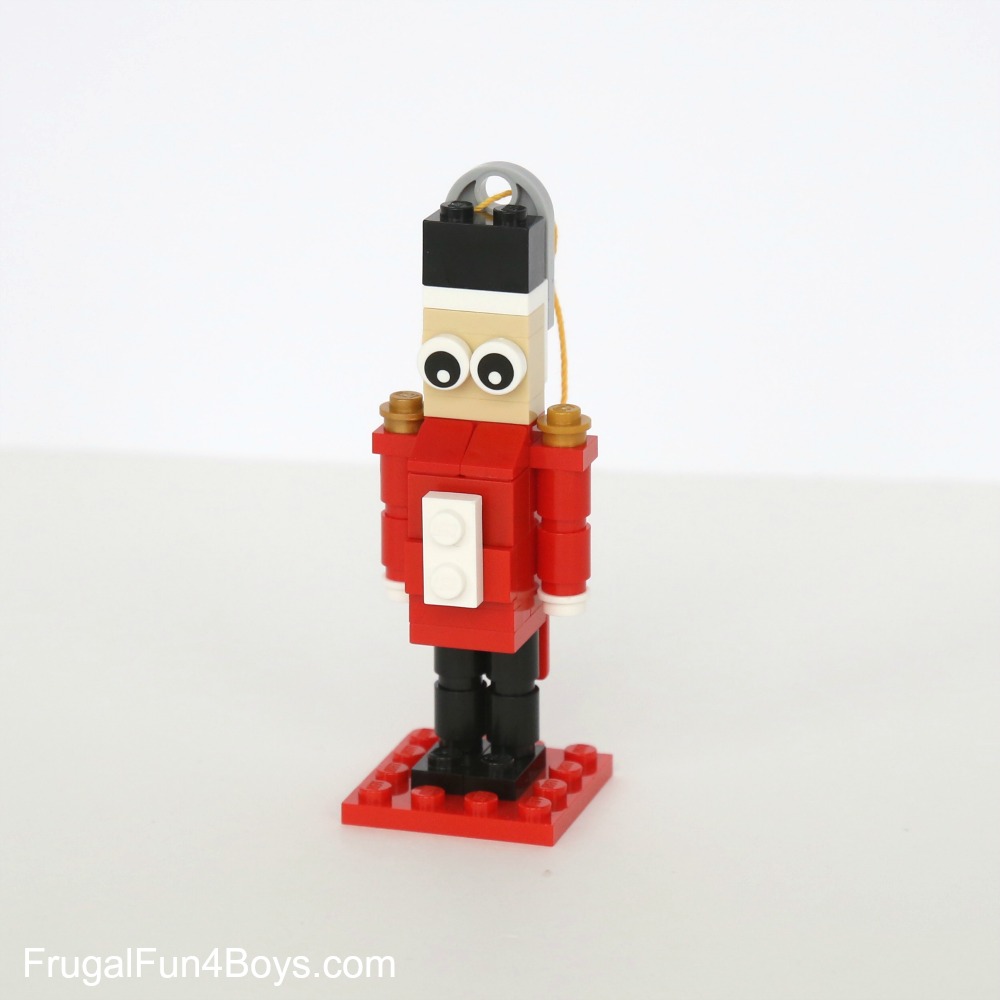
Here are some building instructions for a simple and adorable LEGO® Nutcracker Christmas ornament!

Here’s what you’ll need to build one:
1 – 4 x 4 red plate
2 – 1 x 2 black plates
4 – 1 x 1 black round bricks
1 – 2 x 2 red plate
1 – 1 x 4 red plate
1 – 1 x 2 red plate
1 – 1 x 2 – 2 x 2 red bracket
3 – 1 x 2 red bricks
2 – 1 x 1 red bricks with a stud on the side
4 – 1 x 1 red round bricks
1 – 1 x 2 red plate with one stud on top
2 – 1 x 1 red slope, 30 degree
1 – 1 x 2 white plate
2 – 1 x 1 white round plates
2 – 1 x 2 gold round plates
2 – 1 x 2 tan plates
1 – 1 x 2 tan brick with two studs on the side
1 – 1 x 2 – 2 x 2 white bracket
1 – 1 x 2 black brick
2 – eyes
1 – 2 x 2 light gray plate with a curved end and a hole
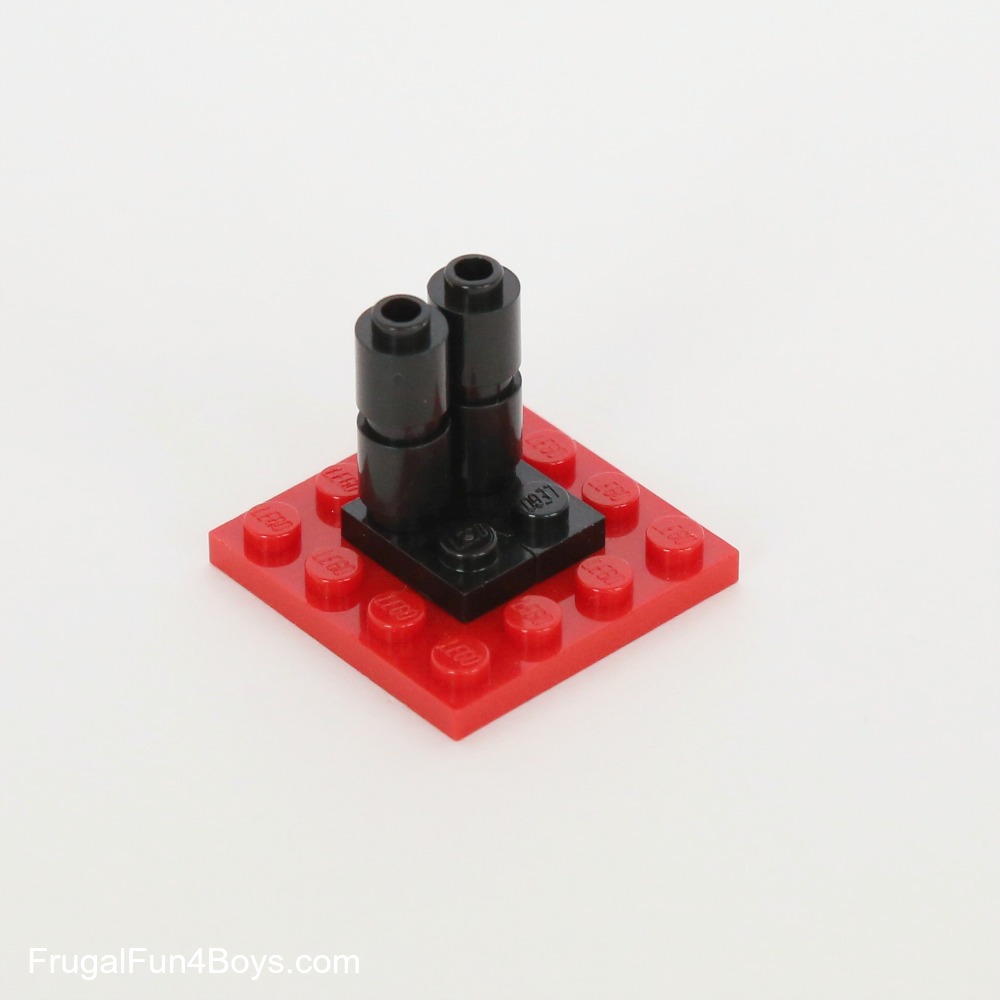
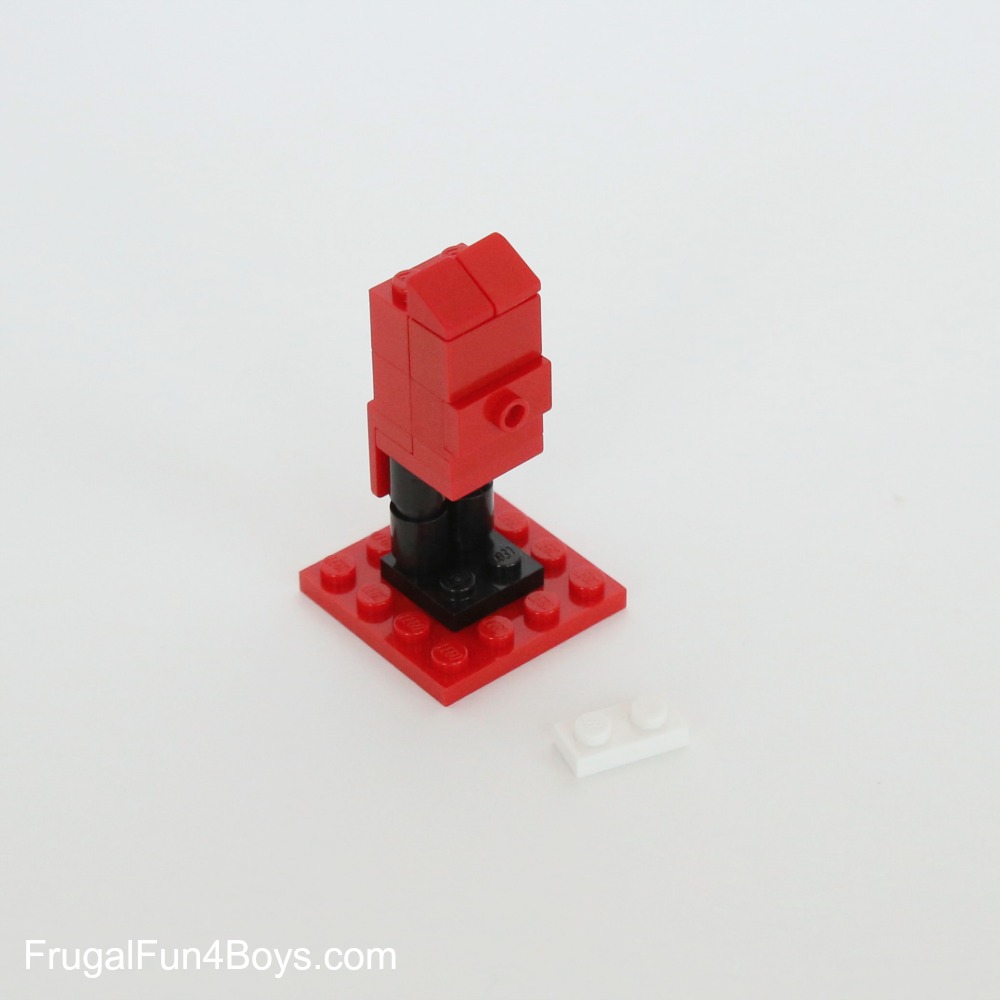
Step 1: Build the feet and legs.

Step 2: Each leg is two 1 x 1 round bricks.
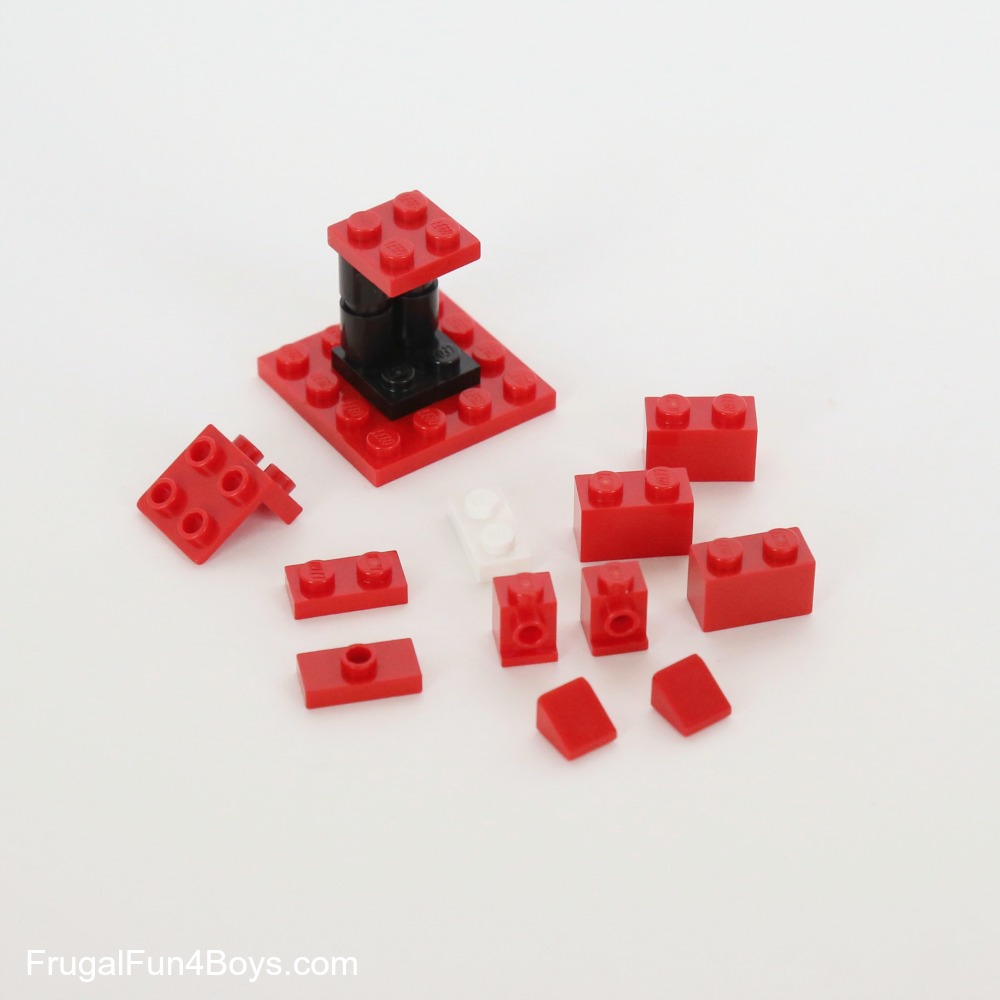
Step 3: Find the pieces shown for building the nutcracker’s coat. Add a 2 x 2 plate on top of the legs.
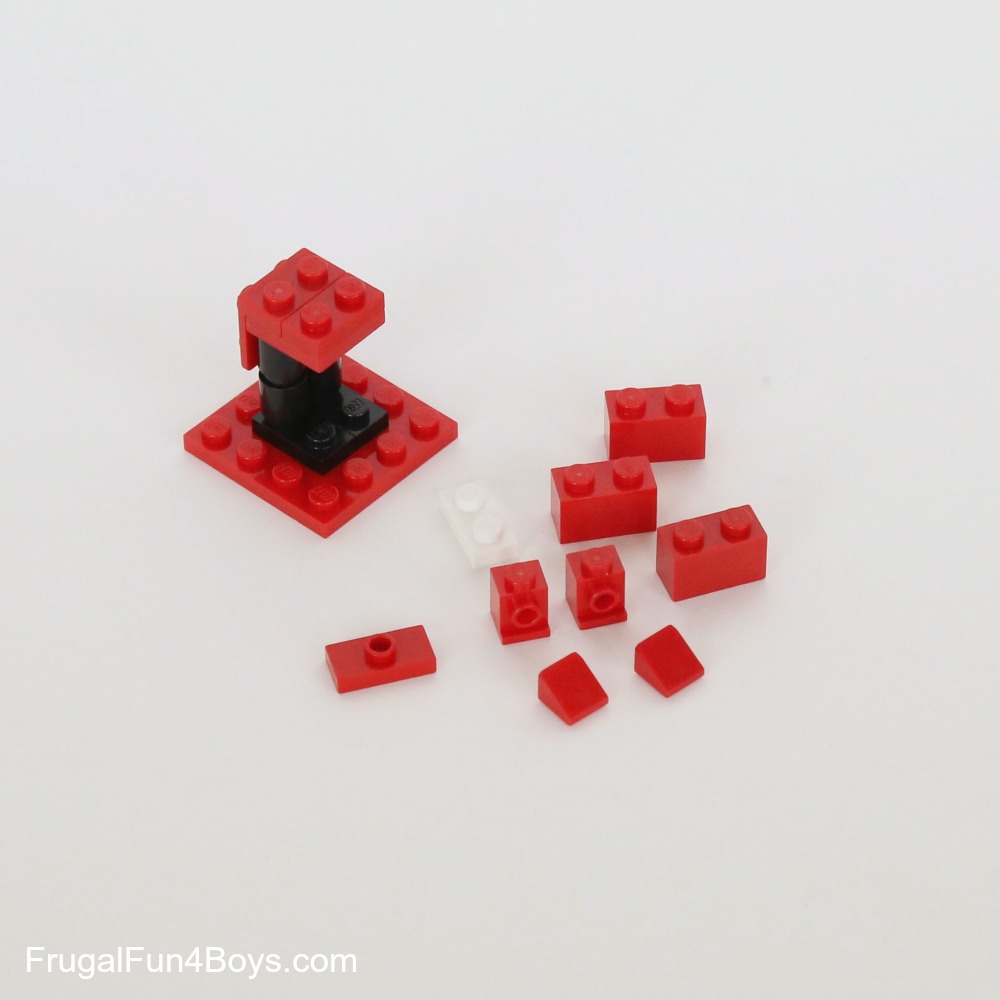
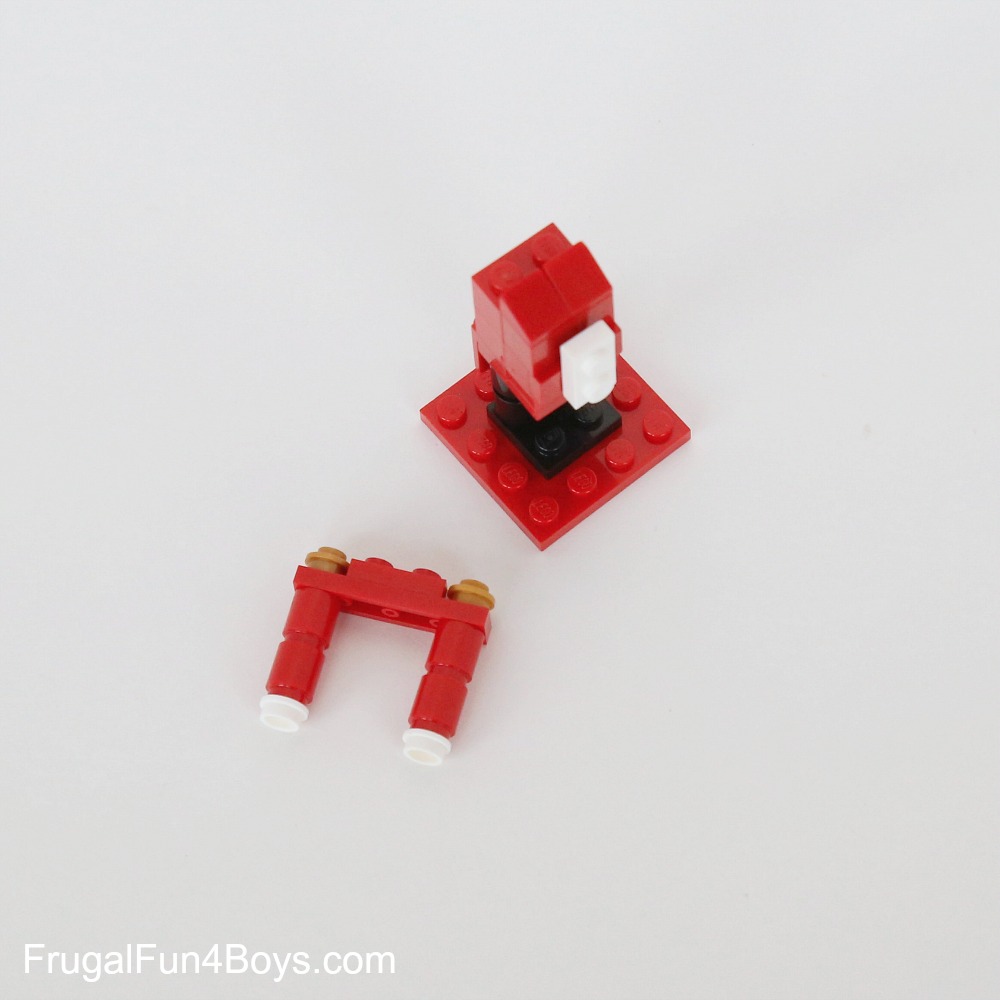
Step 4: Add the red bracket to make the coat tails and a 1 x 2 red plate.
Step 5: Add three 1 x 2 bricks and two 1 x 1 bricks with a stud on the side.
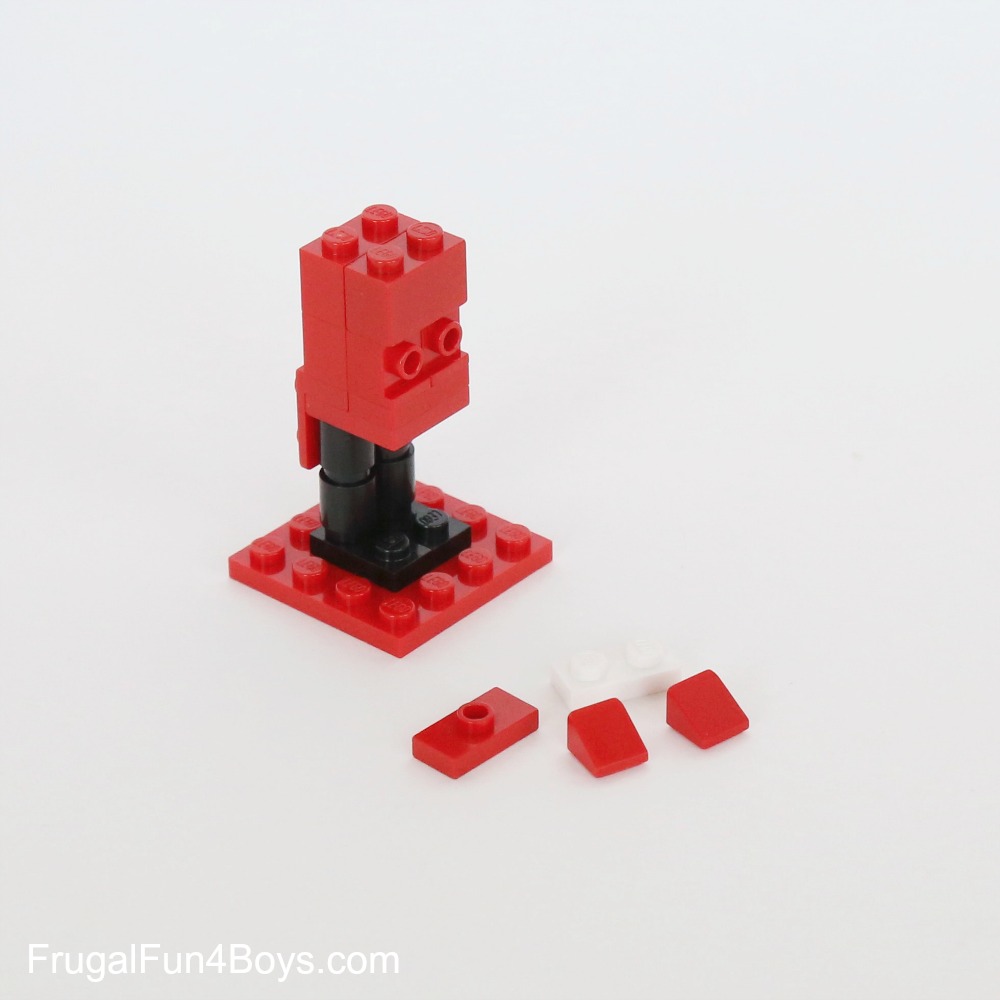
Step 6: Add the two 1 x 1 slopes and the 1 x 2 plate with one stud on top.
Step 7: Build the shoulders and arms. Use a 1 x 4 red plate with a 1 x 2 red plate and two 1 x 1 gold round plates on top. Then add two red 1 x 1 bricks for the arms and two 1 x 1 white round plates as hands.
Step 8: Attach the arms to the body and then build the head. The head is a 1 x 1 tan plate, then a 1 x 2 tan brick with two studs on the side (attach the eyes to these) and then one more 1 x 1 tan plate.
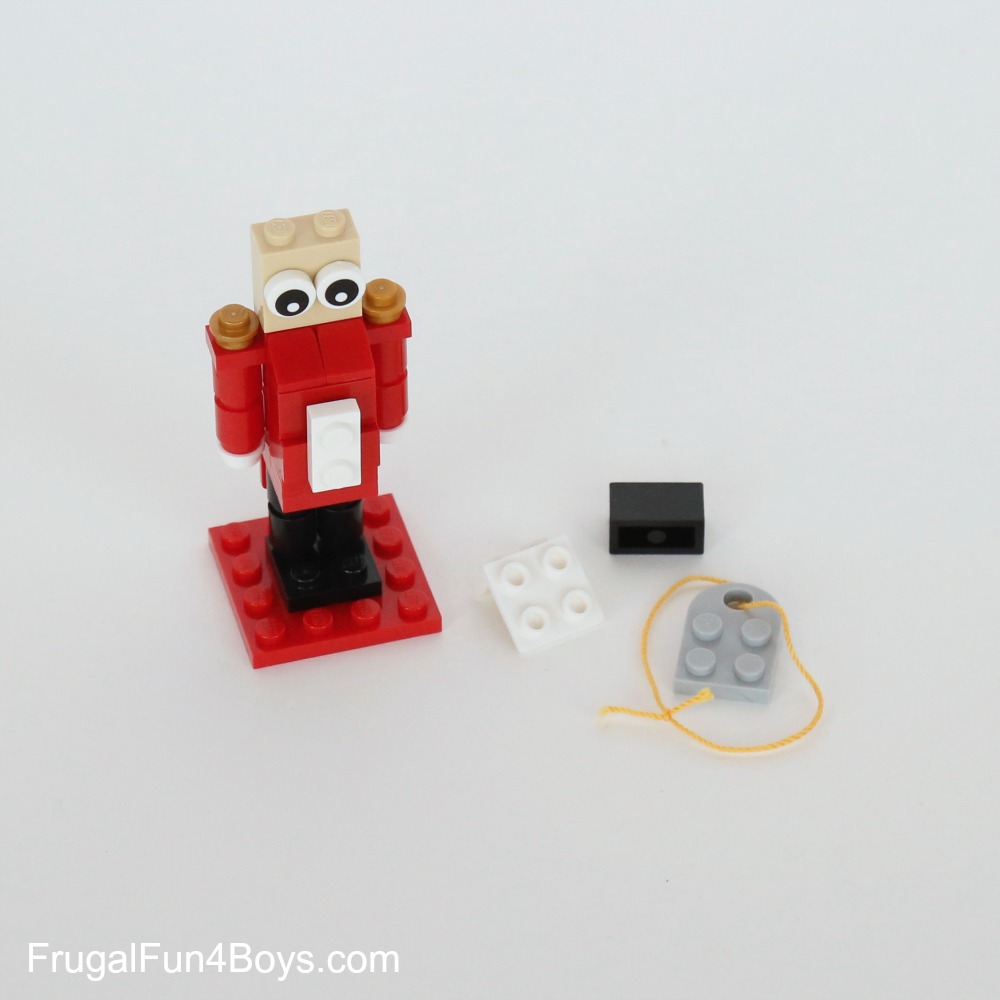
Step 9: A white bracket is perfect for hair, and then you can use it to attach the brick that holds the string. Use a 1 x 2 black brick for a hat.
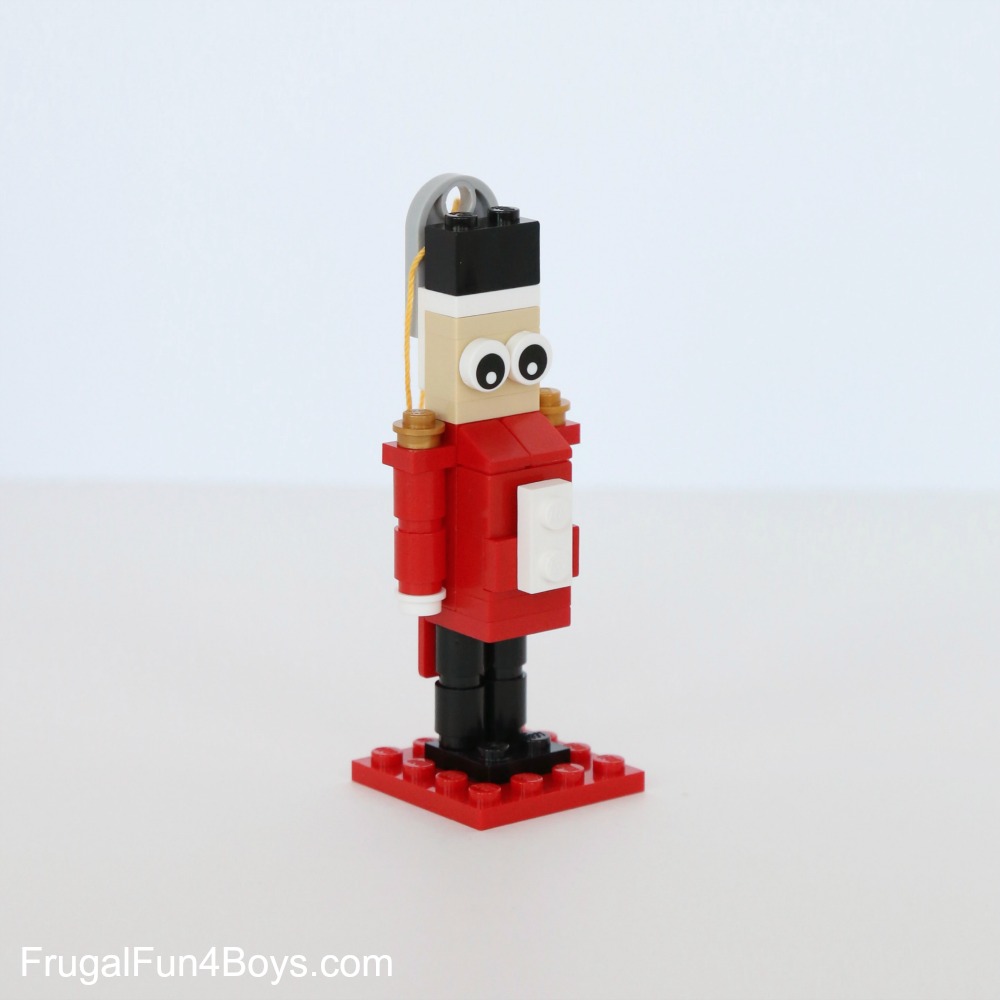
The completed Nutcracker will look fantastic on the tree!
LEGO® is a trademark of the LEGO® group of companies which does not sponsor, authorize, or endorse this site.
0 Comments
Post a Comment