
Oh wow, we had so much fun with these LEGO chain reactions, and I can’t wait to share them with you!
This is a fabulous open-ended building challenge that will appeal to a wide range of ages.
Did you know that you can use LEGO bricks to build your own dominoes? It’s so simple. Make your own chain reactions with LEGO dominoes and then add cool contraptions like levers and ramps.
There’s a video below that demonstrates all of our LEGO chain reactions! It’s so much easier if you can picture what’s going on.

PRO TIP: We put a sheet of craft foam under our chain reactions. I found that when we set up our chain reactions on our shiny, smooth table, there was not enough friction and the dominoes would sometimes scoot forward instead of falling over. Real dominoes are heavier. A little friction will make the LEGO dominoes work GREAT.
Build Your Own LEGO Dominoes
To get started, you’ll want to round up as many 1 x 2 bricks as you can. We used three 1 x 2 bricks for each domino.
It’s looks really good if each domino is a solid color, but the color doesn’t matter at all for the chain reactions. So, use whatever colors whatever you prefer!

We had no problem at all finding a zillion 1 x 2 bricks, but if you need more you can easily order some on BrickLink. Here they are – 1 x 2 LEGO bricks.
Now that you have some dominoes, it’s time to build chain reactions! The video below shows the chain reactions we built. If you don’t see the play button, it’s probably because of having an ad blocker on your device. You’ll need to remove it to play the video.
(Ads allow me to keep my content free! If it weren’t for ads, I’d have to charge for a subscription.)
Here’s a fun chain reaction to start with! Make one chain that branches into four.

I probably have the dominoes closer together than what is necessary here. Test out a short chain before building an elaborate one. It actually works better to have the dominoes spaced a little farther instead of super close together. (The one in the photo worked great though!)

Another fun chain reaction to make is a spiral with dominoes.
Once kids have mastered a basic domino chain, they can use their LEGO bricks to add fun tricks!
Build a LEGO Spinner to Change the Direction of the Chain Reaction

When the bricks hit the spinner, it rotates just enough to knock down more chains in other directions.

Start with a 4 x 4 plate. Add a 2 x 2 turntable in the center, and then place tiles around the edges.

Then find four 1 x 6 bricks and a 2 x 2 tile or plate.

Arrange the bricks so that they all face a different direction, and then attach the tile to secure them.

Build a Lever to Push Down a Chain of Dominoes
I probably should have shown this lever first since it’s less complicated than the spinner. However, the setup we used it in is more complex. Grab the bricks shown to make a lever that will knock down a domino chain.

Attach the 2 x 2 turntable to one end of a 2 x 10 plate and then add tiles to allow the brick to rotate freely.

Build a Ramp for a Ball or Marble
If you build a LEGO ramp, you can set up your domino chain so that it bumps into a ball and makes it roll down the ramp. So fun!

I used a 6 x 16 plate for the ramp. We used a plastic LEGO ball, so we needed to leave a space three studs wide to accommodate the size of the ball.

You really don’t want a steep slope for your ball. I put one 2 x 4 brick and one 2 x 4 under one end and a 1 x 4 plate under the other end.

Build a Lever to Transfer Motion to an Upper Level
This one is especially fun! When the domino chain bumps the lever, it pushes a ball on a ramp above and gets it rolling.

Here’s how I built a base for the lever.
Notice that the ramp has a 2 x 2 plate instead of a tile where the ball will sit. If you use a tile there, the ball will just roll down the ramp before you want it to.

Then this is the part that rotates. Be sure to use the light gray Technic pins that don’t have friction ridges. This allows the lever to swing freely. On the frame above, I used black Technic pins with friction ridges. Those allow movement, but the bricks connected to them will stay in the position you put them in.

You really can make a lever the width of one Technic brick, but I decided to use two and then add a 1 x 2 brick on each side. This allows the lever to work well even if your chain reaction isn’t perfectly lined up.

Creating a set-up where the ball will balance takes a little bit of work. The ball needs to be touching the lever. The lever will not rotate with a lot of force, so it needs to have direct contact with the ball in order to move it.
If you need to make your lever rotate with more force, try removing the 2 x 4 plate, 2 x 4 tile, and the two 1 x 2 bricks and just use the Technic bricks by themselves. This will give the lever less mass and make it easier to move.
This is the perfect project for a STEM club or just a rainy day at home! Be sure to take videos of your chain reactions. After all the work of setting them up, it’s awesome to be able to watch them again and again.
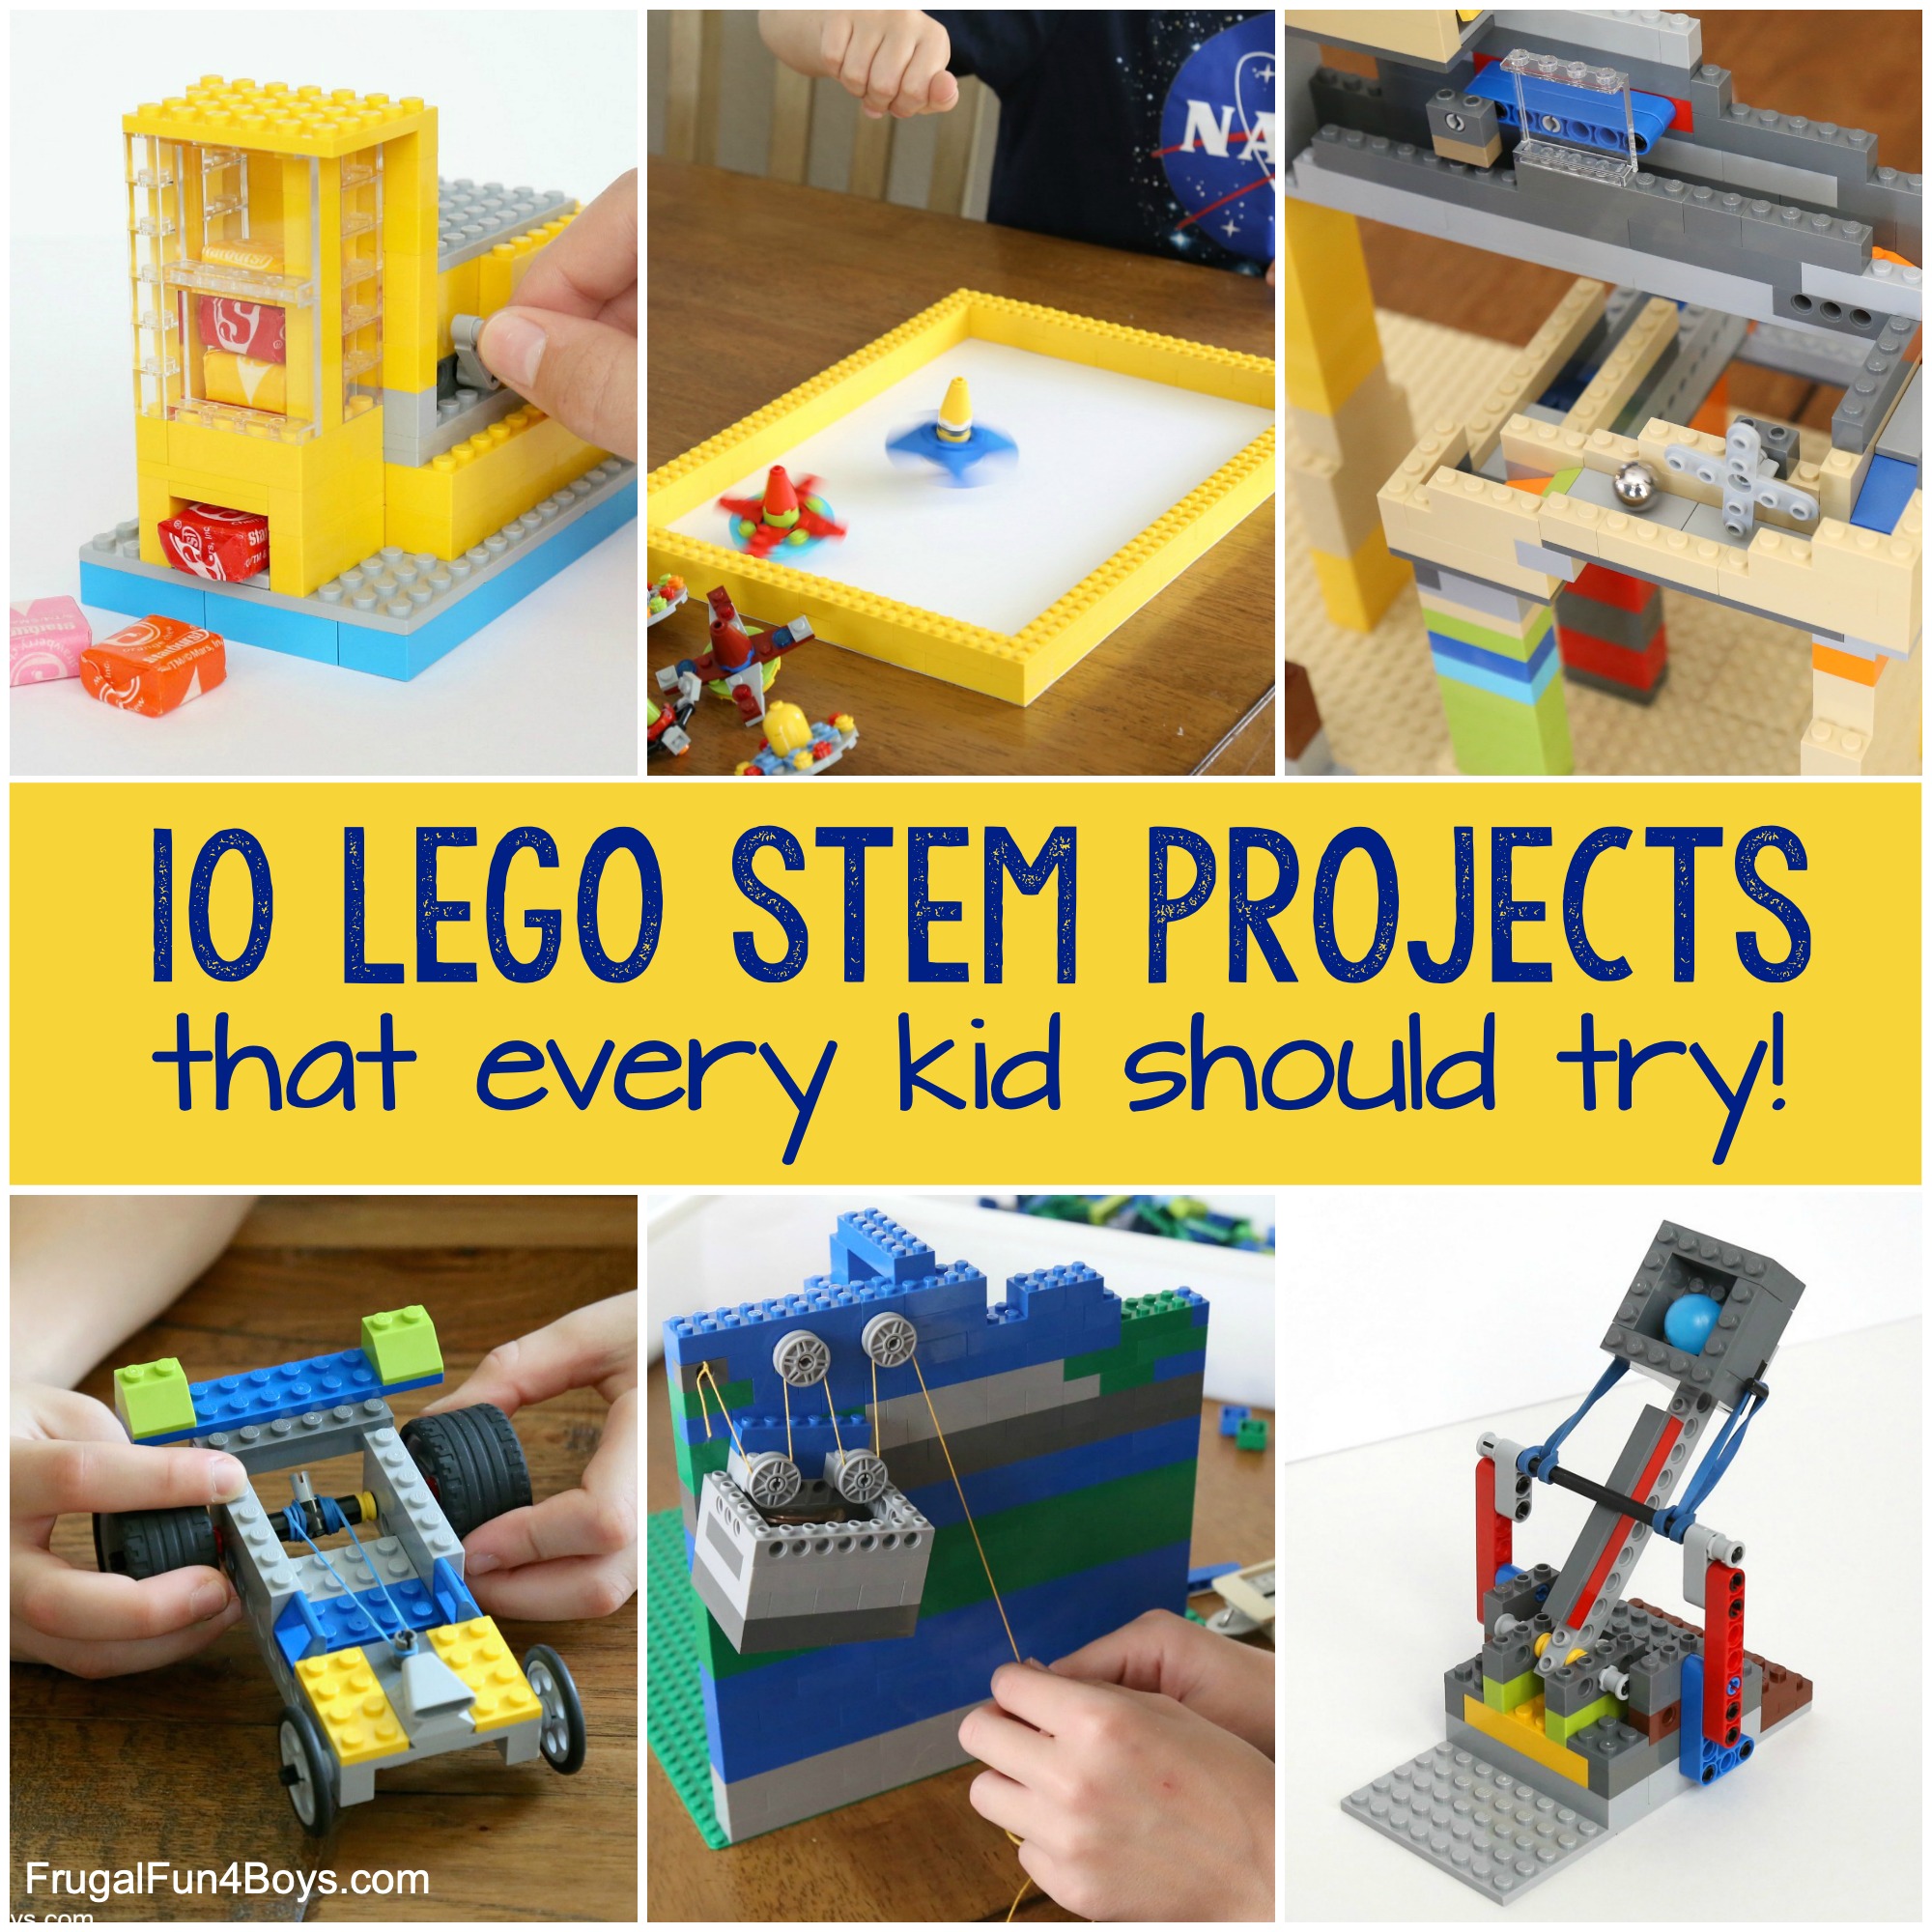
Want more LEGO STEM projects?
Build pulleys, spinning tops, a catapult, and more! Here are 10 LEGO STEM Challenges that kids will love.
0 Comments
Post a Comment