
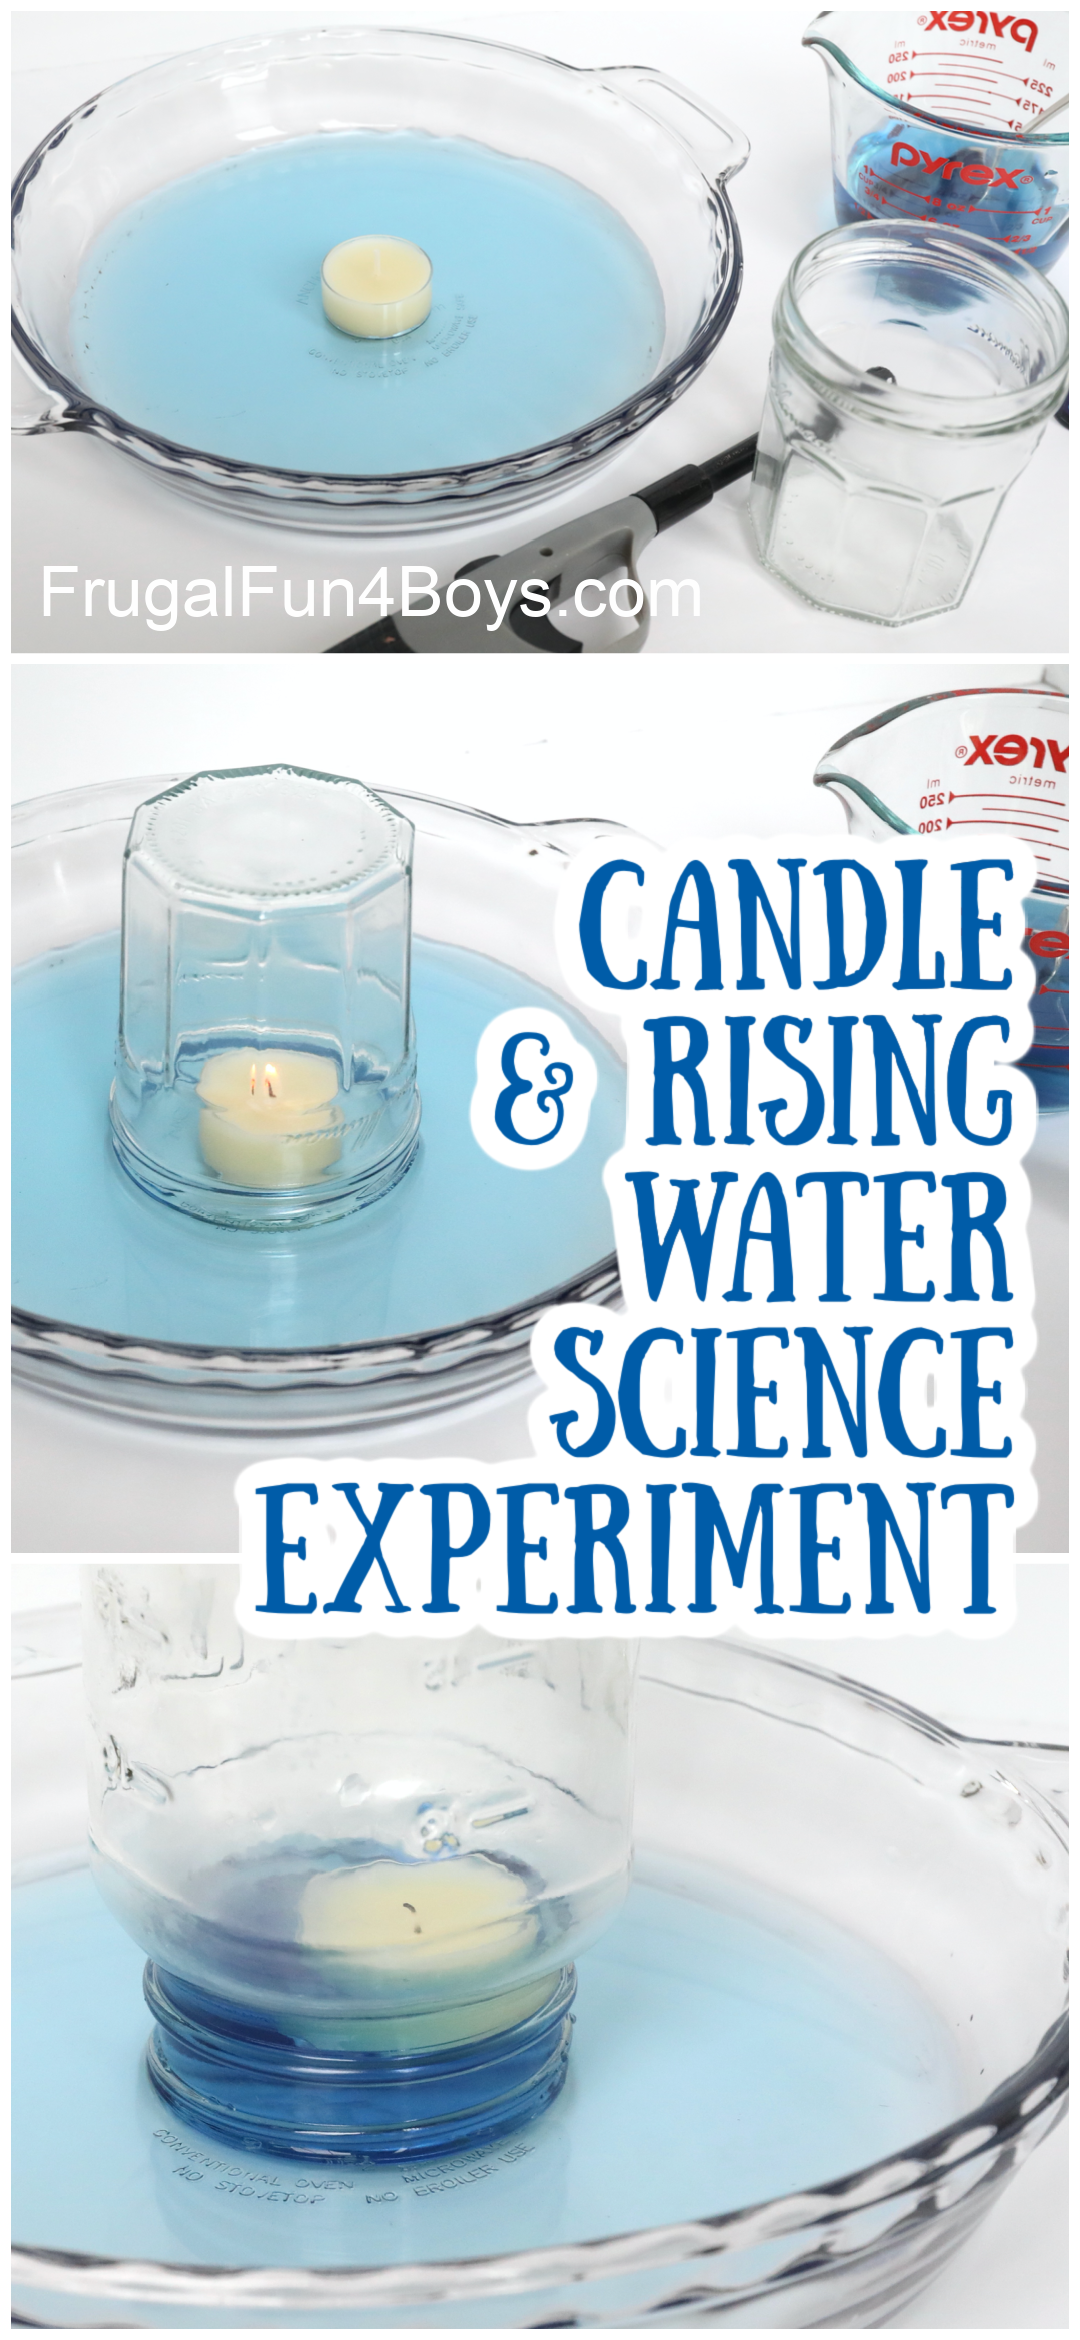
Demonstrate the power of air pressure with this cool candle and rising water science experiment! This is one of those experiments that will make kids say “oooooooh!” and “wow!” I always love that.
This year, I’m teaching a middle school science class at our local co-op, and this experiment was in our textbook. The kids were so impressed! We added a few more variations to it and had so much fun with it.
In this science experiment, we’ll be exploring two things:
- How is a candle flame affected by placing a jar over the candle?
- What happens to the air pressure inside the jar when the candle goes out?
Supplies Needed for the Candle and Rising Water Science Experiment:
- A pie plate – you can use metal or glass, but glass is nice so that you can see through it
- A tea light candle
- A taller candle such as a votive
- Modeling clay
- Glass jars in 2-3 different sizes. Should all fit over the candles.
- Matches or a lighter
- An adult to handle the flame
- A measuring cup that can pour
- Water
- Food coloring

Part 1: What happens to a candle flame when you cover it with a jar?
Start by placing the tea light in the pie plate. Don’t add water yet. Light the tea light and watch it burn. How long will it burn? It should continue until it runs out of wax, but you don’t need to let it burn that long. Let the flame burn long enough that kids can tell the candle won’t just go out on its own.
Then light the tea light and cover it with a jar. The flame will go out after just a few seconds!
We compared three different sizes of jars to see how long the flame will last. It’s easy to use the stopwatch on your phone to time the flame.
One note – be sure to look at the capacity of the jars because shapes can be deceiving! We used a 6 oz jar, a 13 oz jar, and a 24 oz jar. We had two 24 oz jars that appeared to be different sizes, but were actually the same when we read the labels!
Discuss with kids that the flame went out because the candle did not have access to more oxygen. In order to burn, a flame must have heat, fuel, and oxygen. The larger jar should have allowed the flame to burn for the longest amount of time.
Part 2: Rising Water Science Experiment
Now here comes the really cool part!
Fill your measuring cup with water and add a couple drops of food coloring.

Place the tea light in the pie plate. Pour water into the pie plate so that it just covers the bottom. You don’t want the water to be very deep.

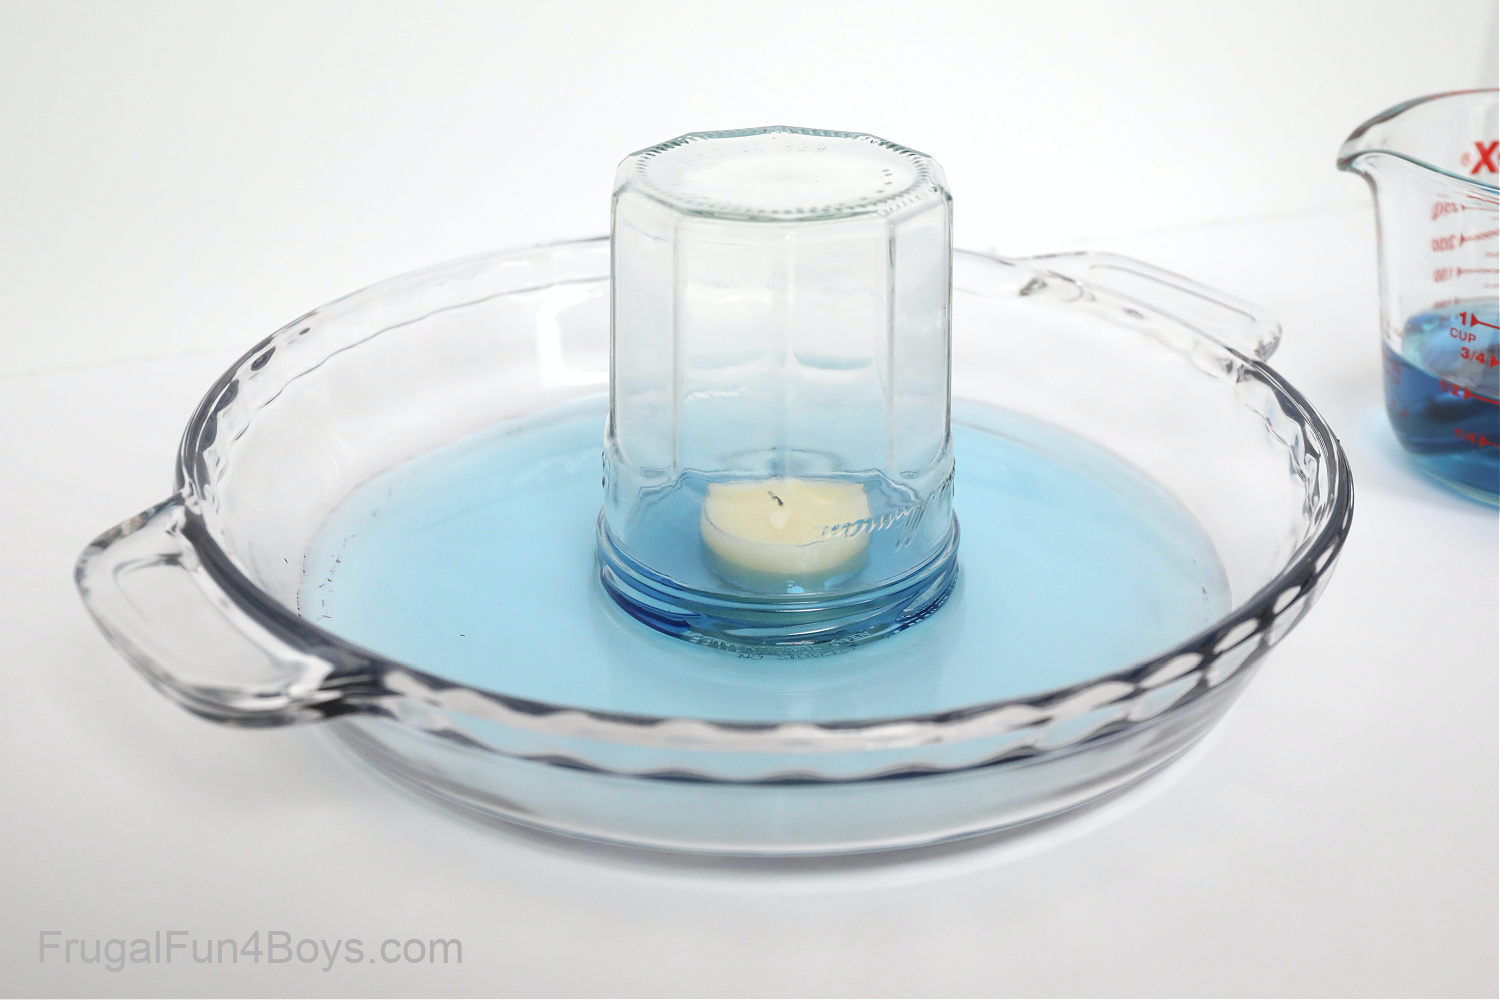
Light the candle, and then cover it with a jar.

Watch the water carefully. As soon as the candle goes out, water will begin to enter the jar! The water will rise up higher than the level in the rest of the pie plate! Science is SO cool.
We tried several different combinations of candles and jars, and I didn’t get photos of all of them.
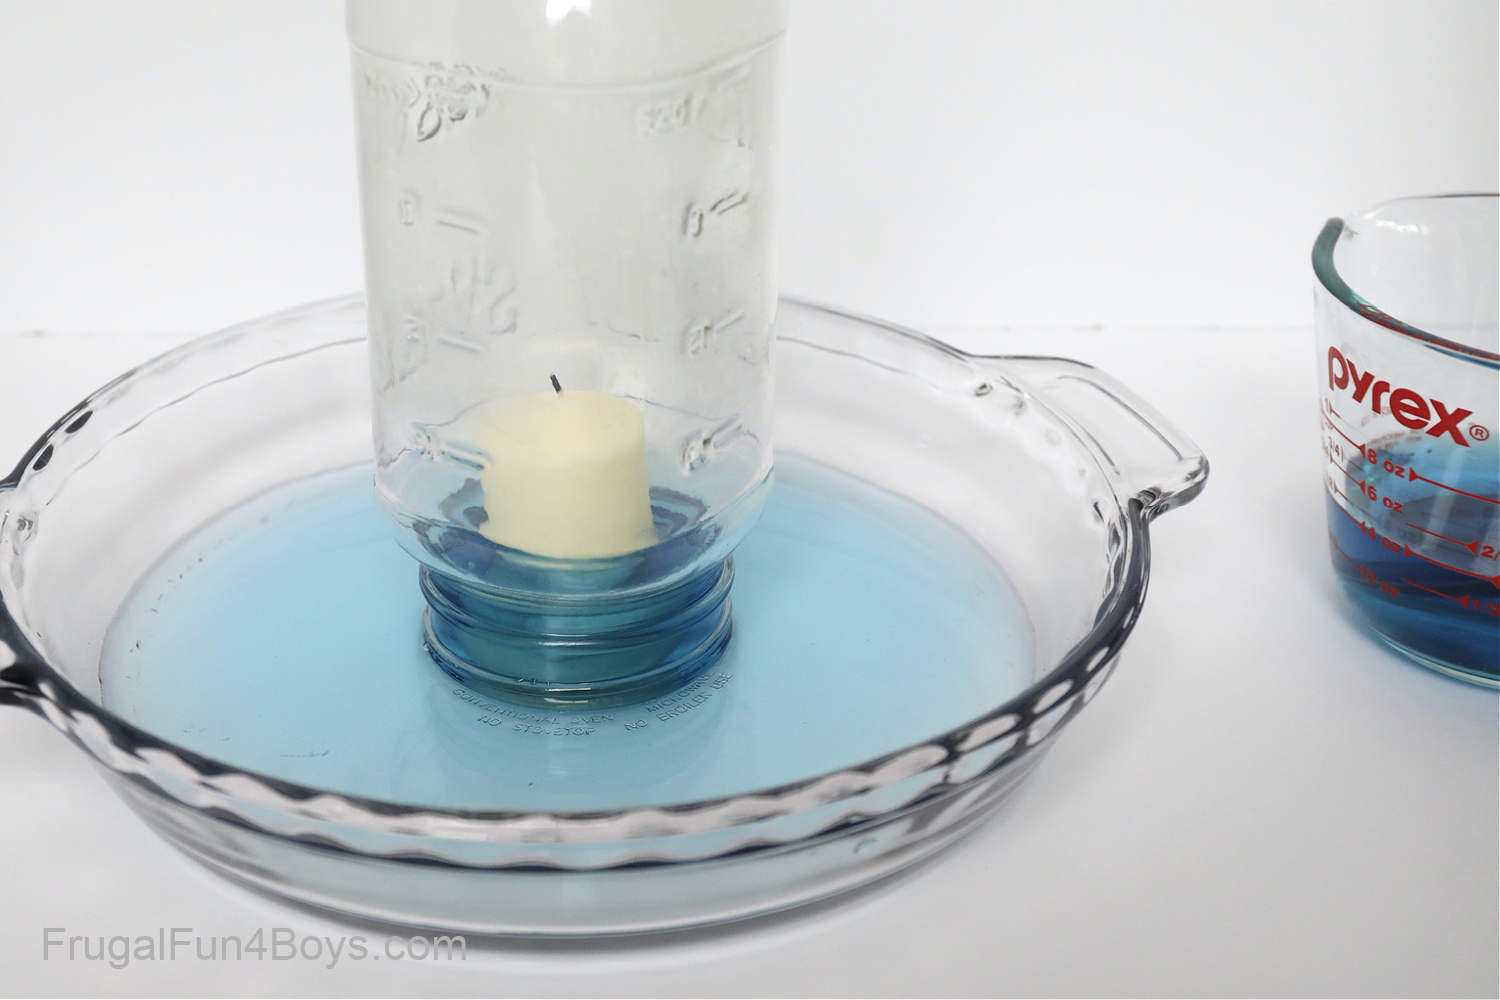
If you try a taller candle with this same jar, the flame will go out faster since it’s closer to the top of the jar. We used a votive candle, and to make it even taller, we put some clay underneath it.

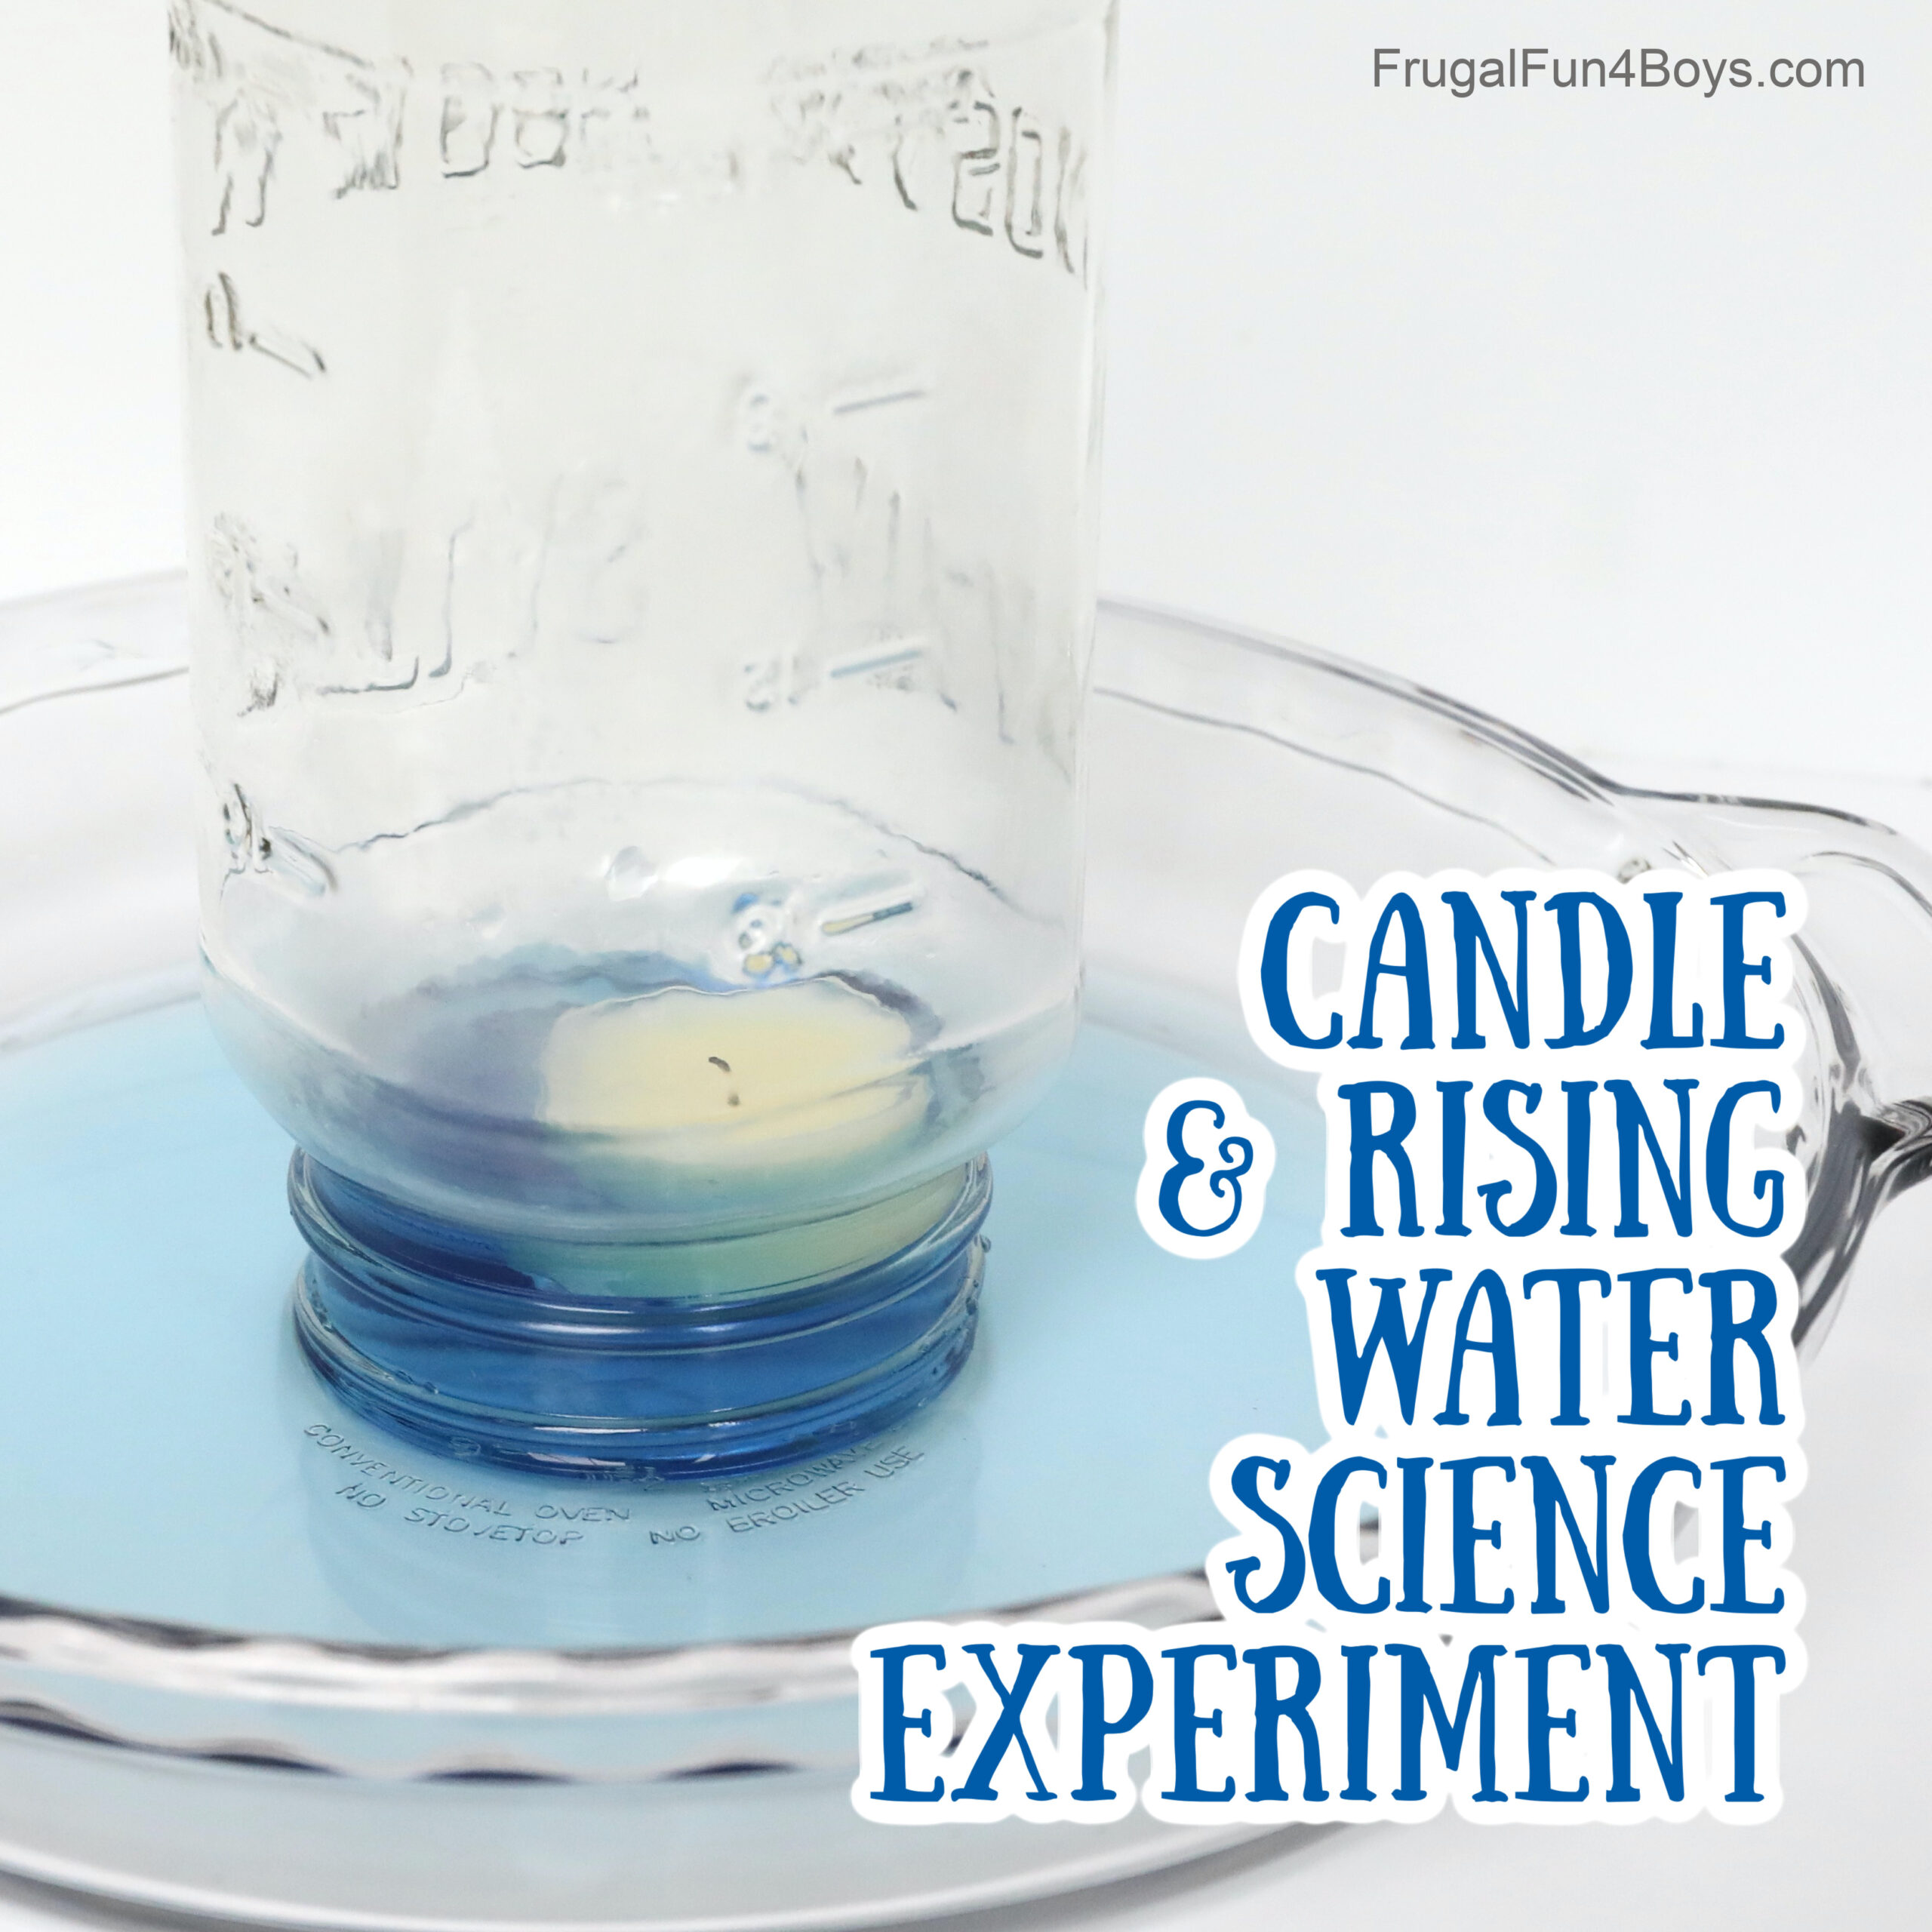
We also tried the taller candle with a spaghetti sauce jar that had a narrower opening. Because of the narrow opening and bigger candle, the water appeared to rise MUCH higher!
But, I also know that to some extent, more water DID enter the jar. When we did this at our class, ALL of the water was sucked into this jar when it hadn’t all been sucked in before!
With the spaghetti sauce jar, the tea light candle floated and looked really cool.

How does the candle and rising water science experiment work?
The science behind this cool science experiment is very interesting!
When you lit the candle, the heat warmed up the air in the jar. The hot air expanded, which led to higher air pressure. This caused tiny air bubbles to escape under the edge of the jar to equalize the pressure. You may have seen air bubbles escape from the jar during this part of the experiment.
When the candle went out, condensation formed at the top of the jar, and the air in the jar cooled. The air in the jar dropped in pressure because of the reduction in temperature, which caused water to enter the jar to equalize the pressure.
When you lifted the jar out of the dish, you probably heard a “pop” sound as the seal broke! The changes in pressure created a vacuum in the jar.
Have fun with science!
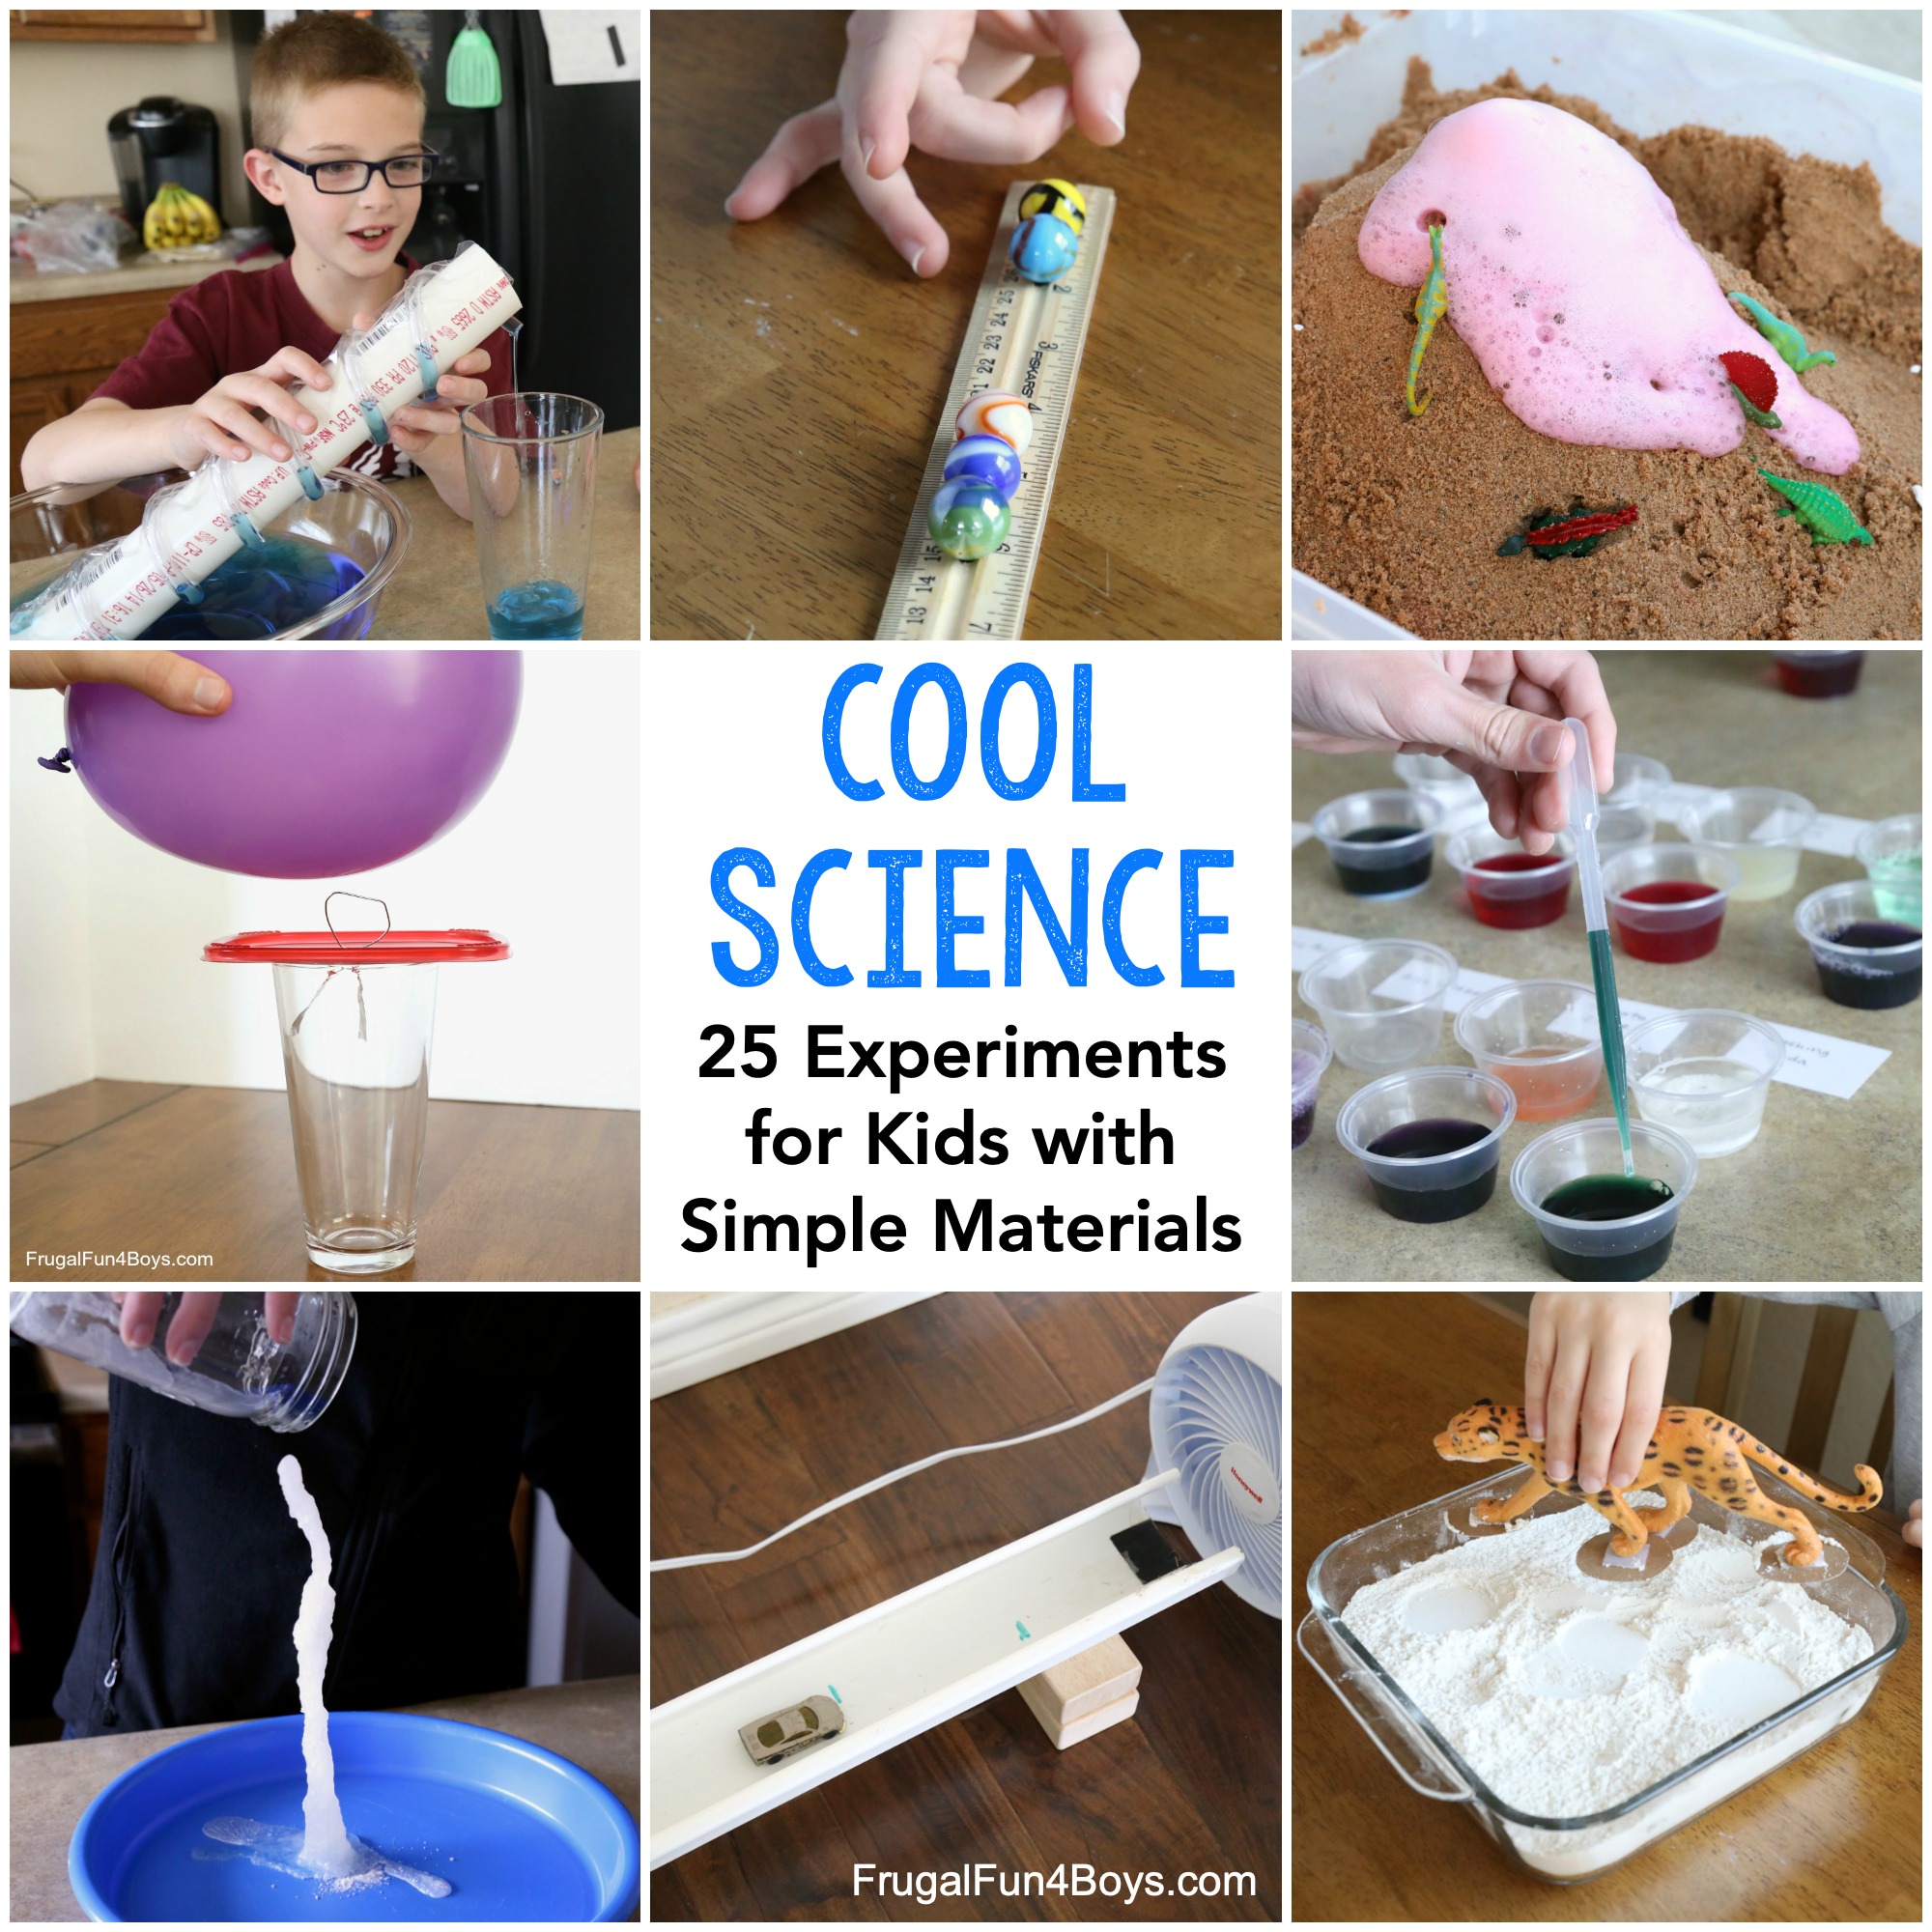
Need more simple science experiment ideas? We’ve got tons of projects that are perfect for elementary and middle school.
Here are 25+ Cool Science Experiments with Simple Materials.
6 Comments
Thea Olivier Oct 7, 2021
Wow indeed, we've had these experiments way back when I've been at s chool. I can not waite for my 2 grandsons to get older!!!!
Kathryn Jan 18, 2022
Looking forward to trying this today with my family. I just recently found your site and I am already so thankful for your material! We did the snowstorm in a jar you posted, and looking forward to trying more science experiments, and the card games you have on your site! Your site is wonderful! I'm looking forward to looking around your site more :)
Thank you!
Mel Apr 1, 2022
I’m wondering if you can share what sci curriculum you use.
Rachel Nadeau Apr 6, 2022
I teach science and use this experiment in my class. FYI air pressure rises with colder air temperature and lowers with warmer air temperatures, which is opposite from your reasoning.
Sarah Apr 6, 2022
Well, yes and no. If you're talking about the weather or the air in a room, cold air sinks because it is more dense than warm air. But in a closed container, the pressure will increase when you increase the temperature. Think about an Instant Pot... when you turn it on, the temperature gets warmer inside the pot, but that doesn't mean the pressure is lower!! Same with car tires. In the winter, your tire pressure lowers when the temperature gets colder. Heat causes molecules to have more energy, which creates higher pressure when the molecules don't have room to spread out.
Kathleen Guillot Nov 8, 2022
Colder air produces an anticyclonic movement as it falls creating a high pressure area. Higher pressure at ground level. Cyclonic movement is air pressure being released or warm air rising creating a low pressure area. When these two areas are side by side, the higher pressure will always flow towards the lower pressure creating wind.Think a deflating balloon. The bigger the difference in pressure, the stronger the air flow.
Pierre Mar 10, 2024
No. The air pressure goes up with temperature. You are confusing this with air density as hot air is lighter than cold air.
The hot temperature increased the pressure of air inside the glass which caused the air to escape the glass.
After the air cooled down inside the glass, the pressure inside the glass went down.
Paula Apr 2, 2024
Can't wait to try this in class and with my grandsons!
Racquel Feb 11, 2025
Did these experiments today. My kids loved it. Thanks for sharing. I will definently be checking your other experiments.
Post a Comment