
Here are some cool candy science experiments that kids will love!
If you’ve followed this site for any length of time, you know that we love simple science experiments. I love finding science experiments that are meaningful and that address skills kids will need for high school science. These candy science experiments will help kids work on observation and measurement skills. They’ll also learn about the physical properties of different substances – something that will come up again in both chemistry and earth science.

These candy science experiments are perfect for using up excess Halloween candy! We ended up with a lot of sticky candy from our church’s fall festival that we cannot eat because of orthodontic braces and appliances.
However, there is nothing specifically “Halloween” about these experiments. Do them at any time of the year!
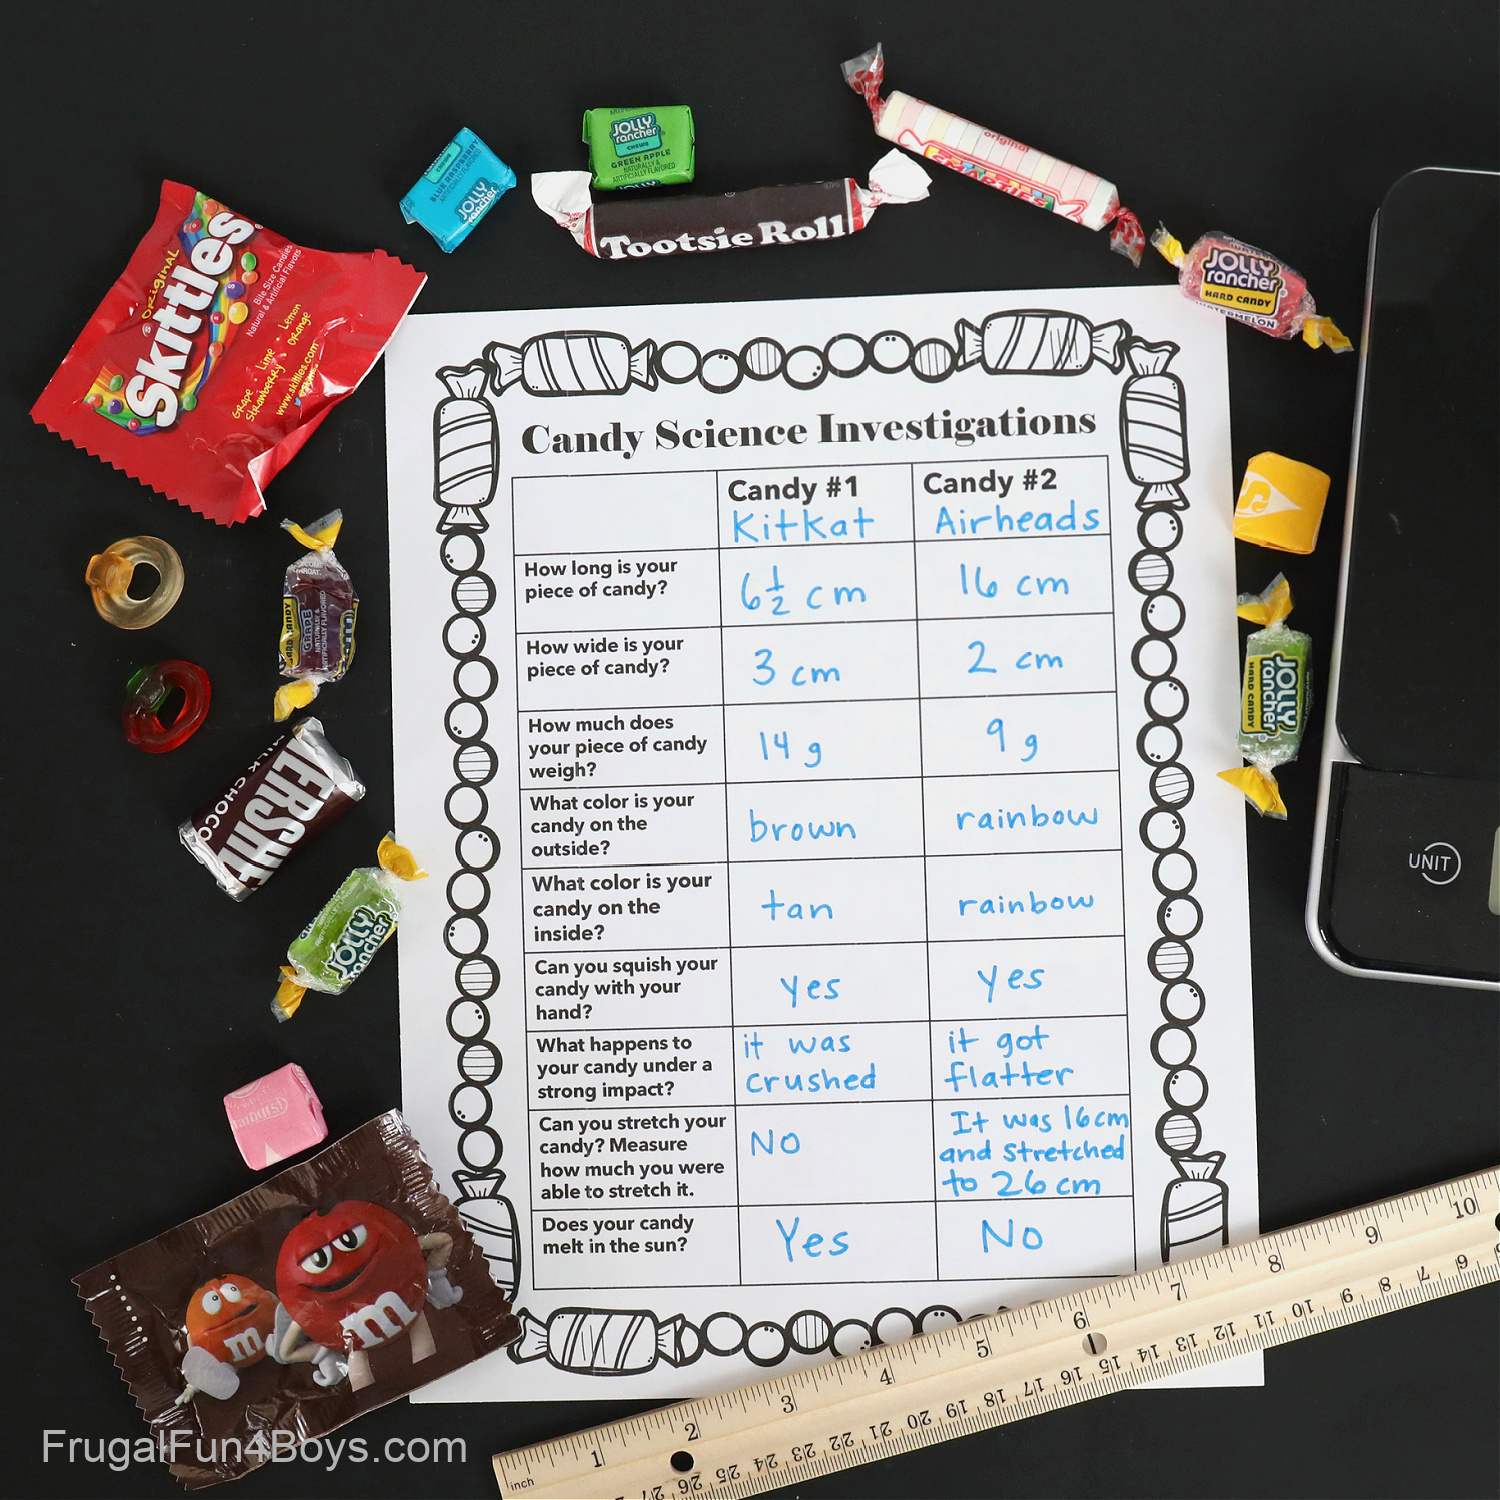
Candy Science Investigations
Let’s start with a simple printable activity! Kids will compare two different pieces of candy to see how they differ in size, weight, and hardness. They will also explore whether or not their candies can stretch, or if they will break easily.
This activity is similar to tests that are used to identify different minerals. Hardness, density, etc.
Supplies Needed:
- Candy – any type, and at least two different kinds
- Ruler
- Hammer – optional, I’ll explain below
- Scale – optional, but you can get a digital kitchen scale for about $10. So worth it!
- Paper plates – for kids to put their candy on
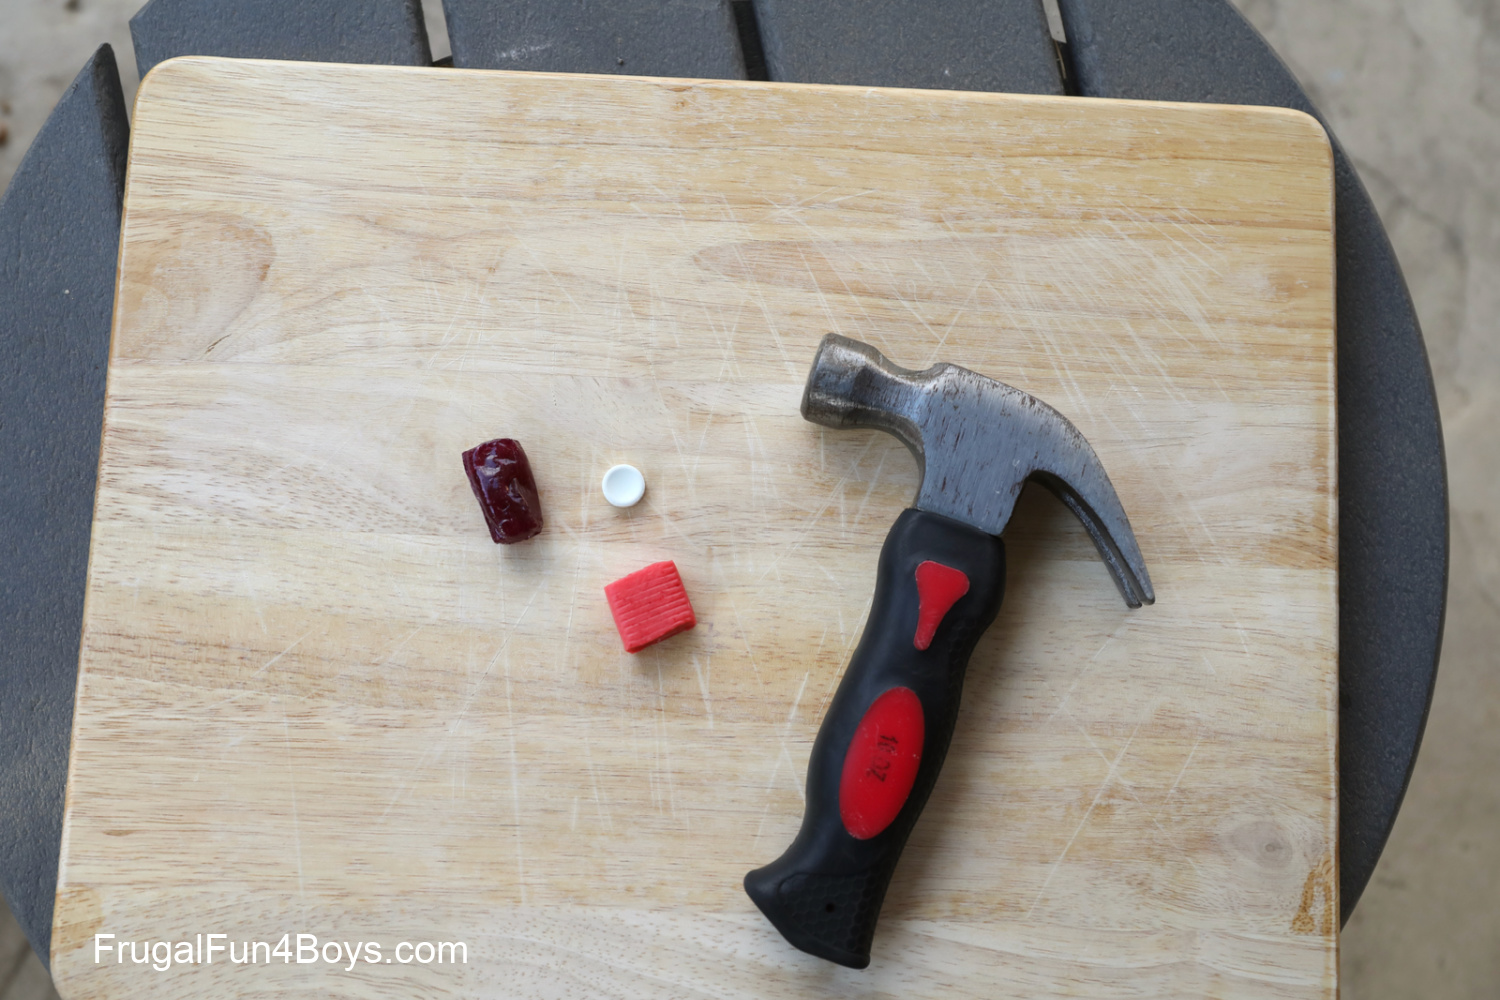
We have a small 10 oz hammer that the kids use. It’s REALLY fun to see what happens when you hit your candy with a hammer! If you prefer that your kids not use a hammer, or if you want to use this activity in a classroom and can’t use hammers, another great option would be to put the candy inside a ziplock bag and then drop a heavy book on it.
You can skip the step of weighing your candy if you don’t have a scale. However, I’d highly recommend getting one! For $10, you can get a digital kitchen scale that will measure in both grams and ounces. We use ours all the time for science activities!

It’s such good practice to measure the candy, even if kids already “know” how to measure. Measuring real objects is not always as neat and tidy as measuring objects on a math worksheet.
Younger kids can measure to the nearest centimeter or inch. Older kids can learn to measure more precisely.
We hammered four different candies – Starburst, Jolly Ranchers, Smarties, and KitKat.
These are American Smarties, not the chocolate version that you can find in other countries and which are more similar to our M&M’s.
The smarties were crushed into a powder, of course! They were kind of satisfying to smash.
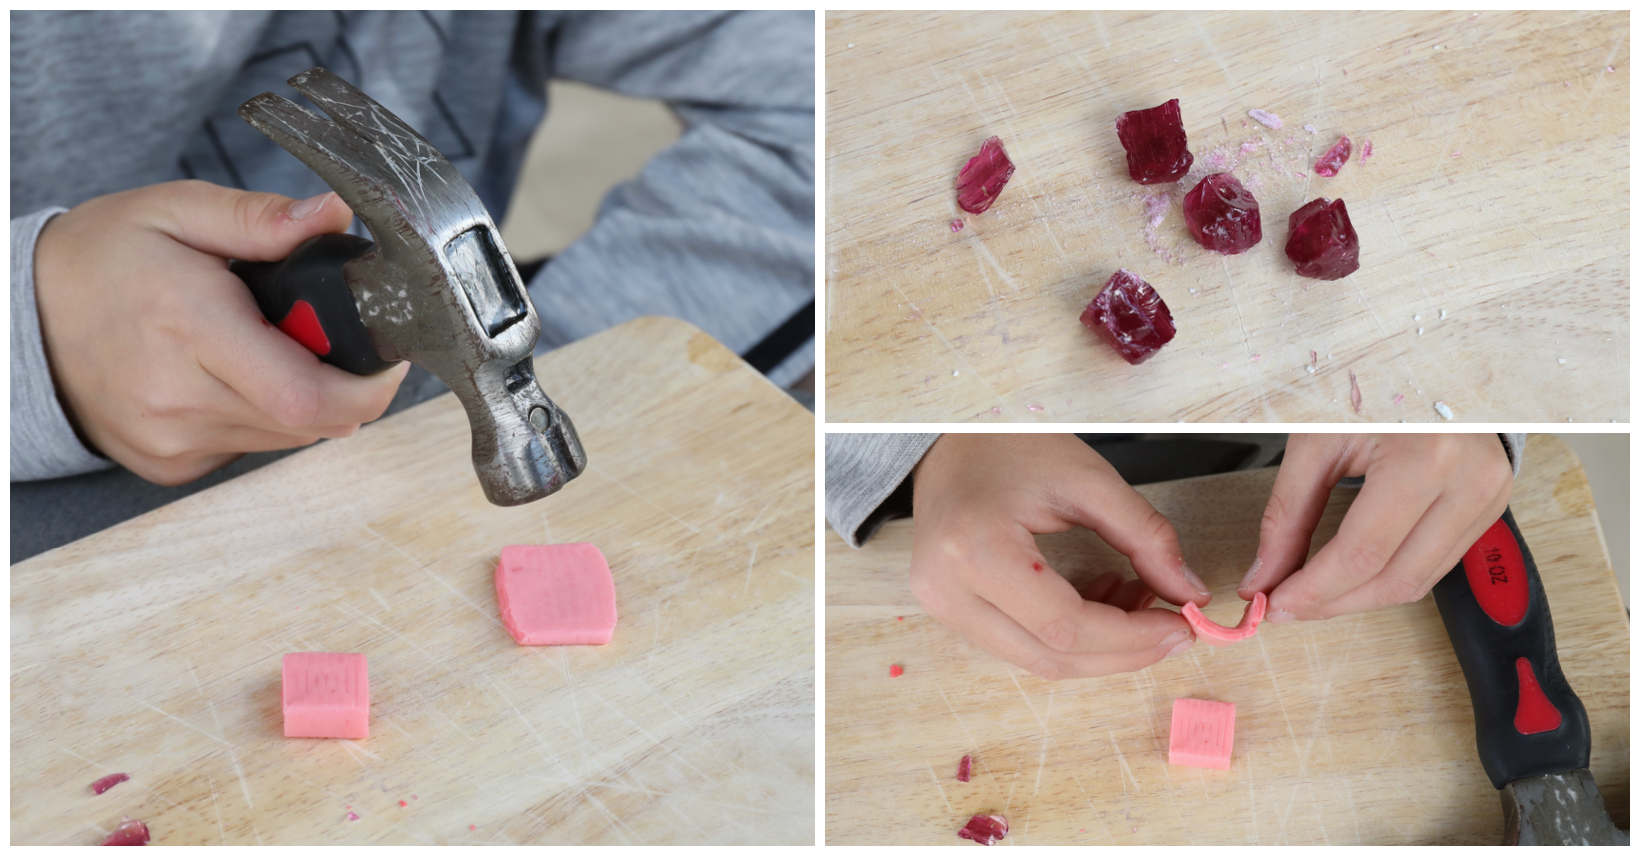
The Jolly Rancher broke in a different way. It split along straight lines and curved lines. I pointed out to the kids that the sugar in hard candy has a crystal structure, which makes it break along lines like that. (Minerals are identified in the same way!)
The first Starburst broke because it wasn’t very fresh. We tried another one, and we were able to flatten it with the hammer. Once it was flattened, Jonathan was able to bend it. This candy was malleable rather than brittle.
Why do candies break in different ways? Because the ingredients they are made of have different properties. They all contain sugar. But while Jolly Ranchers are made from corn syrup, sugar, flavorings, and coloring, Smarties are made from sugar (dextrose) and also calcium stearate, which I’m guessing affects the texture. Calcium stearate is used in a variety of food items, including Tums tablets (a similar texture to Smarties).
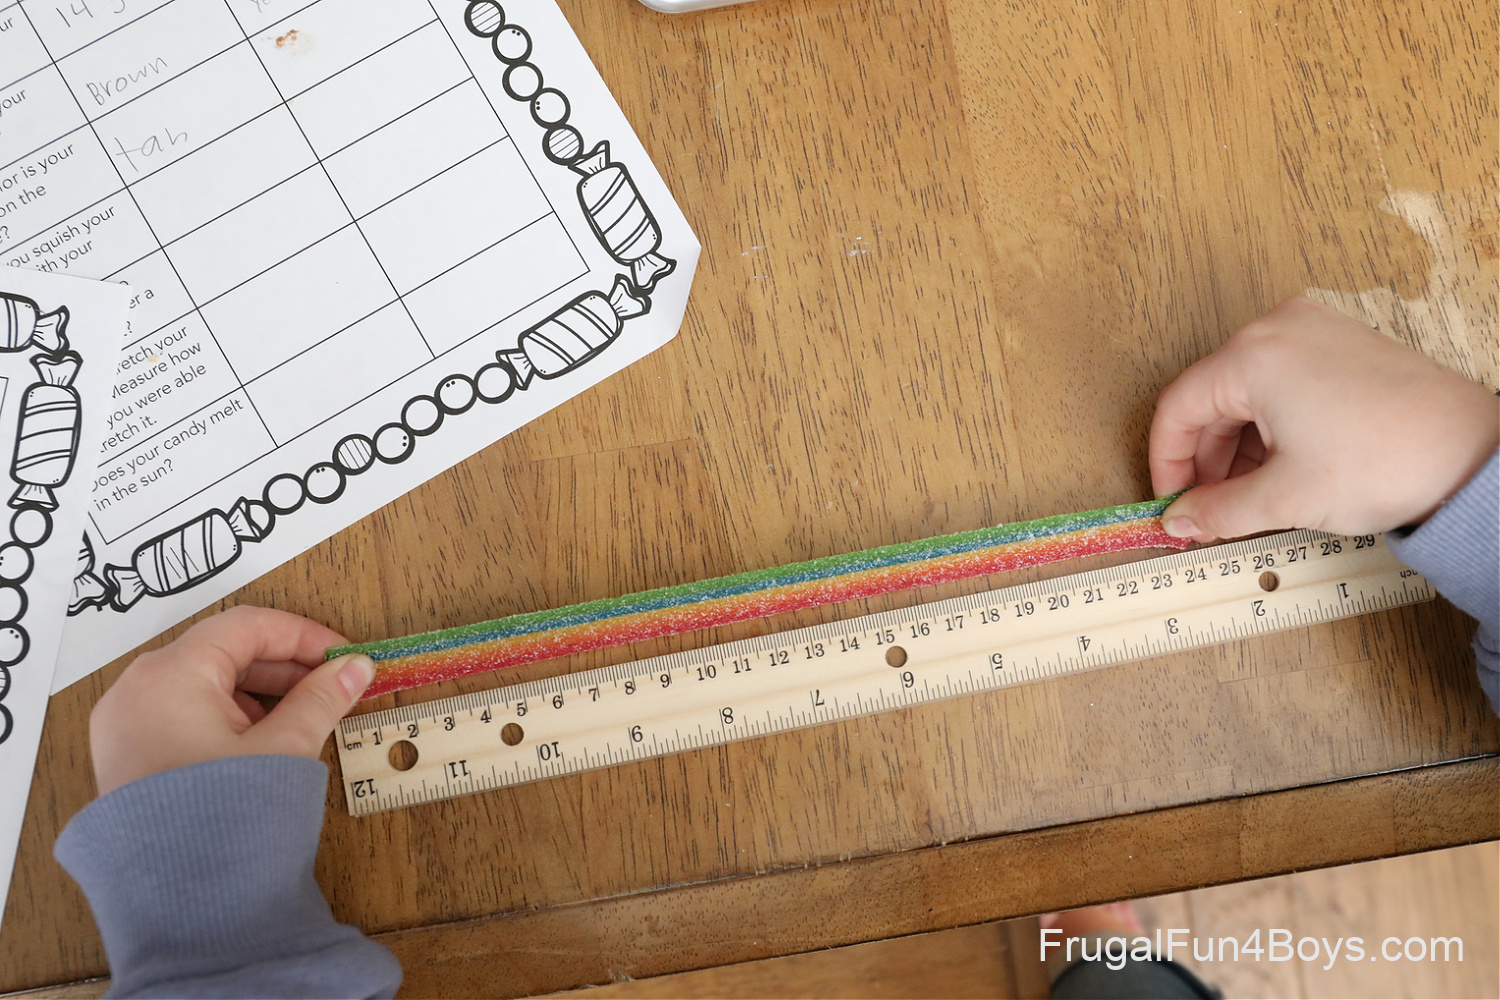
It was also interesting to explore which candies can stretch! Janie stretched an Airhead candy from 16 cm to 26 cm before it broke!
The printable page asks kids to record the color of the candy on the outside, and also on the inside. They might need to devise an experiment to find out what color it is on the inside! Some options would be to rinse the candy in water, cut it in half, or take a bite out of it.
Ready to print your Candy Science Investigations recording sheet?
Click here, and the file will open: Candy Science Investigations
Candy Science Experiments
The printable activity is all about making observations, but it’s not an experiment. Here are some fun ways to experiment with candy.
Candy Sink or Float
Which candies will sink and which will float? Grab a bowl of water. Make a hypothesis about each type of candy before you drop it in.
Interestingly enough, we discovered that Smarties initially sink, but then after a little while they rise back up to the top. Why is that? We have no idea!
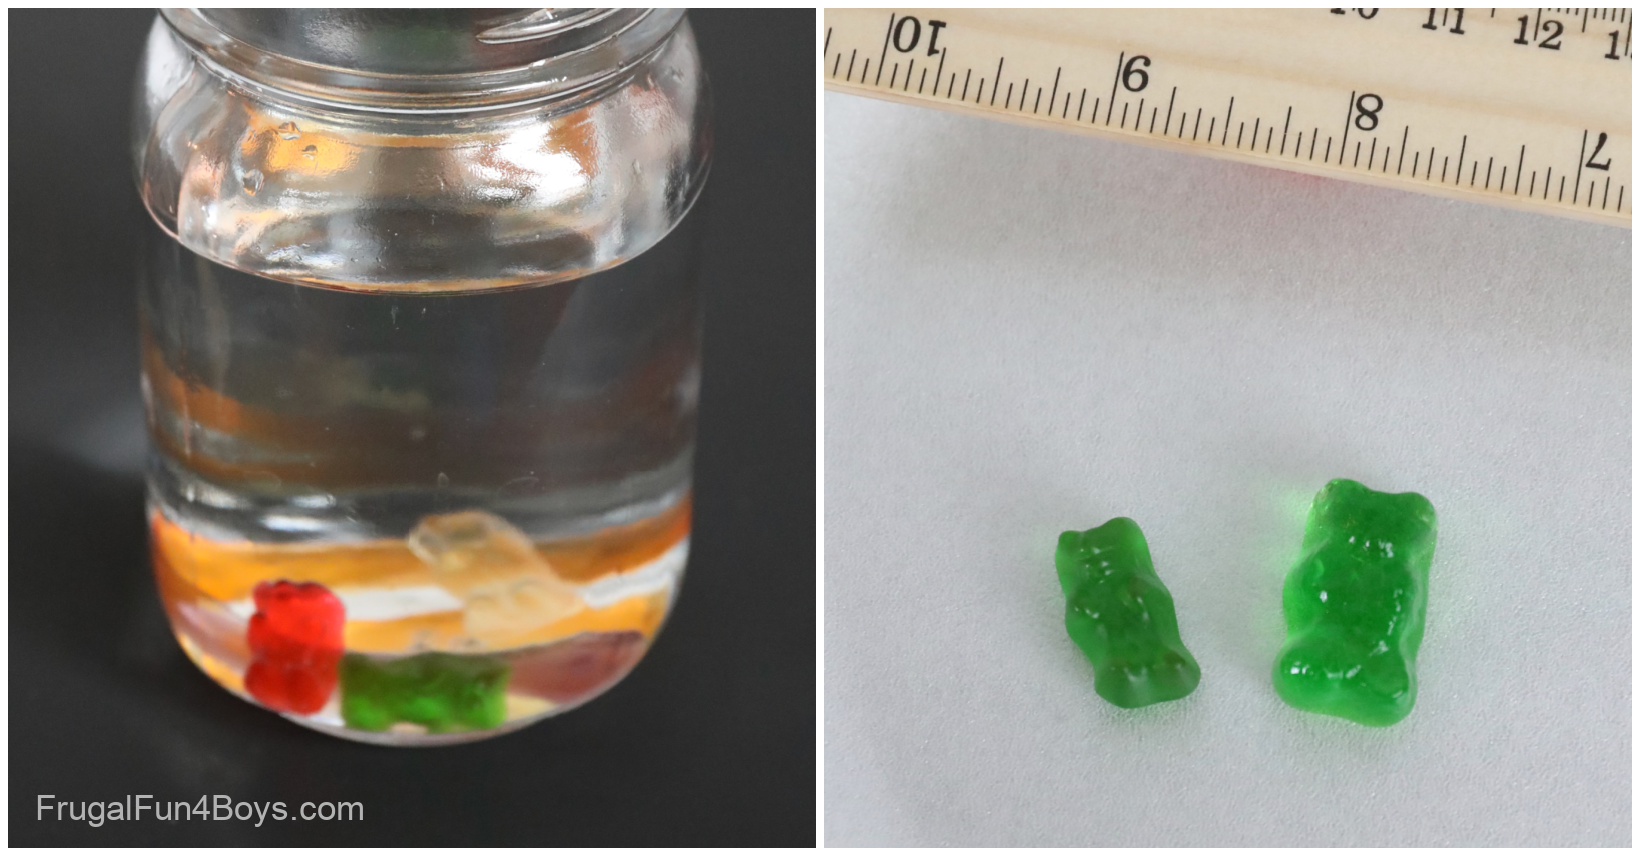
Growing Gummy Bears
What will happen to a gummy bear if you soak it in water? How much will it grow?
We found that if you soak a gummy bear for a couple hours, they will grow about 0.5 cm longer! They grow in all dimensions, so they look quite a bit bigger.
If you leave a gummy bear in water overnight, it will dissolve and fall apart!
Add more variables to this experiment by comparing a gummy bear soaked in water with one soaked in vinegar.
Skittles Color Experiment
This is a really quick experiment, but it’s SO cool to watch. Between the red 40 and the stickiness, we can’t eat Skittles. This is a much better use for them!
Arrange your Skittles in a circle in a bowl or shallow dish.
Then pour in just enough water to cover the bottom of the dish. Watch the colors spread! So cool.
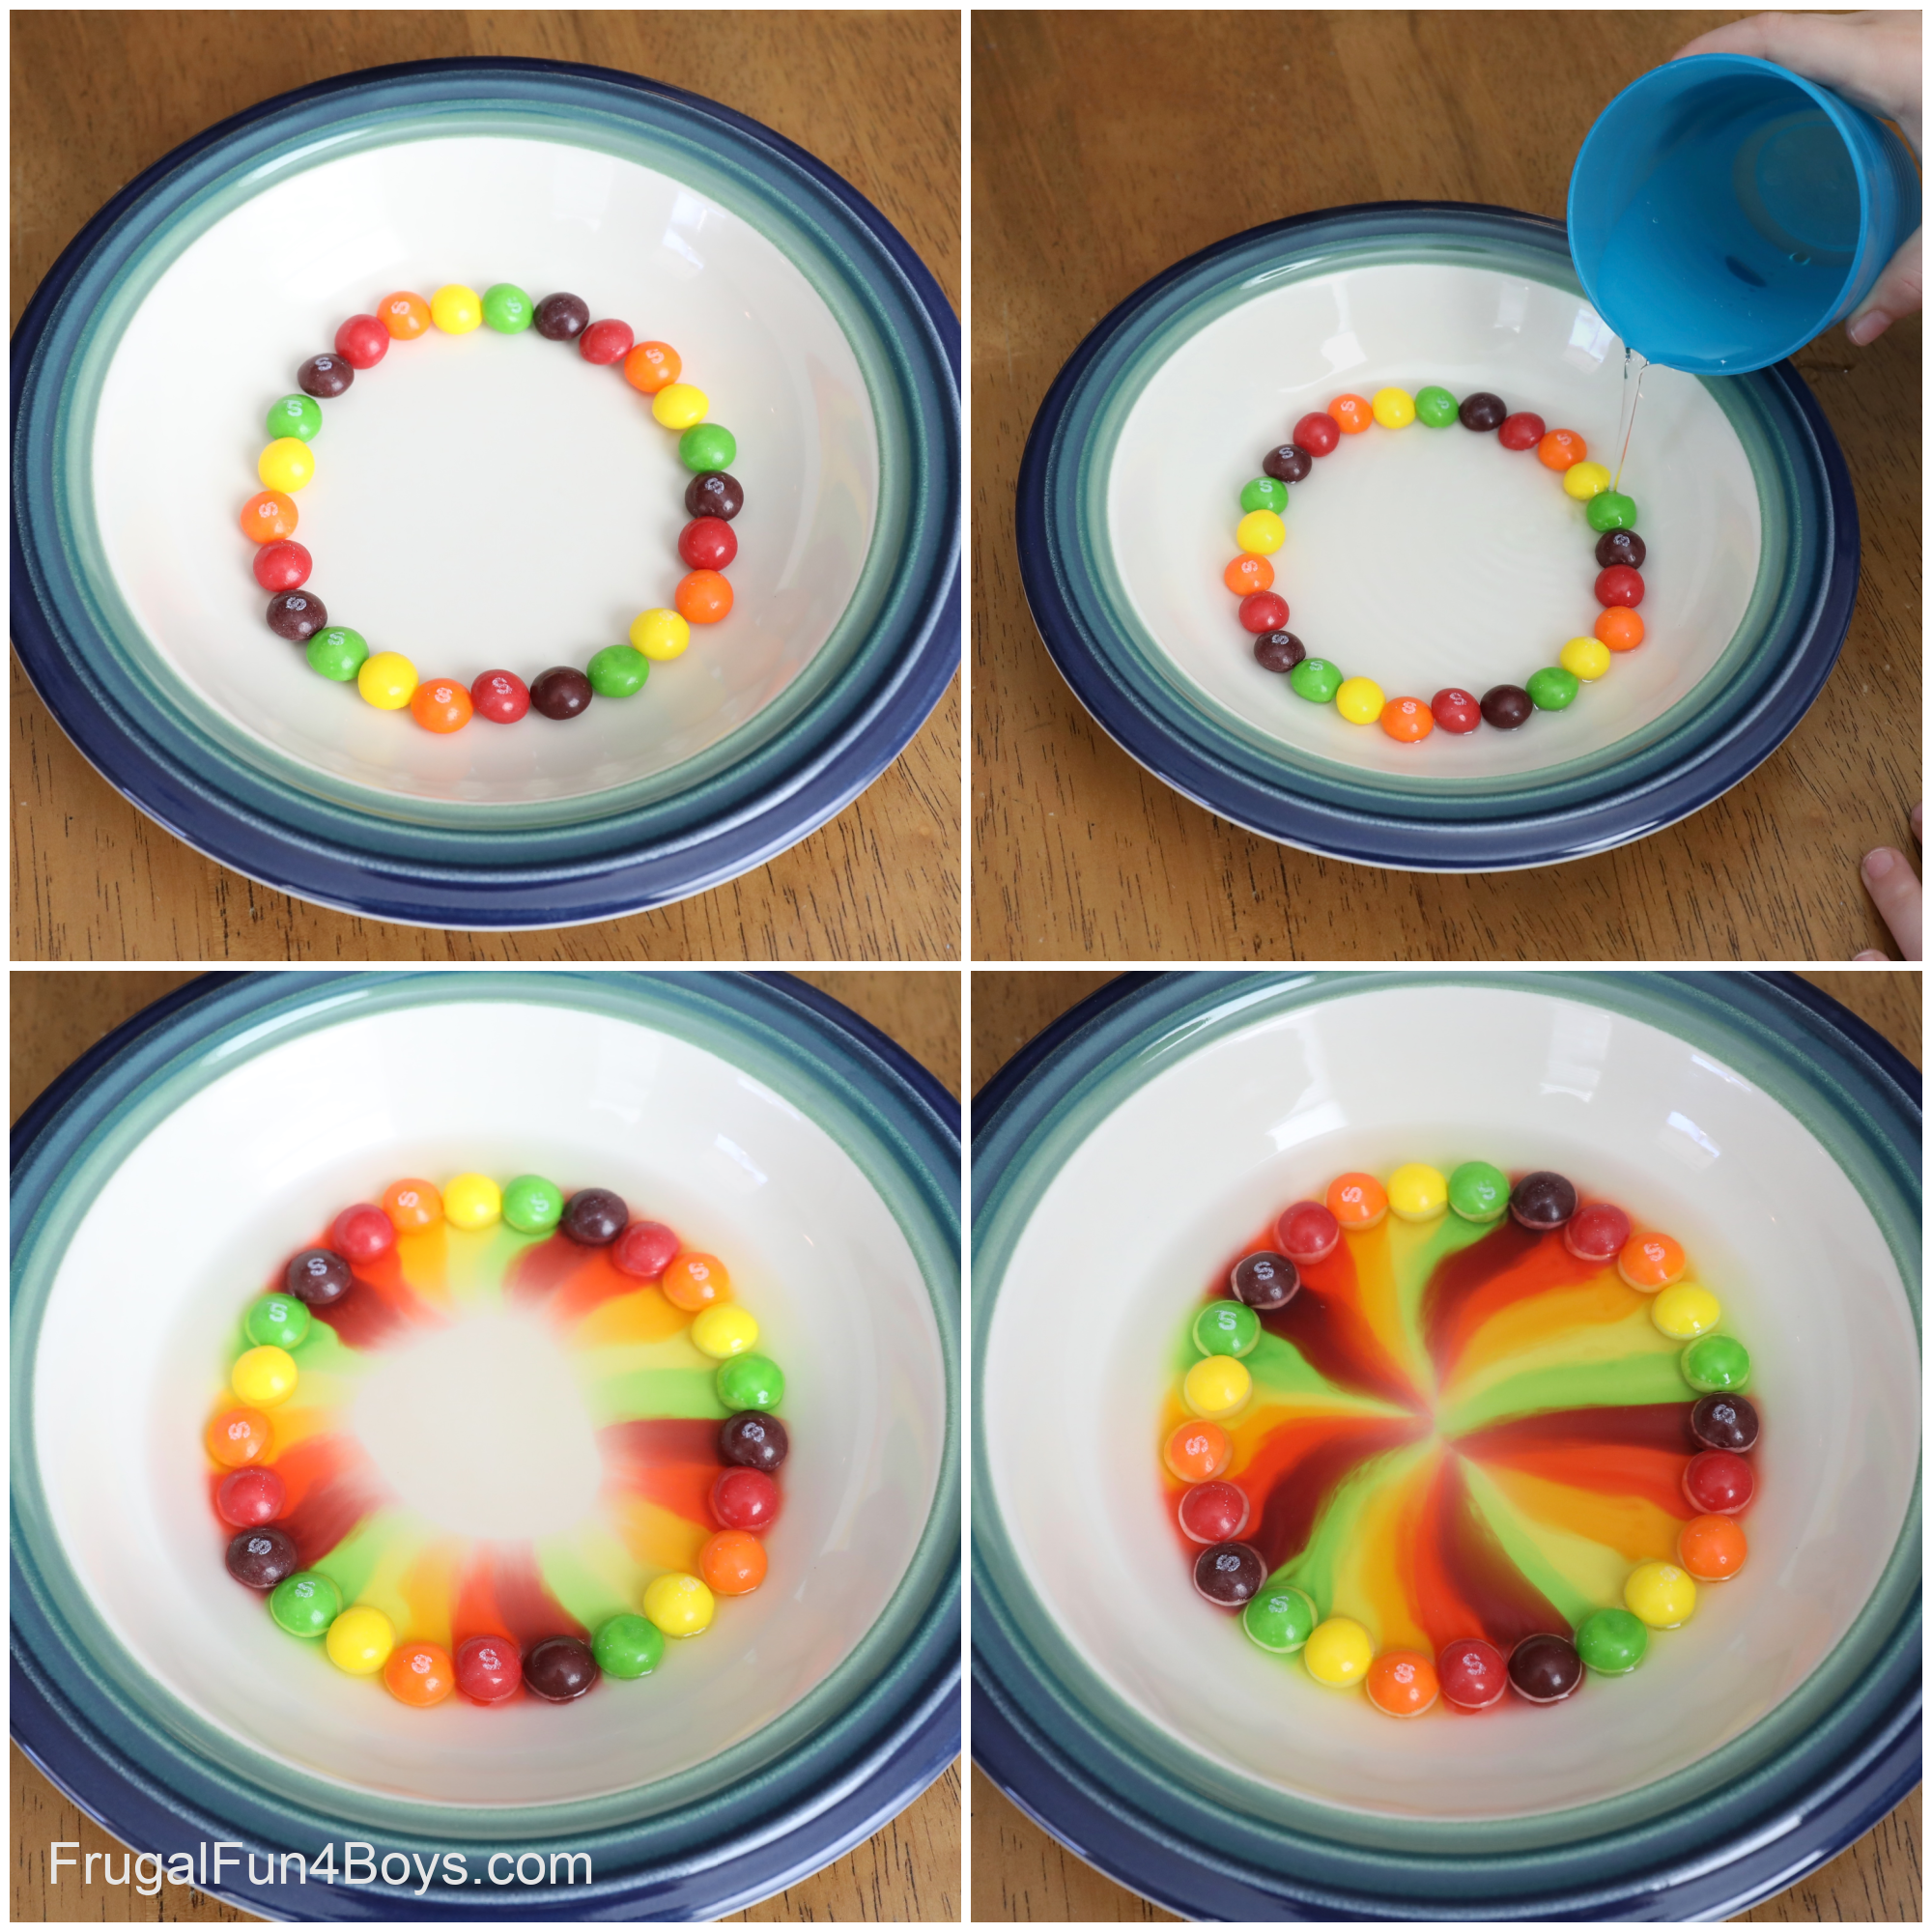
Skittles have coloring on just the outside of the candy, and it easily dissolves in water. My kids were interested to see that the Skittles were white where the water touched them!
Add another variable by comparing different temperatures of water. Try this experiment with ice water, and then with hot water. Does the temperature of the water affect how fast the coloring spreads?
Have a great time experimenting with candy!
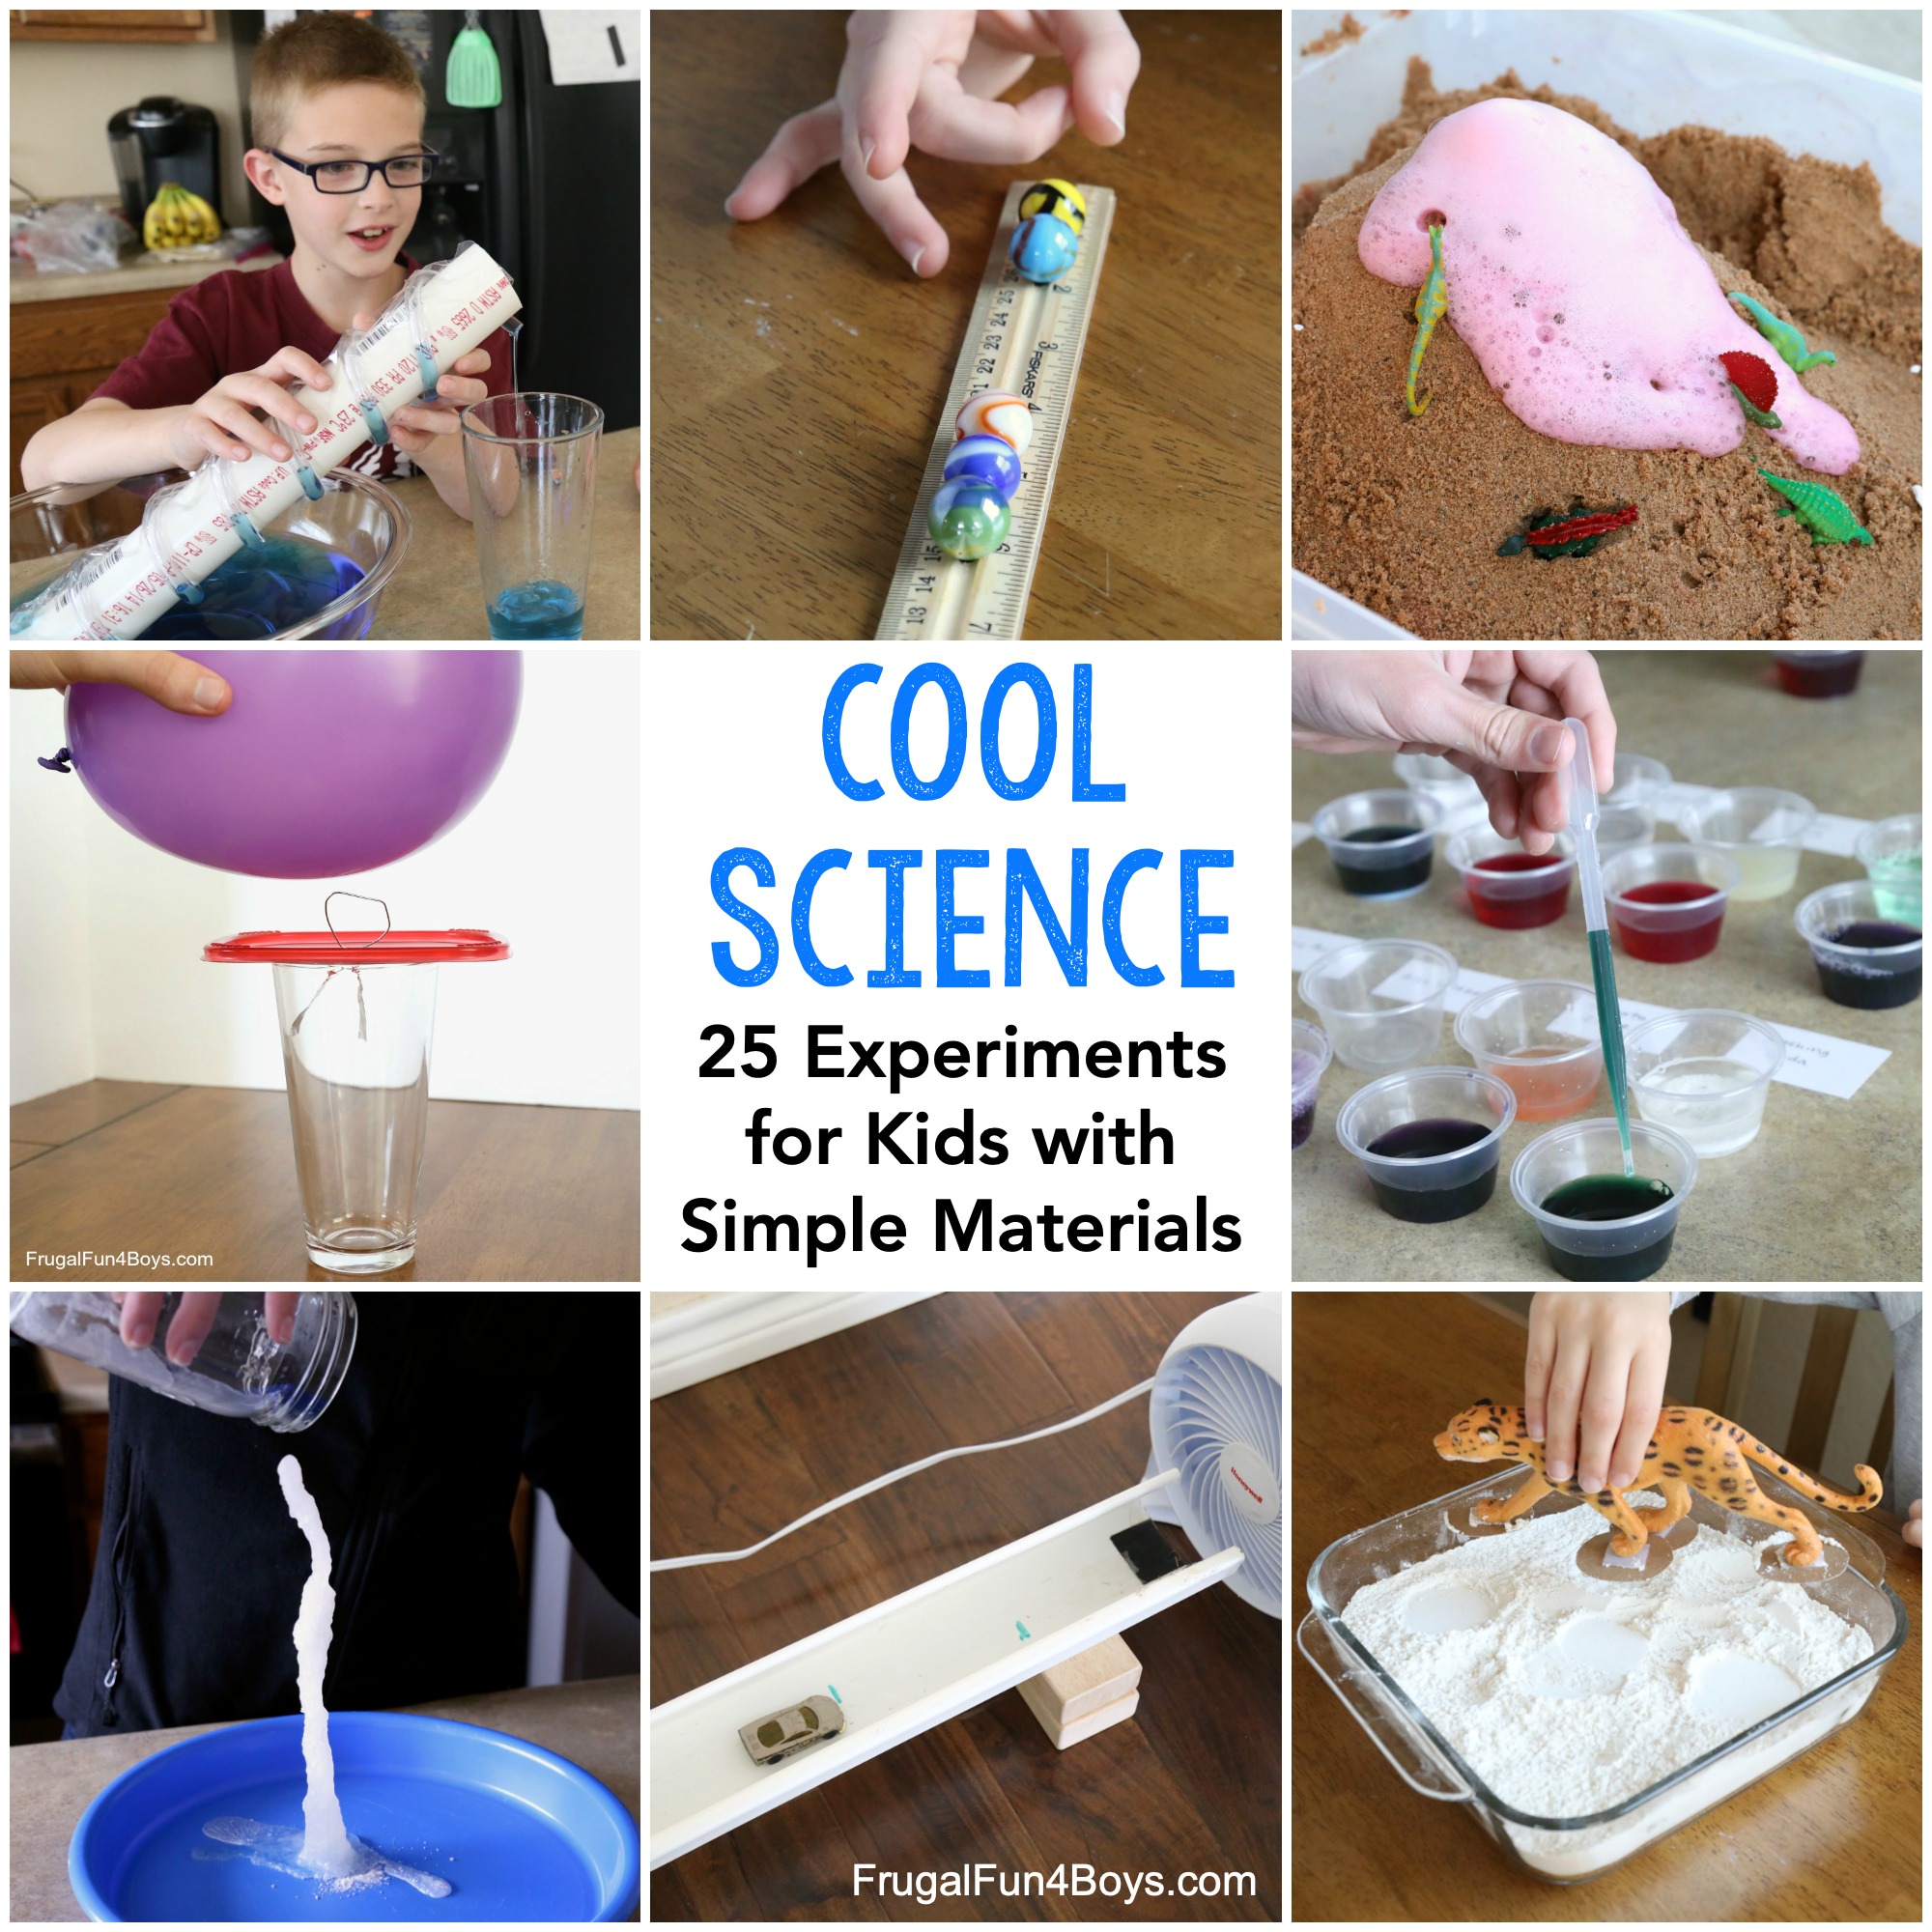
Need more science ideas? We’ve got lots of cool experiments for elementary and middle school students!
See them here: 25 Cool Science Experiments for Kids
1 Comments
SueS Nov 2, 2022
Thank you for sharing :)
Post a Comment