
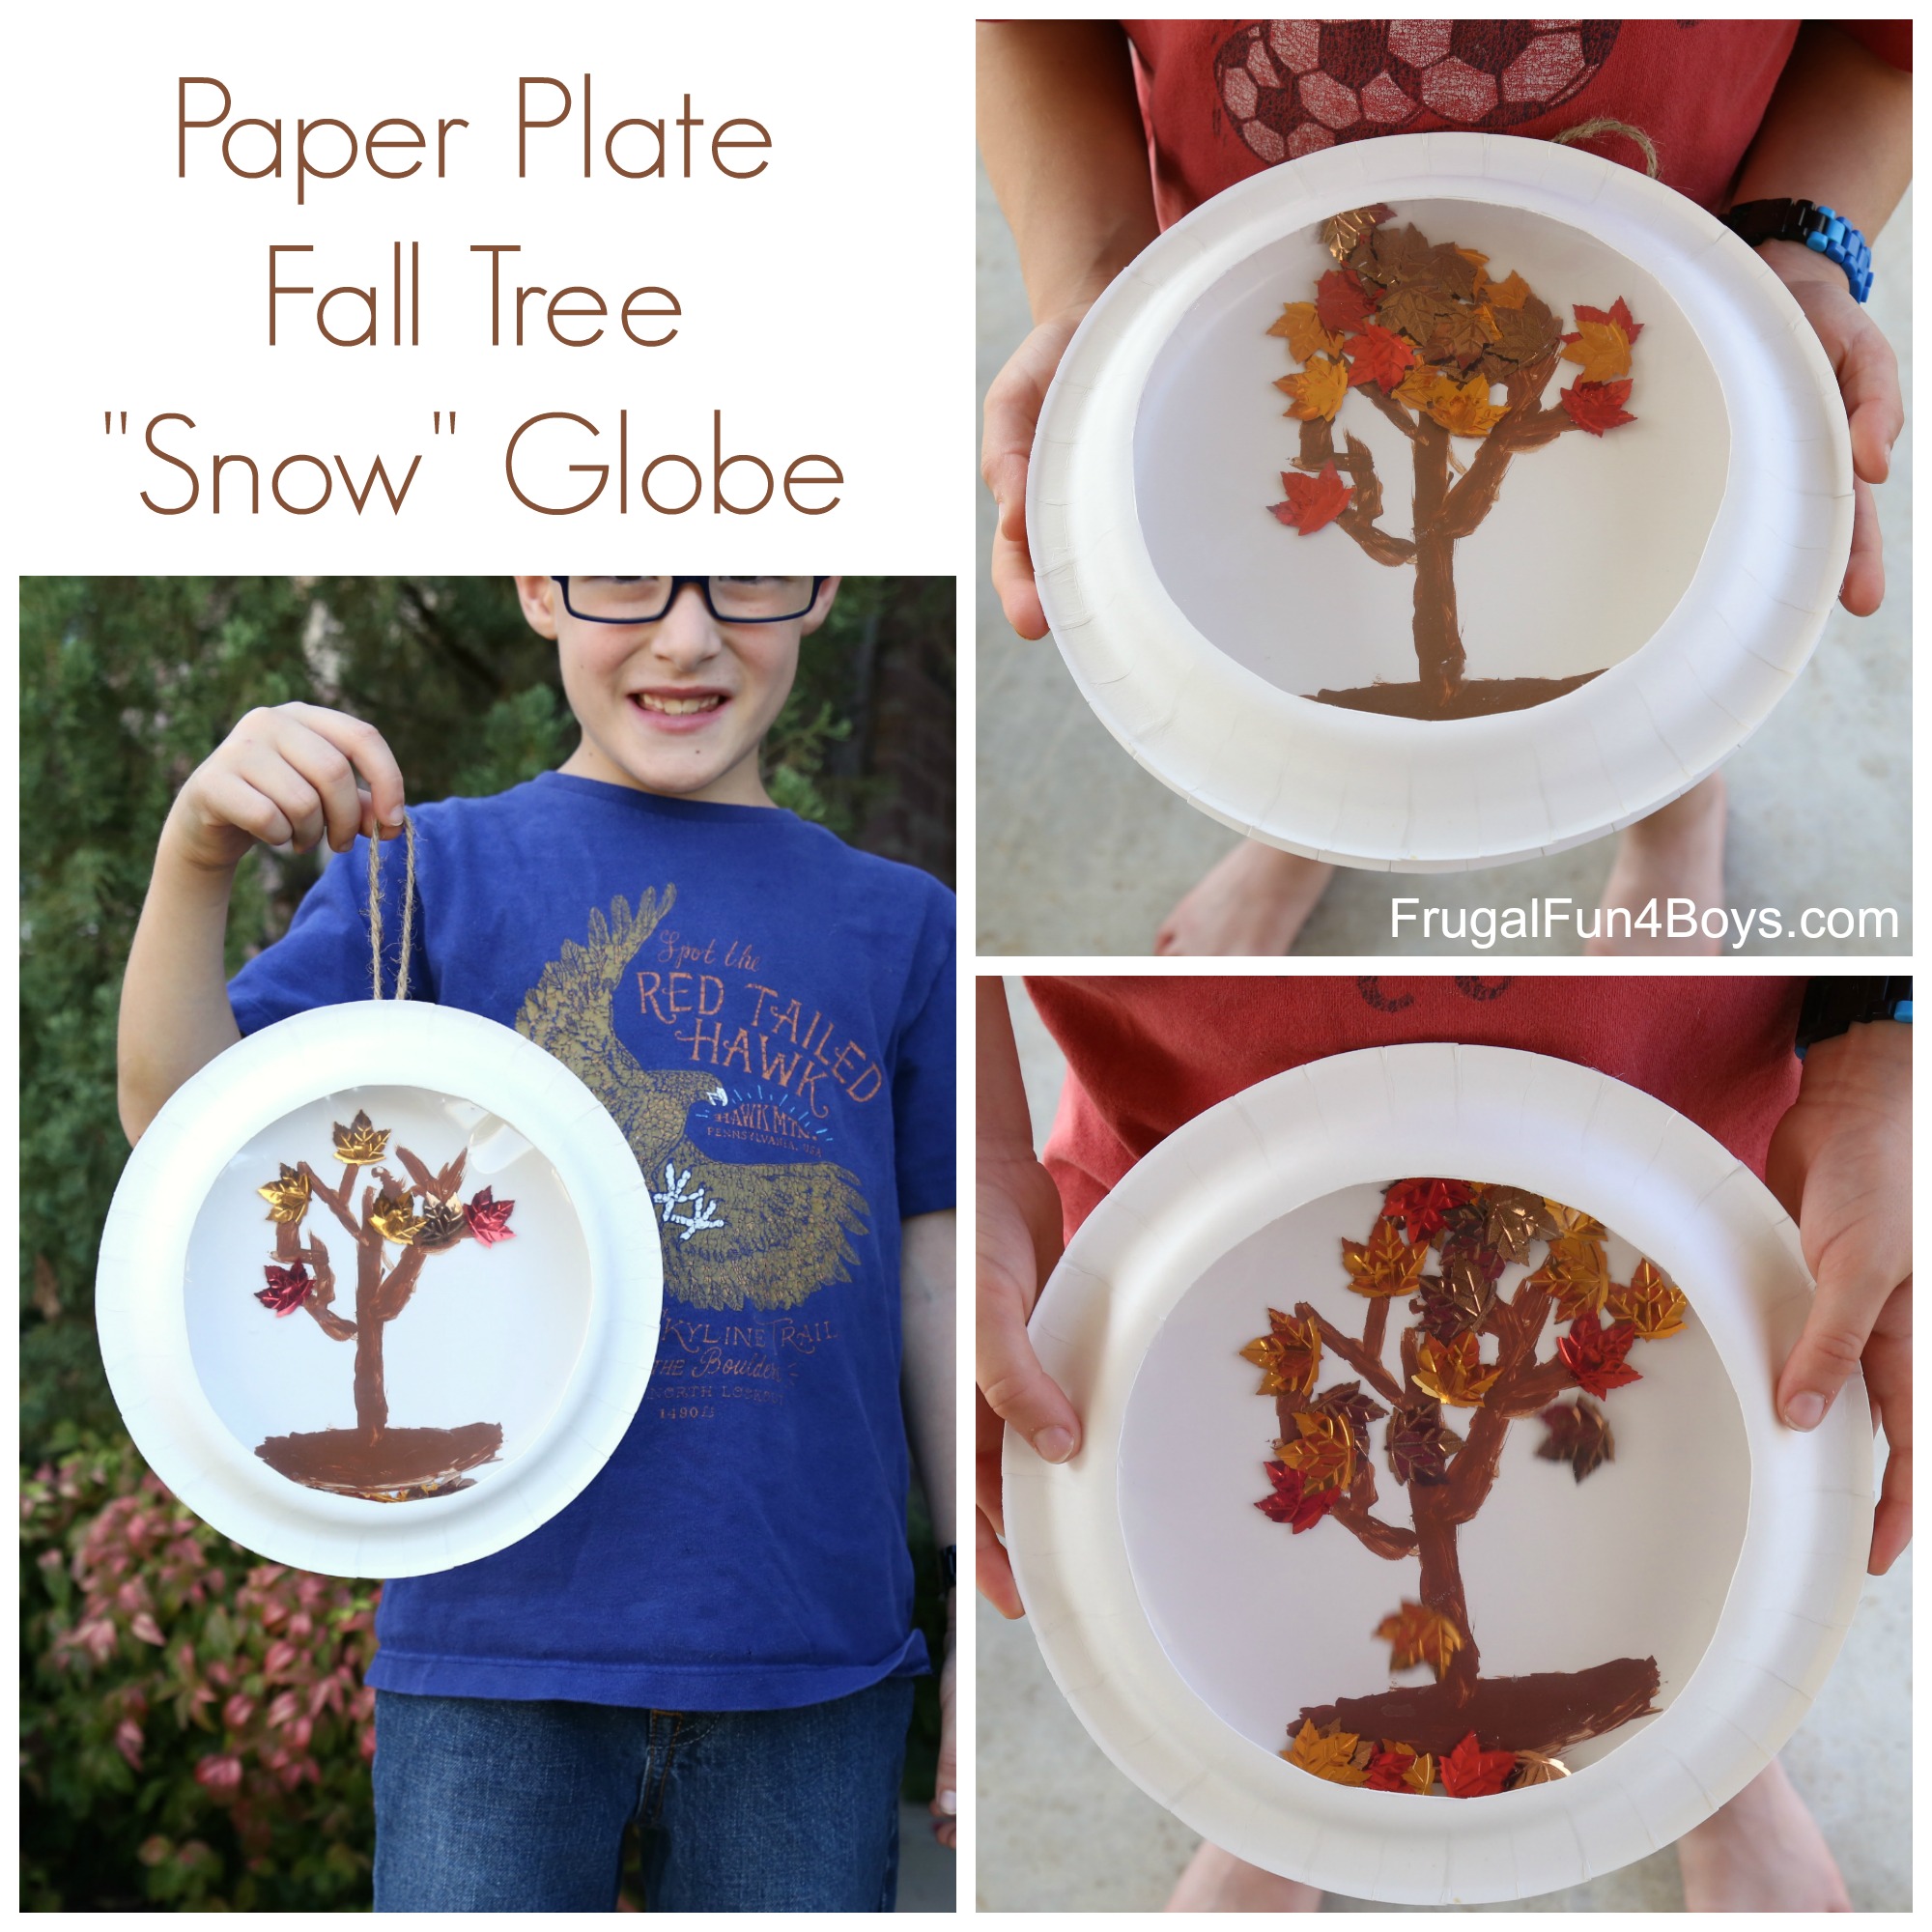
Here’s a simple fall craft that kids will enjoy! Use paper plates to make a fall tree “snow” globe with leaves that really fall.
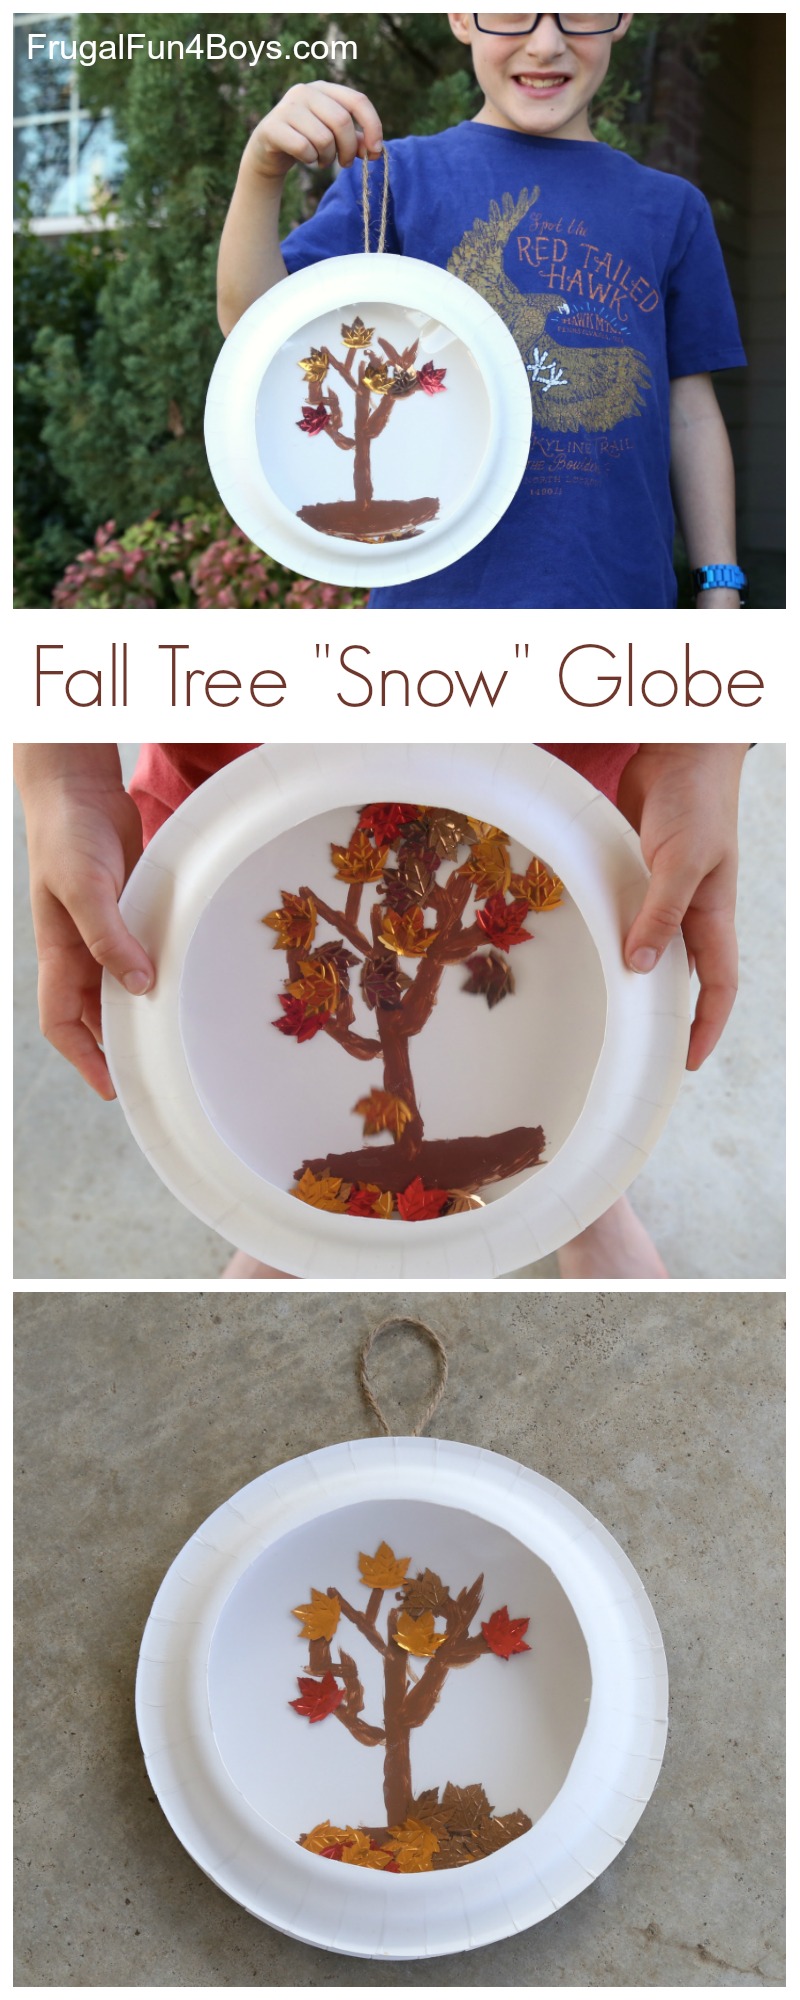
Some of the fall leaves are glued to the tree, and the rest are loose.
Tilt the fall tree globe, and the leaves fall!
Here’s what you need to make one:
- Paper plates – we used 8 inch white plates
- Brown acrylic paint
- Foil leaves (maybe plastic?) – we found ours at Hobby Lobby
- Clear page protectors
- Hot glue
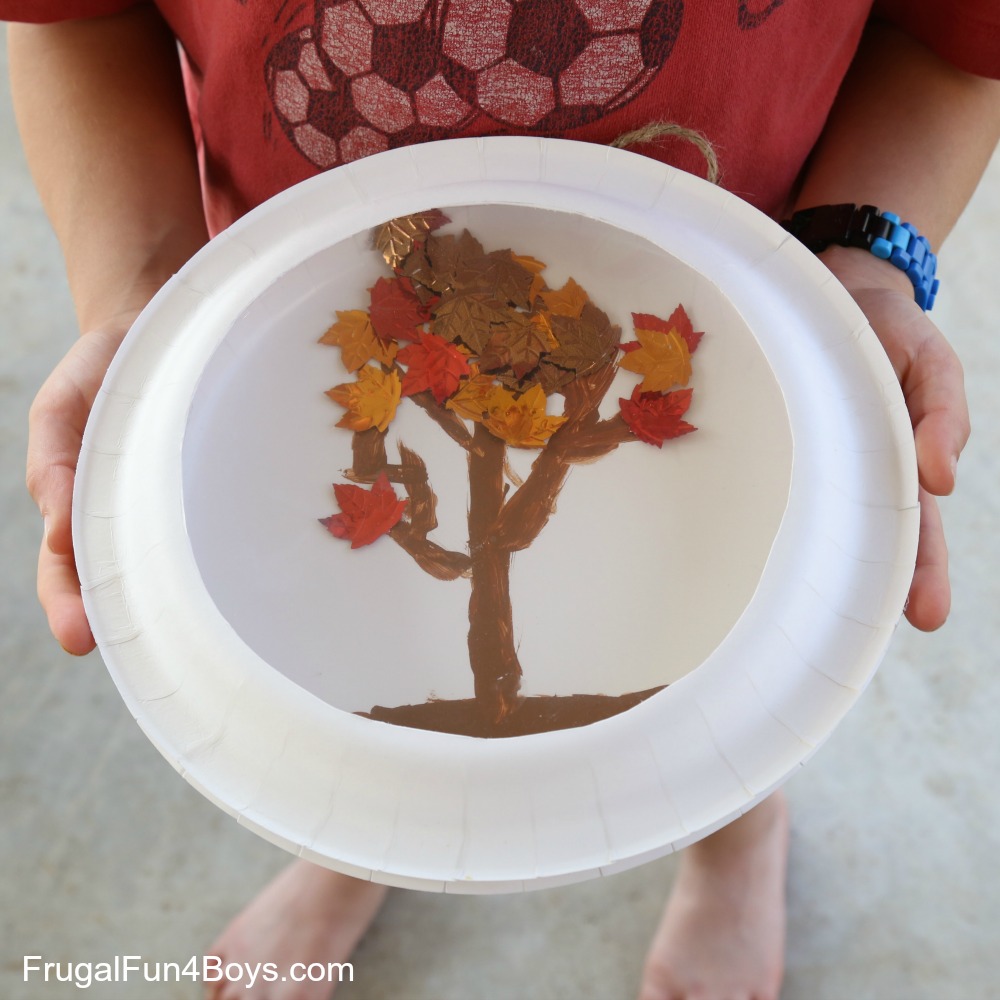
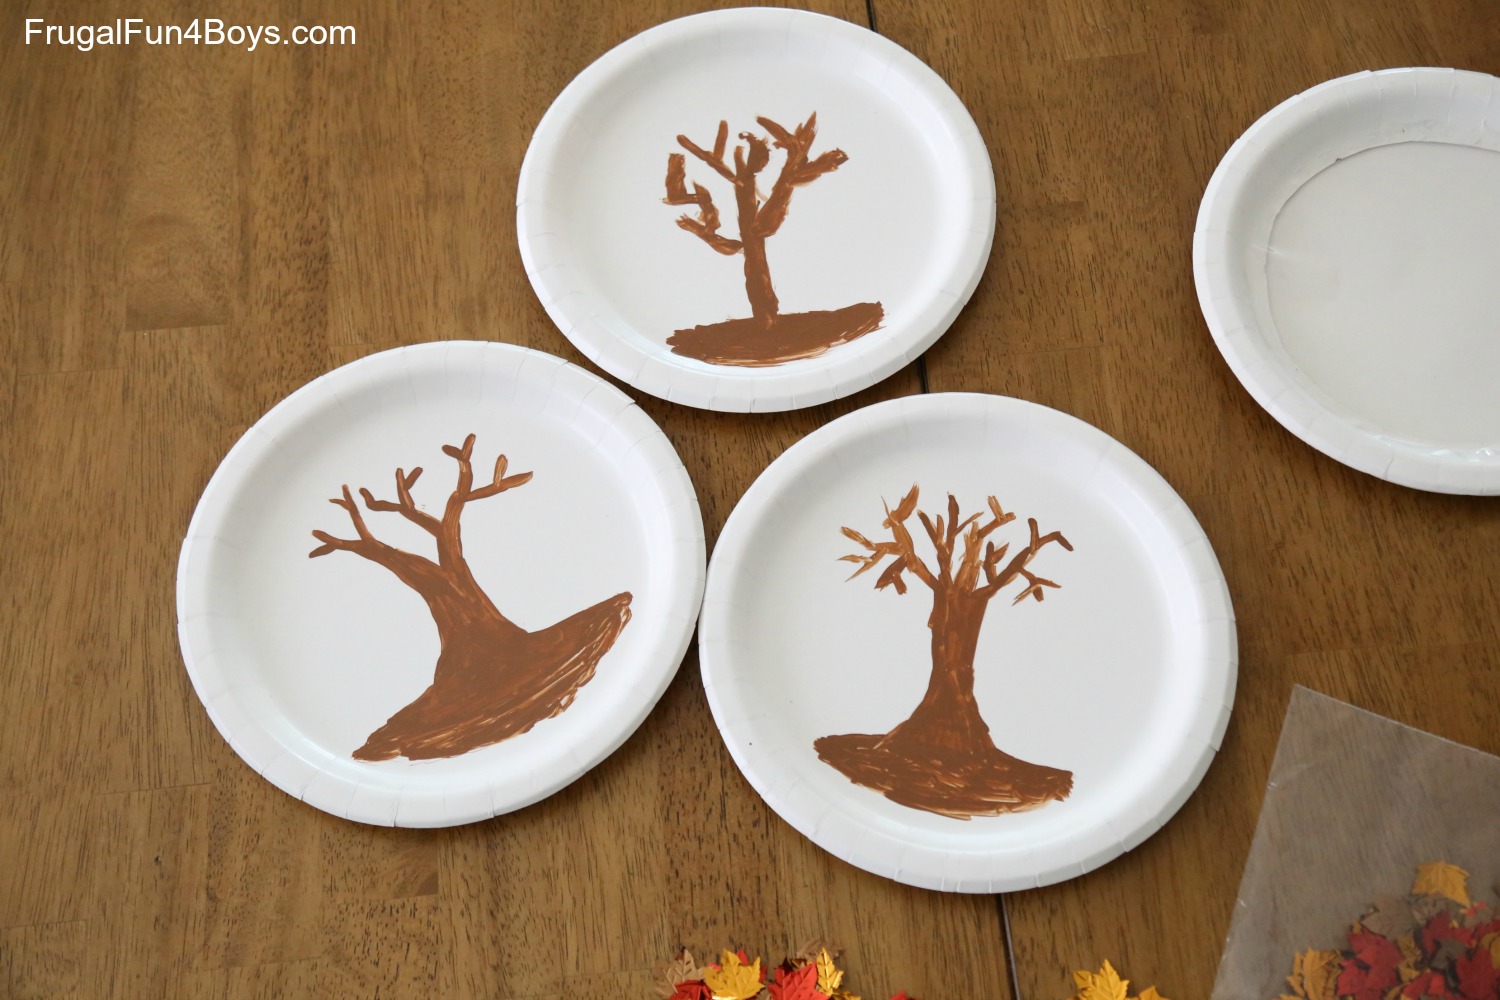
Start by painting a tree on a paper plate.
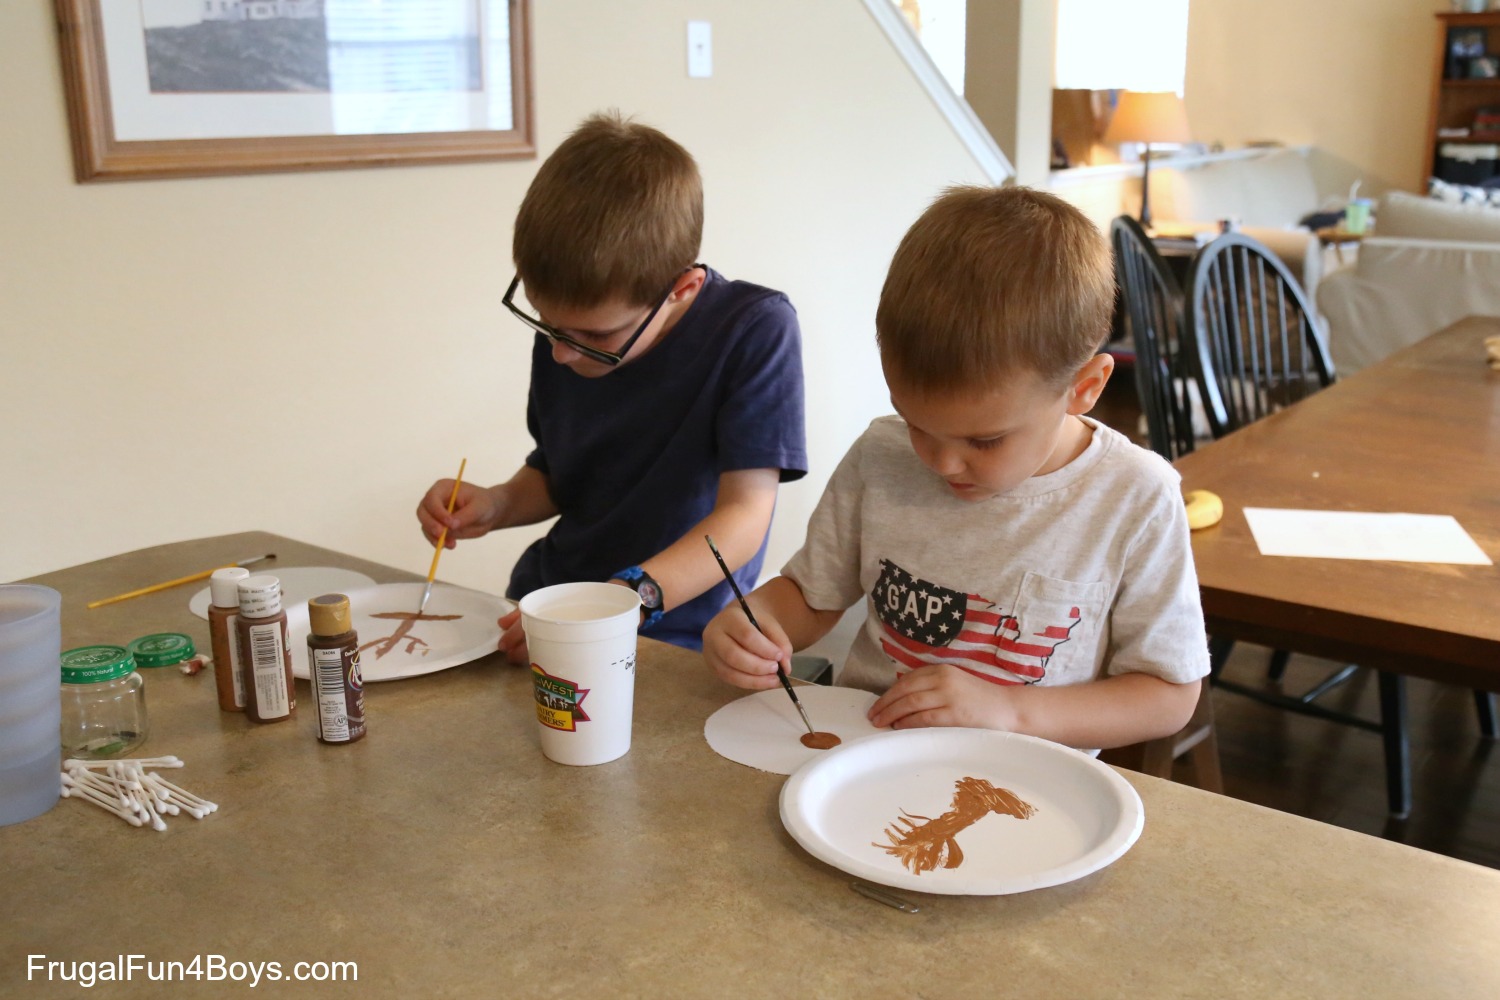
The trees shown below were painted by Owen (7), Gresham (10), and me. Jonathan’s tree ended up being just a big blog of brown, but he had fun with the paint!
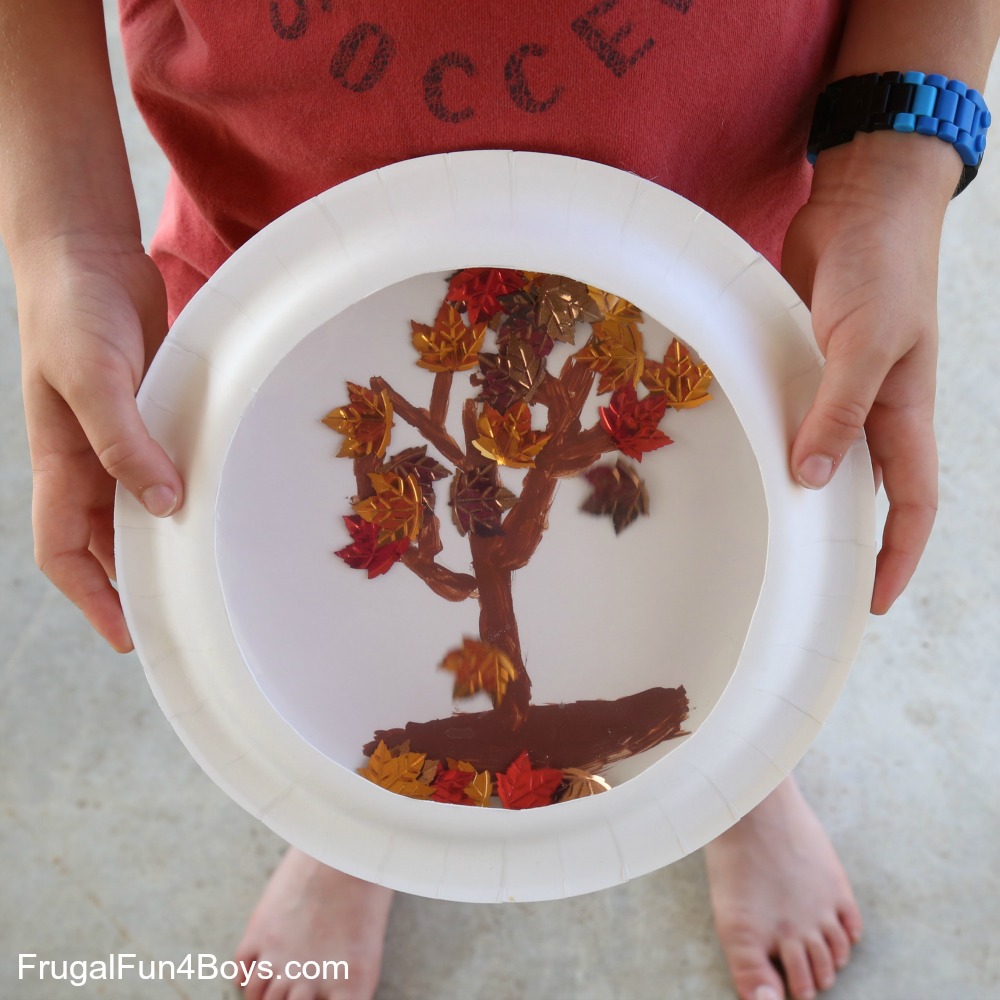
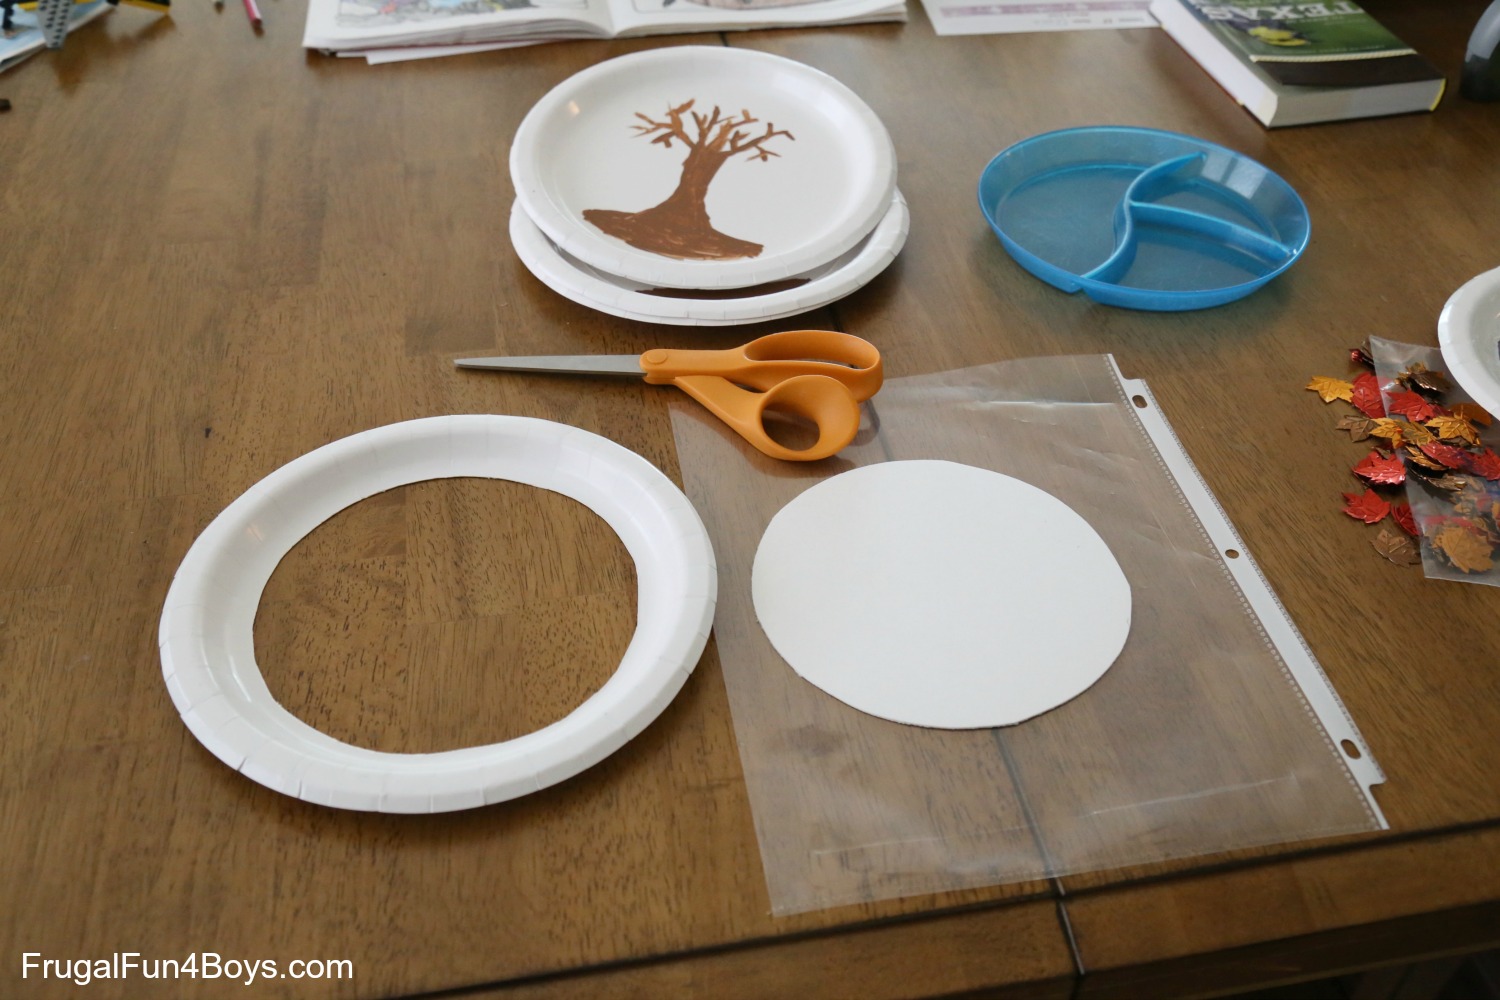
When the trees are dry, grab a second plate for each one to make the top of the globe. I used a plastic plate to trace a circle in the middle of the second paper plate, and then cut it out with an X-Acto knife (adult job!). Then I used the circle that I cut out as a pattern for cutting the page protector. You’ll want the page protector to completely cover the opening with room for gluing, so make it a little larger than the circle you cut out.
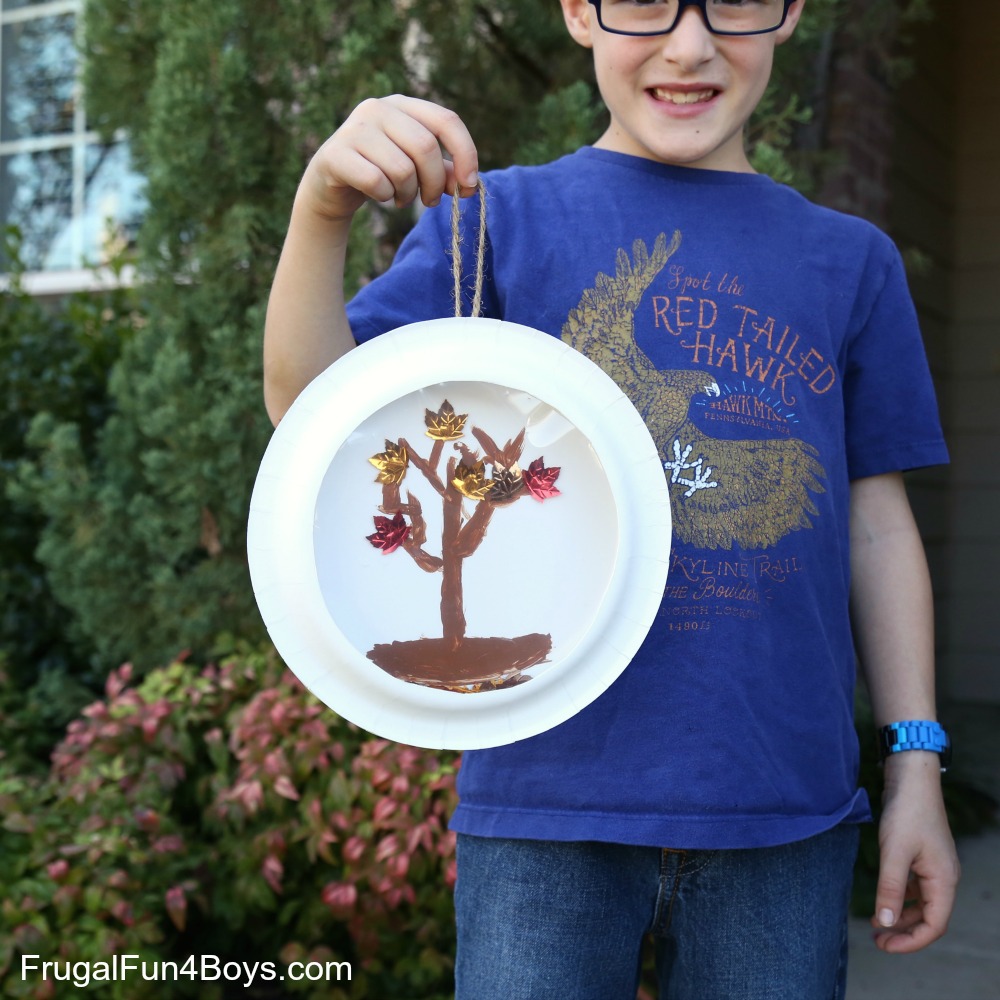
I used hot glue to glue the page protector circle to the opening in the paper plate. Then I glued some leaves to the trees, added more loose leaves, and then glued the two plates together. If you want the kids to do the gluing, use a low temp glue gun or use Tacky Glue. Add some ribbon or string for hanging, and the fall tree snow globe is complete!
We’ve had record setting heat here in Texas this week, so although it seems that summer is NEVER going to end this year, we are having fun pretending that it’s fall! Have fun crafting!
0 Comments
Post a Comment