
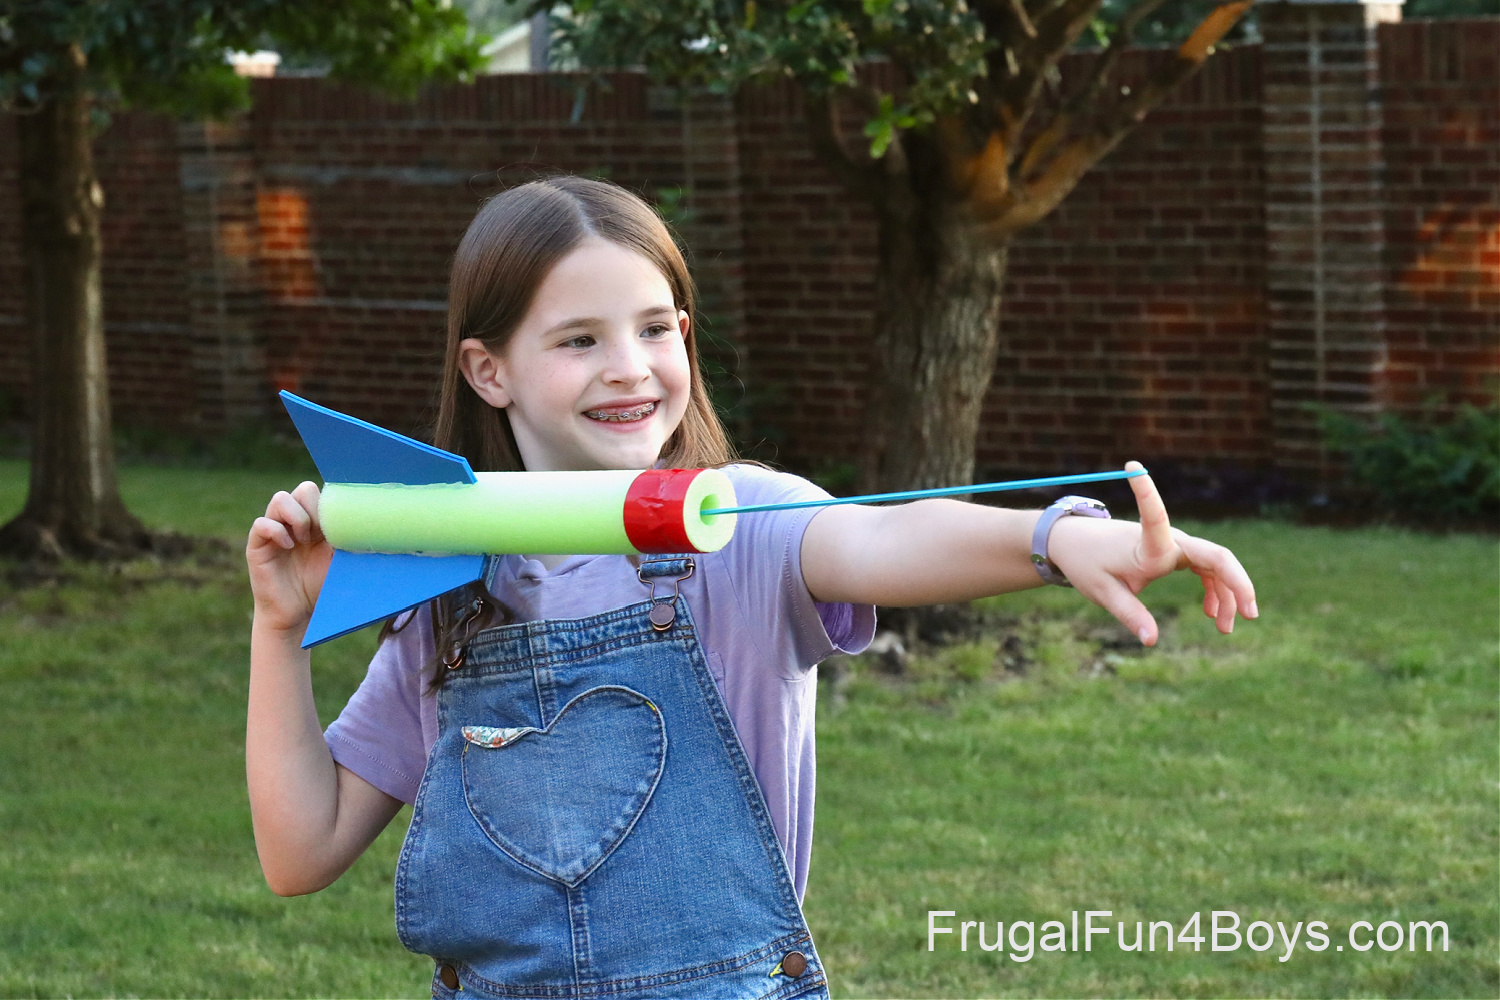
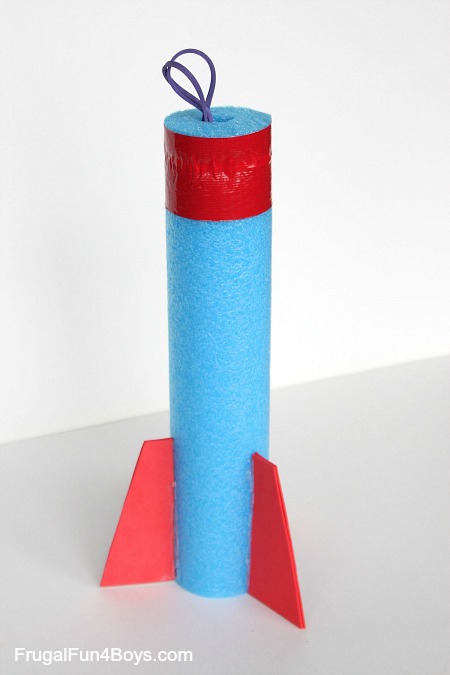
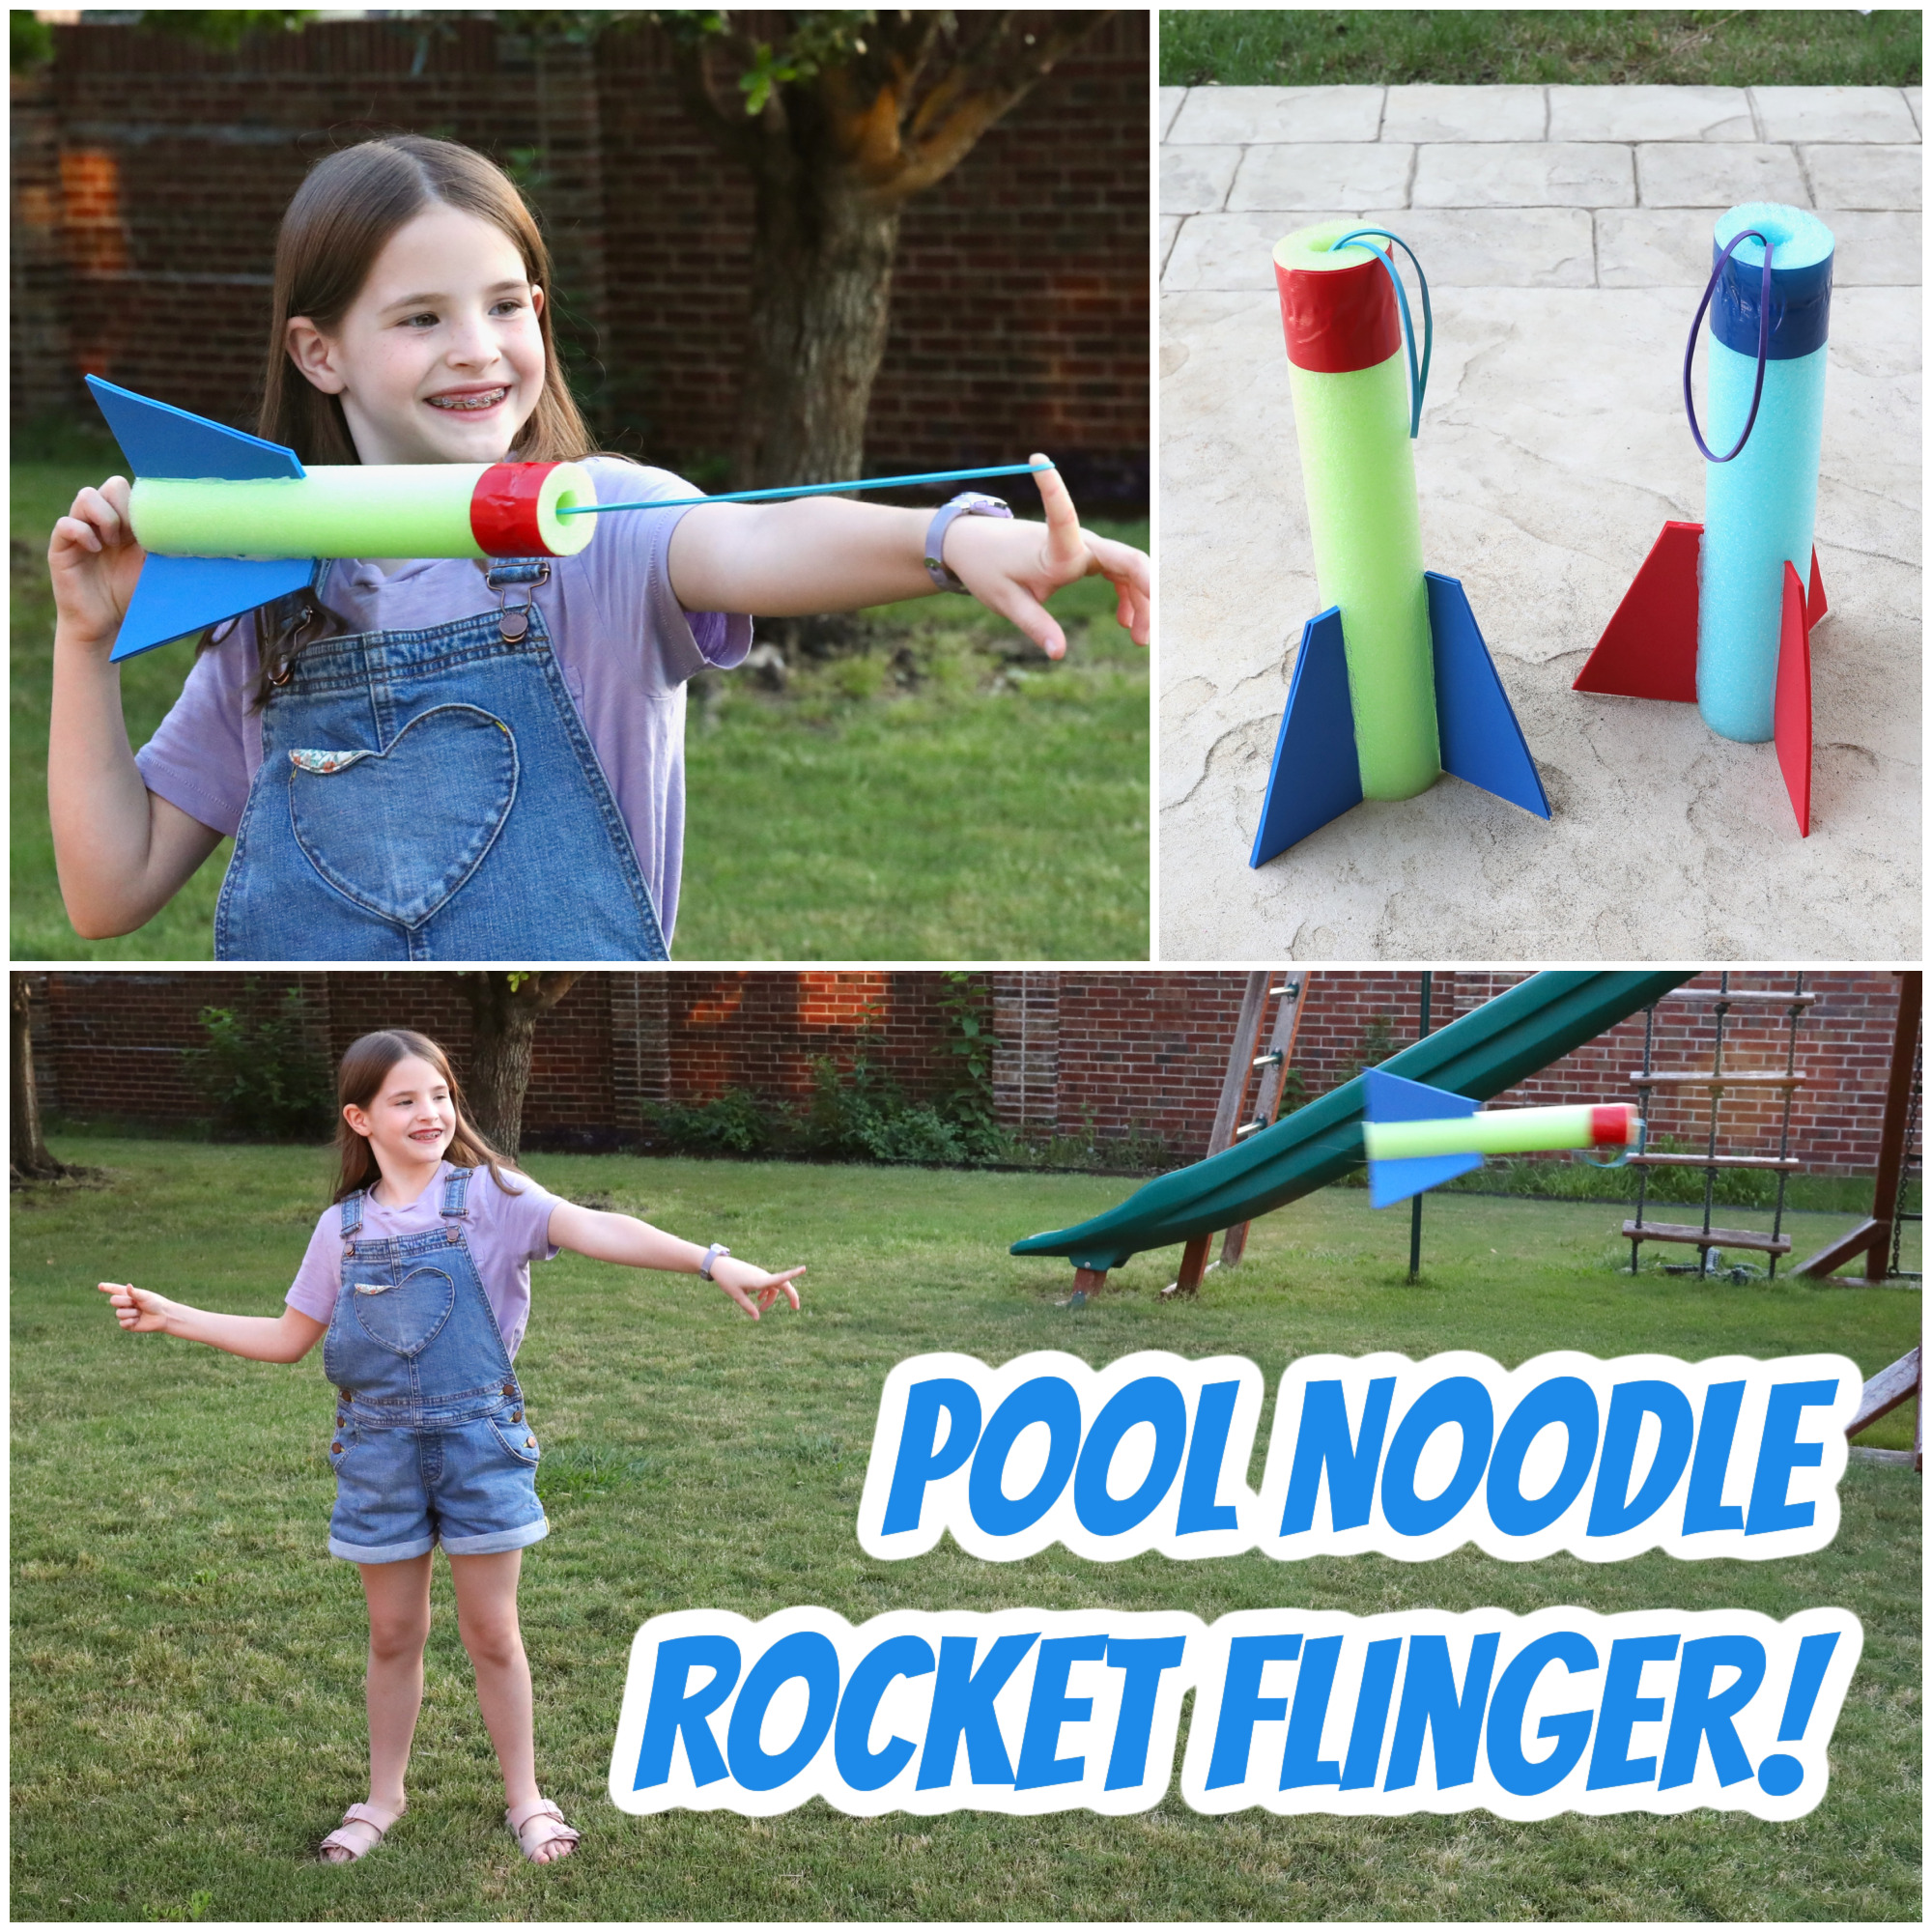
Pool Noodle Rocket Flingers – Turn a pool noodle into a fun DIY toy!
One night, the boys found a fun flinger toy at the park. I wouldn’t let them bring it home because it looked like the type of thing that someone might come back for. After we got home, I did some thinking about how we might be able to make one at home. And it turned out to be SO COOL!
This toy is fun to fling, easy to make, and VERY inexpensive.
In fact, this would make a great activity for a birthday party or a STEM class because the materials are so simple.
This post was updated in June 2023.

The rocket flingers are lightweight and safe for outside OR indoors. Here in Texas, our summers are so hot that it’s great to find active ways to play inside!
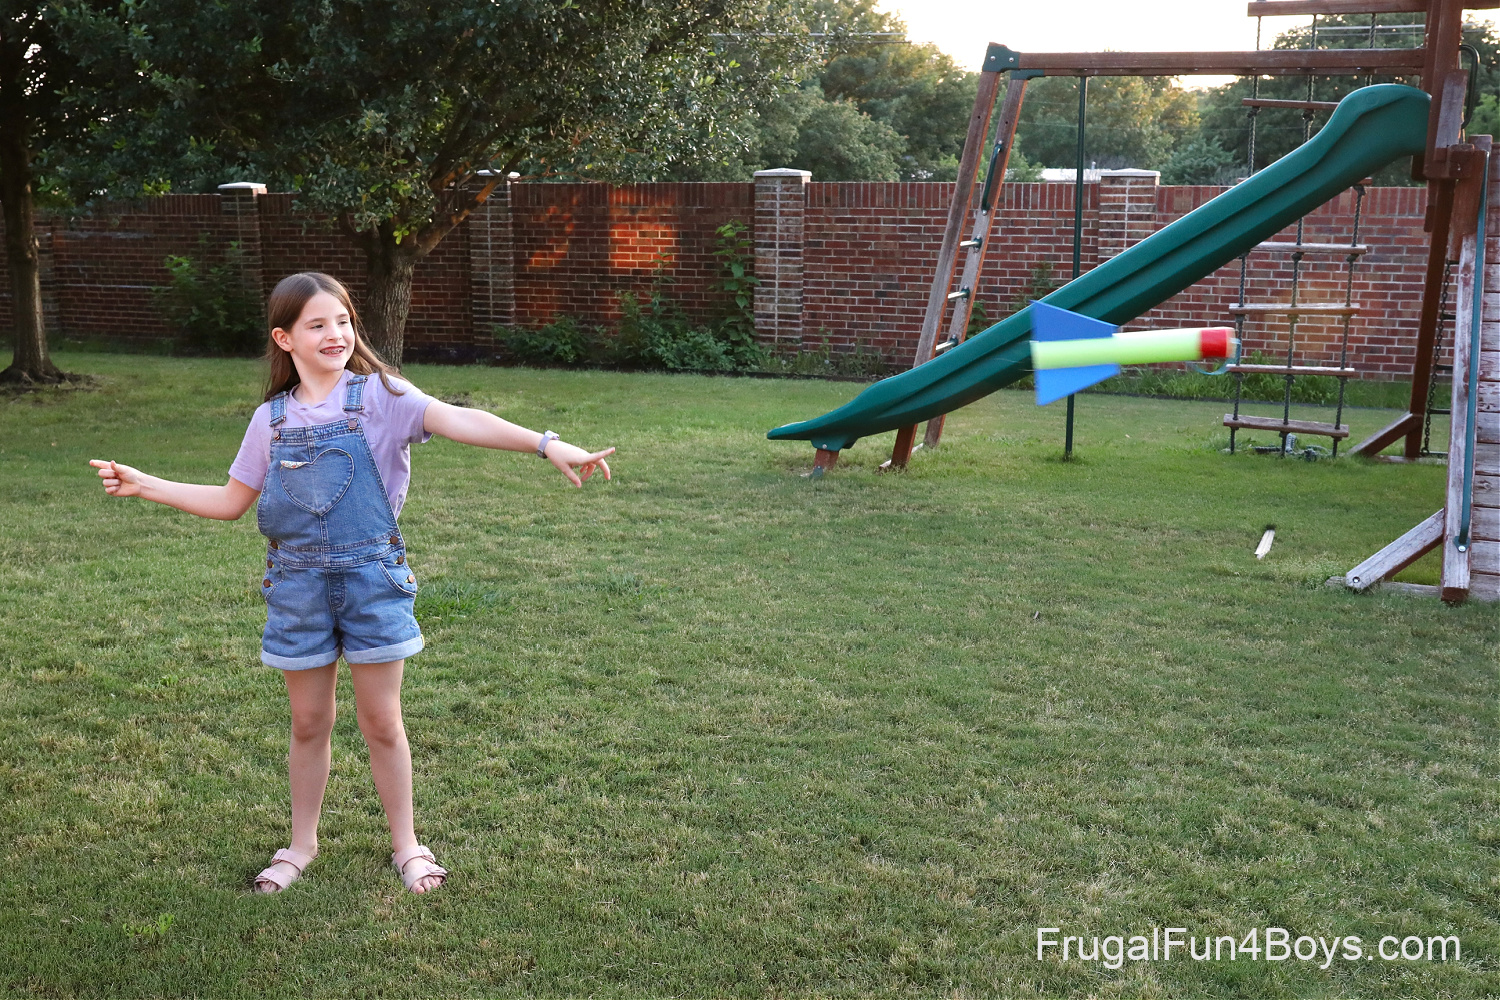
To shoot it, just pull back on the rubber band and let it go!
These rocket flingers travel really far. Depending on the rubber band and who’s shooting it, ours traveled 20 – 28 feet.
We tried shooting one without fins and discovered that the fins really do help them fly farther! If you want a quick science experiment, try launching one before you glue the fins on and see what happens.
Supplies Needed for a Pool Noodle Rocket Flinger:
- A pool noodle – get the smallest diameter that you can find. We bought ours at Walmart.
- A serrated kitchen knife – for cutting the pool noodle.
- Duct tape
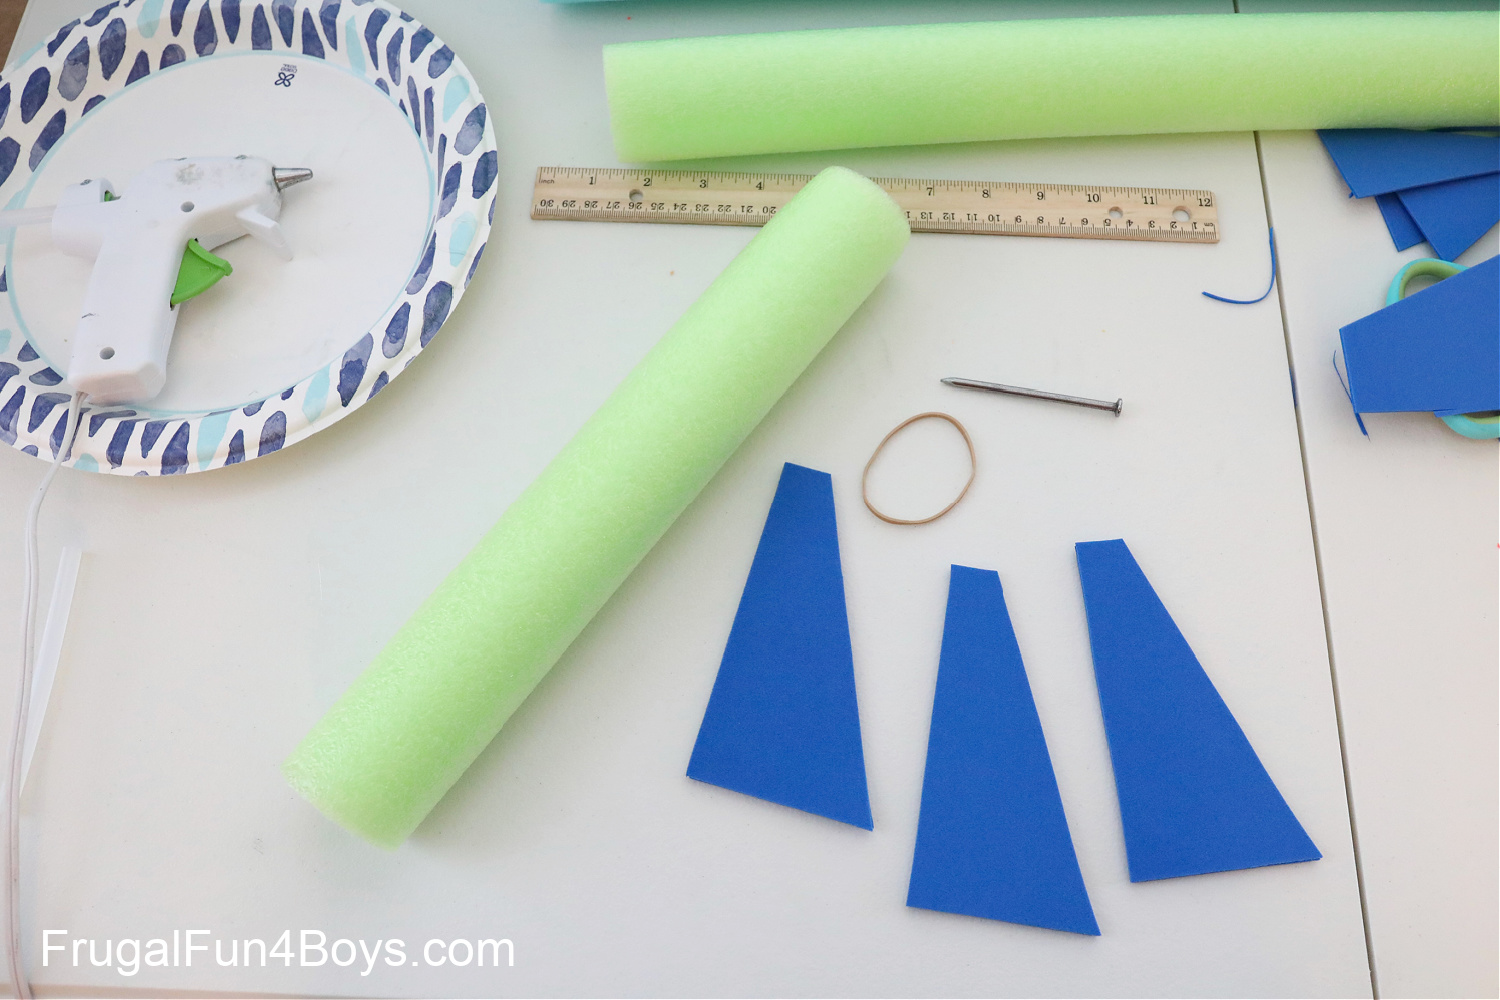
- Rubber bands – small and large
- Scissors
- A crochet hook, or Rainbow Loom hook
- Craft foam
- Hot glue gun
- A large nail

We used one normal sized rubber band and one long one. The long one was from a pack labeled “file rubber bands” that I found at Walmart.
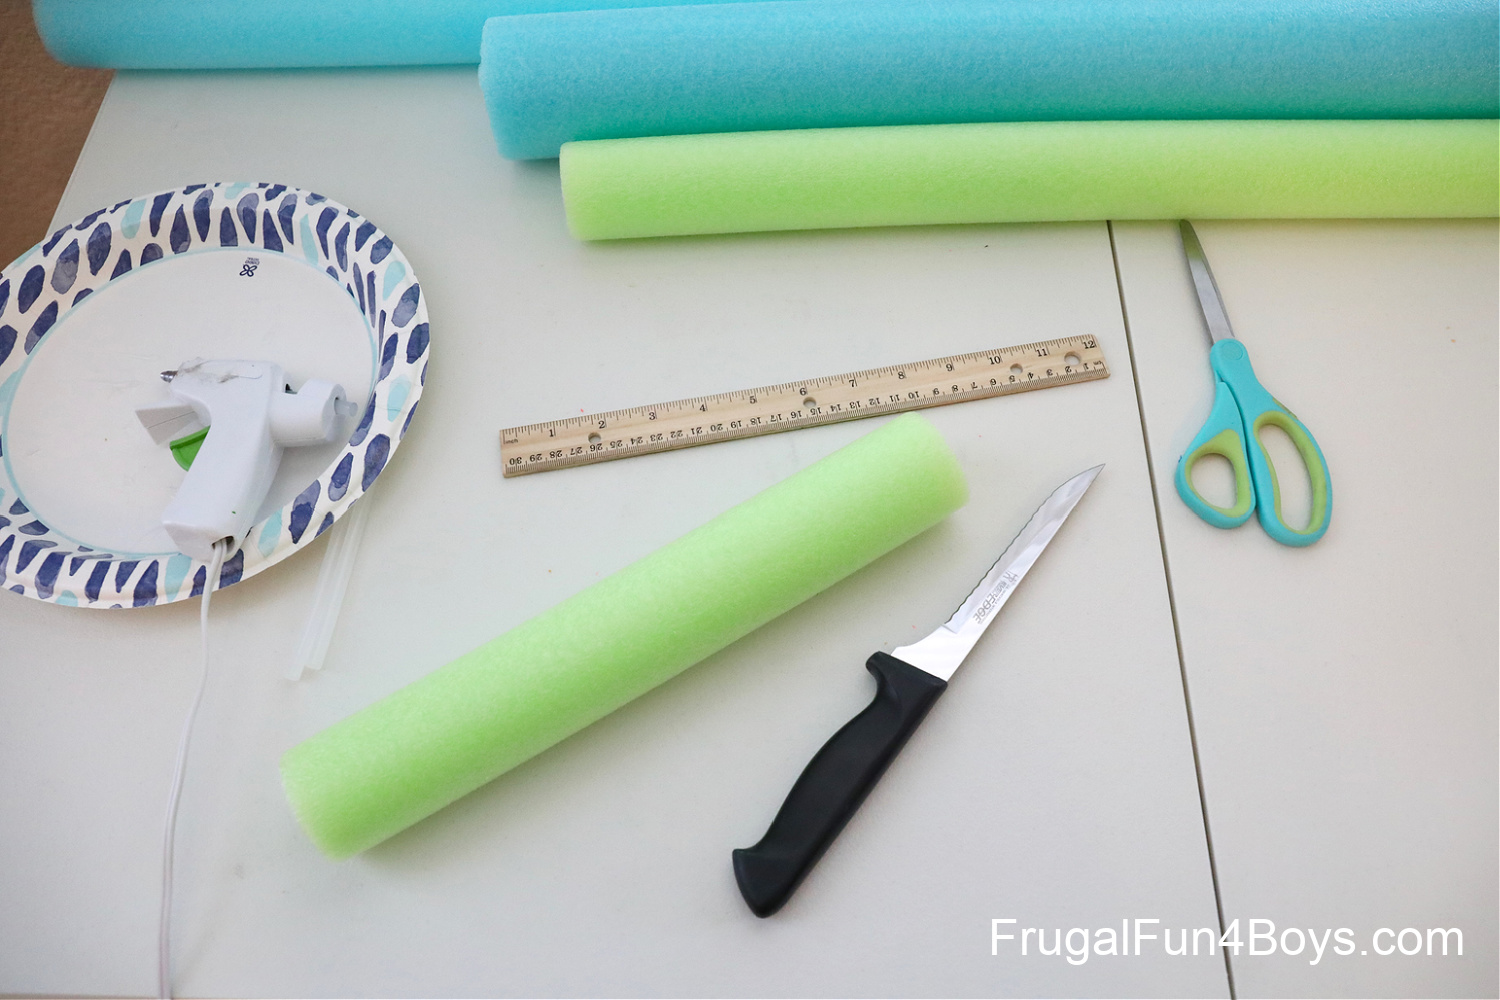
Step 1: Use the serrated knife to slice a 12 inch section off of the pool noodle. (This will allow you to make 4 flingers from each pool noodle.)
Step 2: Cut fins from craft foam. I used a double layer of craft foam for each fin to make them a little stronger. I don’t have a pattern for these. But it’s not hard to make your own! The size and shape do not need to be exact. Just wing it. (Haha, see what I did there!)
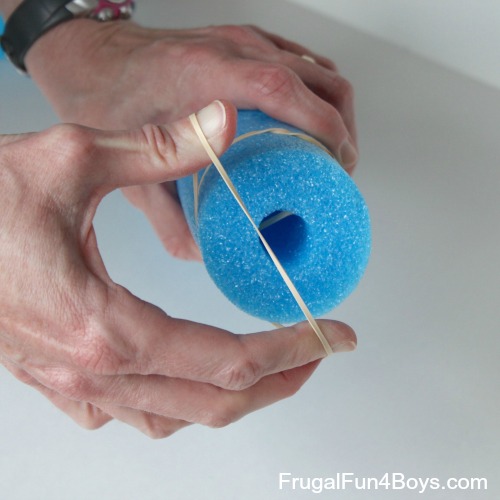
Step 3: Find a rubber band that is wide enough to fit over the tip of the nail, and stretchy. Use the nail to poke the rubber band through the pool noodle as shown below.
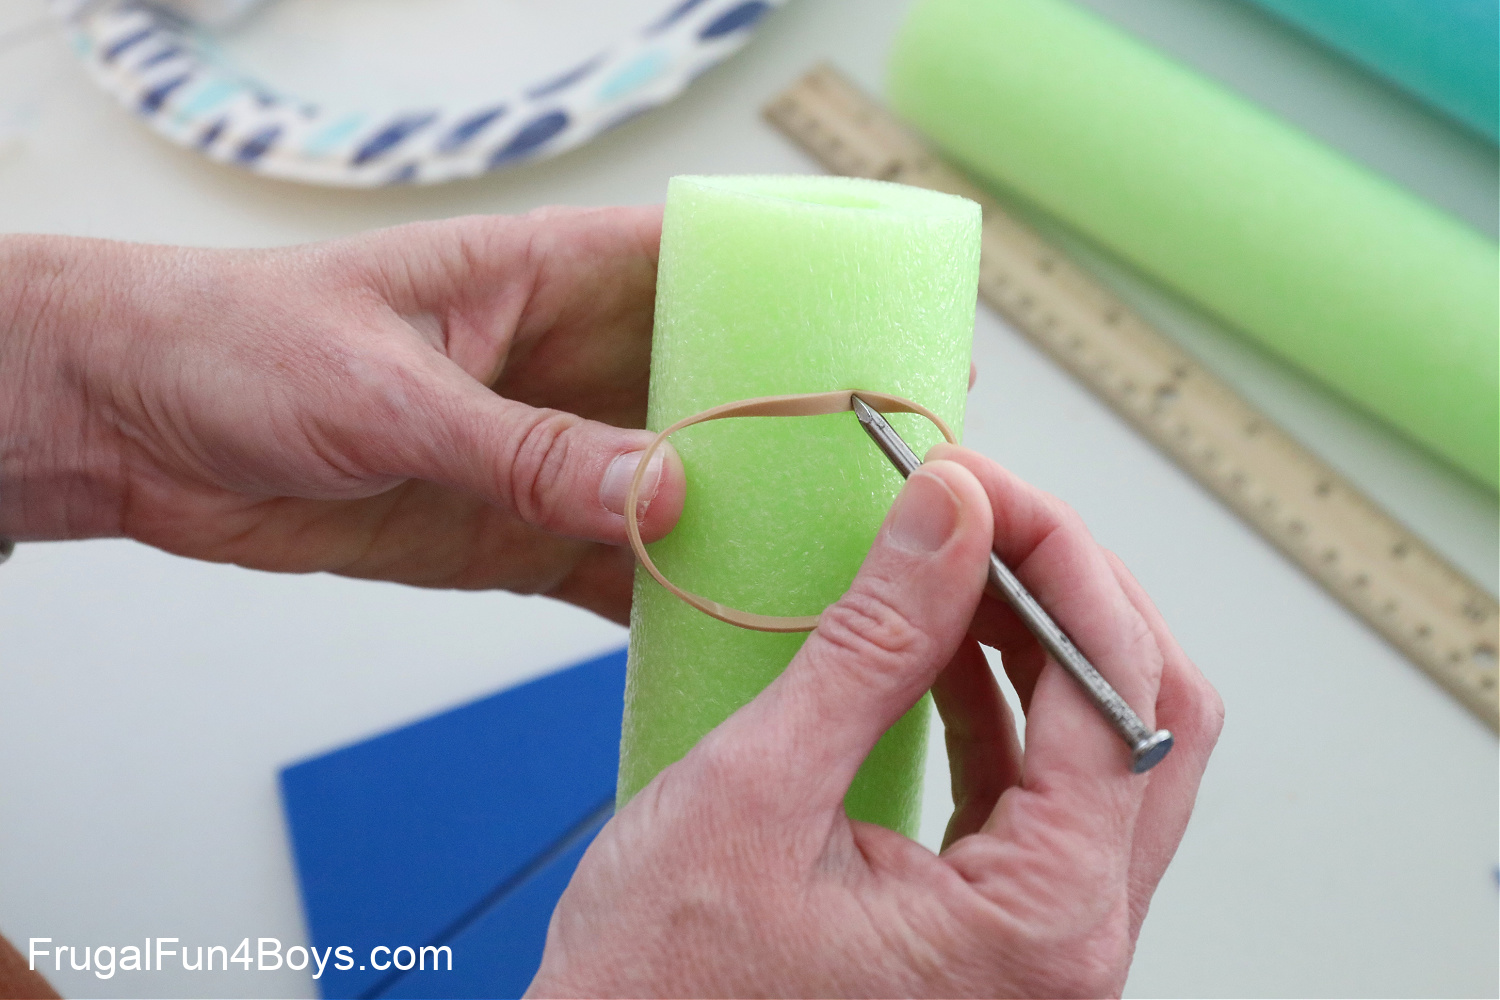
The rubber band should stick out on both sides, like this:

Step 4: Loop each end of the rubber band around the pool noodle. This holds it on very securely.
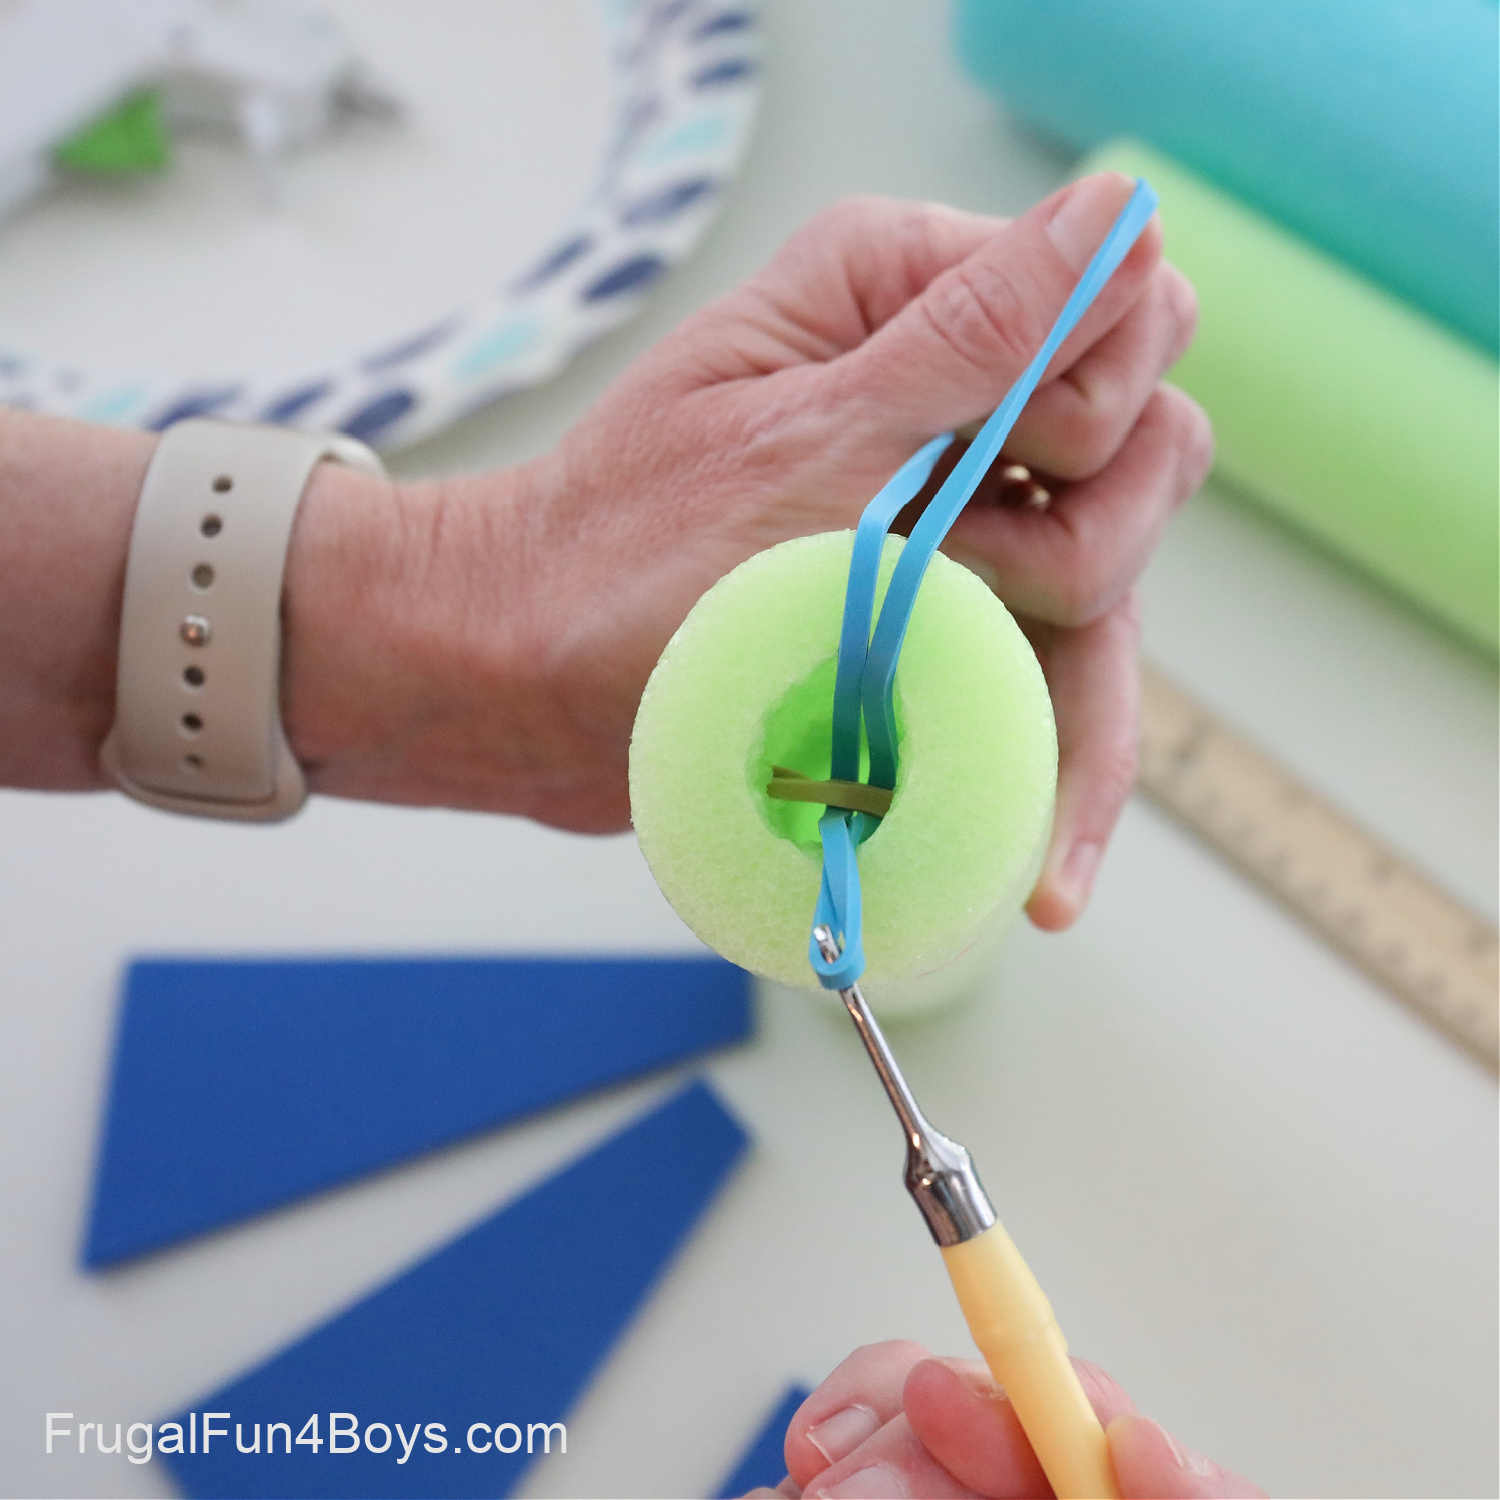
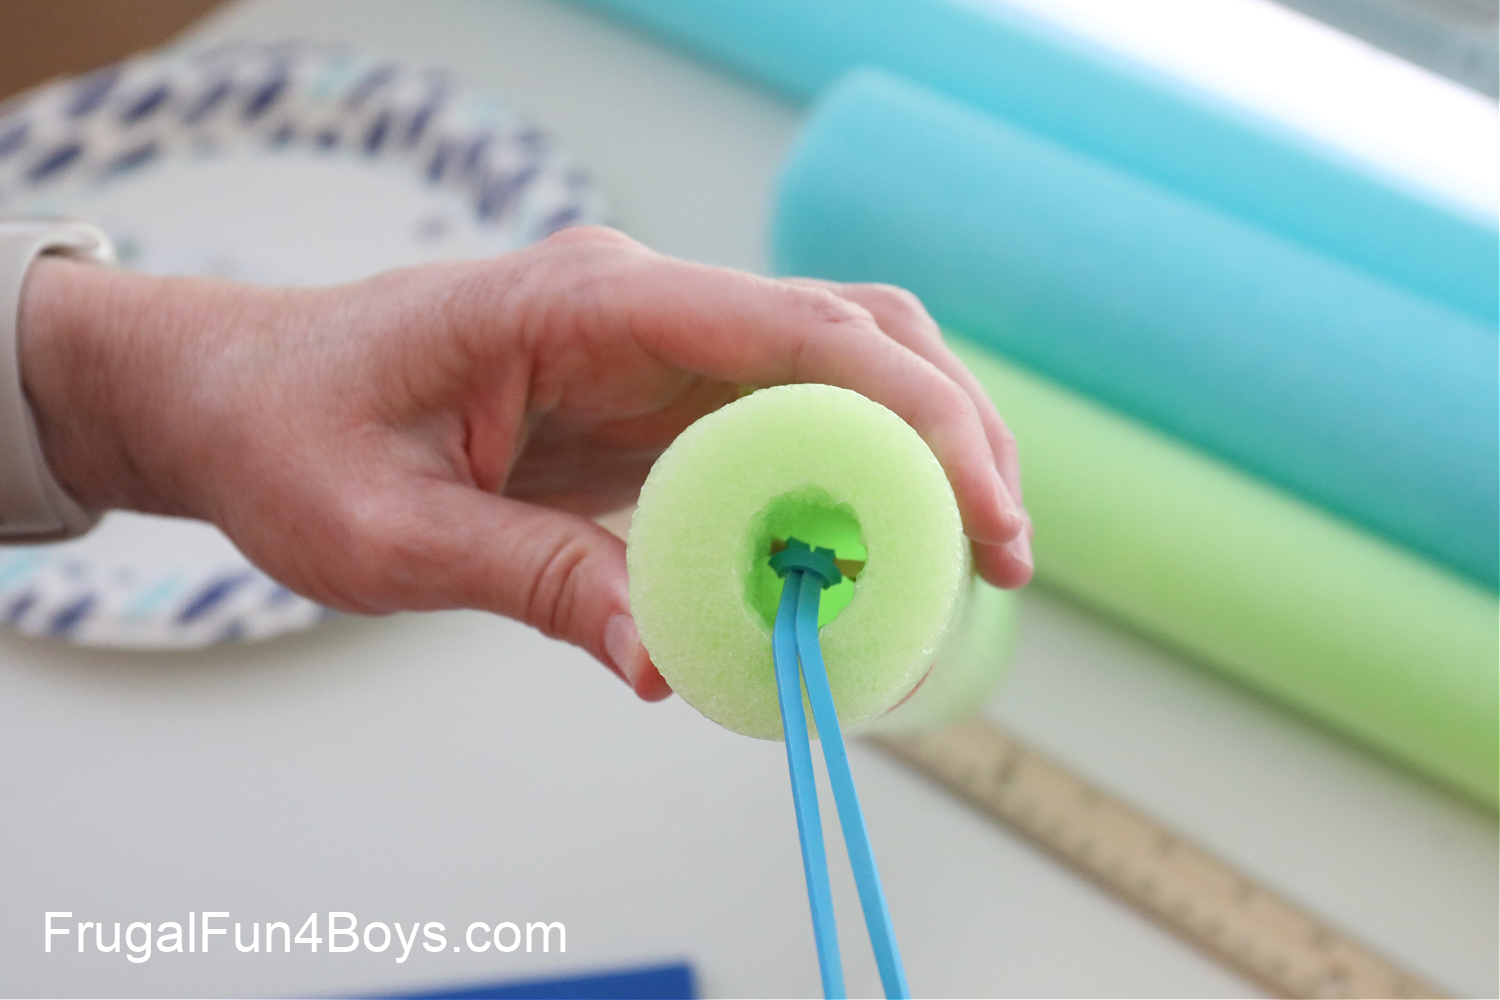
Step 5: Attach a second rubber band which will be used to fling the rocket. Use a crochet hook or something similar to tie a knot with this rubber band around the other rubber band. (Like you’re attaching a luggage tag.)
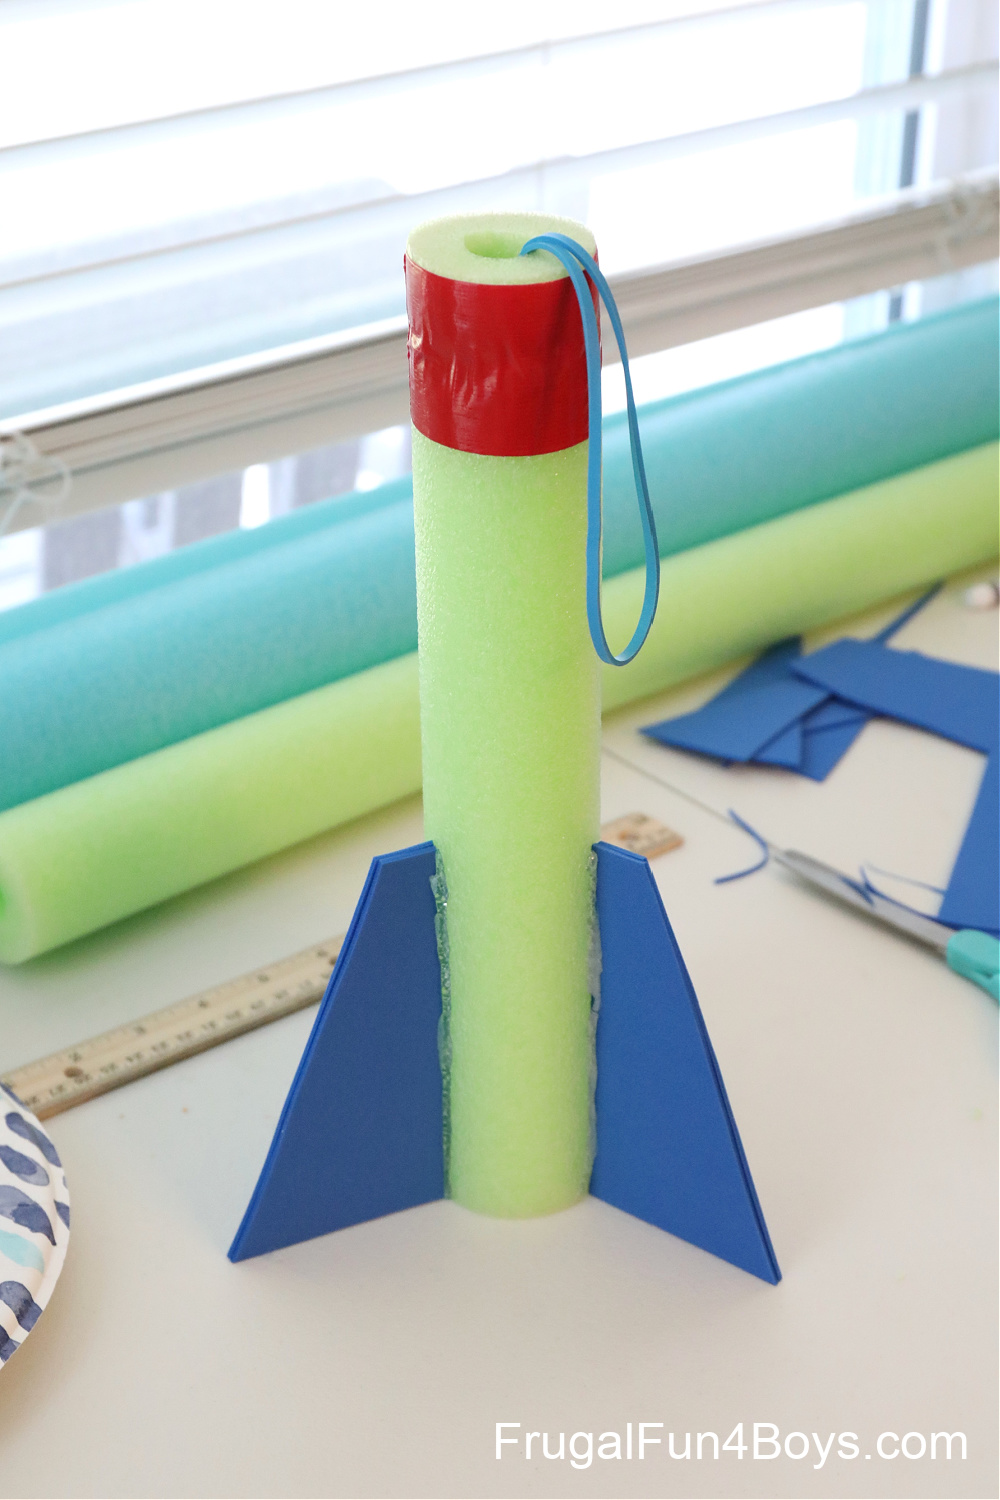
Step 6: Wrap duct tape around the top of the rocket. This makes it look cool, and keeps the rubber band secure.
Step 7: Use hot glue to attach the fins to the rocket. Hot glue works quite well for this! The pool noodle will melt a little, and it creates a strong connection. We haven’t had any trouble with our fins falling off.
NOTE: You can experiment with different lengths and thicknesses of rubber bands!
We tried doubling our long rubber band before attaching it to the inner rubber band, as shown below. This gives the rocket flinger more power! I prefer the doubled version, but Jonathan (age 11) thinks it’s easier to shoot it with the longer and less tense rubber band.
Now you’re ready to play!
It takes a little bit of practice to get the best distance out of the rocket flinger. We found that it’s important to pull back firmly and then let go without trying to push it forward. Kids under age 5 may have trouble shooting this. Older kids will think it’s a blast!
It’s fun to play “catch” with these. Stand across from each other in the yard and shoot the rocket flinger back and forth!
19 Comments
Damien Apr 18, 2015
This is awesome. I was about to throw out our old pool noodles but this is a great idea!
Jane Apr 19, 2015
What a great project. Can't wait to try this now that the weather here is looking up. Thanks for sharing!
Janice Legler May 2, 2015
You can find great and colorful elastics that would probably be perfect for this at Staples around the file folders isle. They are file folder elastic bands.
I have also made flinger toys using zip ties to hold in a washer to which the elastic is attached, and pipe insulation at Lowe's that was cut it into roughly 10 inch sections. With these "rockets" you stretch elastic from the back, hold the front, and let them fly. Left over pipe insulation can be used as "light sabers" or "nun-chucks."
My grandsons LOVED these toys, and they were made for a Ninja Turtle Birthday Party--inexpensive party favors that were definitely a hit!
Nina Lewis Jun 25, 2015
I love, love, love this idea!! I have put this on my list of activities to do at our family reunion with our kids and grandkids at the end of July.
I have a link party that I am trying to grow. I invite you to share this idea (and a couple of others) at my Grandma Ideas Sharing Time link up at http://grandmaideas.com. I think my readers would LOVE this idea as much as I do.
My linkup is open Wednesday through Friday at midnight. I hope to see you there!
All the best,
Nina
Kari Jun 26, 2015
We took a trip to the dollar store so we could make these ($3.00 total spent-$1 each for noodle, rubber bands, duct tape, we already had craft foam and E6000 glue).
We had all 4 made in just a short time, and then the fun started as we started launching them around. The fins were a must as the rockets only made it an unimpressive couple of feet without. I scored a notch in the noodle with a scissors and fitted the gluey fin in the groove.
We'll be taking these along when older siblings are playing outdoor sports as they are sure to entertain all the younger siblings (AKA sometimes unwilling tag-a-longs). If they get lost, damaged, or gifted they can easily be replaced.
Sarah Jul 1, 2015
That's great! We also used ours at soccer practice. The notch in the noodle is a great idea - I'll have to try that! Thanks for commenting!
Fiona May 25, 2016
A HUGE thank for sharing this post. I'm so excited I'm making these with a group of homeschool children tomorrow. I've been waiting to make these as I've been waiting on an order from china for the pool noodles, as it's nearly winter here (Australia) and impossible to buy them in the shop. Plus it was super cheap buying them from China. I've made my sample and it works REALLY well so I just know the kids will love them. With winter approaching it will be a good indoor game since they are made of foam.
Alyssa Apr 26, 2017
This is awesome. I am featuring this with a link on my blog.
Charlice Eedu Jun 25, 2017
Thank you for sharing this with us. Often times, I just throw these things away although I don't consider that a waste since I have exhausted what was previous useful -- in my eyes -- and that is what matters most.
Adissa Abaaba Sep 26, 2017
This is a nice project to fill up the leisure time or during the holidays. Thanks for coming up with this creative flinger. I hope there isn't any length requirement for this to fly high
cm Jul 8, 2019
Found this four years later. Thanks for making this dad's sleepover awesome.
RC Jun 2, 2020
My kids enjoyed a lot doing this project.Thanks for posting😀
Roger L Singleton Jul 13, 2021
Church boys loved doing this! I used a slotted screwdriver to make holes and push rubber band through. Glue sticks held the foam pieces together and hot glue works great
Michelle Jul 2, 2022
Can't wait to make these for my granddaughters
Noreen Jul 20, 2023
This is great! Thank you for your kindness and generosity in sharing your ideas. :)
Mr. Lee Sep 12, 2023
Thanks for this! I have been using the pipe insulation style for a number of years, but these are MUCH better. I modified one thing: Cut two triangles out of a 6" square of thick craft foam (from Hobby Lobby). Slot one triangle halfway up from the bottom, and the other from the peak, then fit the two together. Cut four slots in the bottom of the pool noodle, and slide the "fin unit" up into the slots. Then hot glue the bottom of the pool noodle back together. This makes the fins almost impossible to come off.
I also use #64 rubber bands for the band that goes through the noodle. It's pretty stiff, but it is unlikely to break.
Julie May 2, 2024
Oh my goodness!!! These are so fun! And they work so well and are very easy for even three year olds t fly. We had so much fun making them and flying them! Thanks for sharing such a fun thing!! One tip for anyone who has a high heat glue gun. Put the glue on the edge of the fin and let it cool just a bit before sticking it to the pool noodle so the noodle doesn't melt so much.
Maria Jun 6, 2024
Thanks for the idea for Summer Bible School craft! I used a wooden chopstick instead of a nail to get the rubber band through the noodle. It worked great and I didn’t need to worry about sharp nails ending up on the ground.
Eva Jul 23, 2024
Thanks for this fun craft! We are going to do these at our 5-years-olf birthday party. My son and I just did a prototype.Since I don't have a hot-glue gun I used a knife to slit the noodle so that I could stick the fins into the noodle with some additional glue. Worked great as well.
Myra Jun 1, 2025
I'm an Activity Director for assisted living. Great project. They'll love it.
Post a Comment