
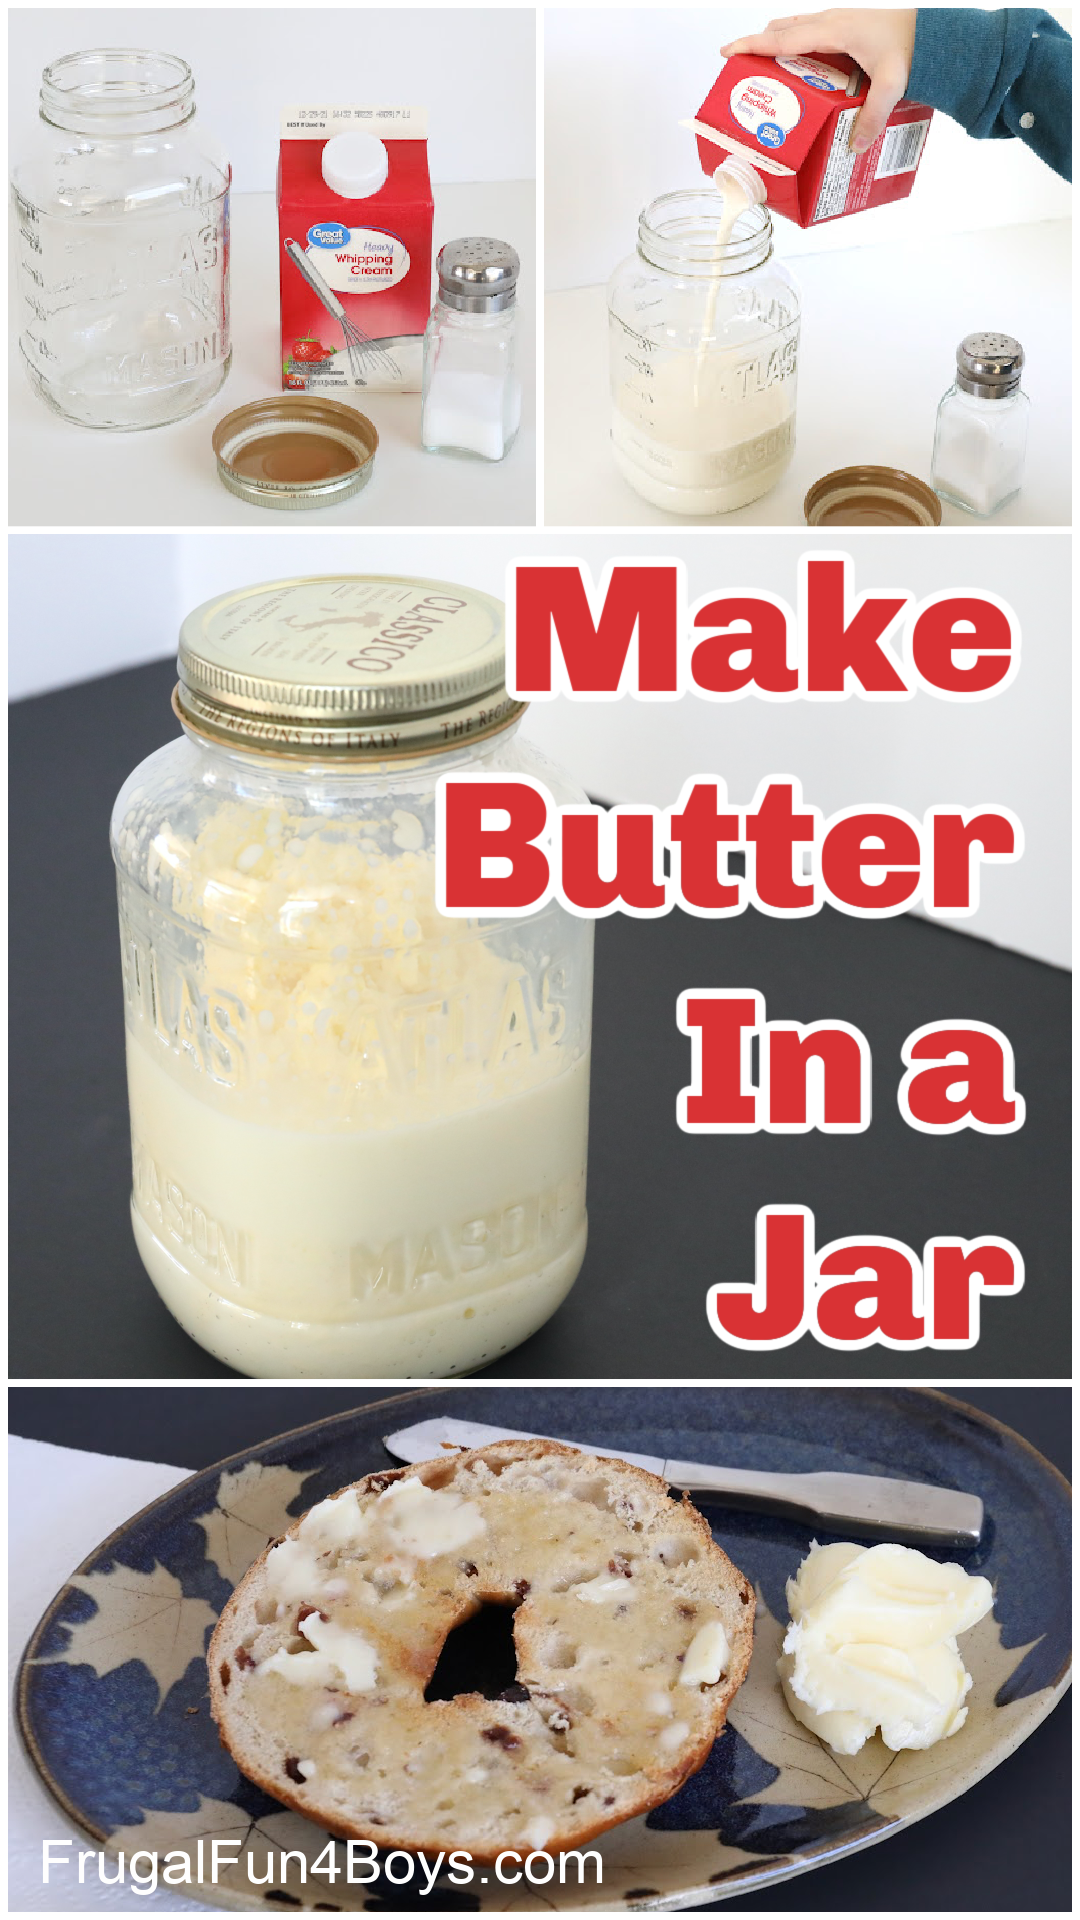
Have you ever made butter in a jar? It’s so easy to do! This simple science activity is perfect for a unit on farming, frontier living, or westward expansion. Or, just make some butter for Thanksgiving or another holiday dinner! It takes just a few minutes and tastes so good.
Kids of any age can help make butter in a jar, even preschoolers! But younger kids may get tired before the process is over. Older kids will be able to do it all themselves.
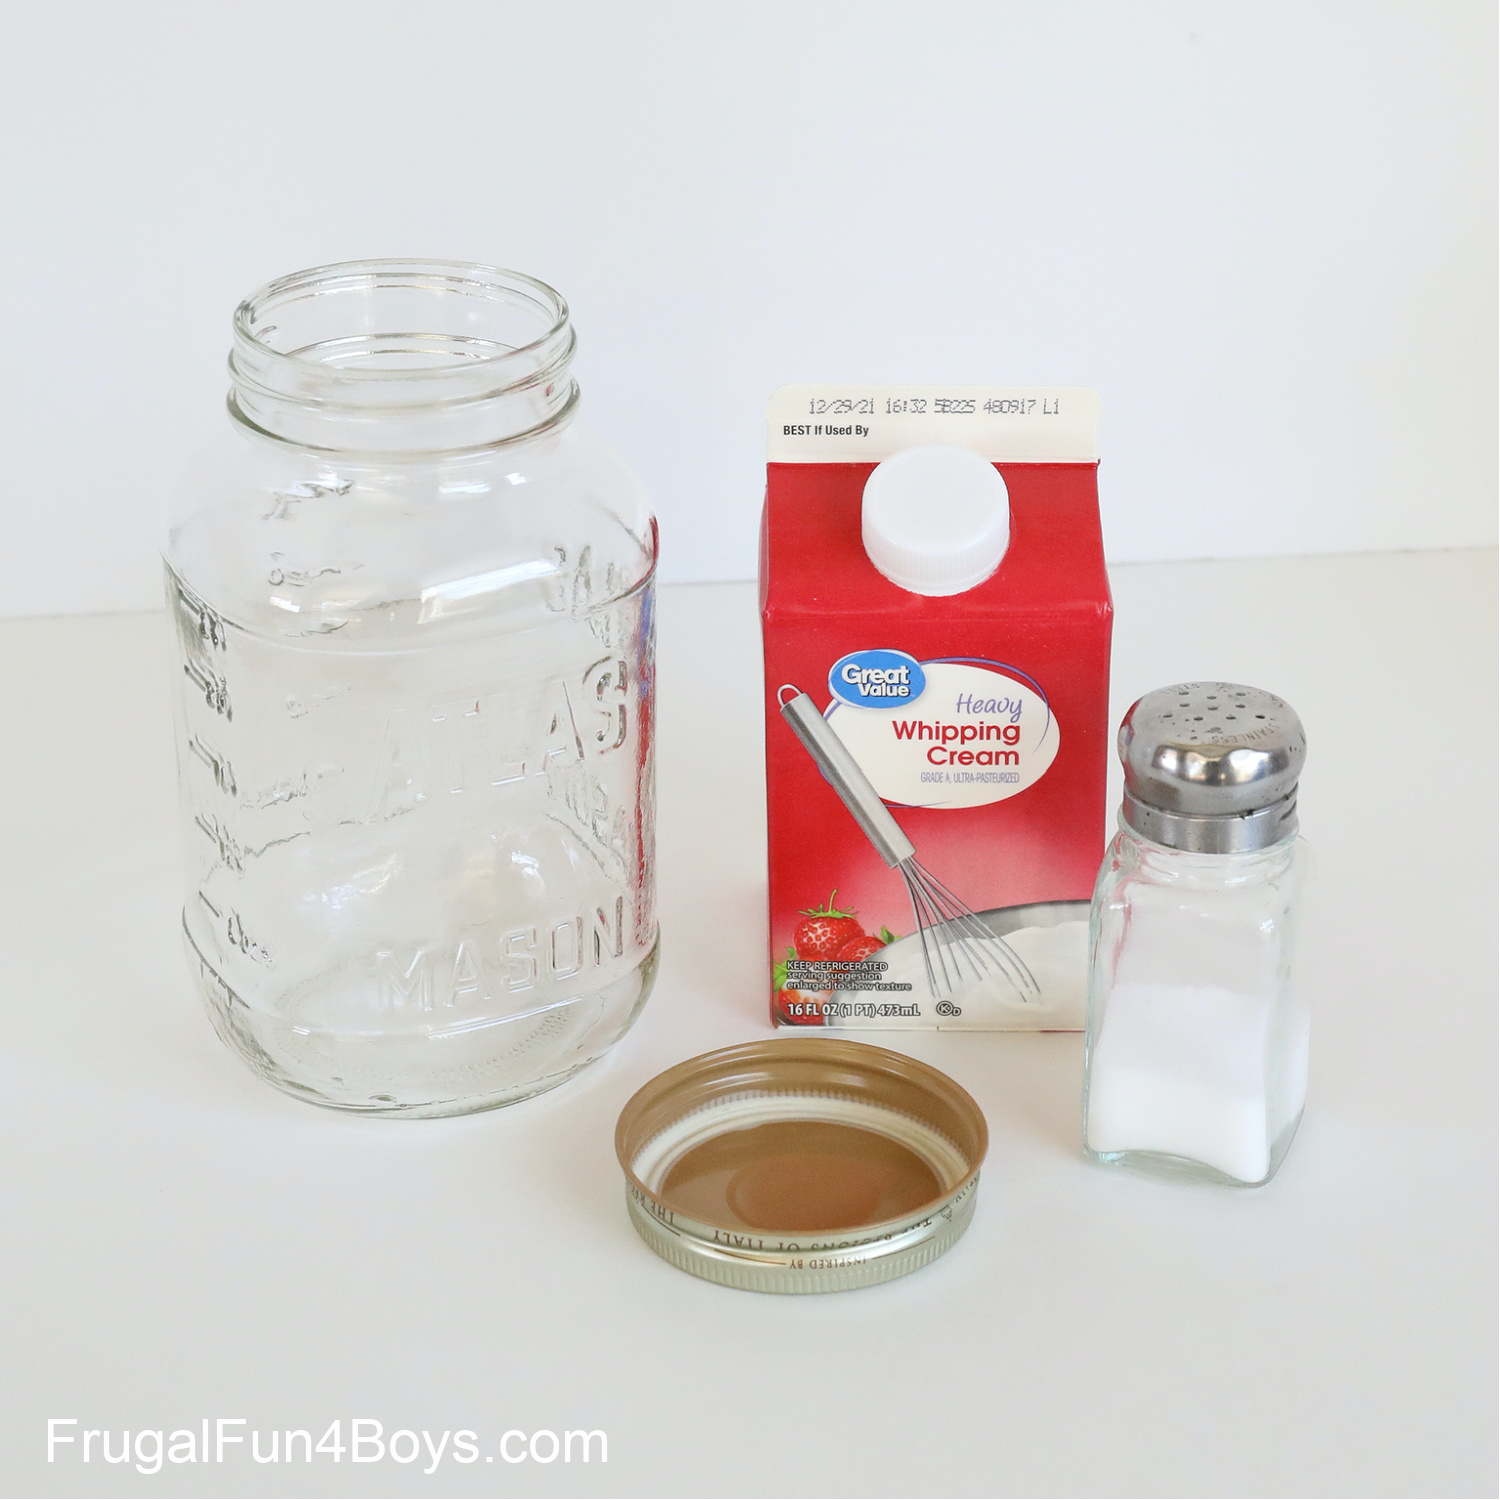
Ingredients Needed:
- Heavy whipping cream
- Salt
- A jar
And that’s all! Really and truly! You don’t even have to add salt if you don’t want to. We think the butter tastes better with some salt, however.
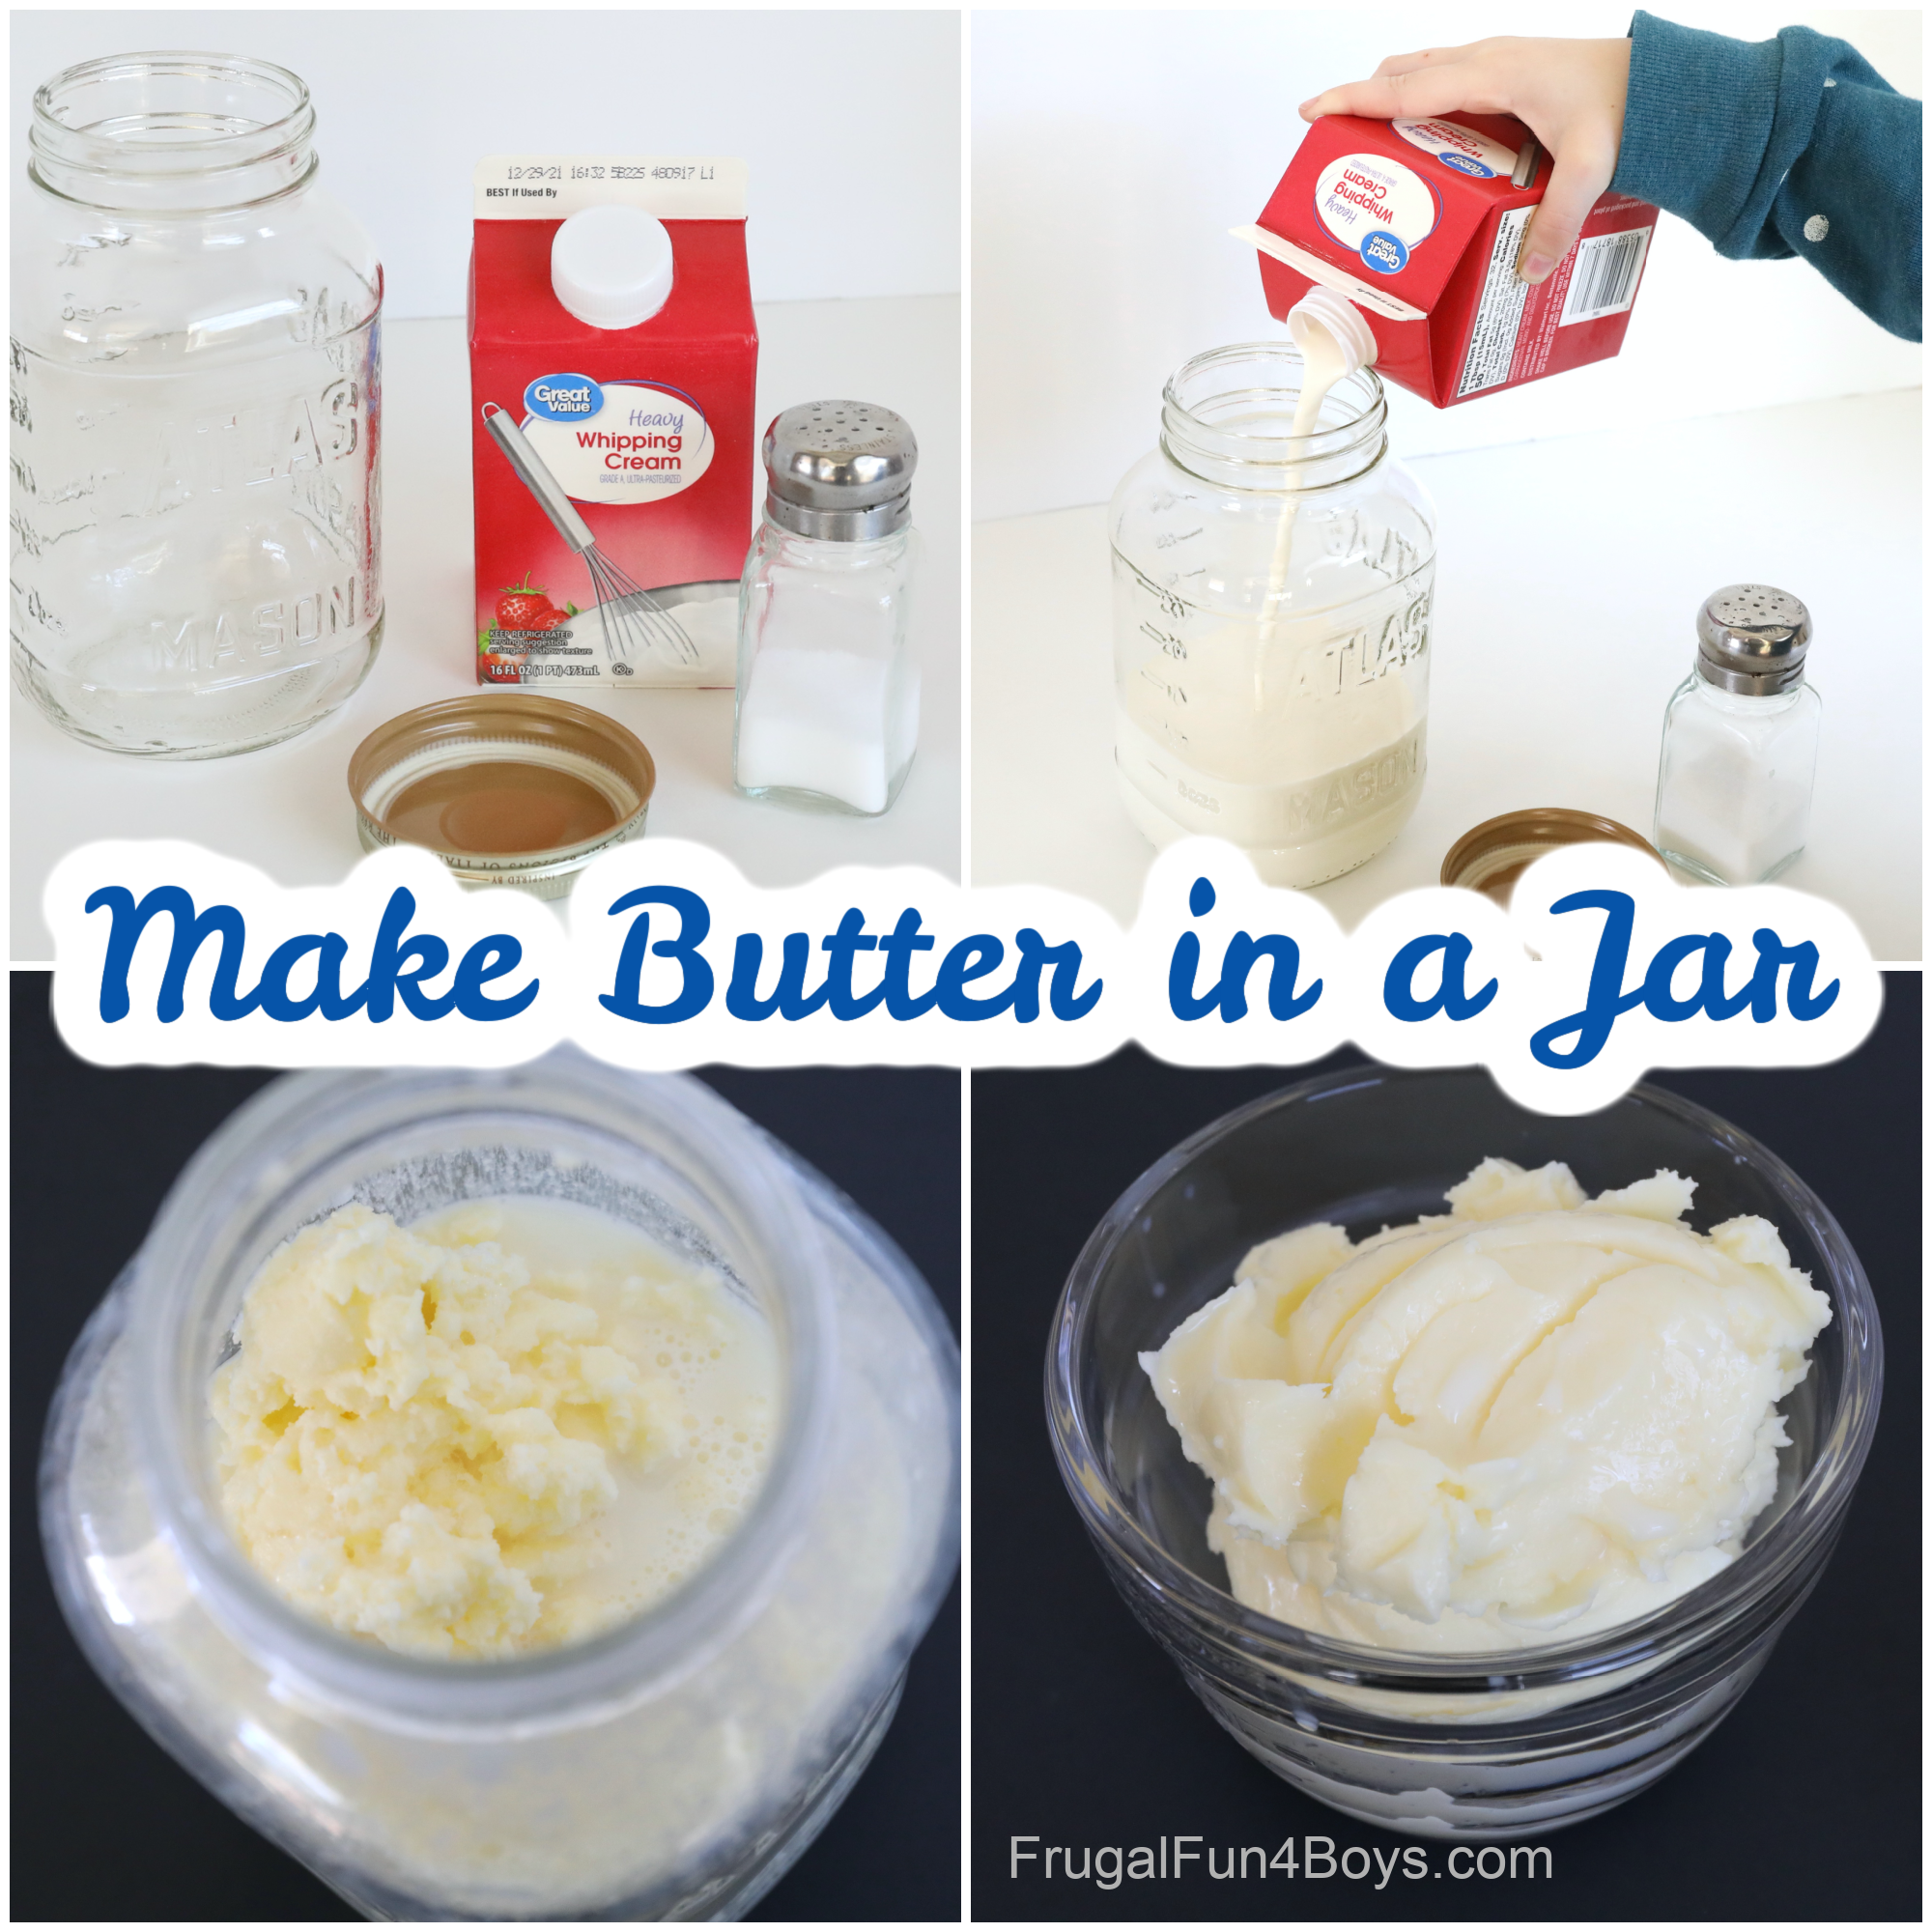
Pour the heavy cream into a clean jar. Make sure that the jar is large enough that you have plenty of room for shaking!
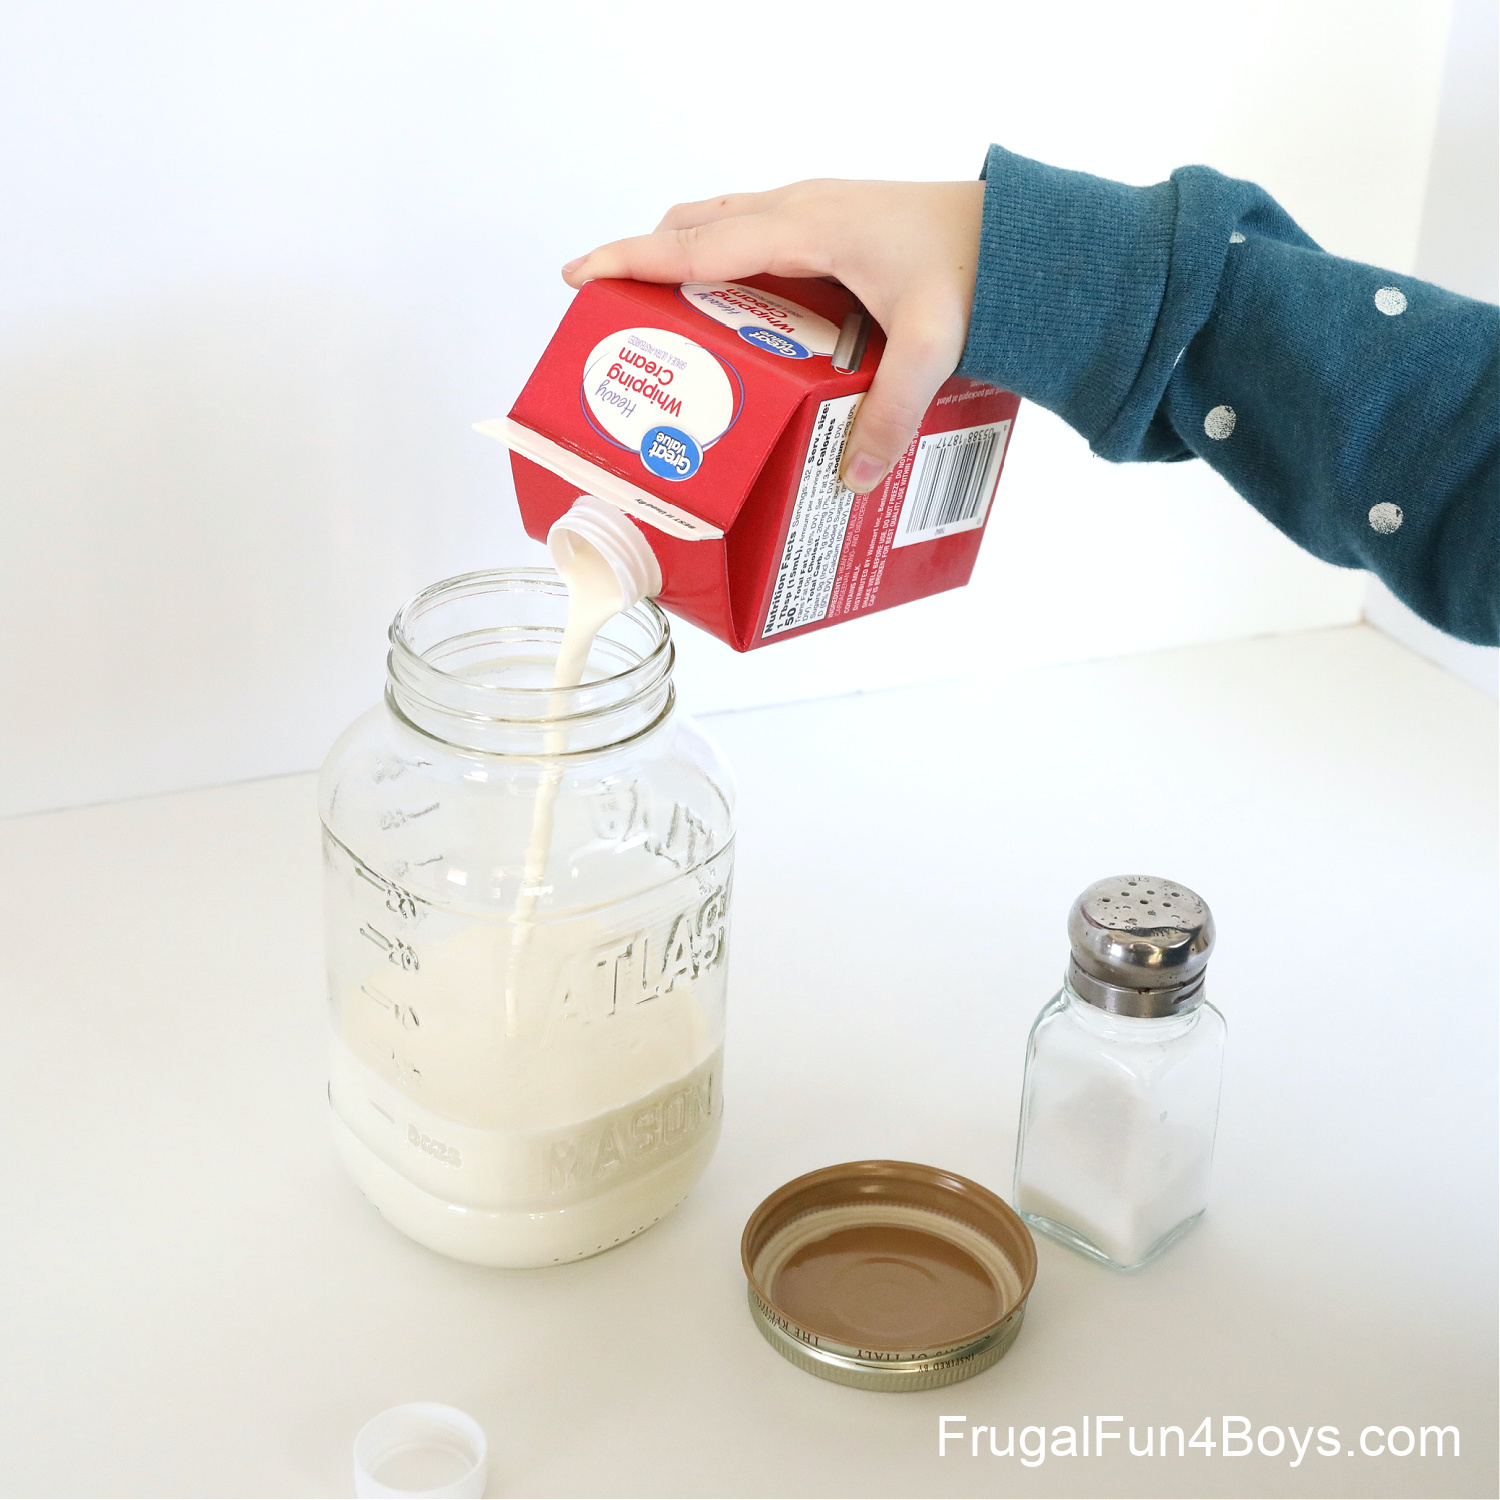
Screw the lid on your jar, and make sure it’s nice and tight.
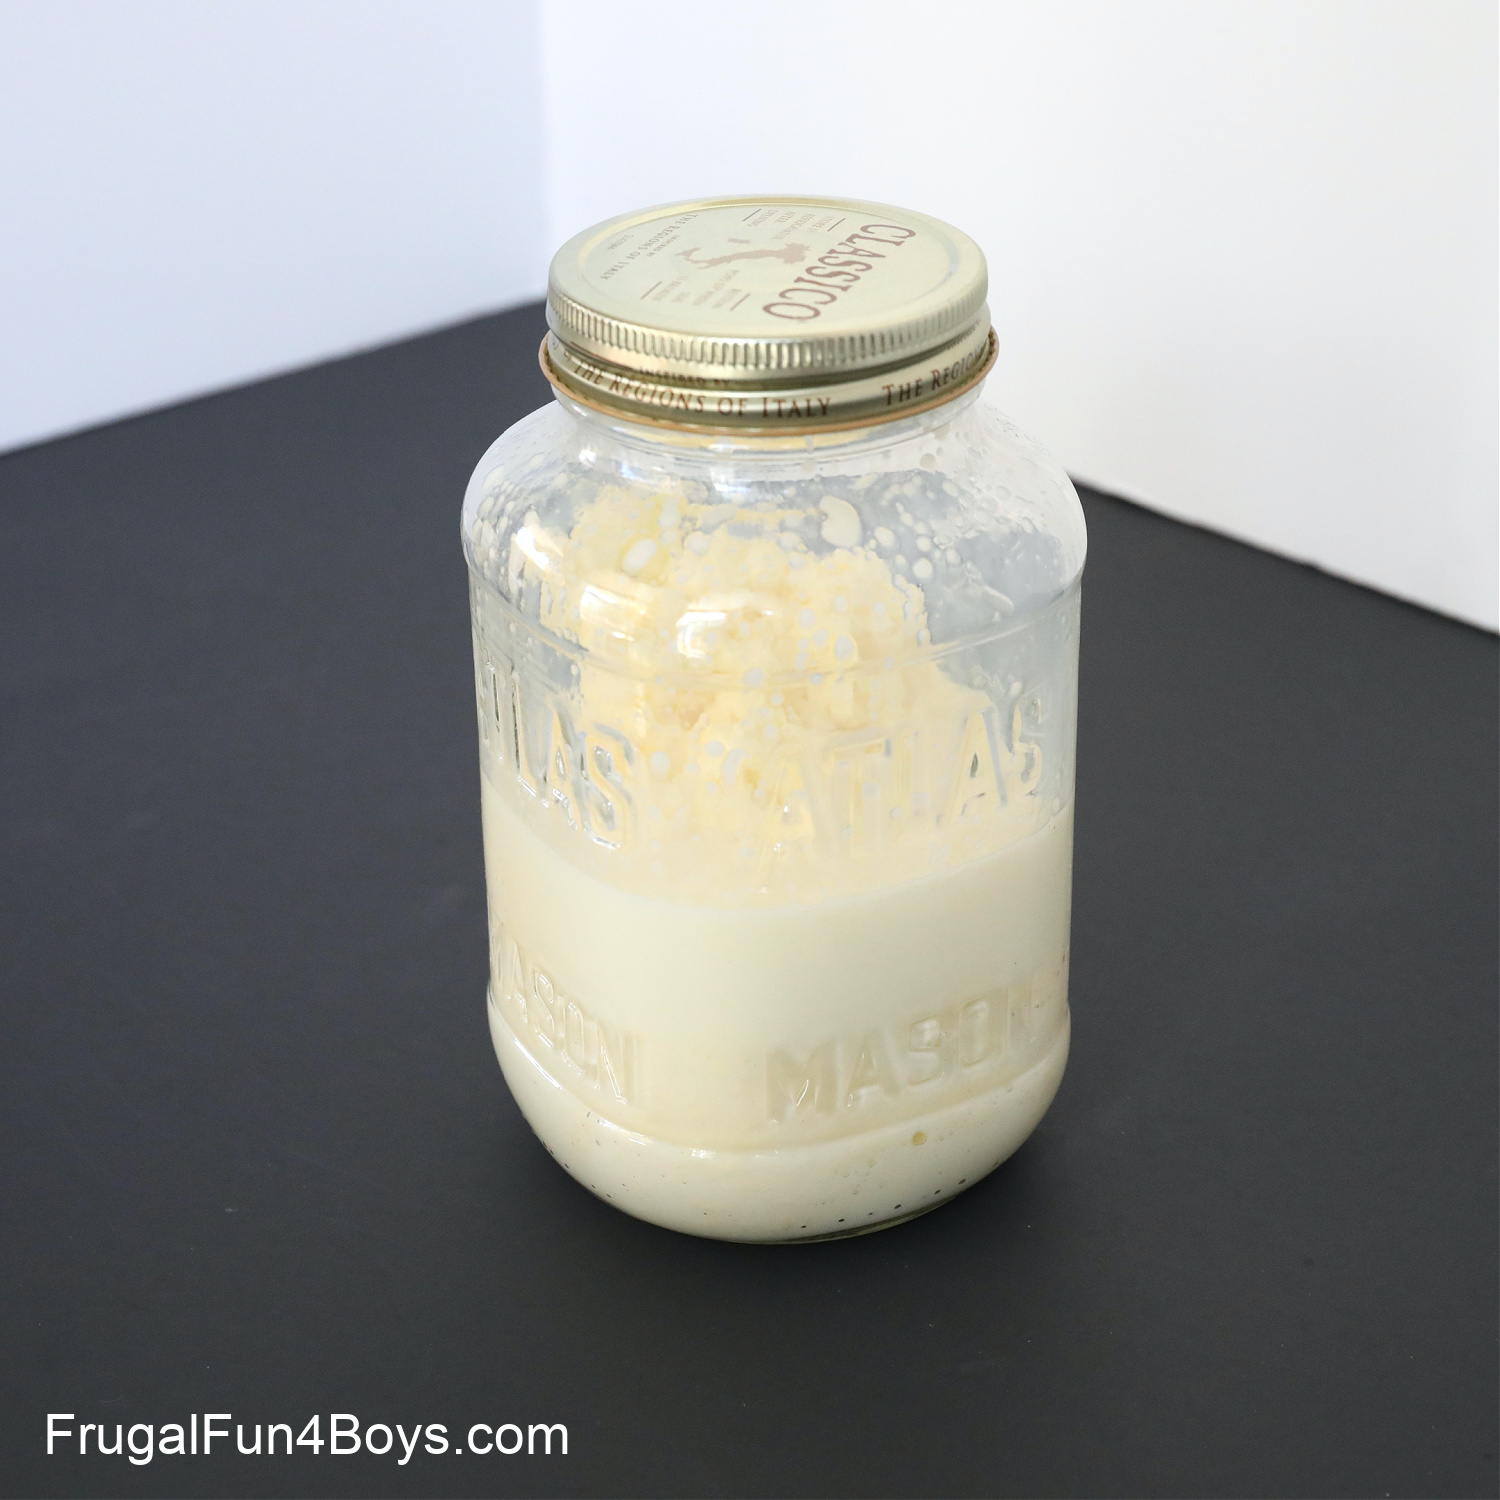
Then, start shaking! You’ll need to shake LOTS AND LOTS. This step will take several minutes.
After a few minutes of shaking, the cream turns into whipped cream. It will fill the jar, and you may feel like nothing is happening when you shake it. But keep shaking! A few minutes after the whipped cream stage, you’ll suddenly hear a lump of butter thumping around in the jar. A thin liquid will slosh around the lump of butter. The liquid in the cream has separated from the fat, creating butter.
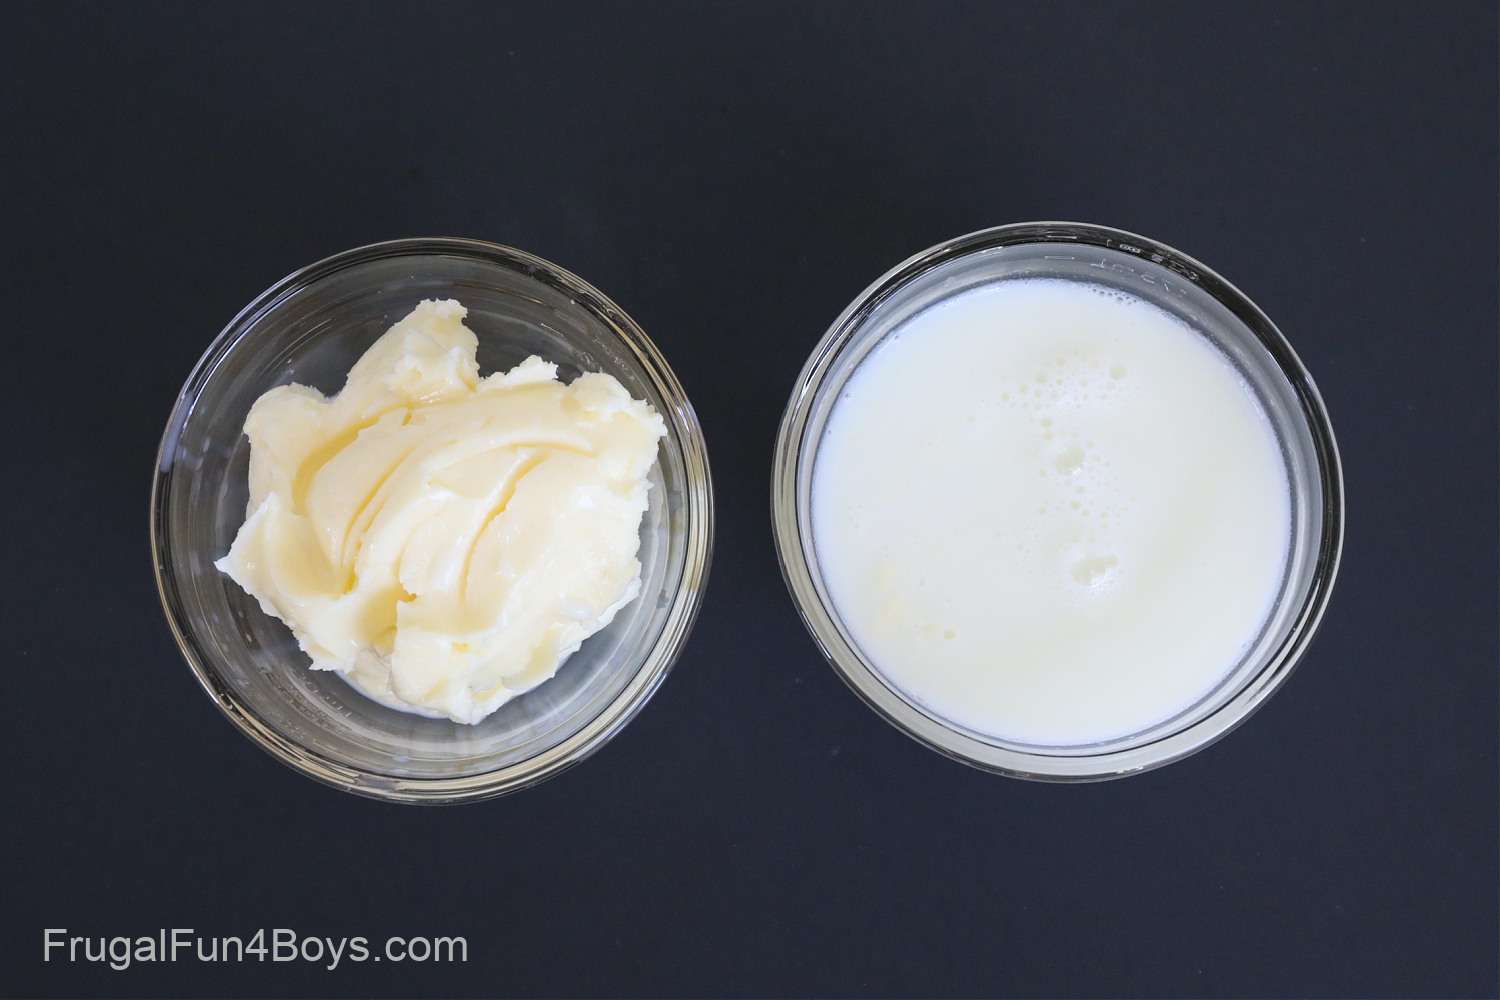
Pour off the liquid. This liquid is buttermilk, sort of. The buttermilk that you buy in the store is really just cultured milk – regular milk with acid or bacteria added to give it a sour taste. Traditional buttermilk would have to be made from cream from raw milk. The raw milk would have natural bacteria in it that would do the culturing.
Squeeze the butter to get all the liquid out, and rinse it under cold water. This will help it to keep for longer without spoiling.
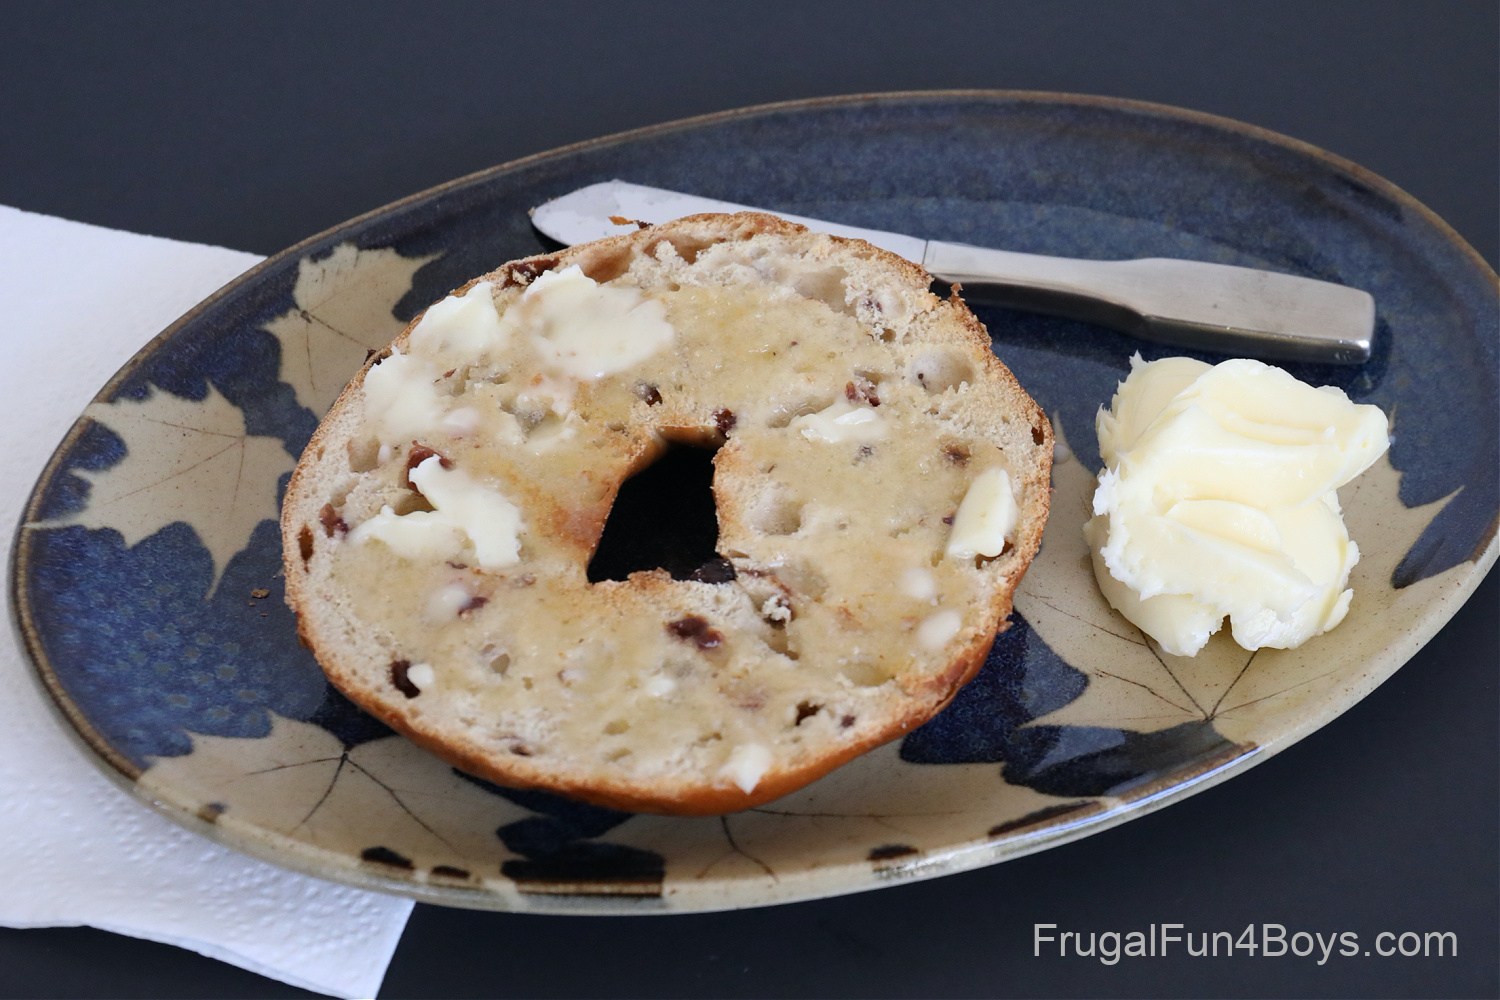
Add some salt to your butter, if desired. I sprinkled salt, then stirred, then sprinkled more salt, then stirred. Well, you can’t really “stir” butter. So I did my best, and just kind of folded it over and over.
The Science Behind Butter in a Jar
We started this project with heavy cream. The fat molecules that are naturally occurring in milk are less dense than water, so they rise to the top. Cream comes from skimming the fat off the top of milk that has separated. (Grocery store milk won’t do this since it’s homogenized.)
Cream still contains a mixture of fat and liquid, however. It’s just a high percentage of fat. By shaking the cream, the fat globules are bounced around and agitated, and they begin to stick together. Fats (oil) and water don’t combine. So the fat molecules naturally stick to each other rather than staying evenly mixed in the liquid. Keep shaking, and soon the fat is completely separated from the liquid!
Here’s an interesting article from Scientific American that explains more about butter making! It also has a fun idea for making this butter activity into a true science experiment with a variable to test.
4 Comments
Eve Webb Nov 22, 2021
School holidays start in just over a week...our long summer ones...and I've started hunting up the pieces of an old icecream maker, the turn a handle type from 50+ years ago. This is perfect timing to start the "science" for our grandchildren. Make butter and bread rolls for sustenance whilst turning the handle and salting the ice.
Lorraine Delorme Nov 23, 2021
Good morning,
how much buttercream is needed for the experiment? I think it looks like a great thing to learn and see the results.
Sarah Nov 24, 2021
You can use any amount of cream! Since it's the only ingredient, it doesn't matter how much you use. We used a 16 oz. container.
Thea Nov 24, 2021
That sound like fun. how about making feta cheese?
Brenda Nov 24, 2021
As a first grade teacher, my students and I made butter every year for our Thanksgiving unit. The first few years, we passed a quart-sized jar around then. Then I divided my class into smaller groups and we used 1/2 pint jars. This made for a more “hands on” experience that was also faster. Going now to get ready to do this with my 10y and 6yo grands. Thanks for the memories!
Post a Comment