
Building Instructions for LEGO® Guinea Pigs! This project was inspired by our two pet guinea pigs. Guinea pigs make great pets for kids, but these LEGO® guinea pigs are even better! They won’t make a mess, and they don’t need food or water – ha!
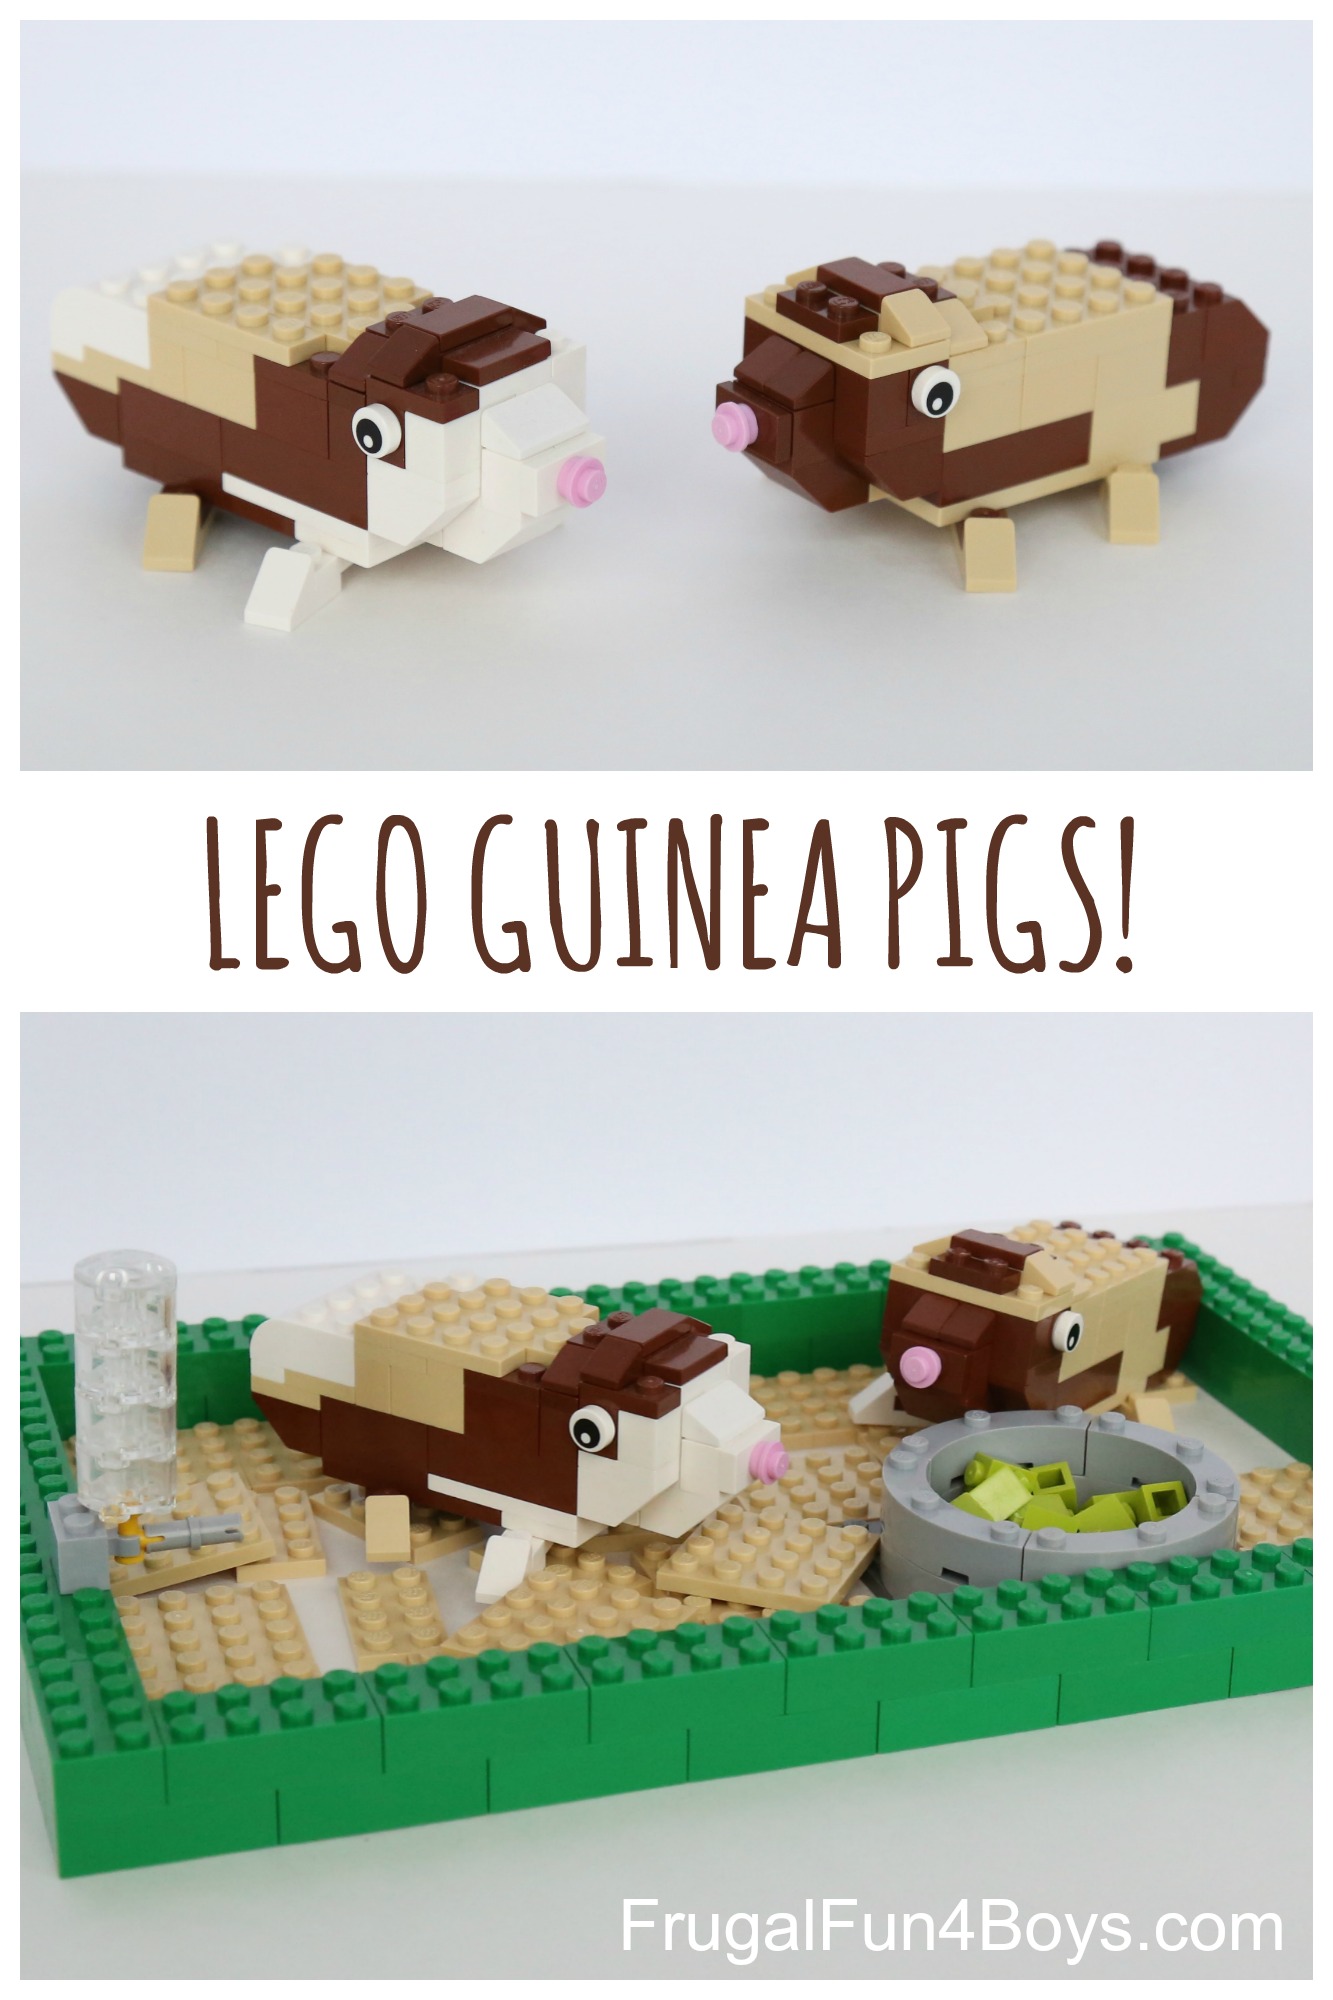
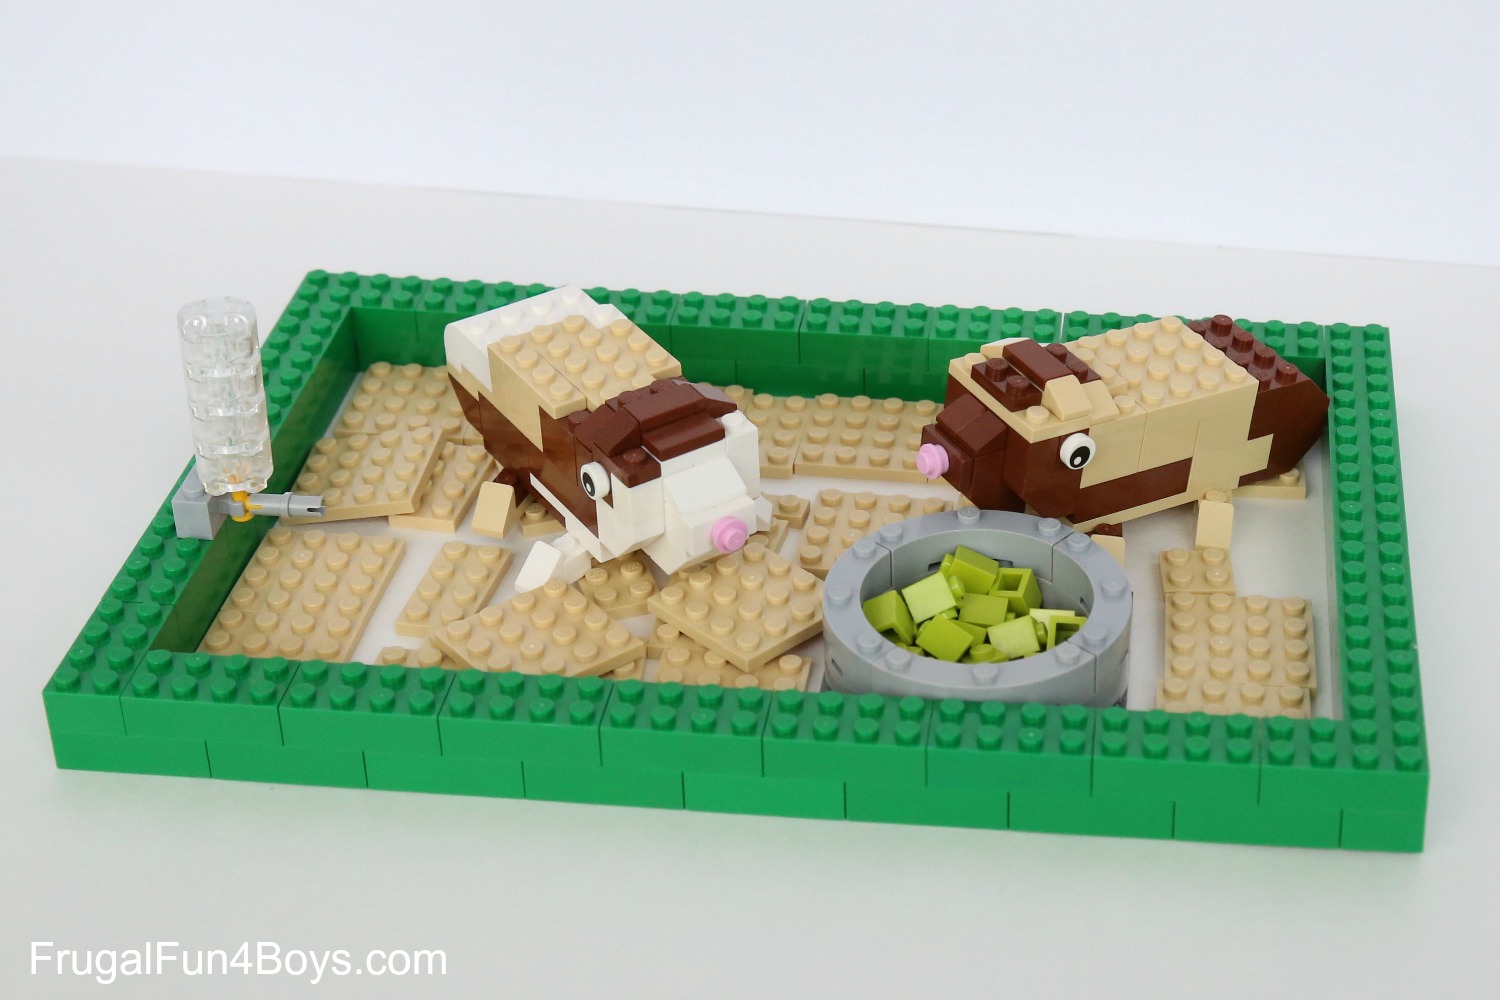
Build a simple cage complete with a food dish and a water bottle.
The instructions below are for building the brown and tan guinea pig, but you can make your guinea pigs whatever color you like.

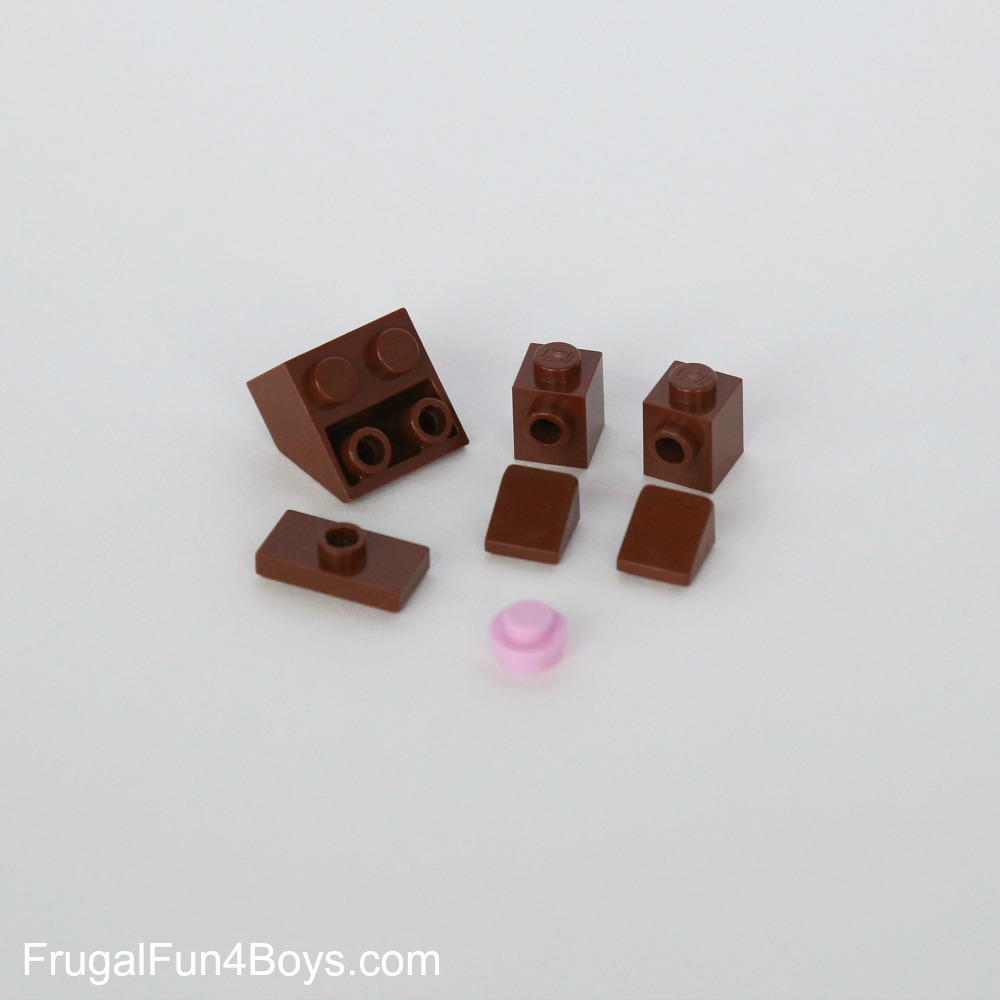
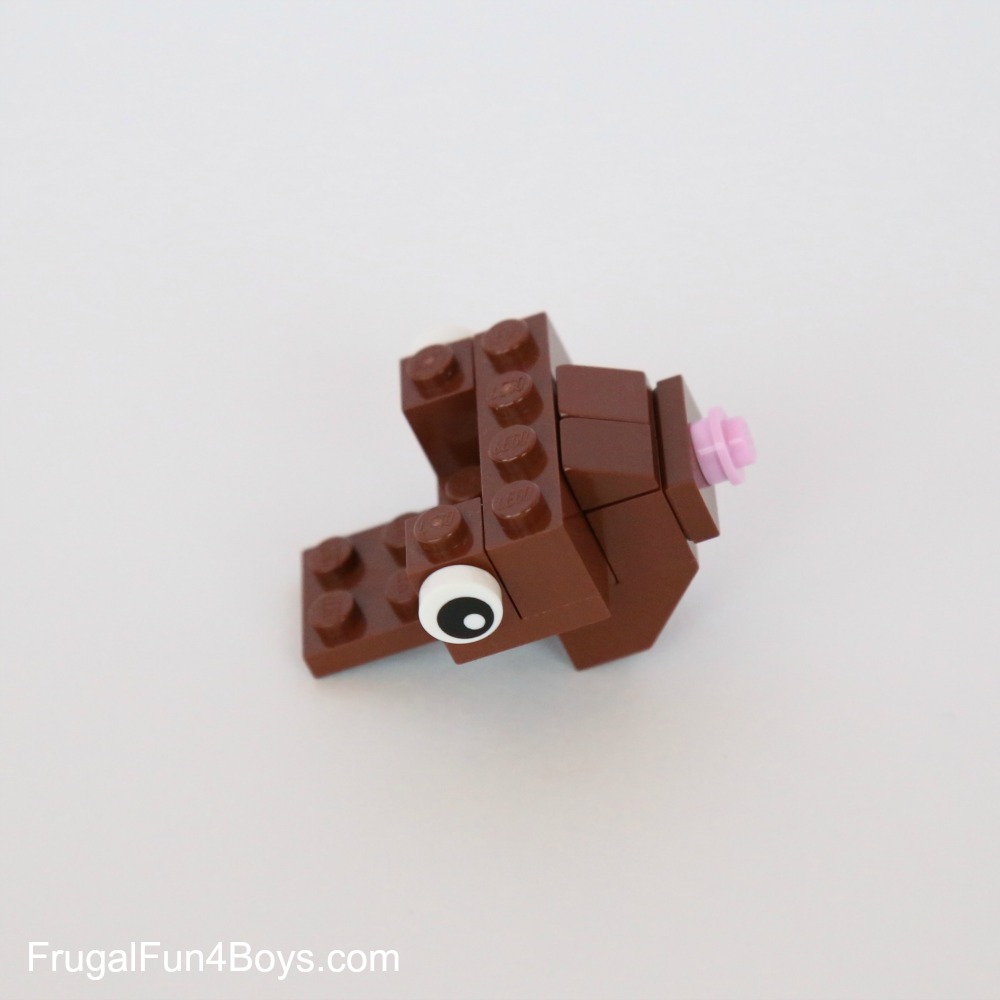
Step 1: Gather a 2 x 2 inverted slope, two 1 x 1 bricks with a stud on the side, a 1 x 2 plate with one stud on top, two 1 x 1 slopes, and a 1 x 1 pink round plate.
Step 2: Build the face as shown.
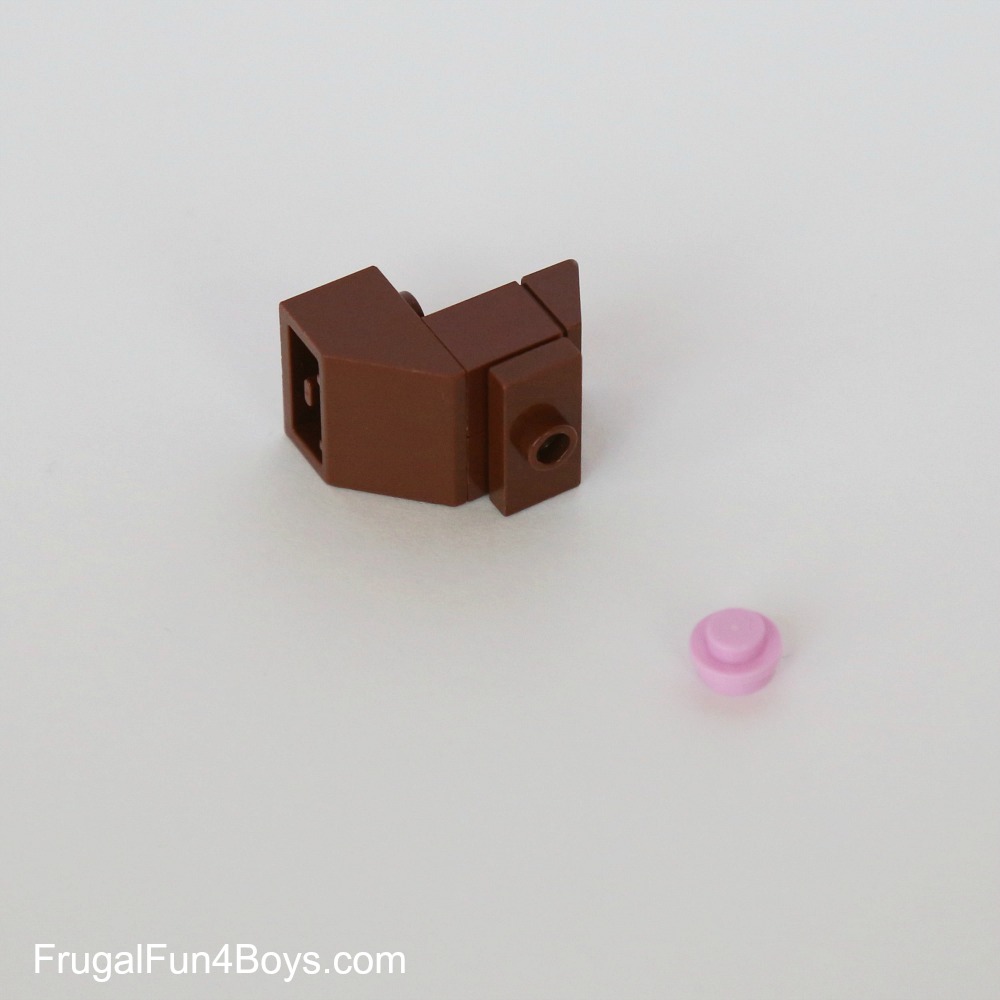
Step 3: Add the pink 1 x 1 round plate for the nose.

Step 4: Add two 2 x 4 brown plates.

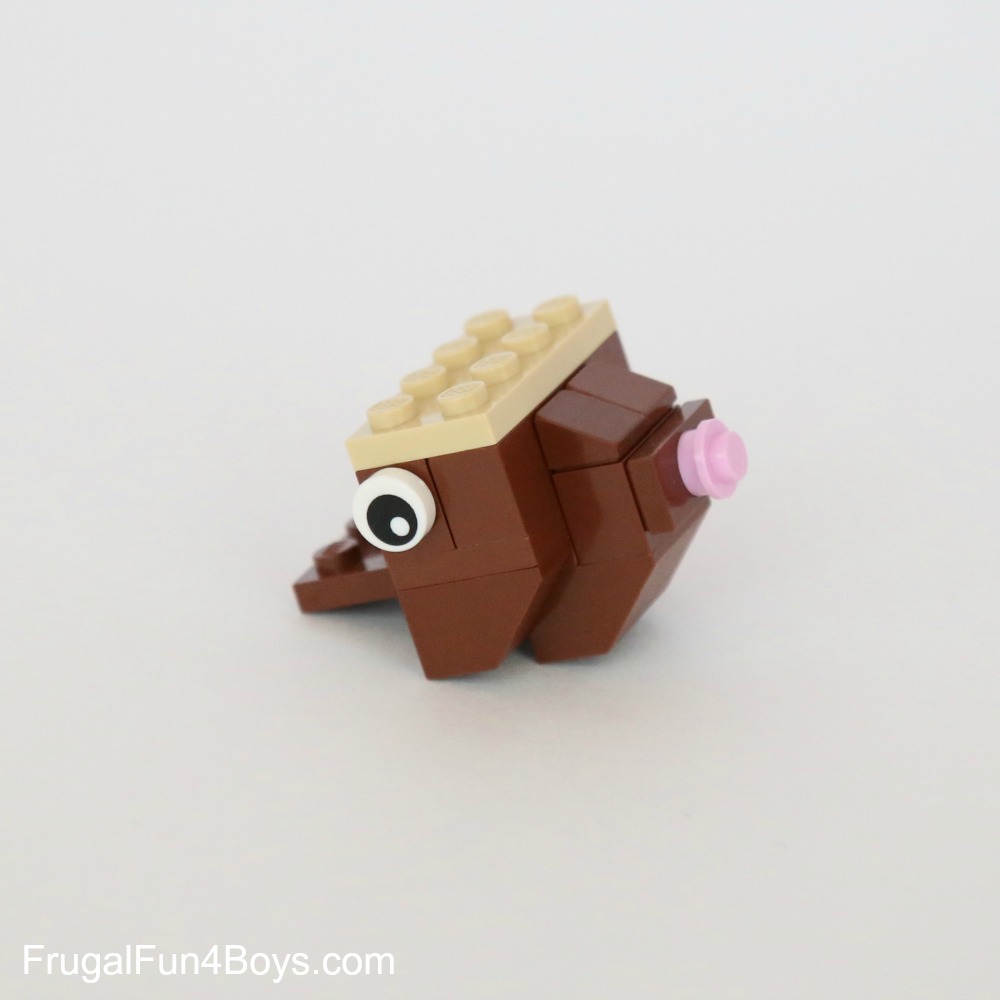
Step 5: Add a 1 x 4 brown brick and two 1 x 1 brown bricks with one stud on the side. Add eyes.
Step 6: Add a tan 2 x 4 plate on top of the head. I actually think that a 2 x 4 brown plate would look cuter, but I couldn’t find one. Do whichever color you like! Then add two 1 x 2 inverted slopes – one on either side of the head.
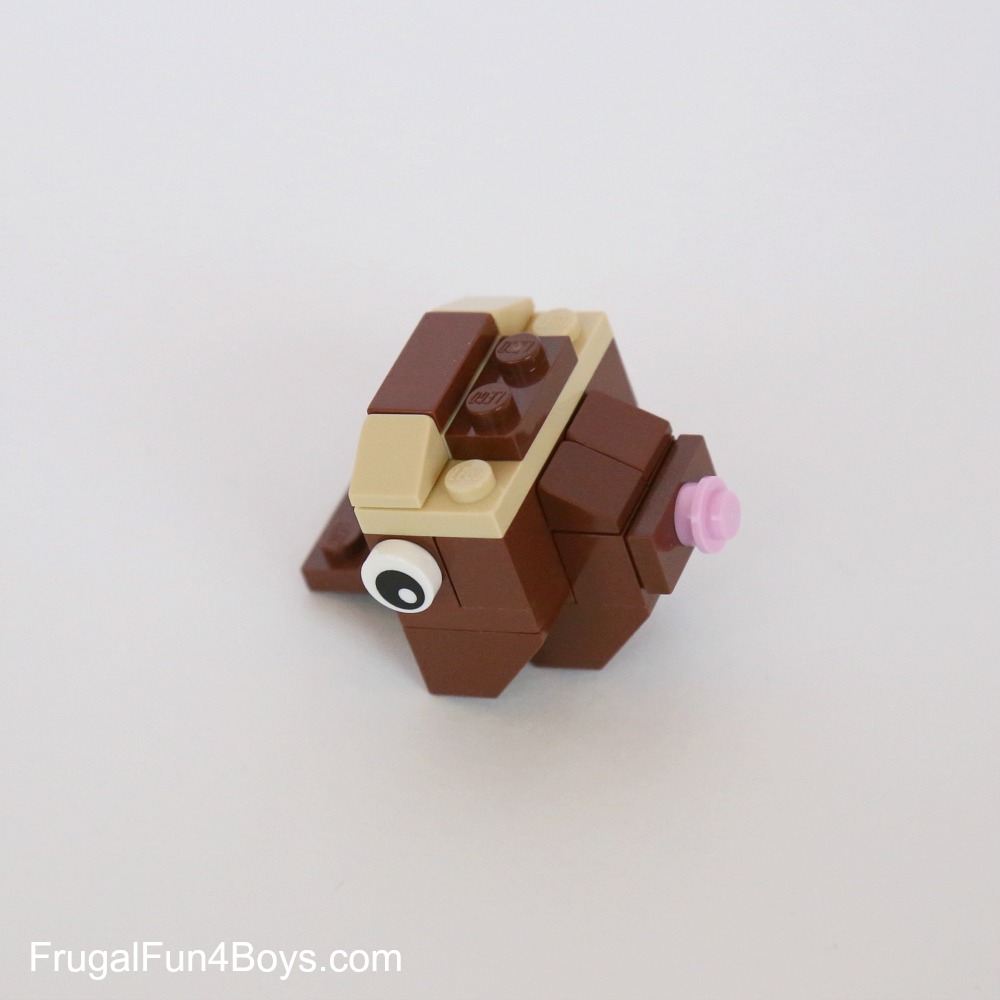
Step 7: In this step, add a 1 x 2 brown plate, a 1 x 2 tan place, a 1 x 2 brown tile, and two 1 x 1 tan slopes.
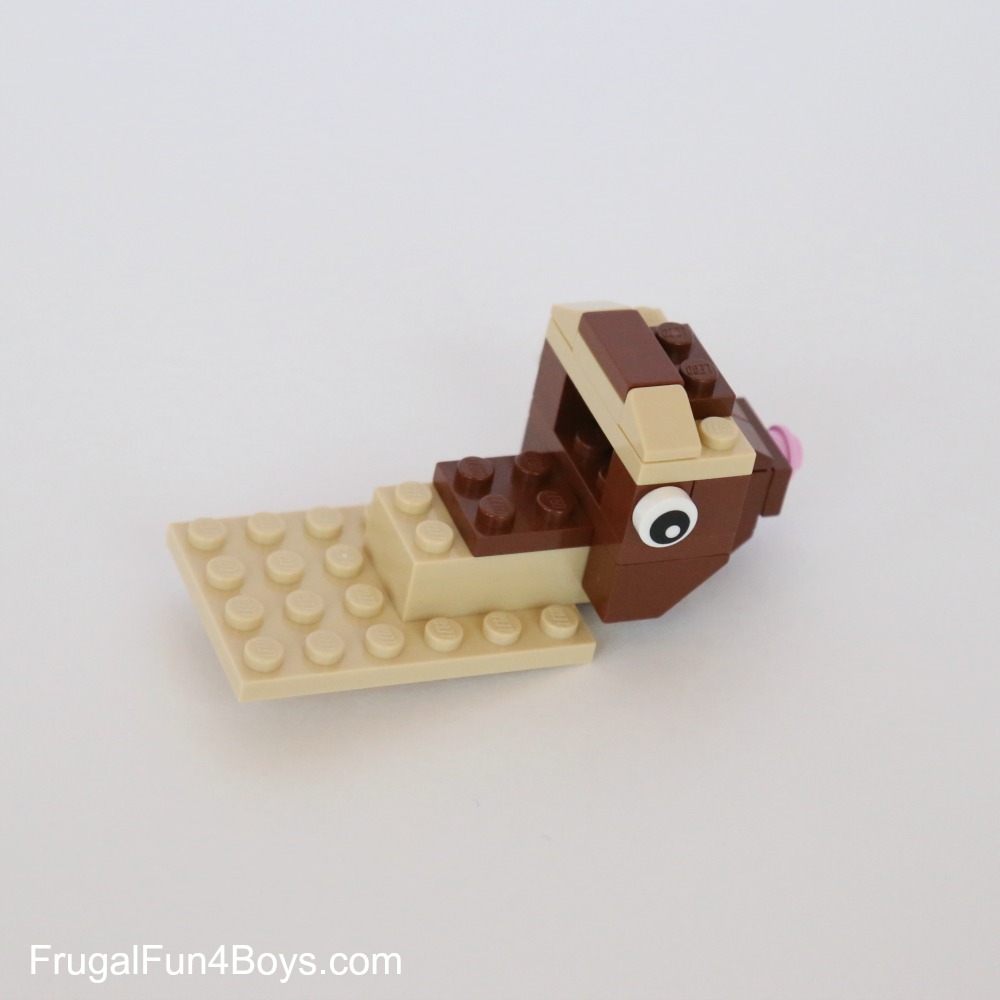
Step 8: Add a 2 x 4 tan brick. It is placed right behind the 2 x 2 inverted slope from step 1. Then add a 4 x 6 tan plate for the body.
Step 9: In this step, add two 2 x 3 tan bricks, two 1 x 4 brown bricks, one 1 x 2 brown brick, and one 1 x 2 tan brick.
Step 10: Add a 2 x 4 tan brick, a 2 x 2 tan brick, and a 2 x 2 brown brick to the body.
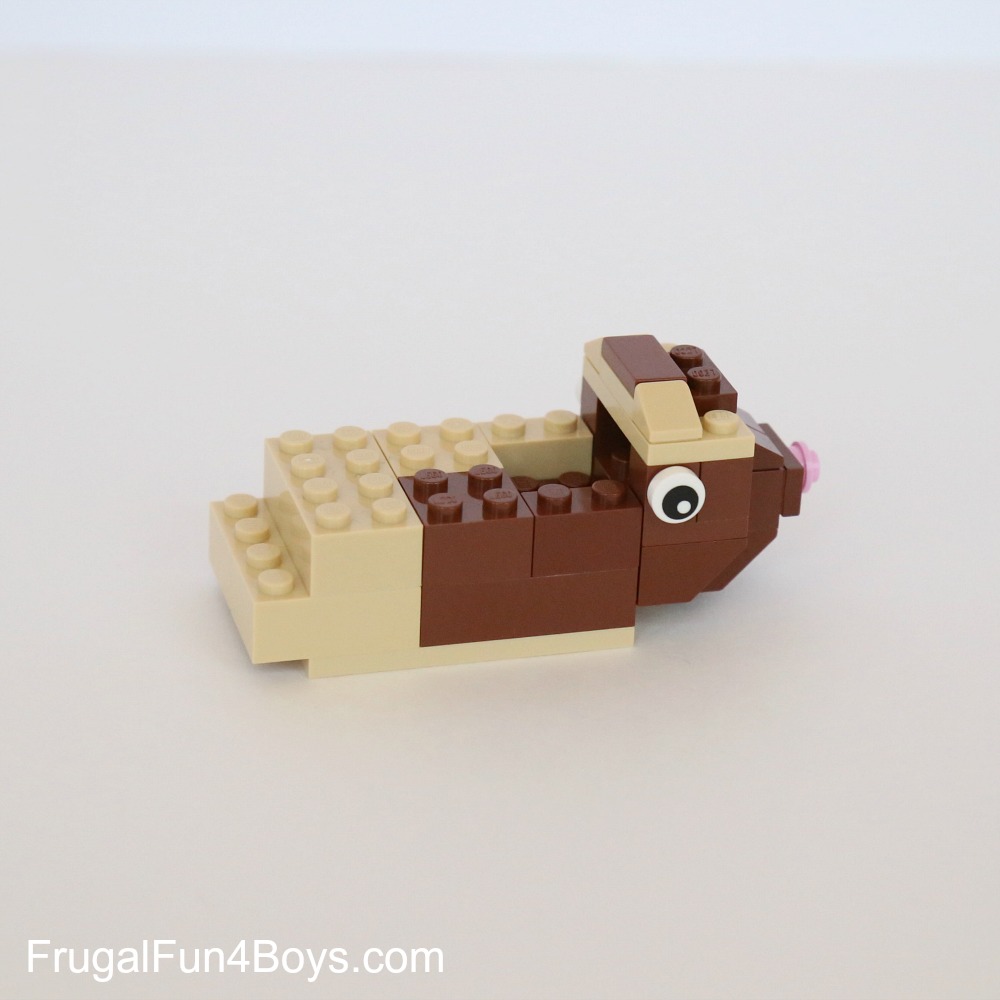
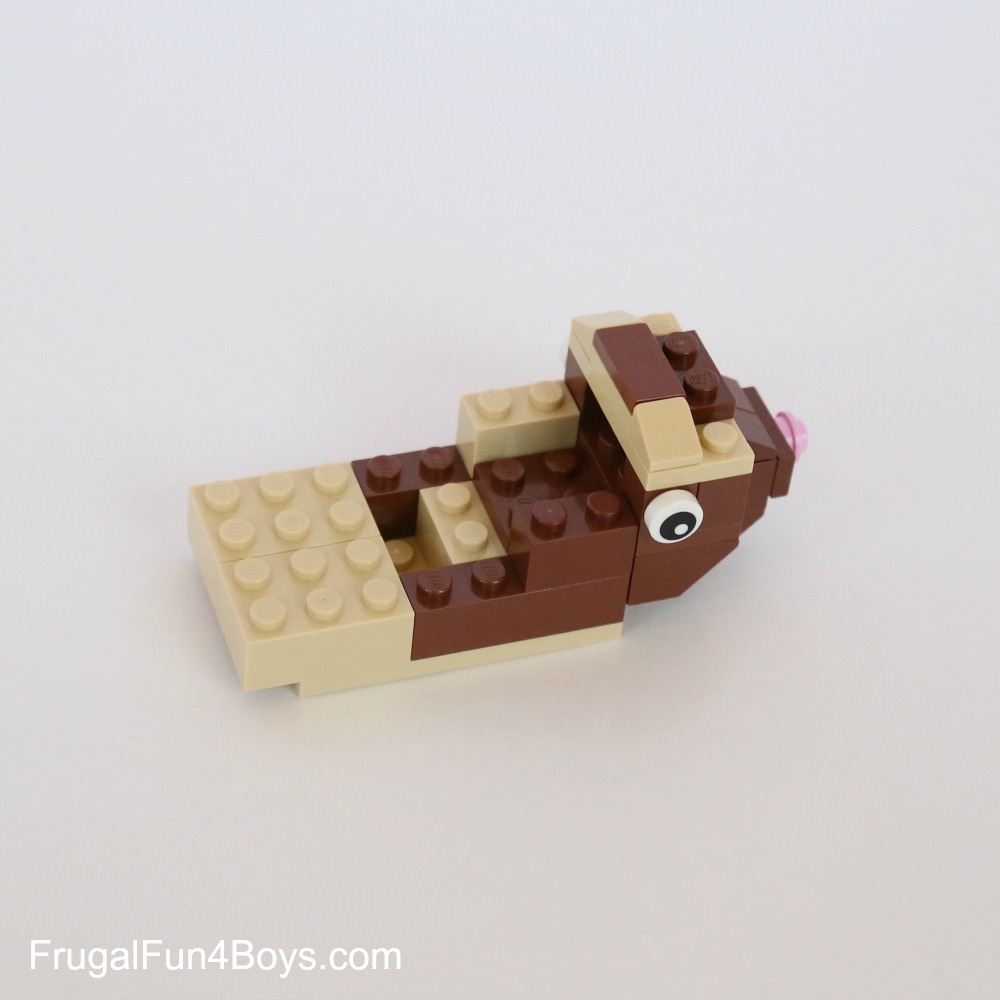
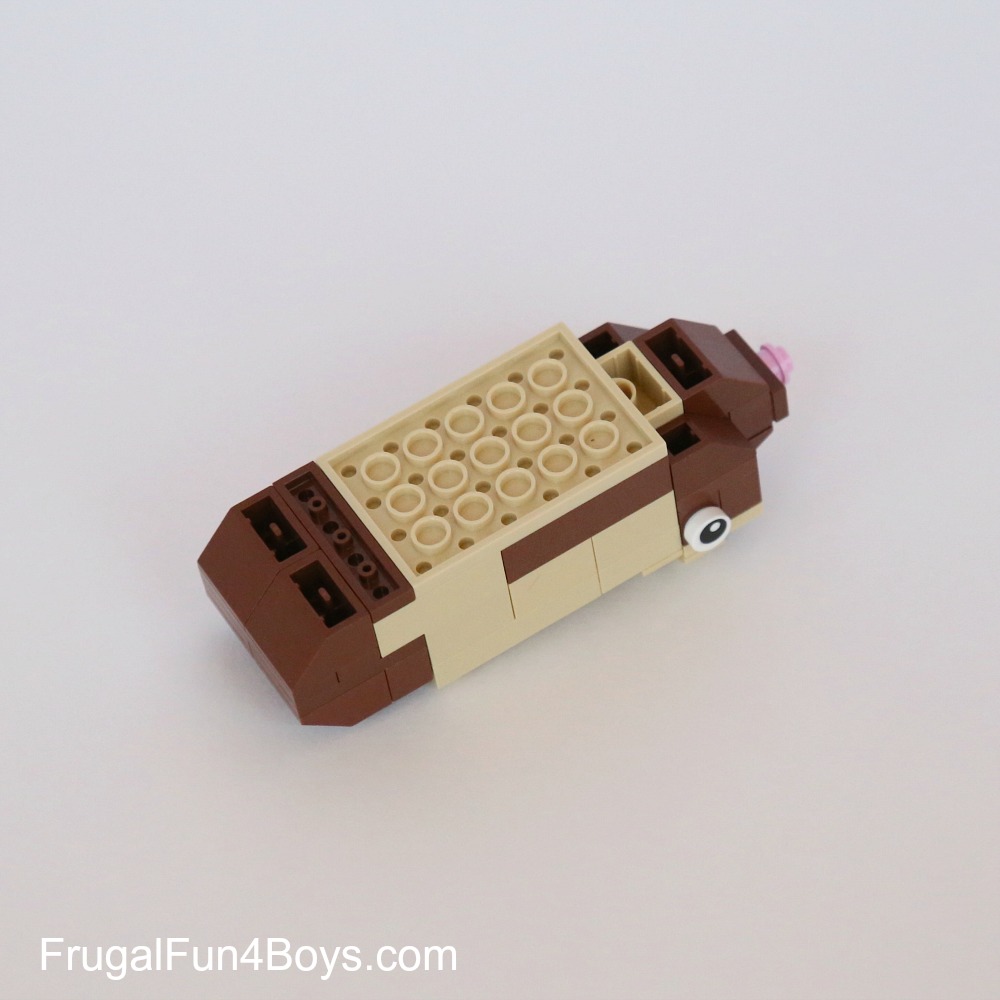
Step 11: From back to front – add two 2 x 3 brown plates. Then place a 1 x 4 brick and two 2 x 2 slopes on top of those. Add two 4 x 4 tan plates and then two 2 x 4 tan plates in front of those. Just behind the head, add a 2 x 2 tan plate, a 1 x 2 brown plate, and two 1 x 1 tan slopes.
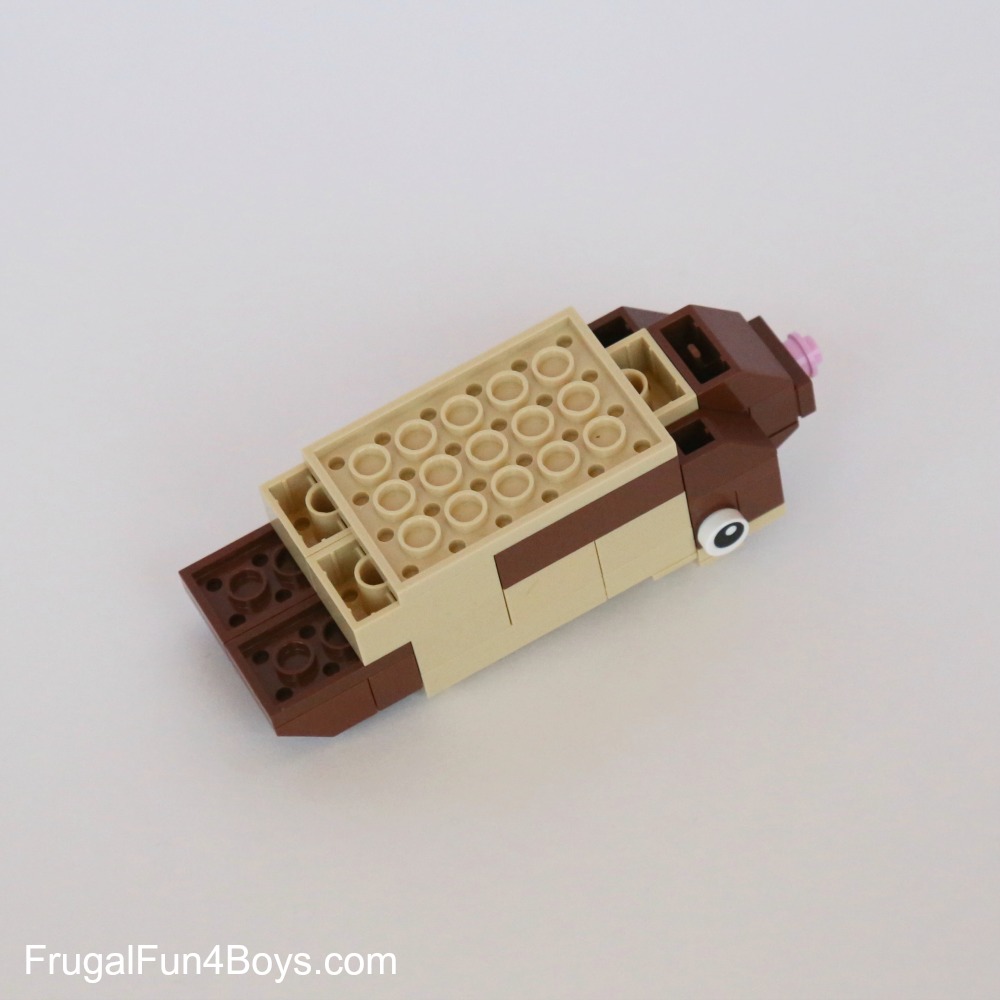
Step 12: Turn the guinea pig upside down. This is how it should look at this point.
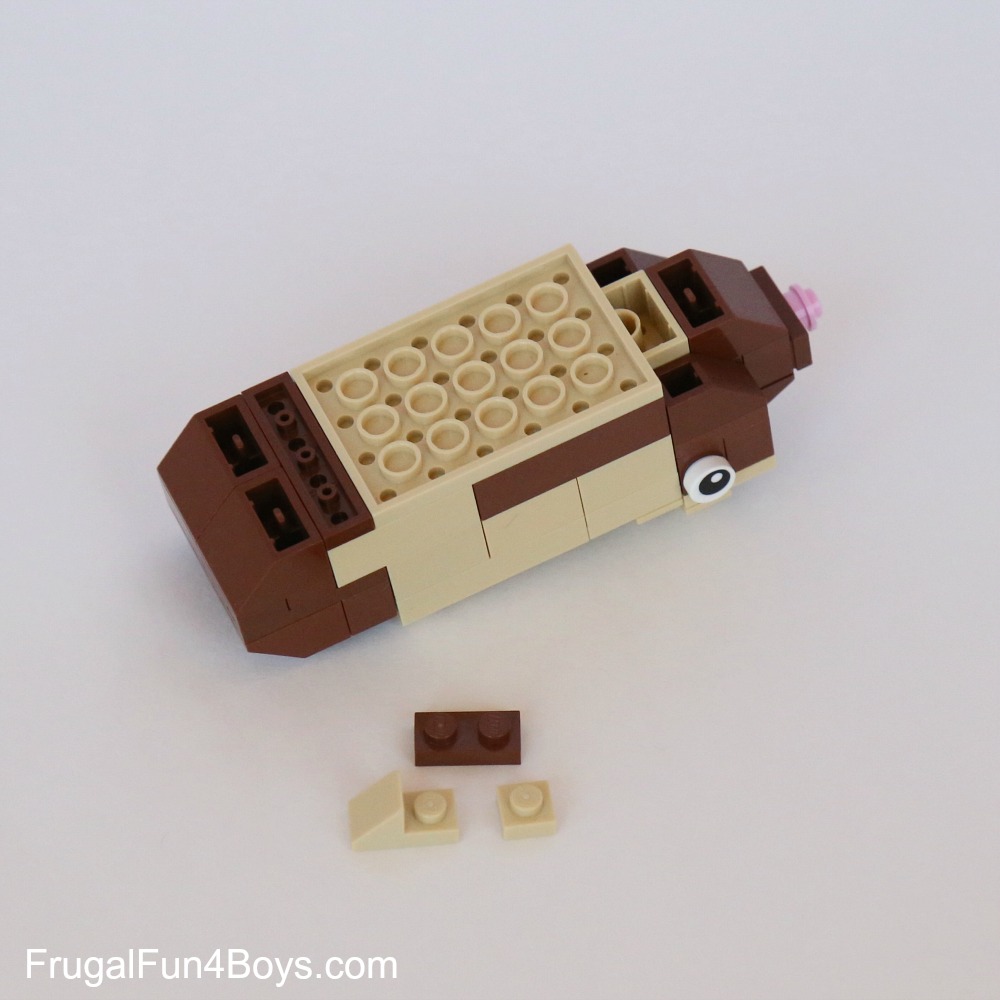
Step 13: Fill in the tail end with a 2 x 4 brown plate (I used two 1 x 4’s), two 2 x 2 inverted slopes, and a 1 x 4 brown plate.
Step 14: Build the feet. Each foot is a 1 x 2 slope with a cutout, one 1 x 2 plate, and one 1 x 1 plate.
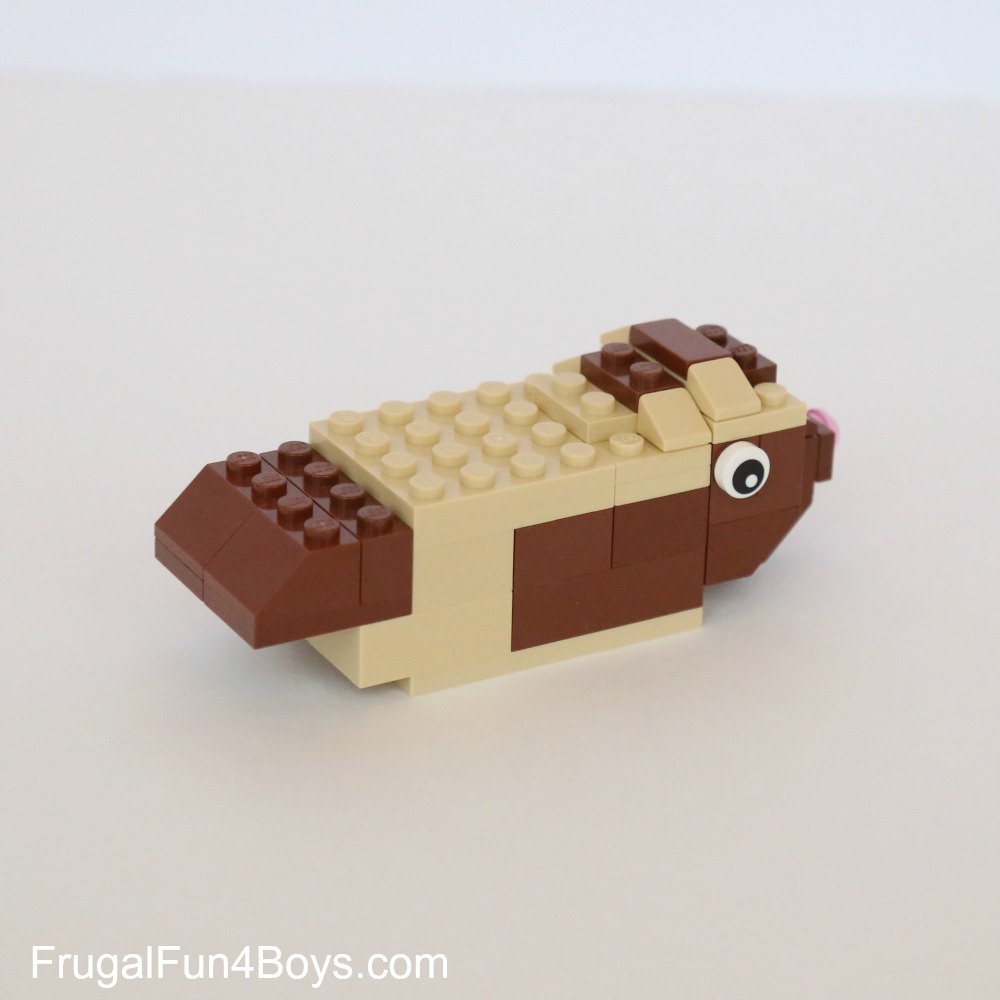
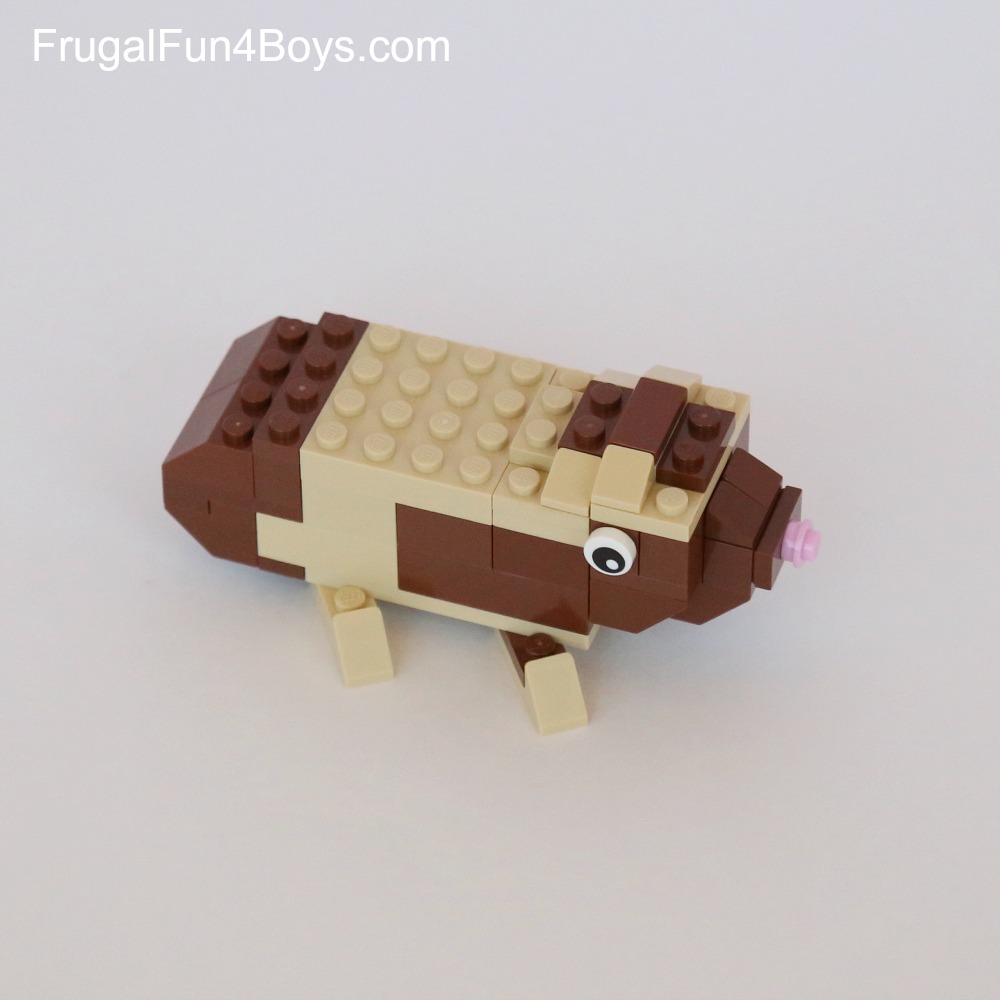
Step 15: Add the feet to the body, and add a 1 x 4 brown plate behind the tan plates on the back.
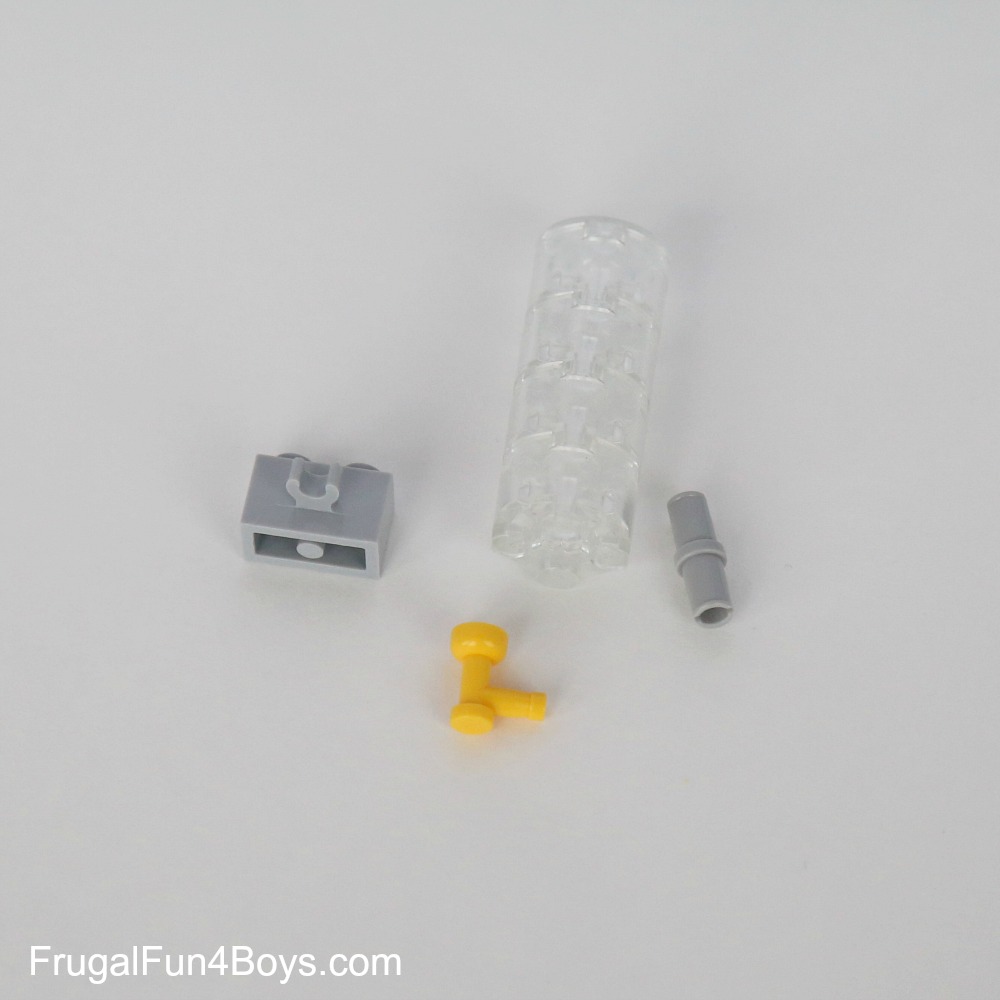
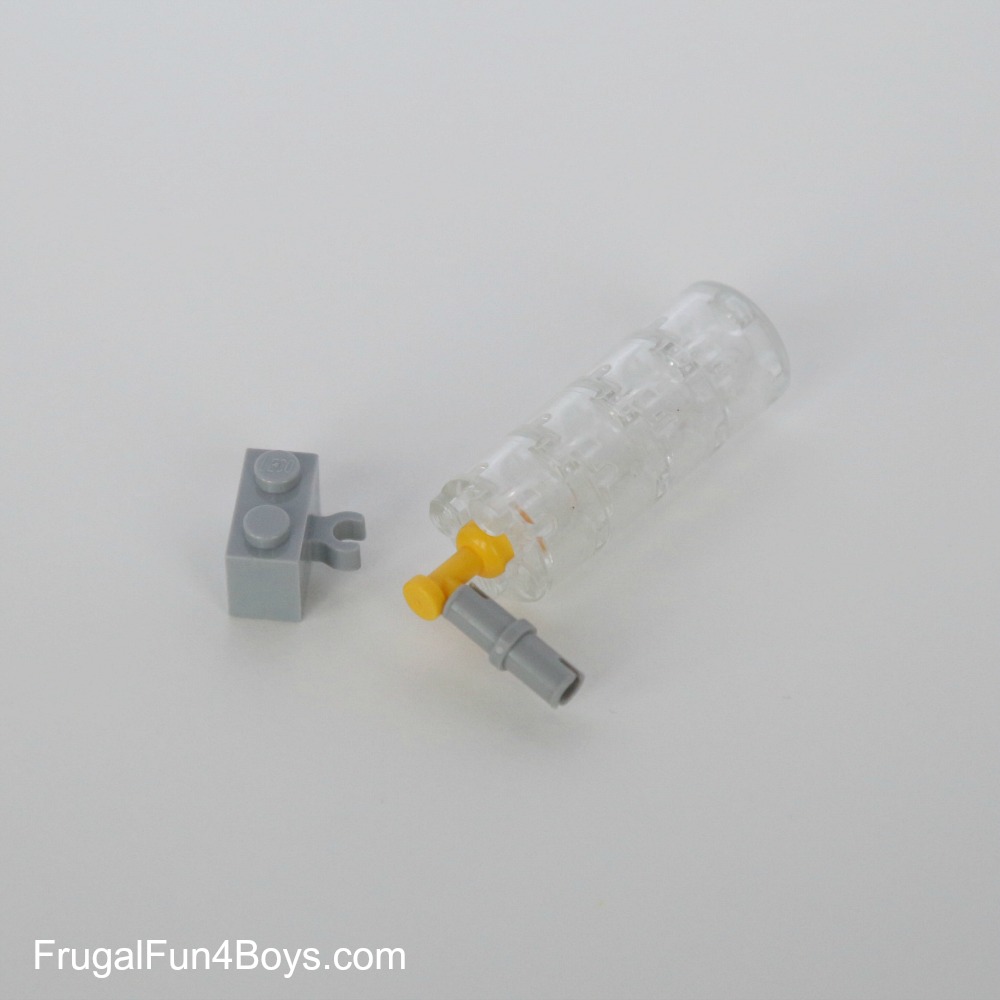
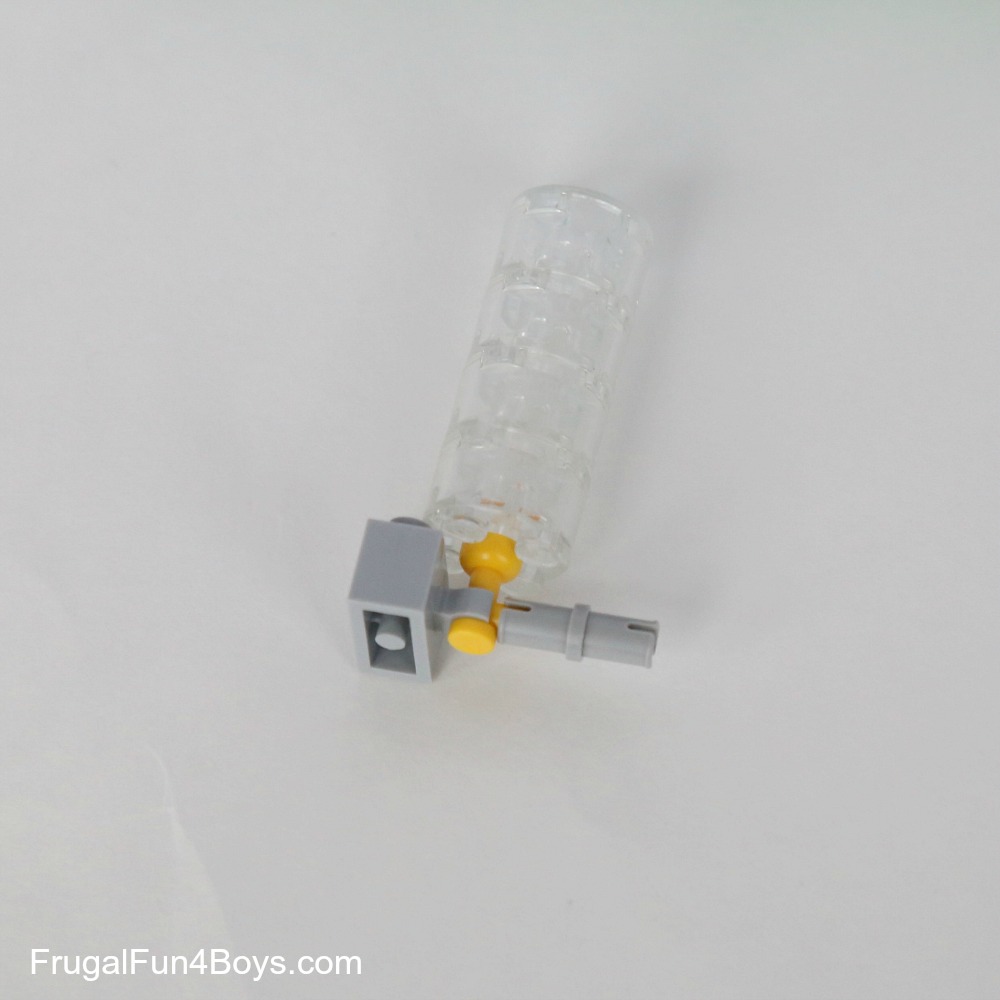
If you have some clear 2 x 2 round bricks, you can make a cute water bottle for the cage! I used a 2 x 2 clear brick for the top of the water bottle that has studs on the bottom and then it’s rounded on the other side.
See all of our LEGO pets here: LEGO Pets Building Instructions
Or browse all of our LEGO ideas here: LEGO posts on Frugal Fun for Boys
LEGO® is a trademark of the LEGO® group of companies which does not sponsor, authorize, or endorse this site.
2 Comments
Jenni Giesler Feb 10, 2017
Adorable! Thank you!
Gaylene Jan 22, 2025
Hey Sarah, is there a way to print these instructions? I would like to use them in my classroom, but I need to have the instructions printed out for my kids to use.
Post a Comment