
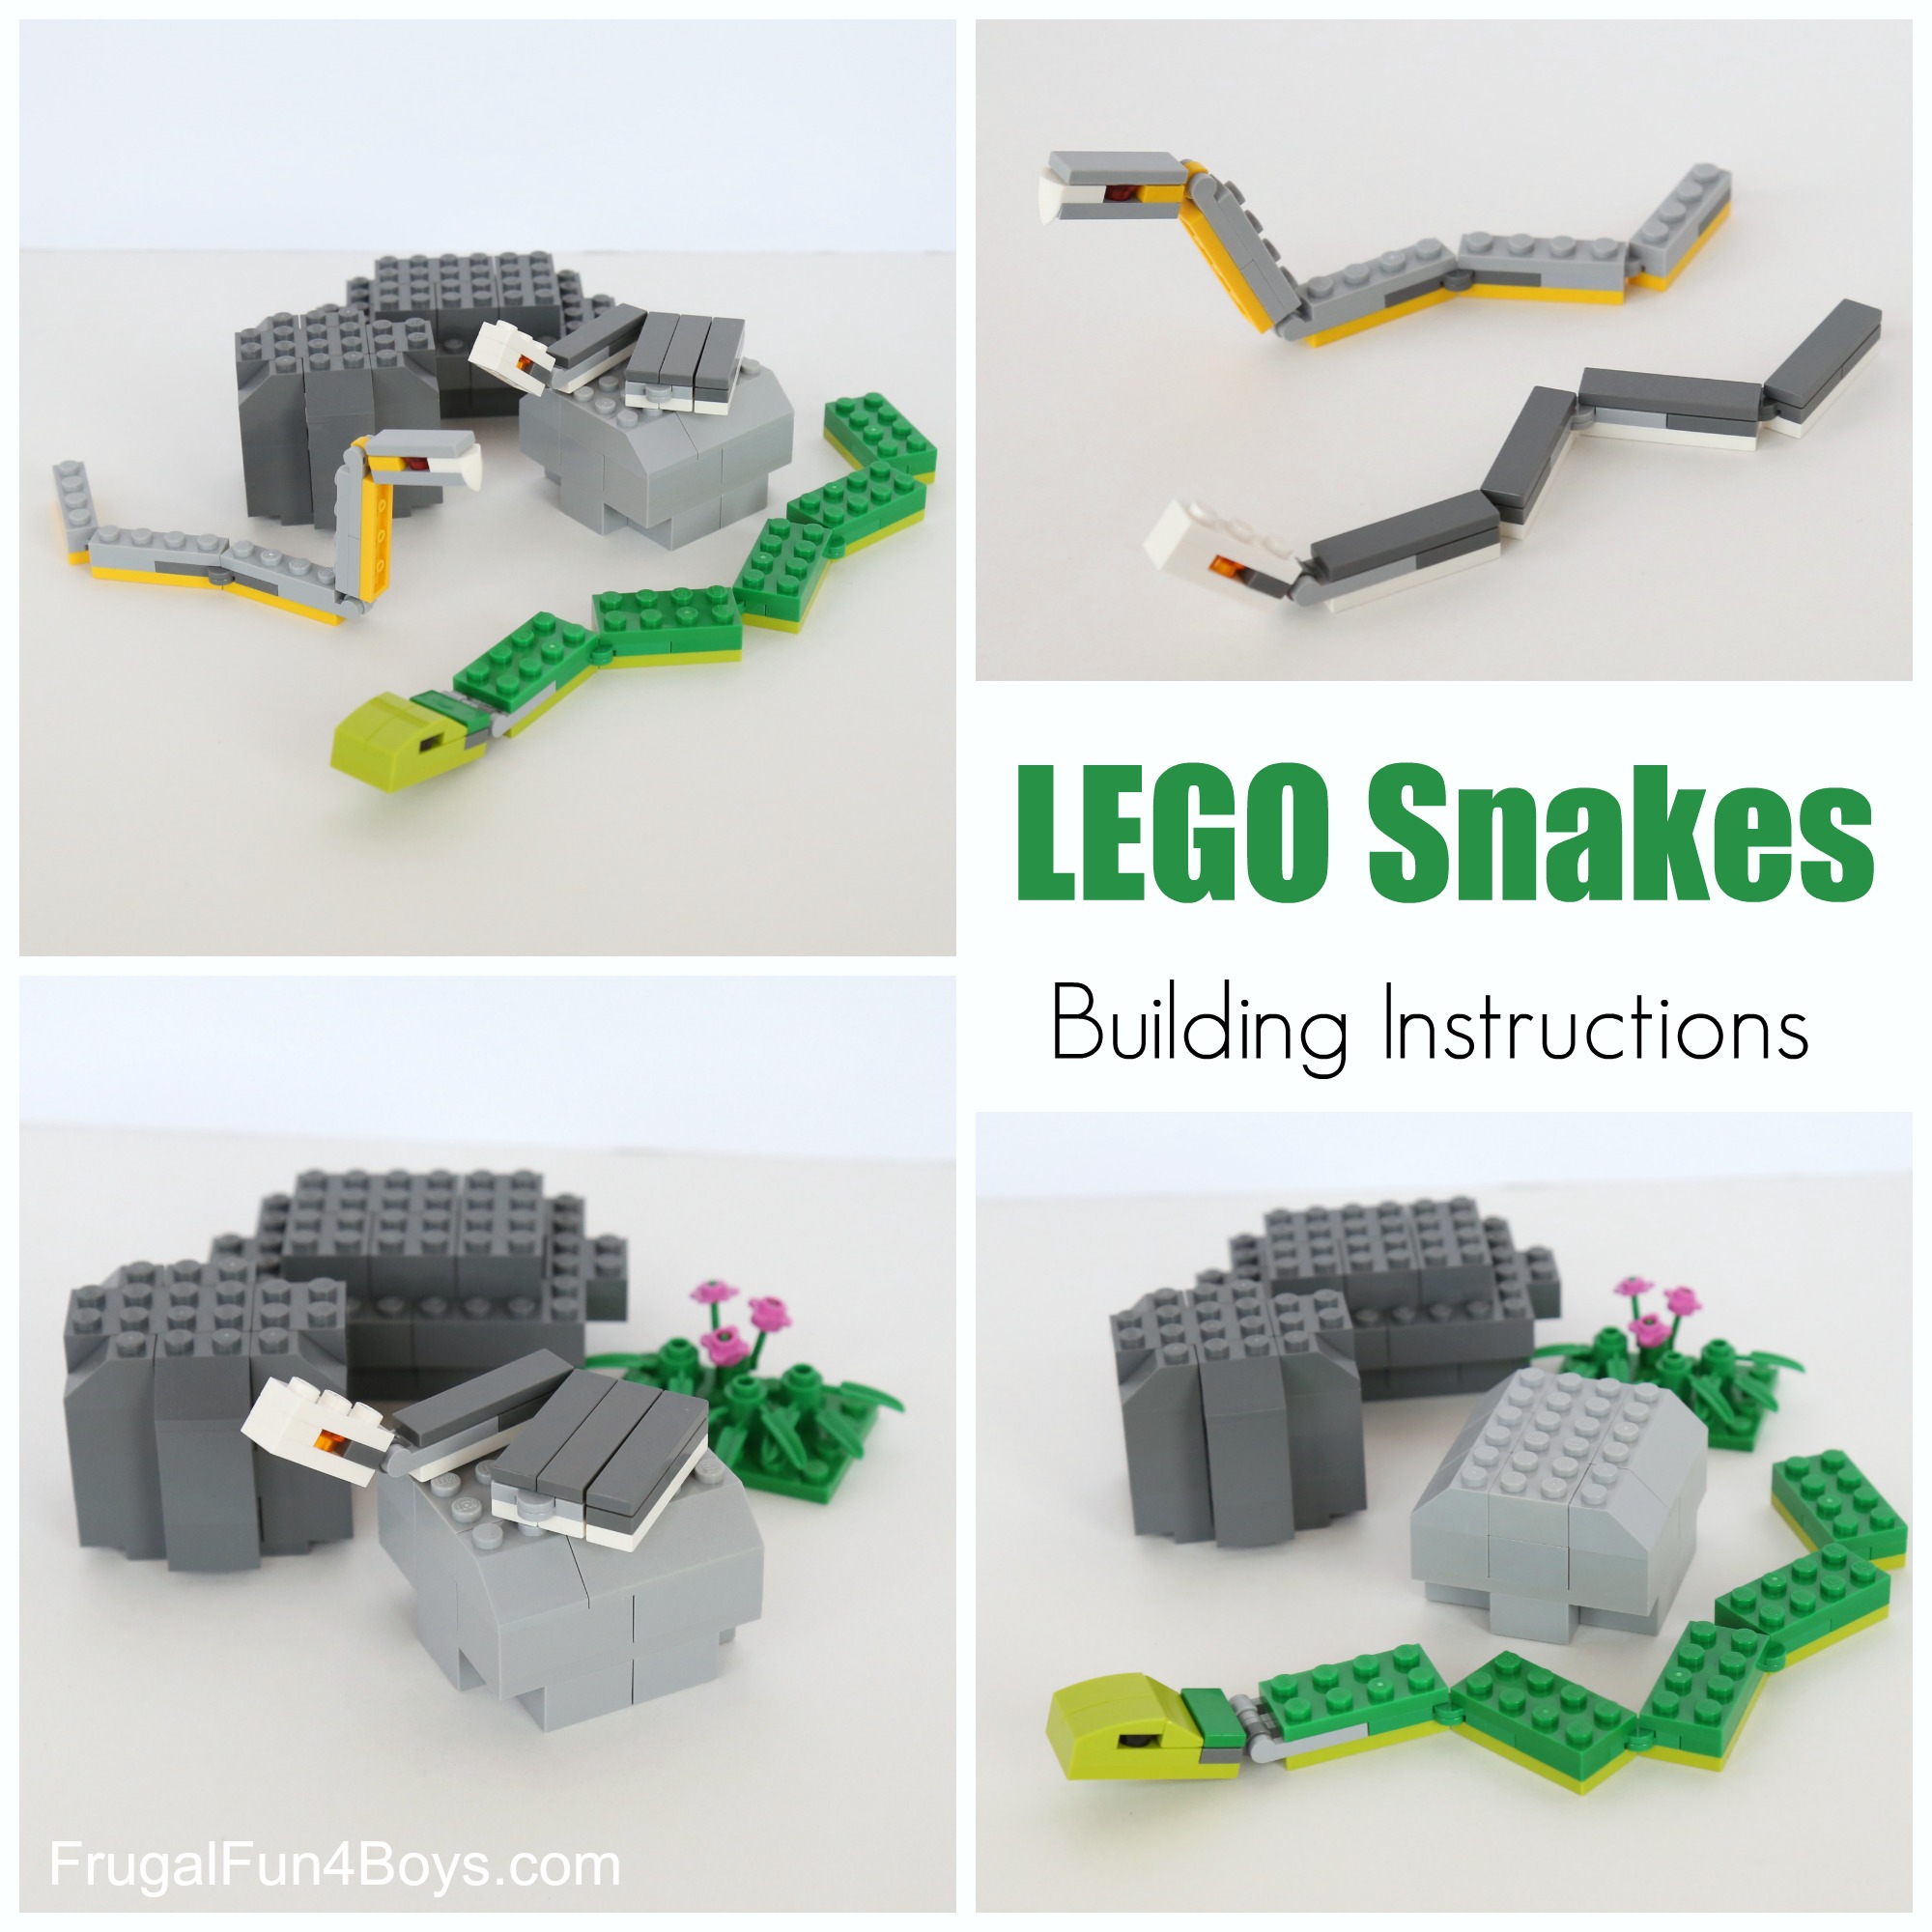
Here are some building instructions for making LEGO® snakes! These are simple to build – great beginner project. My boys totally love snakes and find them regularly in the creek behind our house. I, on the other hand, wouldn’t mind if I never saw a snake again! Since we won’t *ever* own a pet one, these LEGO® snakes will have to do!
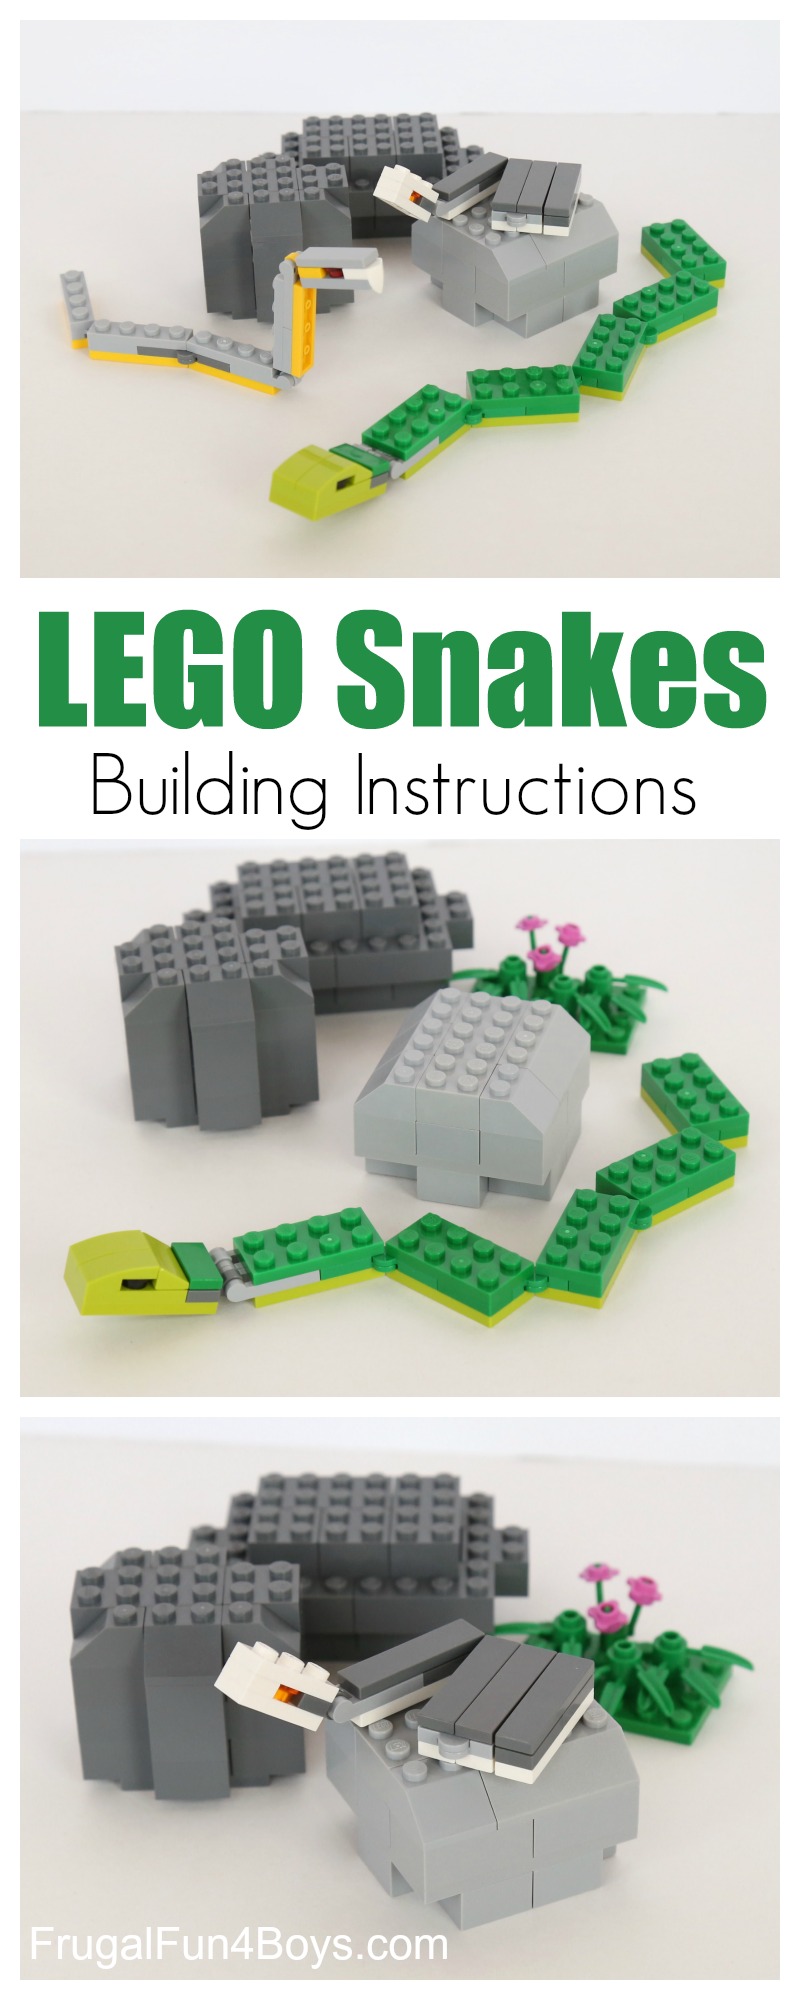
Owen came up with the design for the smaller snakes, and I added the larger one. I thought it was a clever idea!
Building Instructions:
Here are the bricks needed to build the smaller snake:
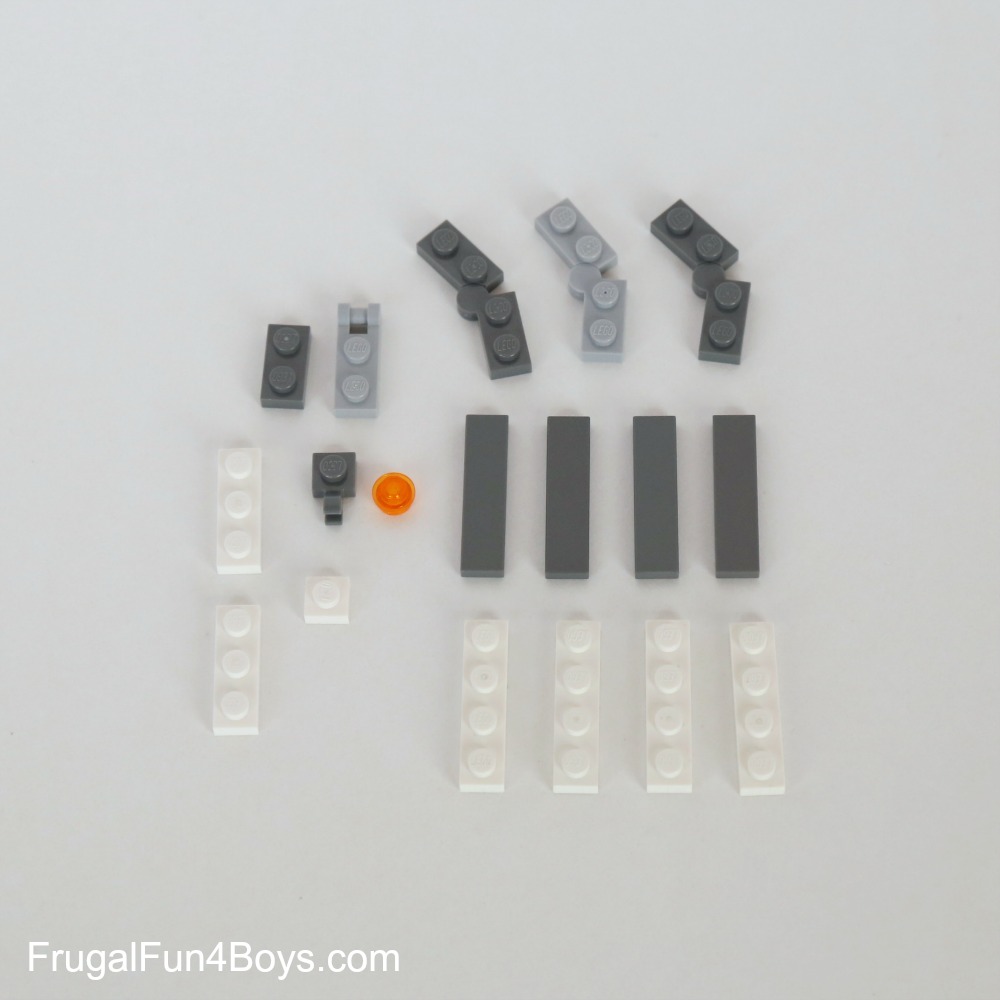
4 – 1 x 4 dark gray tiles
4 – 1 x 4 white plates (flat)
2 – 1 x 3 white plates
1 – 1 x 1 white plate
1 – 1 x 2 dark gray plate
3 – hinge plate 1 x 4 swivel top
1 – 1 x 2 light gray plate with a handle on the end
1 – 1 x 1 plate with a clip
1 – 1 x 1 translucent orange round plate for the eye
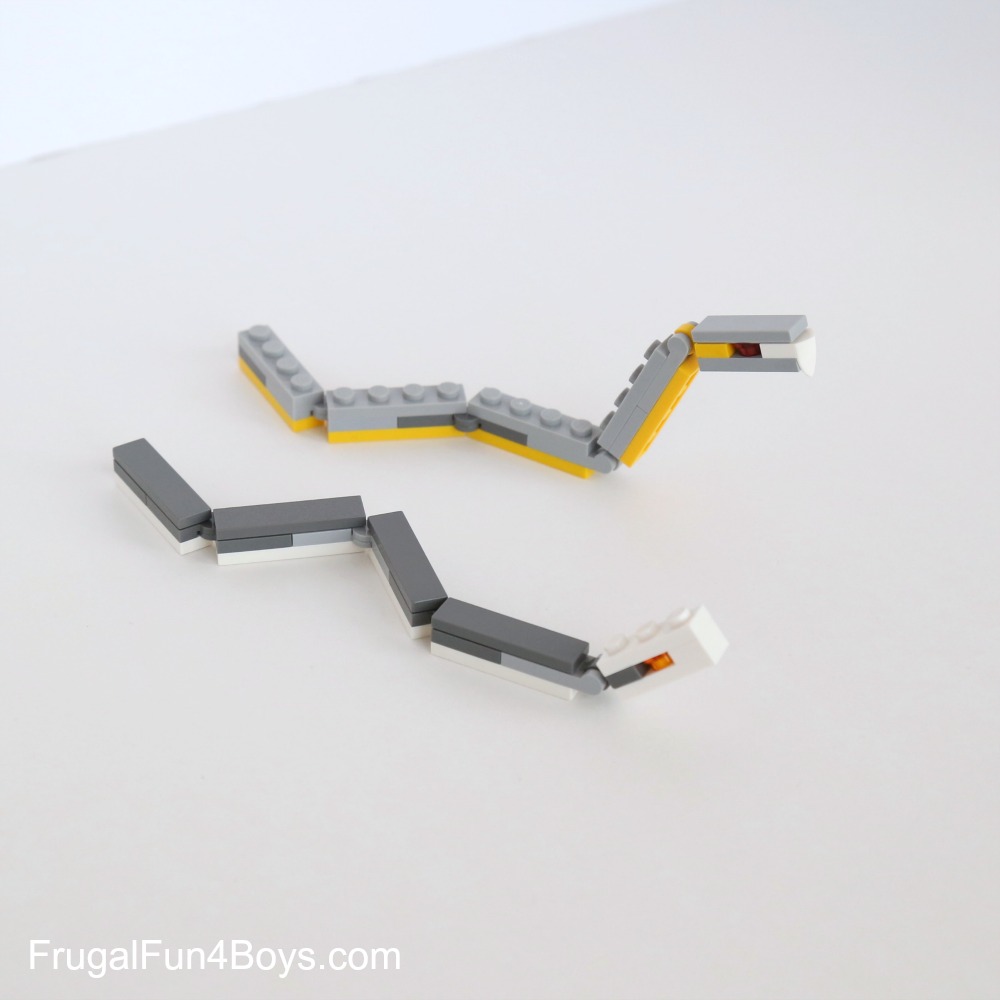
The four white 1 x 4 plates are the bottom of the snake. Add the hinge pieces. The brick with the handle on the end will attach to the head.

Add tiles on the top of the snake’s body, or whatever pieces you have!
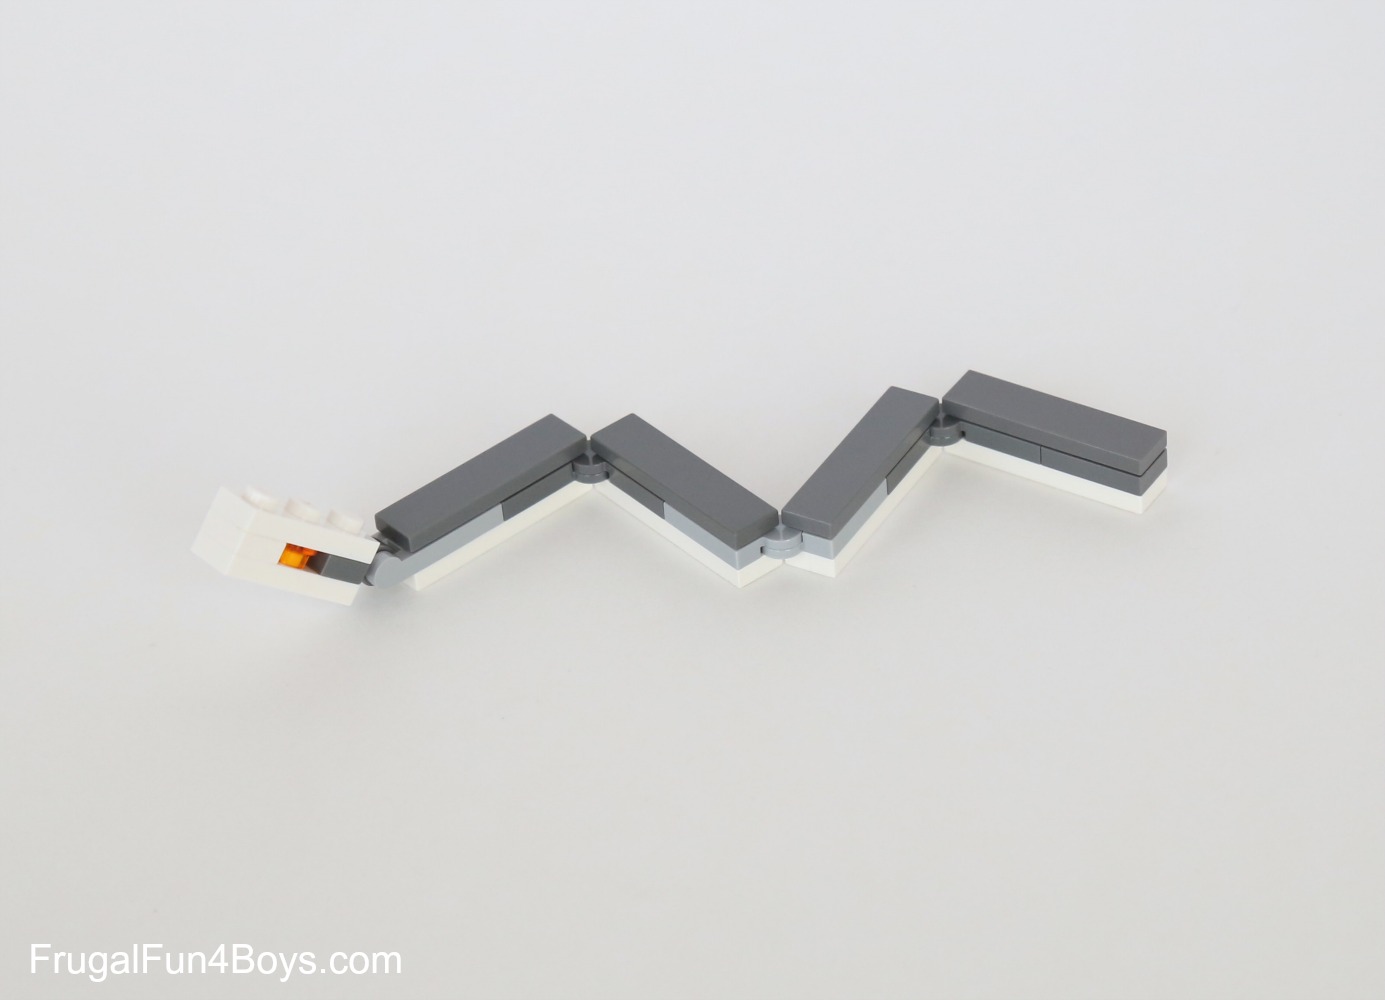
I would not have thought of the hinge pieces, but they make the snake fold up very nicely. Kids can make the snakes whatever colors and length they want.
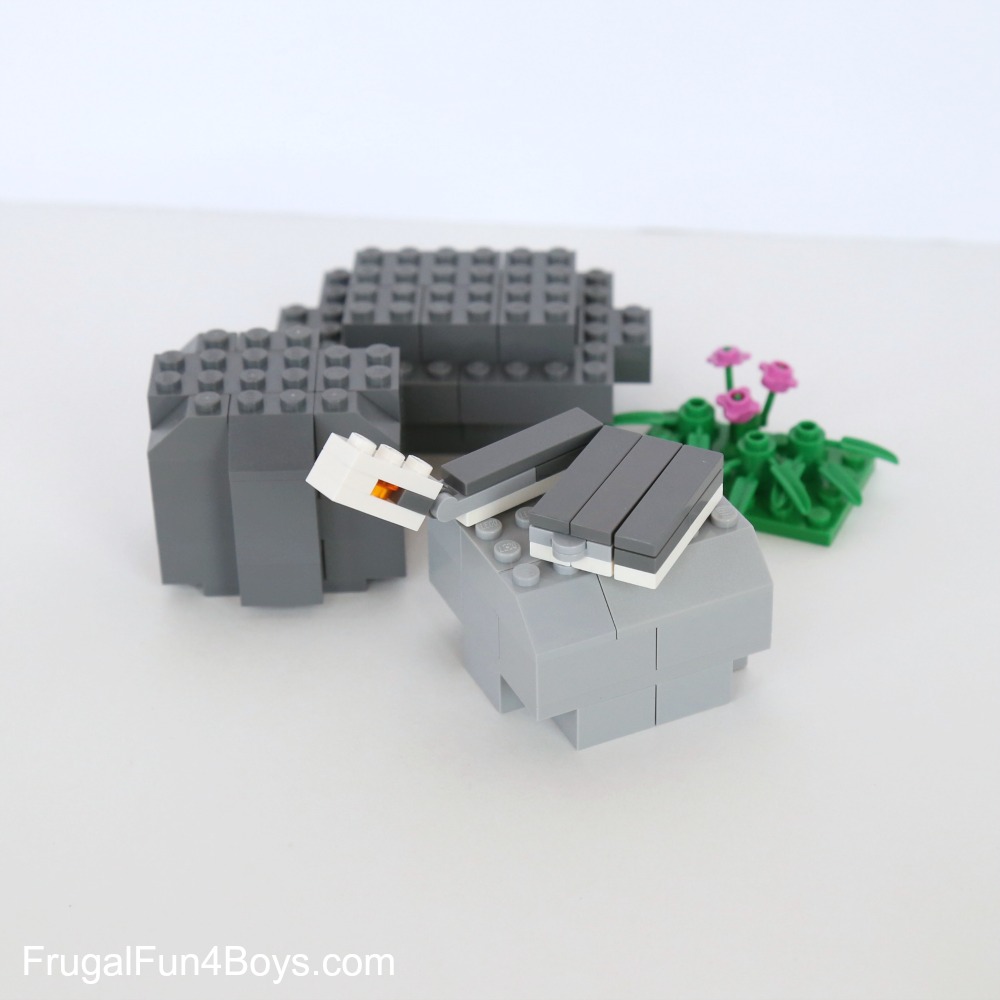
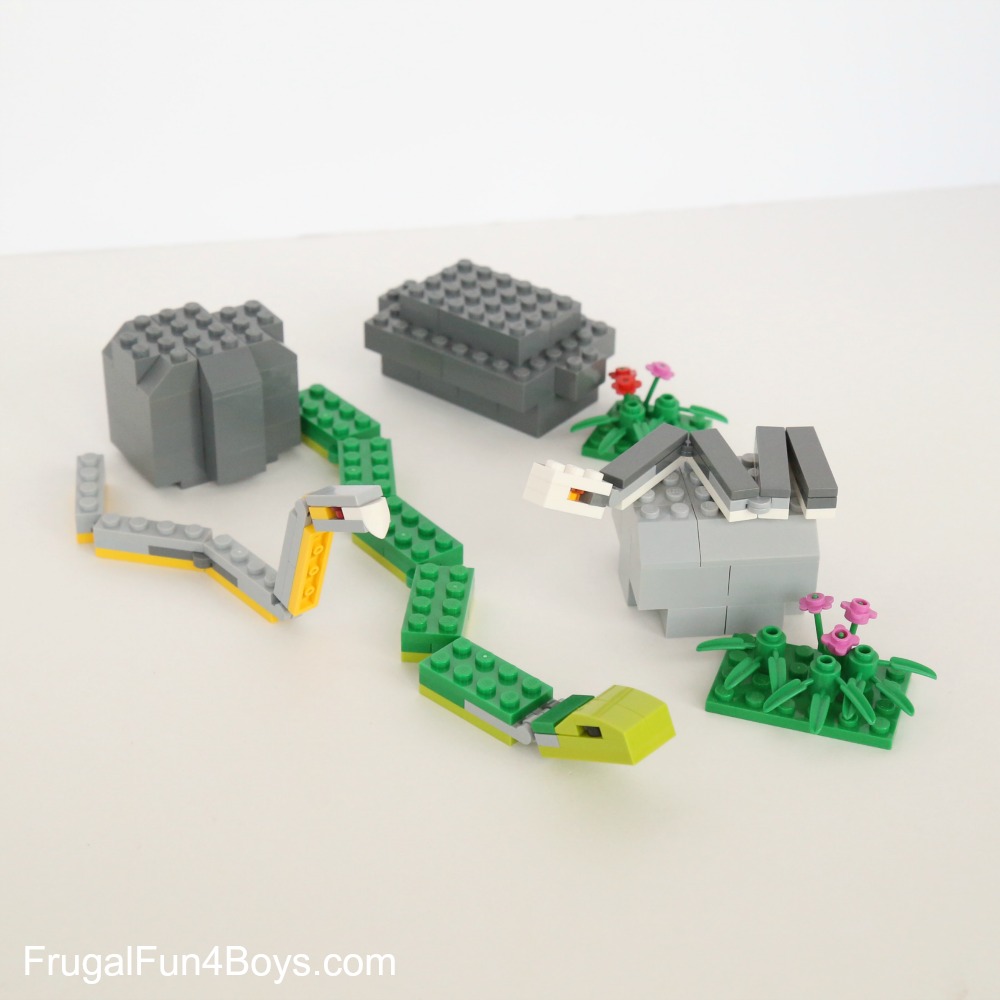
For the yellow snake, we substituted one of the swivel hinge bricks for another plate brick with a handle on the end. This way, the snake can raise the front end of its body off the ground. Owen also used a brick with a tooth on it for this snake.
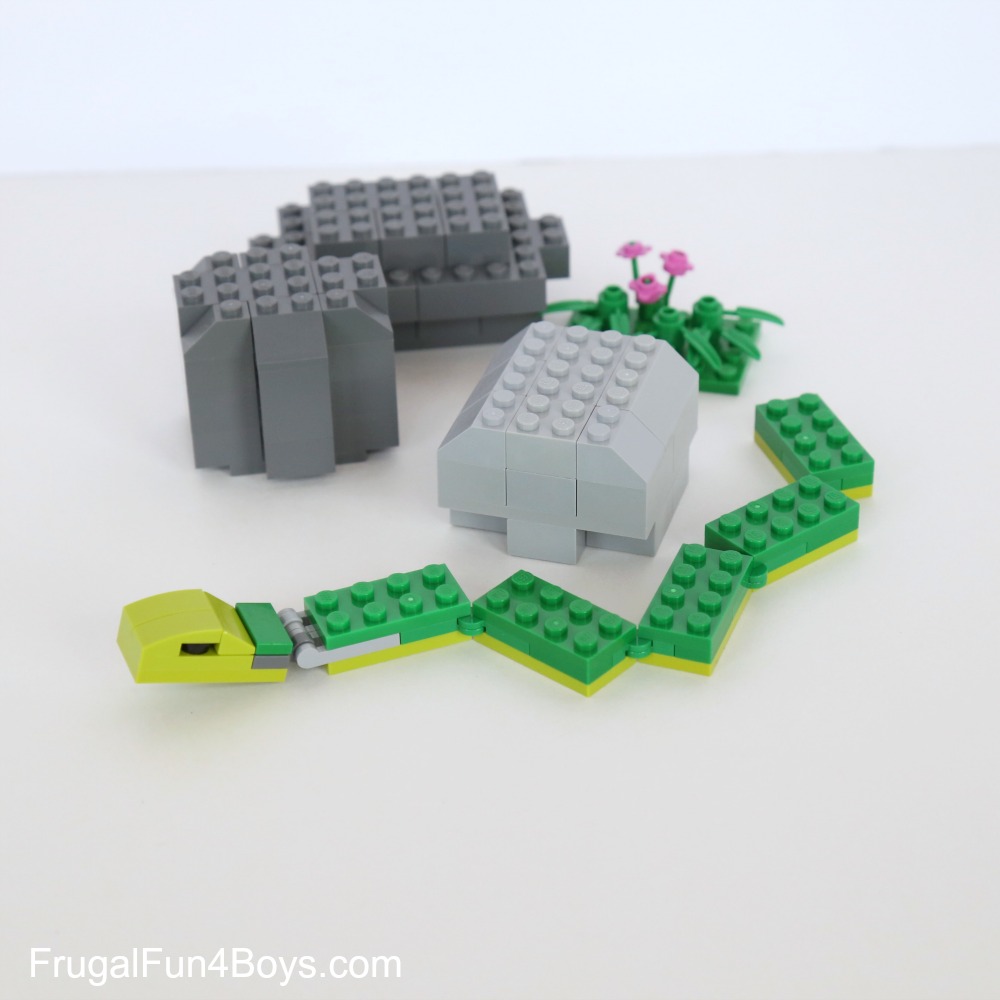
The green snake is the same basic design, just twice as wide.
Have fun building LEGO® snakes! For more LEGO® building instructions, check out our LEGO building category.
LEGO® is a trademark of the LEGO® group of companies which does not sponsor, authorize, or endorse this site.
0 Comments
Post a Comment