
Use paper cups and straws to make your own anemometer! Kids will love observing the wind speed with these simple weather device.
An anemometer is a device that meteorologists use to measure the wind speed and direction. Like our homemade anemometer, a real anemometer has 3 or 4 cups attached to arms. When the wind blows, the cups rotate, and the number of rotations per minute can be used to calculate the wind speed.
Spring is such a great time for a science unit on weather. And springtime weather can be especially exciting in tornado alley, where we live! Leaning about the weather can definitely make it a little less scary. It’s always helpful to understand what’s going on when storms happen.
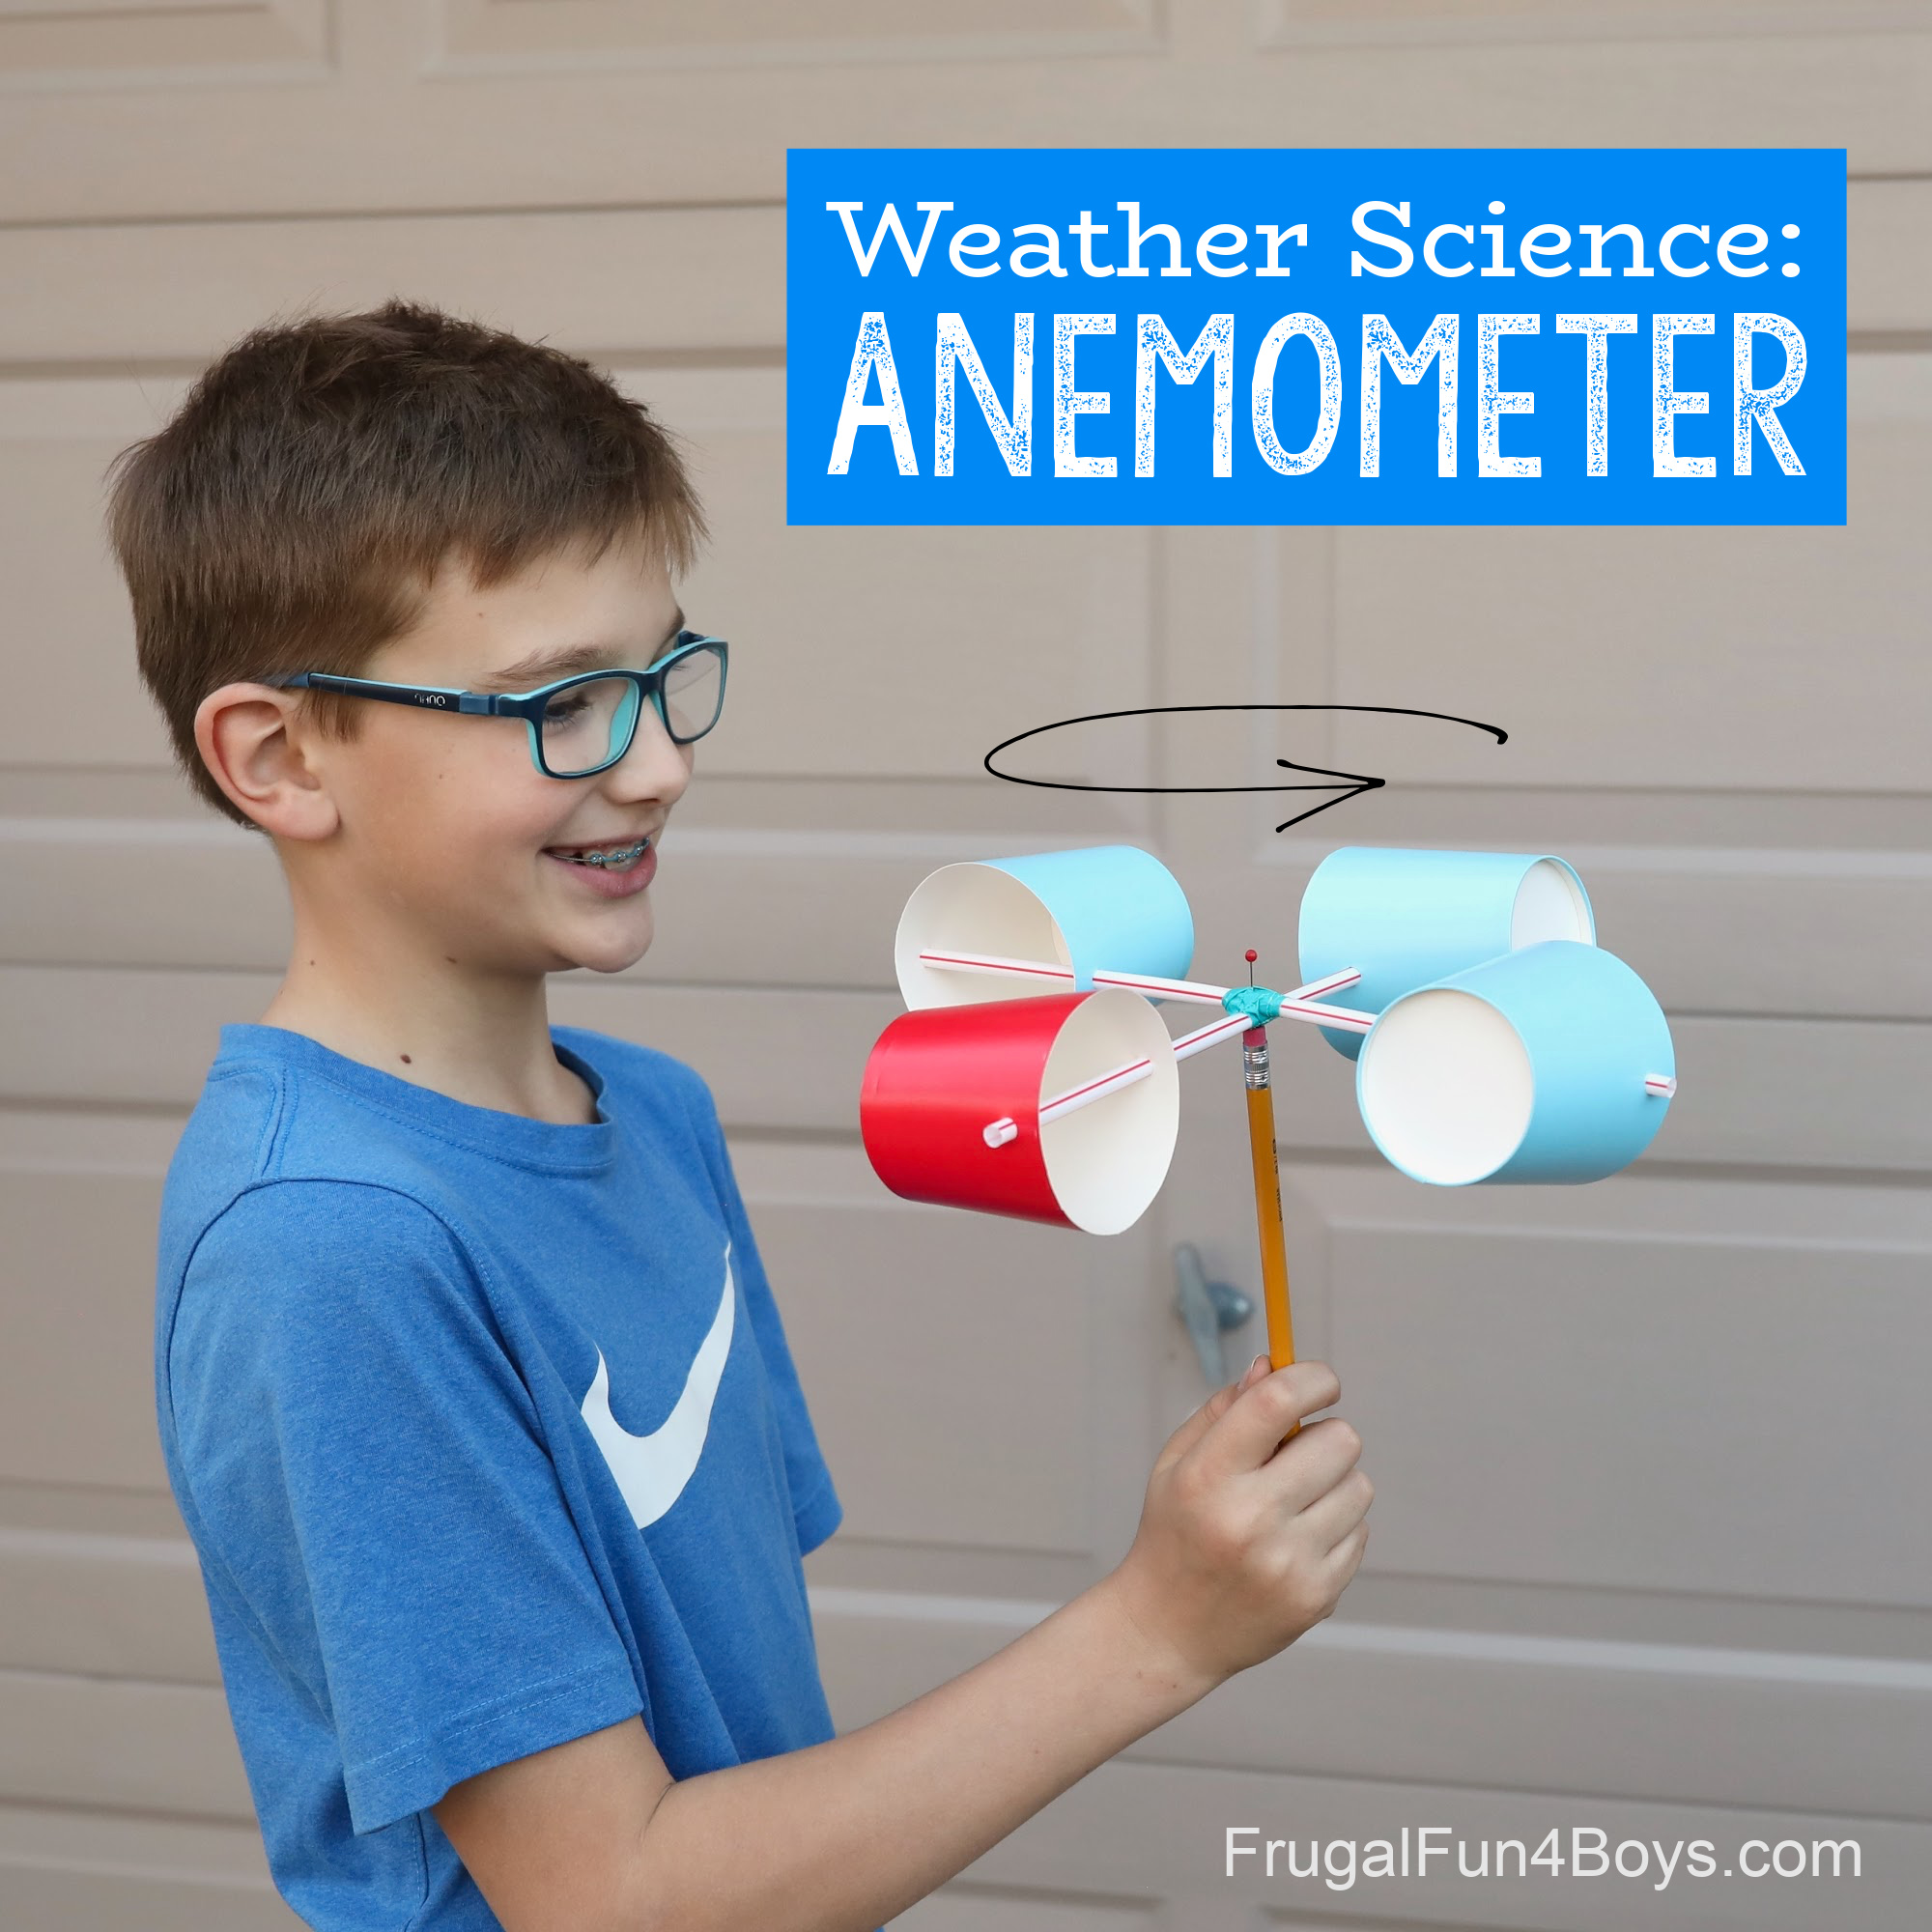
The trick to making a good anemometer is to create a sturdy design that won’t come apart. Also, you’ll need to make sure that the cups can spin freely. I’m really happy with our design! It holds together well and won’t be frustrating for kids. So fun for a windy day!
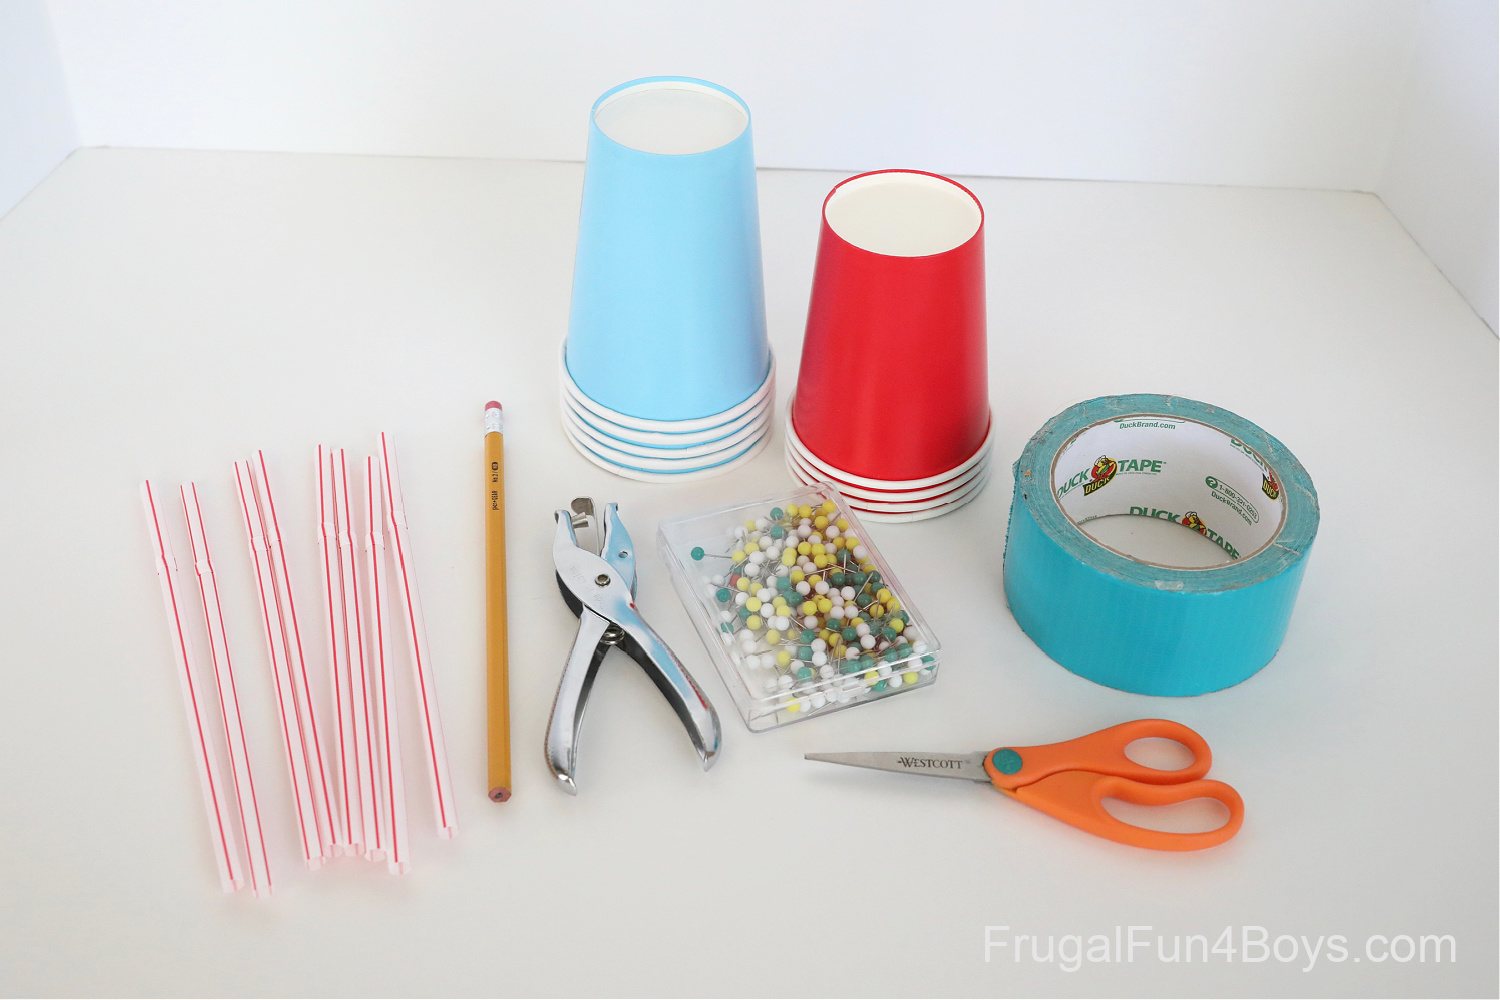
Supplies Needed to Make an Anemometer
- Plastic straws (4)
- Paper cups (4)
- Masking tape or duct tape
- A straight pin
- A nail
- A hole punch
- An unused pencil
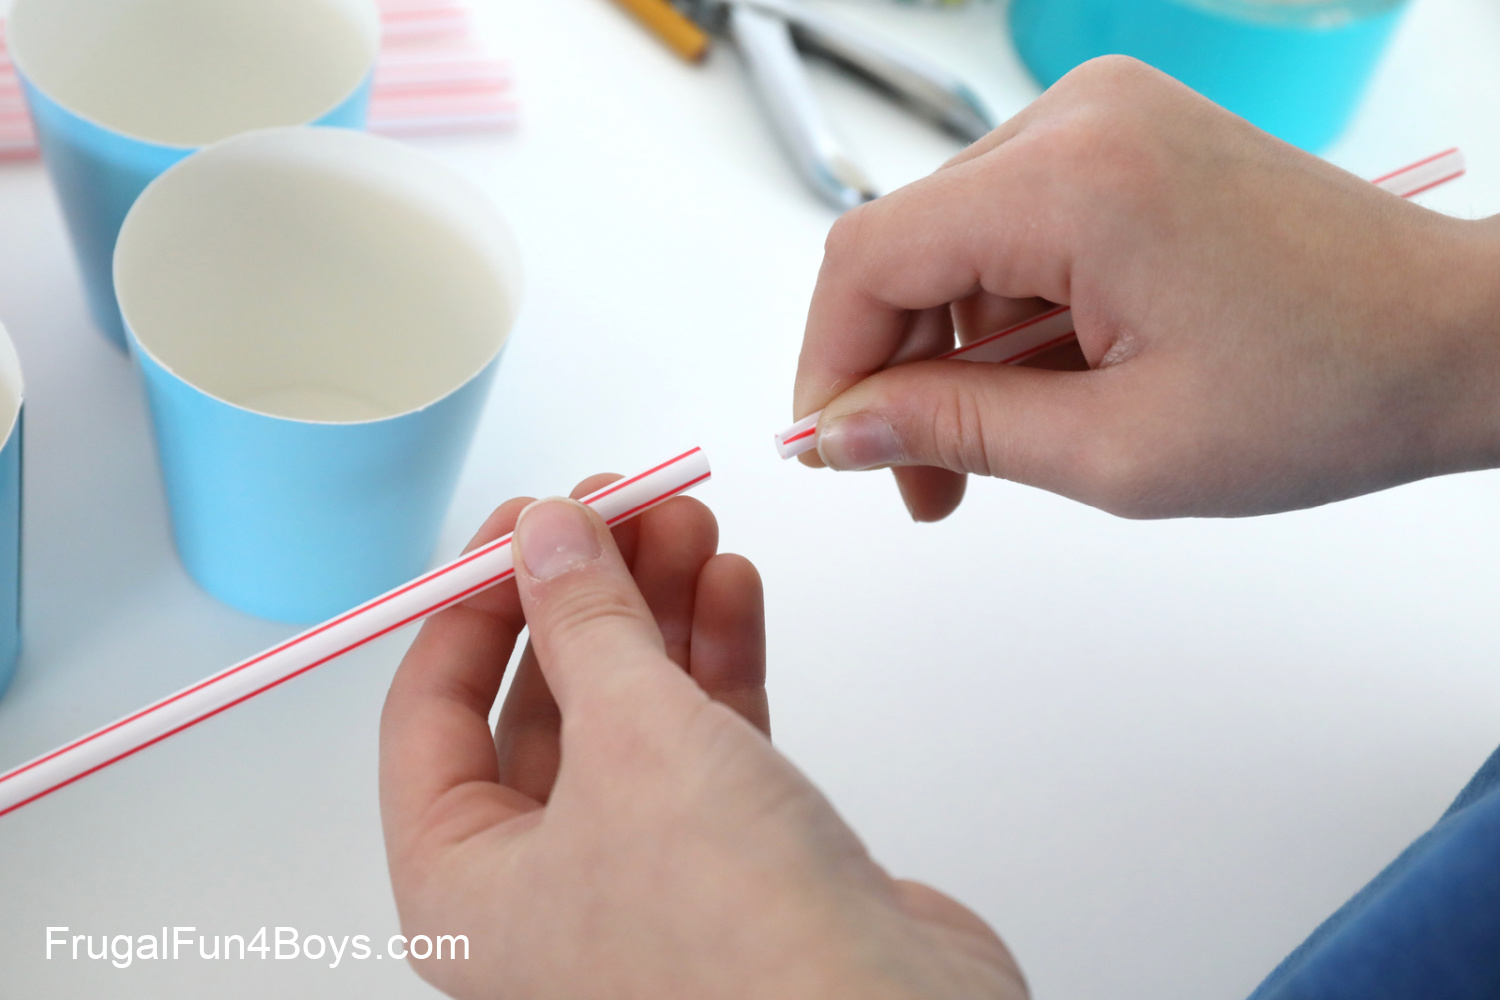
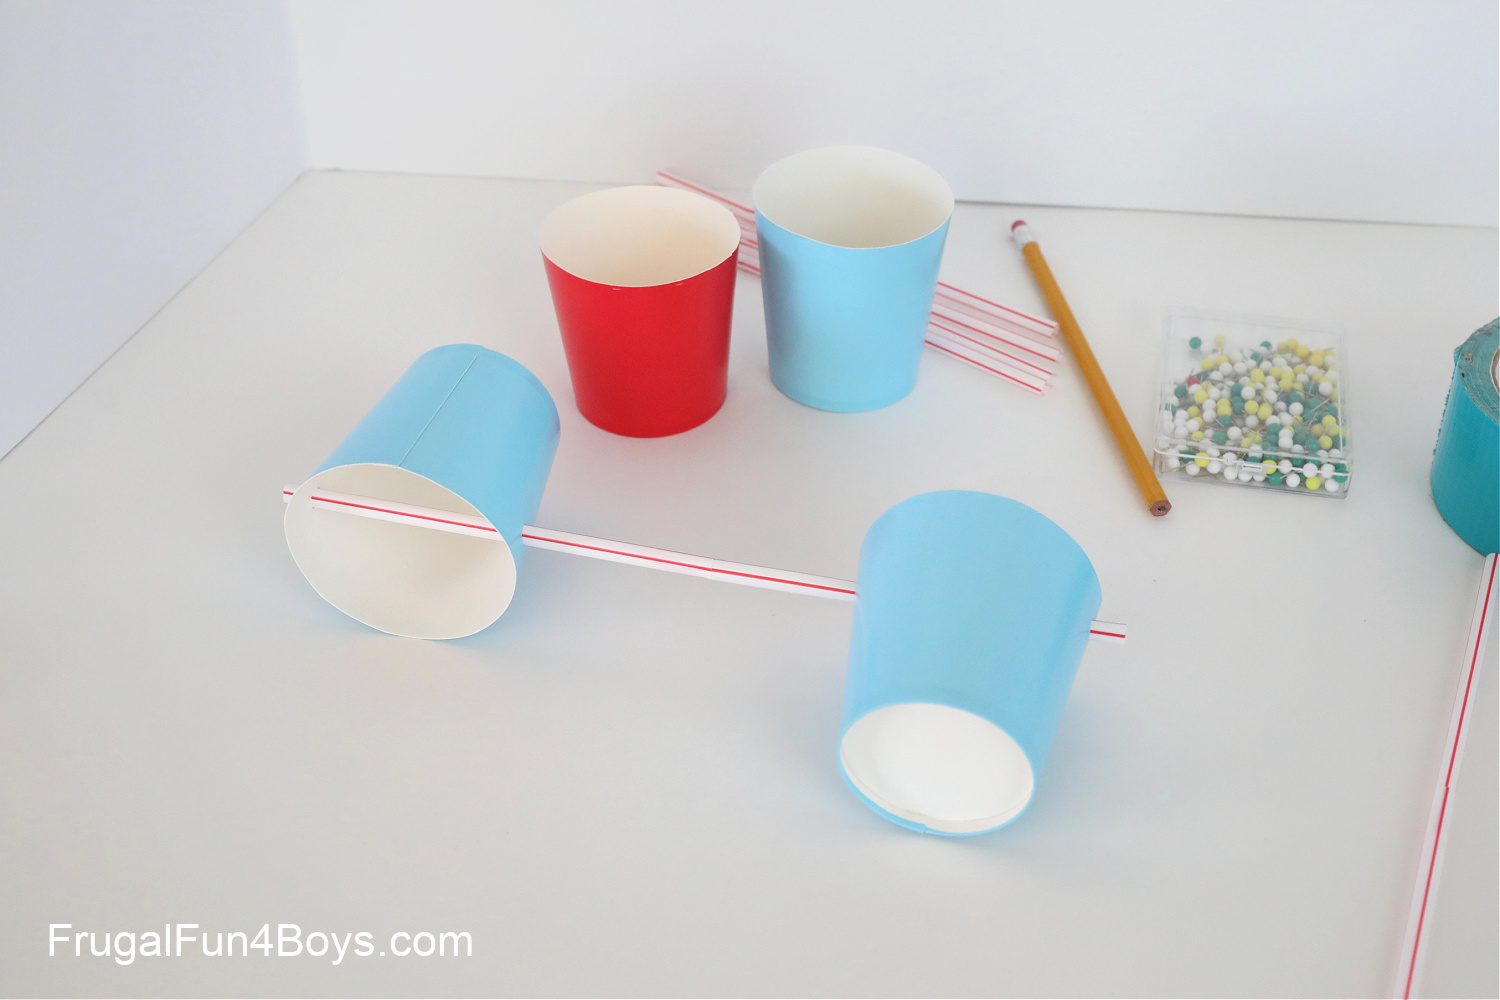
Step 1: Join two straws together to make a longer straw segment. Simply squeeze the end of one straw and slide it into the other. Make two of these. If your straws are bendy straws, cut off the bendy part before joining them together.
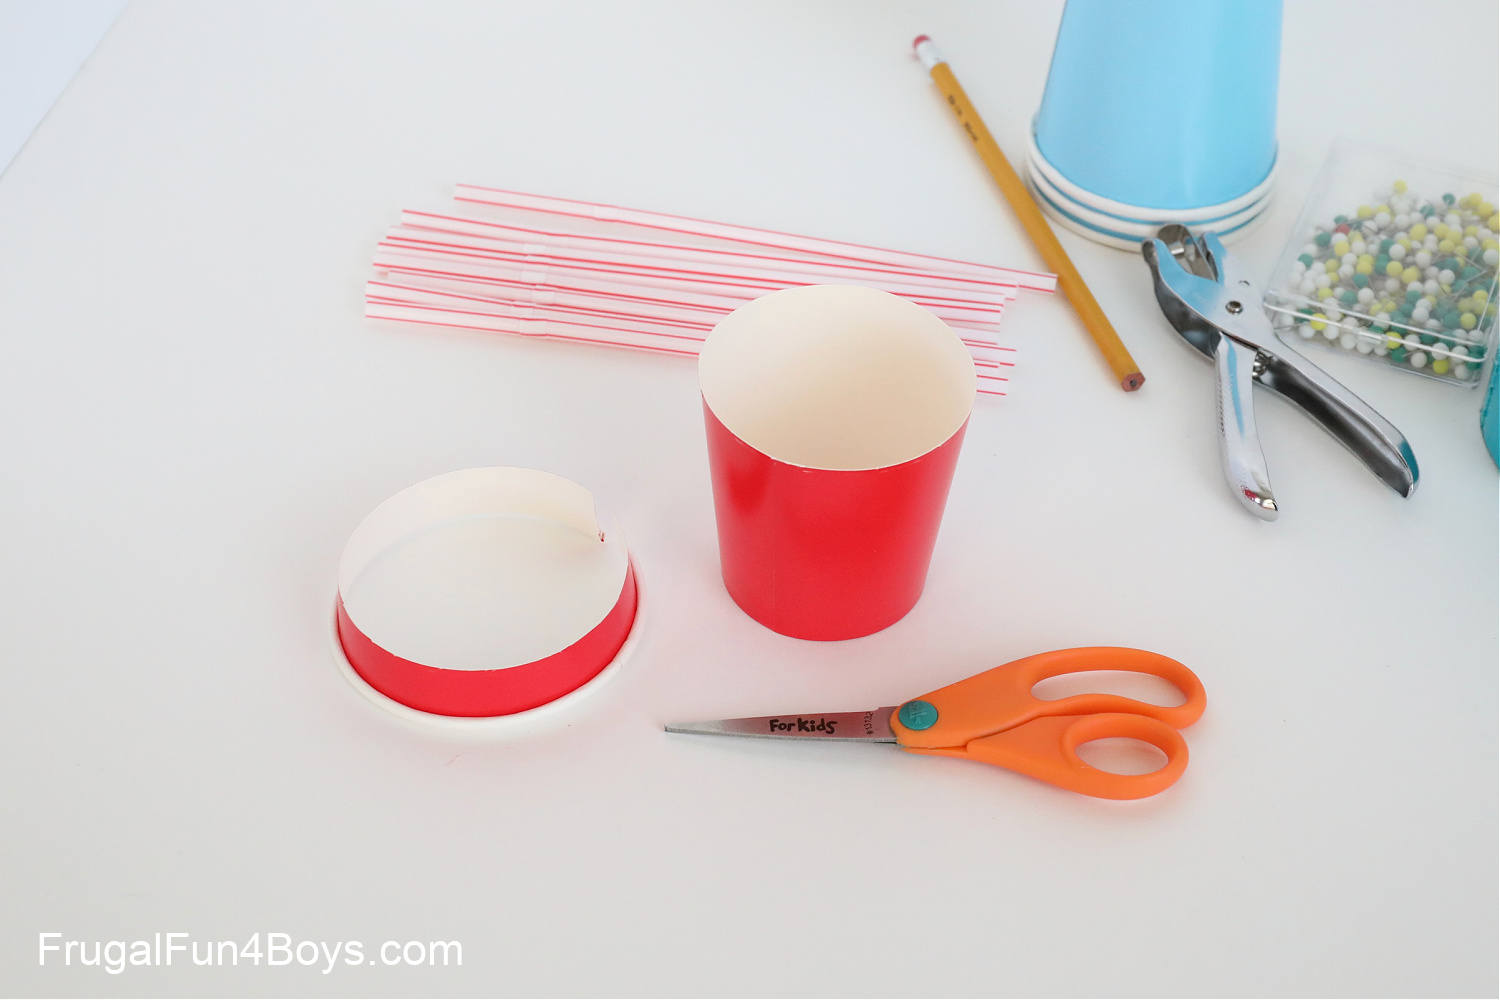
Step 2: Cut the four cups down, if needed, so that they are not so tall.
If you can, use three cups of one color and one cup of a different color. This will make it much easier to count how many times the cups rotate in a minute.
Step 3: Punch two holes in each cup. Make sure that the holes are in a straight line! Slide a cup onto each end of your two straw segments. Running the straw all the way through the cups makes the structure very stable. Plus, the overlapping straws add stability as well. We added that step because we needed the extra length, but it ended up adding strength too.
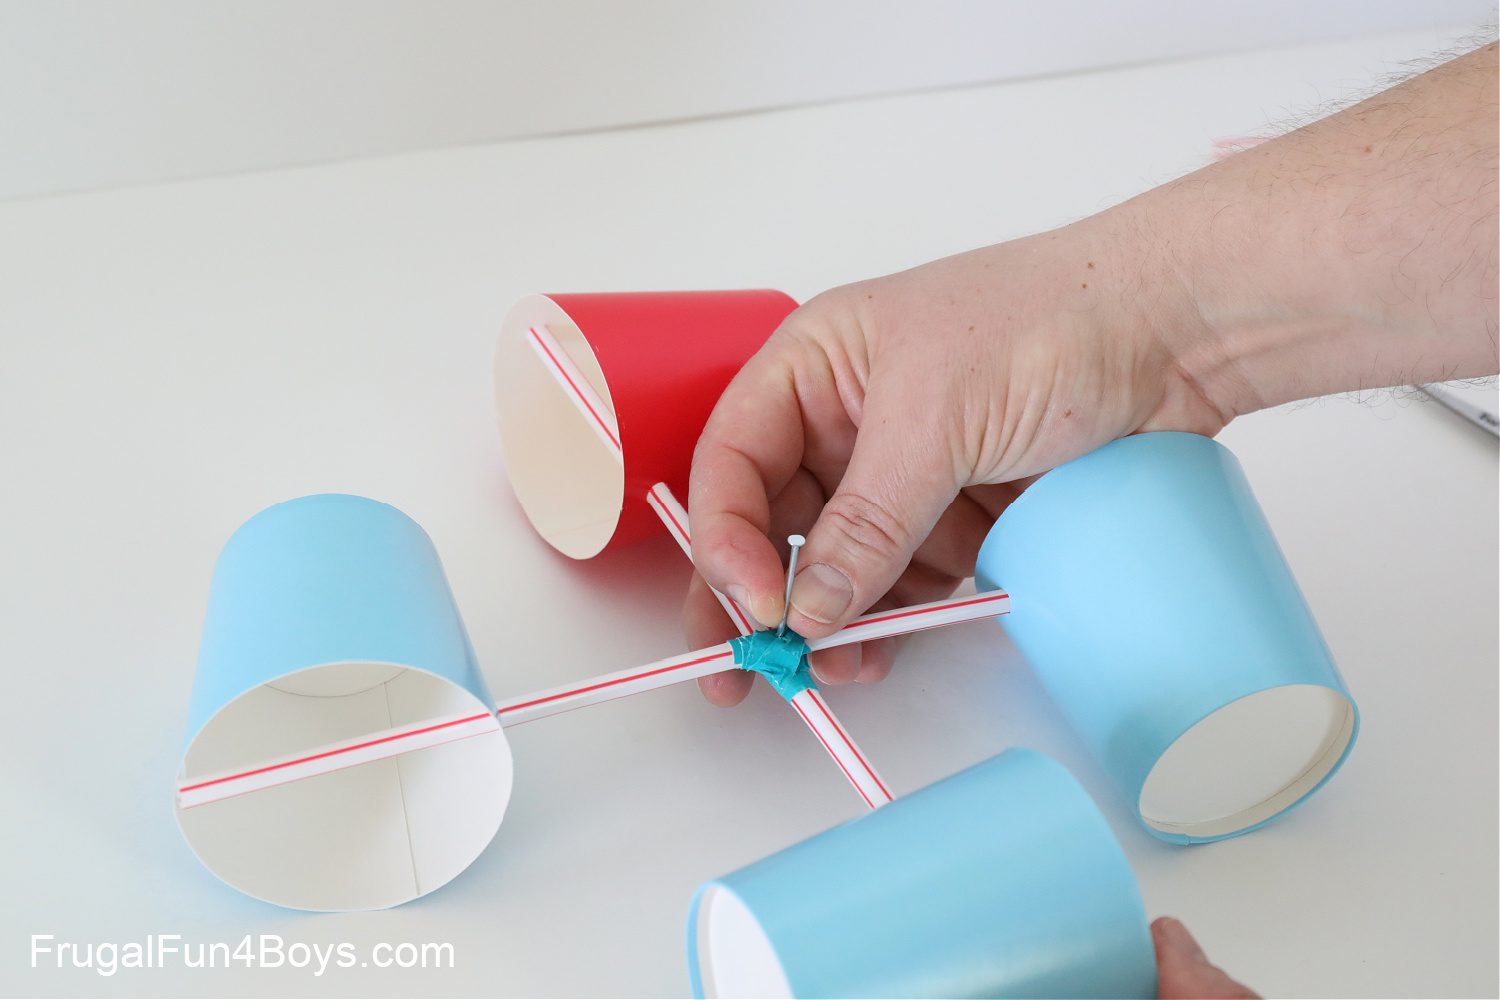
Step 4: Make an X with the two straws, and attach them with duct tape or masking tape. I cut long, thin pieces of duct tape and wrapped them around the connection point.
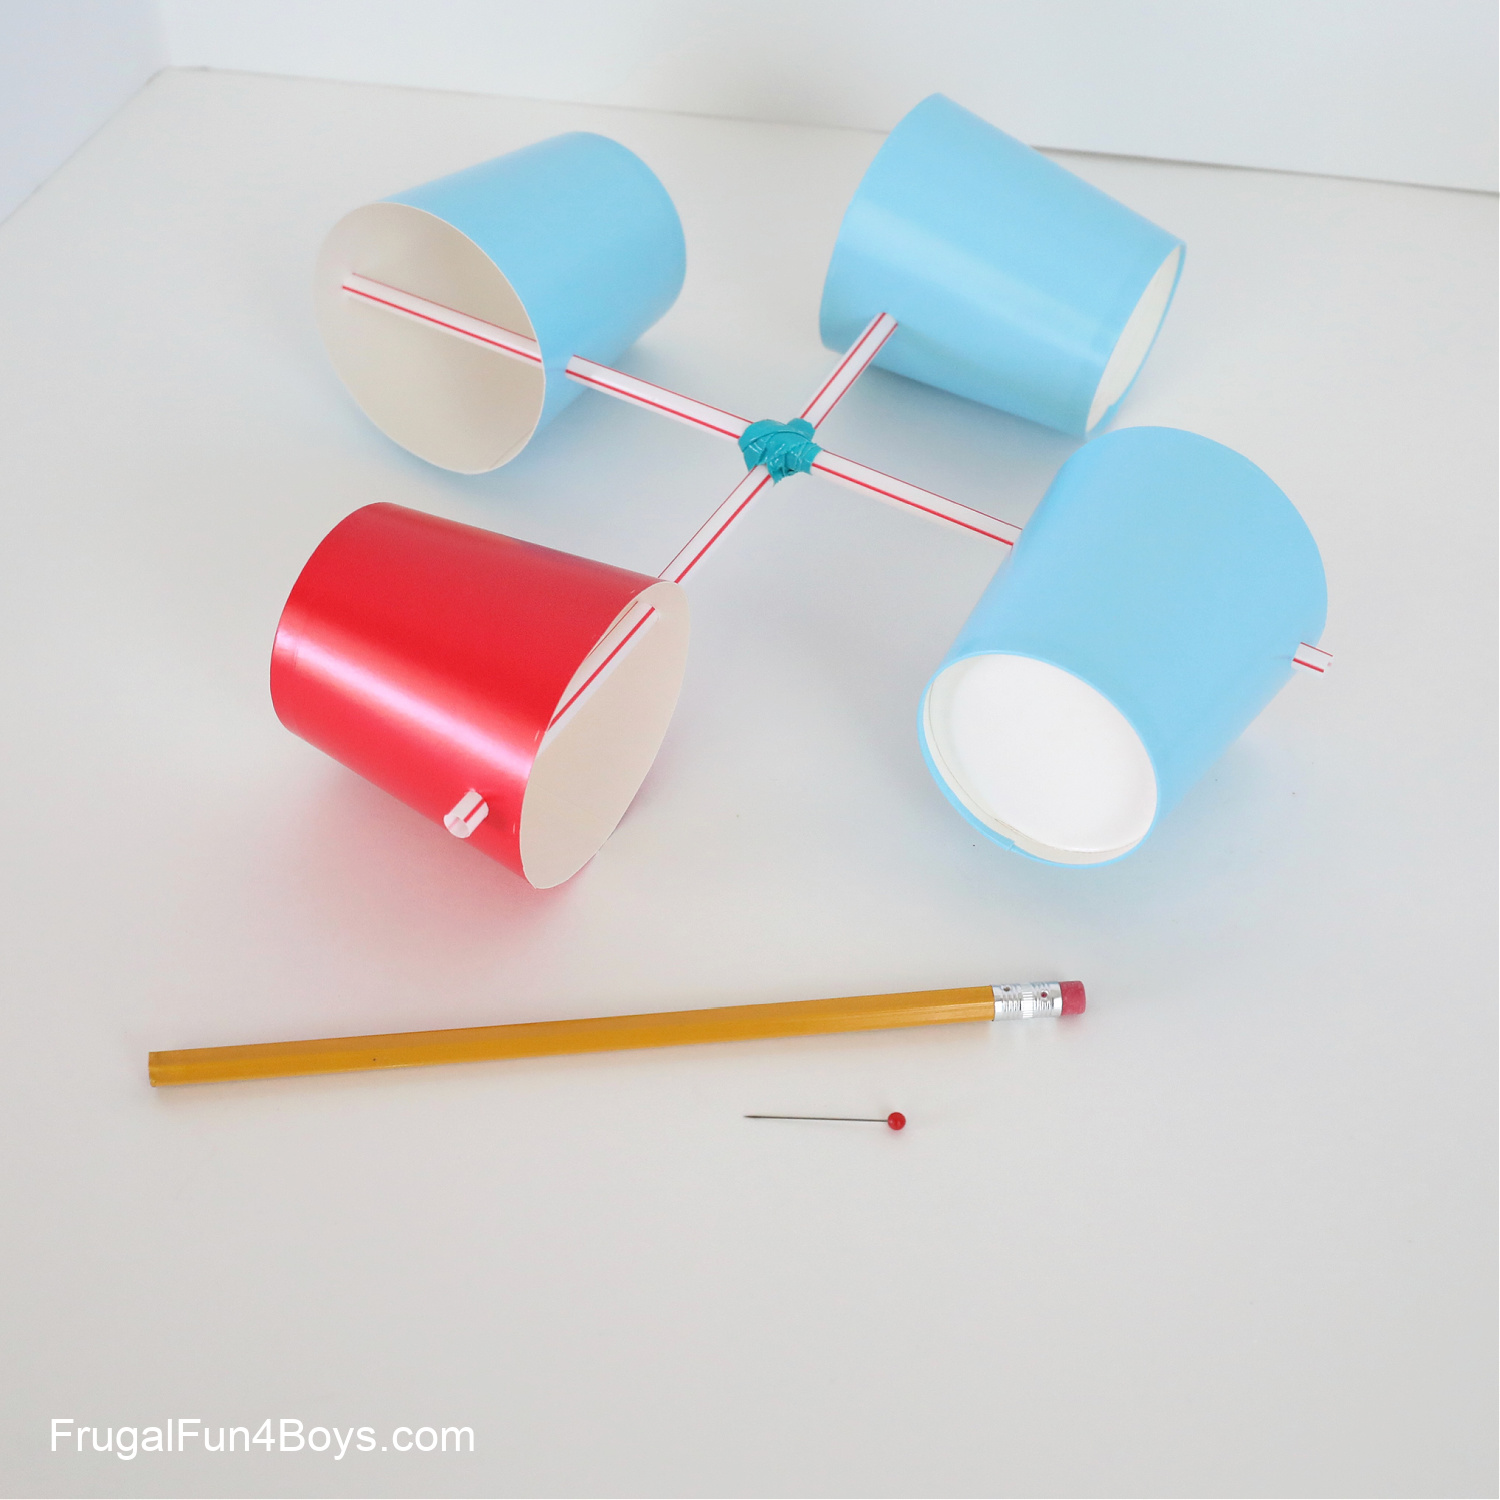
Step 5: Use the nail to make a hole in the center of the connection point. Then, take the nail out and stick the straight pin through the hole and into the eraser of the pencil.
This is another key step – in order for your anemometer to spin well, you need a big hole for the pin. Adjust your cups to make sure they are facing the way ours are in the picture below.
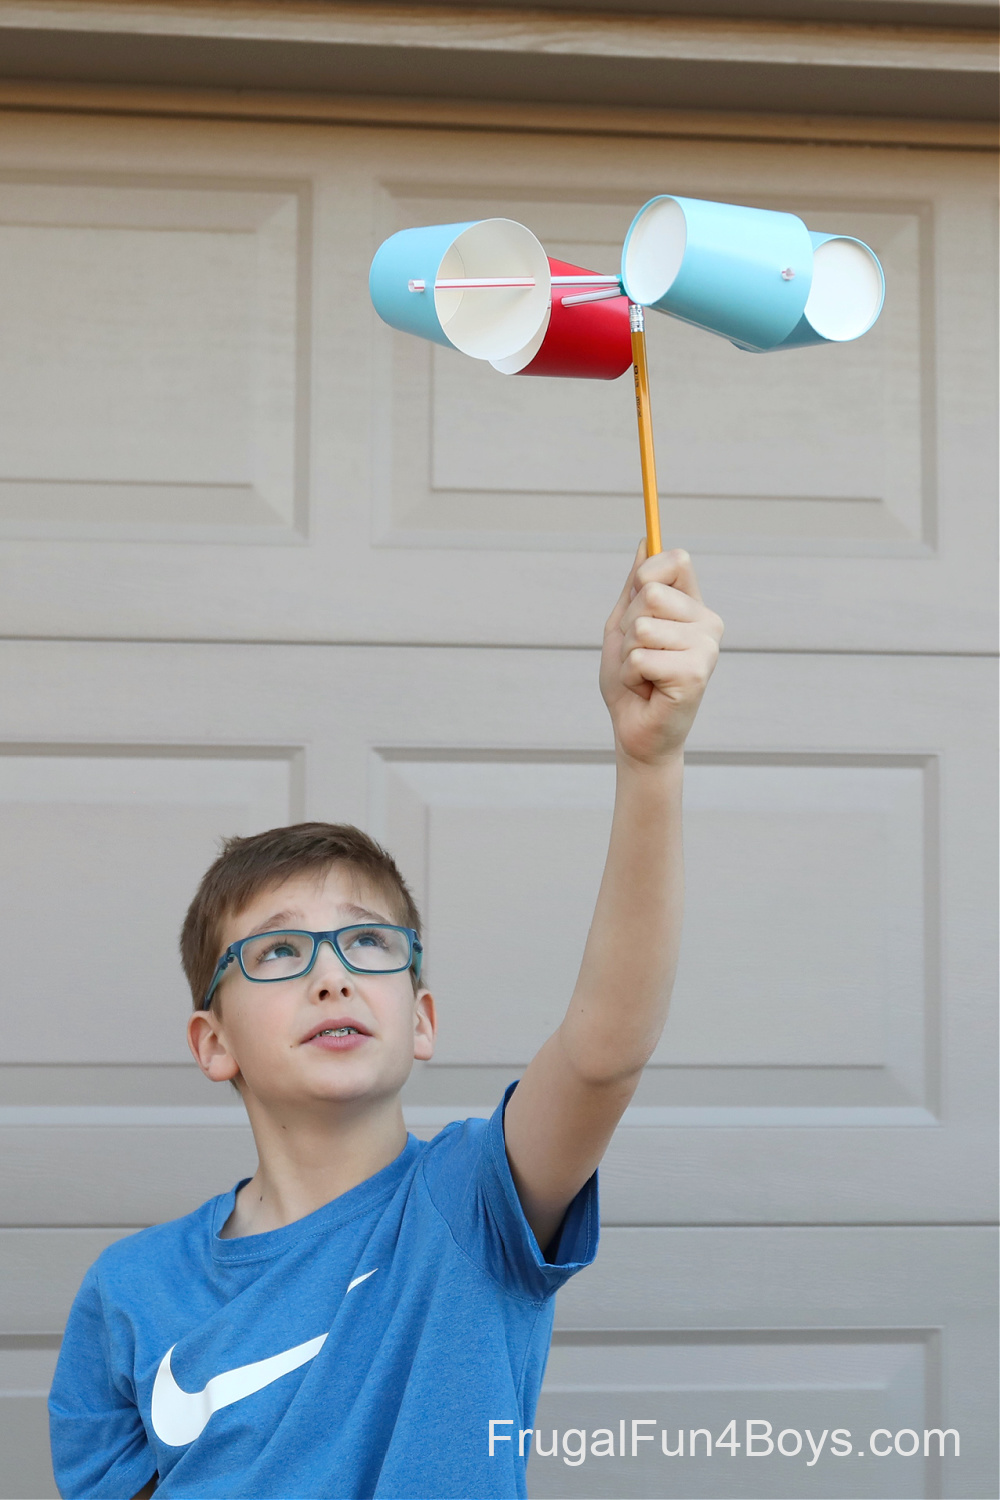
Then, head out to observe the wind!
Does your anemometer spin slowly? Or does it whirl around at a high speed? Does it spin slowly and then faster because of wind gusts?
Keep Weather Records!
Grab a notebook and keep a weather journal! Kids will enjoy keeping a daily record of how many rotations their anemometer made in a minute. Combine this with the Beaufort Wind Scale which uses specific observations to measure an approximate wind speed.
Record the daily high and low temperatures, and keep track of whether it was sunny, partly cloudy, raining, or snowing.
There are so many ways to expand this… make graphs with the number of sunny and cloudy days, or calculate the average high temperature for the month.
More Weather Science Projects:
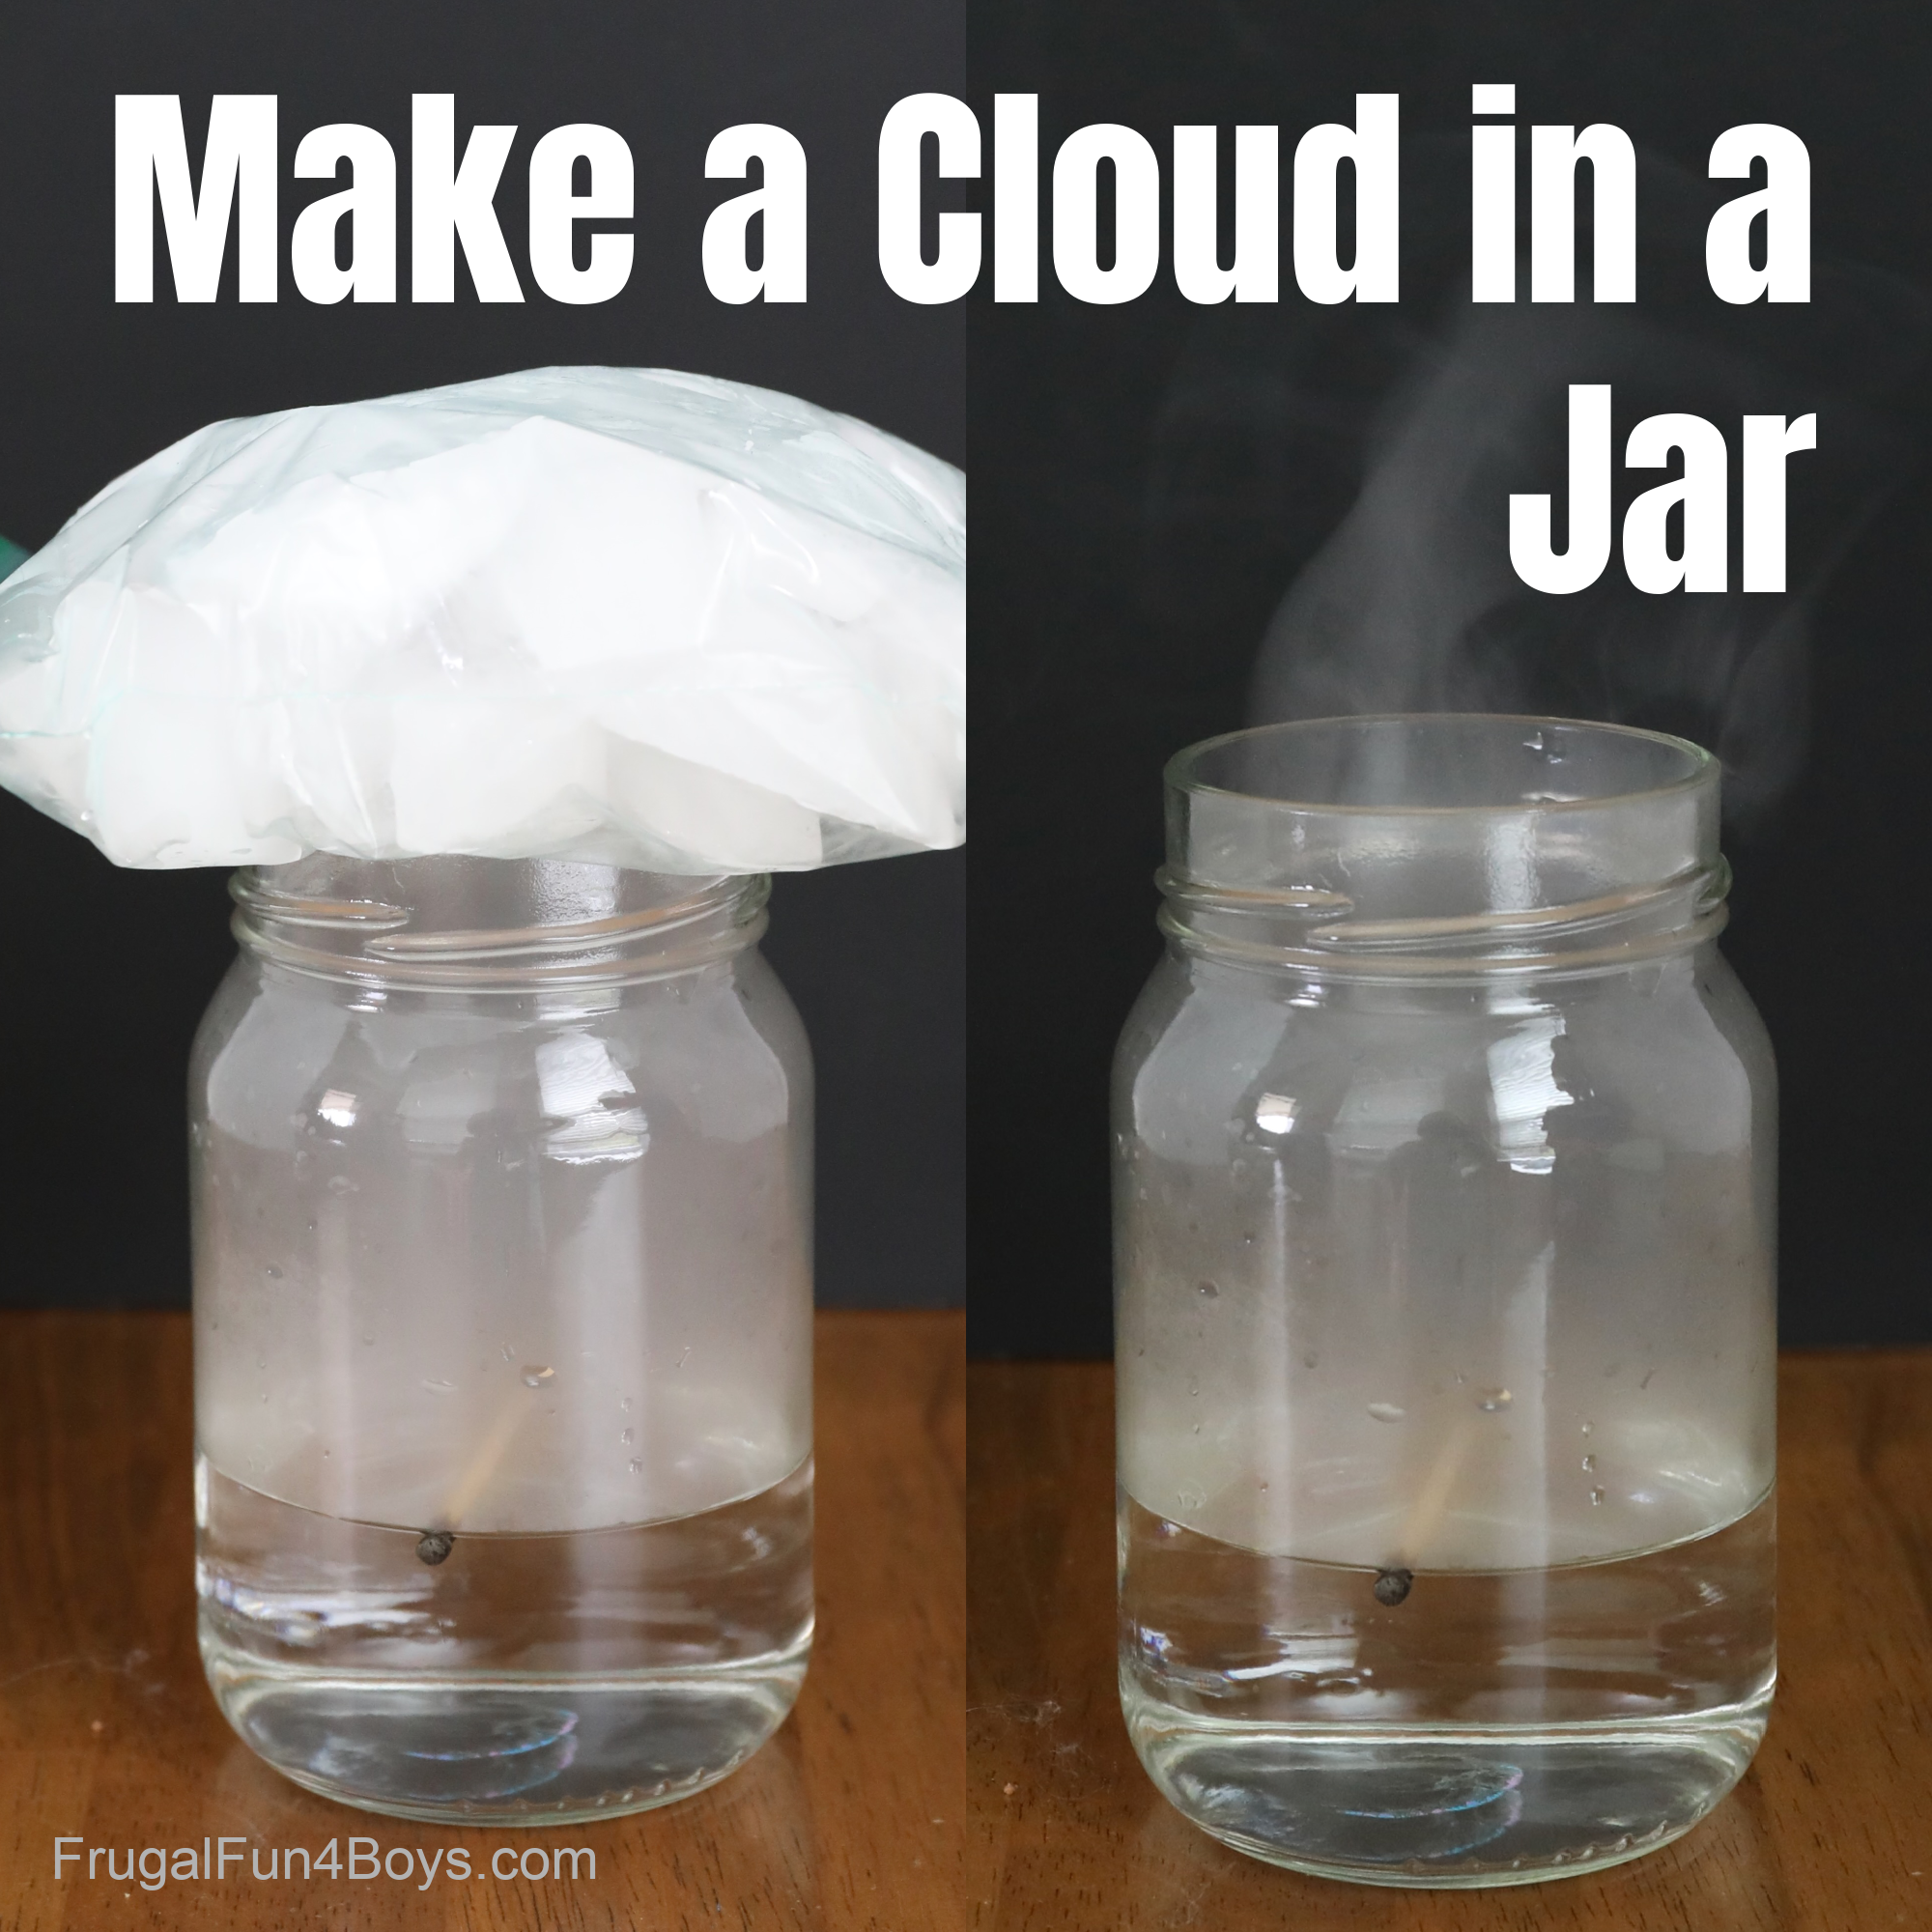
It’s so much fun to Make a Cloud in a Jar! Kids will be impressed with this one, and it’s not hard to do.
How do rainbows form? Explore refraction of light with this Dancing Rainbow Science Experiment.

2 Comments
megan Mar 1, 2016
Best instructions I've found so far! Simple, and they work. Thank you!
Laura Jones Sep 22, 2025
I'm a Children's Librarian and we are doing this experiment this week for our weekly STEM programs for the K-5th graders. Thank you for all the great ideas!
Post a Comment