
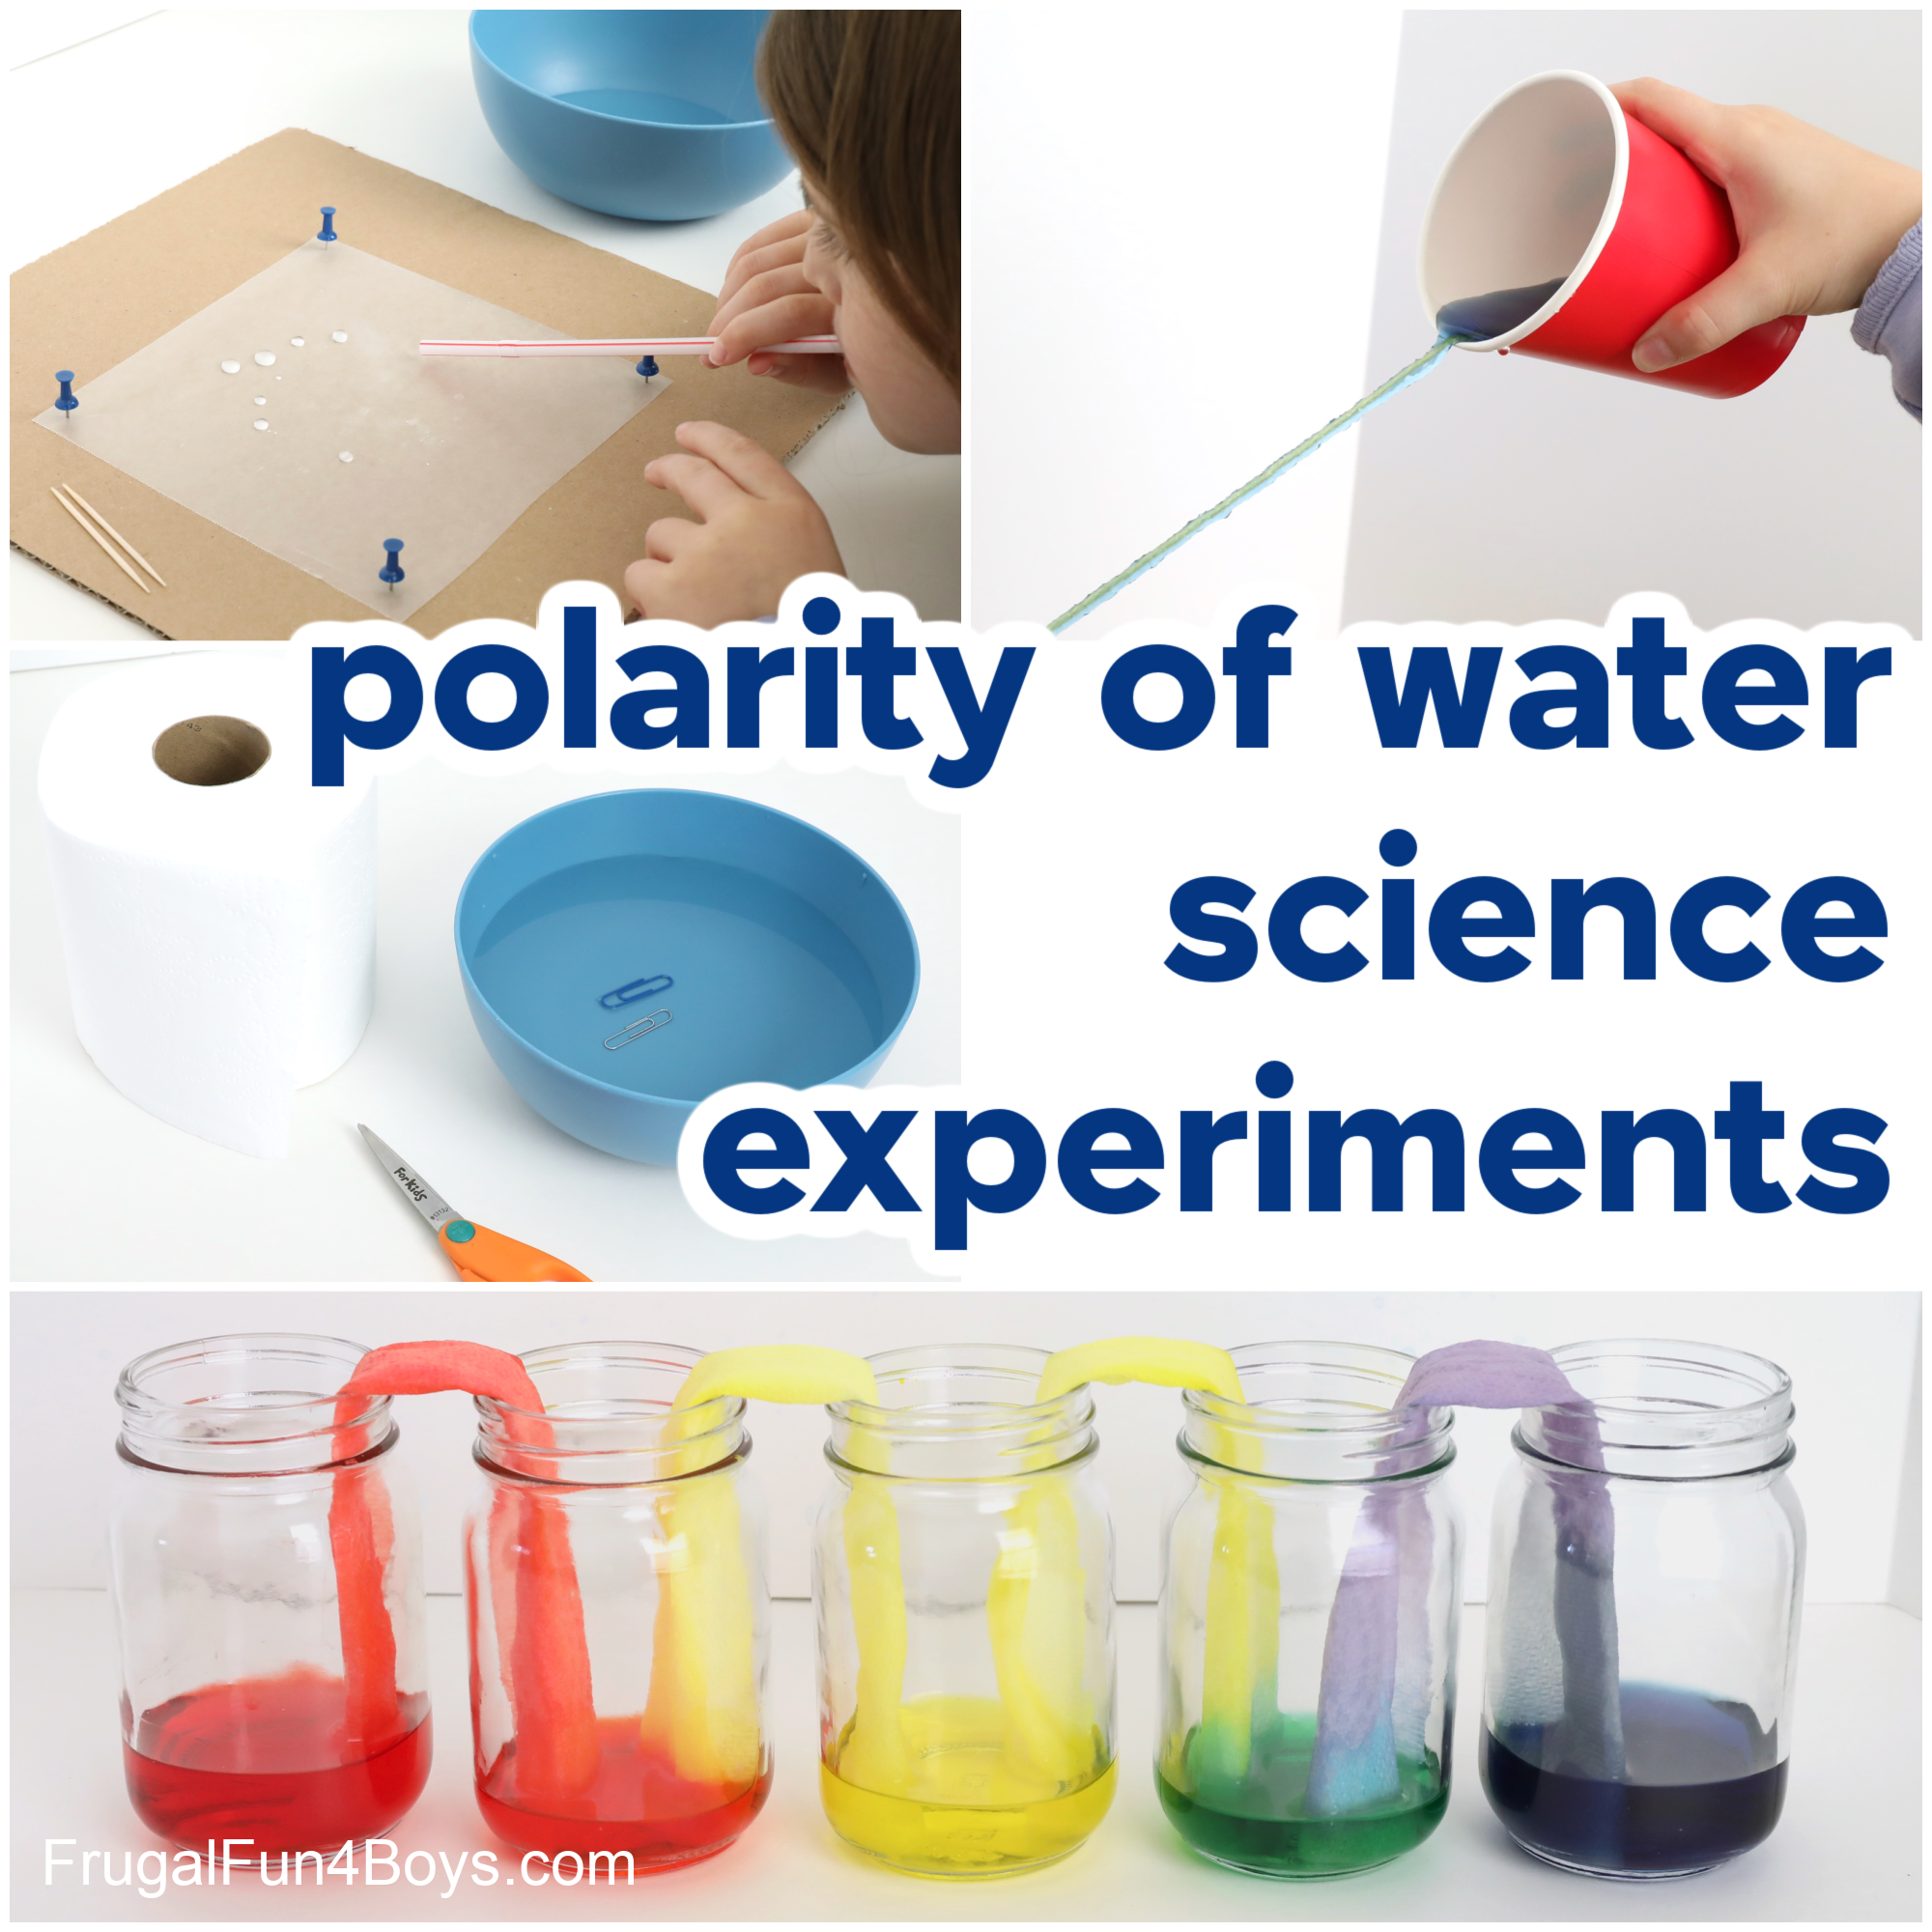
We all interact with water every day, but water is still an amazing (and surprising!) substance to explore. Because of its polarity, water can do some really cool things. Here’s a collection of awesome science experiments that demonstrate how water’s polarity affects its behavior.
The polarity of water creates forces of cohesion and adhesion. We’ll cover all that in this article!
These are experiments that I tested out with my middle school science class, but they work well for upper elementary school students also. And hey, adults will enjoy these too. I was definitely impressed!
What does it mean that water is polar, or has polarity?
A water molecule does not have a charge because the number of protons and the number of neutrons are balanced. However, the two hydrogen atoms and one oxygen atom in each molecule of water are connected with covalent bonds. A covalent bond involves electrons being shared between atoms. In a water molecule, the shared electrons spend more time at the oxygen end of the molecule, which creates a slight negative charge at that end and a slight positive charge at the hydrogen end.
This makes water molecules behave like tiny magnets. The positive end of one water molecule is attracted to the negative end of another water molecule, and the molecules form weak hydrogen bonds with each other.
One way to illustrate this with kids is to think of the water molecules holding hands. They can be separated, but they have a force of attraction between them, holding them together. This causes water to have surface tension, which is what you see when you fill a glass of water overly full and the water piles up above the rim of the glass.
Water molecules experience cohesion, which is a force of attraction between molecules of the same substance.
Water molecules also experience adhesion, which is a force of attraction between water molecules and another substance.
Experiment #1: Can You Cut a Drop of Water?
This polarity of water science experiment is SO MUCH FUN! I was amazed at how much time my students wanted to spend with this. They loved it!
Supplies Needed:
- Sheet of corrugated cardboard
- Wax paper
- Push pins
- Scissors
- Toothpicks
- Straws – one per person, either paper or plastic
- Water dropper
- Liquid dish soap
Start by cutting a square of wax paper. It doesn’t really matter what size it is.

Then drip some water droplets onto the wax paper. Observe – what do they look like?
It’s fun to use a toothpick to scoot the water drops around! Kids will be amazed at how the water behaves.

Try using a toothpick to cut a water droplet in half. Can you do it?
Because of water’s polarity, it’s hard to cut a drop of water in half. Try using two toothpicks, and you should be able to pull the drops apart to make smaller droplets.
My students had WAY too much fun with this!

Then grab a drinking straw and see if you can blow the drops back together. They will easy combine to make bigger, taller drops.

We had fun joining several drops together to make one big drop.

For the final step in this experiment, dip one of your toothpicks in a little dish soap. Then insert it into one of your water droplets. What happens?
First, the water droplet has a lot of surface tension. But as soon as the soap touches the water, it weakens the hydrogen bonds, and the water loses its surface tension.

Experiment #2: Make a Paper Clip Float on Water
This is a cool polarity of water science experiment that also feels like a magic trick! It’s not… it’s science… but it’s still so impressive.
Supplies Needed:
- Bowl
- Water
- Paper clip
- Toilet paper
- Scissors
First, test your paper clip to see if it floats or sinks. We used two different paper clips – one was metal, and the other was metal coated with plastic. Both of them definitely sank! No doubt about that!

Dry off your paper clip.
Then cut a little “raft” for your paper clip out of a sheet of toilet paper. The raft should be larger than your paper clip by about an inch and a half on each side.
Drop the paperclip together with the toilet paper into the water.
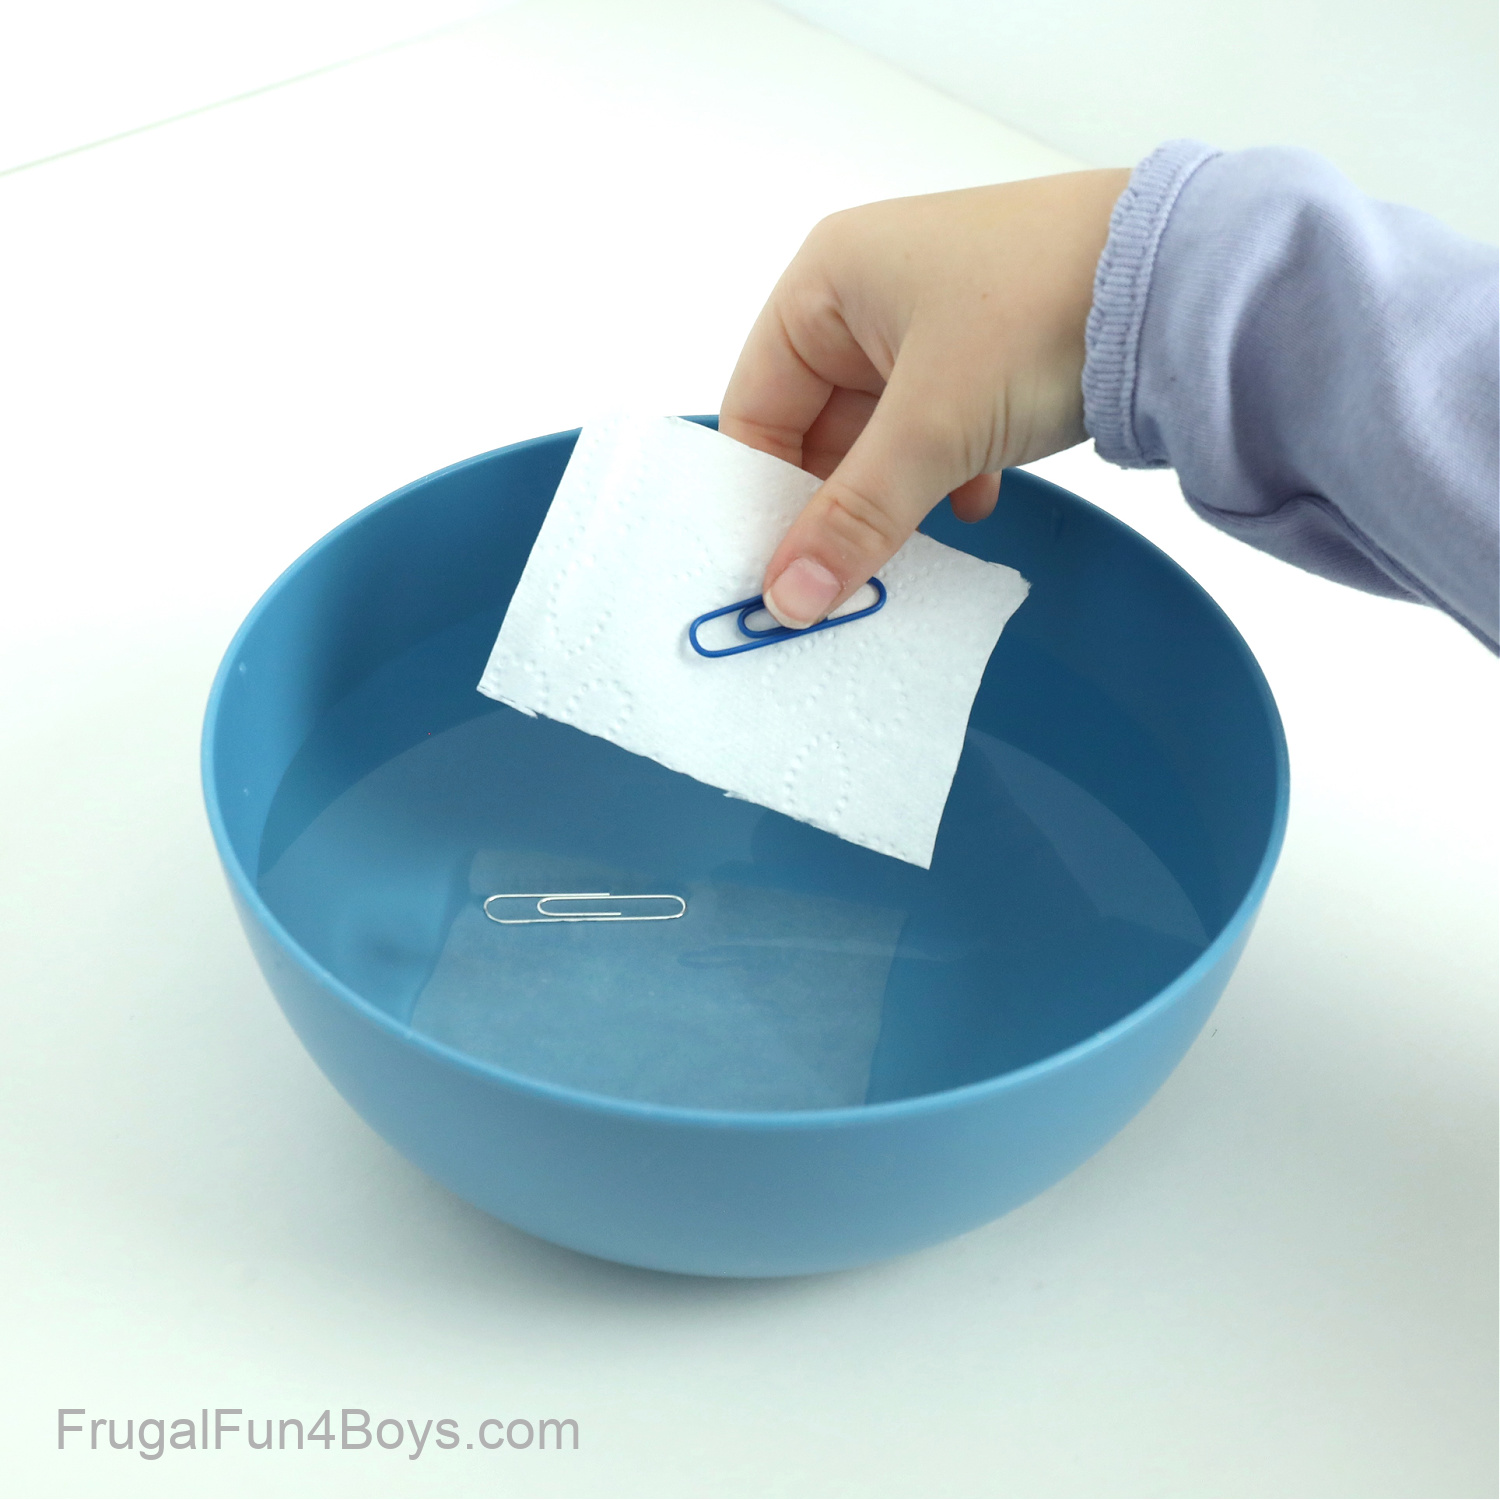
The toilet paper and the paper clip will float together on top of the water. Soon, however, the toilet paper will become saturated and sink to the bottom of the bowl. The paper clip will stay on top of the water, floating!
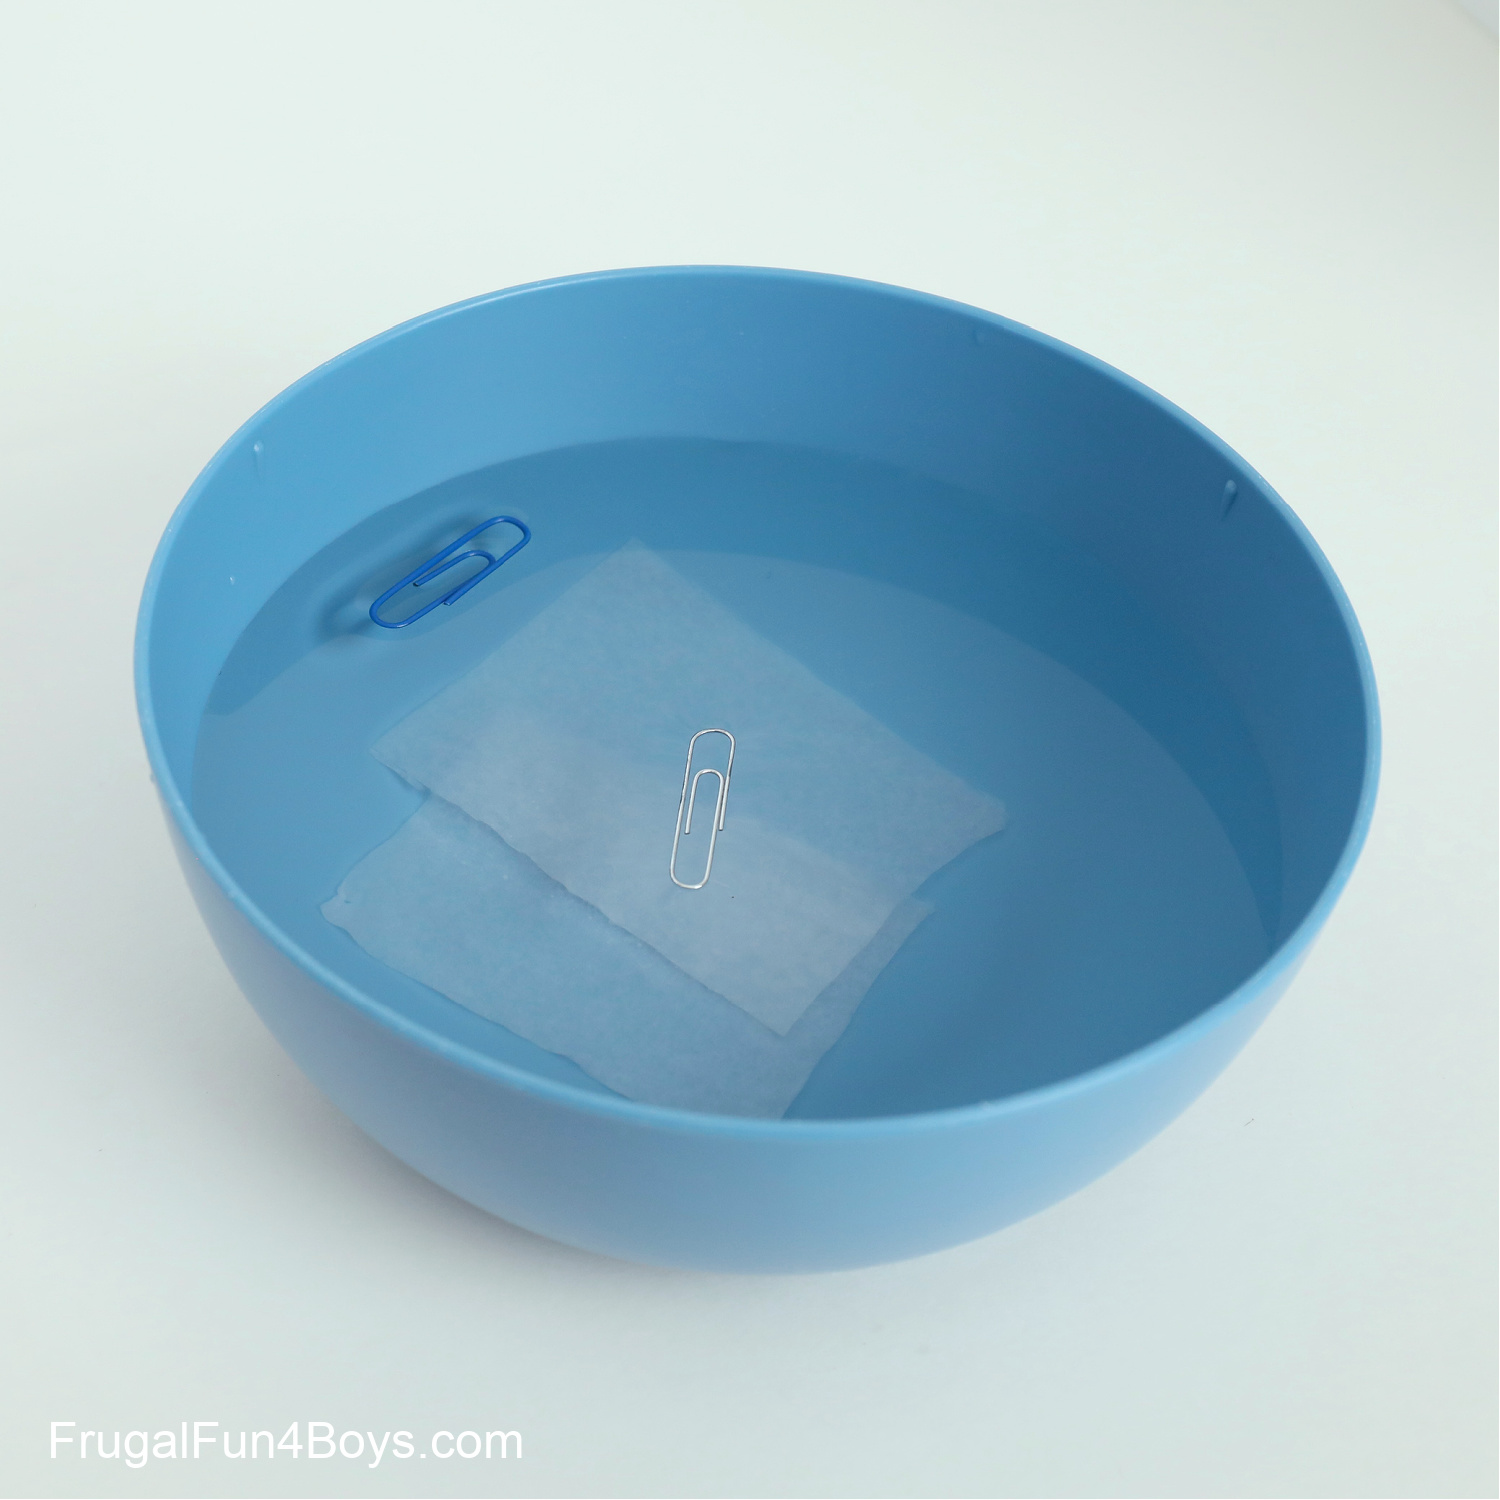
Is the paper clip really floating? Yes… but only because it’s being help up by surface tension. So cool!
Experiment #3: Walking Water Rainbow
This amazing experiment explores another effect of water’s polarity: capillary action. We’re going to watch cohesion between water molecules and adhesion between water molecules and small spaces in a paper towel create capillary action, or the ability for water to move upward through narrow spaces without any help.
Supplies Needed:
- 5 glass jars, or clear glasses
- Water
- Red, yellow, and blue food coloring
- Paper towels
To set up your walking water experiment, fill three jars with 2-3 inches of water each. Mine had 2.5 inches each. Add food coloring to each jar. We used red, yellow, and blue so that these primary colors would mix and we would have a rainbow. (However, the rainbow happened all by itself! Keep reading to see how…)
Then fold a paper towel over several times length-wise. We used select-a-size paper towels (Costco brand) and they worked great. Repeat until you have 4 folded paper towels.
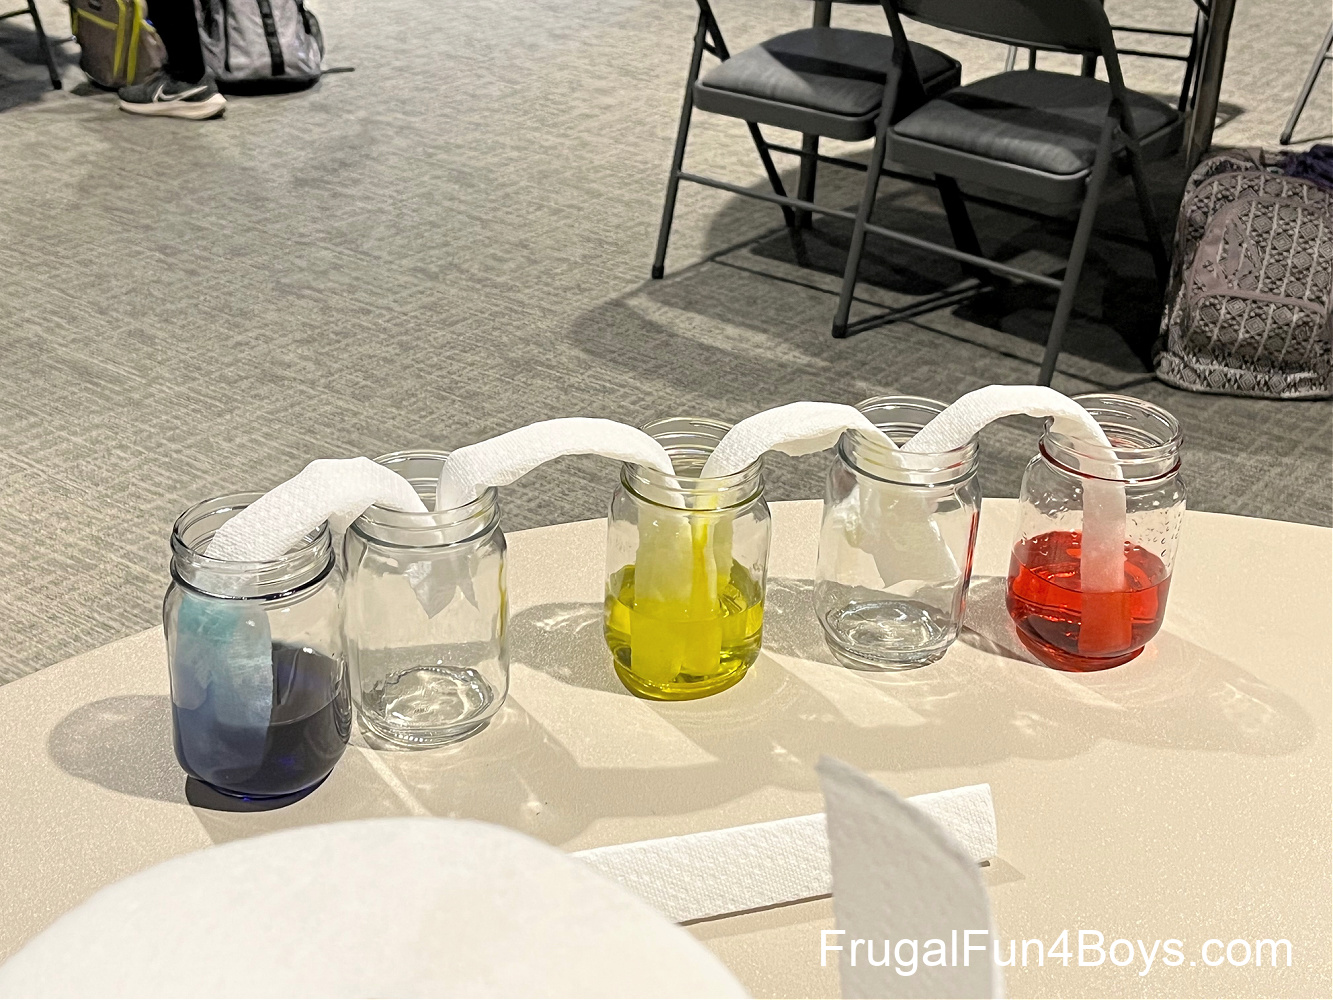
Line up your jars so that you have red, then an empty jar, then yellow, then an empty jar, then blue.
Place the folded paper towels into the jars as shown below. Each paper towel will be submerged in water, and then will hang over into the empty jar next to it.
This is a photo of our setup at the start of our science class. I explained capillary action and asked the students if they thought the water could climb up the paper towel and travel back down again into the empty jar. They were very skeptical!
By the end of our homeschool co-op three hours later, the water had made great progress. The paper towels were wet all the way down to the bottom, but there was no water in the empty jars yet.
(The food coloring lagged behind the wetness, which was interesting. These paper towels were totally wet, although the coloring had not spread that far yet.)

We managed to make it home in our van without spilling any of the jars! (Ask me sometime about the baby oil lava lamp science experiment we spilled in the van one time… yikes… at least it smelled nice!)
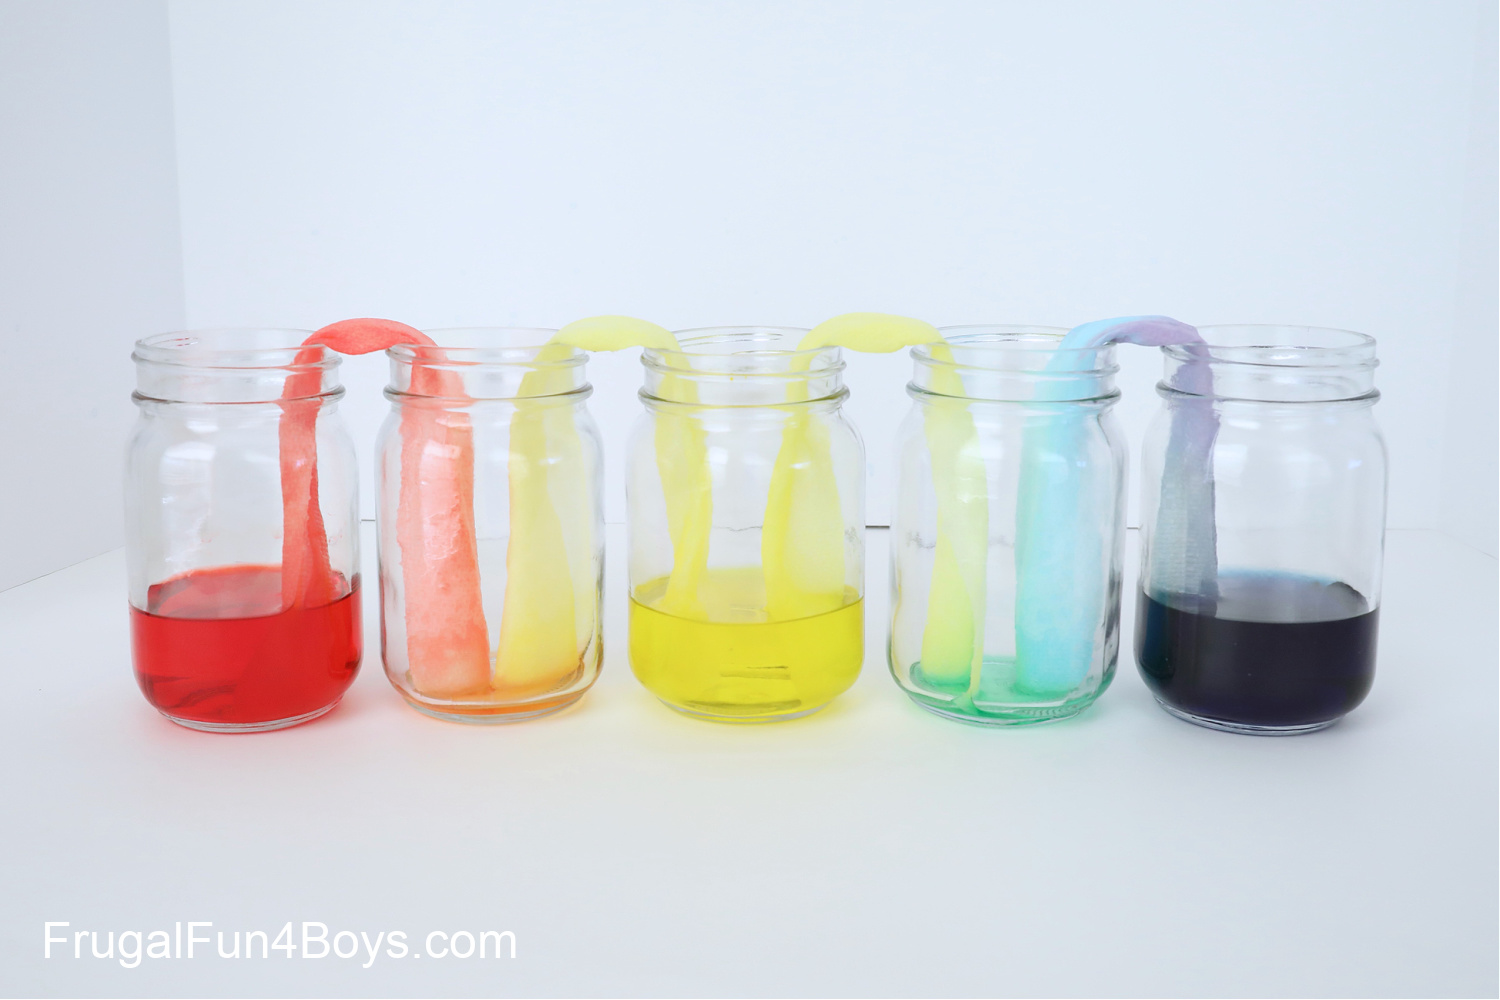
A few hours later, the experiment looked like this. Whoa! We were starting to see some orange and green! So cool.
This photo shows both purple and blue… it really was just blue food coloring. Well, it was “navy blue” food coloring that I ordered in a pack from Amazon. Apparently the navy blue had some purple in it, and we inadvertently did a little chromatography experiment too! (The colors separated as the water spread up the paper towel.)
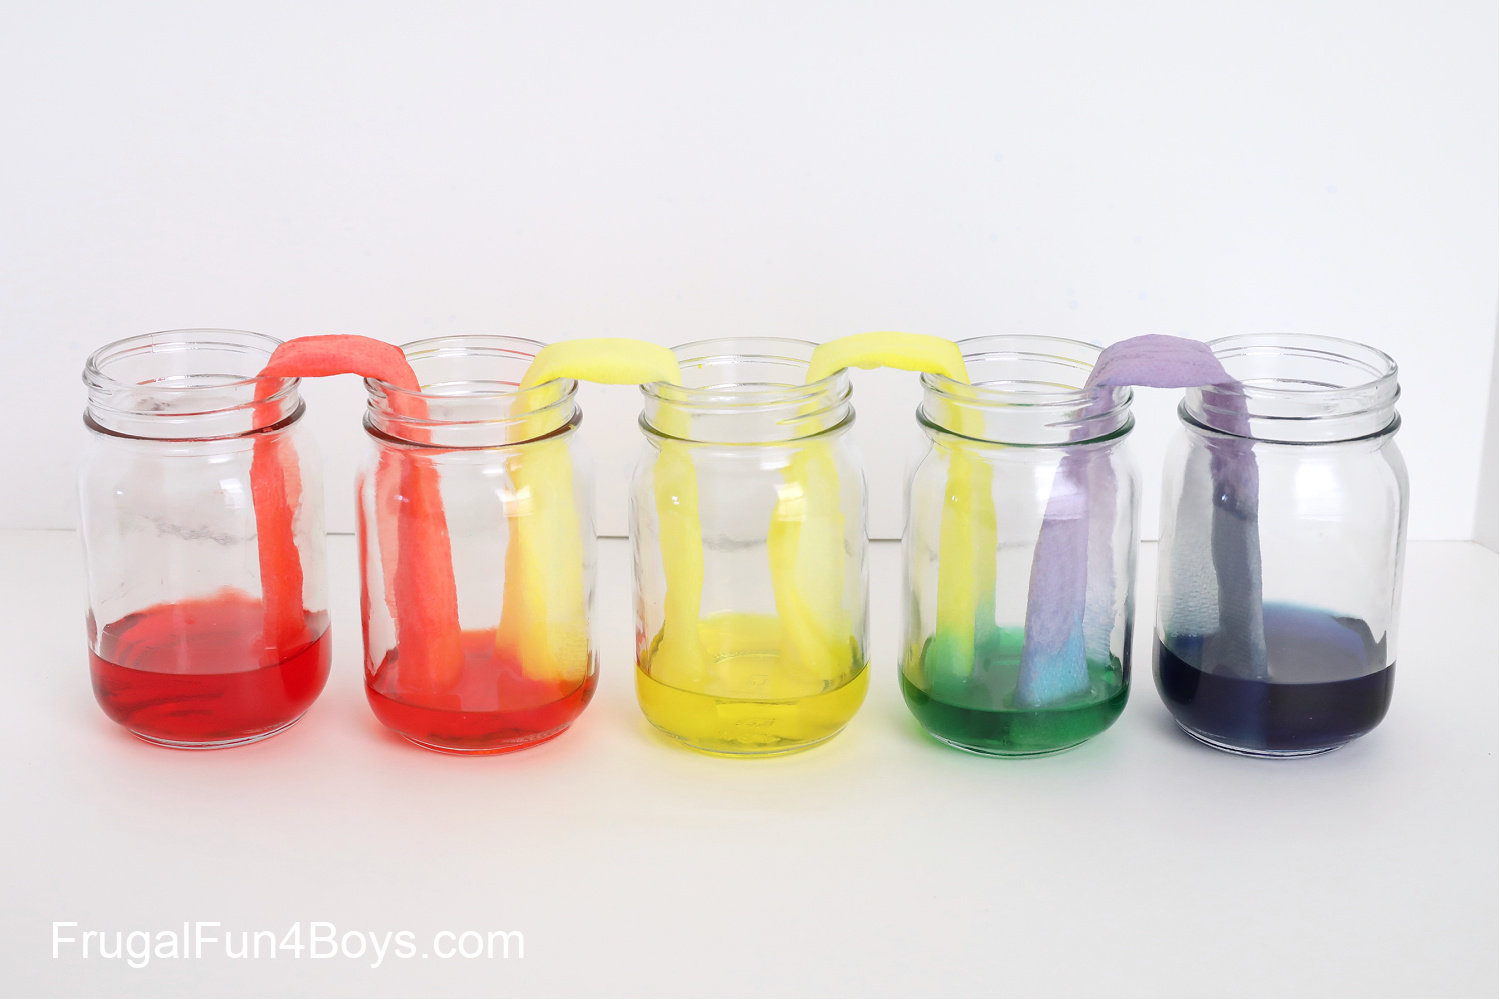
And finally, here’s a photo from the 24 hour mark. SO AMAZING!
Experiment #4: Pouring Water Down a String Science Experiment
This simple activity also really impressed my science students. Pour water from a cup… but instead of falling straight down, it travels along a string instead!
There are two keys to getting this experiment to work:
- Get the string wet first
- Pour at the right speed
It’s not hard to master, though. My 8 year old was able to do this successfully!
Supplies Needed:
- Two cups – we used paper cups
- Yarn
- Stapler
- A shallow dish to catch the water
- Food coloring (optional)
First, staple a piece of yarn to a paper cup. The yarn should be about 15 inches long, but it doesn’t need to be exact.

Get the yarn wet. I ran it under the faucet for a few seconds.
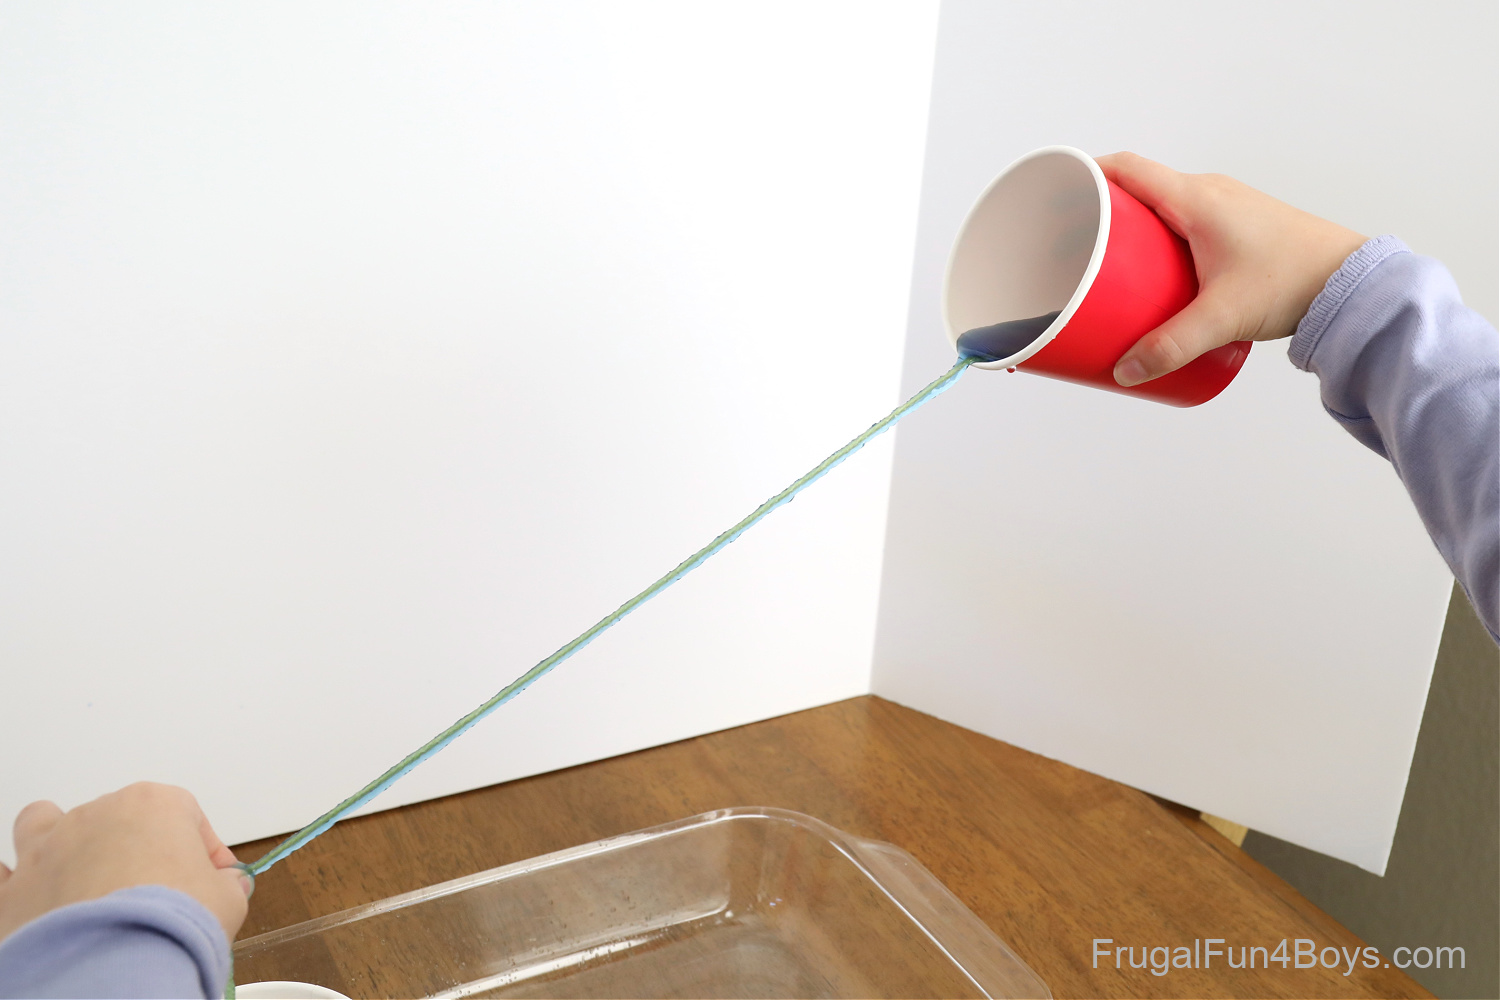
Then put some water in the cup and pour! Hold the string with your other hand so that the end of the string is positioned over your second cup. The water should run down the string and into the cup!
We colored our water so that you would be able to see it better.

Pour slowly but steadily. If the water drops straight now, you’re pouring too fast.
SO AMAZING!
If you’re pouring the water slowly, the force of adhesion between the water and the string is stronger than the force of gravity pulling down on the water, and the water runs right along the string.
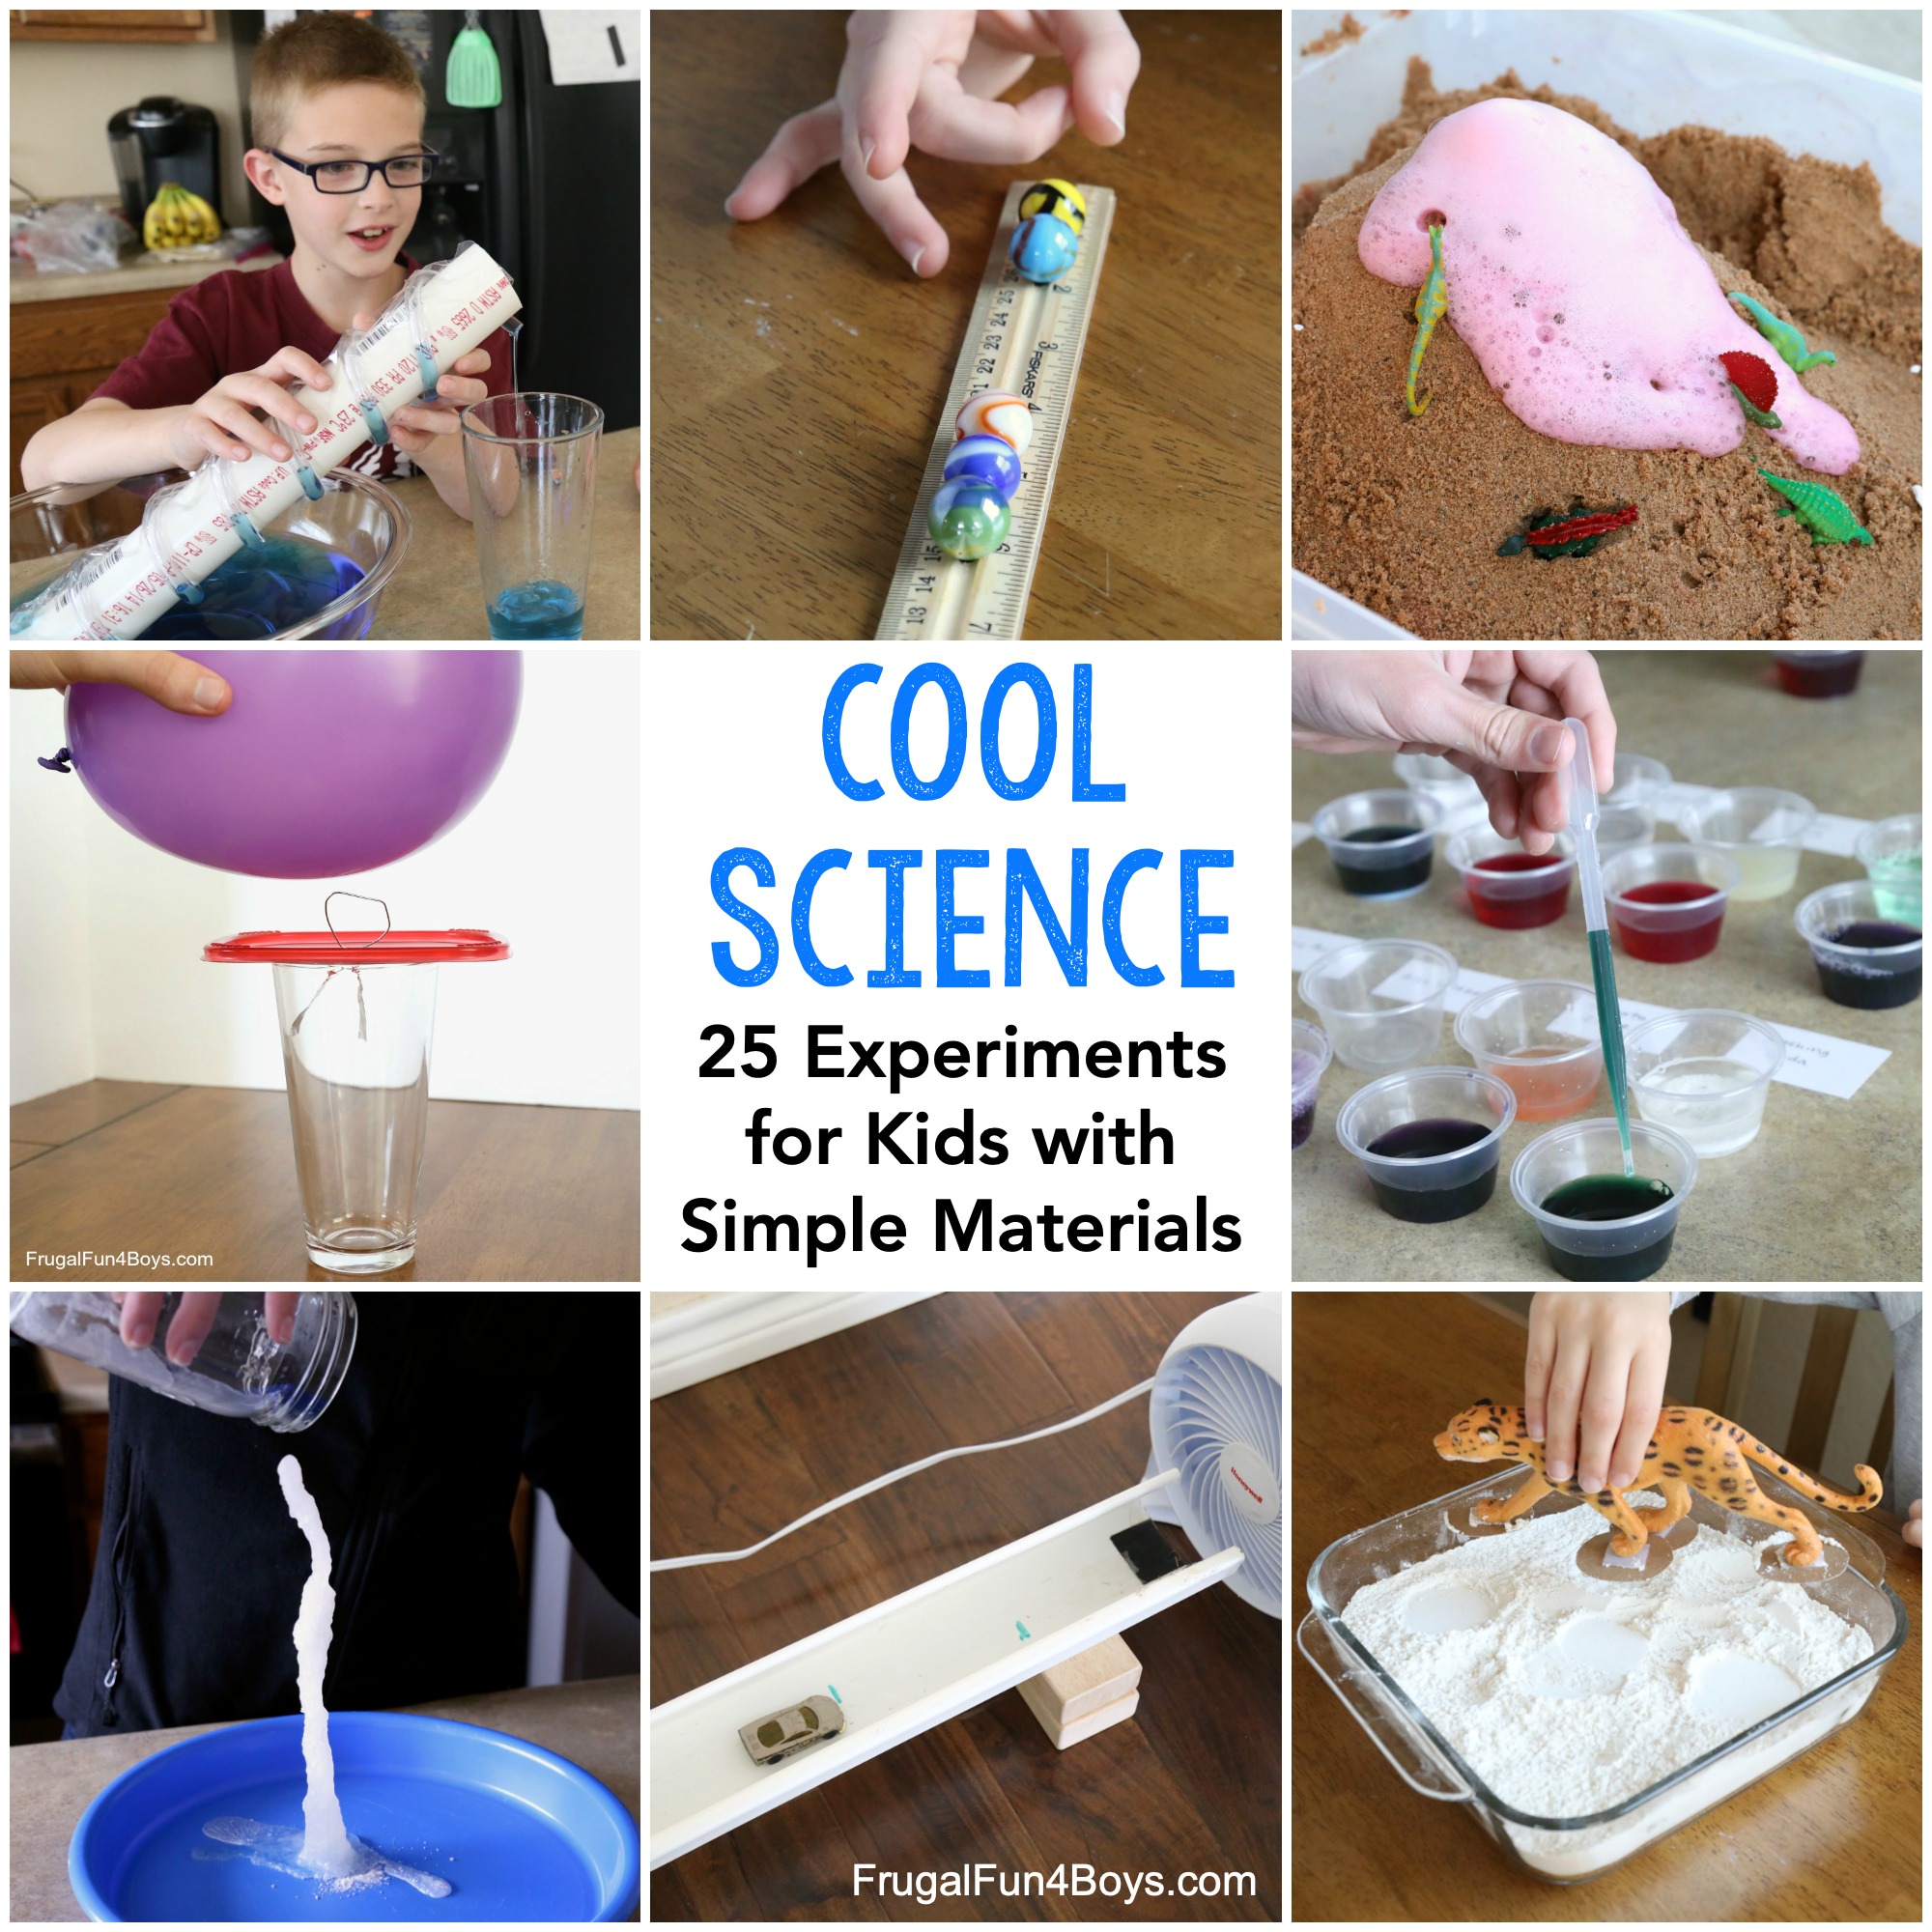
Need more science experiment ideas? We’ve got tons of simple experiments with lots of WOW factor!
Here are more than 25 Cool Science Experiments for Kids
These experiments are great for the elementary grades up through middle school.
6 Comments
Casey Eckert Nov 4, 2022
The experiments you share are simply awesome - you explain concepts very well, and your photos are phenomenal. Thanks SO much for all you do for science!!!
Vanessa Perdomo Nov 5, 2022
Awesome science ideas. Thank you.
Christina Mar 13, 2023
Sarah thanks for sharing these awesome experiments. Your details and pics are great.
Catie Mar 15, 2023
These are perfect for our water unit! Thanks!
Shaunna Nov 12, 2023
I'm wondering if you are doing the Apologia physical science course. This is what we did 2 weeks ago! My middle schoolers explored with the water droplets so long I had to rush them to finish the experiment at the end!
Shaunna Nov 12, 2023
I'm wondering if you are doing the Apologia physical science course. This is what we did 2 weeks ago! My middle schoolers explored with the water droplets so long I had to rush them to finish the experiment at the end!
Thanks for all your ideas AND sharing them for free!
Sarah Nov 16, 2023
Yes! We really enjoyed Apologia physical science. It's a challenging book for sure, but did really enjoy the labs.
Post a Comment