
Here’s a fun negative numbers math activity that you can do with LEGO bricks!
This activity is perfect for pre-algebra or algebra 1 students. By using LEGO bricks to create a number line, students will be able to see what’s going on when they add or subtract positive and negative integers.
My fourth son is entering 9th grade and will be taking algebra 1 this year. My experience with my sons so far is that some students seem to grasp the concept of negative numbers as soon as they hear it explained, while others go back and forth between understanding and not understanding for some amount of time.
For the students who don’t immediately “get it,” it can be very helpful to have a hands-on illustration! It’s also helpful if the student can try explaining to someone else how to solve an equation with a negative number.
That’s where LEGO bricks come in. I’ve been thinking about how to teach negative numbers with LEGO bricks ever since I did the LEGO distributive property and LEGO exponents a couple years ago. The tricky part with making a LEGO number line is that it’s difficult to graph discrete points as opposed to chunks of distance.
The number line of integers goes -2, -1, 0, 1, 2, 3, etc. However, we can’t represent 0 as a LEGO stud because it gets visually confusing to add a negative number that takes us into negative territory. (Try it and you’ll see what I mean!)
The best solution is to use one color LEGO plate for the positive numbers, and another color for negatives. The 0 mark on the number line is the line between the two colors. Then you can count studs in both directions, and it all works out.
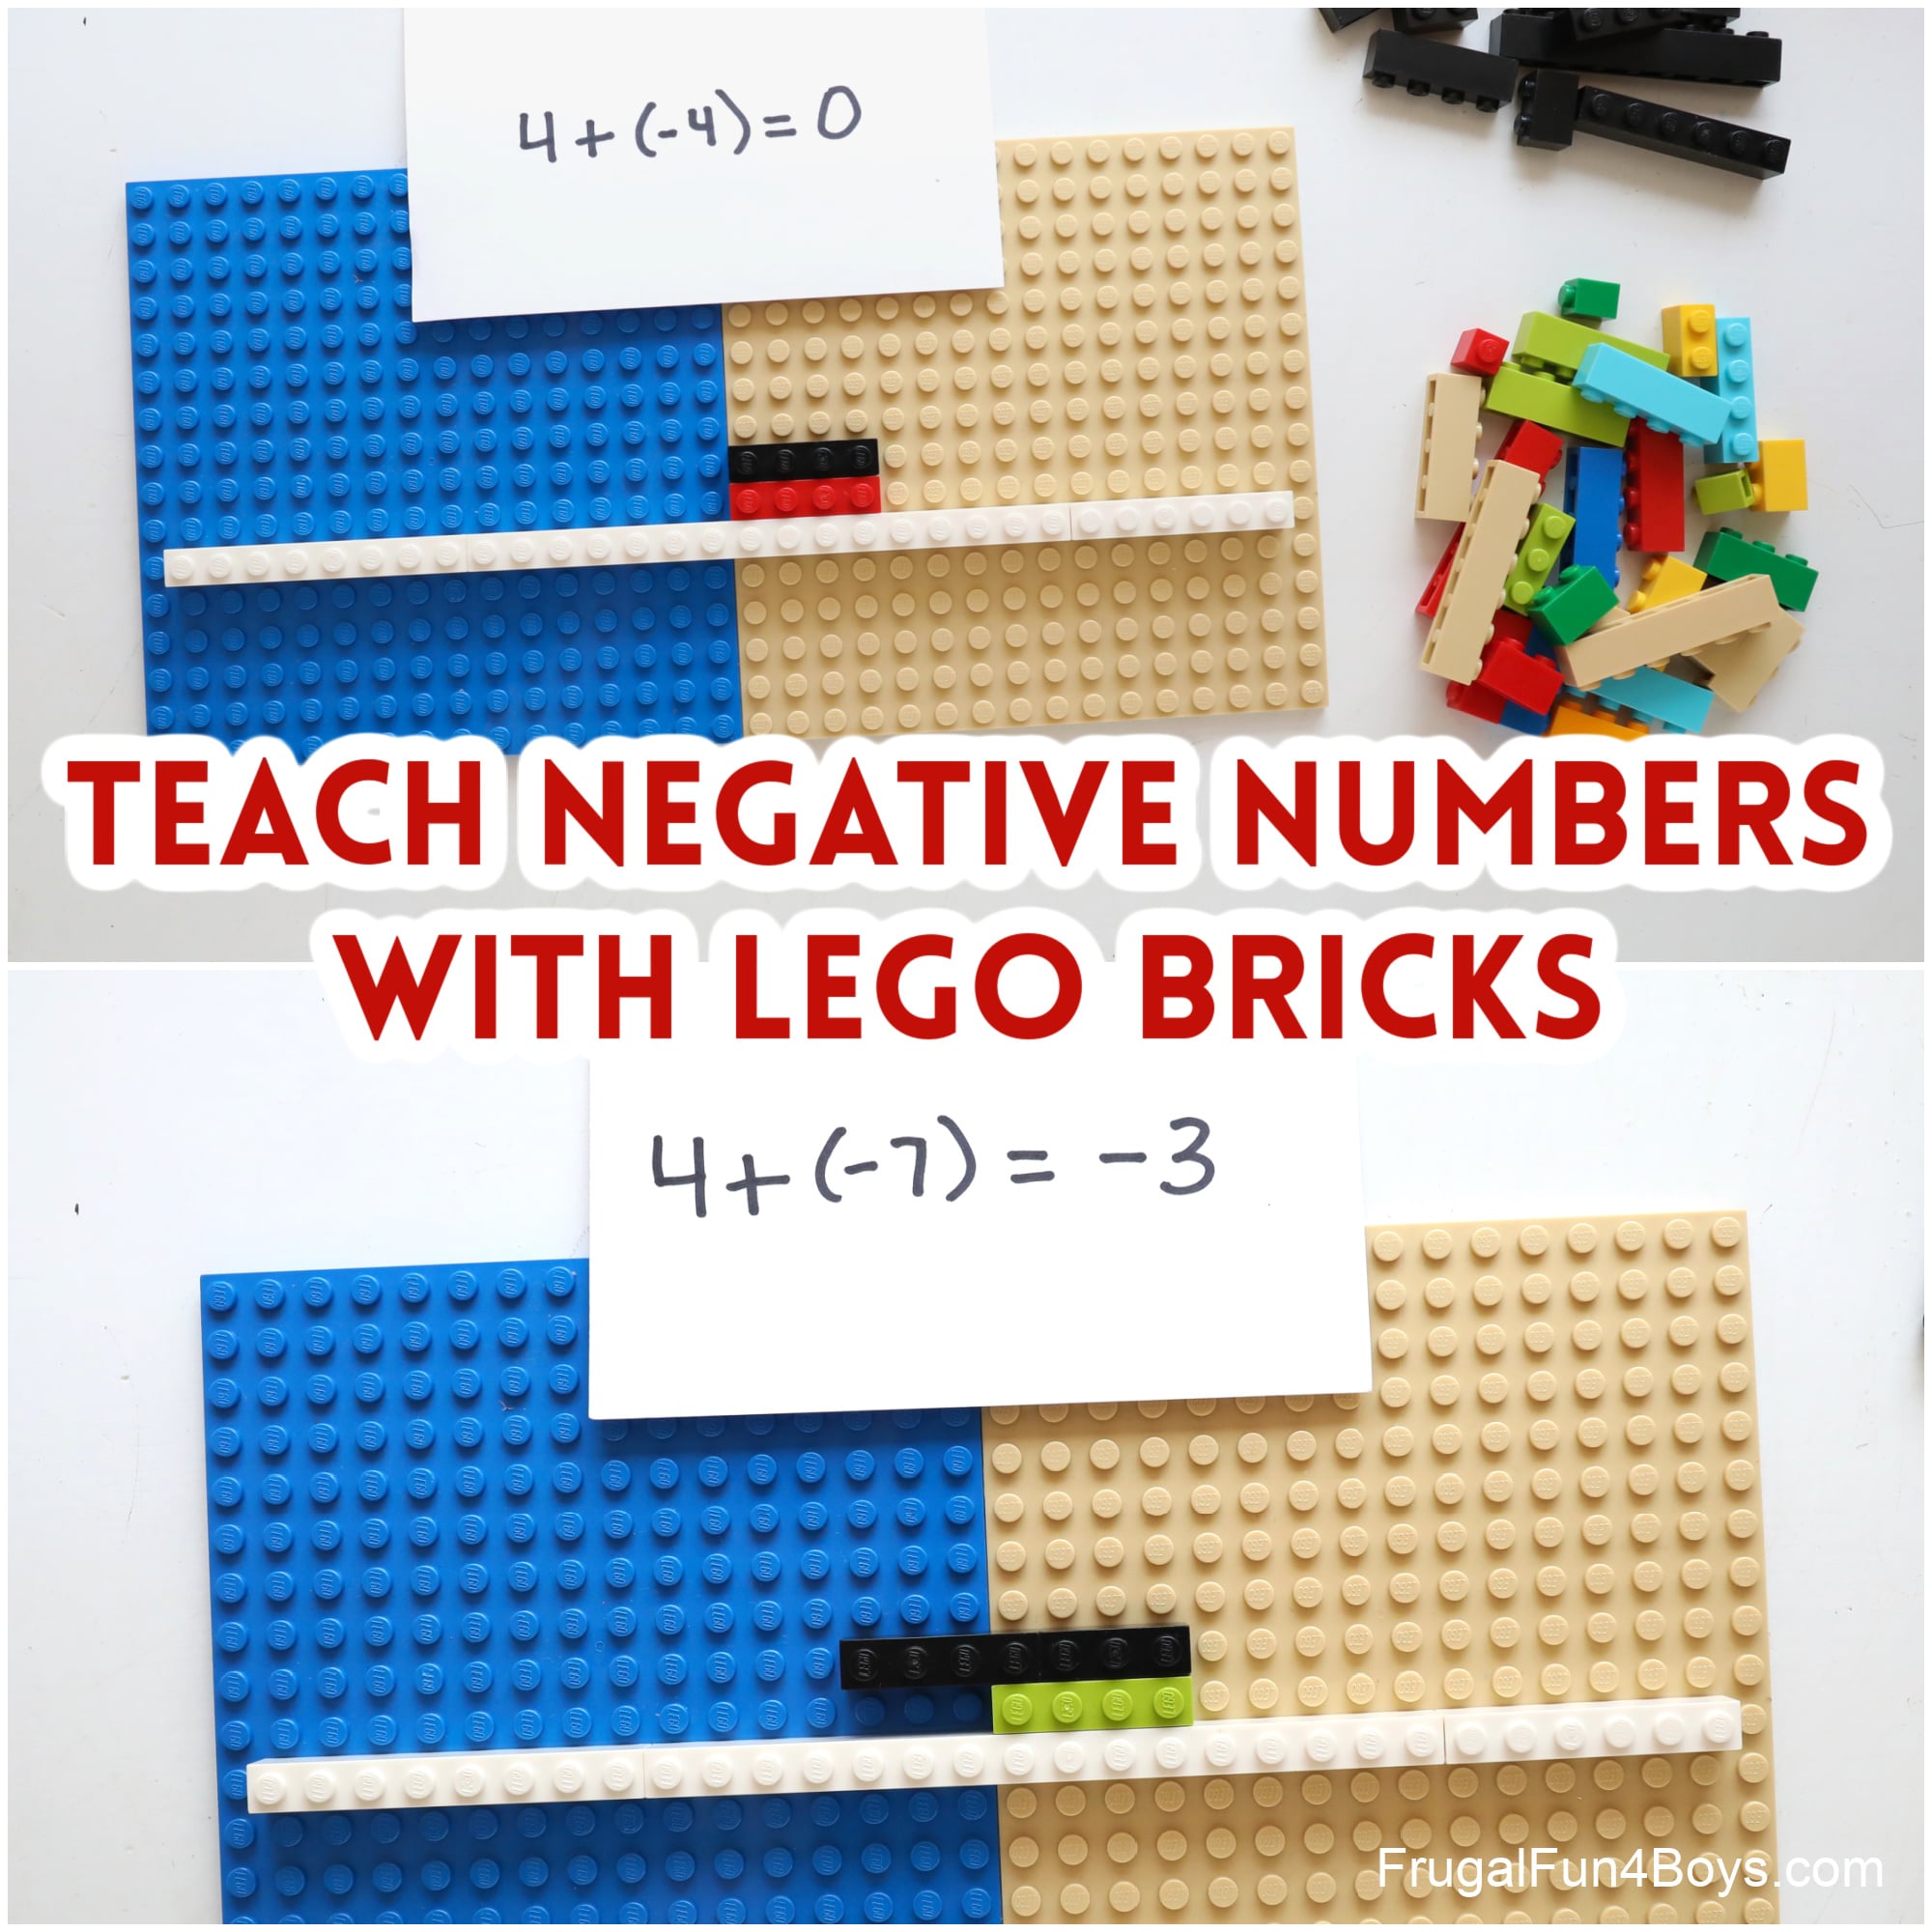
In the photo below, I used white bricks to create my number line.
I chose to use bricks of any color to represent positive numbers, and black bricks to represent negative numbers.

So here’s how this works.
Write down an addition sentence that involves a negative number. First, graph the positive number.

Then graph the negative number. Place your brick by lining up the right edge with the positive brick.
Now it’s easy to see that when you combine 4 and -4, they cancel each other out and you’re back at zero!

Let’s try another one. This time we’re solving 10 + (-3). First graph positive 10 on the number line. Then start at 10, and graph -3. When you go 3 spaces back from 10, you land on 7. So the solution is 7.

Now let’s try 4 + (-7) First graph 4. Then graph -7 starting at the 4 mark on the number line. When you move 7 spaces to the left, you end up at -3! Easy.

Now here’s where it gets tricky! When you subtract a negative, it becomes a POSITIVE. Is there a way to picture that?
Here’s what I did.
Feel free to skip this if it’s confusing for your students. Some kids may do better just memorizing the fact that subtracting a negative makes it a positive.
But if you want to try it with LEGO bricks, you can do it this way. First, explain that taking away something negative is a good thing. It’s POSITIVE. So when we see an equation that involves subtracting a negative, we’re going to make it a positive.
In the example below, I graphed 5 – (-6) as 5 + 6, using colors for positive instead of black for negative. 5 – (-6) = 11.

LEGO Minifigure Number Line
Here’s another way to approach the concept of negative numbers! Make a LEGO sidewalk for your number line, and find a minifigure to walk up and down the number line.
Let’s solve 6 + (-8)! First, start at 0 and walk the LEGO man 6 studs in the positive direction.

We are adding a negative number, so turn him around and make him walk 8 studs in the negative direction. He ends up at -2!

I hope this is helpful in making negative numbers less confusing and frustrating for your students!
Don’t miss the other posts in our LEGO Algebra Series!
Here’s a cool way to Teach the Distributive Property with LEGO Bricks.
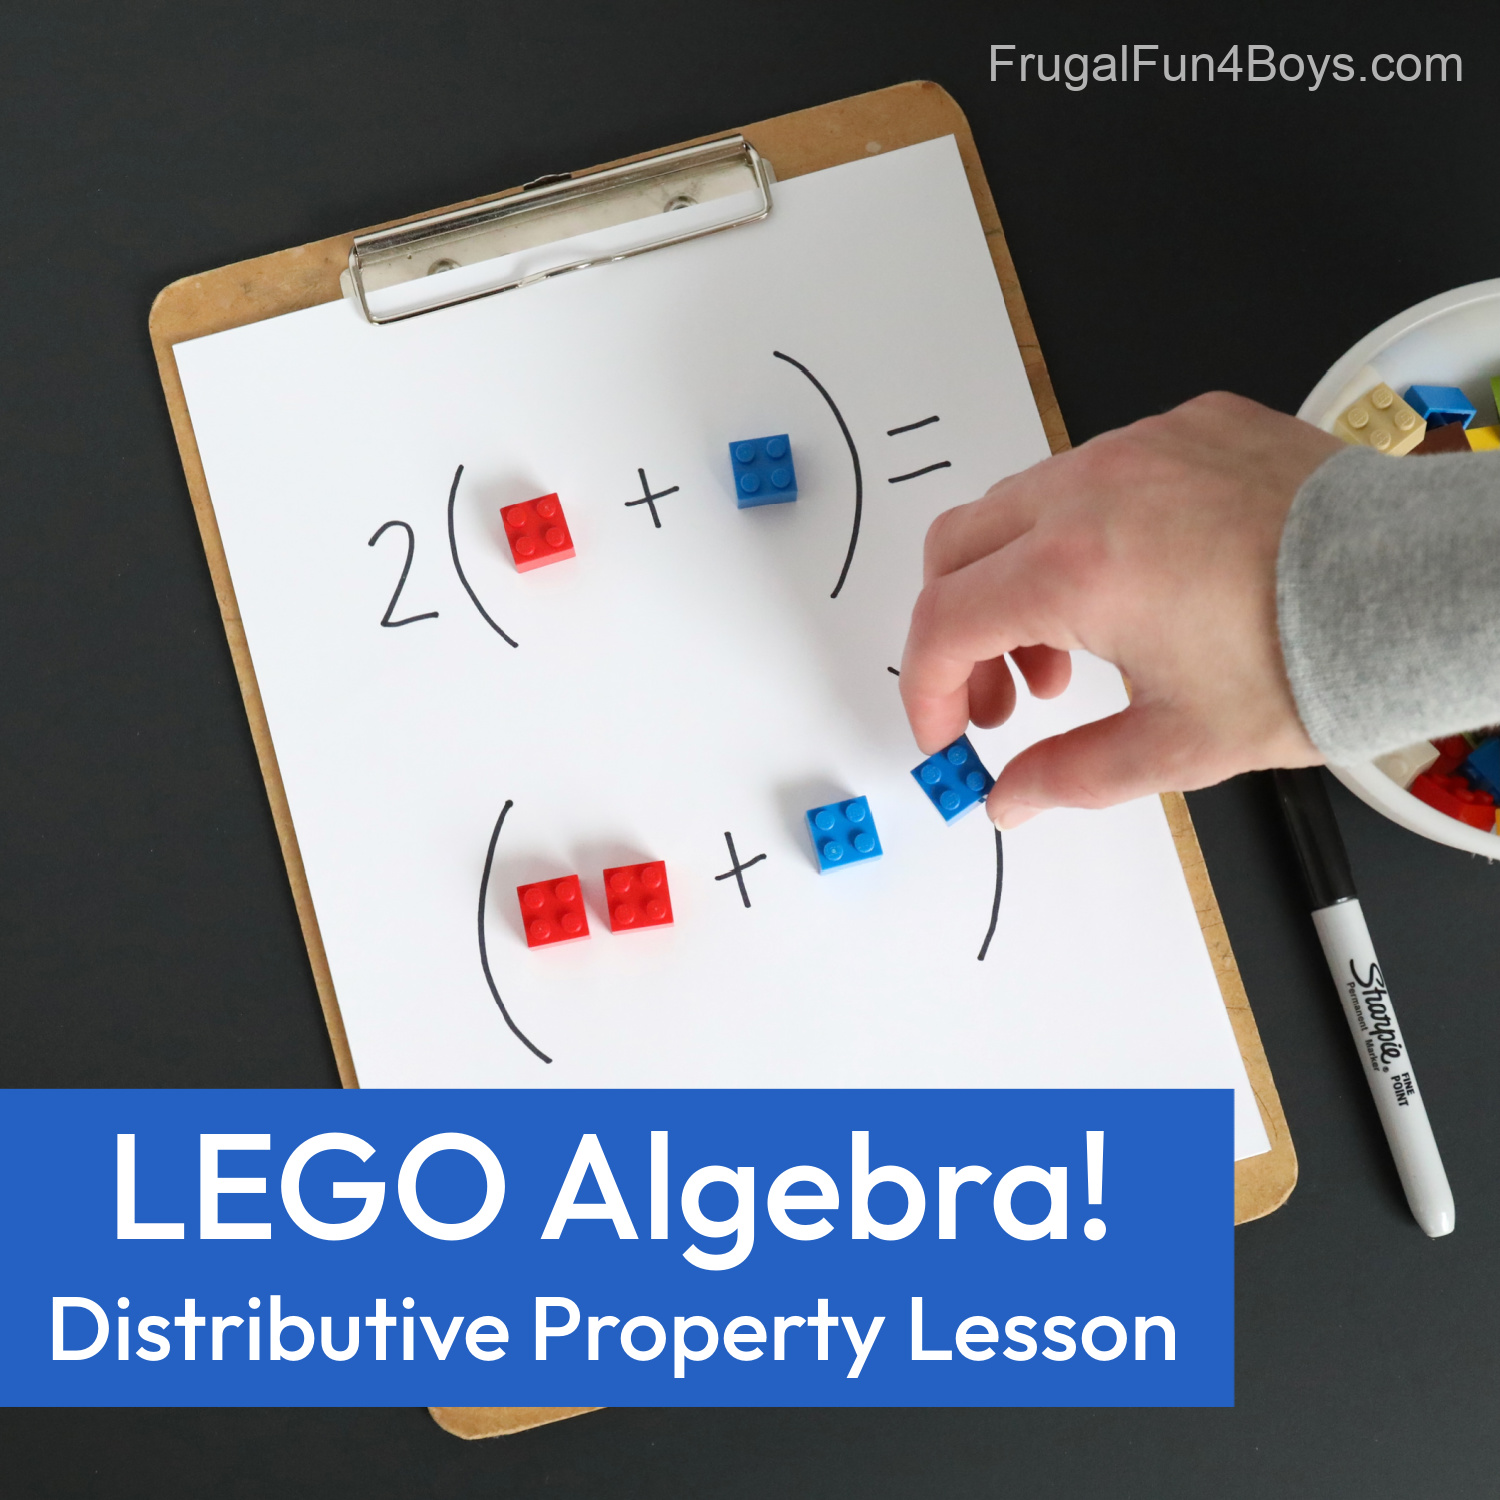
And here’s a collection of ideas for Teaching Square Root and Exponents with LEGO Bricks!

0 Comments
Post a Comment