
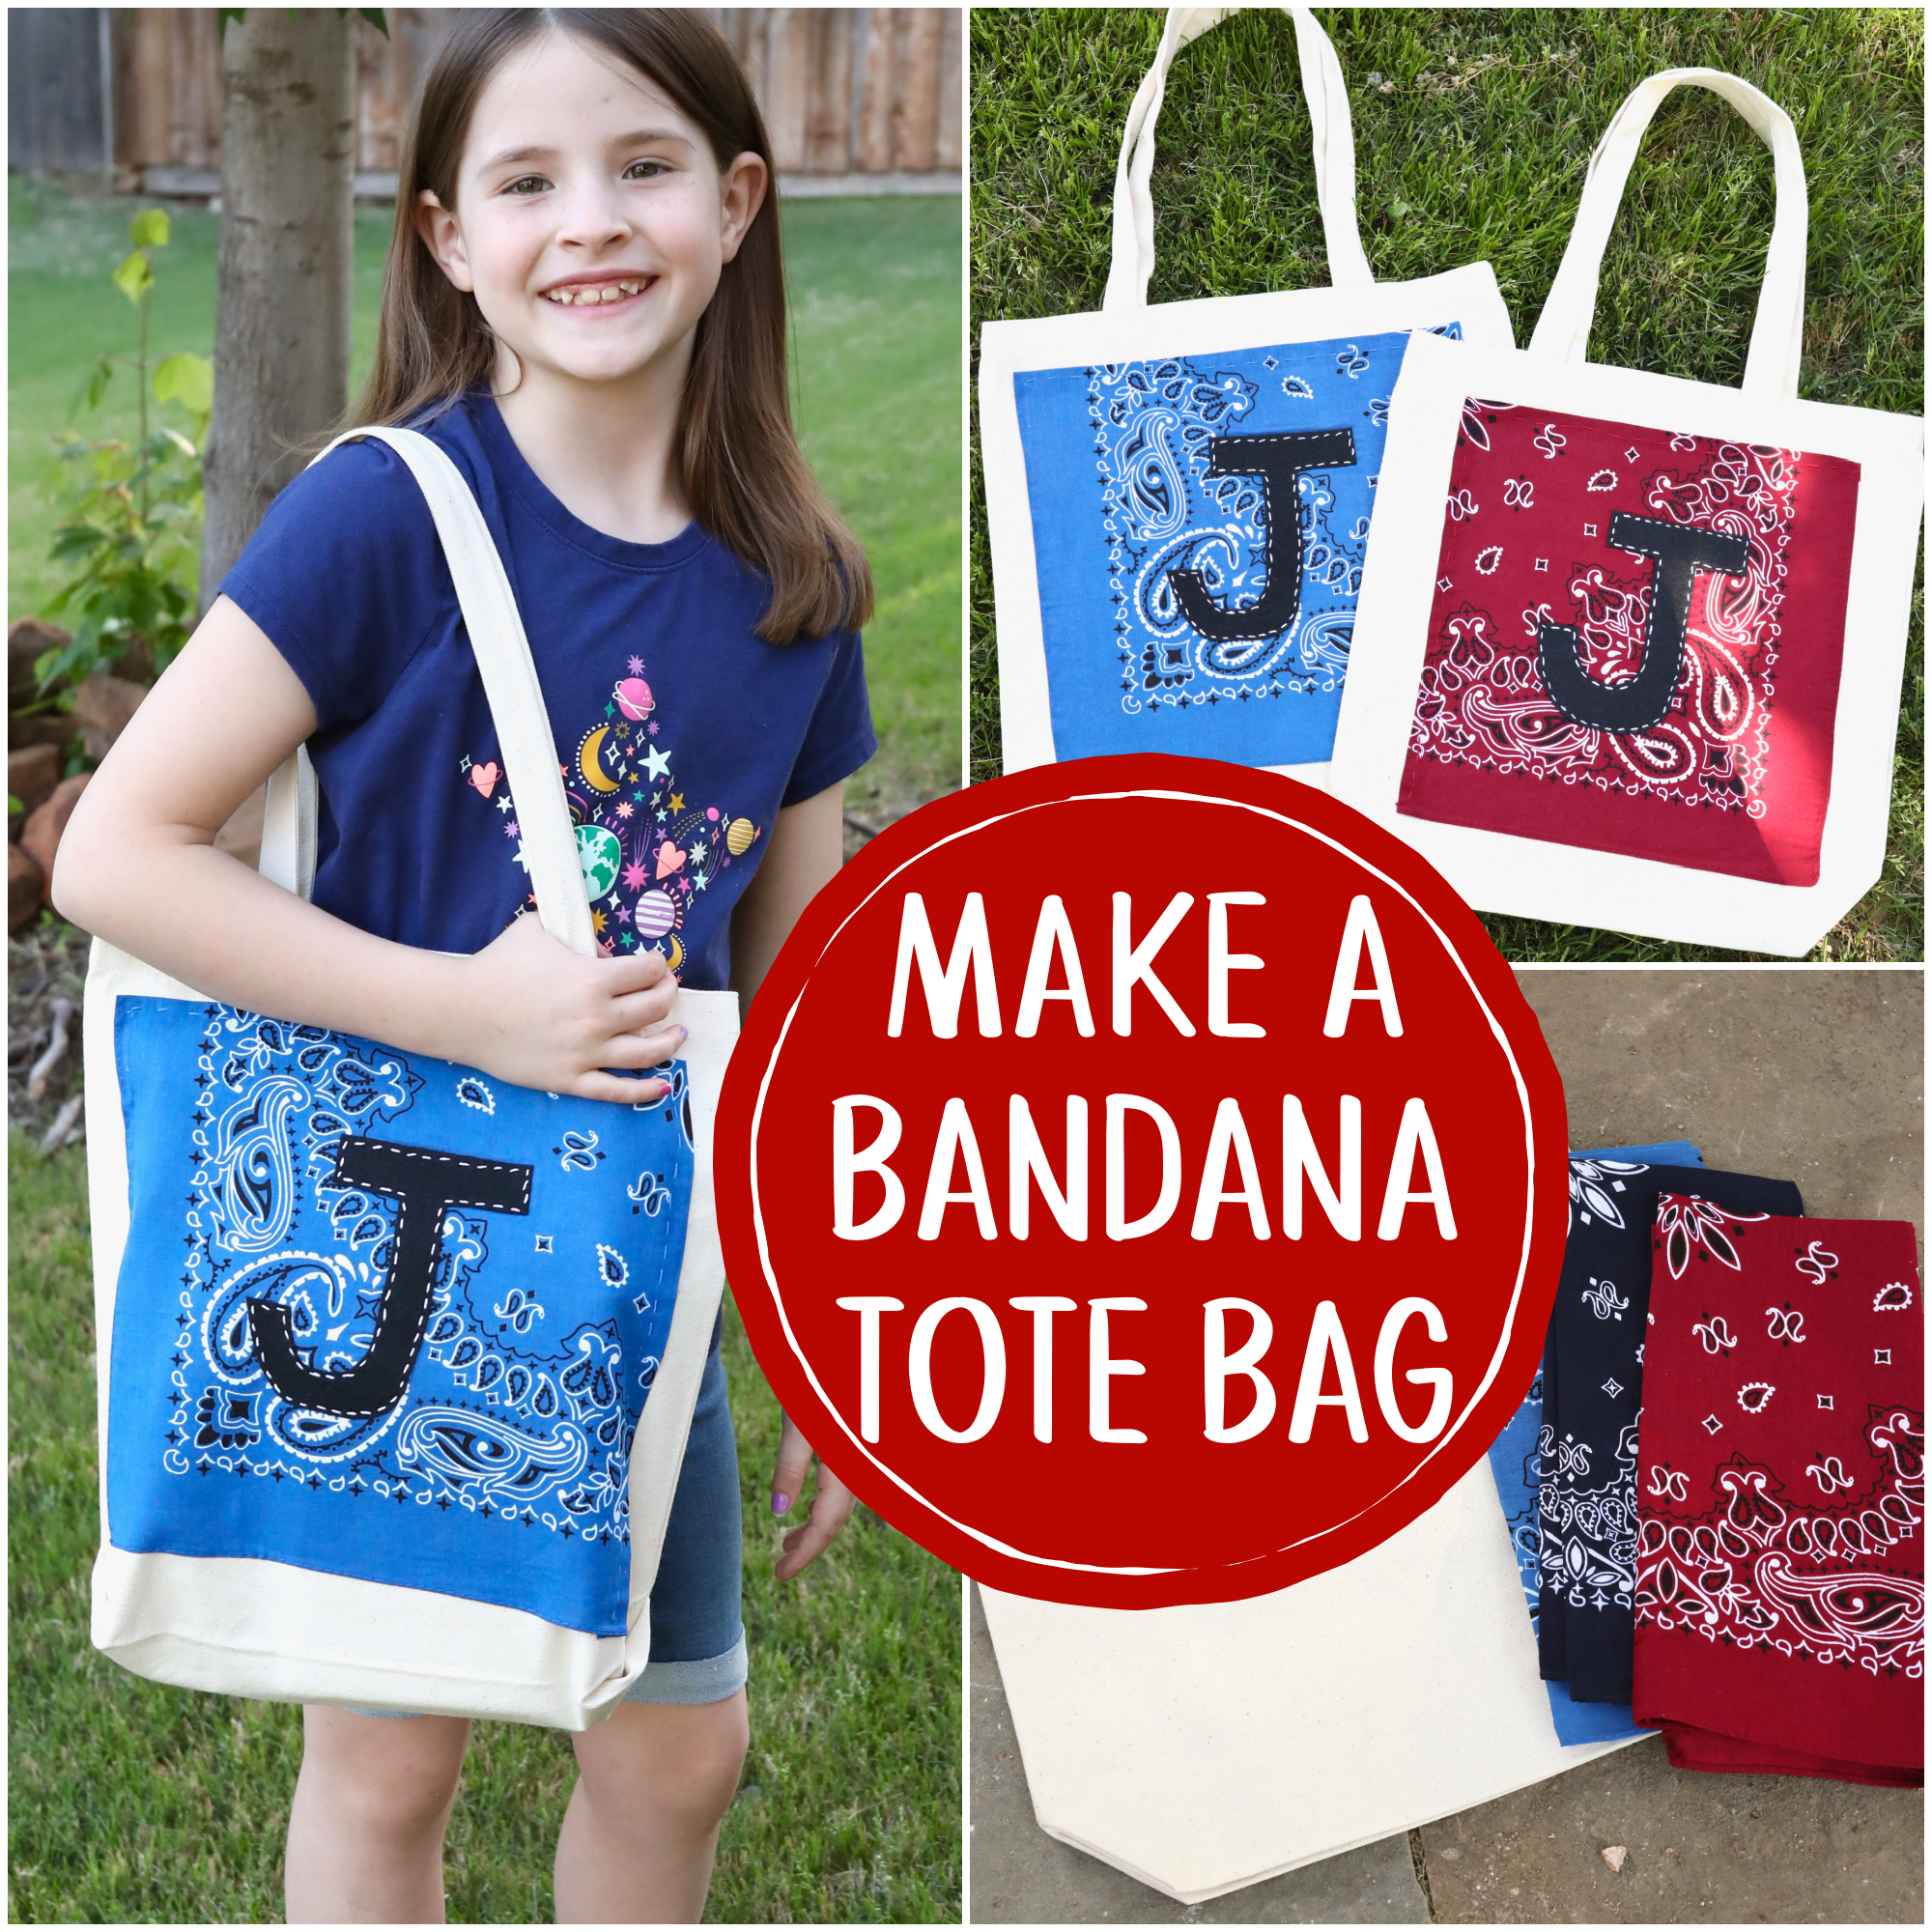
This DIY tote bag bandana craft is so much fun for a summer camp activity, a craft night, or a western themed party!
We love using our tote bags as library bags. They would also work well for carrying sunscreen and a towel to the pool, or bringing a few books and toys to Grandma’s house.
We stitched our bandana tote bags, but you can also do this project without any sewing at all. Just use my favorite crafting material… hot glue! (It really does work!)
I would recommend this craft for ages 8 and up, with help. Teens can do this on their own.
Plain tote bags are easy to find at most craft stores. I bought our tote bags for $2.99 at Hobby Lobby.
Before I go any further, I feel like I should clarify that you can put any initial on the bag! It just so happens that my youngest two kids both have “J” names – Jonathan and Janie.

Supplies Needed for a Bandana Tote Bag:
- A tote bag
- A bandana – ours were 99 cents at Hobby Lobby!
- Needle and thread
- Black felt
- Fabric scissors
- Wonder Under or a similar iron-on fusible interfacing – make sure that it’s double sided.
- Iron

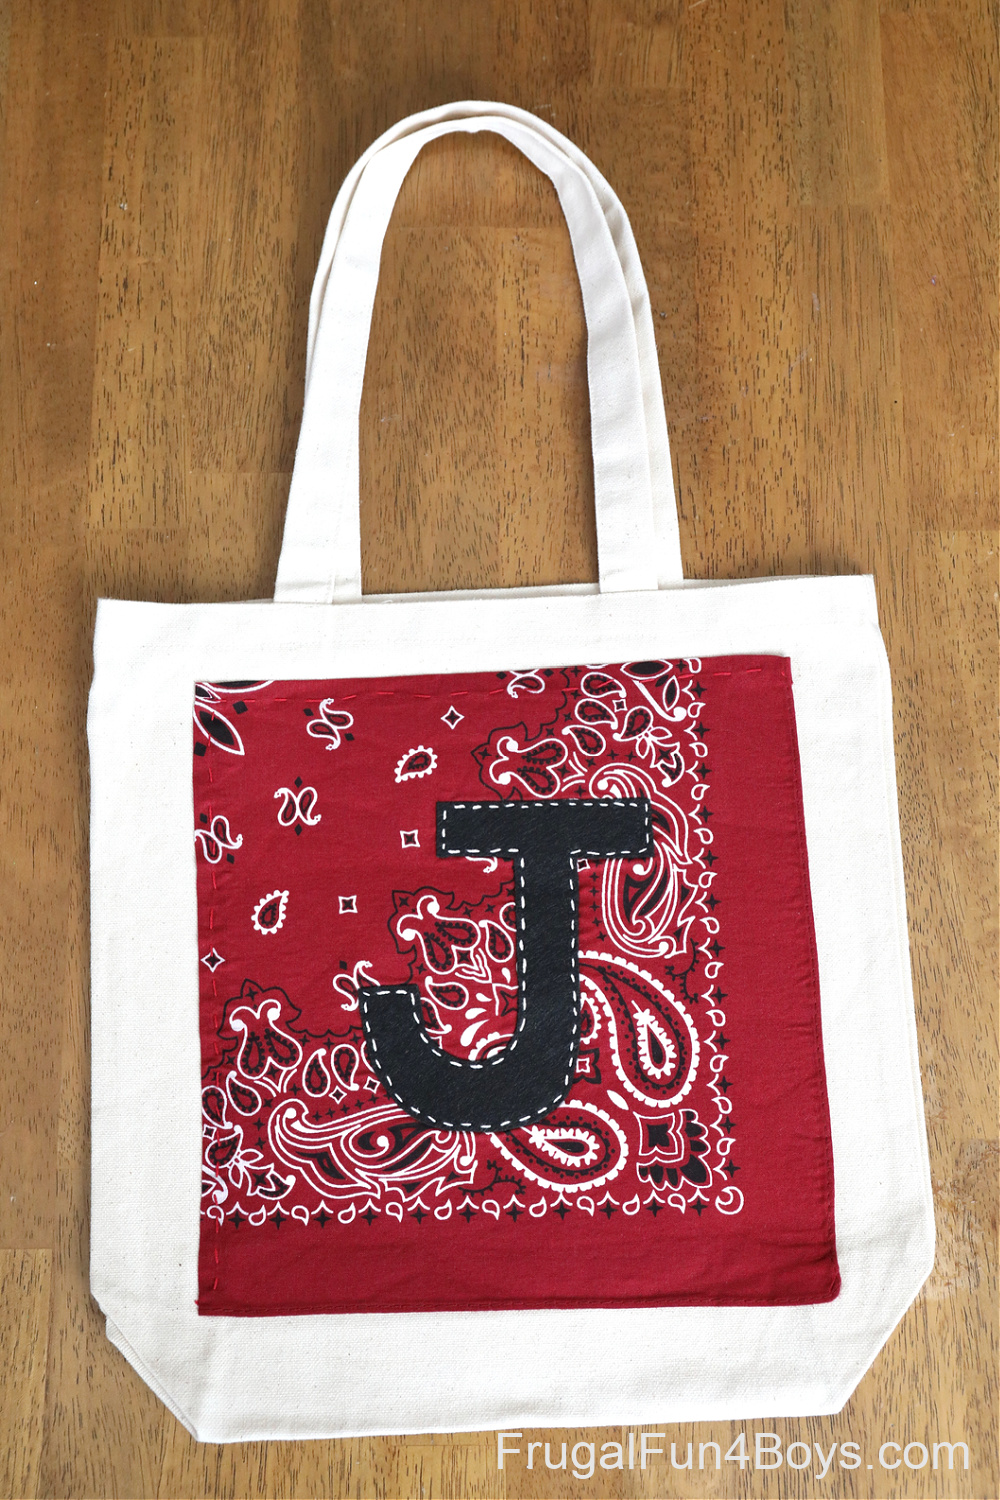
Step 1: Cut a square from your bandana. It will be pretty challenging to get a true square because no bandana has ever been truly square! No straight seams here, haha.
I cut my square large enough to fold over the two cut edges and press them to create a hem.

Step 2: Cut out the child’s initial from black felt (or your choice of color). Lay everything out on the tote bag to make sure you’re happy with it before stitching and ironing.

Step 3: Stitch the felt letter onto the bandana. Kids can do this! Just use a simple running stitch.
If you prefer, you can just hot glue the letter onto the bandana! I love the look of the stitching, but that is definitely an option.
Step 4: Stitch along the folded edges of the bandana to finish those two sides.
(Sorry for the bandana switching colors! I had forgotten to photograph this step and came back to it on my second bag.)

Step 5: Cut a piece of wonder-under interfacing, or something similar, the exact size of your bandana. A good way to do this is to trace the bandana and then cut out the interfacing.
Be sure to buy double-sided interfacing! Some of the fusible fabric options are only sticky on one side.
Sewing the bandana onto the bag is too difficult because you’d have to stick your hand way down in the bag. Definitely not a good option if kids are decorating the bag themselves.
Another option is to hot glue around the edge of the bandana! You’ll need to do a little at a time. This definitely works, but the center of the bandana won’t be attached to the bag. The interfacing makes the bandana lay nice and flat and smooth.

Step 6: Iron on the bandana, following the instructions on your fusible interfacing.
NOTE: I had a little trouble with the bandanas pulling away at the edges once we started using the bags. I secured the edges with hot glue, and now the bandana is nice and secure!
So to sum up, my recommendation is to use the fusible interfacing, but then be ready to touch up around the edges with hot glue.
Then load up your bags with books, art supplies, pool accessories, or whatever you want to carry!

This photo gives an idea of the size of our bags. They hold a lot! My daughter (pictured below) is 9 years old.

Ready for more western crafts?
Head over to print the template for this adorable Clothespin Horse Craft!
0 Comments
Post a Comment