
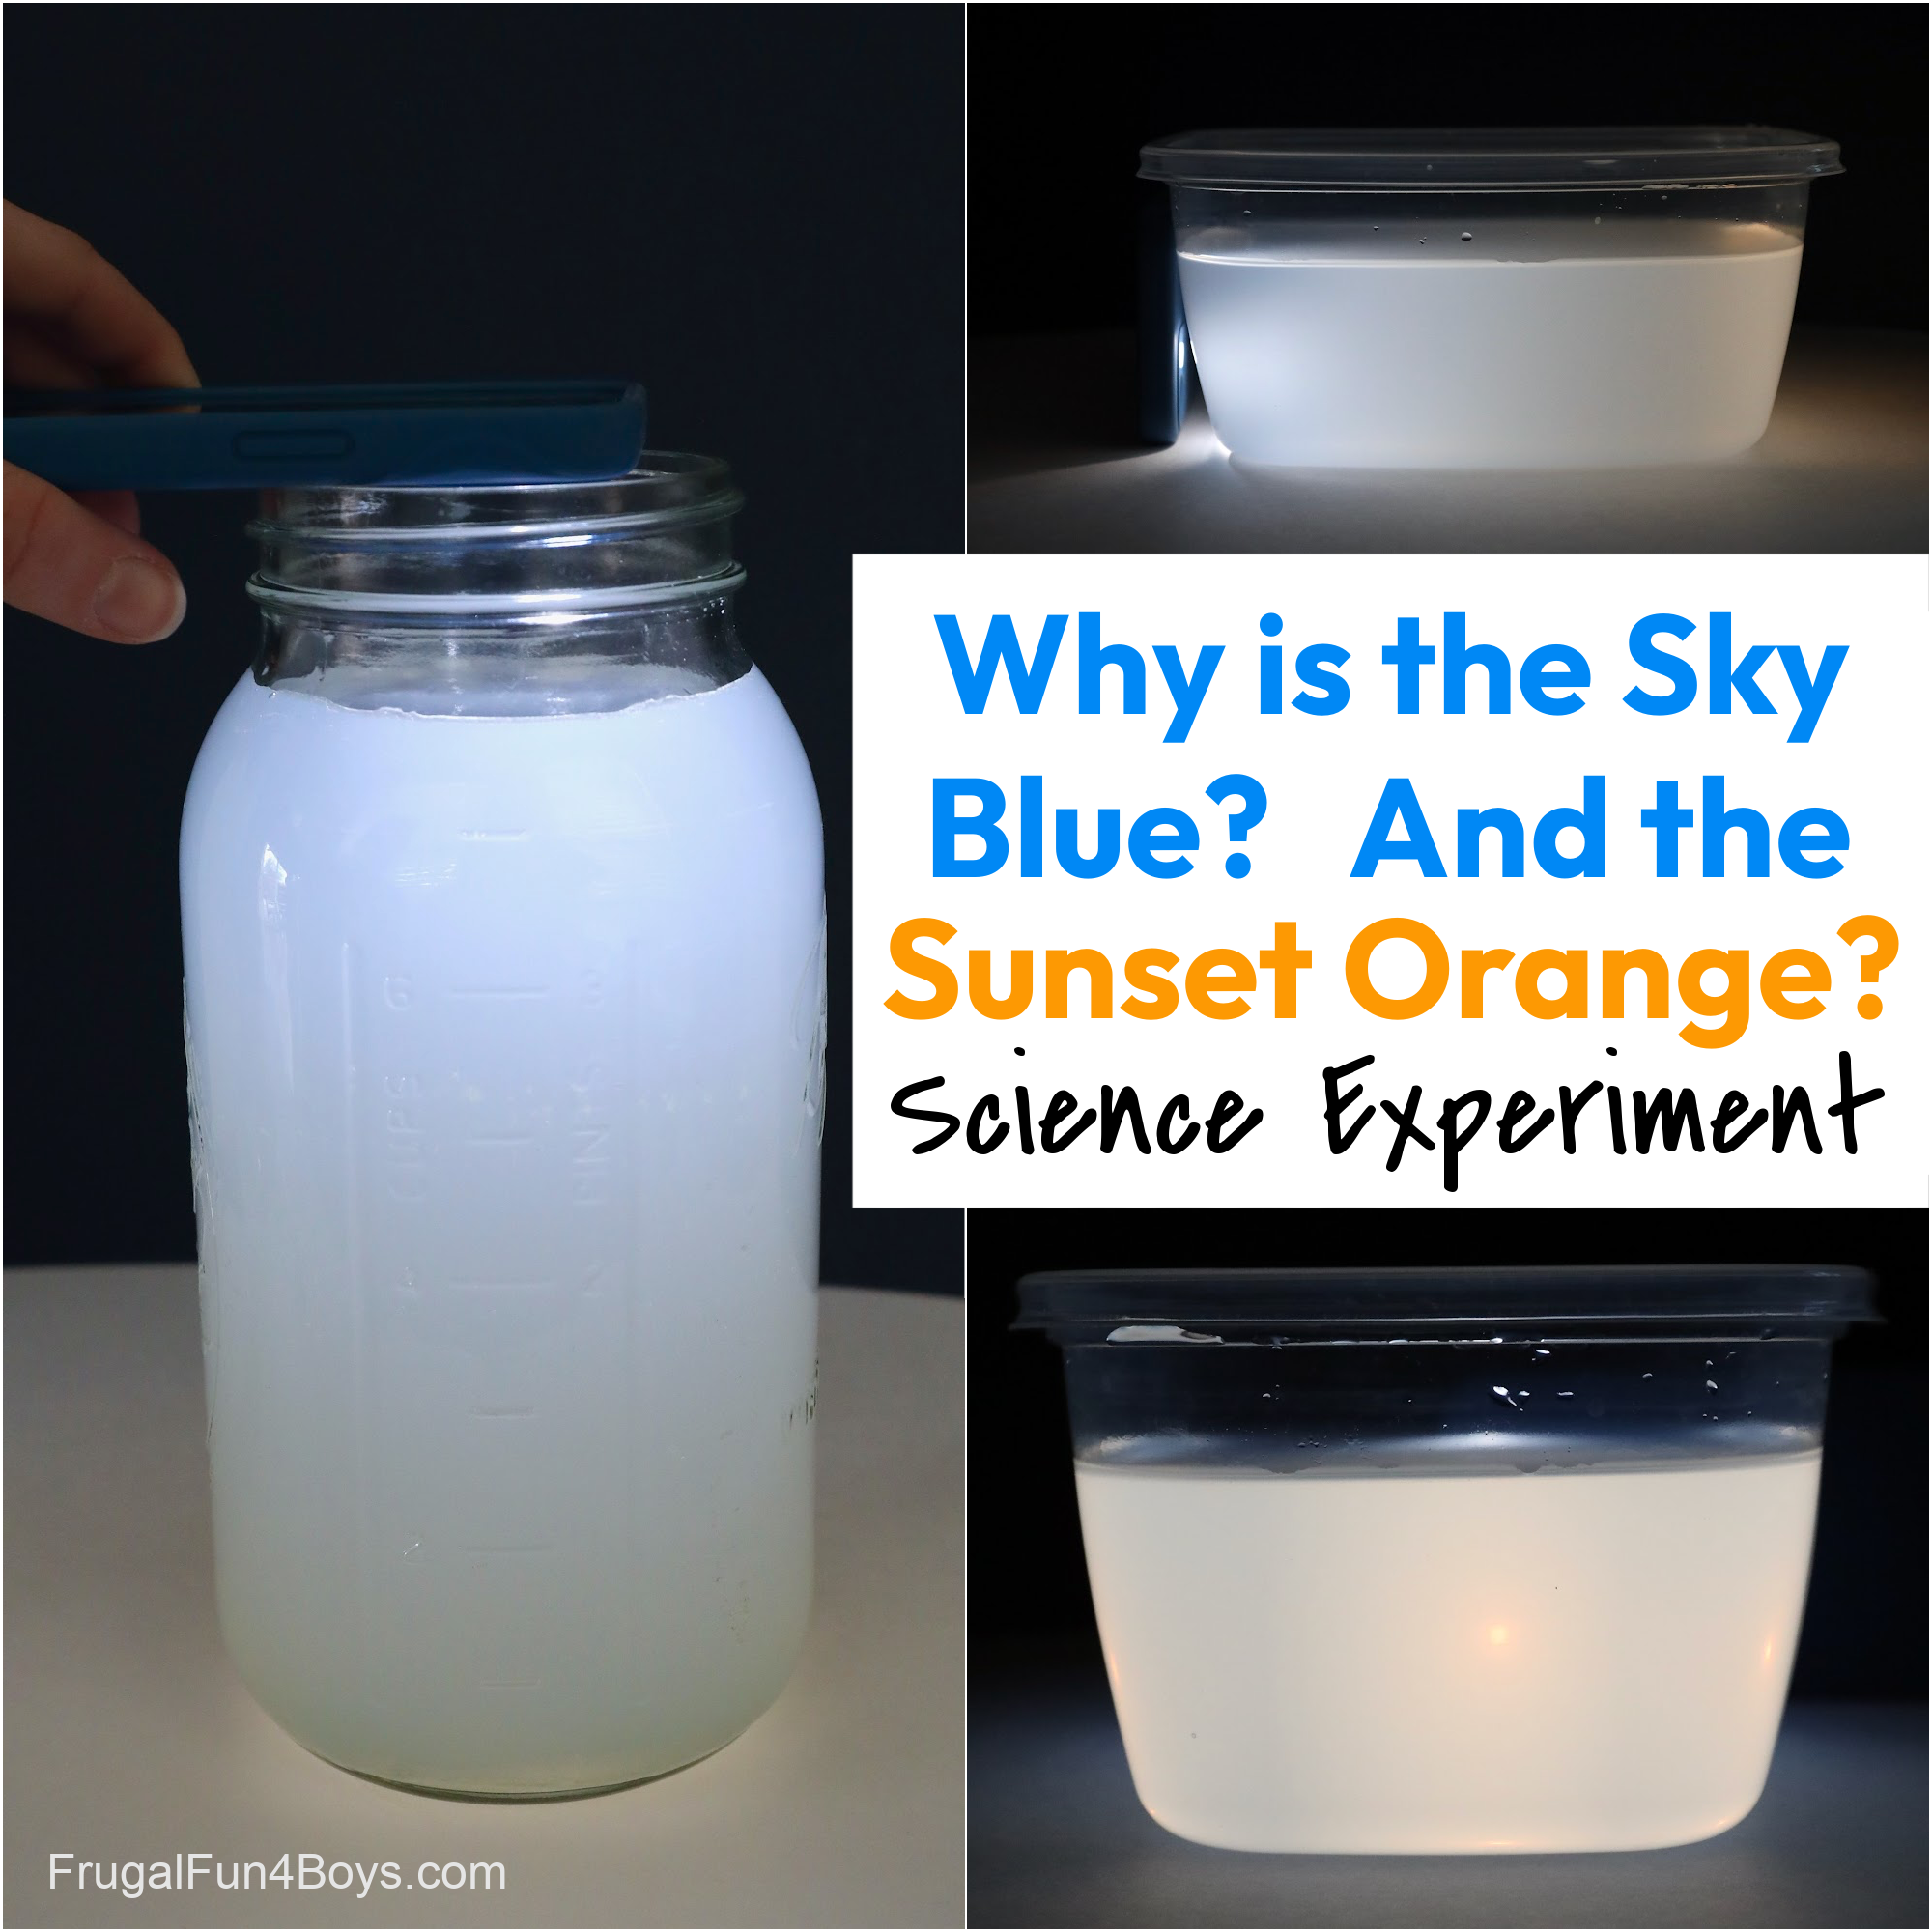
See WHY the sky is blue with this simple science experiment! You can also observe an orange sunset with the same activity. And all you need are some basic supplies from around the house!
We did this why is the sky blue science experiment as part of a chapter on light with my 8th/9th grade science class. It would also fit perfectly with a unit on weather!
This experiment is perfect for elementary students up through teens. The older ones will be able to really understand the electromagnetic spectrum and what is happening in the experiment.
Why is the Sky Blue?
If outer space is black, and air has no color, then why is the sky blue? I think most of the time, we just take it for granted that blue is the color of the sky! However, it’s not difficult to learn the science behind why this is the case.
As it turns out, the sky is blue because the sun’s light is scattered when it hits the gases and dust particles in our atmosphere. This is called Rayleigh scattering.
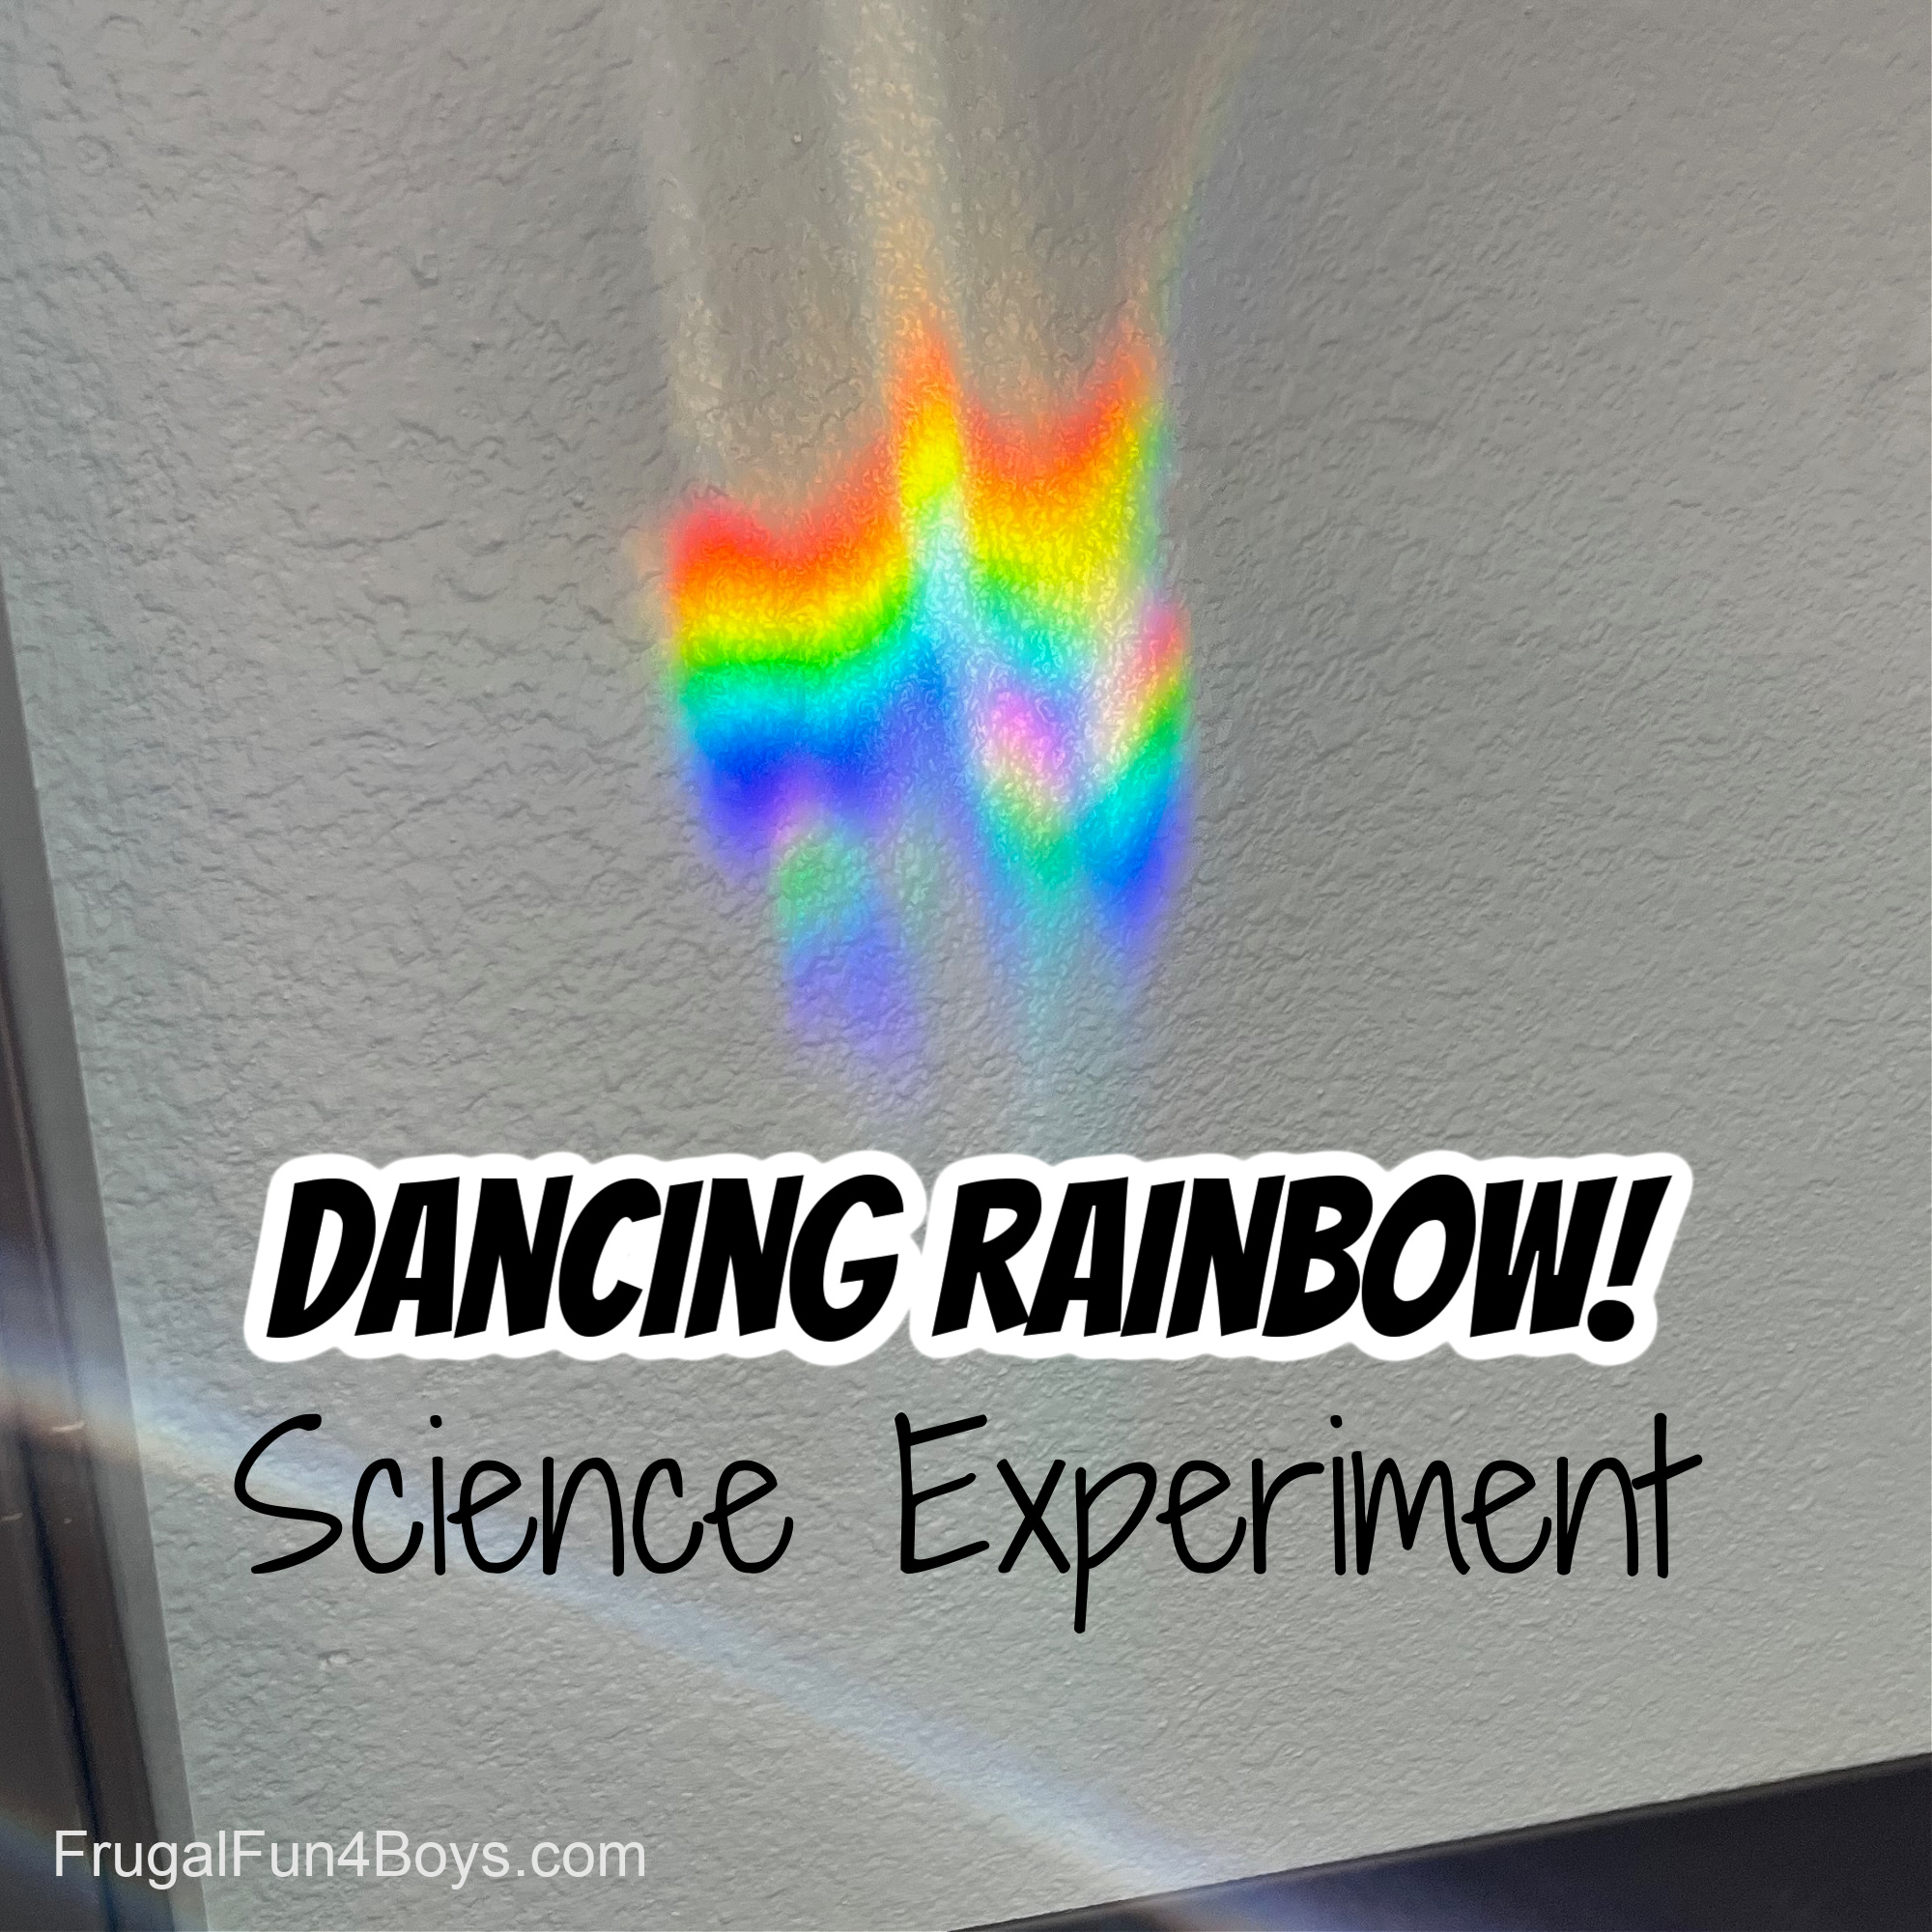
White light from the sun can be separated into all the colors of the rainbow as is evident in our Dancing Rainbow Science Experiment. In this experiment we refracted, or bent, white sunlight by reflecting it through water and then through air. As the light travels from one medium to another (in this case water to air), the rays are bent and the colors of light separate according to their wavelengths. This is a great experiment to start with since it demonstrates to students that sunlight is truly made up of red, orange, yellow, green, blue, indigo, and violet light.
Back to the color of the sky… Blue and violet light have the shortest wavelengths, and so these colors are the most easily scattered by the earth’s atmosphere. When the sun is overhead in the middle of the day, we see a blue sky. We don’t see the violet light because our eyes are not as sensitive to violet as blue, and also because the sun does not emit as much violet light.
However, as the sun is going down, the colors change! We are now viewing the sun through more of the earth’s atmosphere. By the time the light reaches us, the blue and violet light rays have scattered away, leaving red and orange, the rays with the longest wavelengths.
Supplies Needed for the Why is the Sky Blue Science Experiment:
- A large jar
- A clear rectangular container
- Water
- Milk
- A flashlight or phone flashlight
NOTE: Some flashlights have very yellowy light, and don’t work well with this experiment. You want the flashlight to have white light. We tested several options! Most phone flashlights work well, which is super convenient if you are doing this with a class and need several lights. Our LED flashlight also worked well. We also tried an incandescent flashlight that did NOT work.
How to do the Why is the Sky Blue Experiment:
Fill up your jar with water and turn the lights off in the room. Then shine your light into the top of the jar. It should just look like white light! There is no scattering because there are no particles to scatter the light.

Add about 1 Tablespoon of milk to the jar. You may need to adjust this depending on the size of the jar. For a 15 oz spaghetti sauce jar or something similar, 1 teaspoon of milk will be plenty.
If you add too much milk, it will be hard to see the light.
Stir the water so that the milk is evenly mixed.

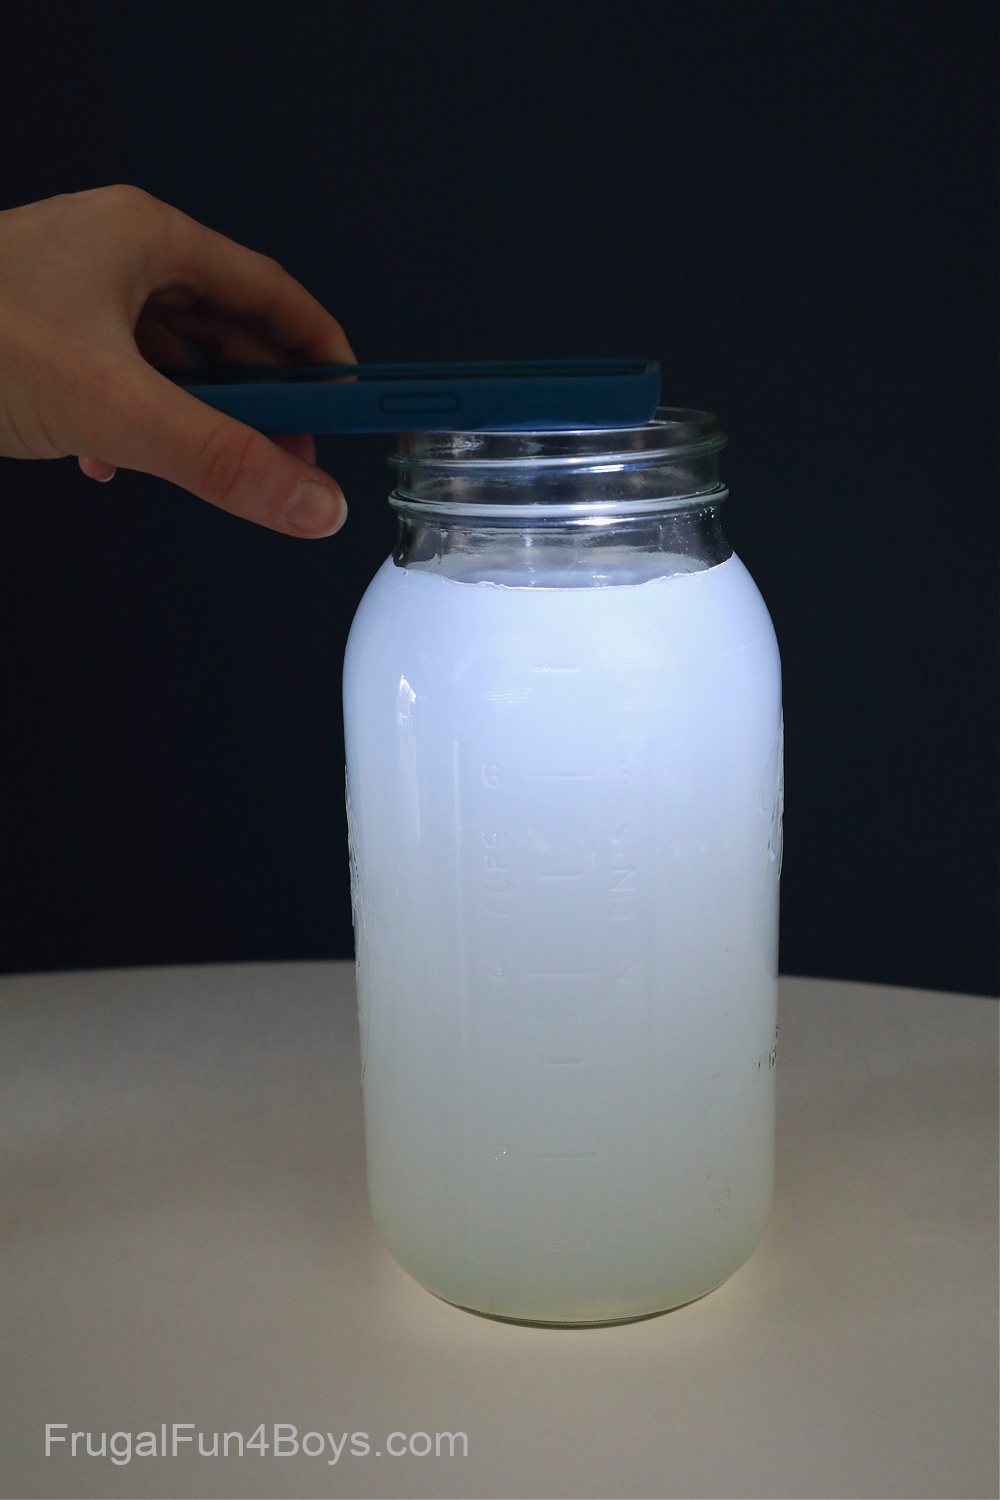
Now shine your flashlight at the top of the jar. Wow, you can see blue light at the top of the jar!
This won’t be as deep blue as the sky because that involves a LOT more scattering. But it should be easy to see a blue tint to the light.
Do you see the yellow/orange color at the bottom of the jar? The blue light has scattered away by the time the light gets to the bottom of the jar. Only yellow and orange wavelengths are left!
NOTE: There is another post out there on the internet that shows this same experiment with a VERY blue sky. Based on my experience, that was most likely photoshopped… We did not get a dramatic blue. However, we did clearly see the blue color!
Why is the sunset red?
By switching to a rectangular container, it’s easier to see the sunset part of this experiment.
I actually recycled the same water/milk by just dumping it into the second container.
Shine the light on the end of the container. You should be able to see blue close to the light source, and then sunset colors at the other end of the container!
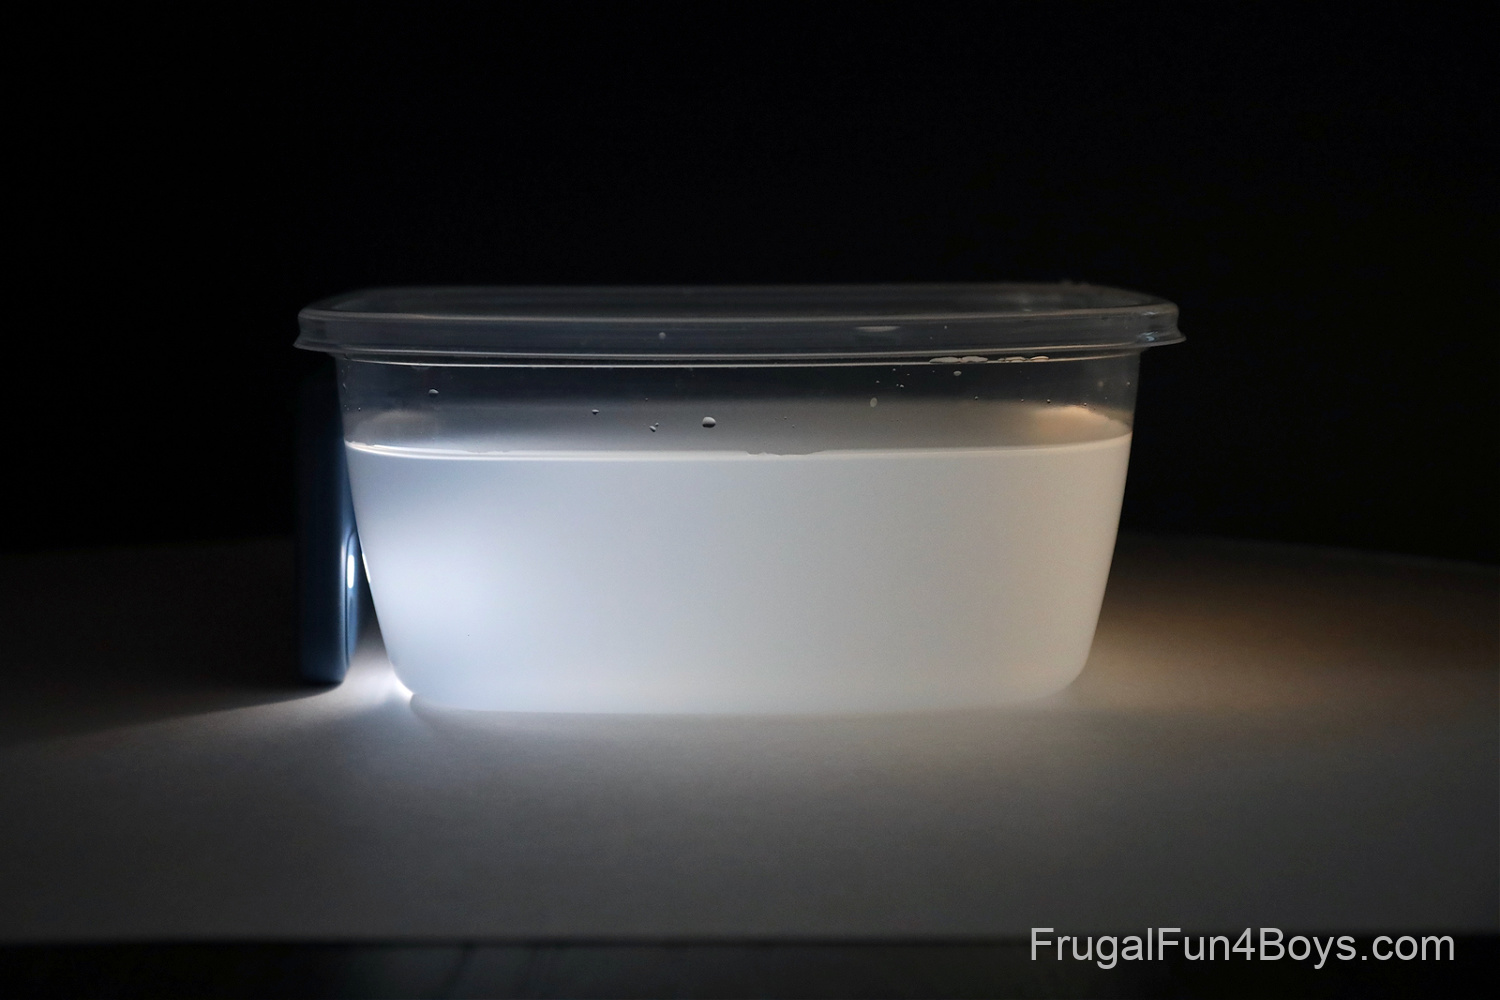
Here’s a view from the end of the container. The “sun” looks red just like it does during a sunset when the sky is hazy on a humid day!

More science experiments with physics and light:
Head over to our Dancing Rainbow Science Experiment! This is such an awesome activity and so easy.
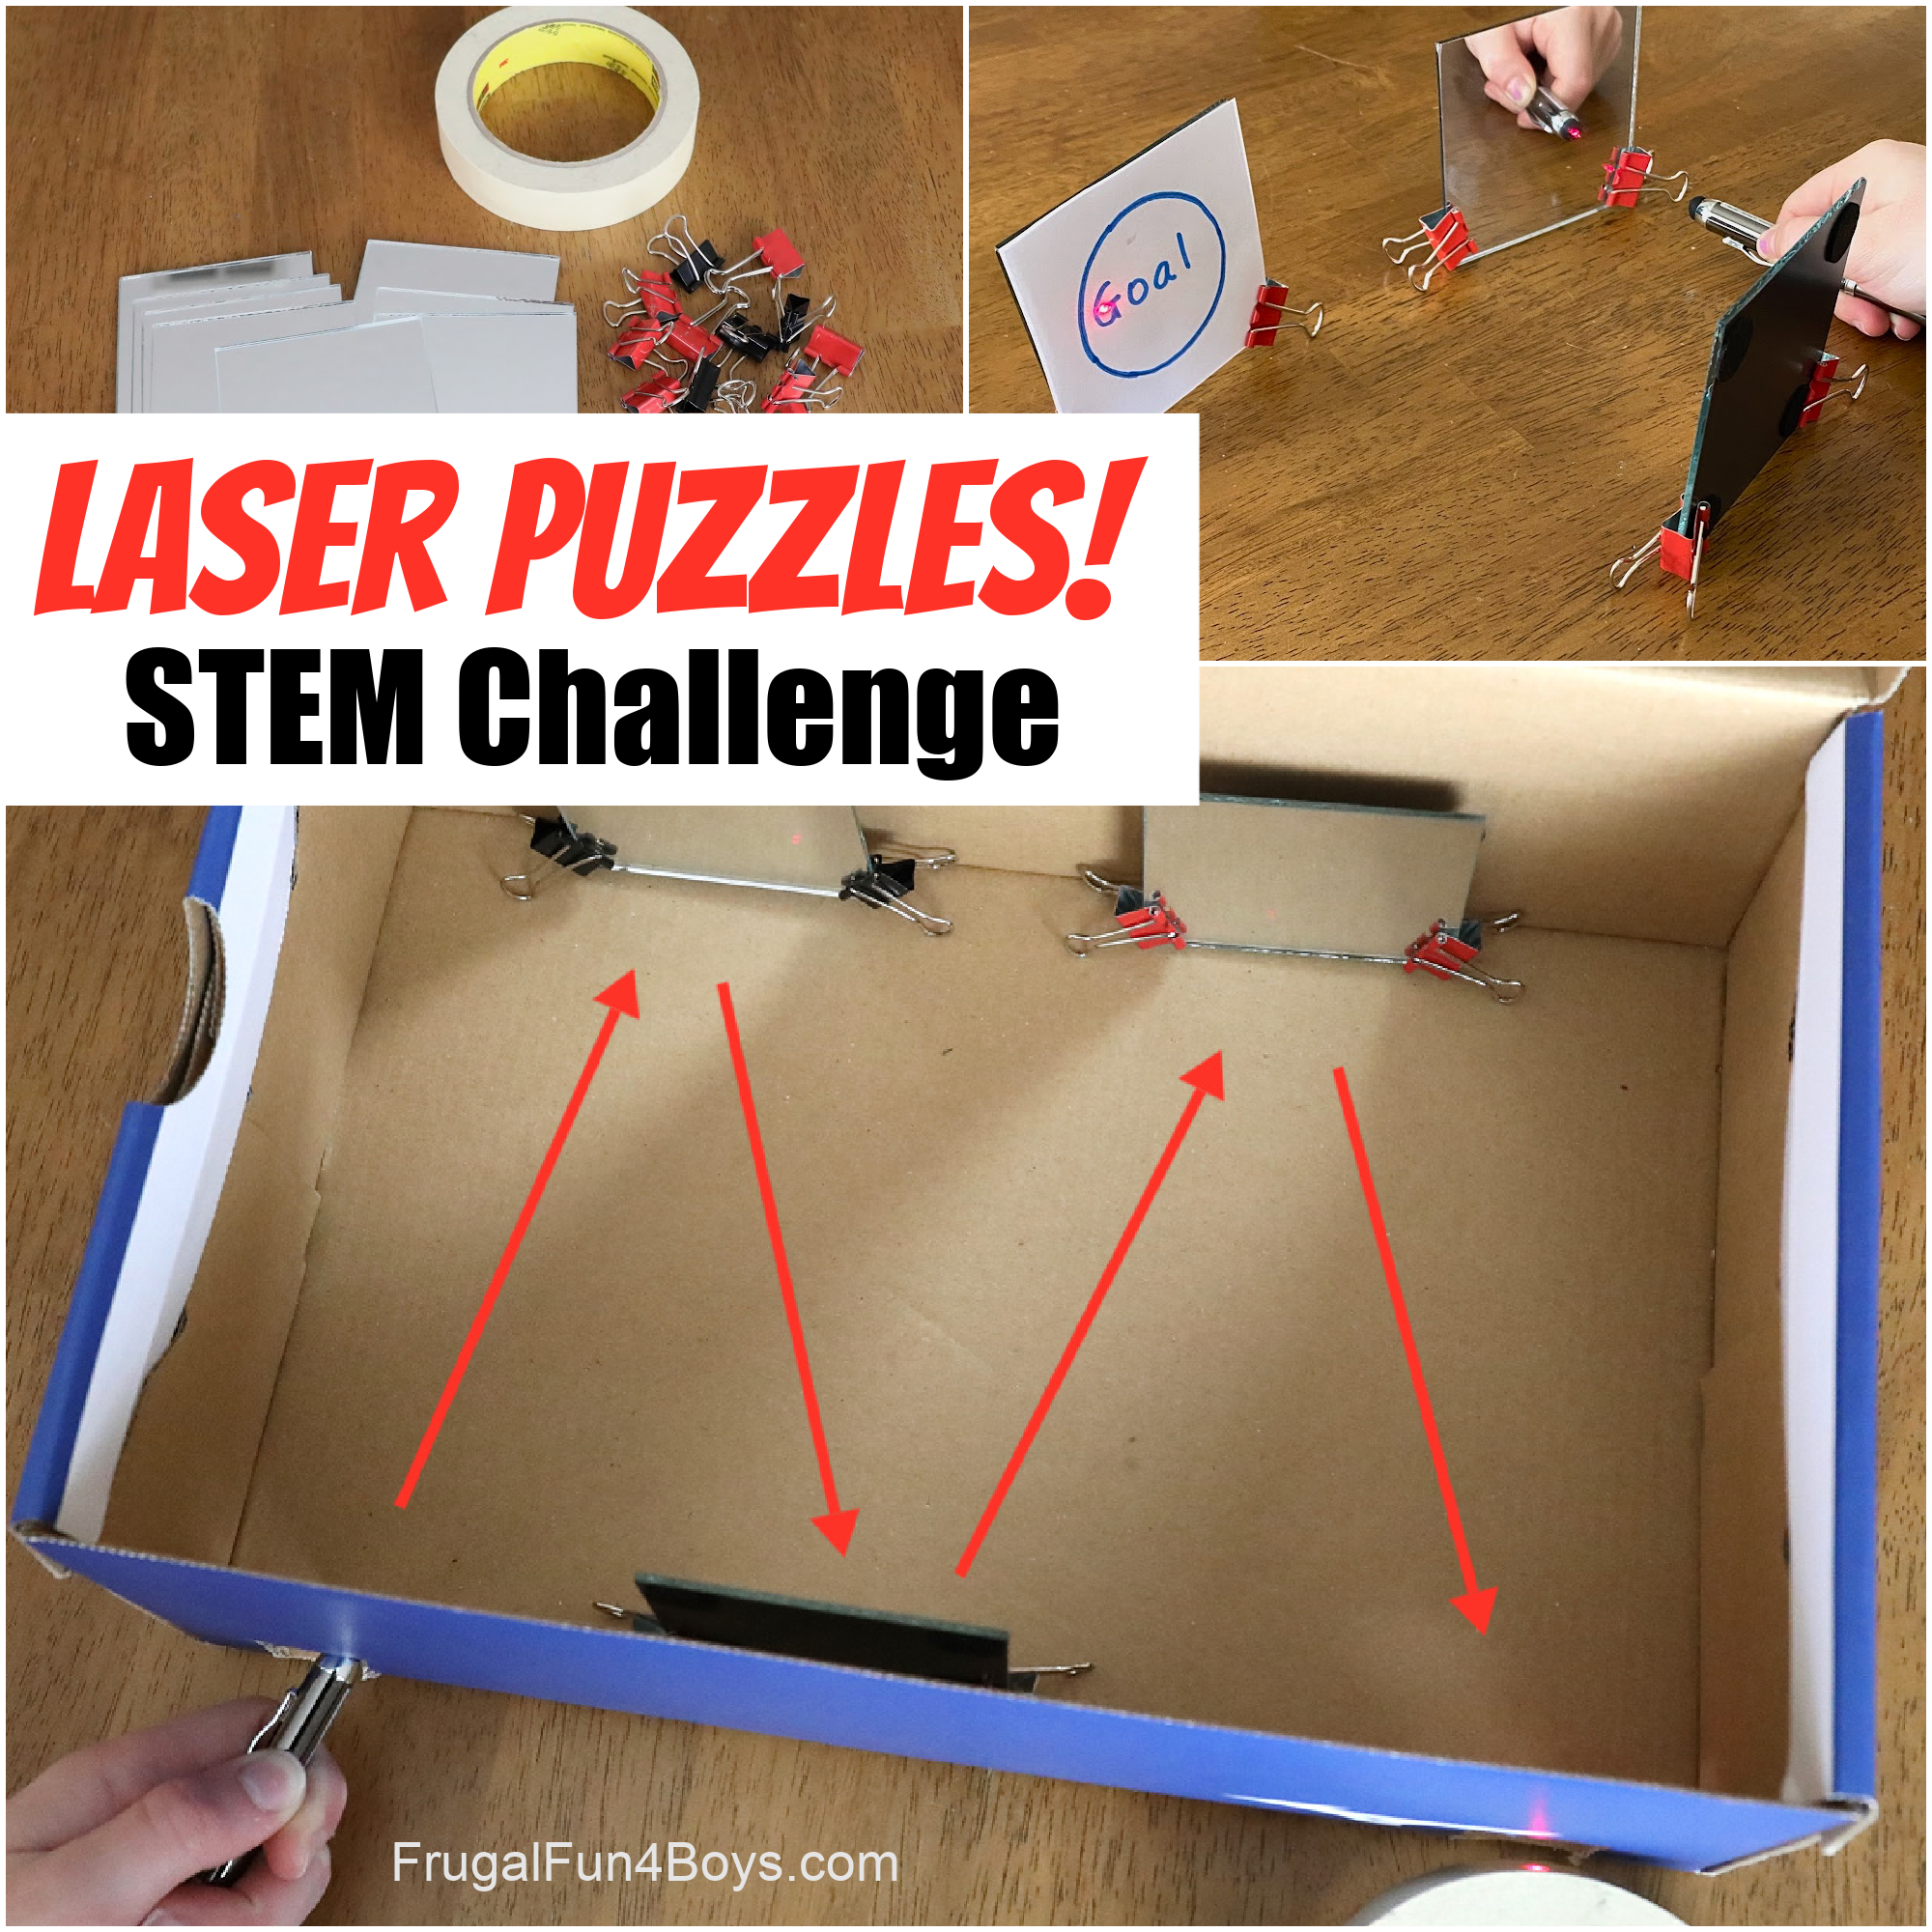
These Laser Puzzle Boxes are also a guaranteed hit! Use shoeboxes, mirrors from the craft store, and binder clips to set up an awesome laser challenge.
0 Comments
Post a Comment