
We’ve been crafting for back-to-school with duct tape, and when I saw this tutorial for duct tape zipper pouches on Skip to My Lou, I knew we had to try it!

While the supplies for this project are certainly not expensive, I’m sure you could buy a zipper pouch for less. But we had fun making them, and there’s something cool about saying you made your own zipper pouch out of duct tape!
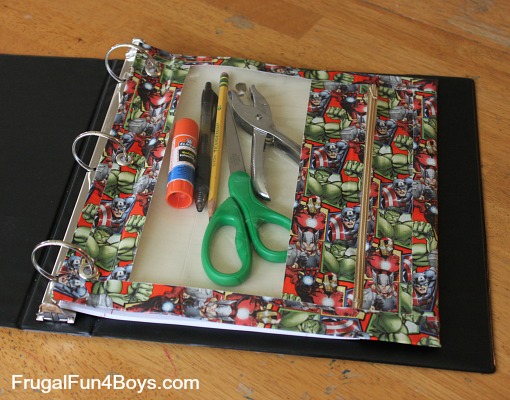
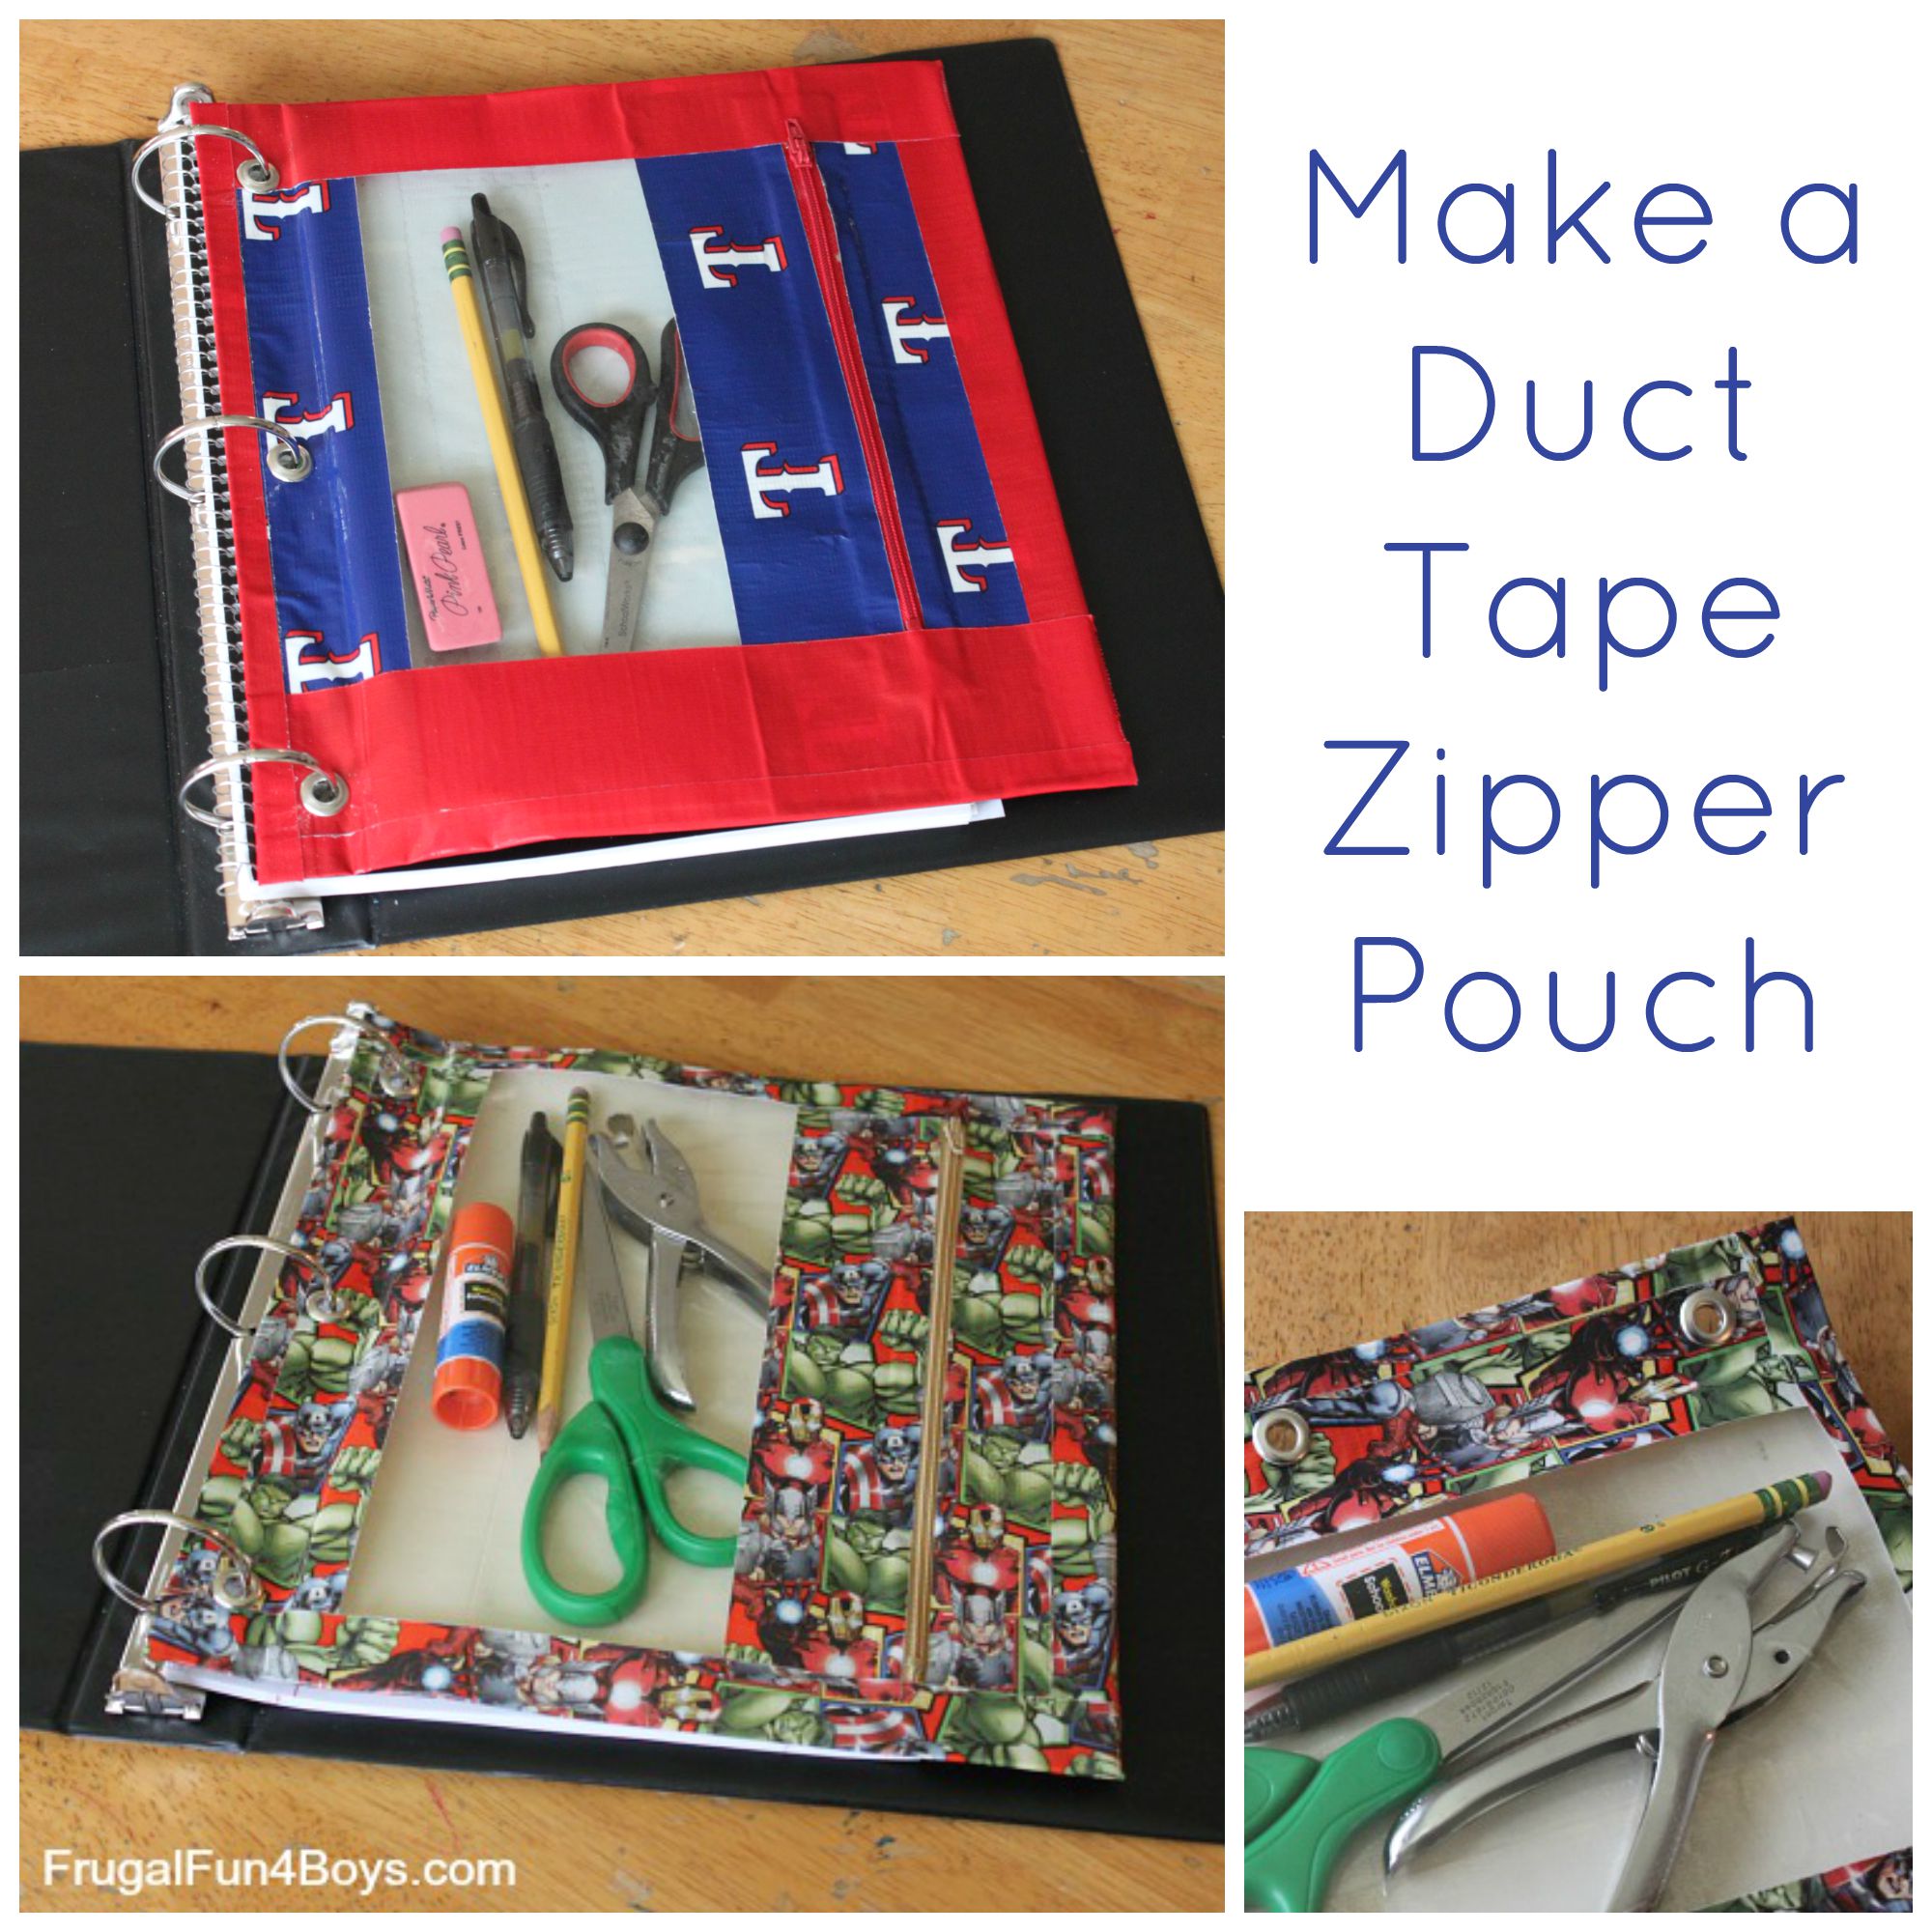
Gresham’s 3-ring binder looks really sharp with an Avenger’s zipper pouch:
This is a great project for ages 8+. Aidan is 11 and did really well. Gresham (7) wanted me to just make his for him. Adult help is needed for any age.
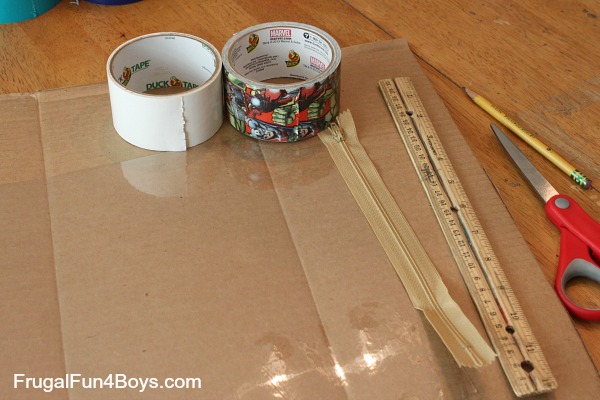
Here’s what you need to make one:
- Duct tape – solid white plus at least one other color
- Scissors
- Baby wipes – if you wipe the blades of your scissors with a wipe, it cuts through the tape super easily
- A ruler
- A pencil
- A 9 inch zipper – in the fabric section at Walmart, JoAnn, Hobby Lobby, or similar store.
- Clear vinyl – available by the yard in the fabric section of most craft stores. We got ours at Hobby Lobby. We bought one yard for $3.49, and that was enough vinyl to make 9 zipper pouches. (If you’re making these with a group, check the width of the vinyl you’re buying to make sure that a yard will make 9. I don’t want to be responsible for messing up a group craft!)
- Metal grommets – we used 1/4 inch grommets that came in a pack of 12 along with a tool for cutting the hole and attaching the grommets. It was $3.49 at Hobby Lobby in the sewing notions aisle.
- Hammer or rubber mallet – for use with the grommet tool.
Step 1: Cut your vinyl into a 10.5″ x 17″ piece. Skip to My Lou says to do 19″ but we found that to be too long.
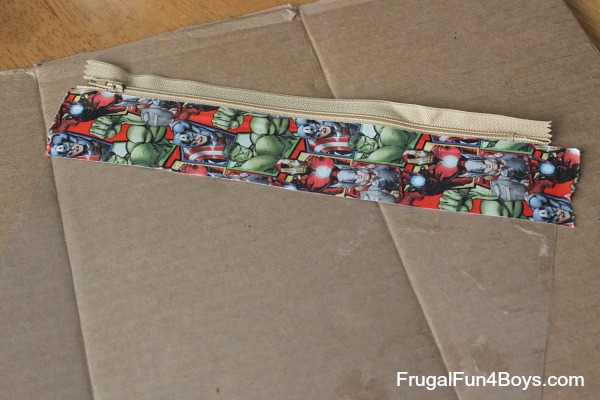
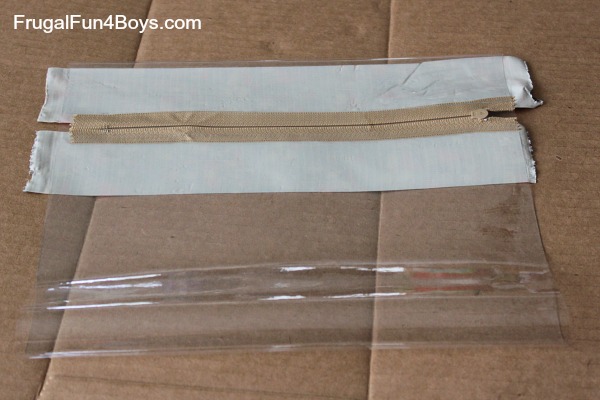
Step 2: Line up your zipper along one of the 10.5″ edges of the vinyl. Attach it with a strip of duct tape the width of the vinyl. You will be trimming all the edges with scissors, so as long as the duct tape is at least as long as the vinyl, it does not need to be exact.
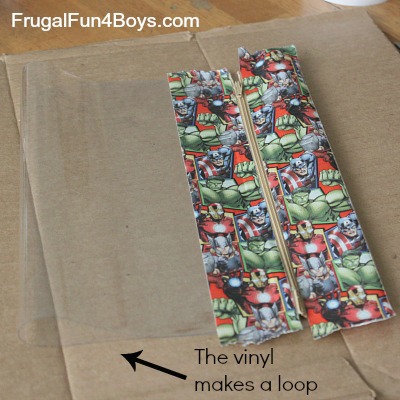
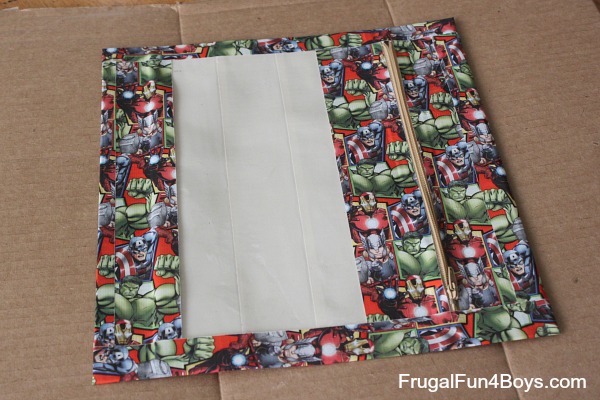
Step 3: This is the trickiest part. Once you finish with this, the hard part is done! Fold the vinyl into a loop. Attach the other side of the zipper to the vinyl as shown. Thankfully the tape peels off the vinyl fairly easily if you make a mistake.
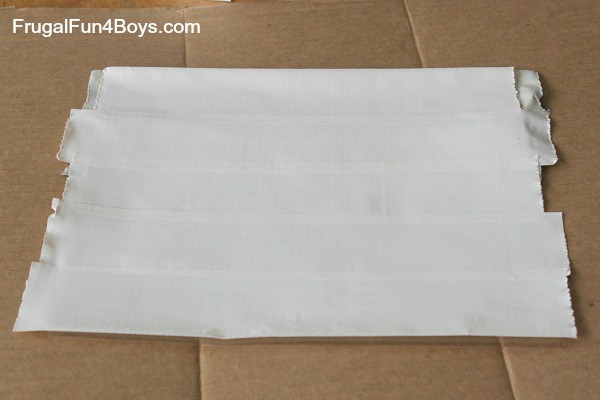
Step 4: Flip over your zipper pouch. We’ll be working on the back next.
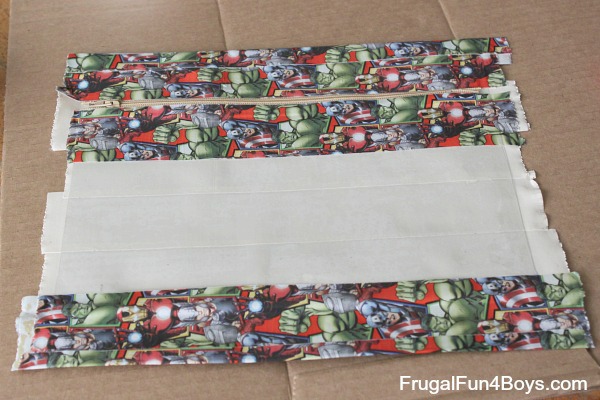
Step 5: Cover the back with slightly overlapping strips of white tape. White is a good choice for this because it will show through the window on the top of the zipper pouch.
Step 6: Add a piece of colored duct tape to the BOTTOM edge. (I flipped the zipper pouch over for this picture.) You want about 3/4 inch of duct tape to overlap on the white tape and the rest to hang off the edge. This will be where the grommets are placed.
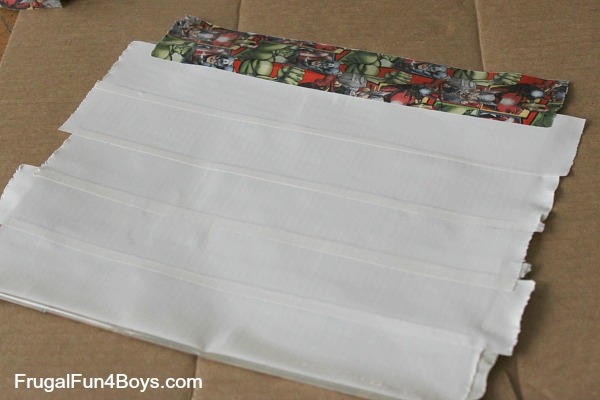
Step 7: Flip over the pouch and add another strip of colored duct tape that exactly matches up with the overhanging piece.
Tear off a piece of duct tape the length of the pouch. Then tear this piece in half the long way. Fold it over the overhanging strips as trim. You don’t want any more overlap than is necessary on this edge piece because it’s difficult to get the grommet tool to cut through more than 2 layers of duct tape.
Add a piece of tape as trim on the other side as well. We did not tear this piece in half.
Step 8: Flip the pouch over and trim the edges with scissors.
Ah, so much better!
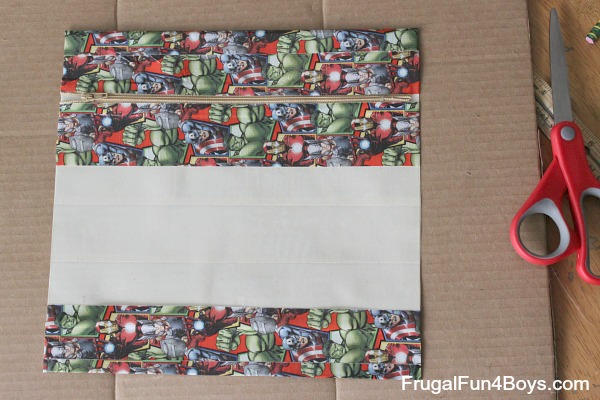
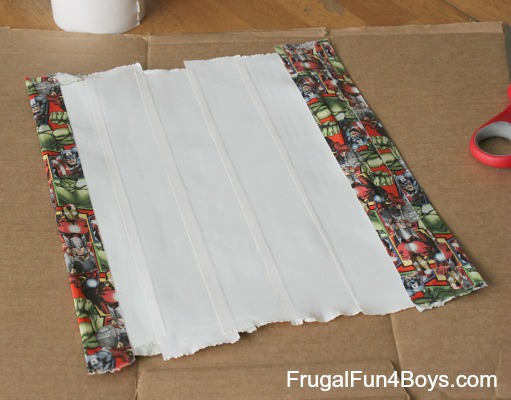
Step 9: Add a strip of each tape on each of the remaining edges. Be sure to line up the tape with the edge of the zipper.
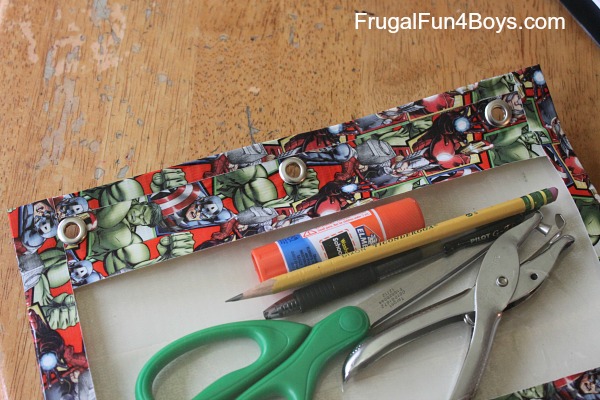
Step 10: Use the grommet tool to place the grommets. We used a piece of notebook paper to mark where the holes should go.
Then load up your zipper pouch with school supplies!
For Aidan’s Texas Ranger zipper pouch, we used a 7 inch zipper since he wanted red and the store was out of 9 inch zippers in red. I do think that the 9 inch zipper is a better size.

Since we homeschool, we have never needed supplies like zipper pouches, but I decided to let the kids keep their own pencils and erasers and scissors in their zipper pouches because we have one member of the family who likes to chew on all the pencils. I can totally sympathize with non-chewers not wanting all the pencils ruined! It’s working well so far.
1 Comments
Kim Chance Aug 11, 2014
This is an awesome back to school project! We homeschool too but my kids like to keep their supplies separate and this is a fun way to do that.
Post a Comment