
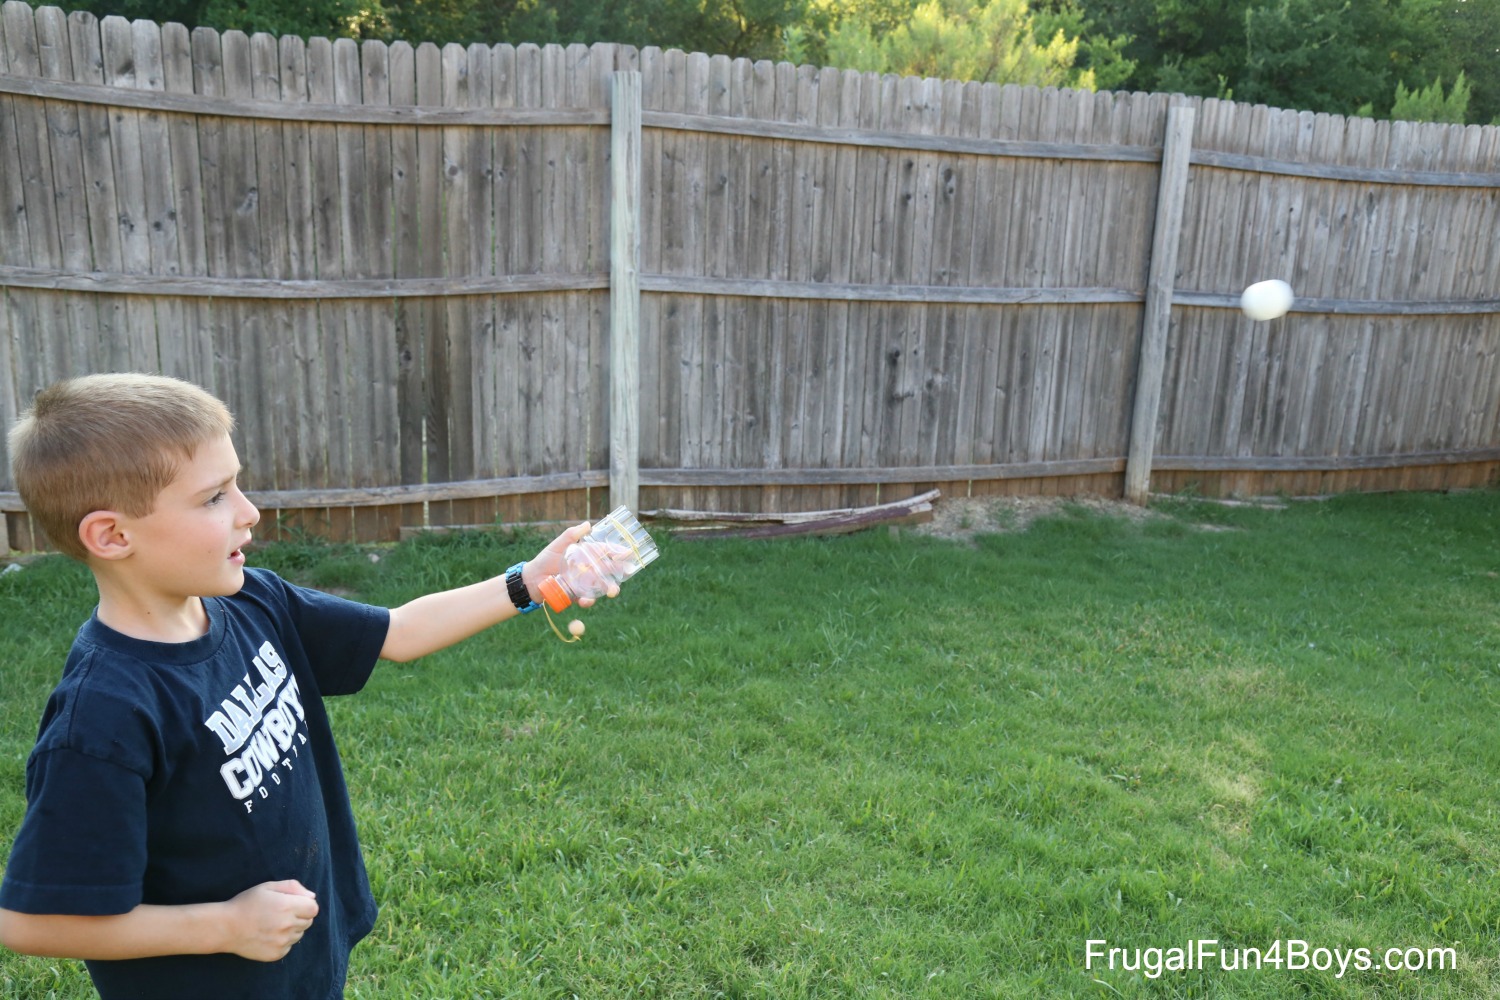
Shoot ping pong balls through the air with this fun (and simple!) homemade toy. You probably have everything on hand to make one, and it’s a great opportunity to learn about the transfer of energy also. Yay for STEM learning!
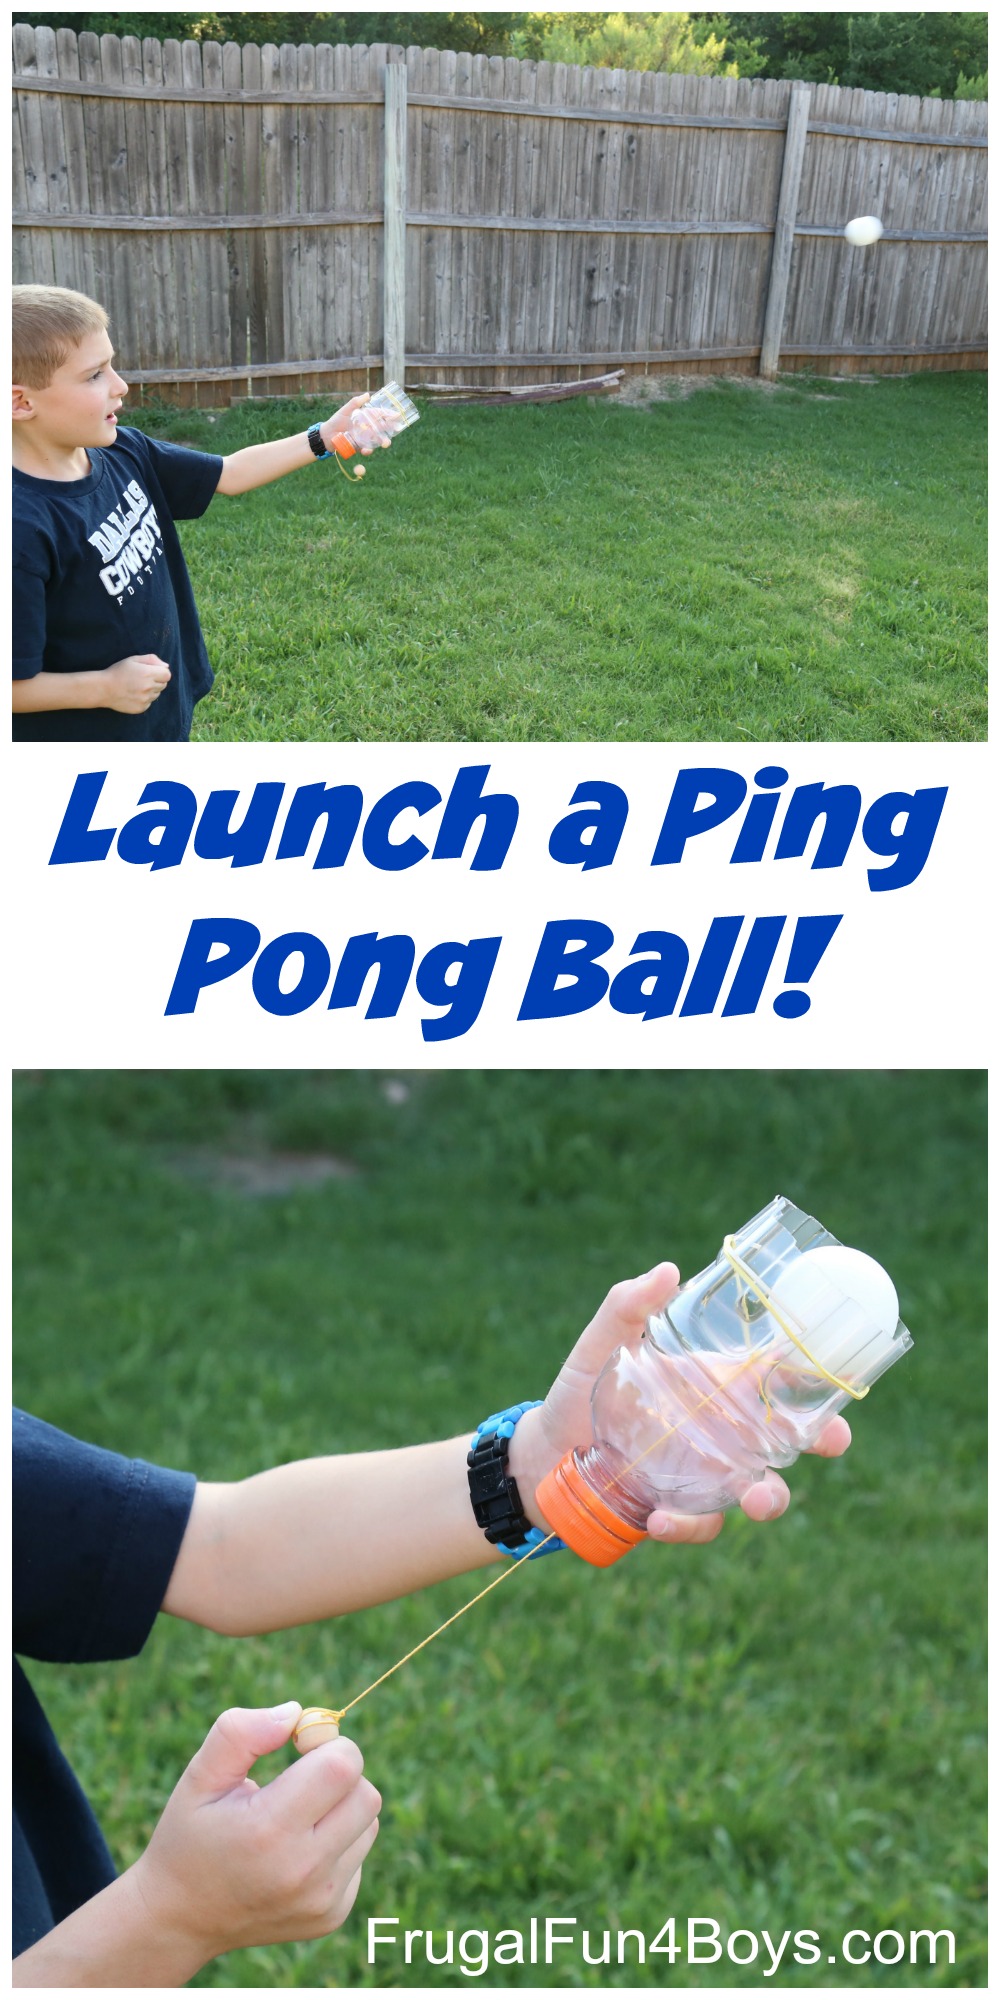
We found this idea on arvindguptatoys.com, and it’s a brilliant idea! Pull the string back and let go, and the ball goes flying!
To make one you’ll need:
- An empty plastic bottle. We used the small 12 oz. sized Gatorade bottles.
- Scissors
- String
- Rubber bands – two per toy
- A large bead
- A nail – for punching a hole in the lid of the bottle.
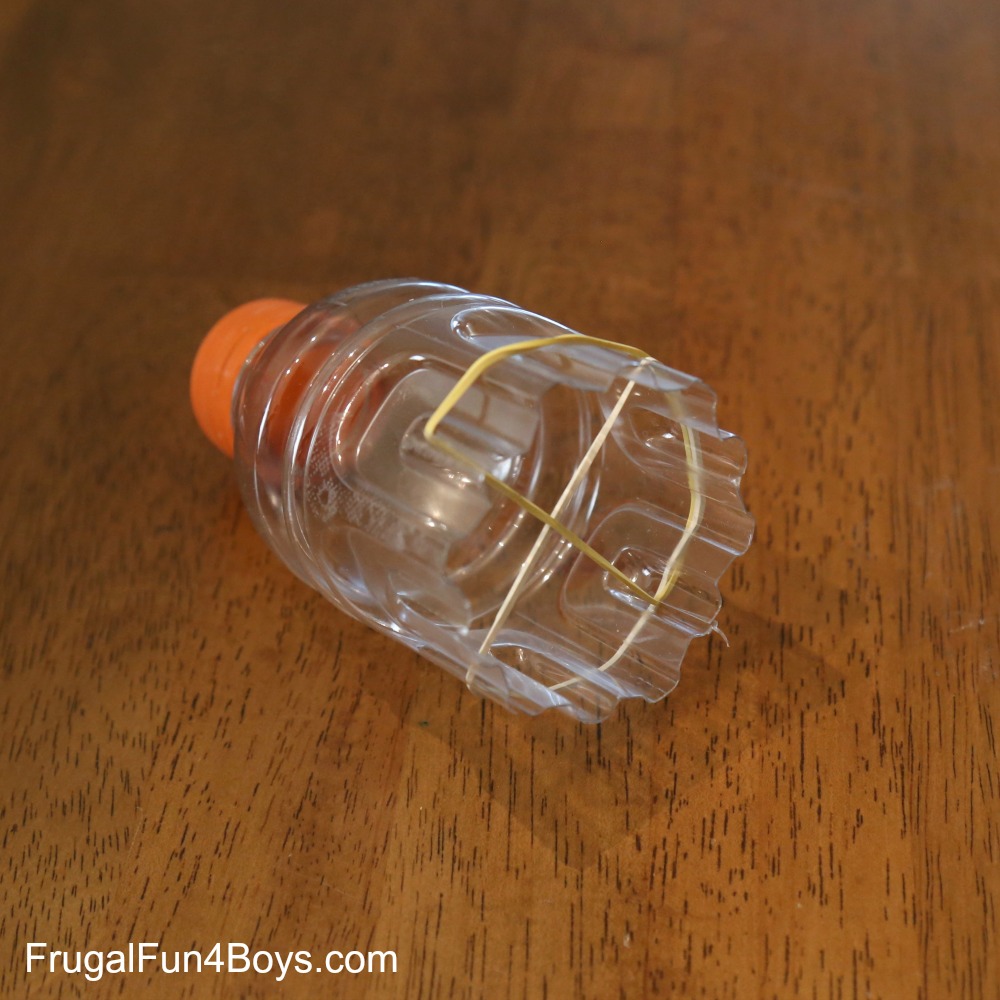
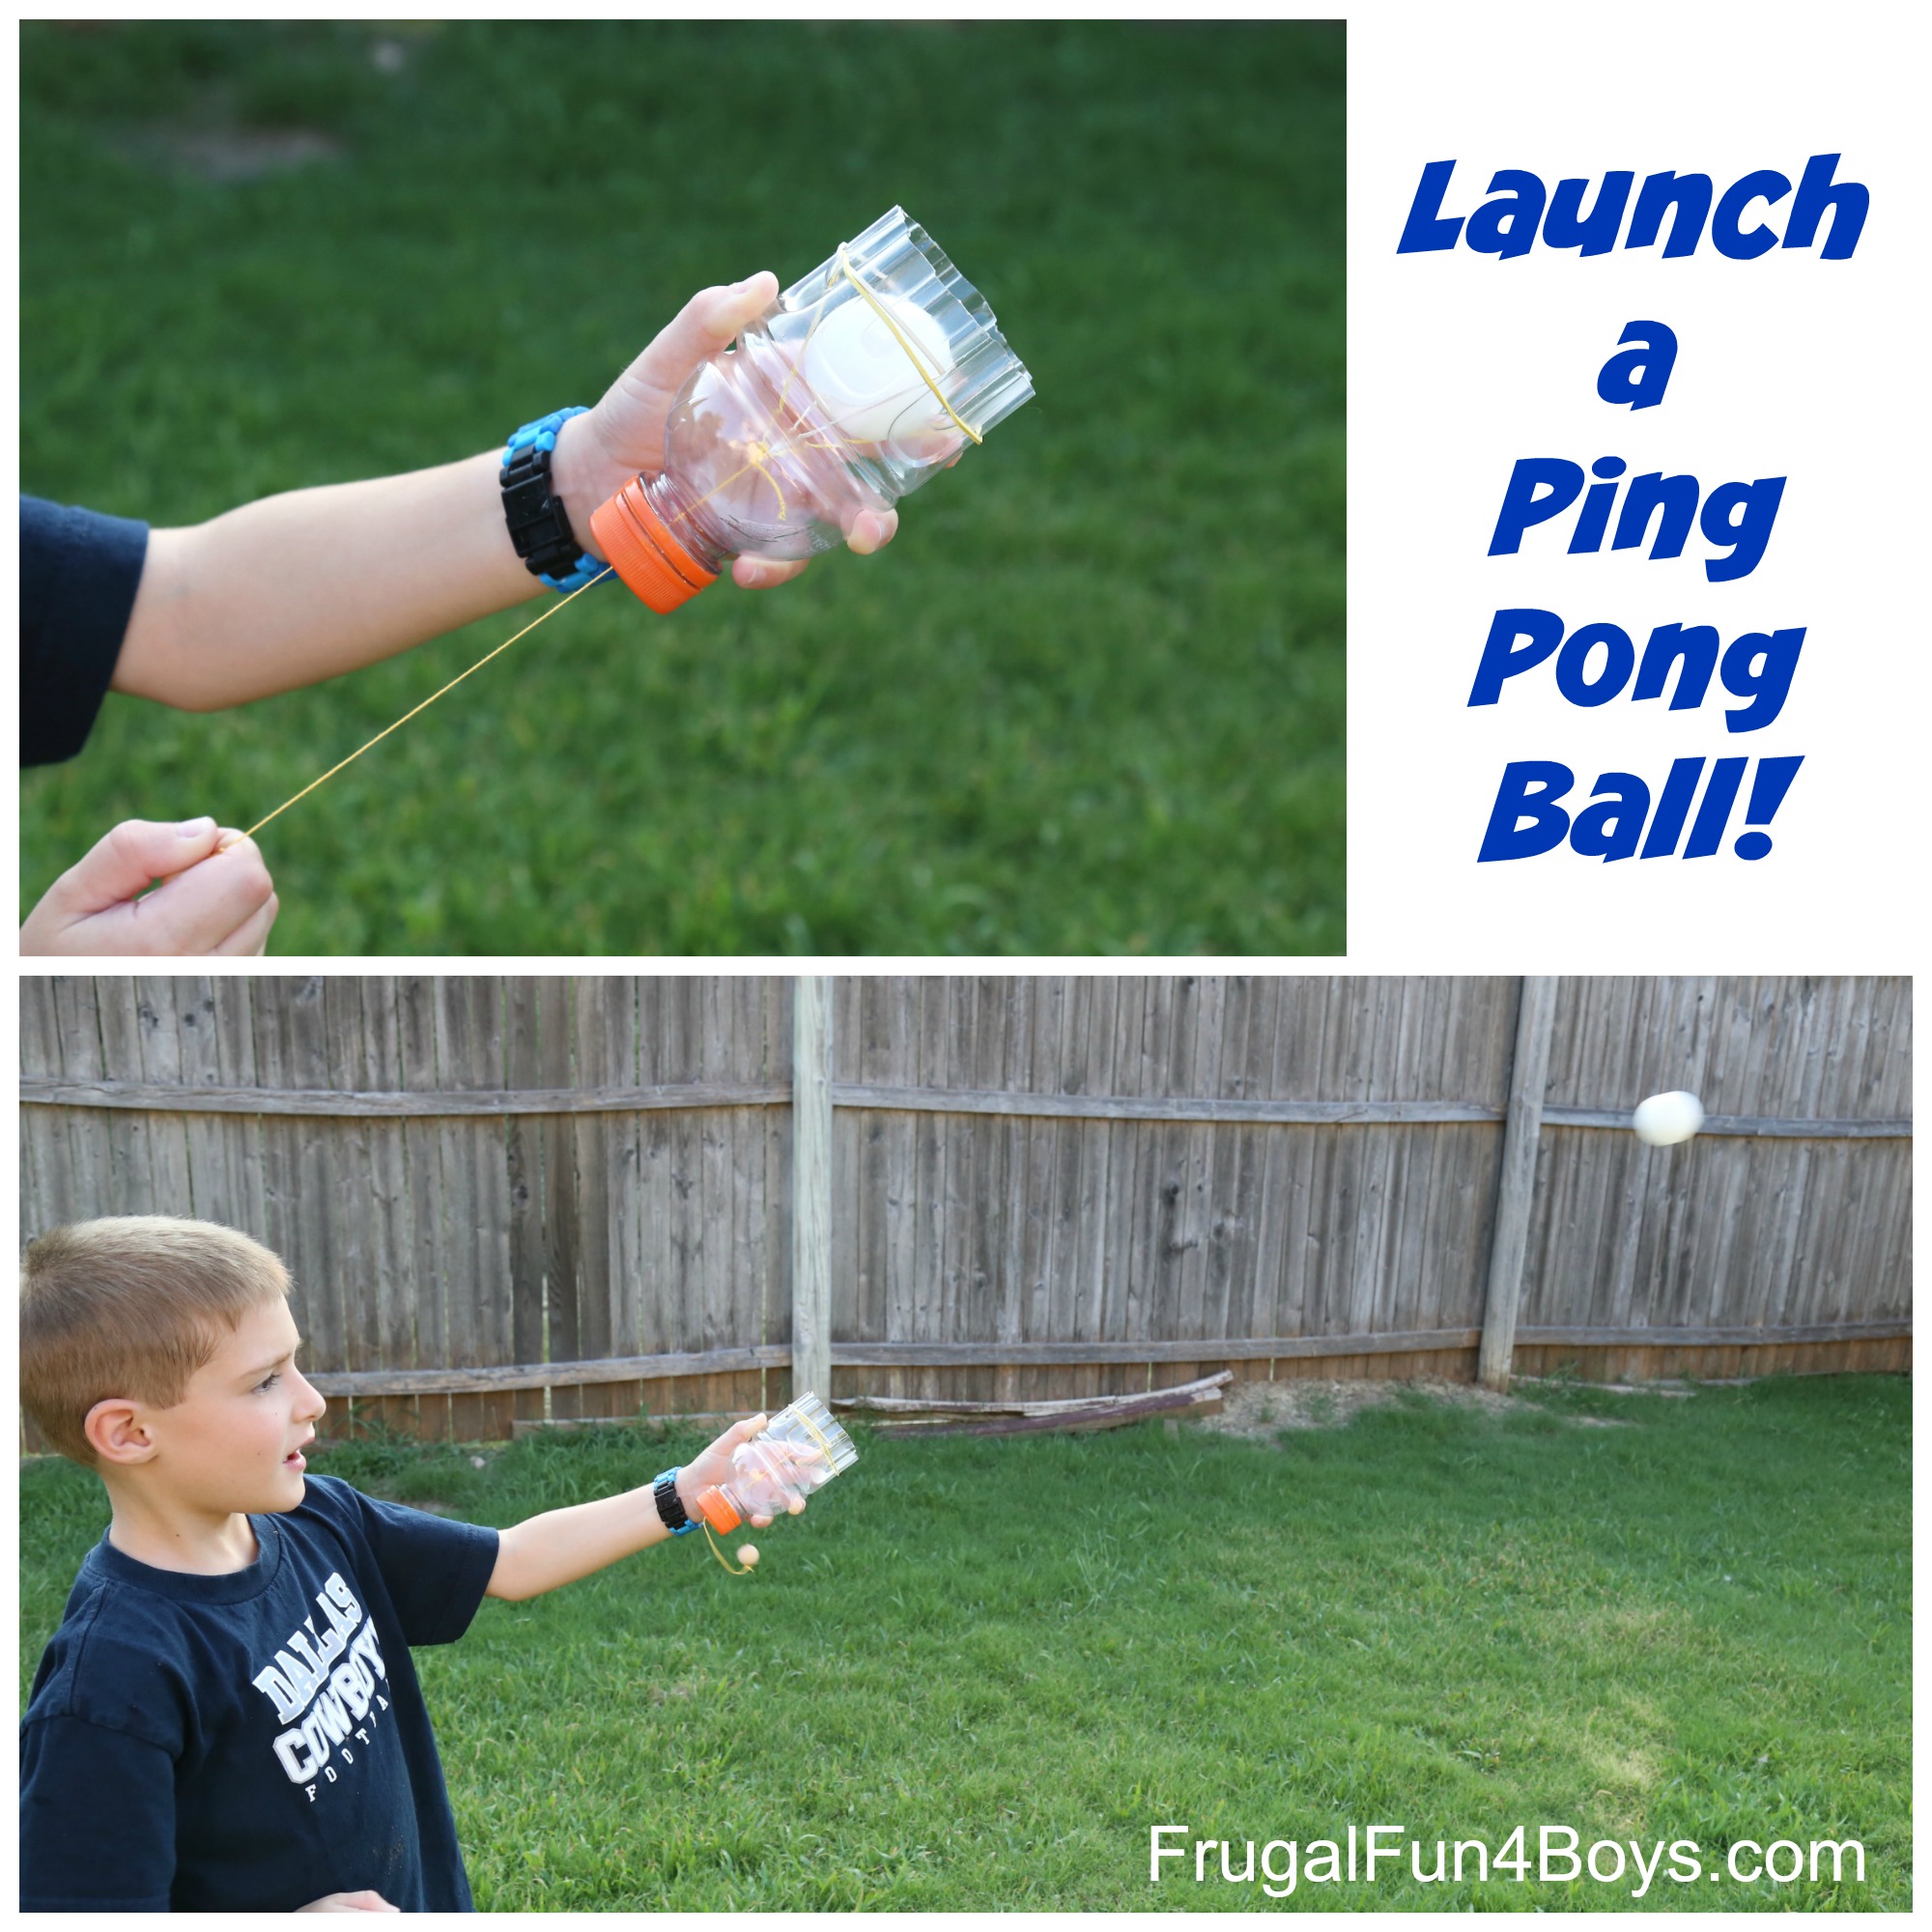
The design is quite simple. Cut off the bottom of the bottle. Then cut four notches around the edge. Slide the rubber bands through the notches so that they make an X as shown below.
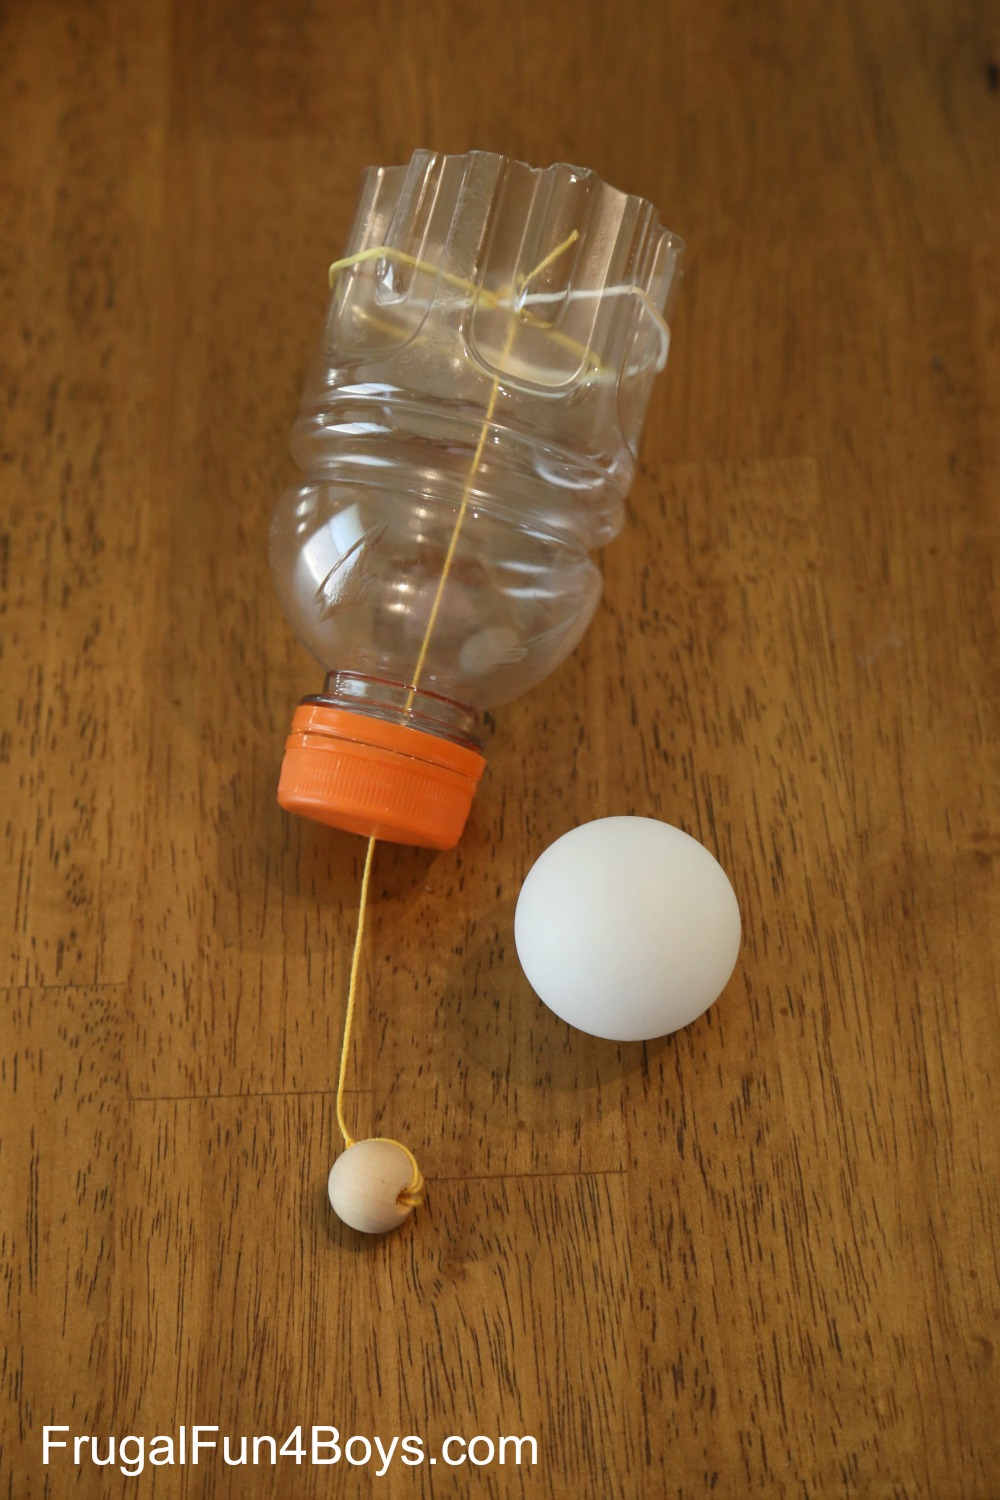
Use a hammer and nail to poke a hole in the bottle lid (adult job). Tie a string to the connection of the two rubber bands. Run the string down through the hole in the lid, and then tie a bead to the bottom of the string.
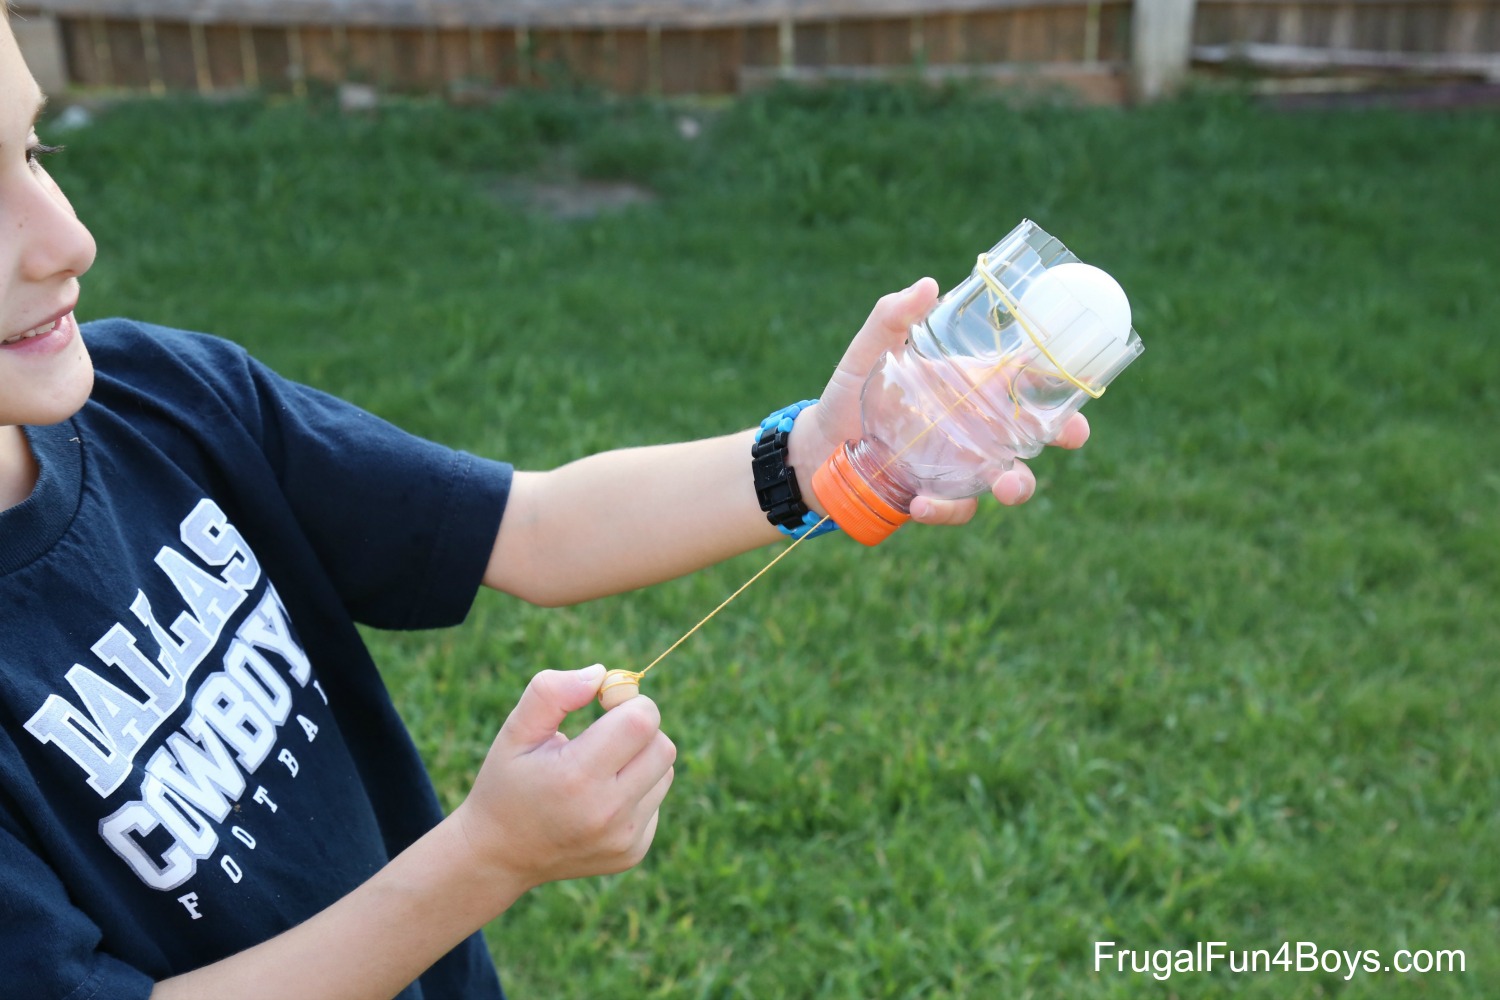
When you pull back on the bead, the rubber bands gain potential energy. Release the bead, and the energy is transferred to the ball!
Lots of fun! You can also shoot these inside – the ping pong ball is light, and they don’t shoot with enough force to hurt anyone.
Now here’s where this project presents an interesting engineering question.
When we made our first one, we did not attach the bead. It looked optional, so we just tried shooting without it. The original post said that the ball travels 15 feet, but ours barely went anywhere! It seemed to have no power at all. We tried longer rubber bands, which did help some, but not much. So then we decided to try adding the bead. HUGE DIFFERENCE! Our ping ball ball flew across the room! Or shot up and hit the ceiling!
So what made the difference? I’m not 100% sure, but I think that there are two things at play here. One is that the string sticks to your fingers a little when you release it, causing energy to be lost. You can get a clean release with the bead which prevents taking energy away from the rubber bands. The other is that the bead strikes the lid when you release it, which causes the rubber bands to come to an abrupt stop, releasing the ping pong ball.
Make it an experiment!
This would be a great project to do with a class or a group.
The kids can explore:
- Which works better? With the bead or without the bead? Why?
- Does it matter how long the string is? (We did not see a noticeable difference, but we didn’t run any actual comparisons.)
- Does it matter how tight or loose the rubber bands are? (Yes)
- Does the size of the plastic bottle make a difference in how far the ball shoots? (We didn’t try this one!)
Be sure to stop by arvindguptatoys.com! This site is full of clever ideas using materials from around the house, and you can also print the instructions for this project.
12 Comments
luke Jul 8, 2016
thats pretty cool
phuong mai Aug 25, 2016
it's simple but very interesting. I will make for my boy, and hope him like it as me.
Peter Feb 27, 2018
Really cool idea
I always love activities like this when I was a child.
Now, I hope my kids will learn some lessons from this ping pong ball launcher
Francis Apr 8, 2018
Thanks, Sarah Really this is a nice idea. Because it's really cheaper idea than other sports equipment & also funny.
John May 24, 2018
Really, Sarah, this is so cool idea & with lots of fun. But your thinking is so differenced because this element is arranged is so easy & also cheap but children will so happy & also enjoy.
ligma Oct 1, 2018
its cool
cjmoo352 Oct 1, 2018
pooped my pants
Carol Palos Feb 18, 2019
Hahaha!! Really so funny! However, I'm gonna teach my boy this cool technique. Hope he'll enjoy it. Thanks for sharing the nice idea.
Malanka Mar 12, 2019
We tried and the rubber bands kept breaking, cutting on the edge of the plastic slits. Anyone else have that problem or what am I doing wrong?
Peter Jun 29, 2019
dleightful. so simple yet effective.
Kevin James Jul 25, 2019
Thanks Sarah, it was a nice and easy build. Of all the launchers I researched this one was the easiest to make out of household stuff. My young is excited with his new discovery. He has already jotted the list of next launchers he is gonna make based on this design - Tennis ball, egg, pumpkin etc
ABBY Jun 1, 2020
this looks interesting i am going to try this out!!
Caramel Miller Oct 6, 2020
useful for my school project
Post a Comment