
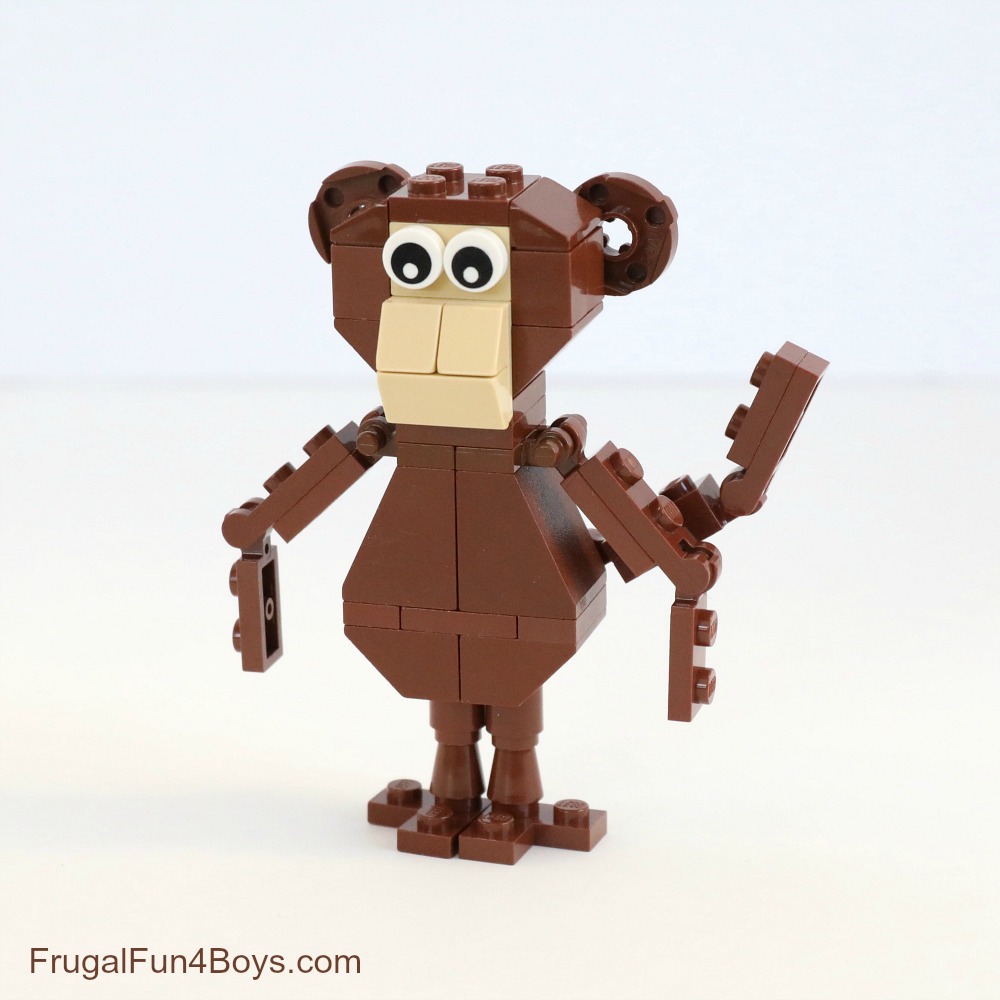
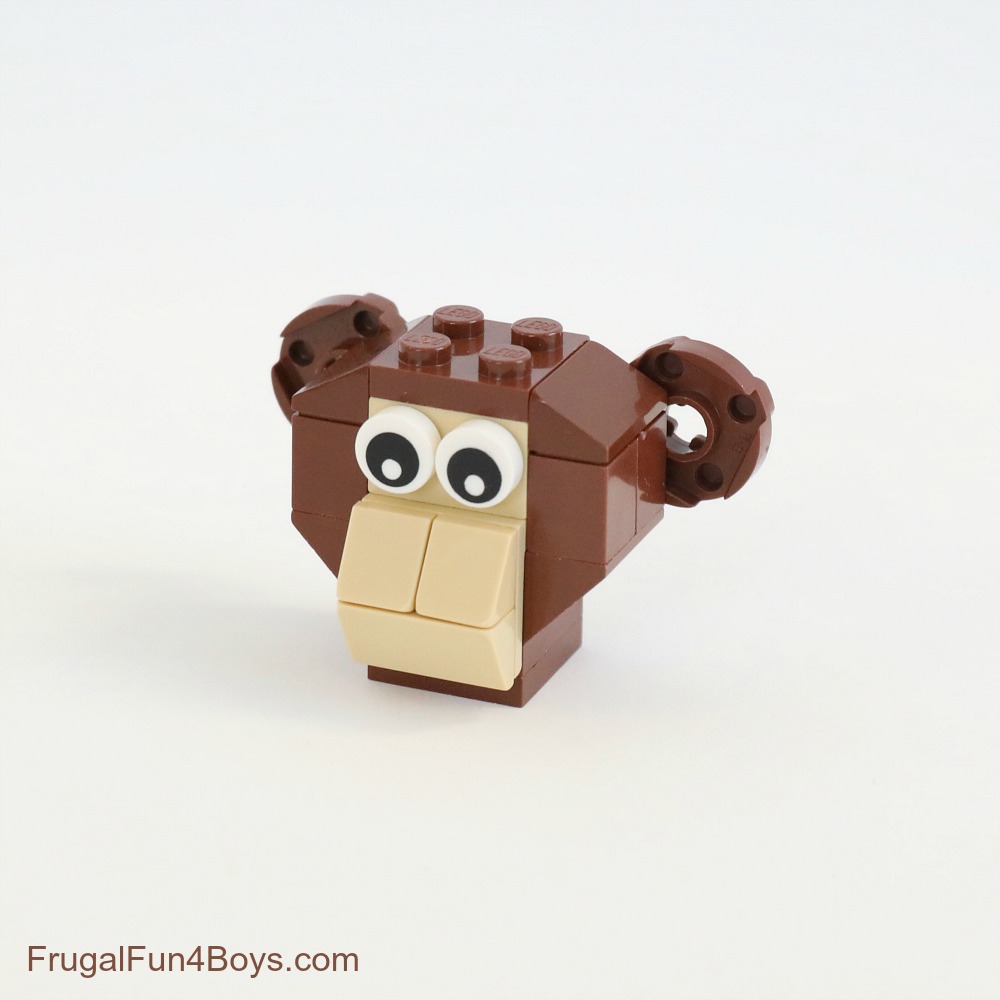
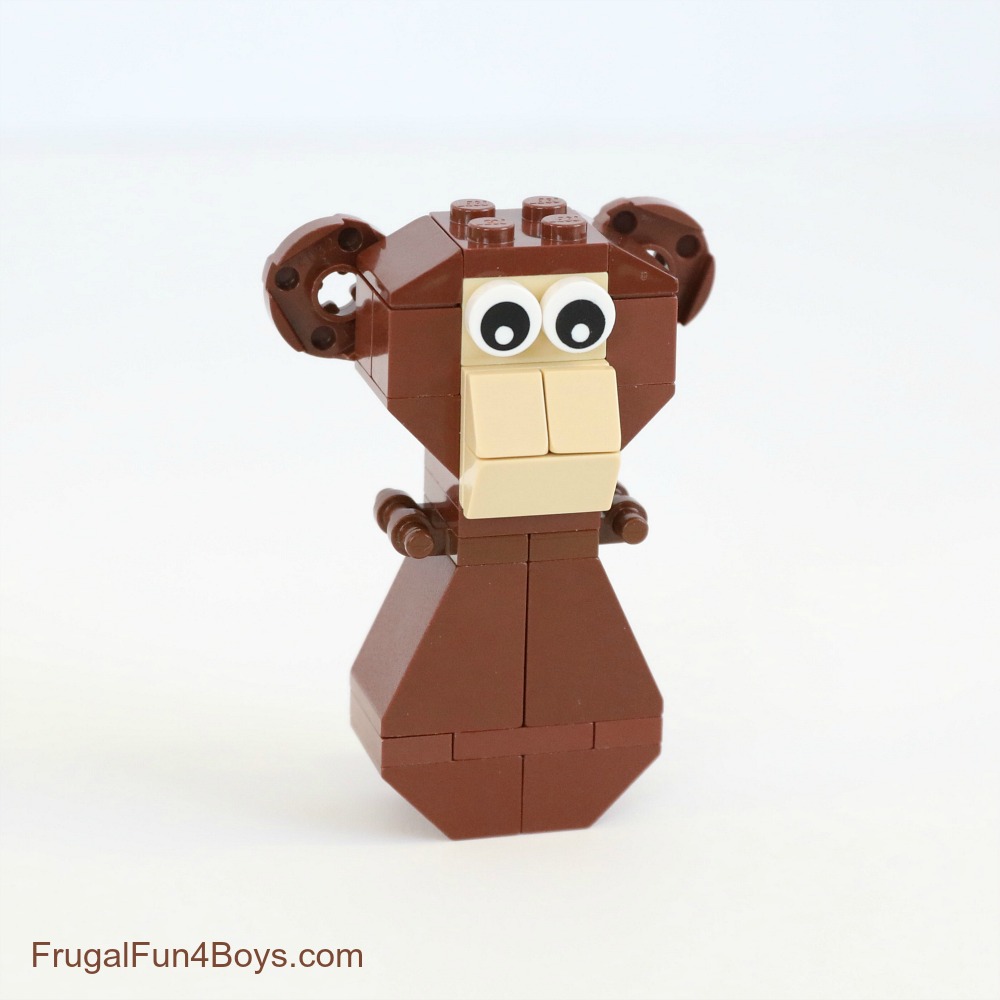
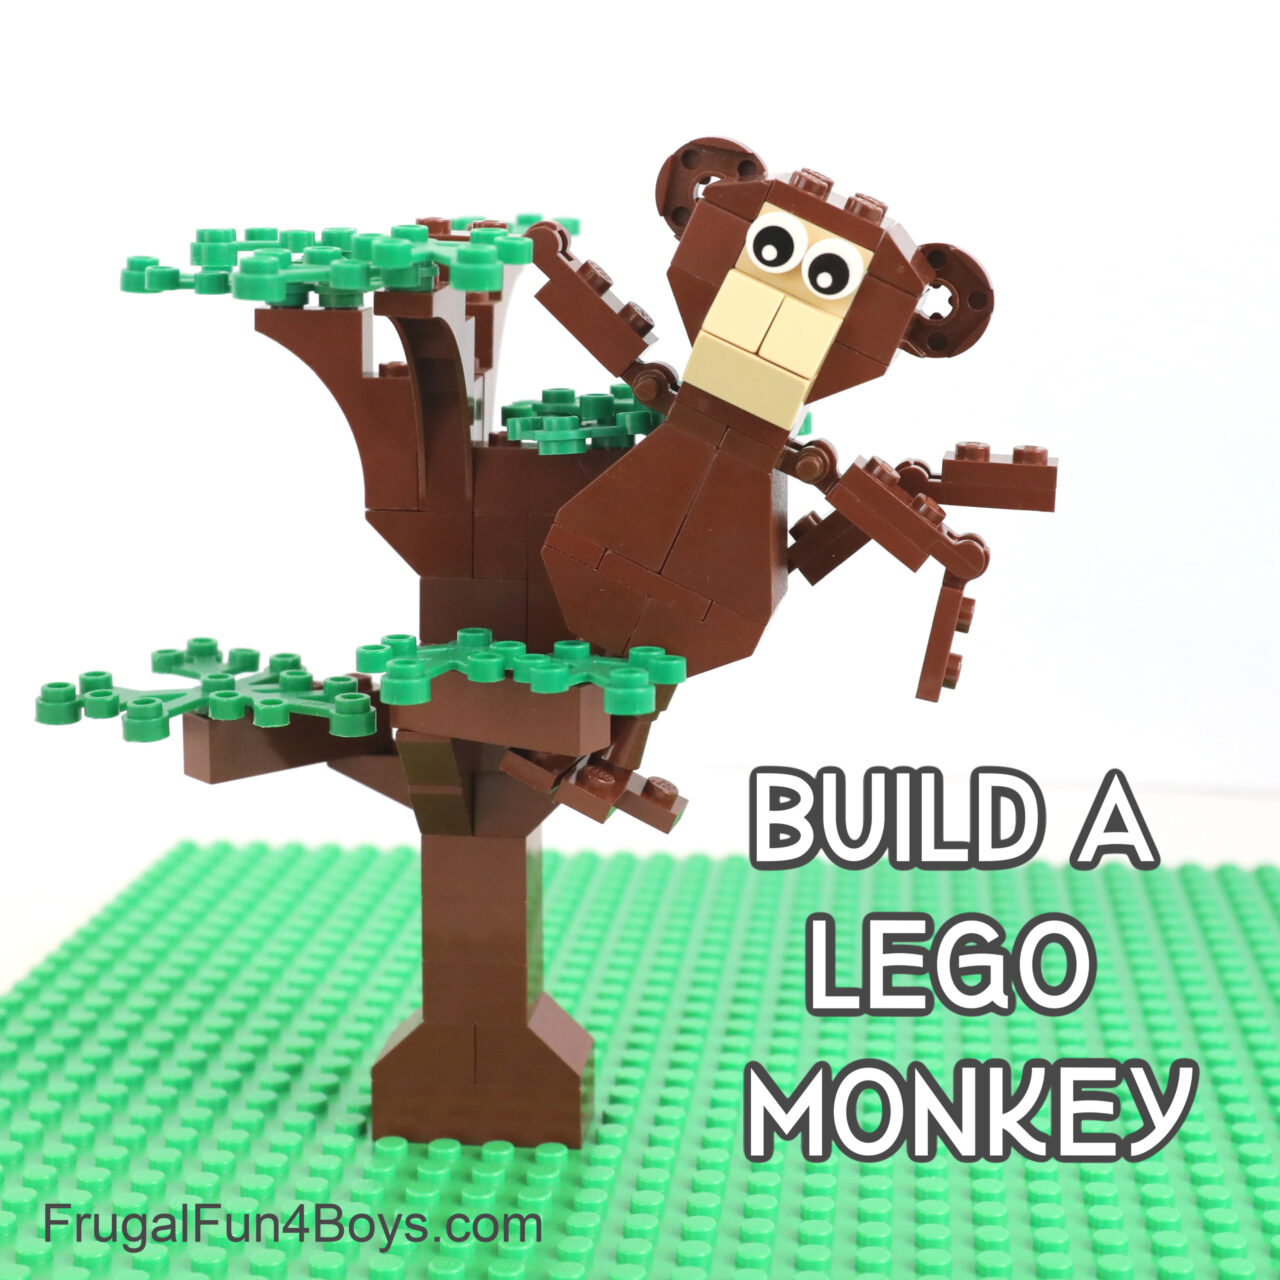
Build an adorable little monkey out of LEGO bricks! We’ve got building instructions below.
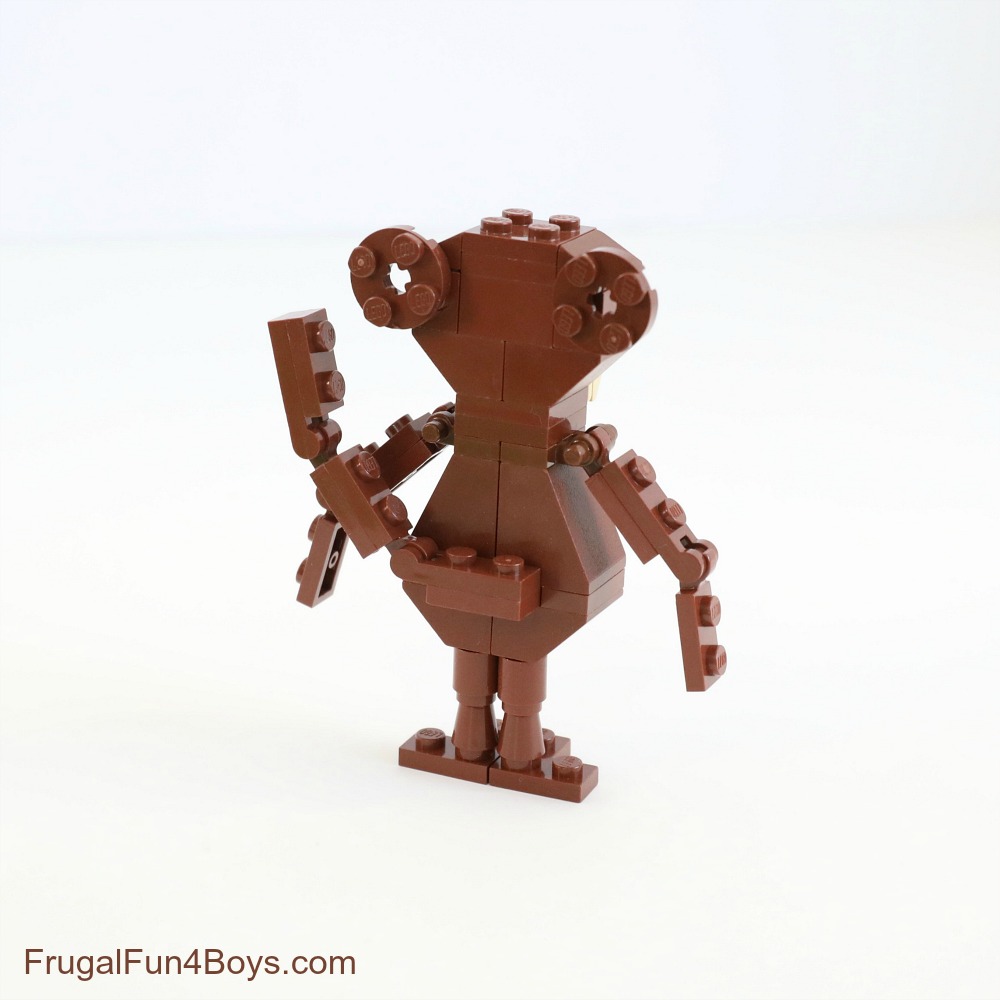
Monkeys have always been some of my favorite animals! This LEGO® monkey is fun because you can make him climb trees with his posable arms.
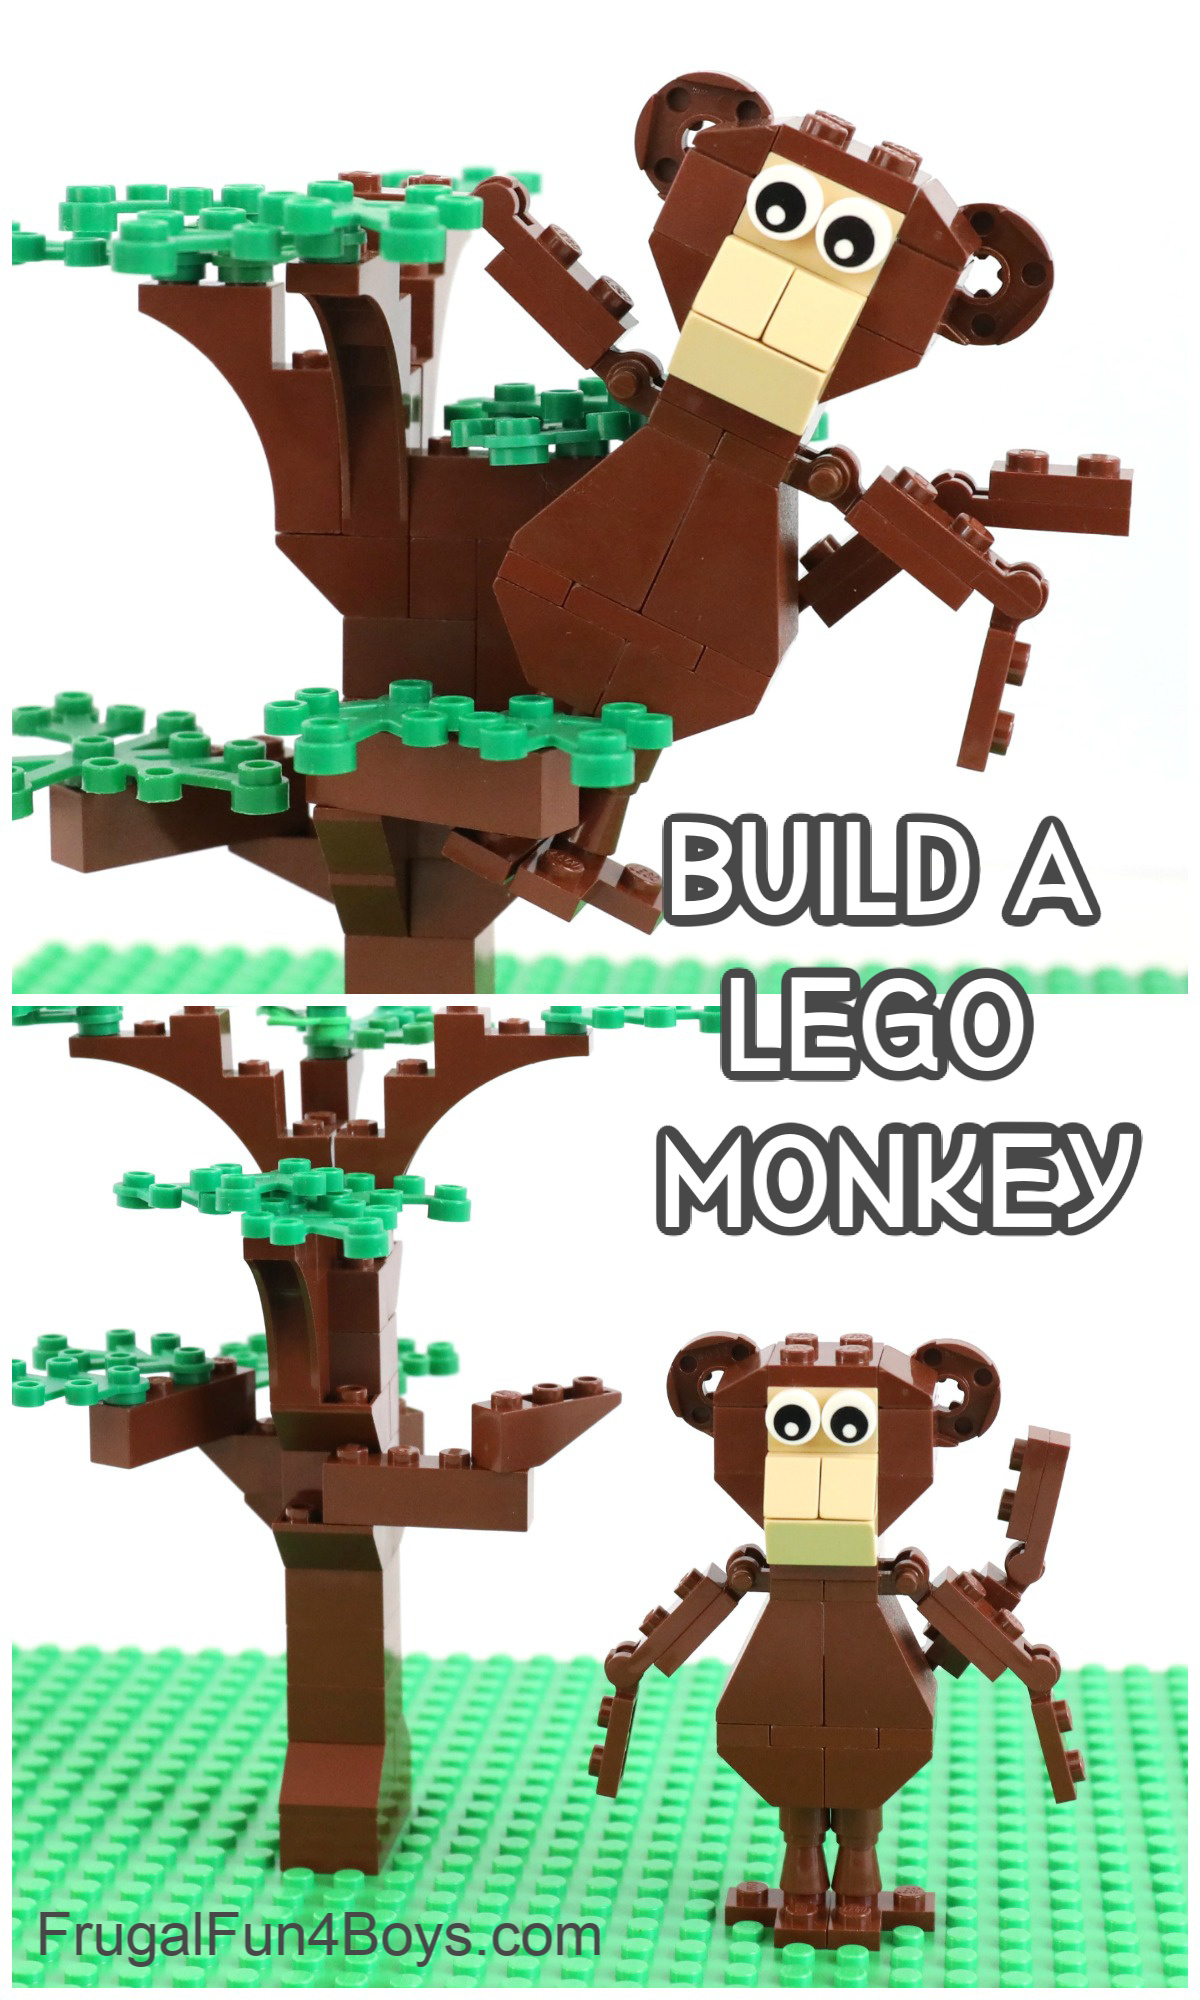
This LEGO® monkey also has a posable tail that attaches to the back of his body. Isn’t he so cute?
Here’s how to build your own monkey:
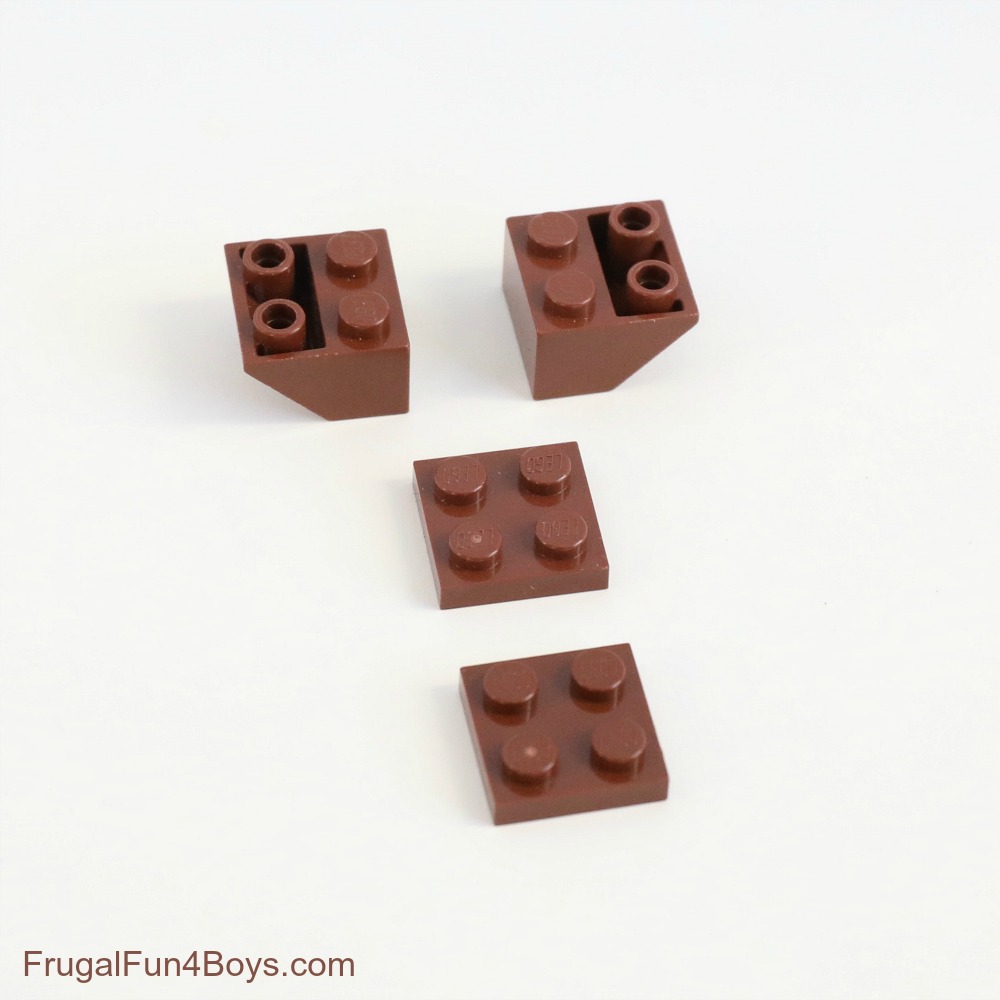
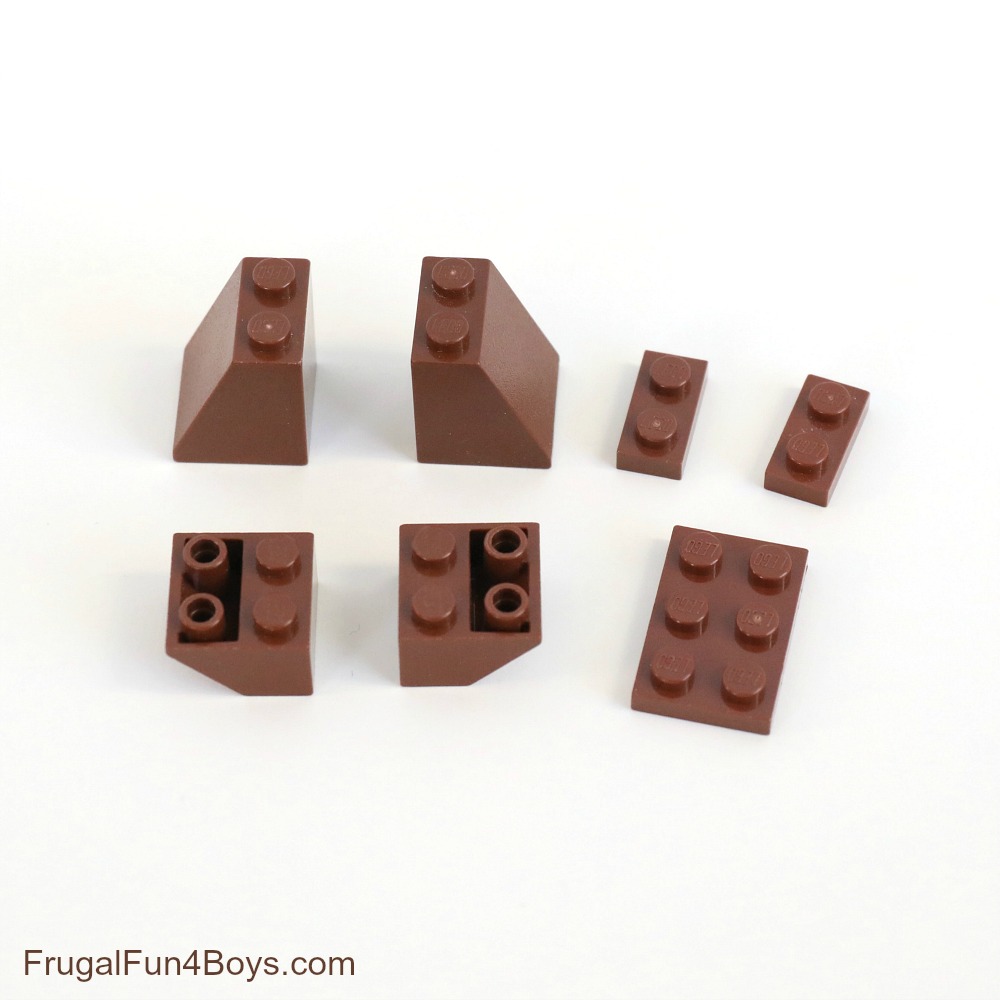
Step 1: Find two 2 x 2 brown inverted slopes and two 2 x 2 brown plates.
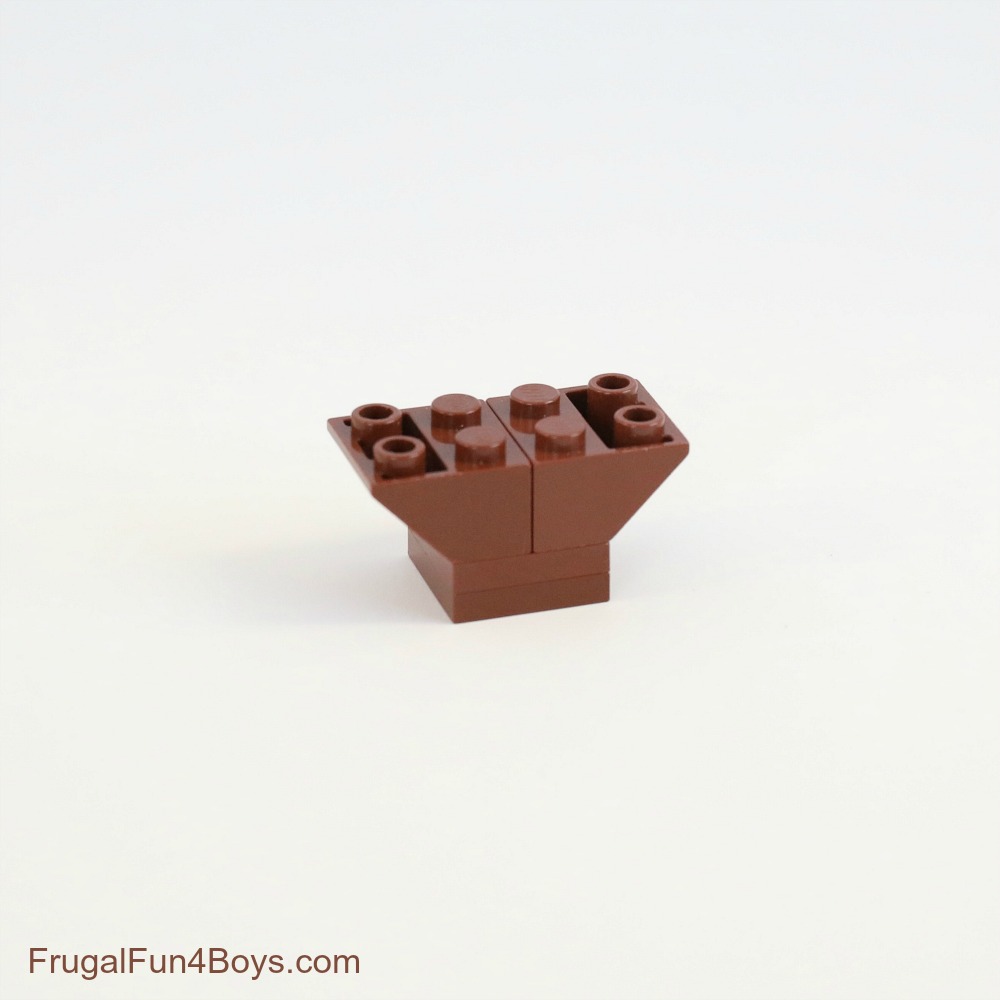
Step 2: Stack the two 2 x 2 plates. Then add the inverted slope bricks as shown.
Step 3: Place a 1 x 2 brown brick and a 1 x 2 – 2 x 4 tan bracket on top of those. Then find the pieces shown.
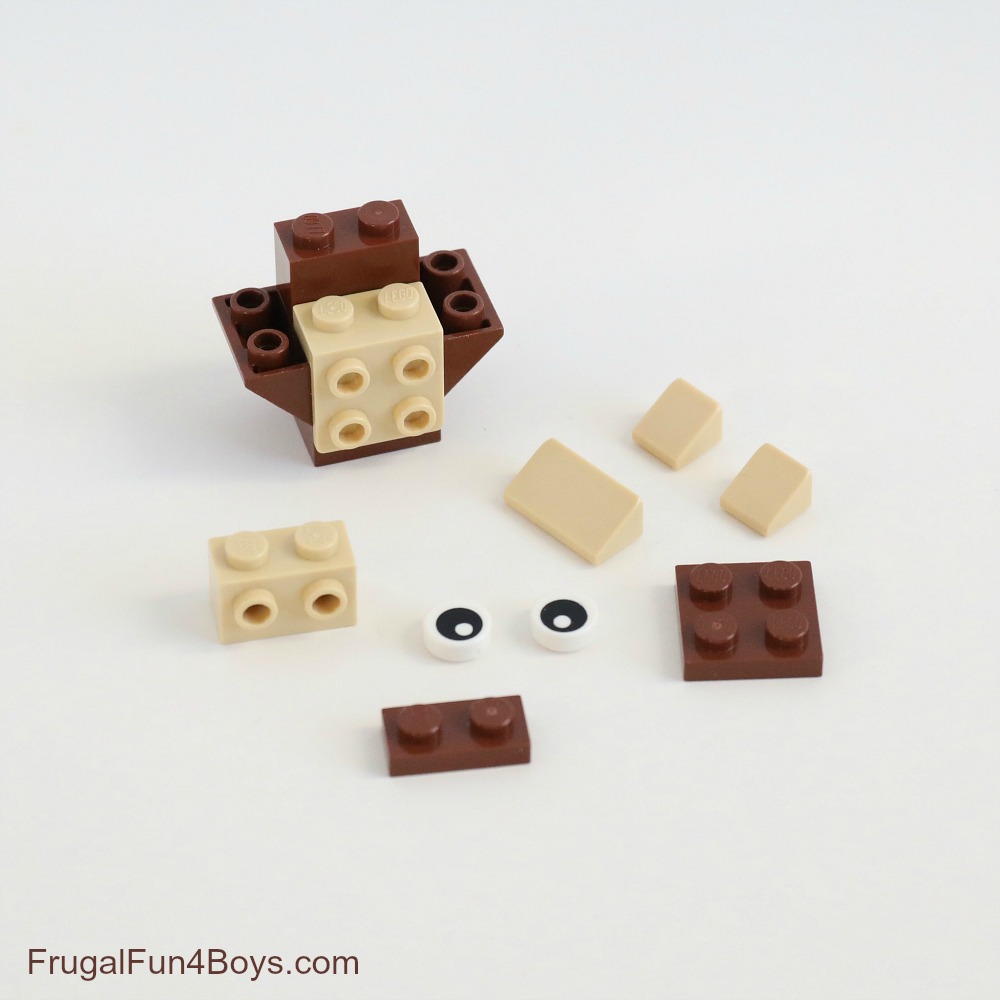
Step 4: Add a 1 x 2 tan brick with two studs on the side. Attach two eyes to this. Place a 1 x 2 brown plate on the back of the head.
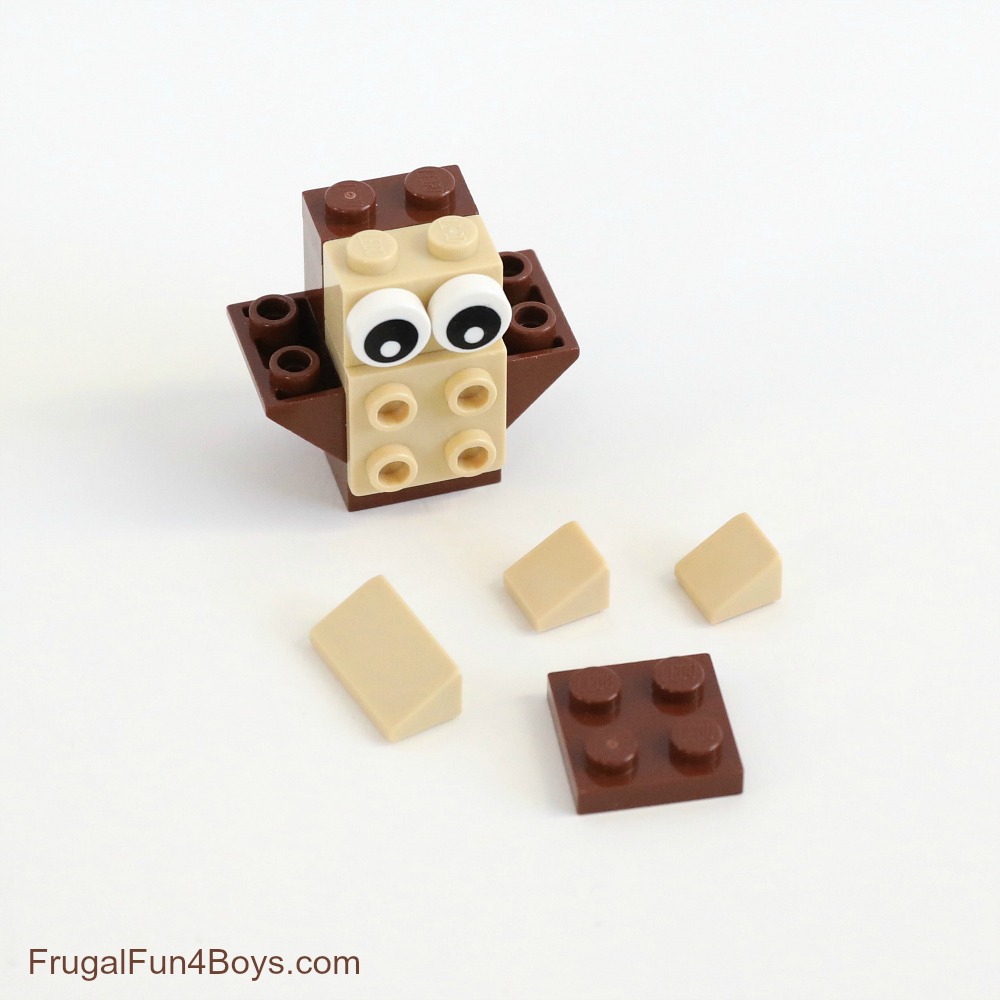
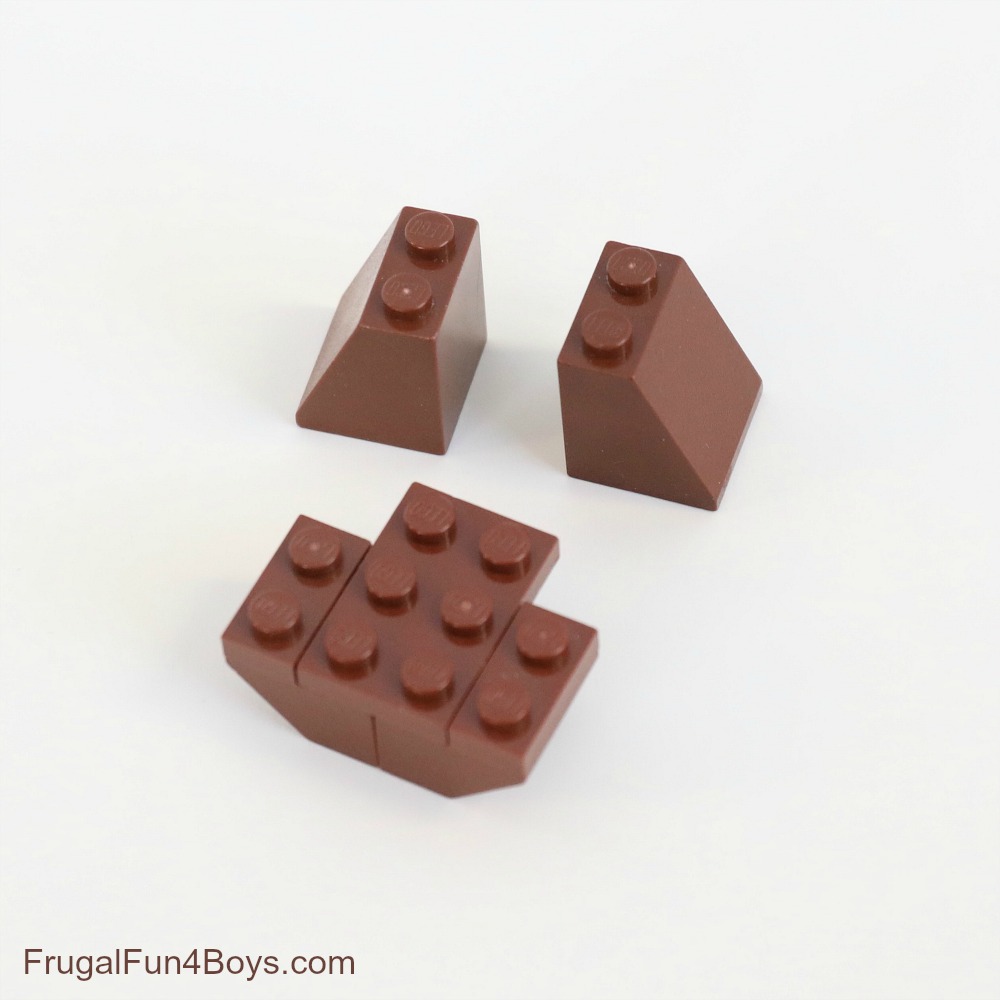
Step 5: Add a 2 x 2 brown plate on top of the head. Attach tan slopes to make the mouth. Then find the bricks shown.
Step 6: Place a 1 x 1 brown brick and a 1 x 1 brown brick with a stud on the side on each side of the head. The studs should face outward from the back of the head.
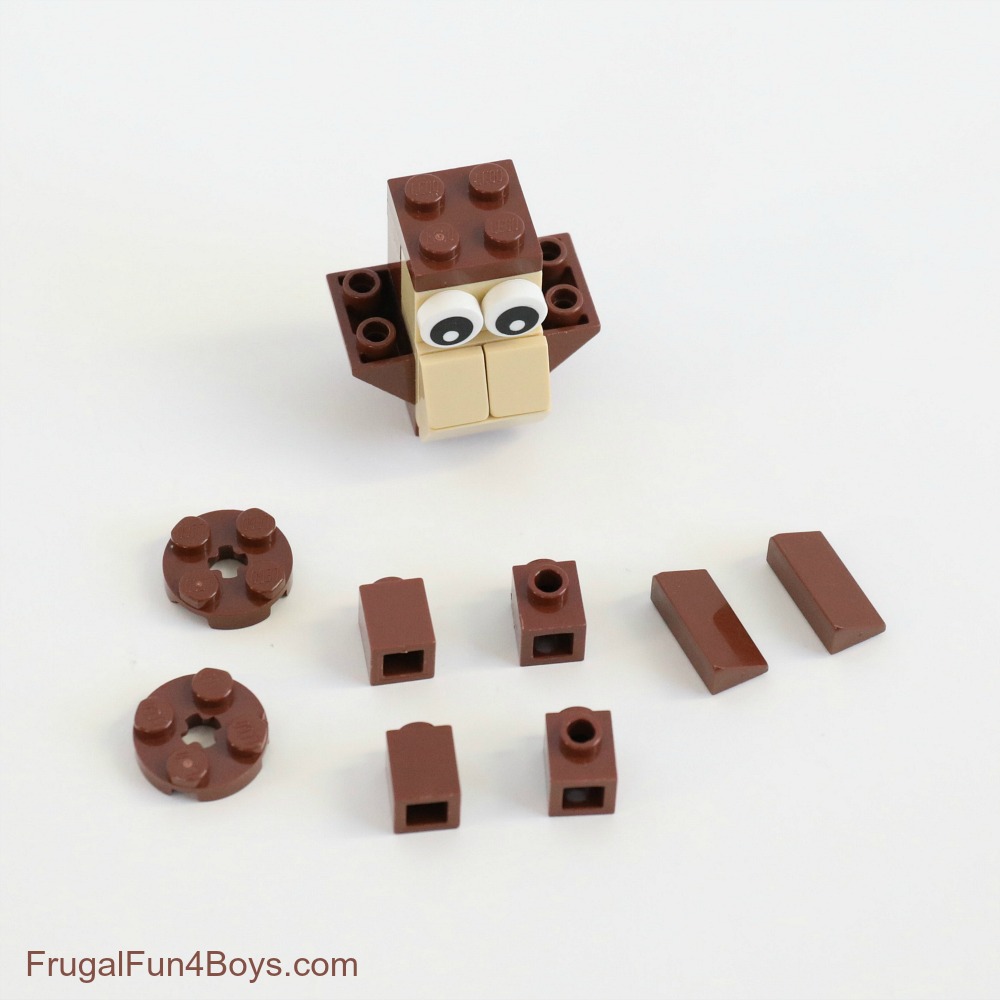
Step 7: Attach 2 x 2 brown round plates to the back of the head to make the ears. Then add a 1 x 2 slope (30 degree) on each side of the head.
Step 8: Gather the bricks shown for building the body.
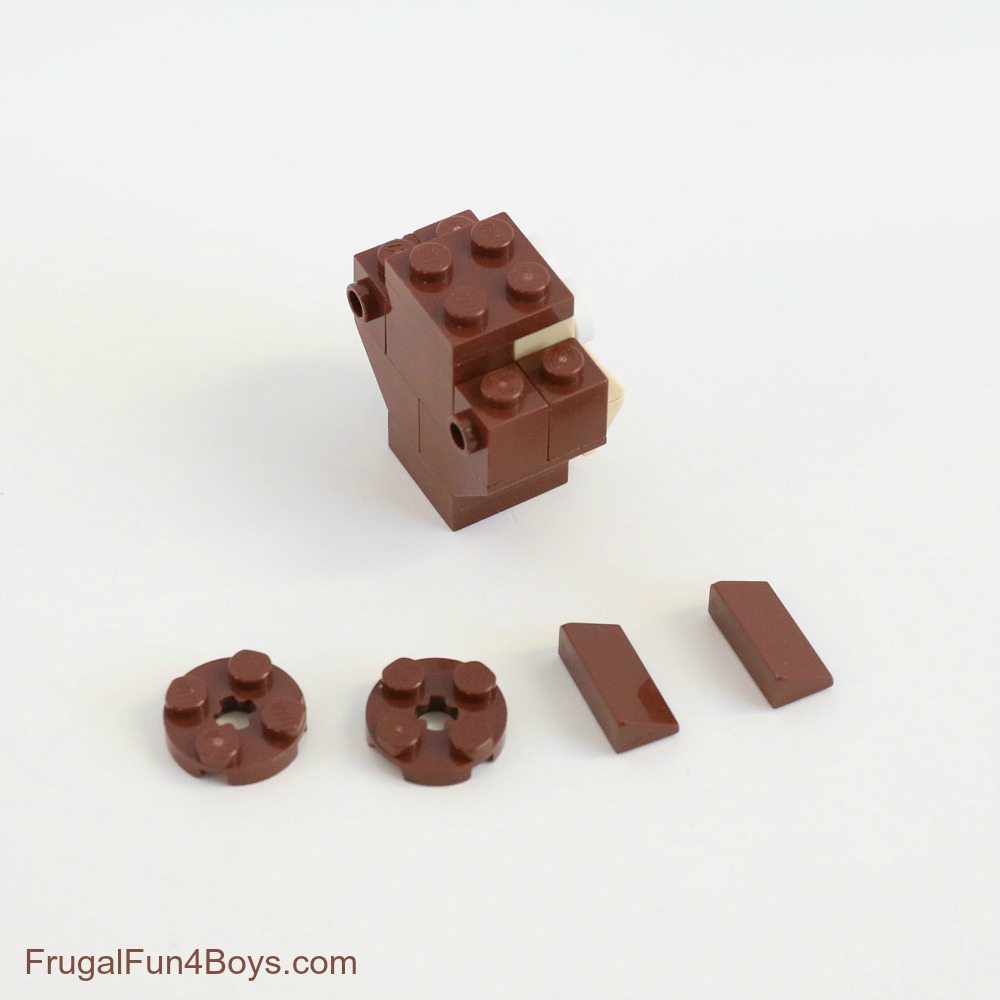
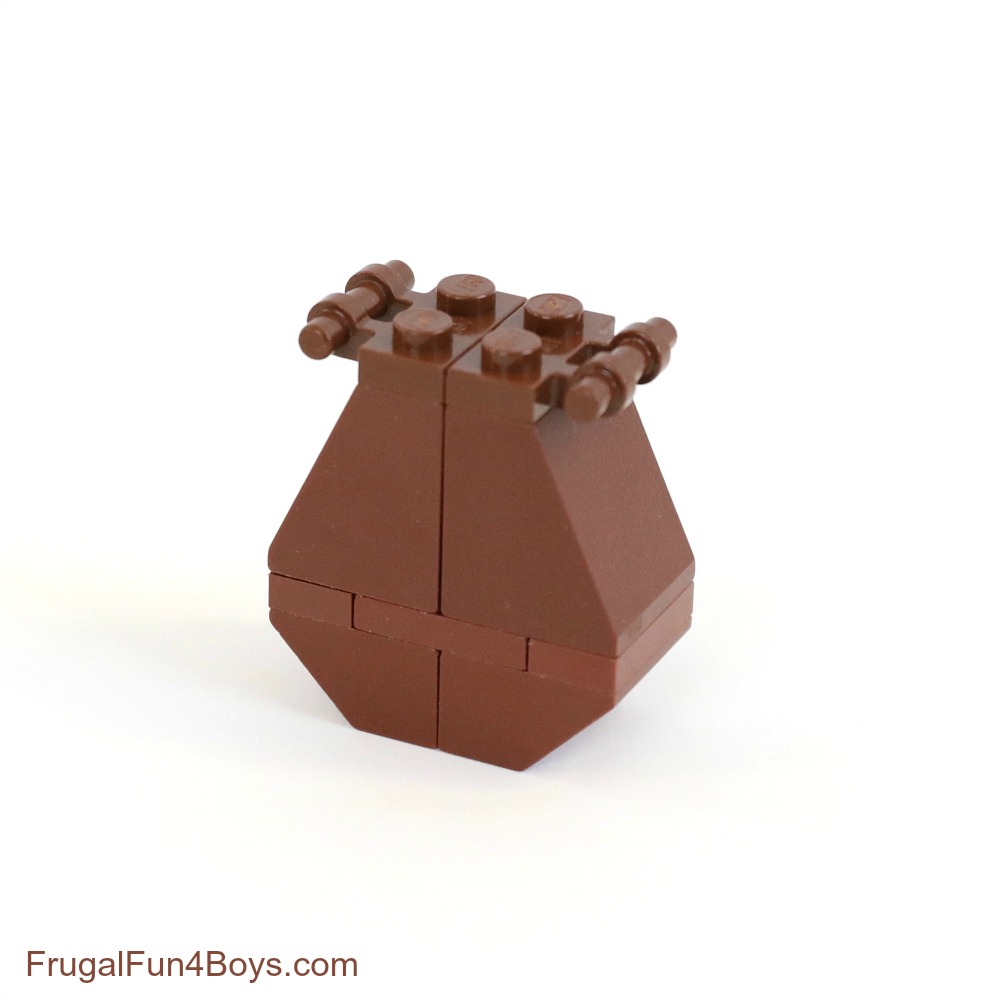
Step 9: Use a 2 x 3 brown plate to attach two 2 x 2 brown inverted slope bricks. Then add a 1 x 2 brown plate on each side.
Step 10: Place the two 2 x 2 x 2 slopes on top of that. (2 x 2 x 2 means that they are 2 x 2 slopes that are 2 bricks high.) Then add two 1 x 2 plates with a handle on the side.
Step 11: Attach the head.
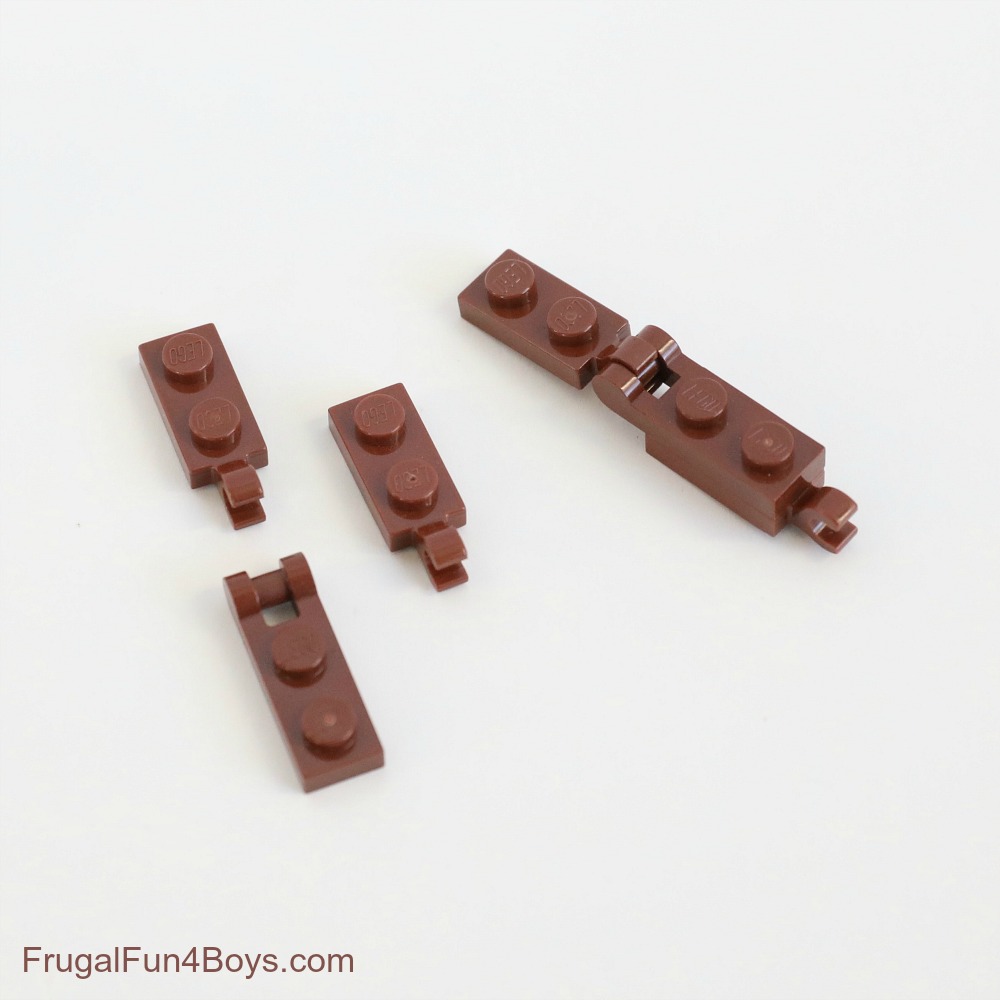
Step 12: Build the arms. Each arm has two 1 x 2 brown plates with a clip on the end and a 1 x 2 plate with a handle on the end.
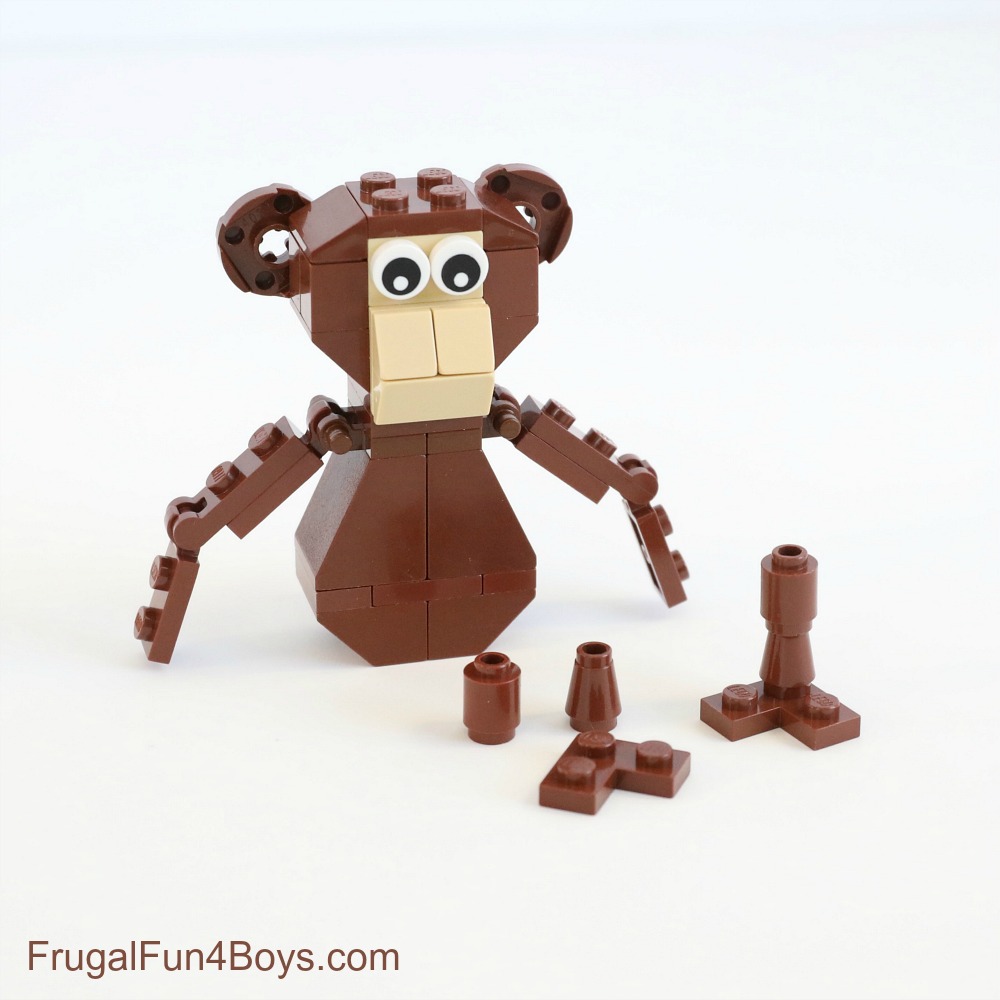
Step 13: Attach the arms, and then build the legs. I used a 1 x 1 brown brick, a 1 x 1 brown cone, and a 2 x 2 brown corner plate for each leg. It would also look fine to use all round bricks instead of cones. Just use what you have!
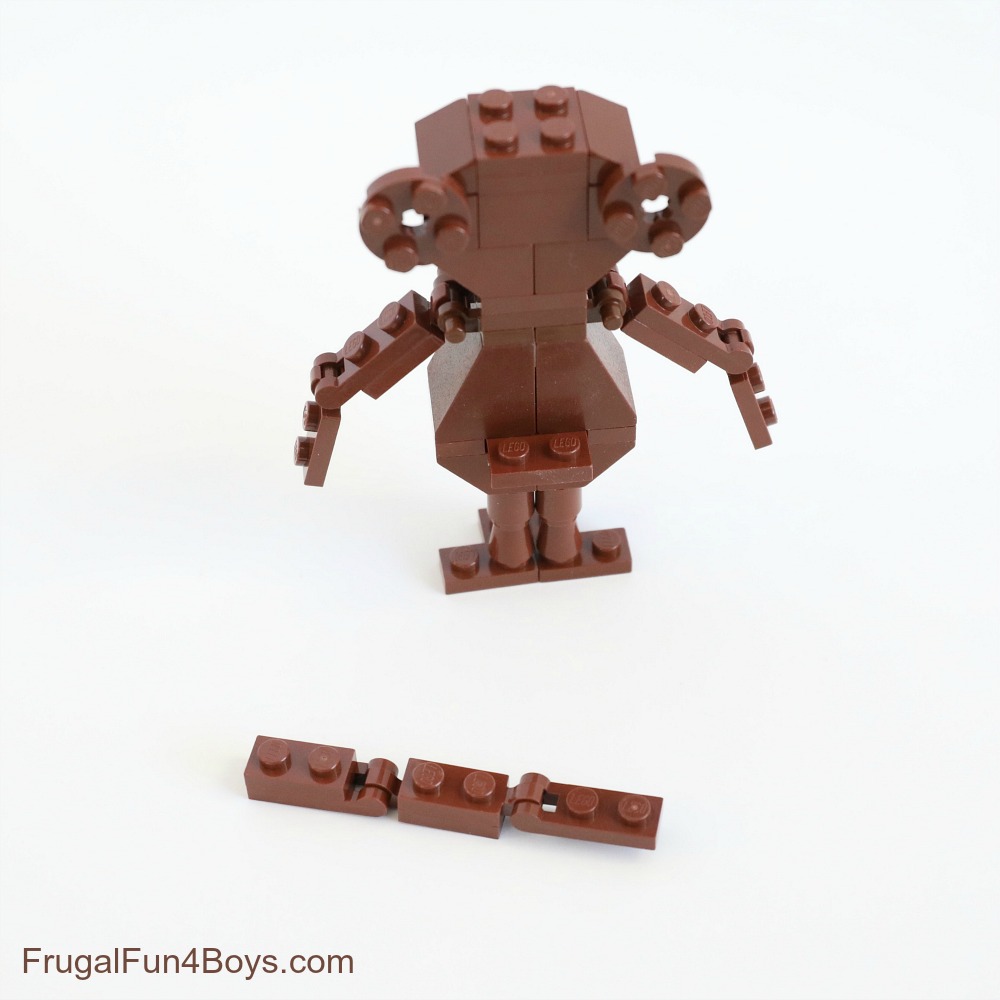
Step 14: Now build the tail. There will be two studs sticking out on the back of the monkey from the plate you added in step 9. Build the tail and attach it to this plate. For the tail, I used two 1 x 2 brown plates with a handle on the side, two 1 x 2 brown plates with a clip on the side, and two 1 x 2 brown plates.
Attach the tail, and your monkey is complete!
Then try building a tree for your monkey to hang out in! It’s easy to attach his hands to the tree branches.
Need more LEGO® building ideas?
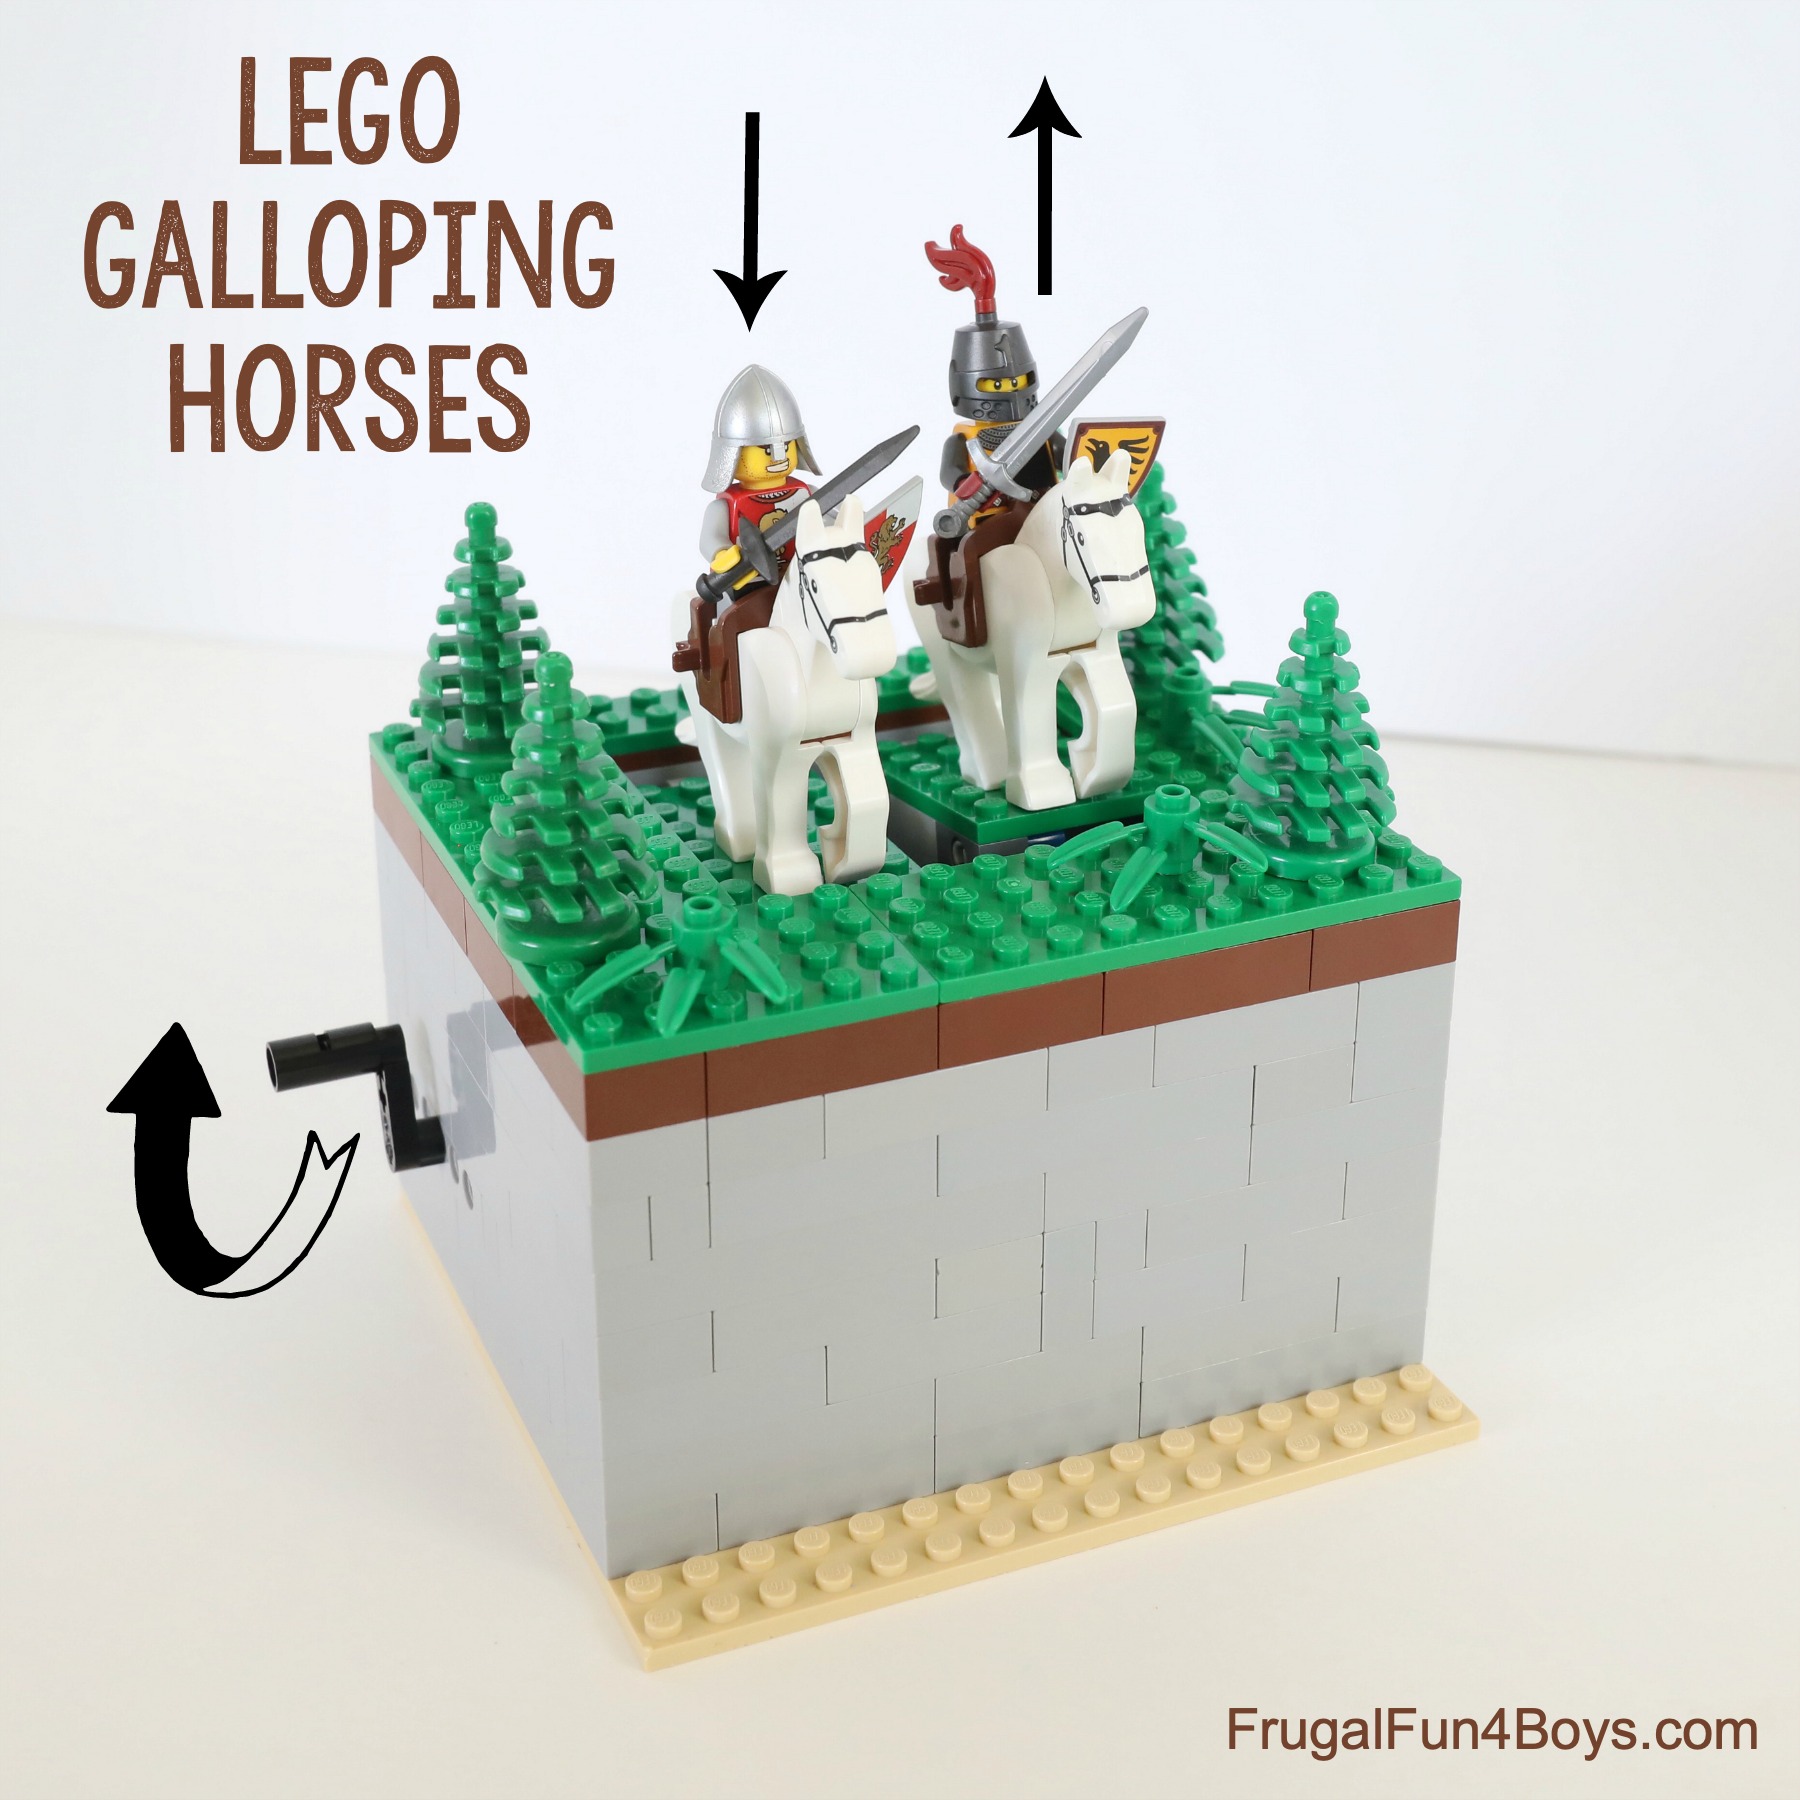
Build some LEGO® Galloping Horses – this is a fun mechanical toy!
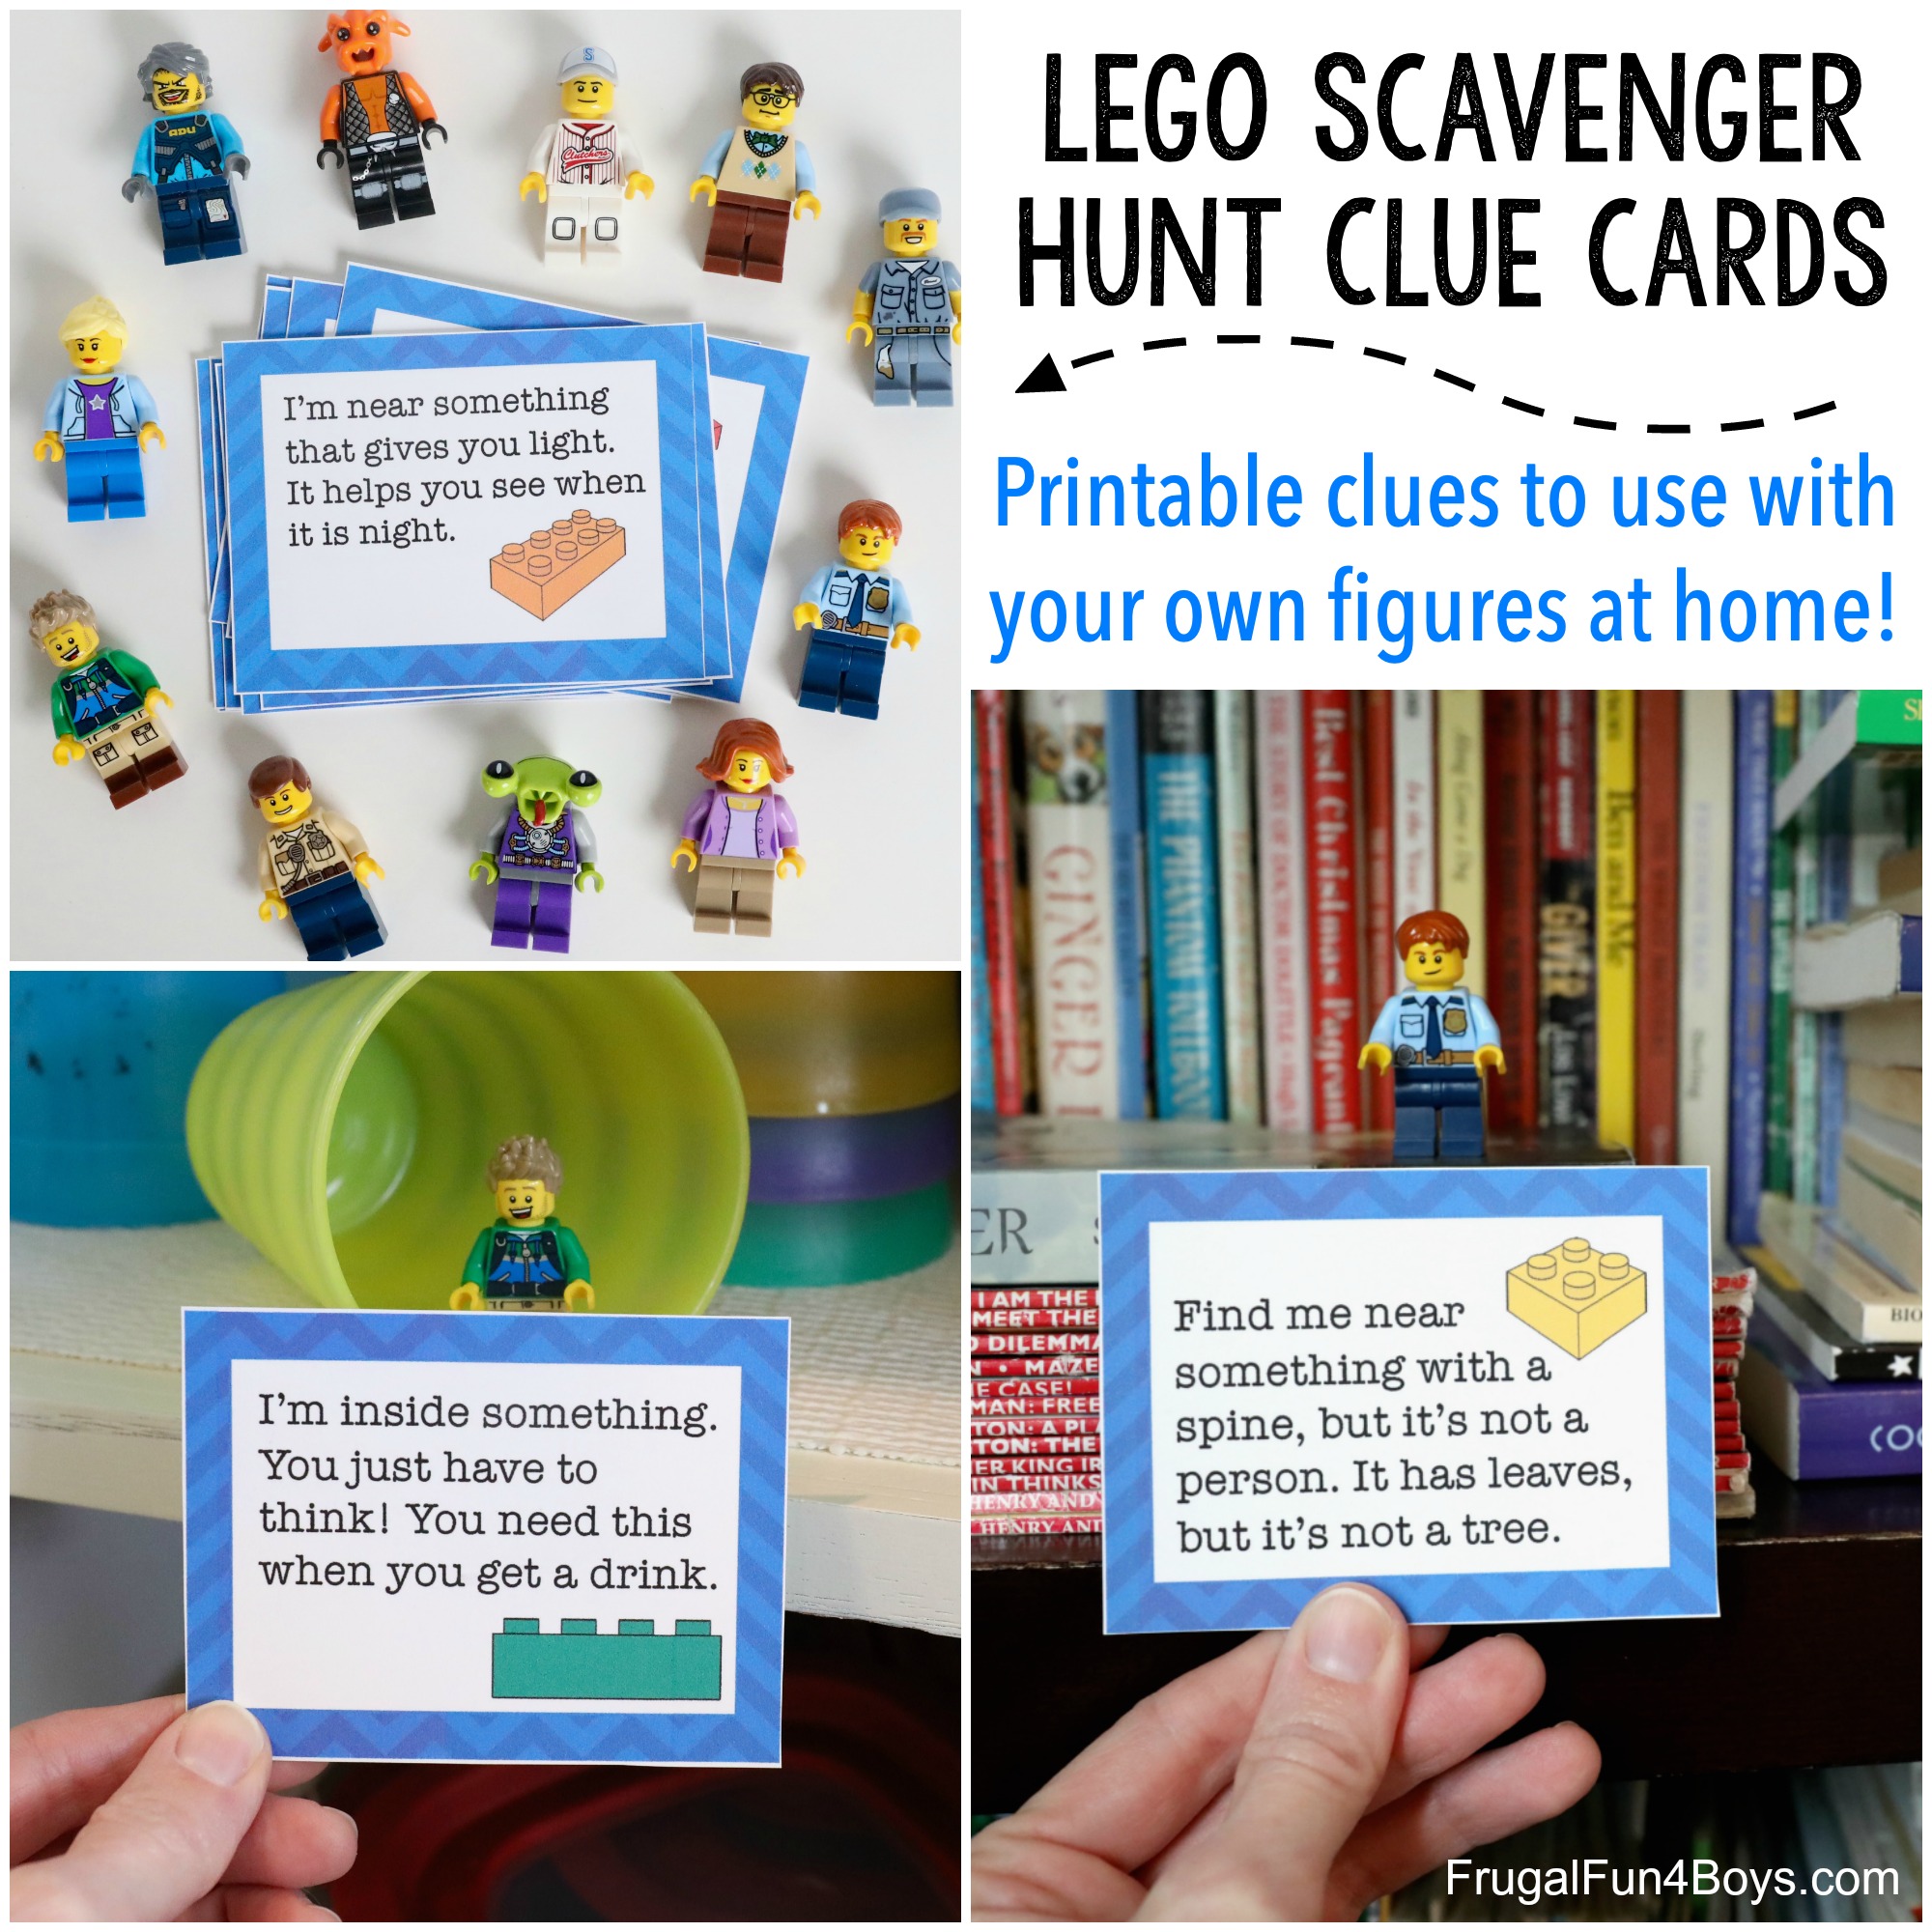
Set up your own LEGO Scavenger Hunt – it’s a piece of cake with these printable clue cards that will work for any home.
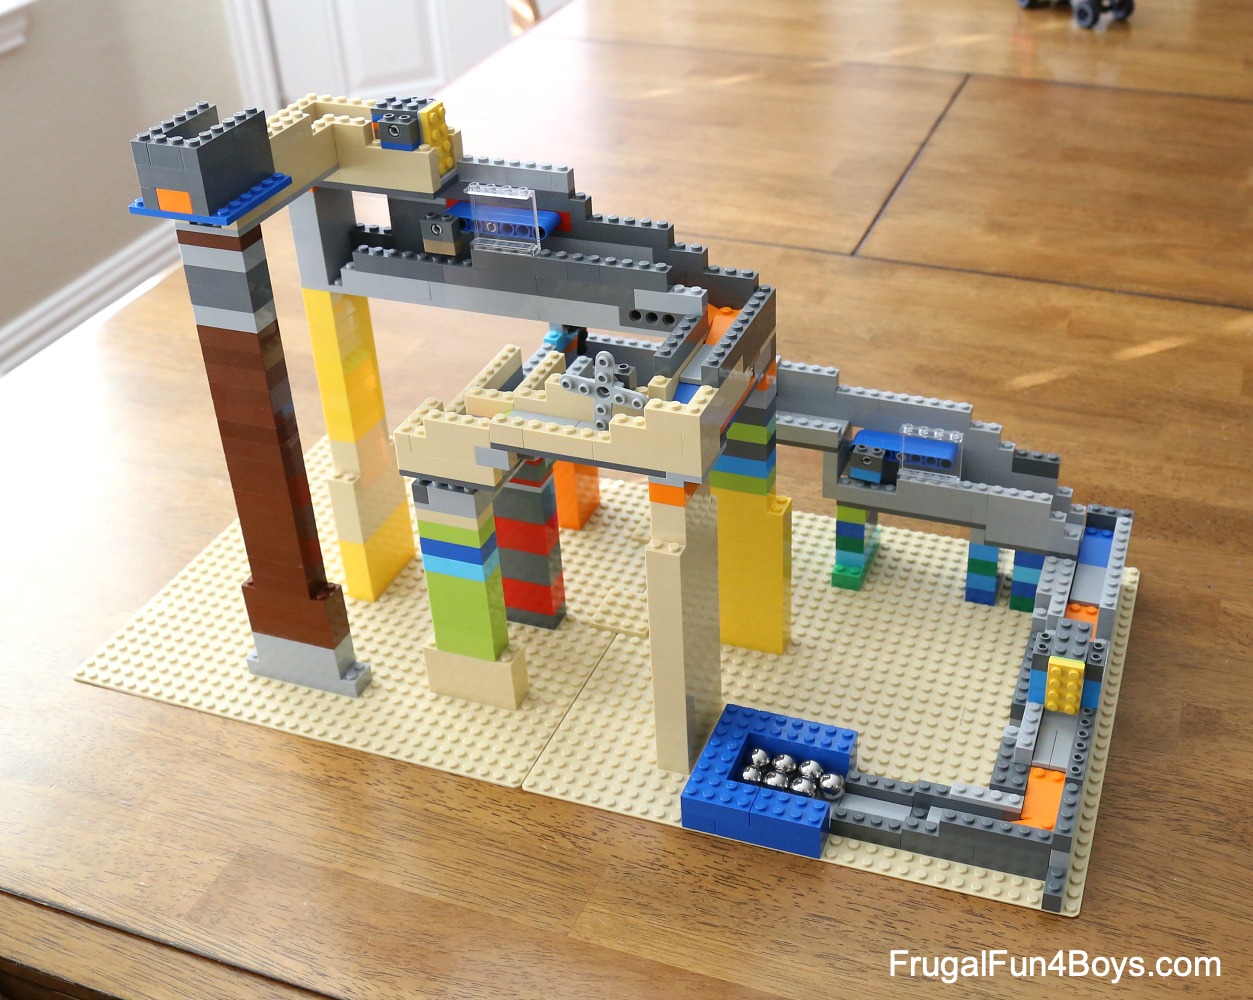
Use your LEGO® bricks to create a totally awesome LEGO® marble run! This is one of our favorite projects.
1 Comments
Janka Jun 19, 2020
Great, I like it ! ♥☺♥
Post a Comment