
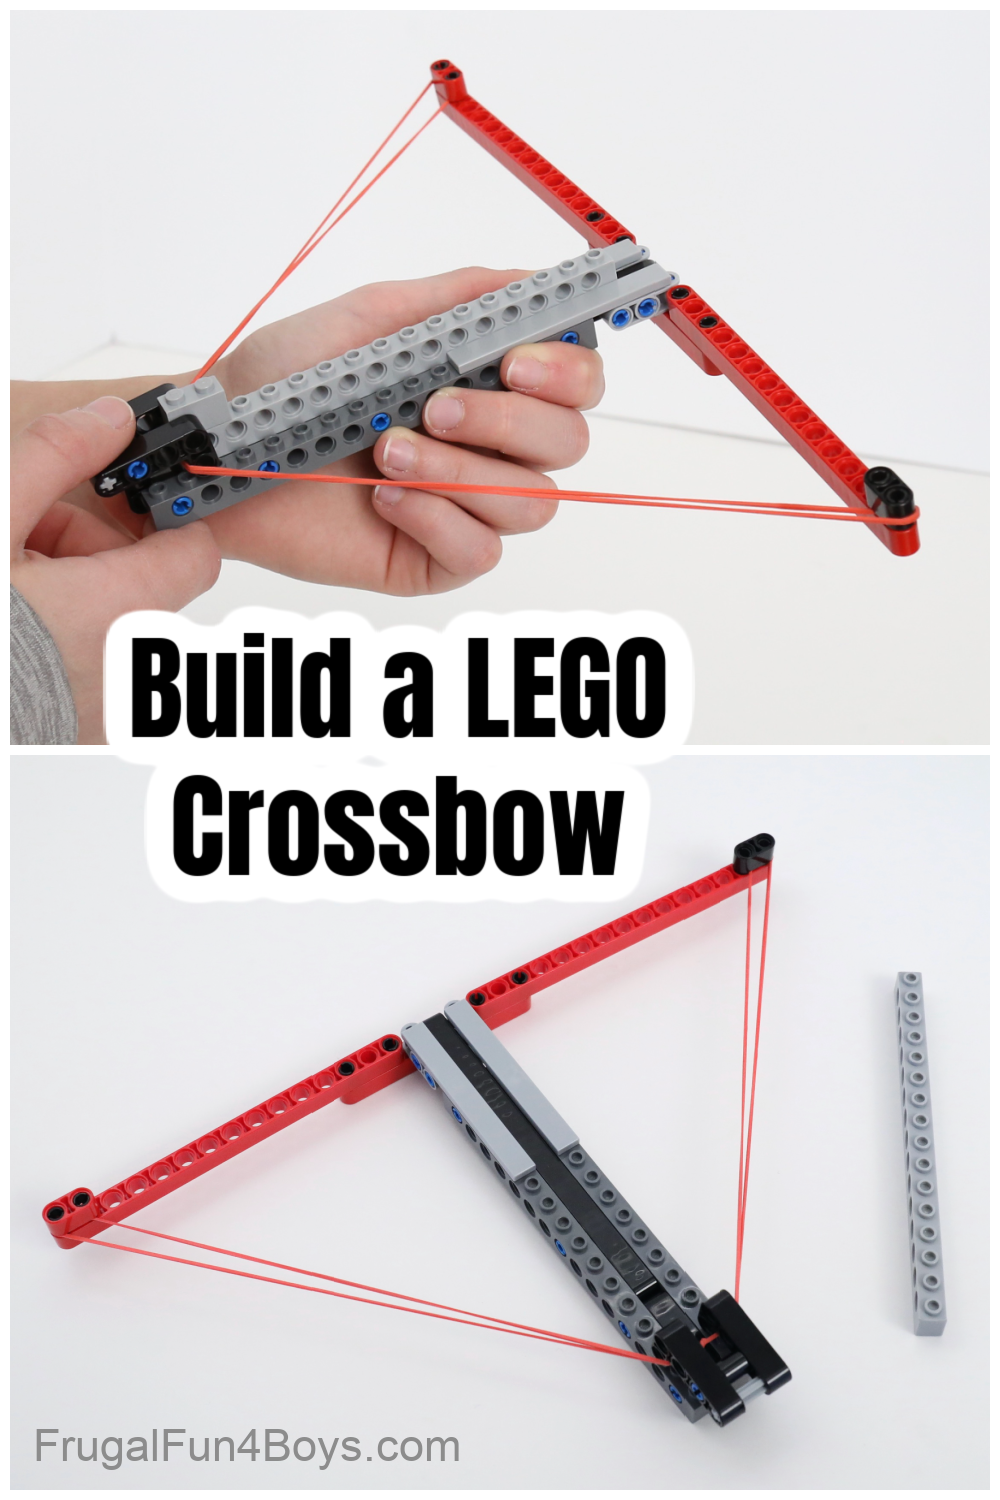
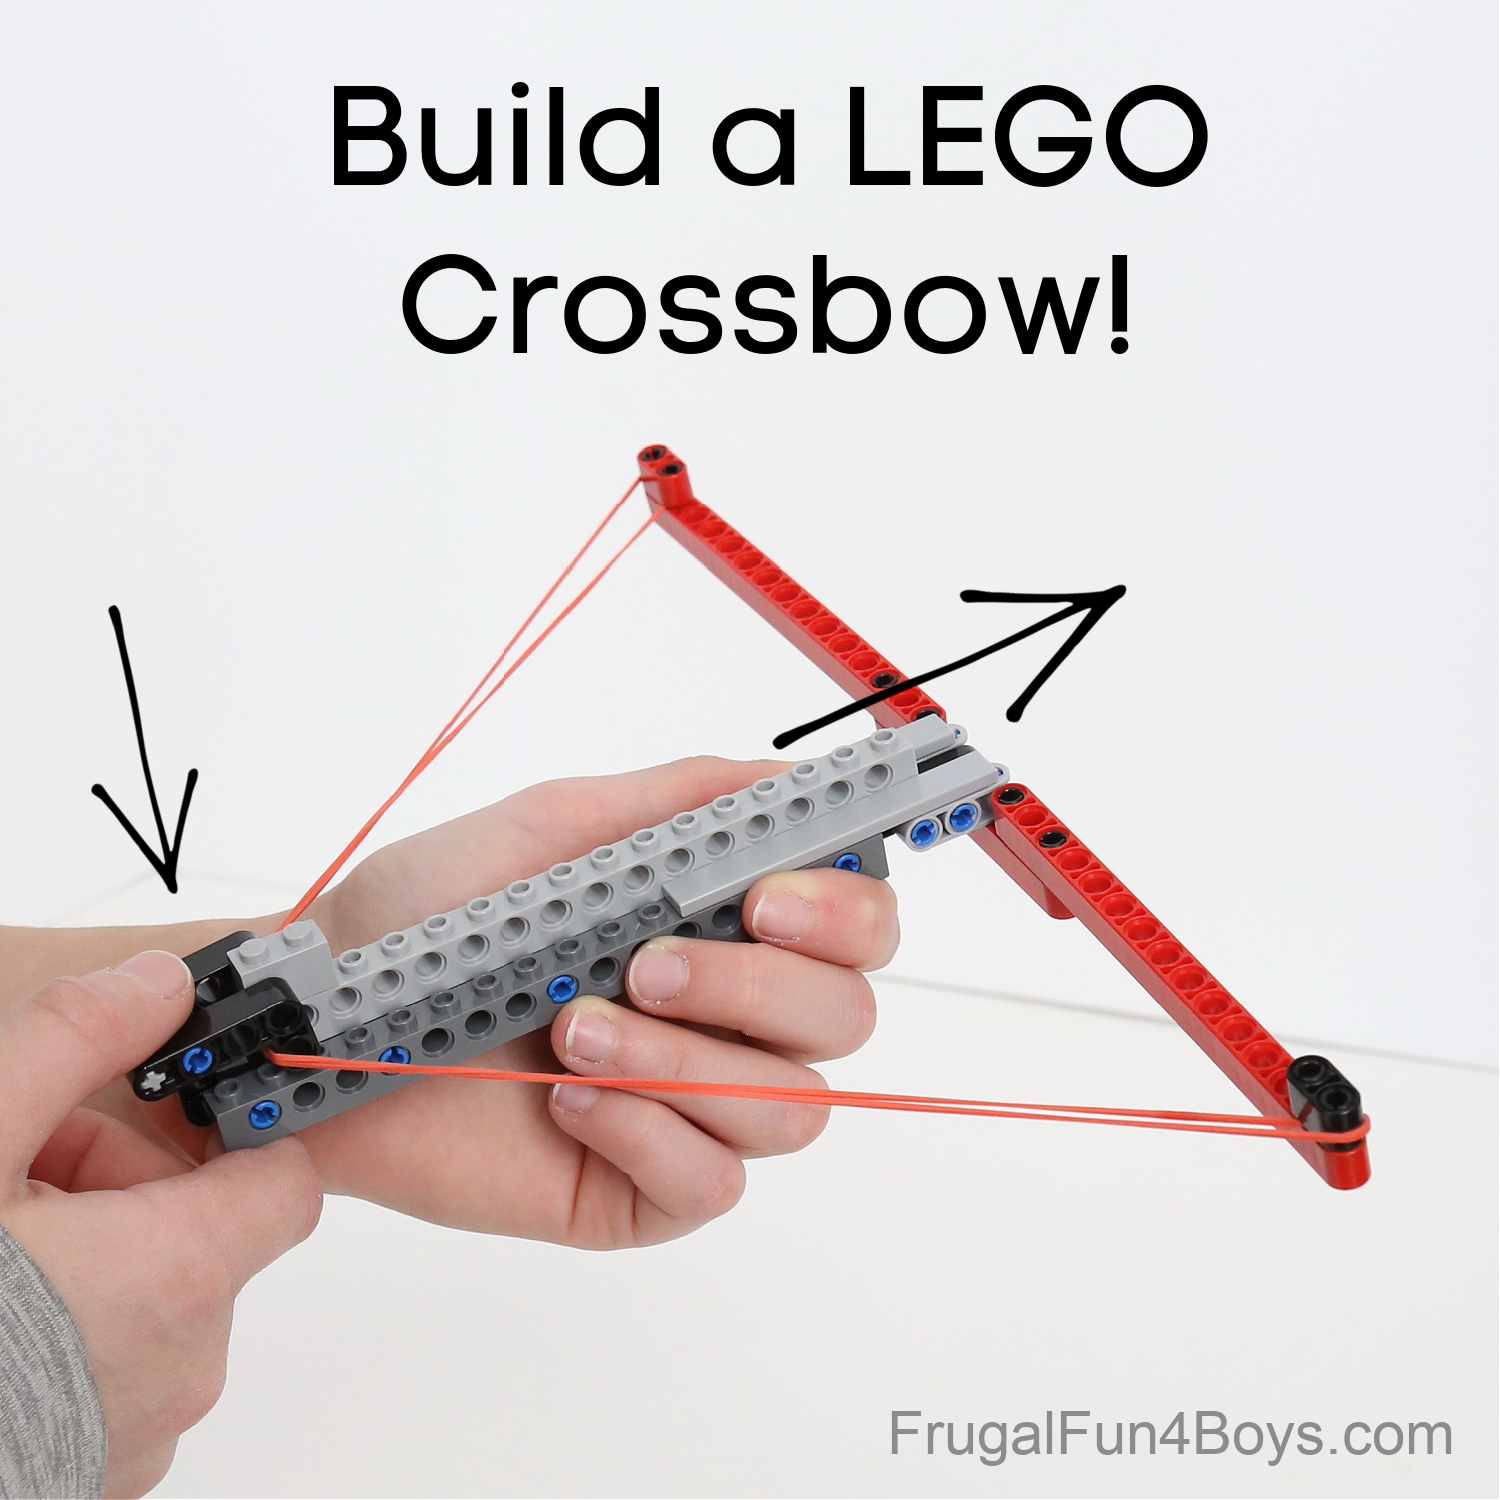
Challenge kids to use their LEGO bricks to build an awesome LEGO crossbow! This neat little contraption shoots a LEGO “arrow” with satisfying speed, and it’s not difficult to build. Perfect for kids who like to tinker!
The idea for this LEGO crossbow was sent to us by readers Ewan and Dan. Thanks so much, guys! It’s a brilliant design.
To build this LEGO crossbow, you’ll definitely need to have some Technic elements. Regular bricks just won’t hold together under pressure the way Technic bricks and pins will.
Many regular LEGO sets come with Technic pieces, so don’t assume that your kids don’t have these pieces just because they don’t own any Technic sets! If they do need the pieces, I would recommend ordering individual bricks on Brick Link or Lego.com. I’ve included some Brick Link links to specific elements throughout this post.
How it Works
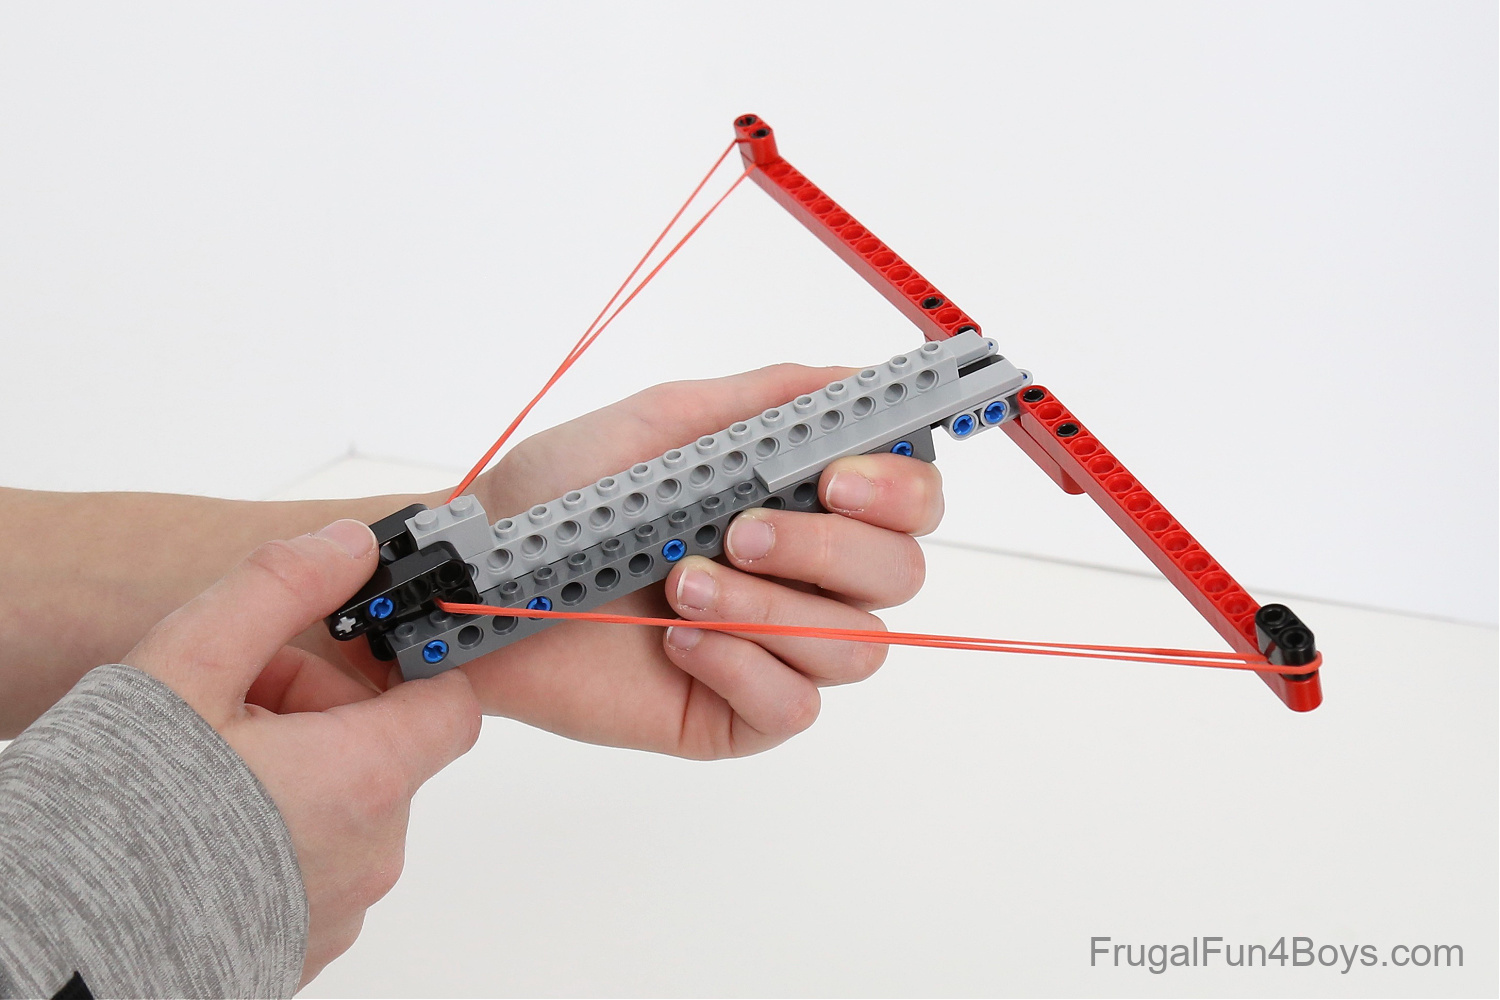
This crossbow is powered by a rubber band. (Well, we used 2 rubber bands looped together to make it long enough!)
The arrow is a long Technic brick. Use one that is 12-16 studs long.
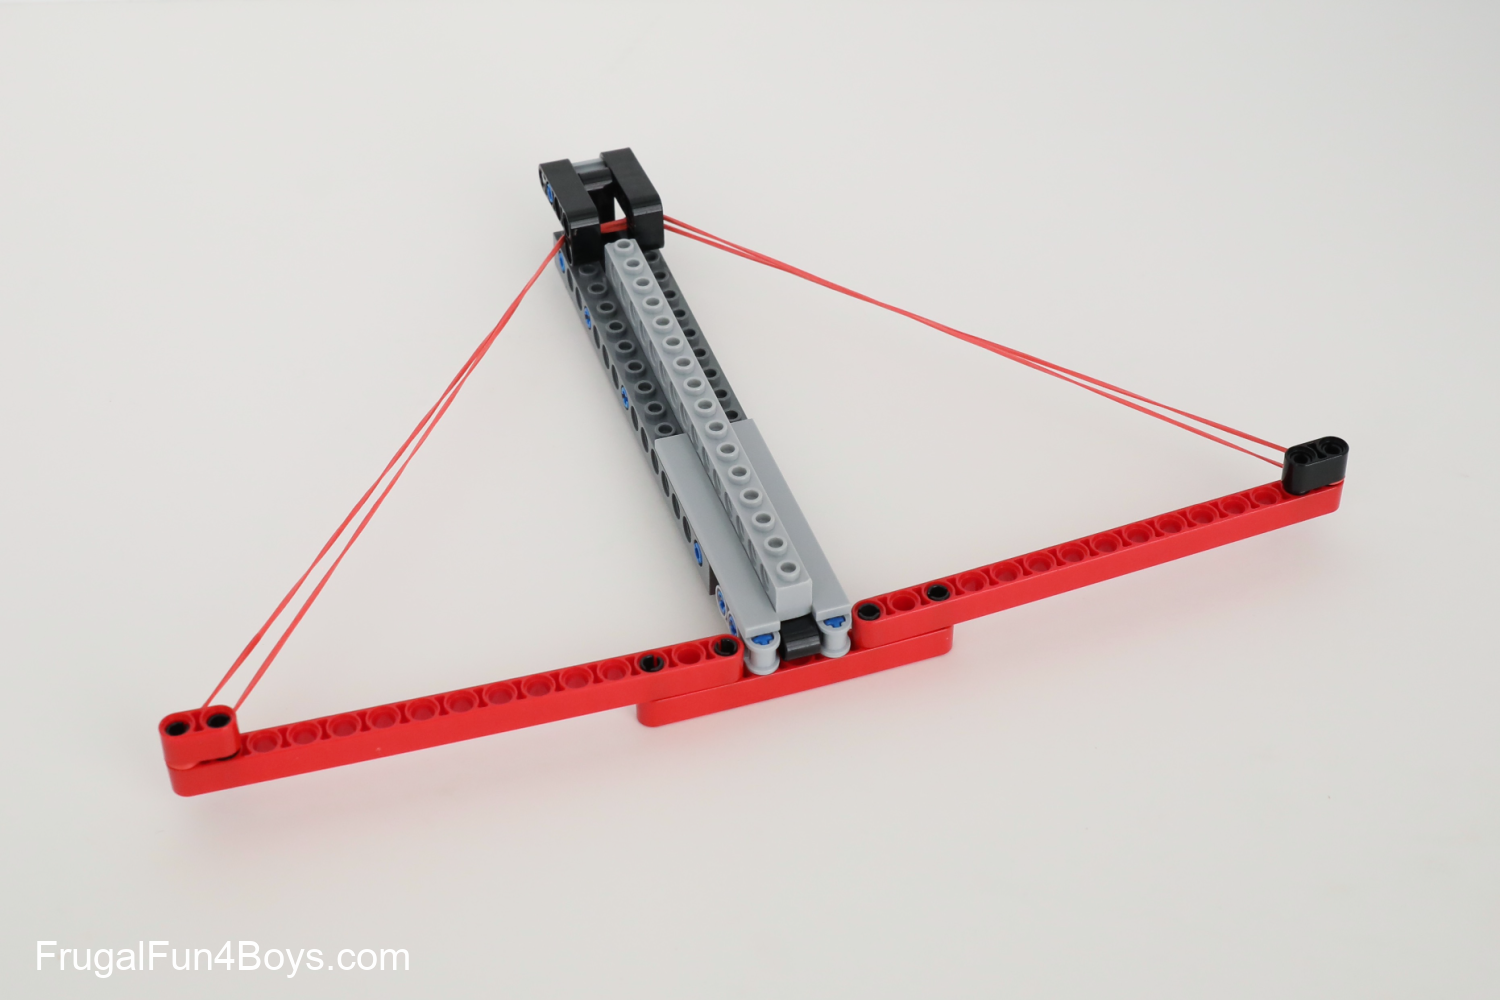
Push down on the trigger to release the rubber band. The rubber band will propel the arrow forward – with a lot of power! (But not enough to be dangerous.) The arrow rests on a smooth Technic liftarm, which allows it to slide easily. Tiles on either side of the arrow keep it traveling in a straight path.
Here’s a video demonstration of our LEGO Crossbow! Push the play button to watch the video.
How to Build a LEGO Crossbow
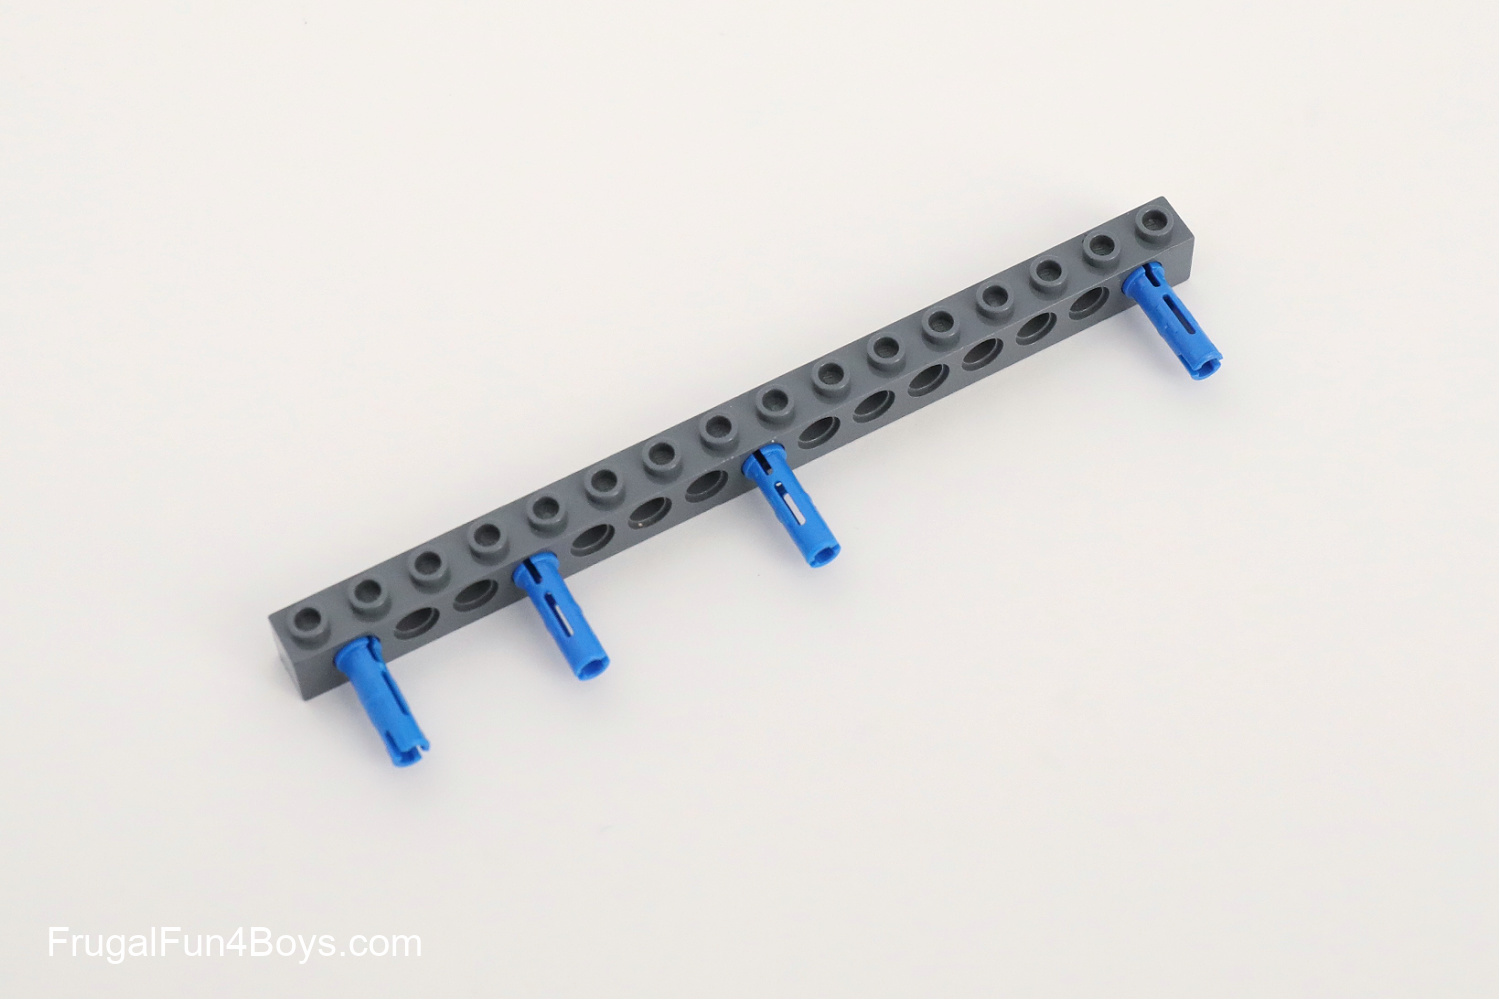
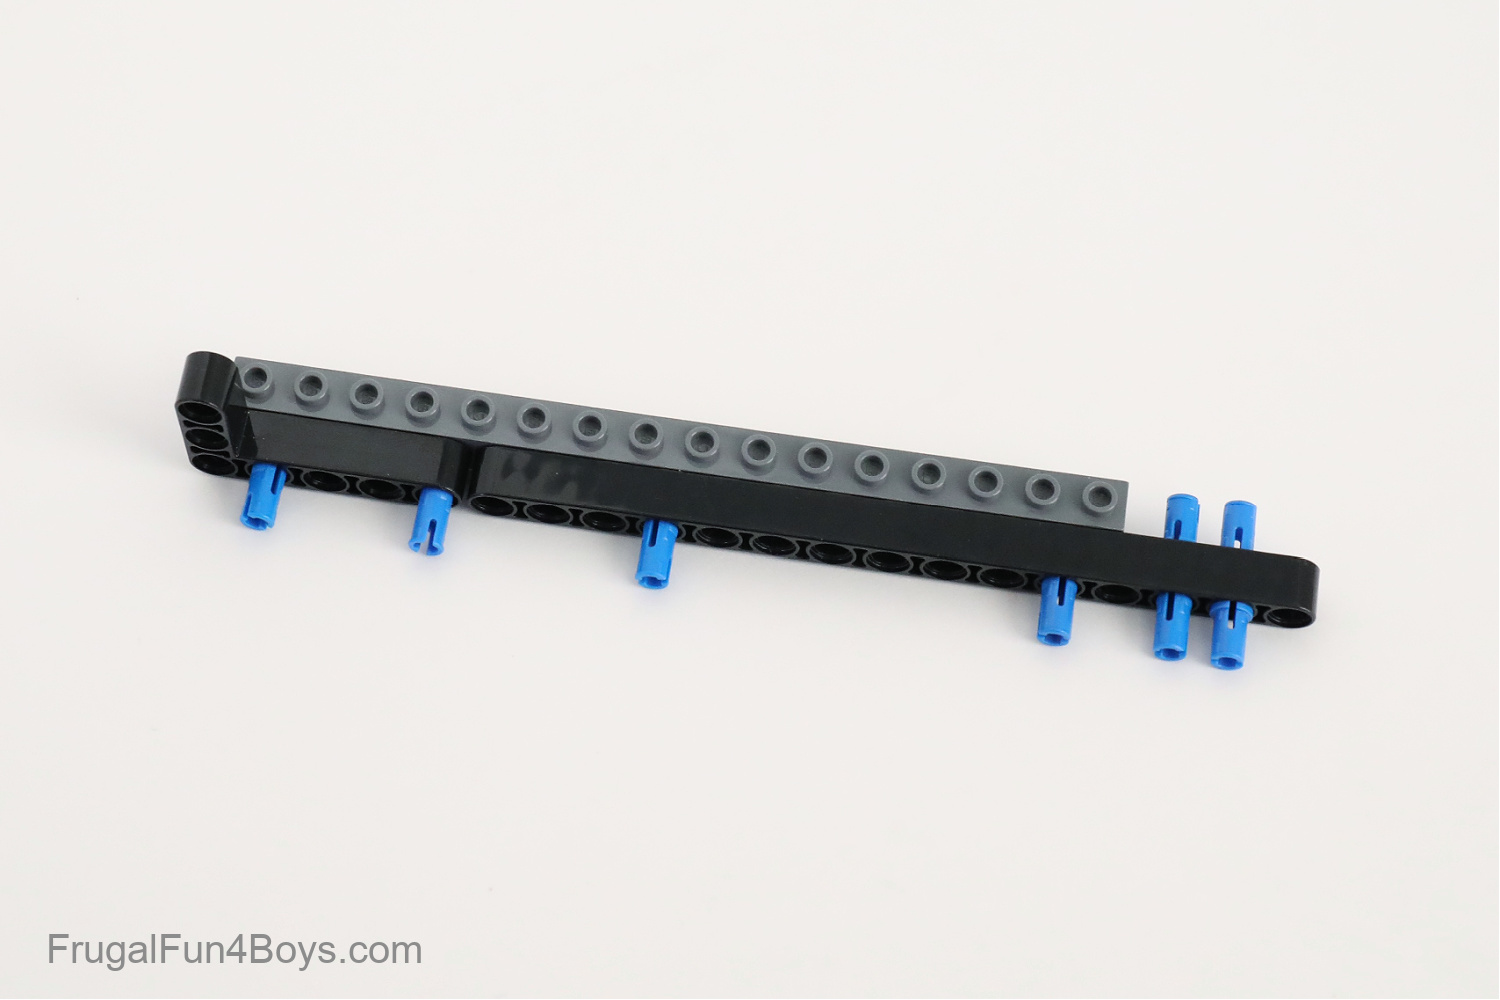
First, start with a 1 x 16 Technic brick. Insert blue pins into the holes shown. These pins are the type that are 3 studs long.
Attach a 3 x 5 L-shaped liftarm to the first two pins. Then add a 1 x 15 liftarm. Insert two more blue pins into the liftarm.
Next, attach another 1 x 16 Technic brick.
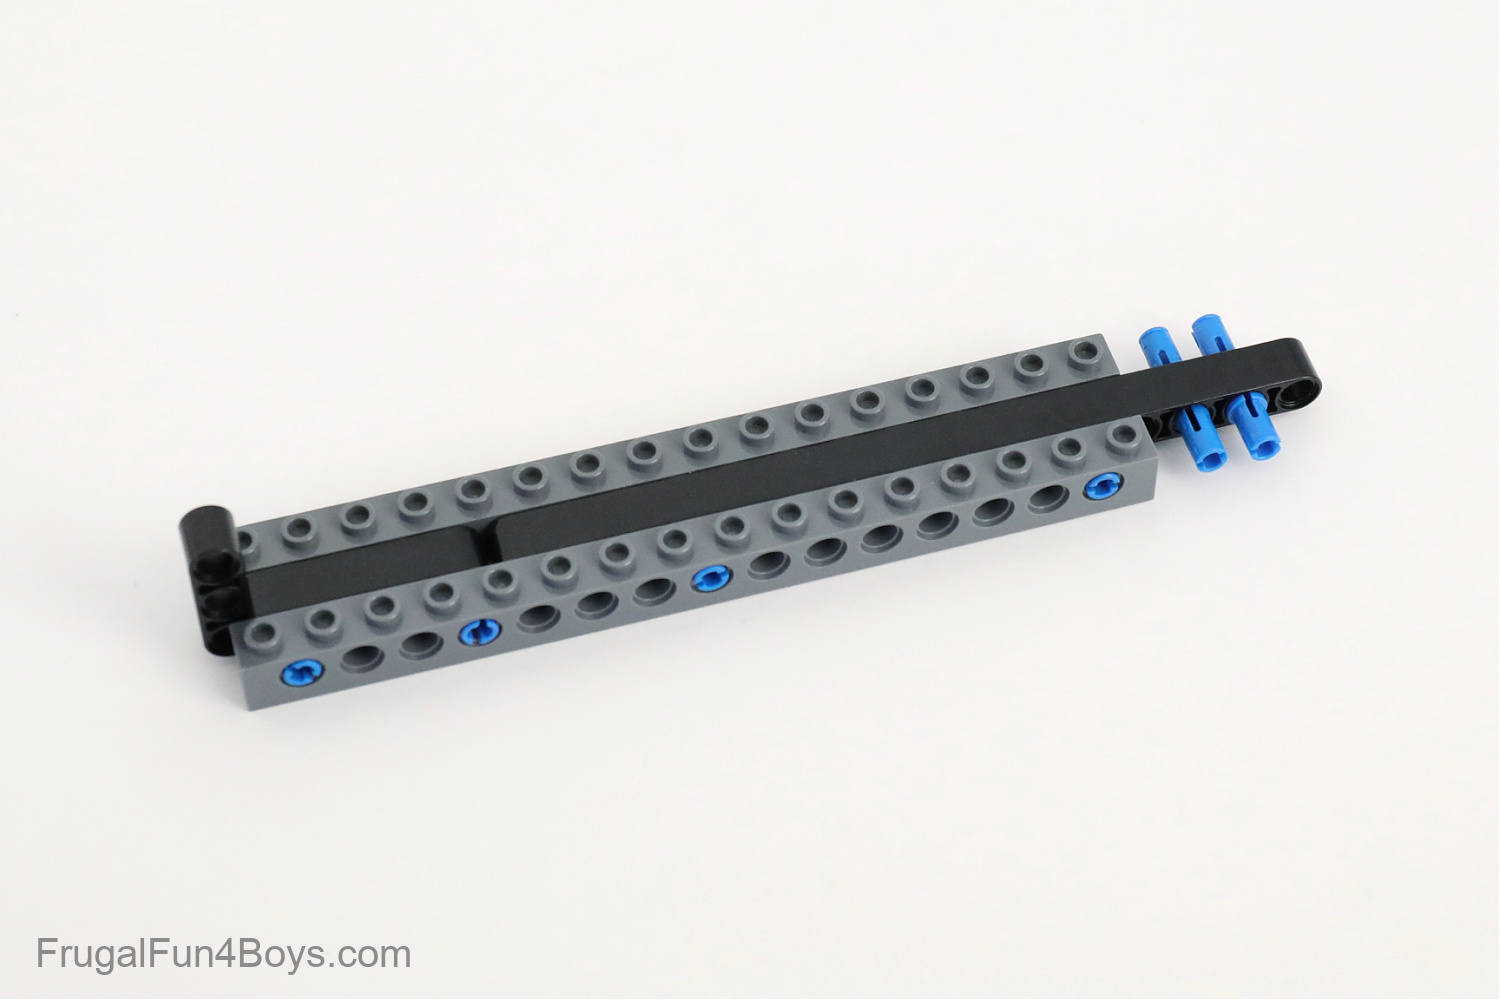
Then add two Technic axle and pin connectors (the light gray pieces). The Brick Link name is Technic Axle and Pin Connector Perpendicular 3L with 2 pin holes.
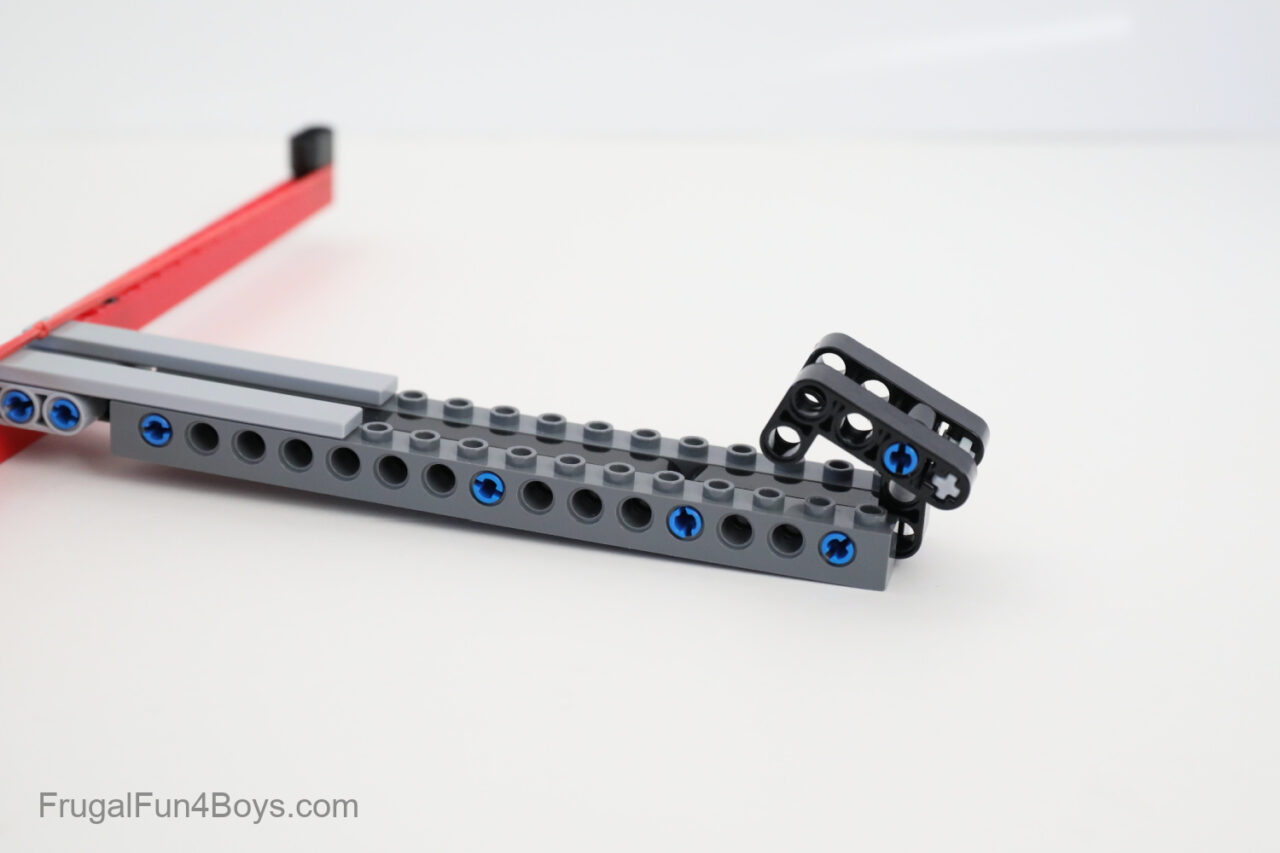
Grab a 1 x 9 Technic liftarm and insert two blue axle pins as shown.
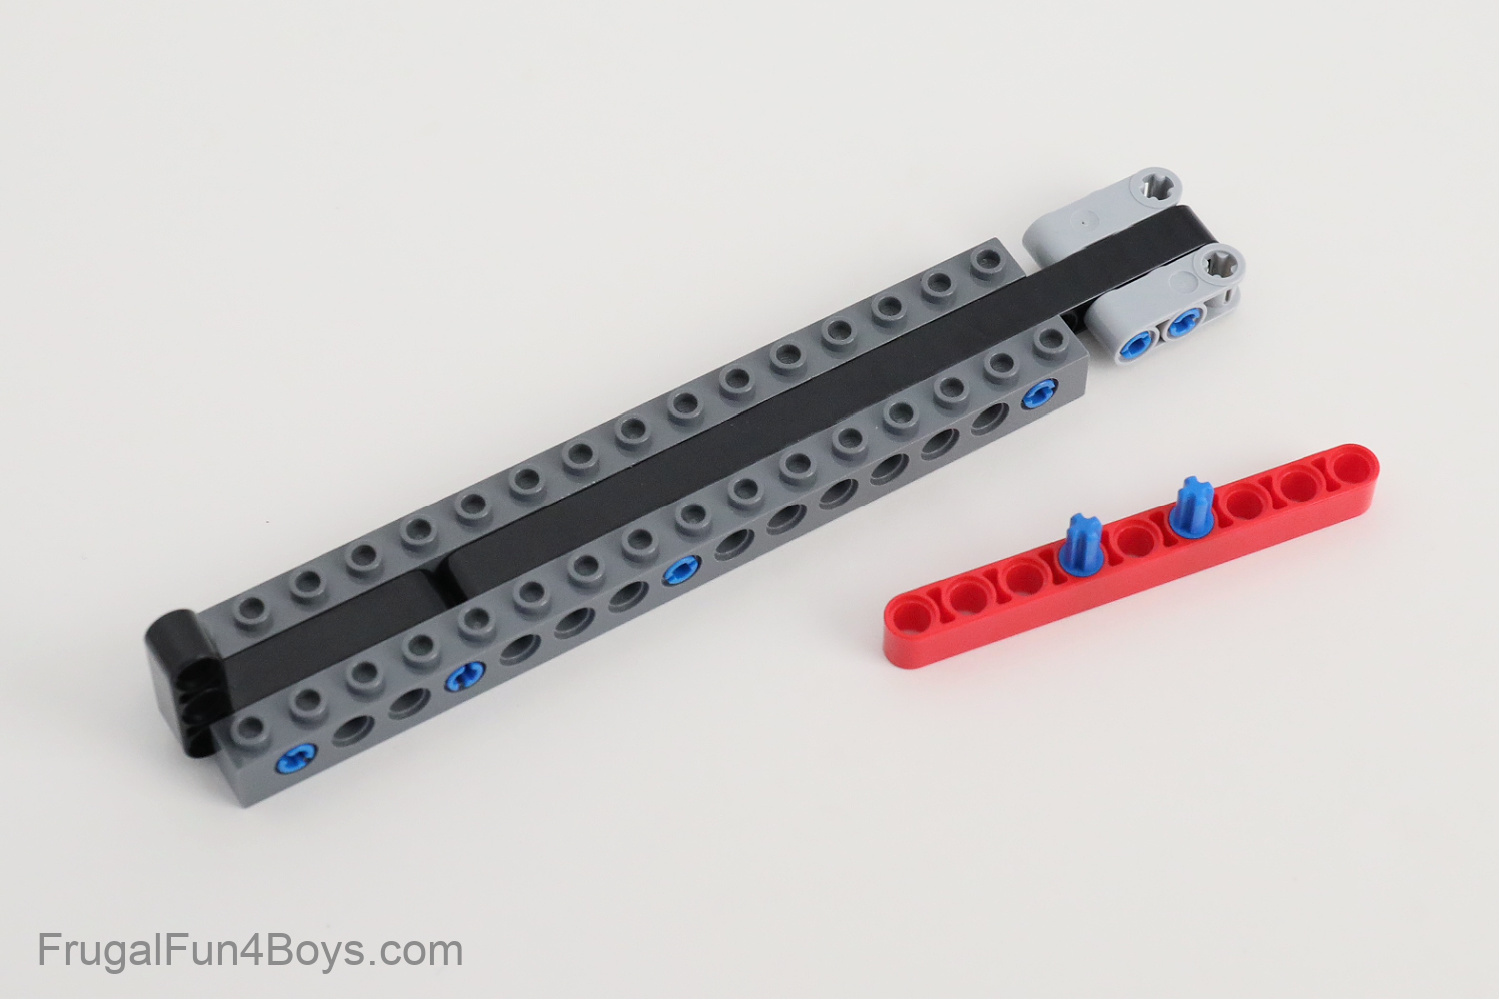
Slide the blue axle pins into the light gray connectors on the crossbow. Then insert 4 black pins into the red liftarm.
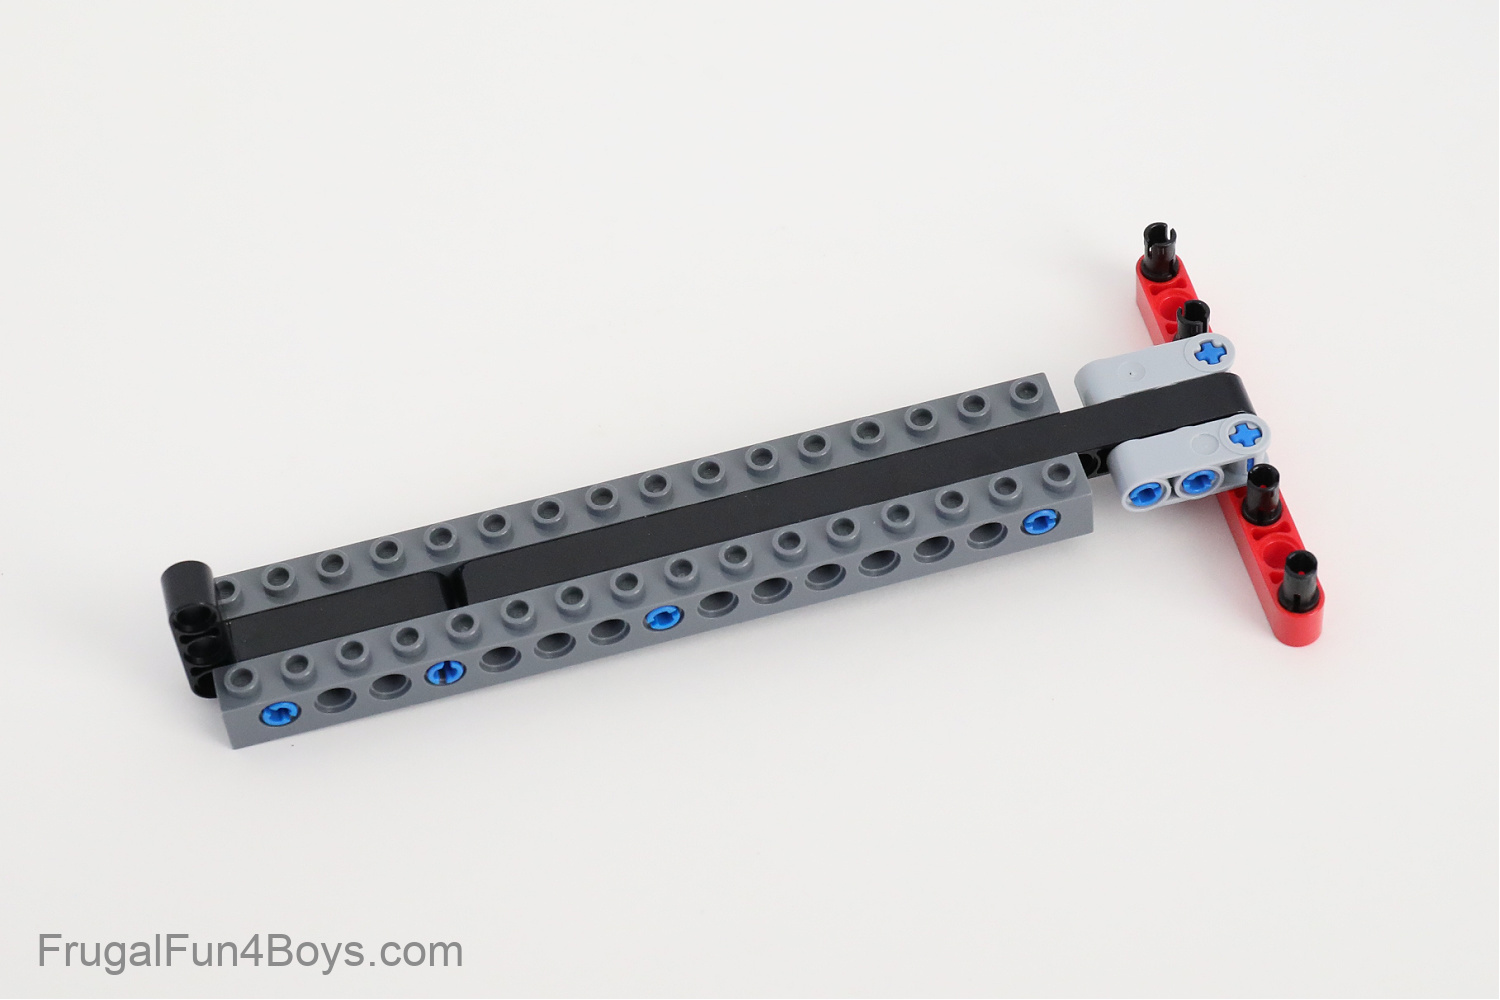
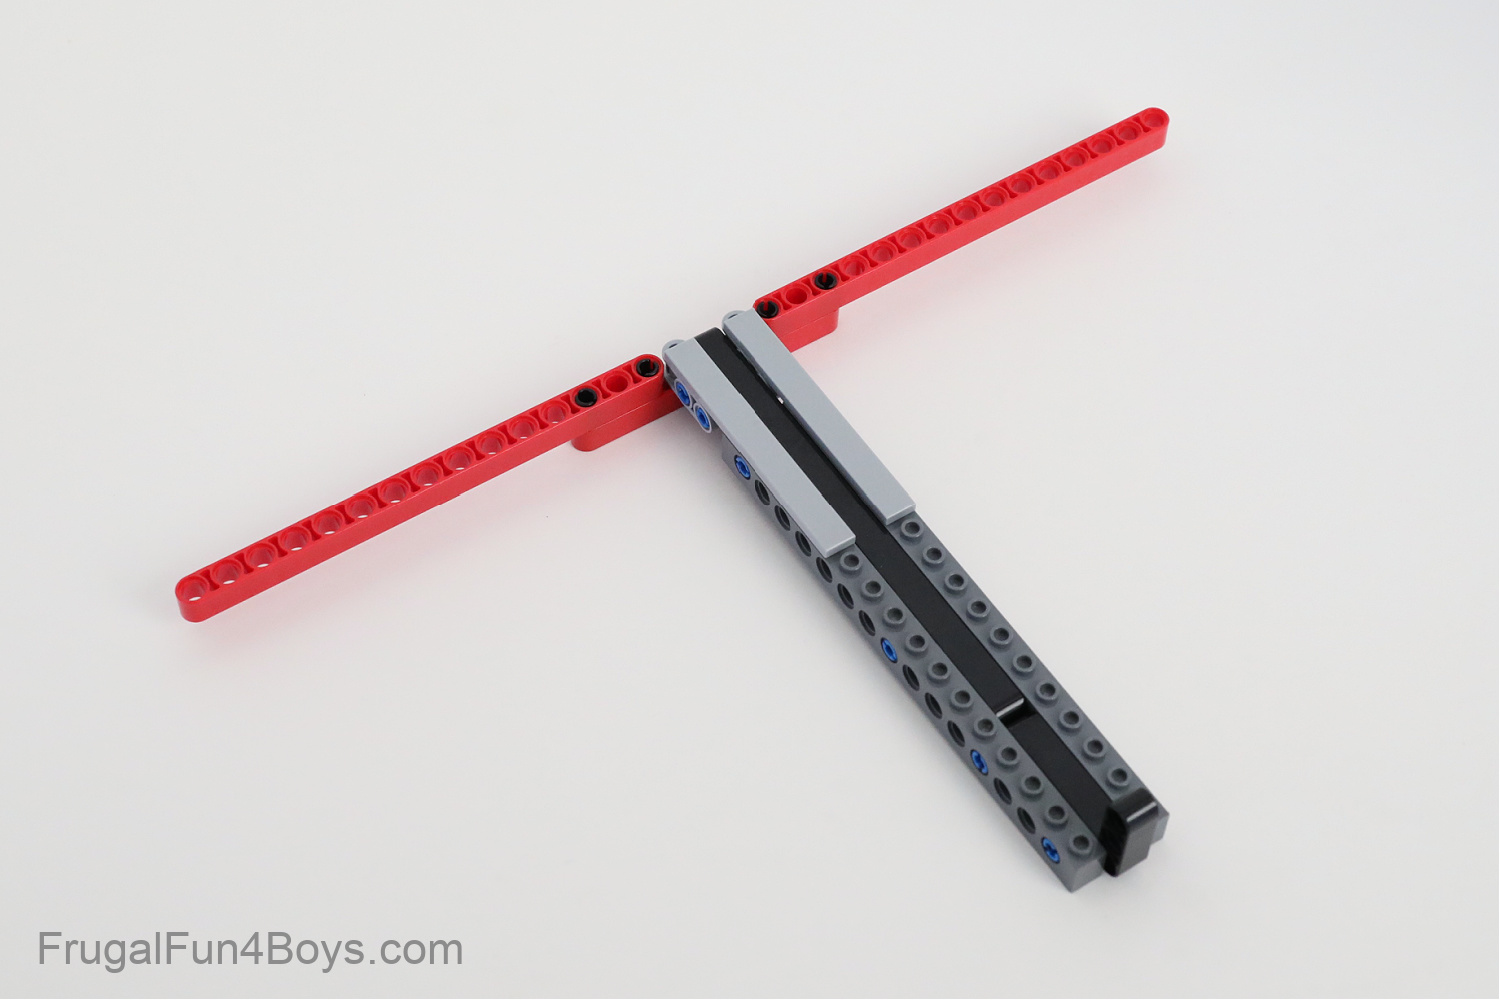
Add two 1 x 8 tiles to give the arrow stability. They’ll attach to the Technic bricks and just be sitting on top of the light gray connectors.
Attach one 1 x 15 Technic liftarm on each side. If you don’t have this exact length, use what you have!
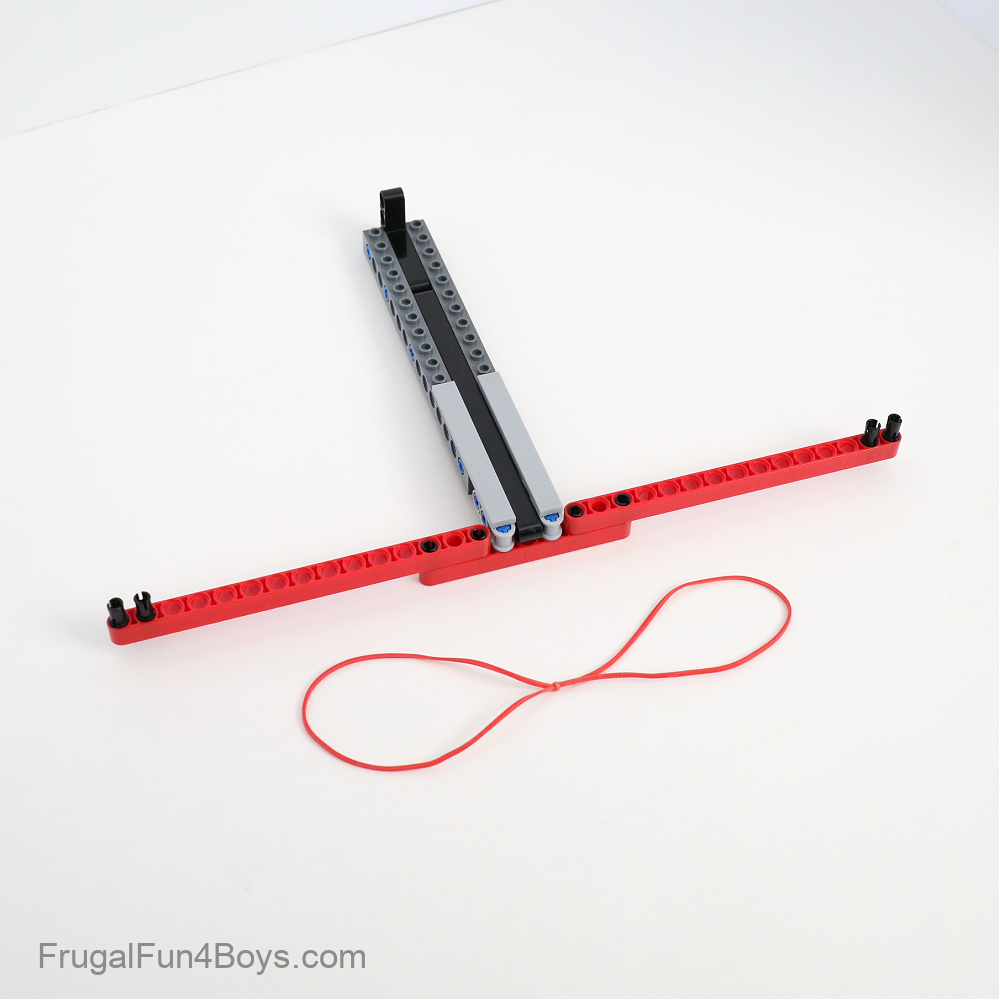
Find a nice, long rubber band, or tie two smaller ones together. Insert two black Technic pins into the ends of each liftarm.
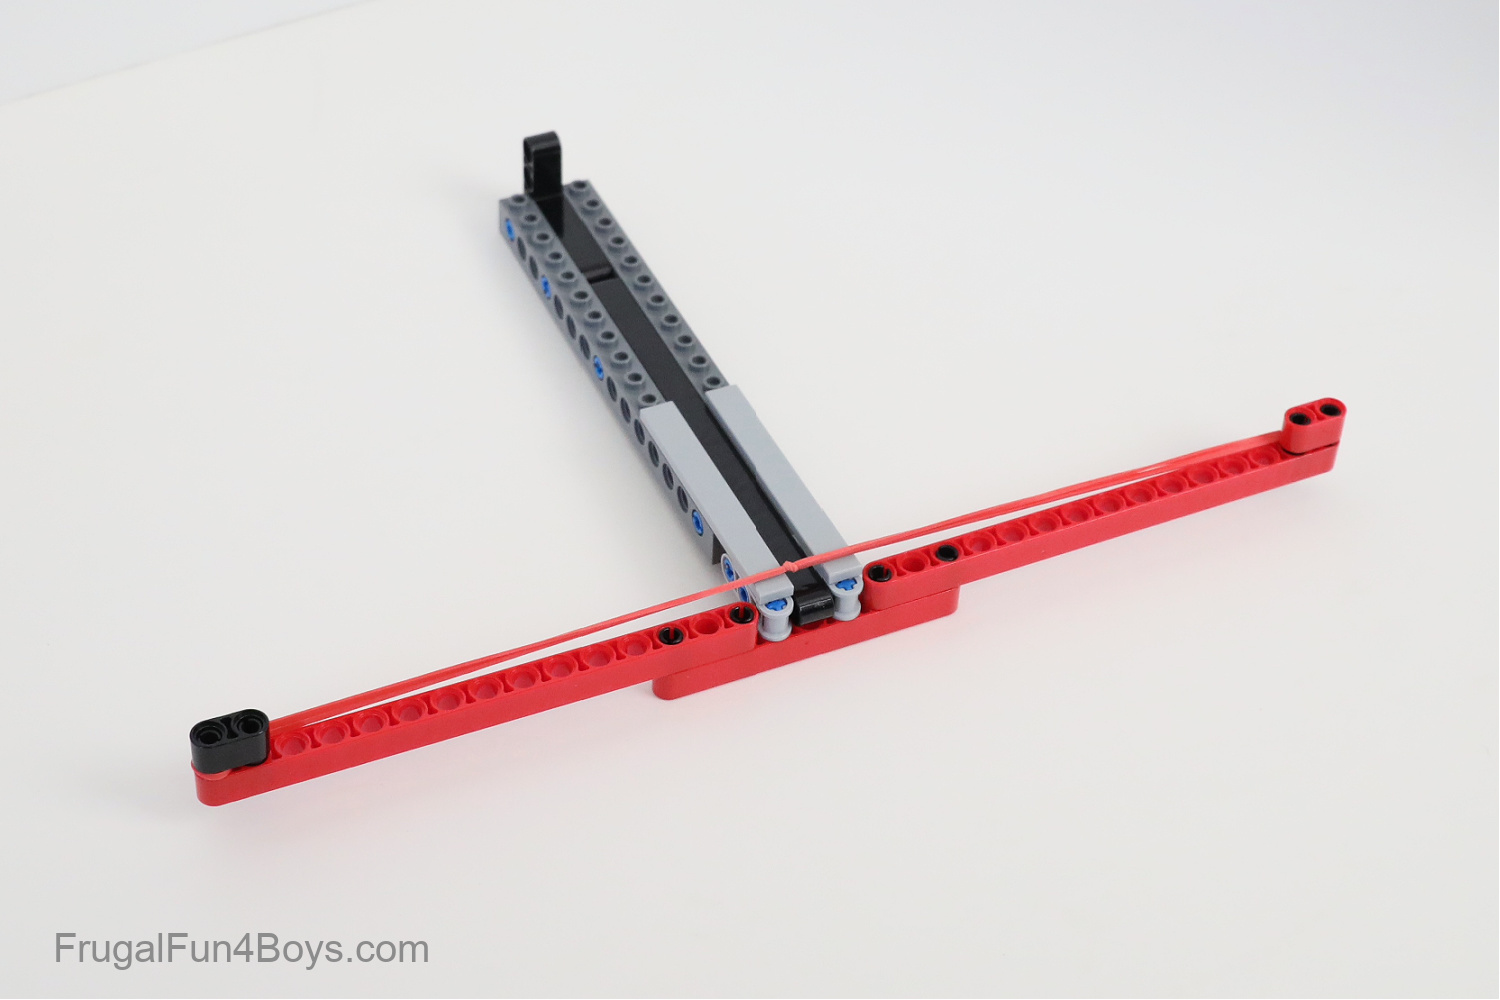
Wrap the rubber band around the black Technic pins. Secure the rubber bands by sliding a 1 x 2 Technic liftarm onto each side.
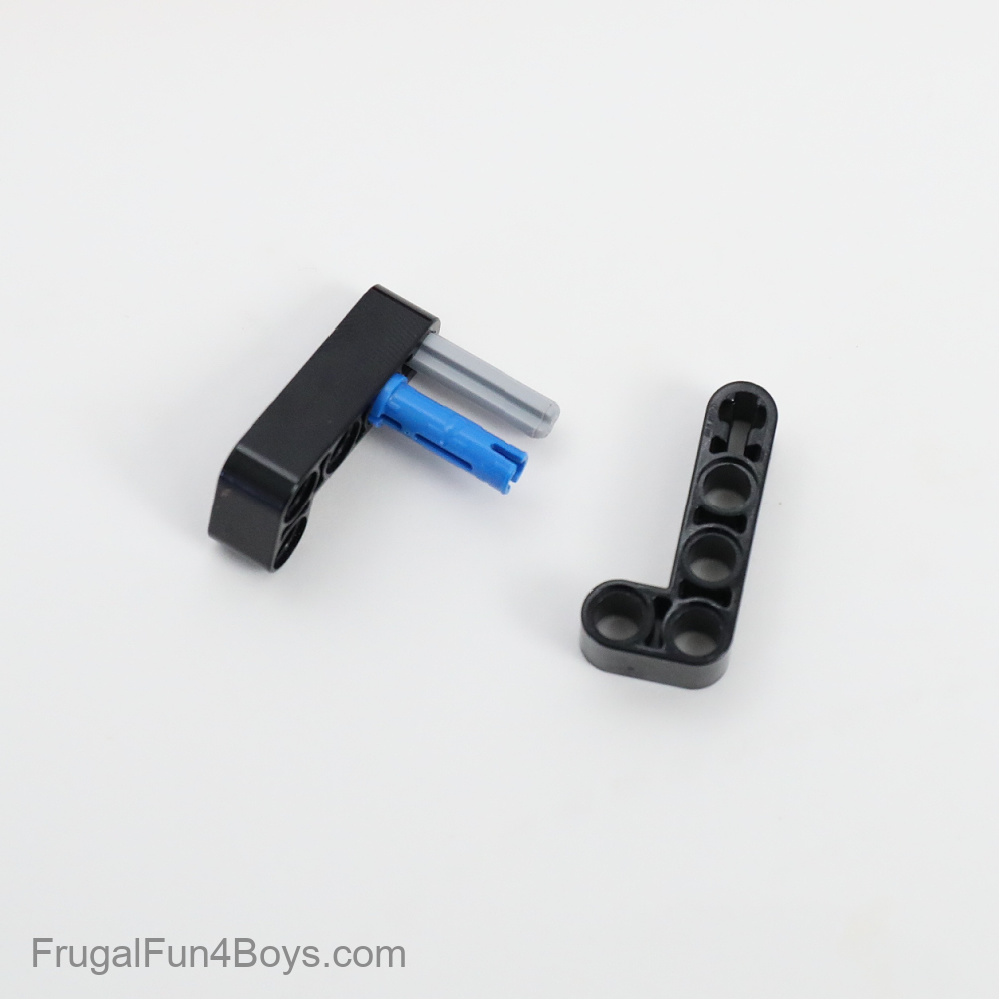
Now it’s time to build the trigger. Find two 2 x 4 L-shaped liftarms, an axle (3 studs long), and a blue Technic pin (3 studs long).
Slide the pin through the L-shaped liftarm that sticks up at the end of the crossbow. Then attach the other 2 x 4 L-shaped liftarm.
Your trigger should be able to rotate up and down.
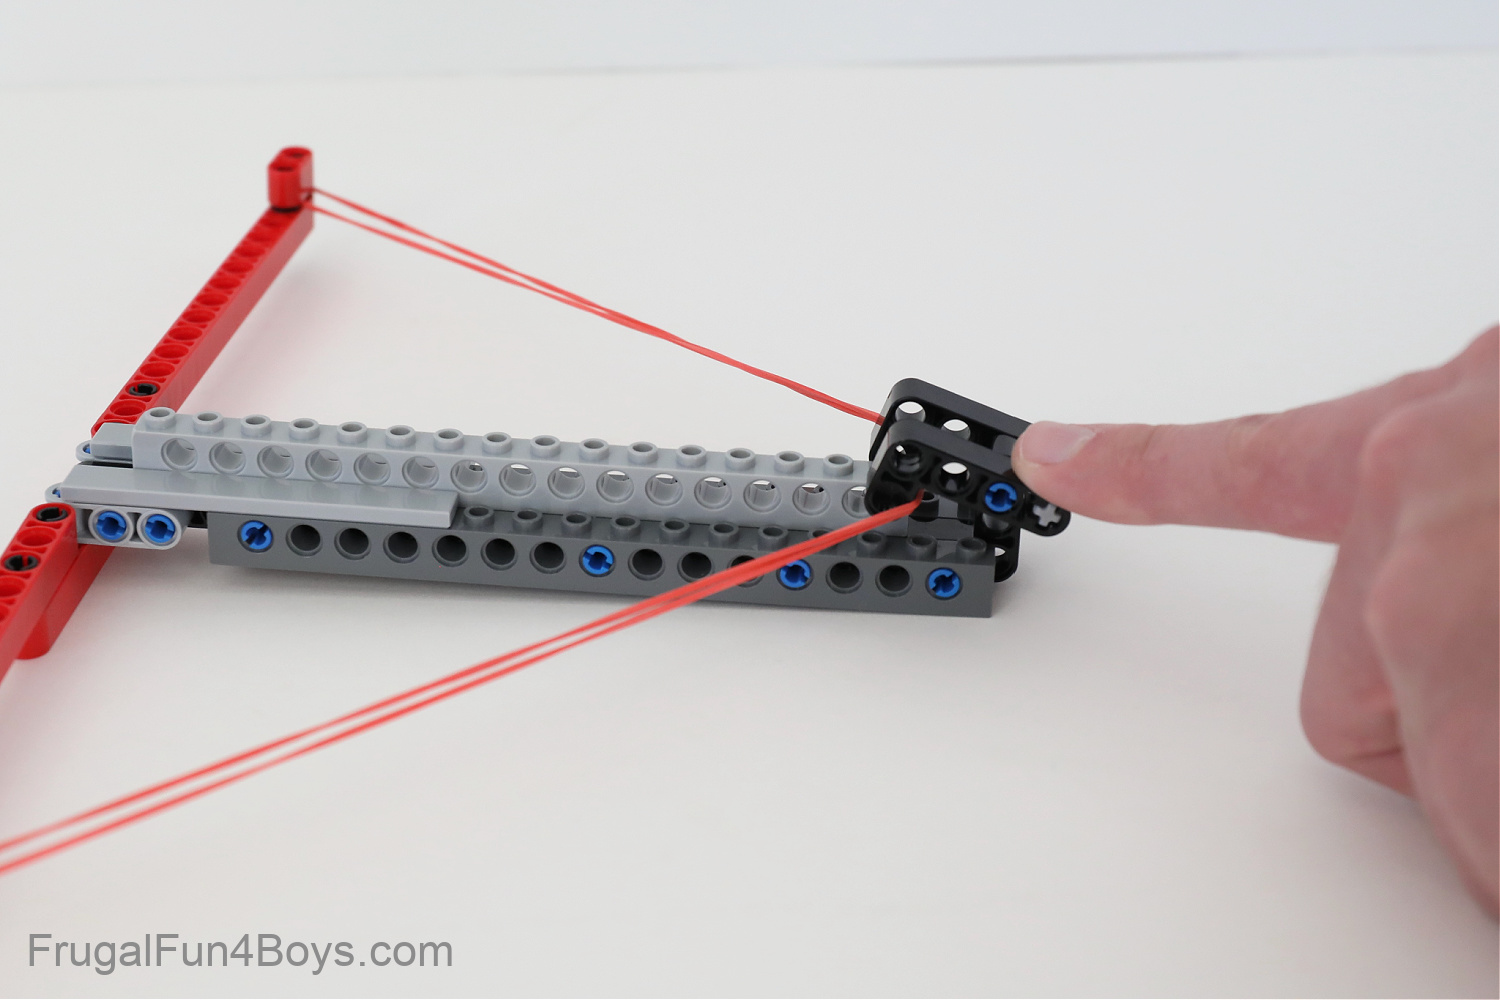
Now it’s time to play! Grab another long Technic brick to be an arrow.
Line up the arrow so that it touches the trigger. Then, simply push down on the trigger to release the rubber band. And there goes the arrow!
NOTE: If you have trouble with the rubber band not always hitting the arrow, add a 1 x 2 brick on top of the end of the arrow (as shown in the photo below). This will easily fix that problem!
Want more LEGO contraptions to build? We’ve got lots of ideas!
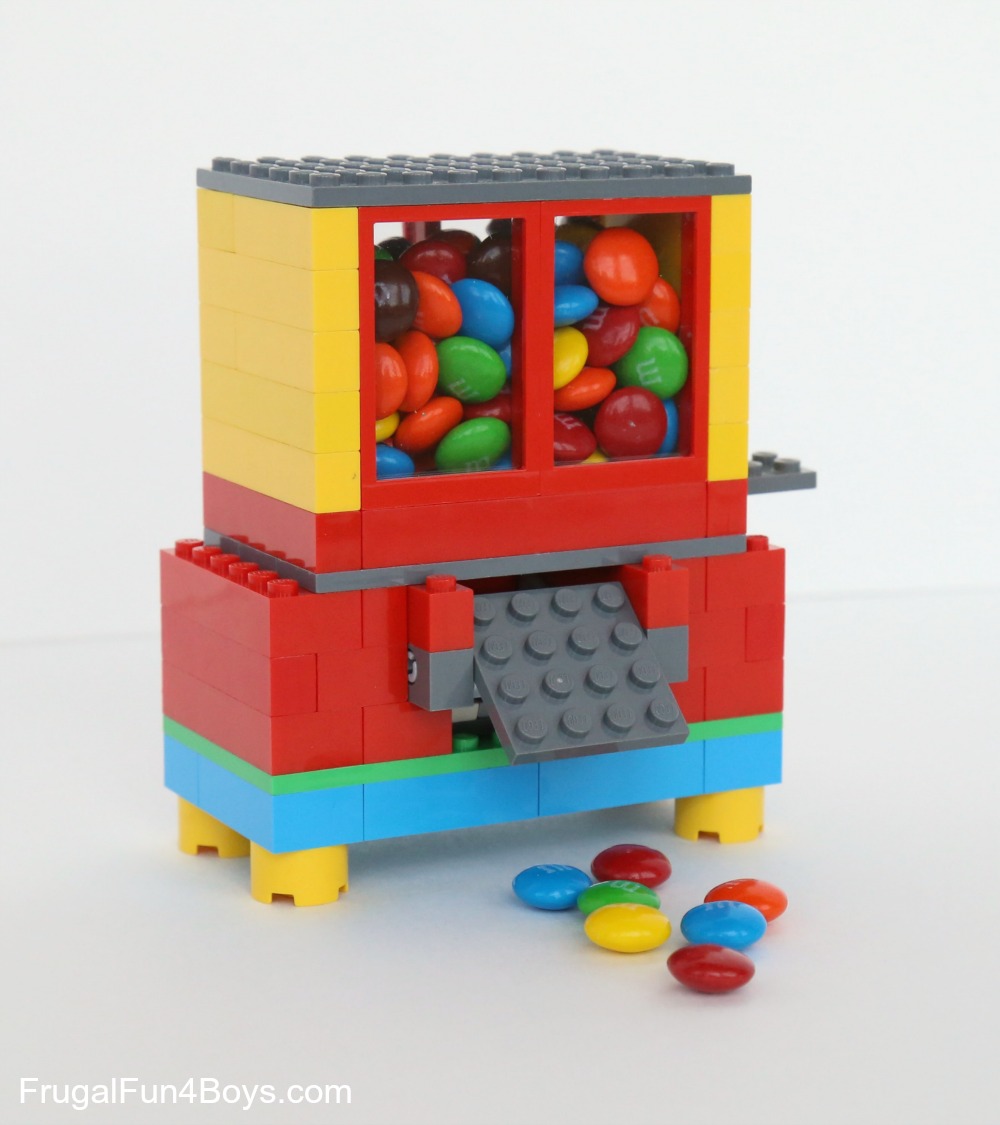
Build your own LEGO Candy Dispenser. This is a FAVORITE project with readers!
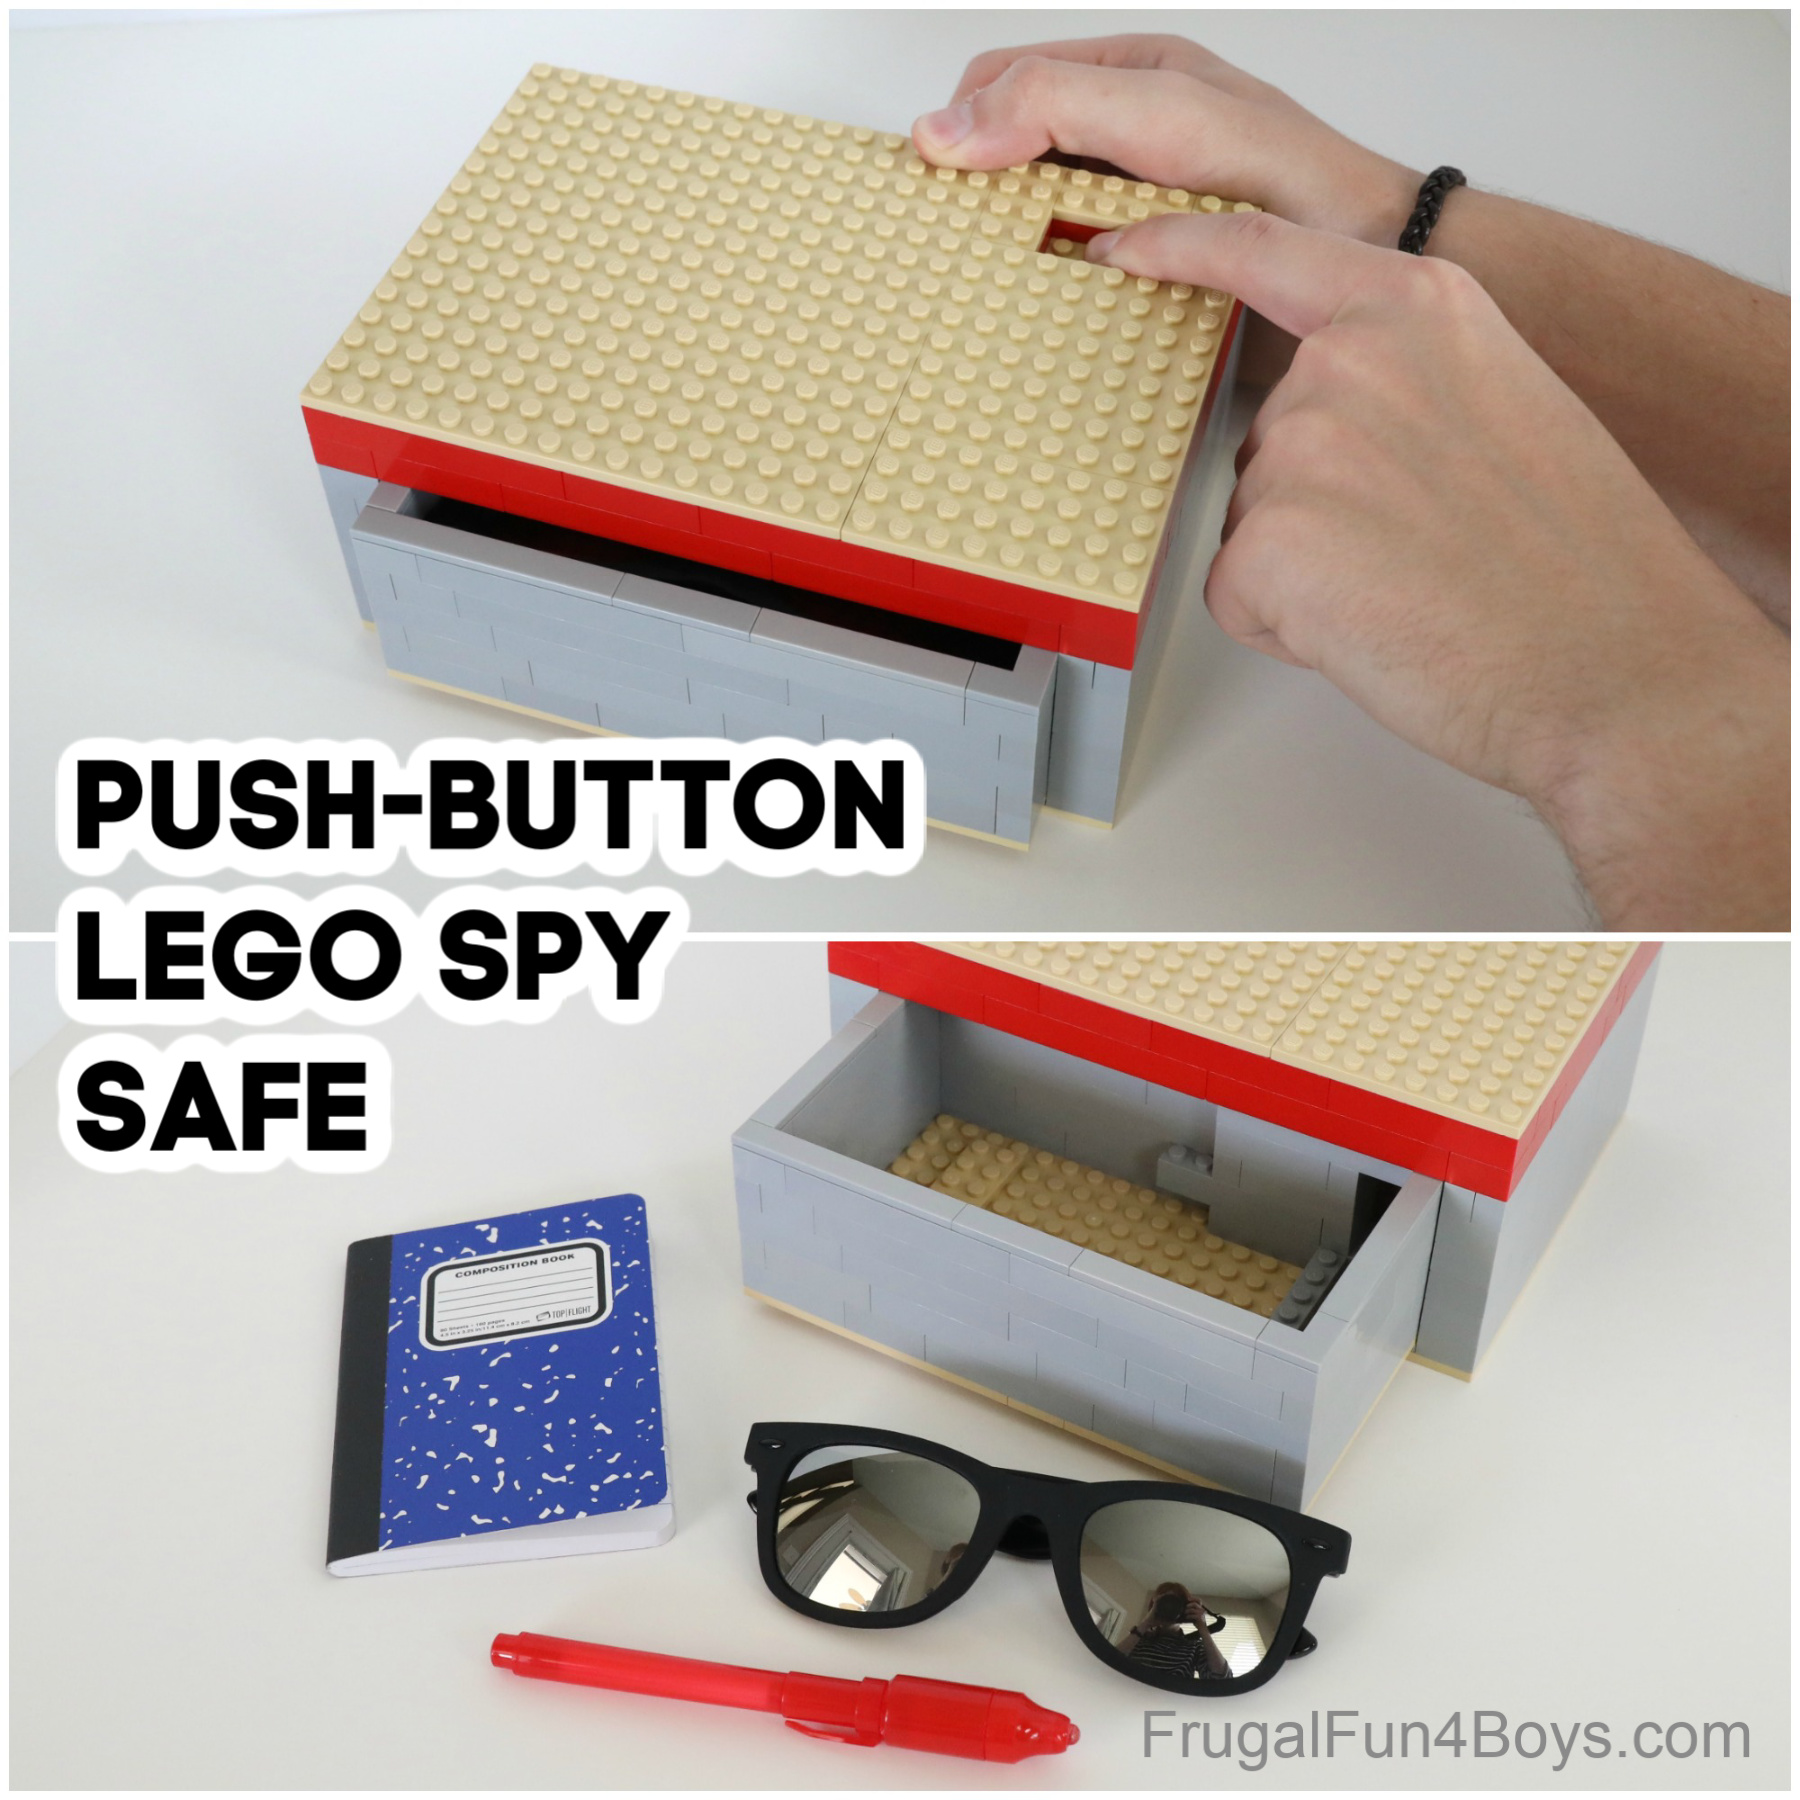
Or try building this LEGO Spy Safe! Push two buttons at the same time to open the safe.
Have fun building!
3 Comments
Susie Jan 13, 2021
Hi Sarah,
I know you do a lot of LEGO projects. I was wondering how you collect most of your LEGOs for versatile building projects. We also have a ton of LEGOs, but they all come from specific sets, and I don't feel we usually have the "right" colors and standards shapes.
sebastian Apr 23, 2021
that. is. cool.
Elisheba Barr-hamilton Aug 28, 2021
I love this crossbow it's amazing. I found the tip about putting a 1×2 brick on top of the “arrow” v useful! I made mine a bit longer, and it kept breaking so I modified it slightly.
Post a Comment