
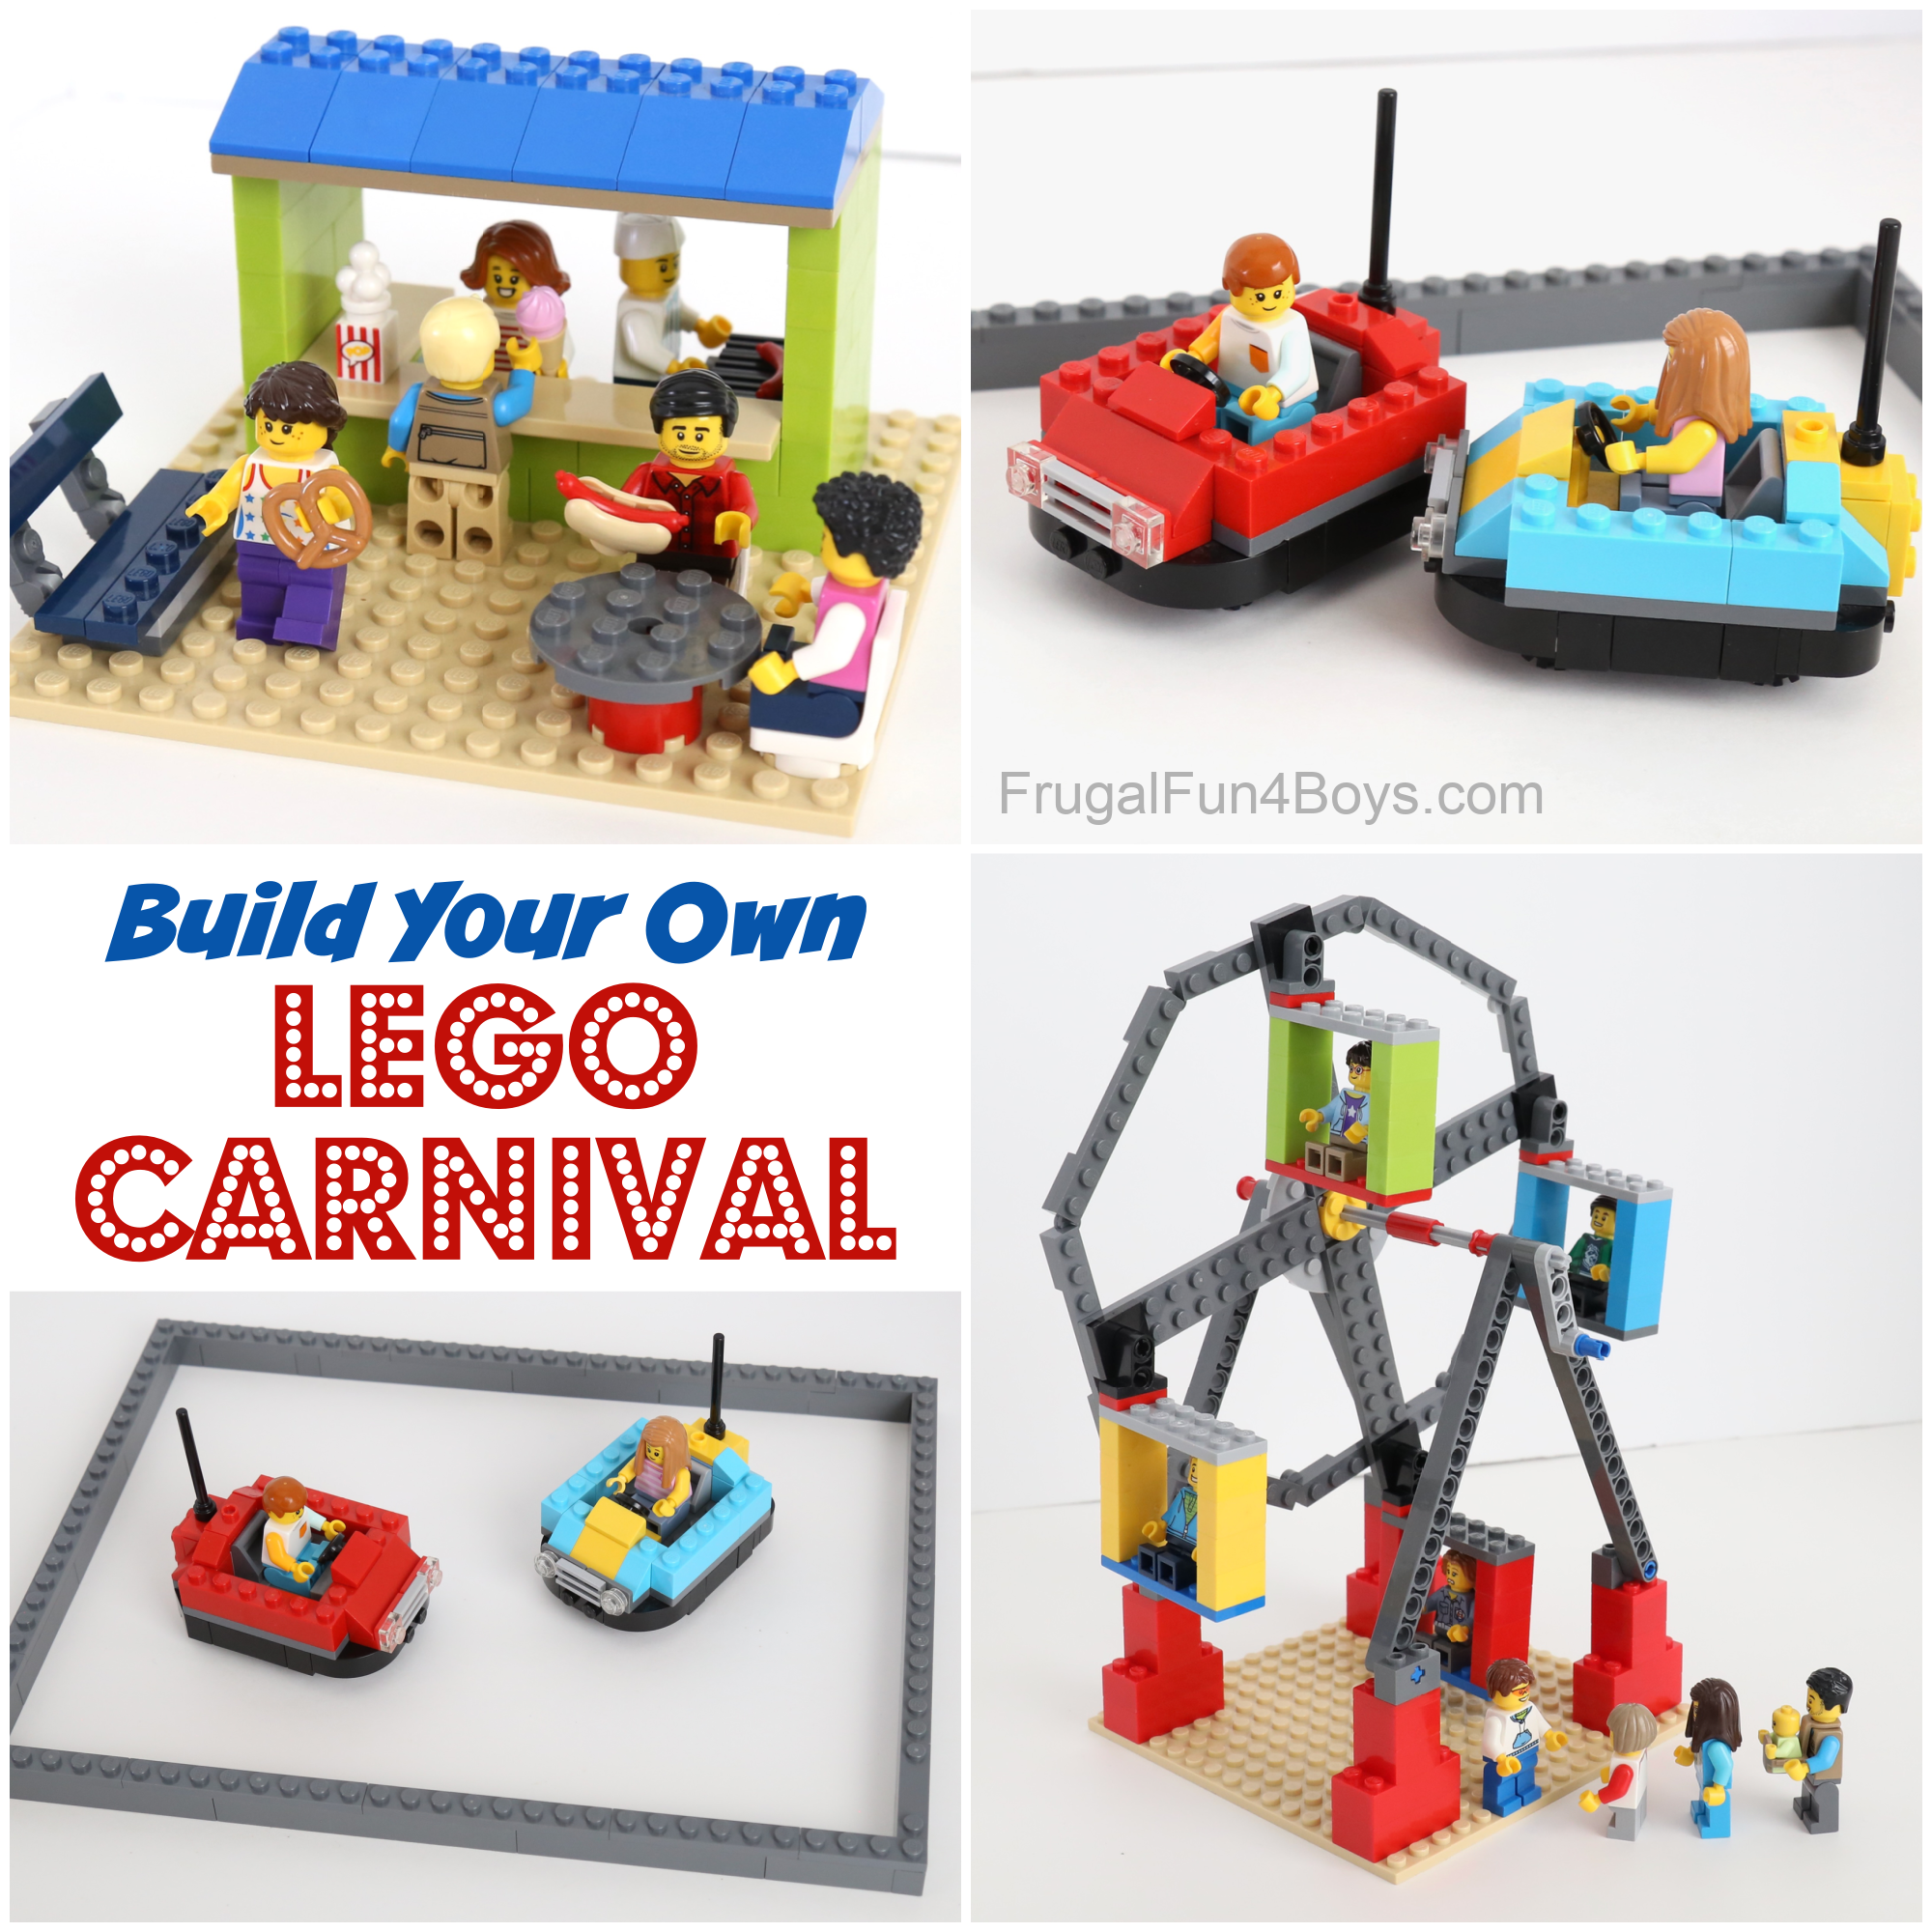
Here’s a super fun LEGO challenge that leads to all kinds of imaginative play! Challenge kids to design their own carnival with LEGO bumper cars, a Ferris wheel, and more. Add a concession stand, and then you may want to design midway games or additional rides.
This project is so easy to customize with the bricks you have. You can use other colors than what is pictured or modify the designs to accommodate the pieces you have.
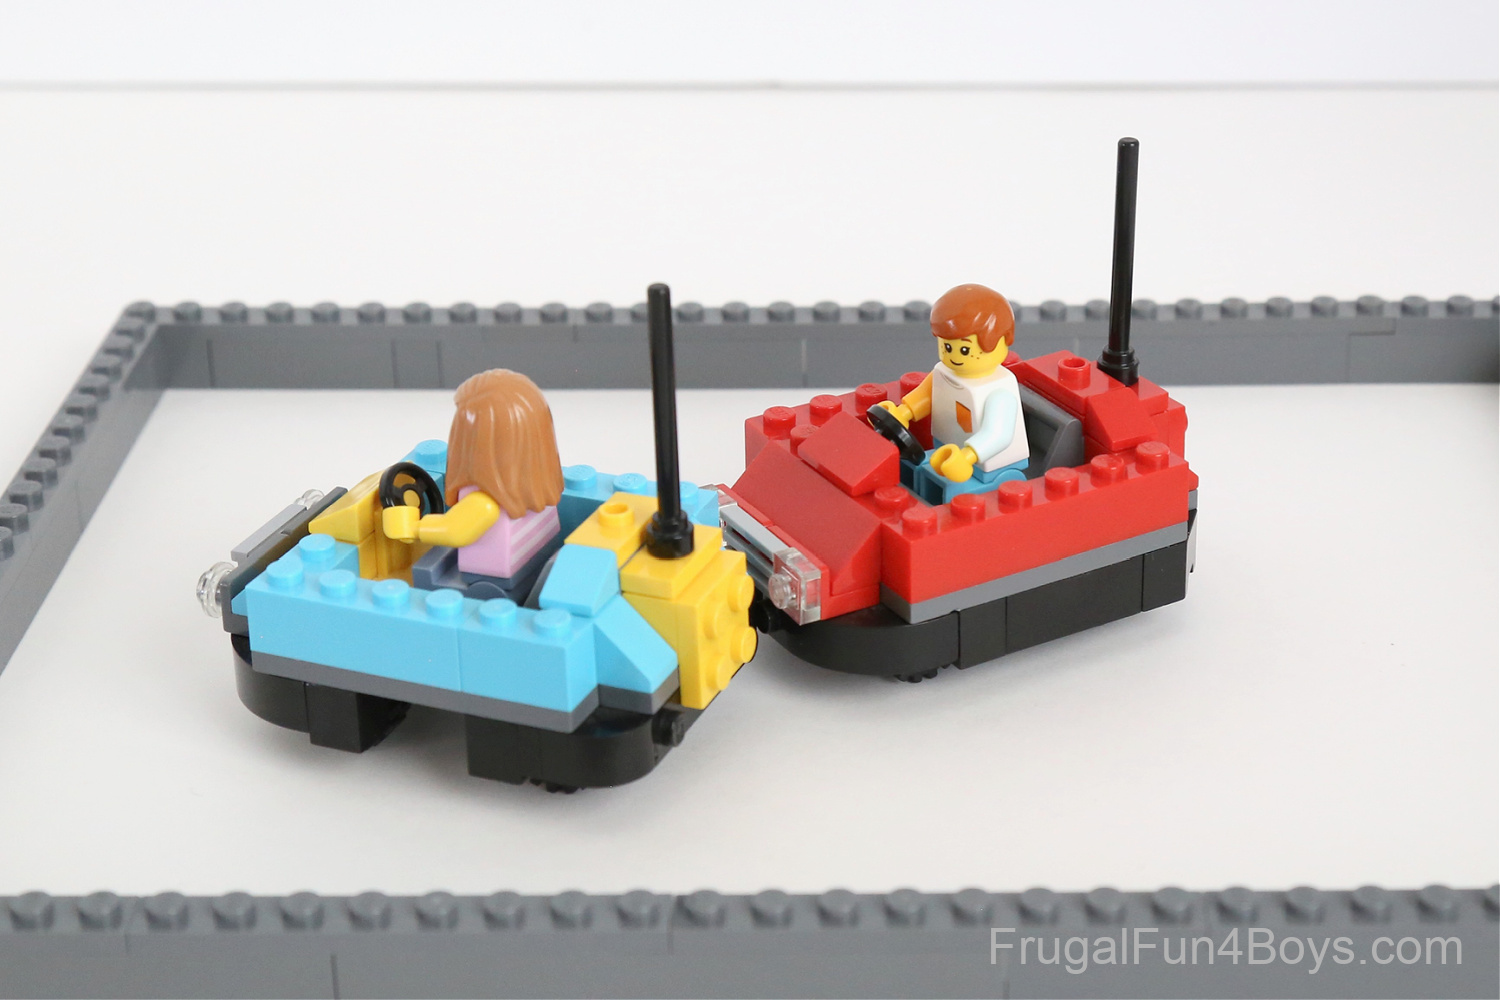
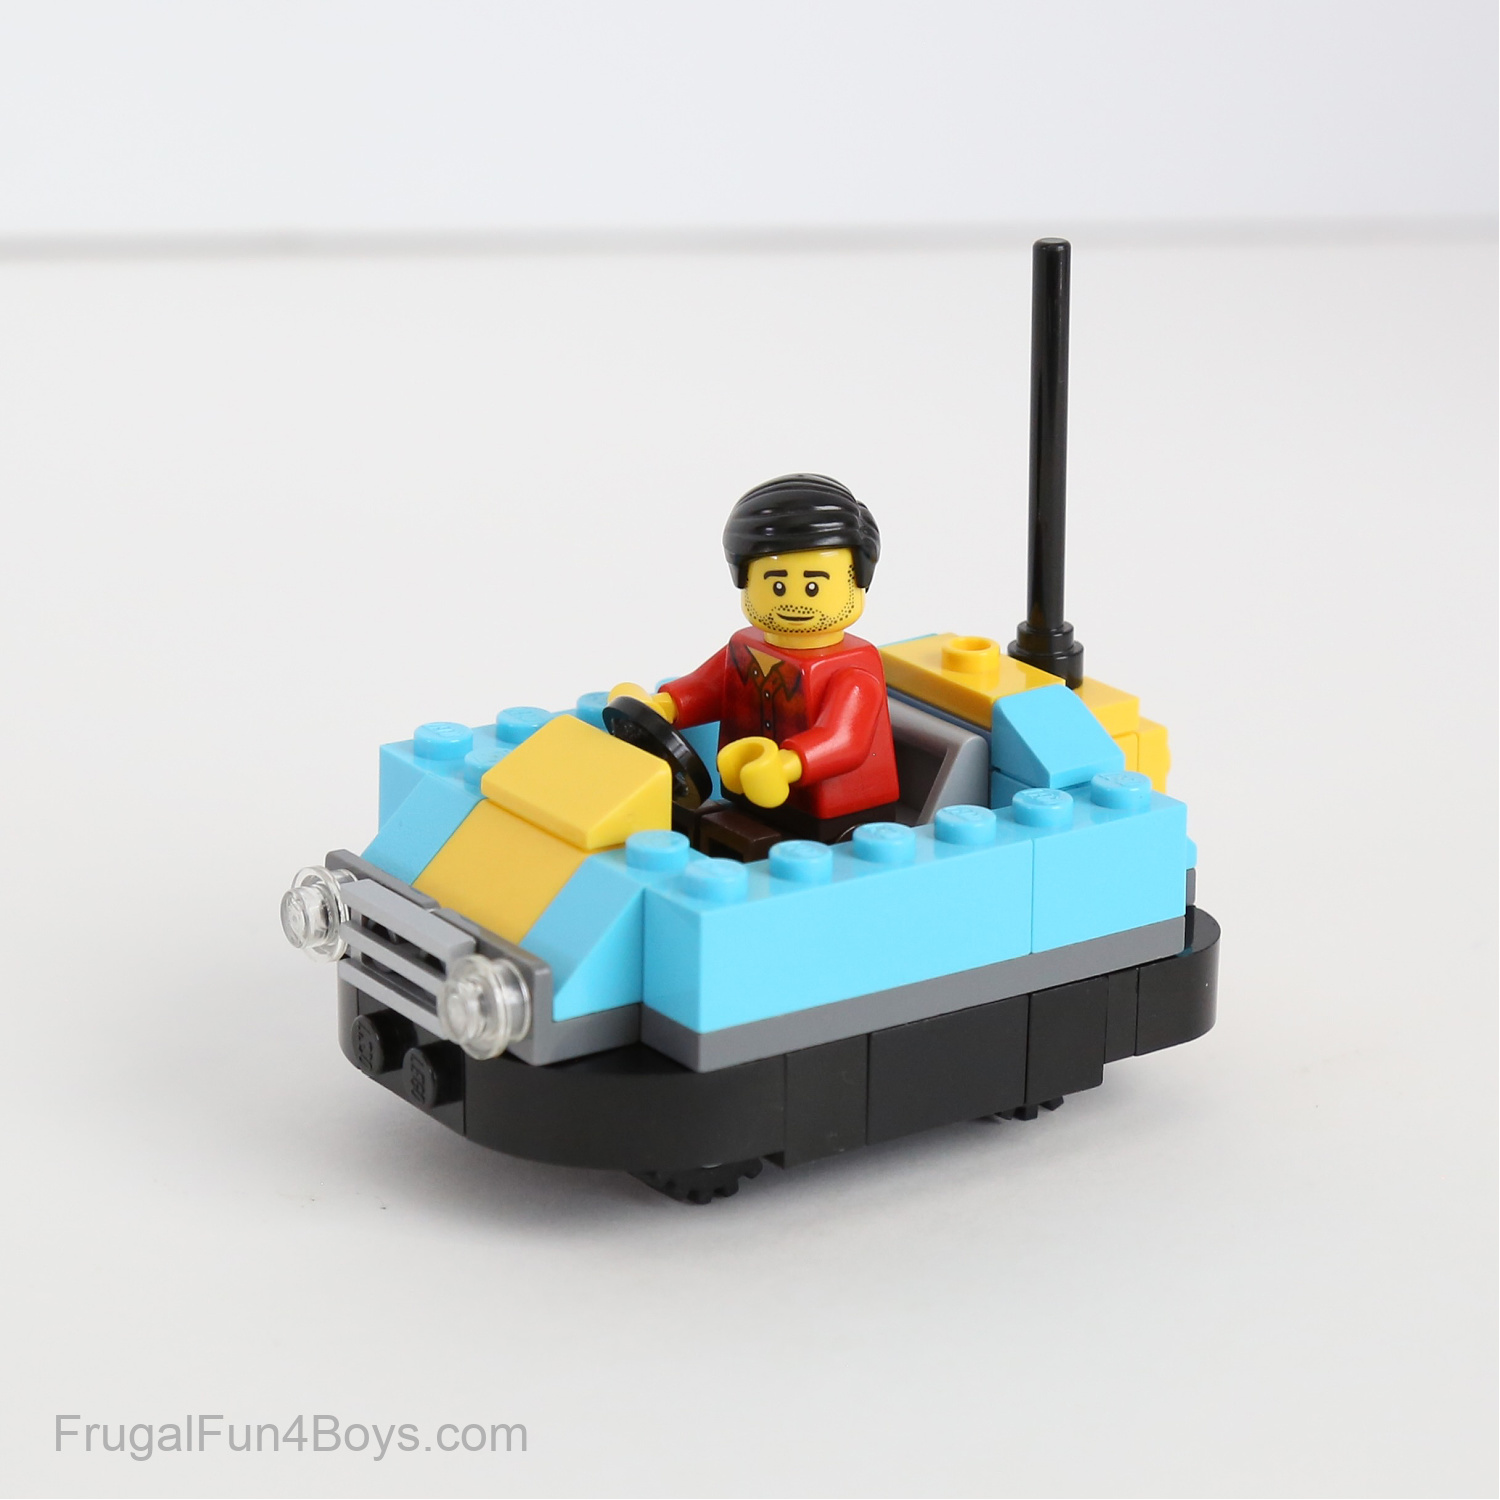
Owen designed these adorable bumper cars. Aren’t they fun? We used bricks to make an arena for the bumper cars. The bricks are connected together with a layer of plates on top.
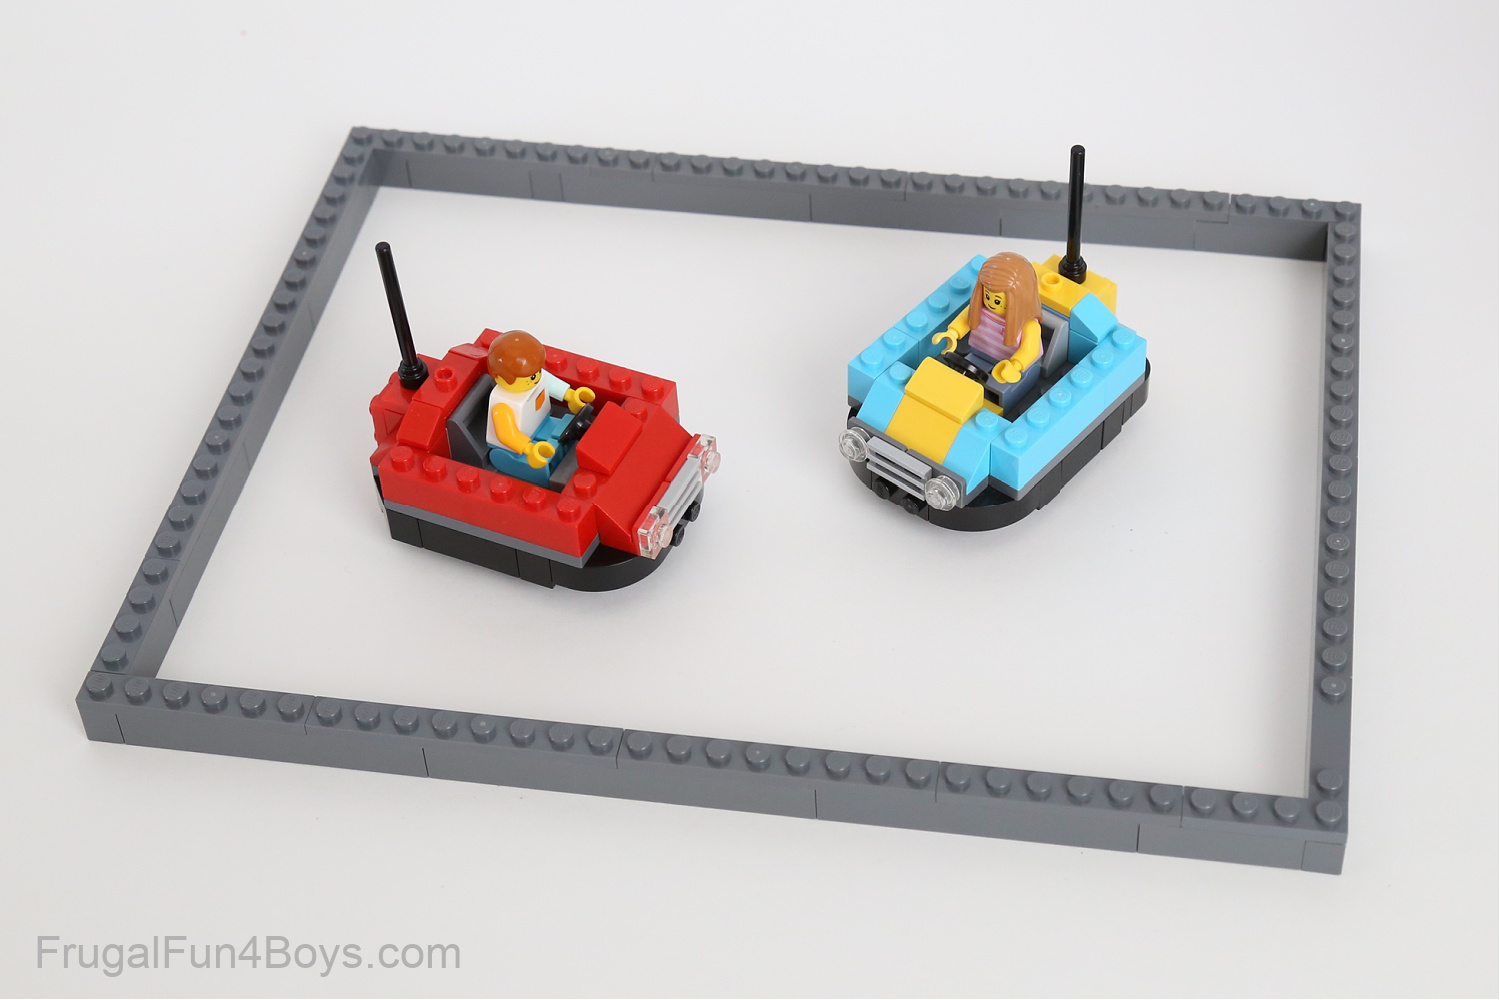
You can use whatever colors you want for your bumper cars. I’ll share some ideas in the instructions (below) for how to adjust this project based on the bricks you have.
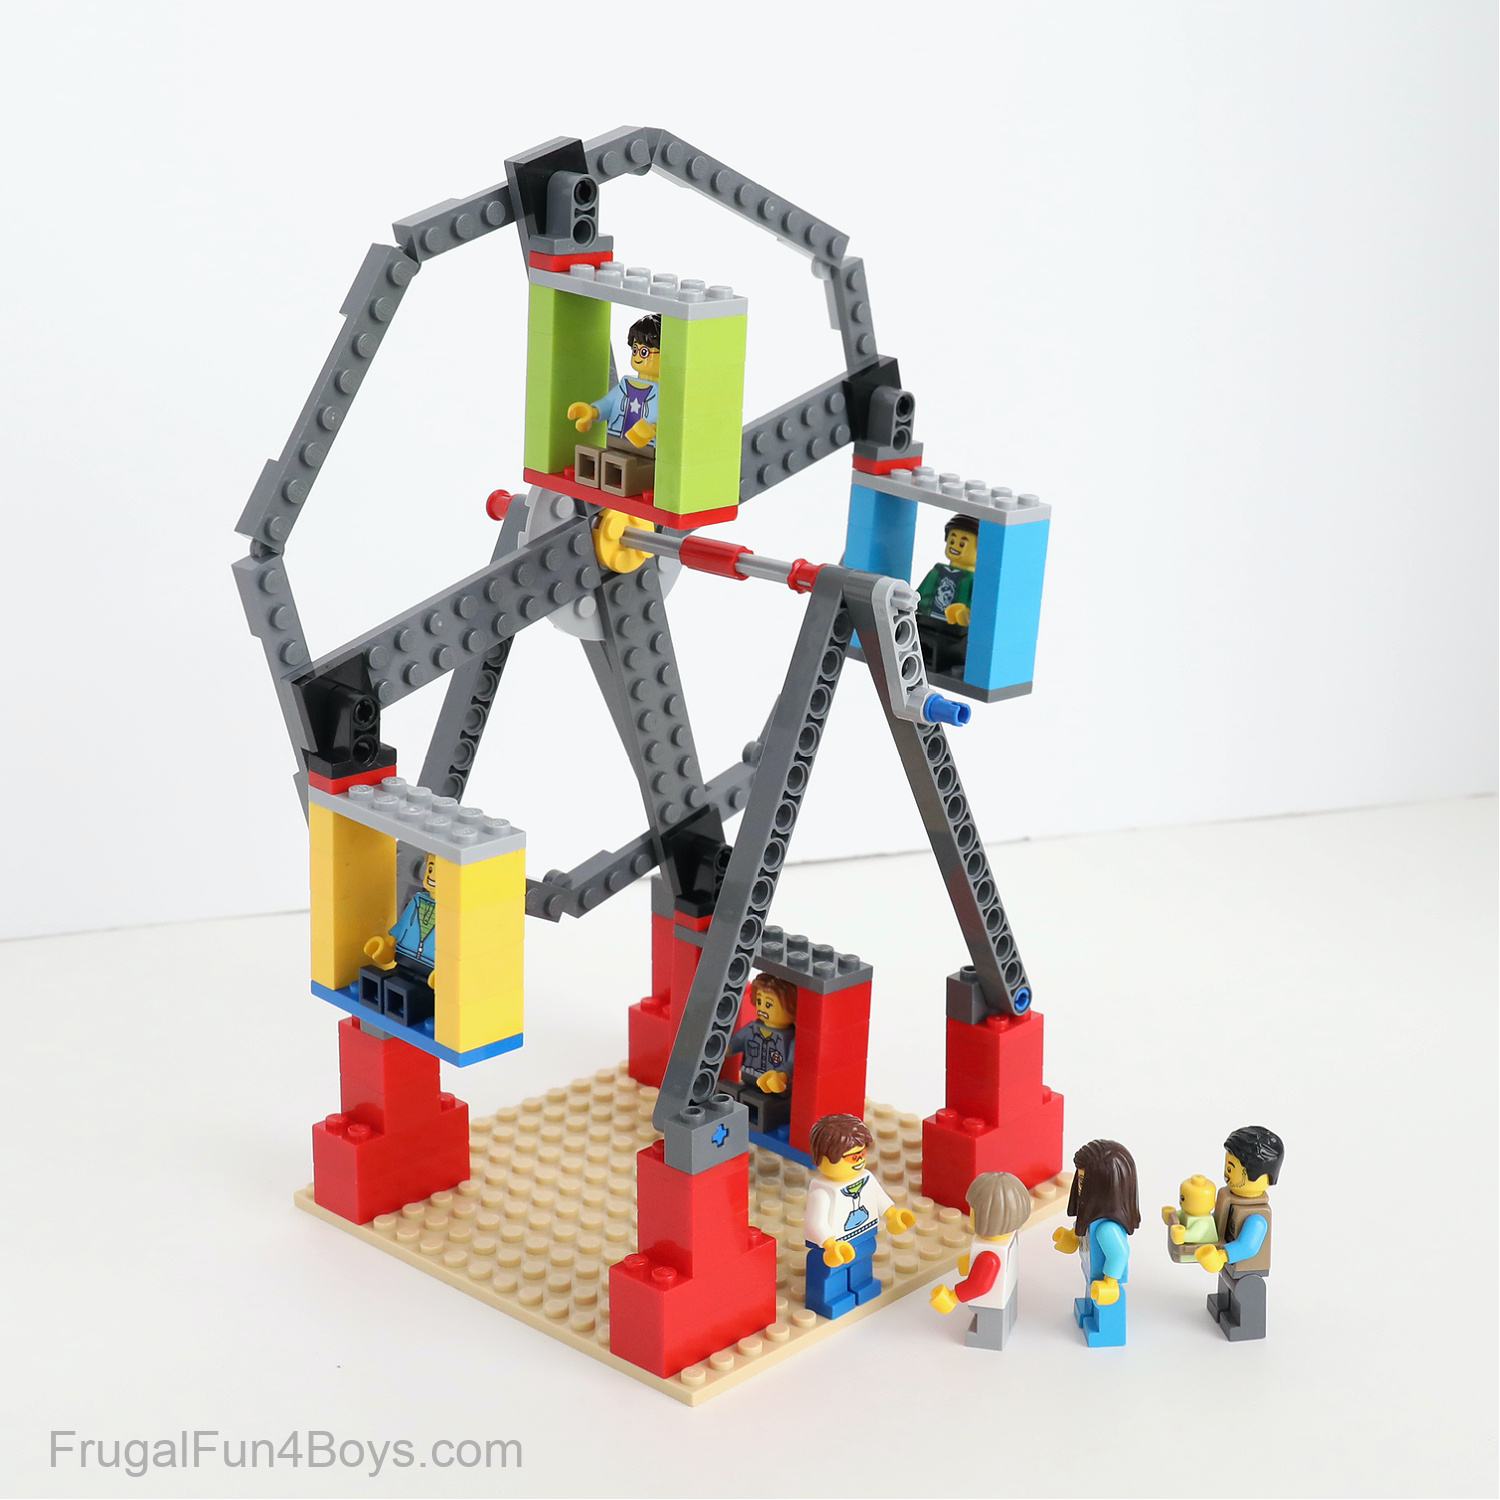
Build a LEGO Ferris Wheel
A Ferris wheel is another great addition to your carnival! Turn the handle and it really spins while keeping the riders upright. So cool.
If you want to see building instructions for the Ferris wheel, head over here: LEGO Ferris Wheel
How to Build LEGO Bumper Cars
Ready to build some bumper cars? Follow the instructions below.
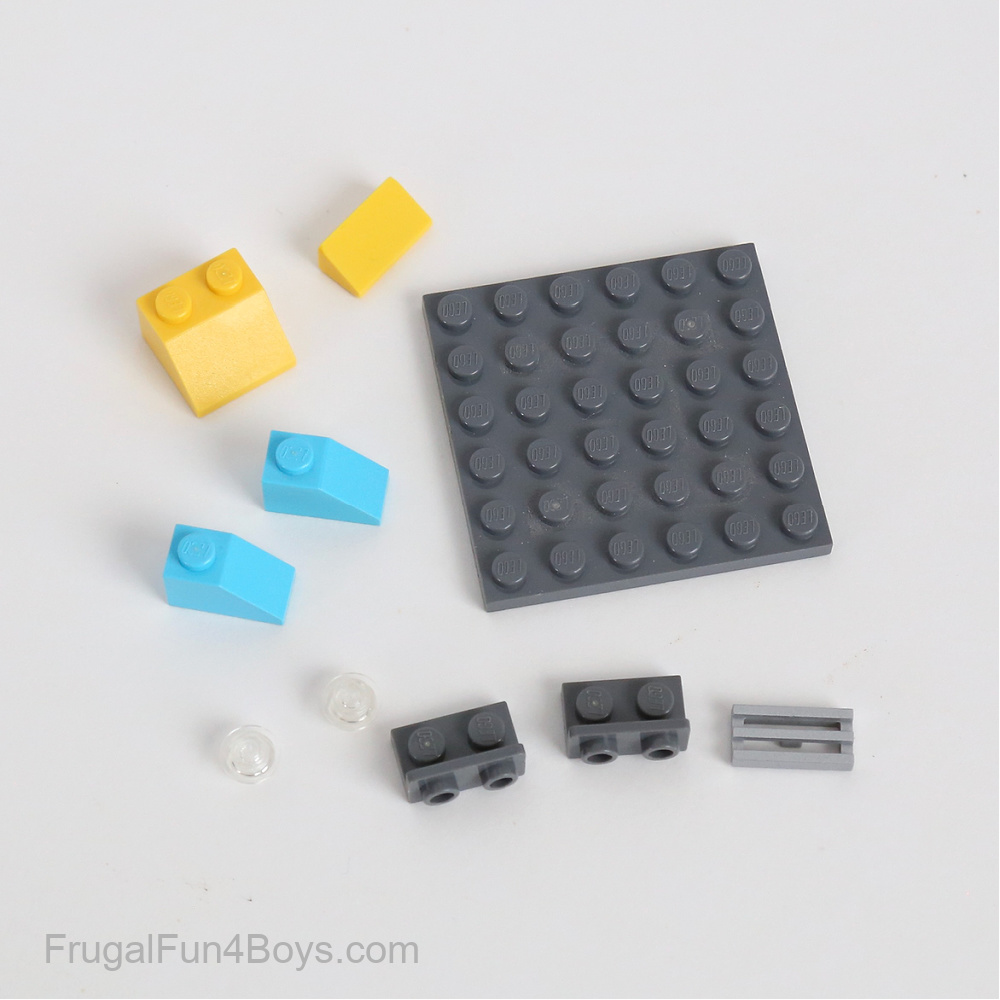
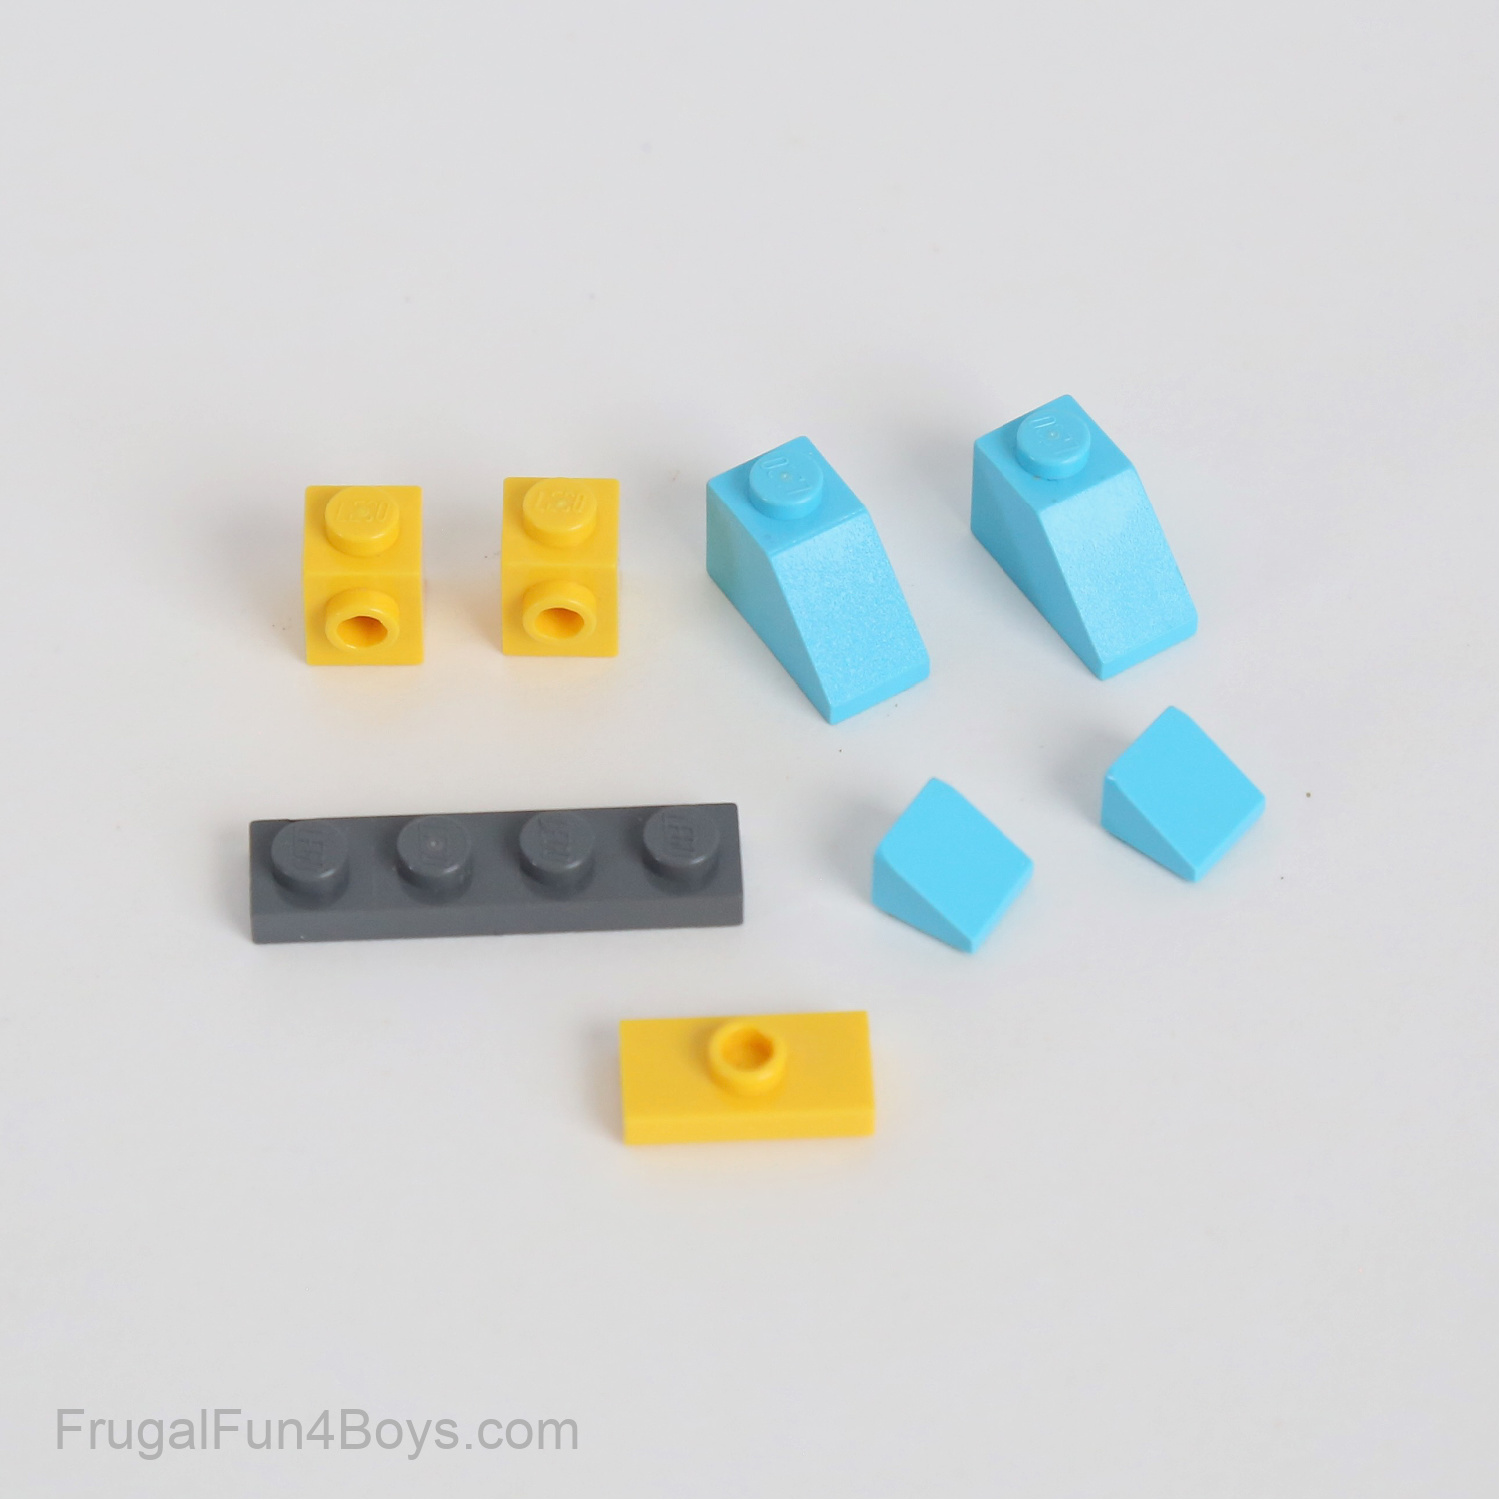
Step 1: Gather the bricks shown for building the car.
Step 2: Attach a 2 x 2 yellow slope and two medium azure 1 x 2 slopes to a 6 x 6 dark gray plate. They are only attached by one stud. Then add a 1 x 2 yellow slope (30 degree).
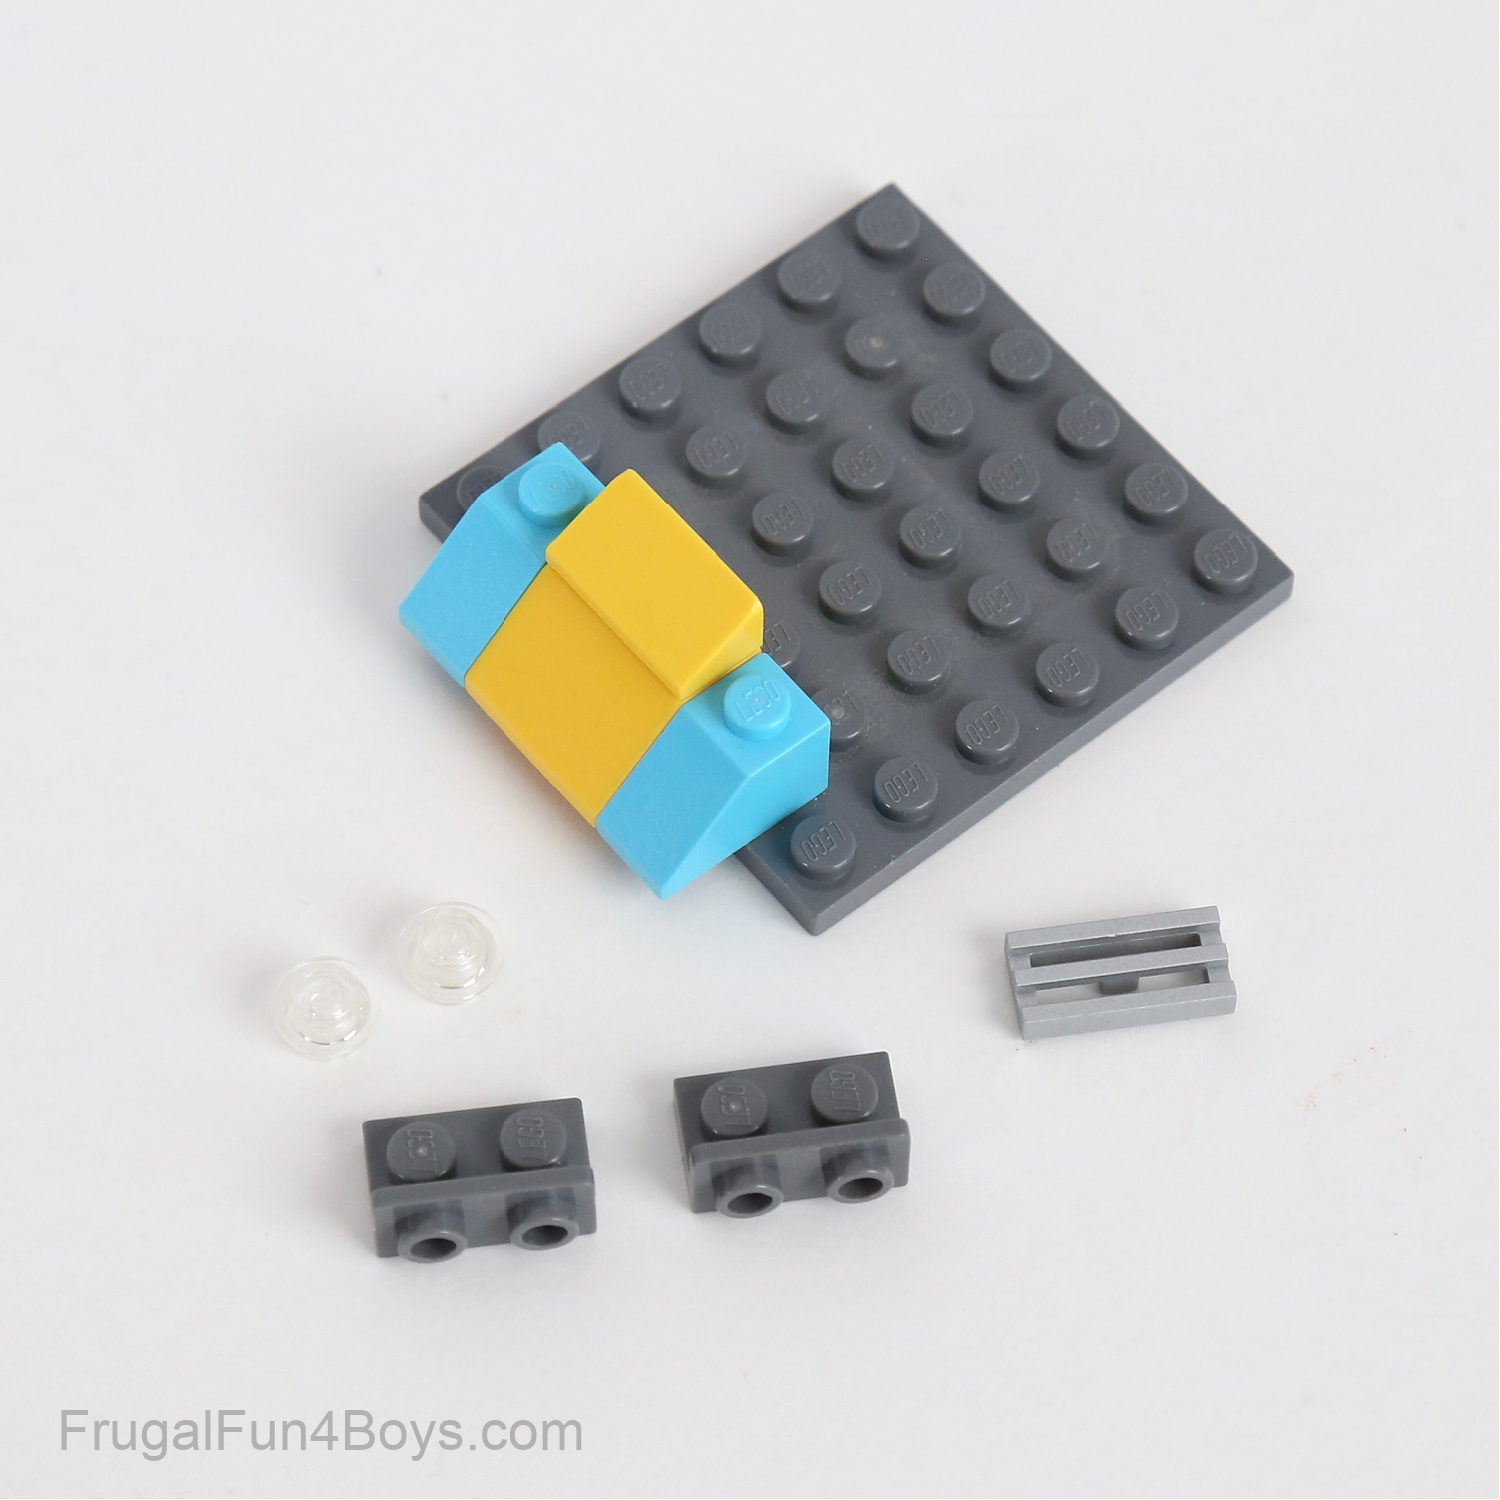
Step 3: Place two 1 x 2 – 1 x 2 dark gray inverted brackets under the slope bricks. Then add two 1 x 1 clear round plates for headlights, and add a 1 x 2 light gray grill. Substitute with other colors if needed.

Step 4: Add a 1 x 4 medium azure brick and a 1 x 2 medium azure brick on both sides of the car. Then find the bricks shown.
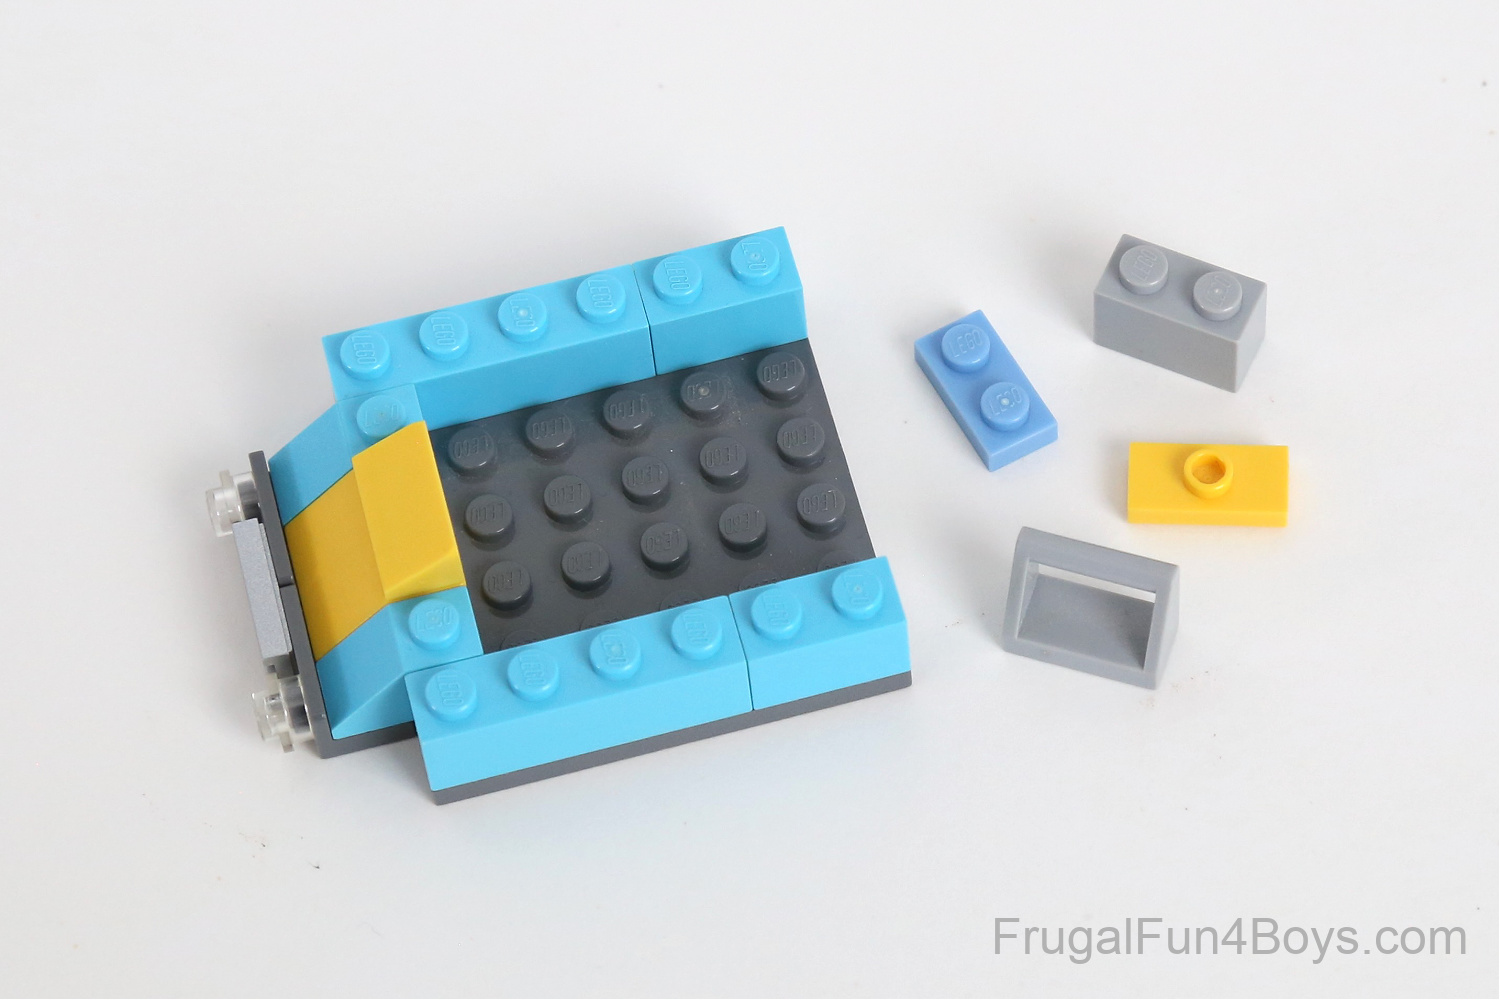
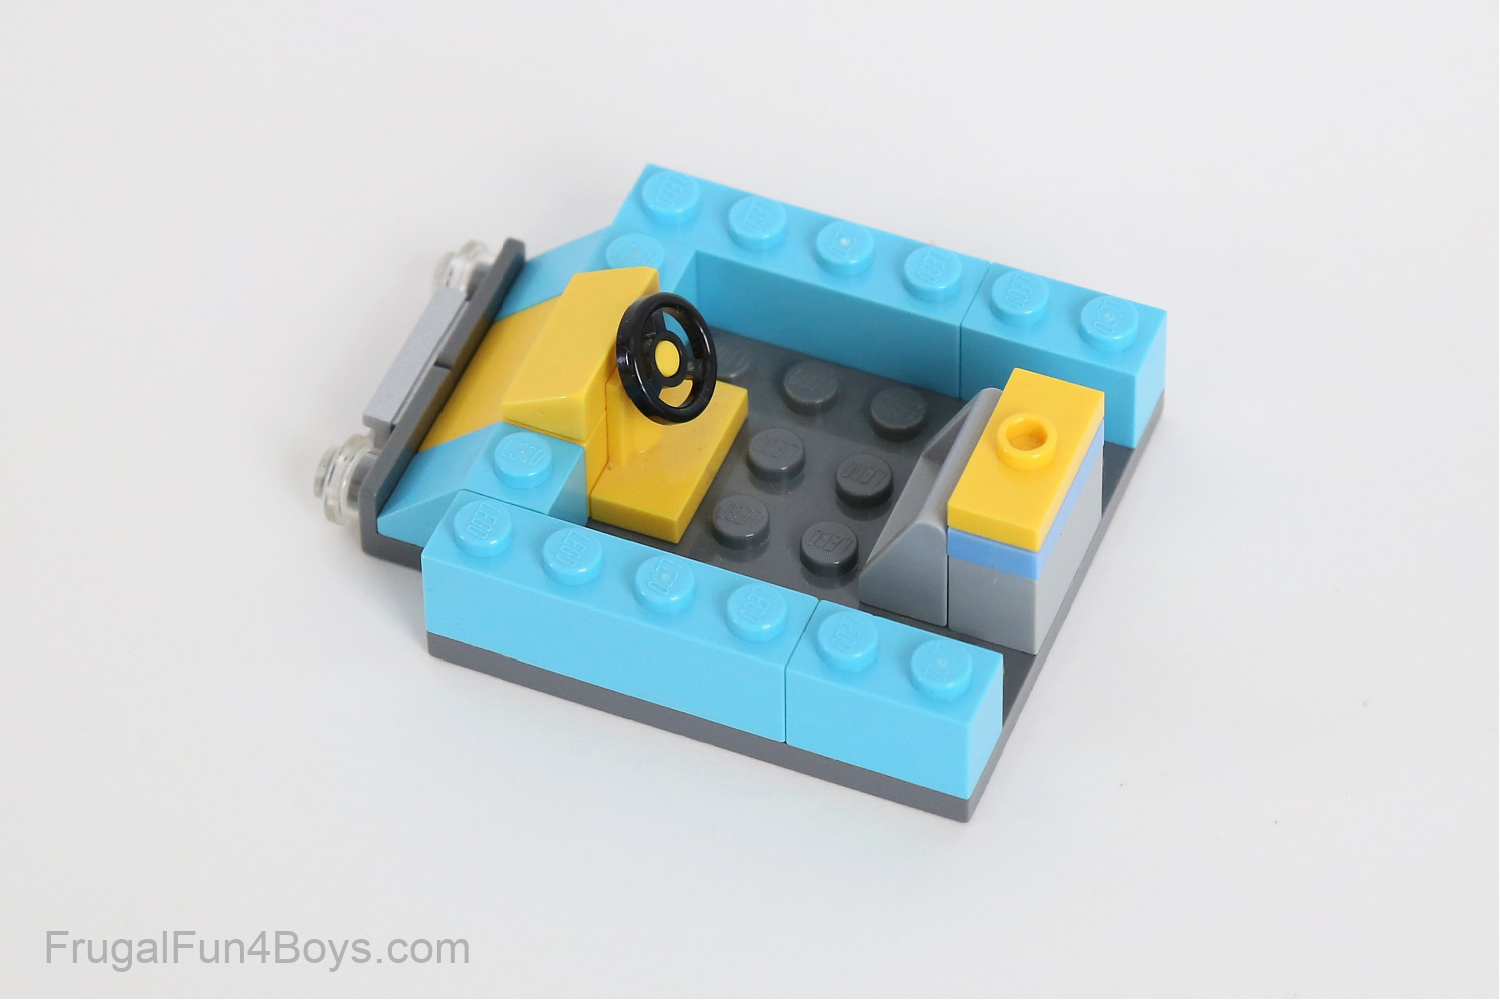
Step 5: Place a 1 x 2 light gray brick on the back of the car. Then add a 1 x 2 plate in any color and a 1 x 2 yellow plate with one stud on top (jumper plate). Put a 1 x 2 tile with bar handle in front of these.
Step 6: Gather the bricks shown.
Step 7: Attach two 1 x 2 medium azure slopes and two 1 x 1 yellow bricks with a stud on the side to a 1 x 4 dark gray plate.
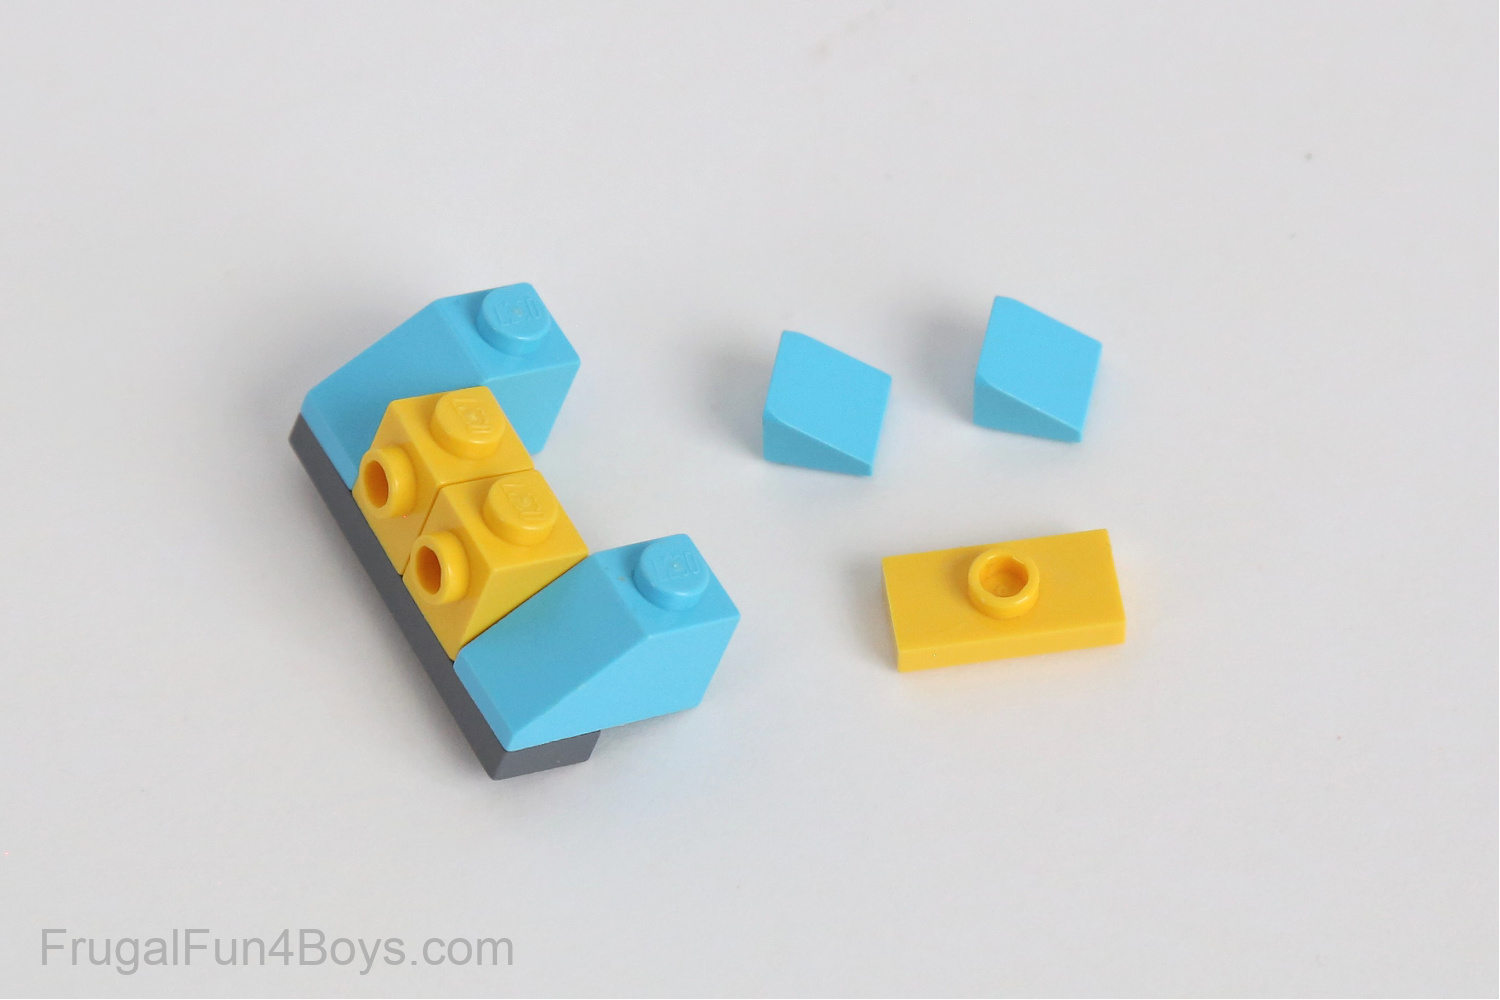
Step 8: Add two 1 x 1 medium azure slopes (30 degree) and a 1 x 2 yellow plate with one stud on top.

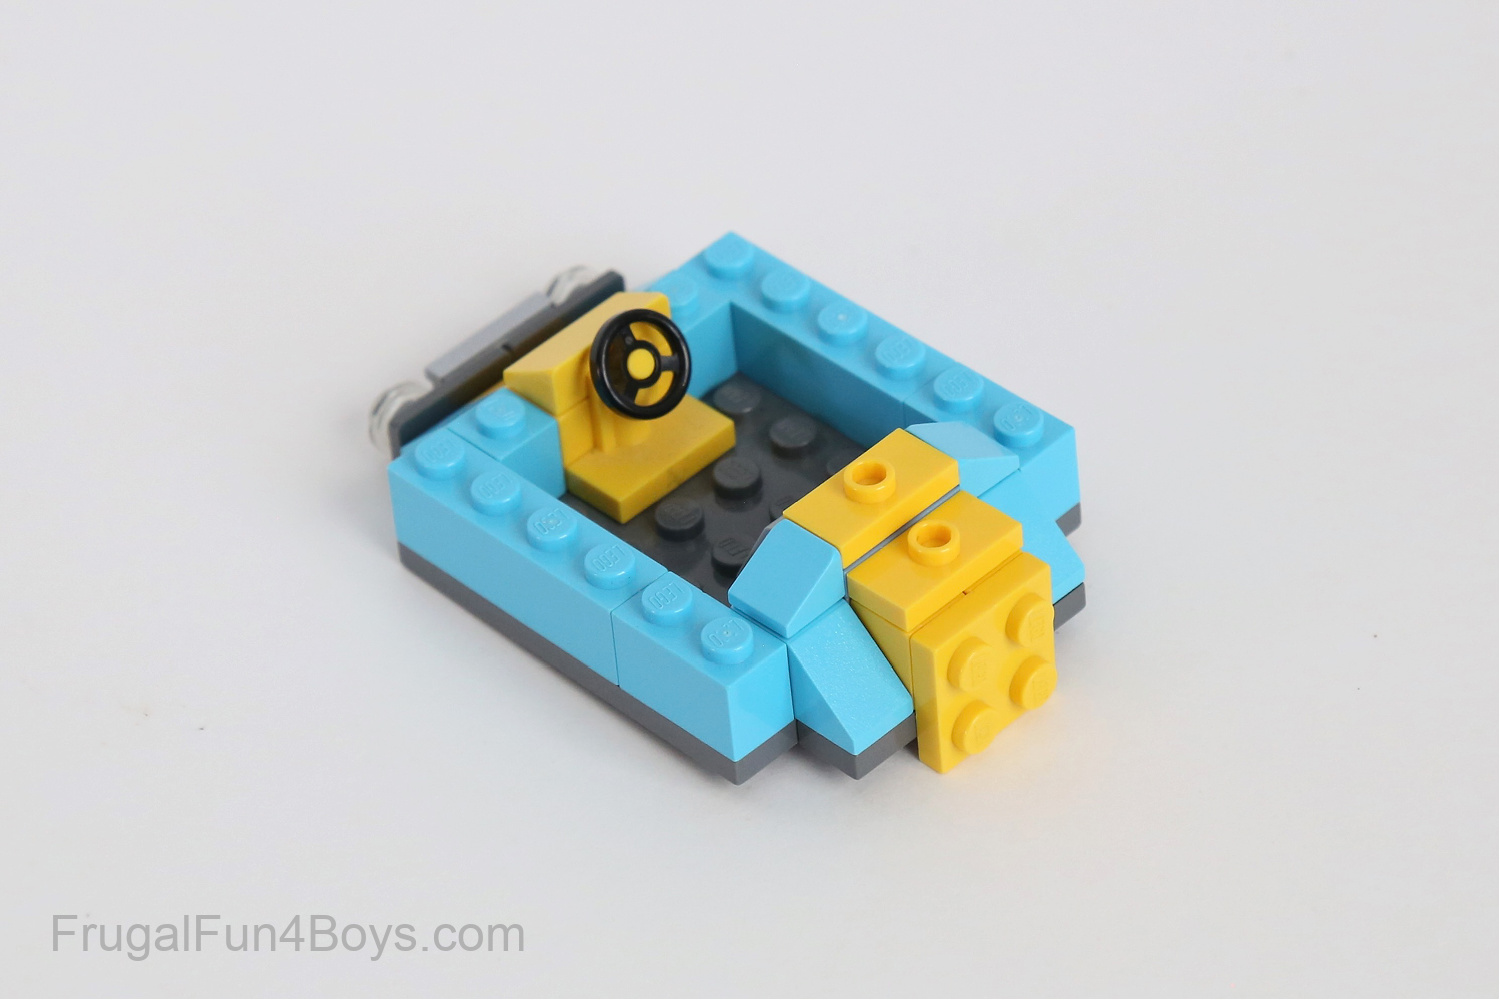
Step 9: Attach this to the back of the car. Then find a 2 x 2 yellow plate.
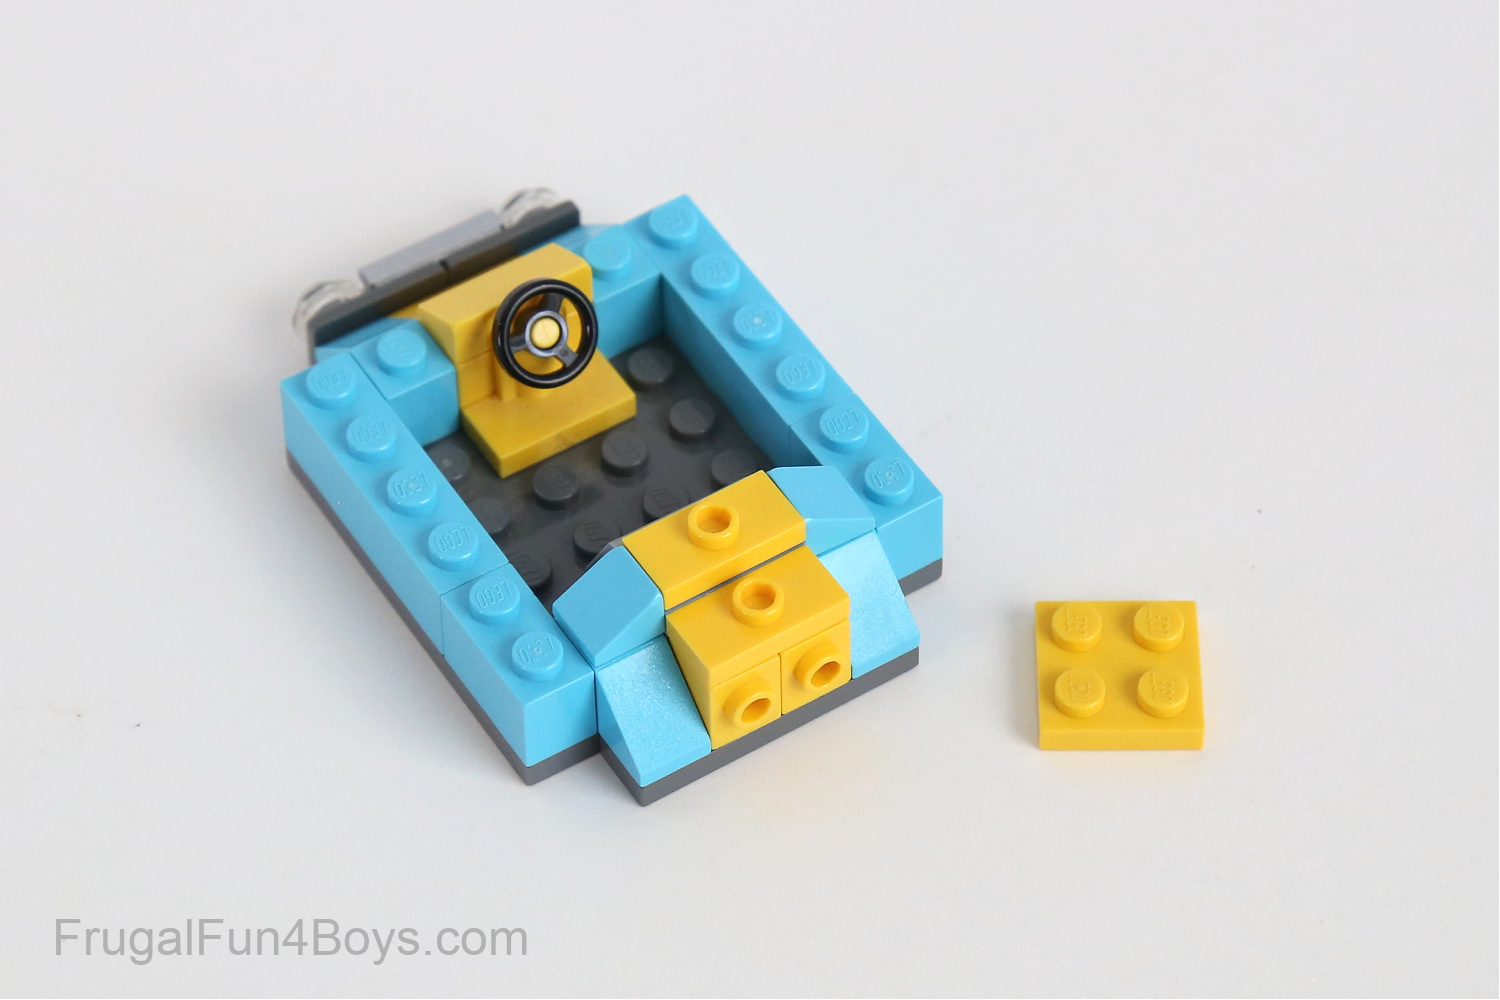
Step 10: Place the 2 x 2 yellow plate to the back of the bumper car.
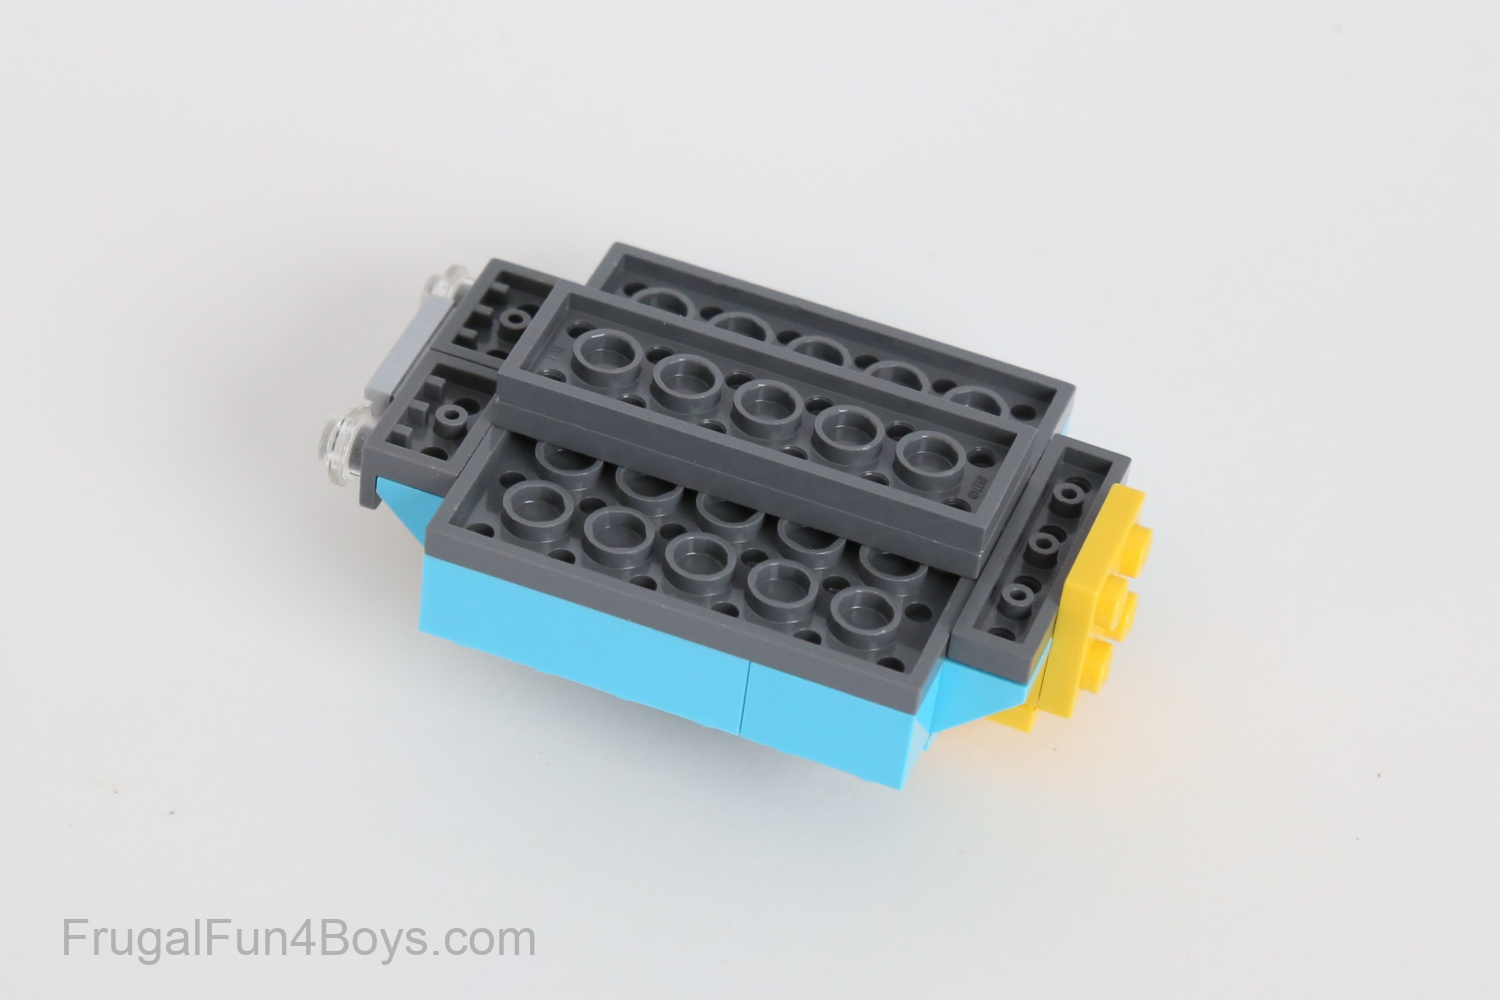
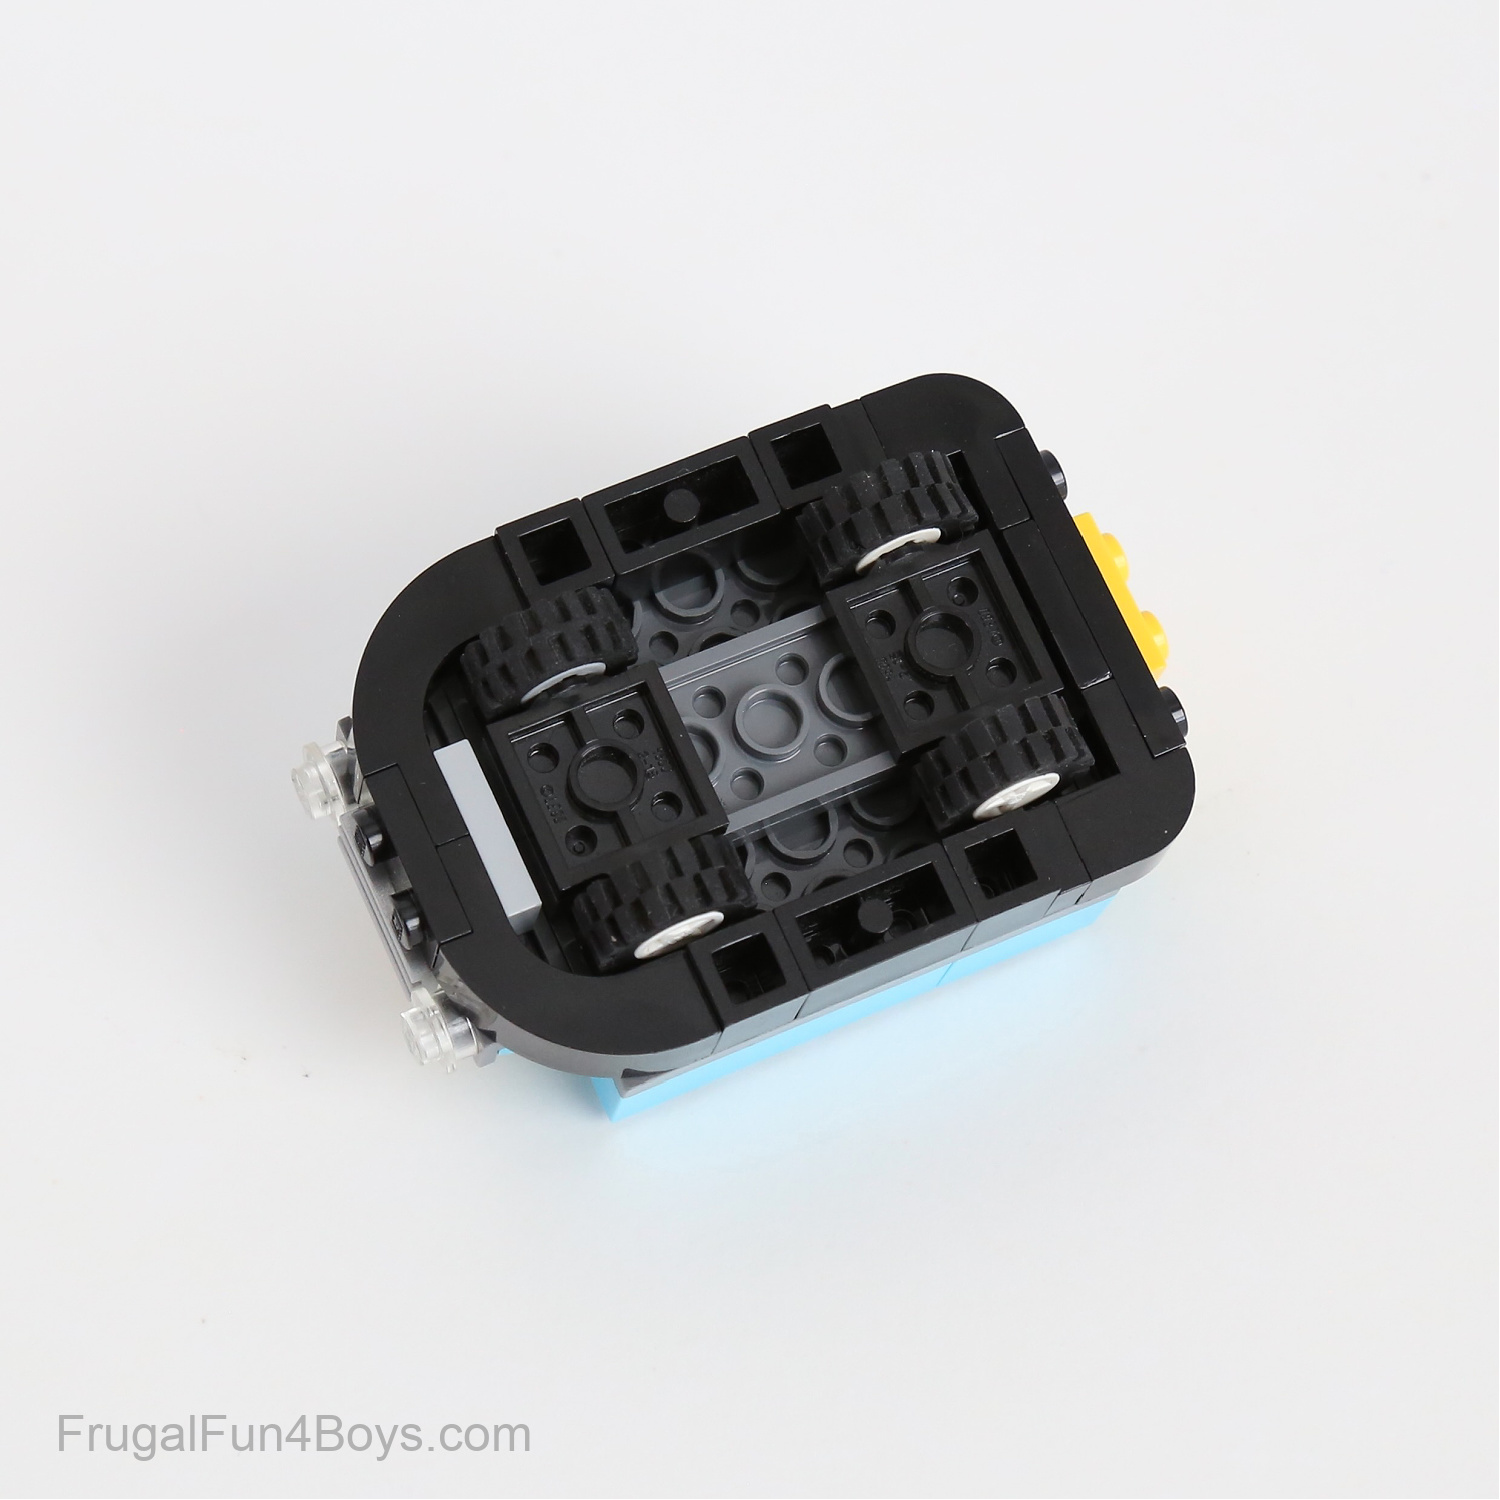
Step 11: Turn the car upside down. Add two 2 x 6 dark gray plates as shown.
Step 12: Gather the bricks shown for building the bumper that goes around the car.
Step 13: Connect the two 1 x 3 arches by adding a 1 x 2 black plate and a 1 x 2 light gray plate. Then add two 1 x 1 bricks with a stud on the side. Attach the stud on the side to the bottom of each arch brick.
Step 14: Then attach the bumper to the front of the car.
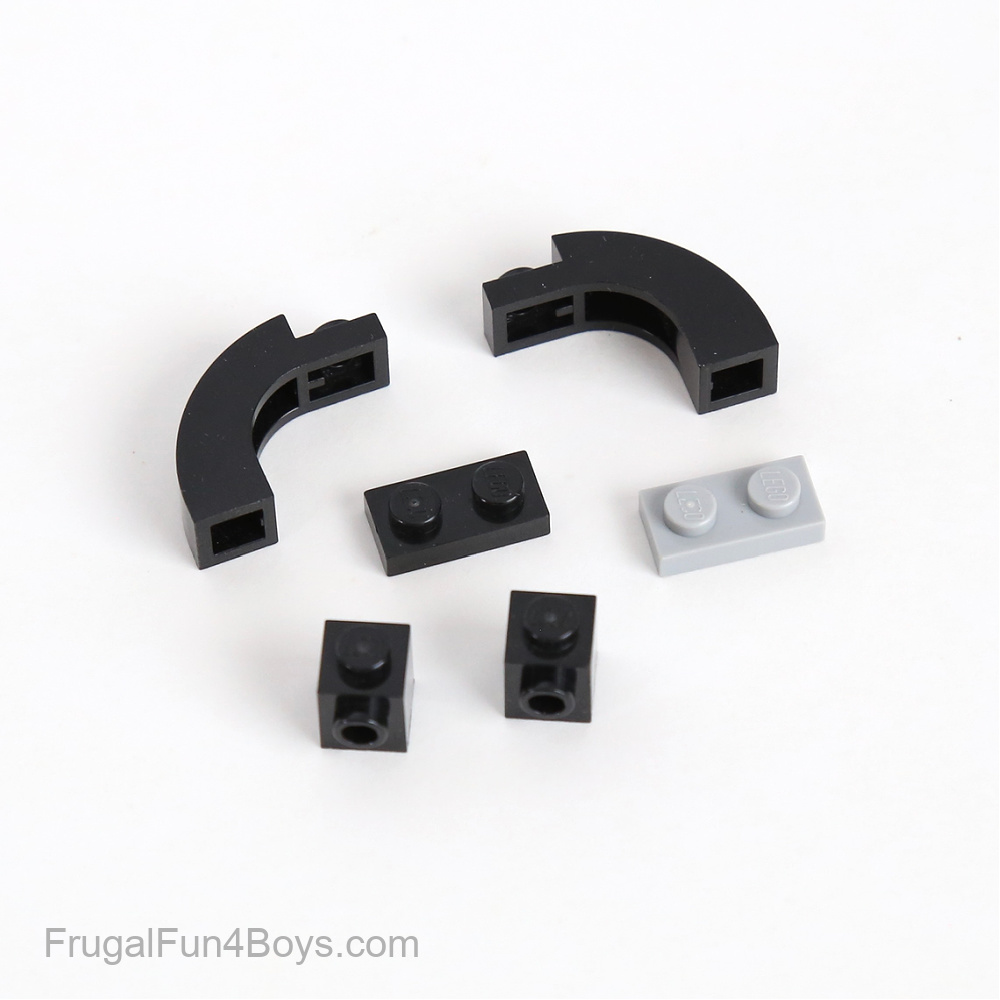
Step 15: Find the bricks shown for the back bumper.
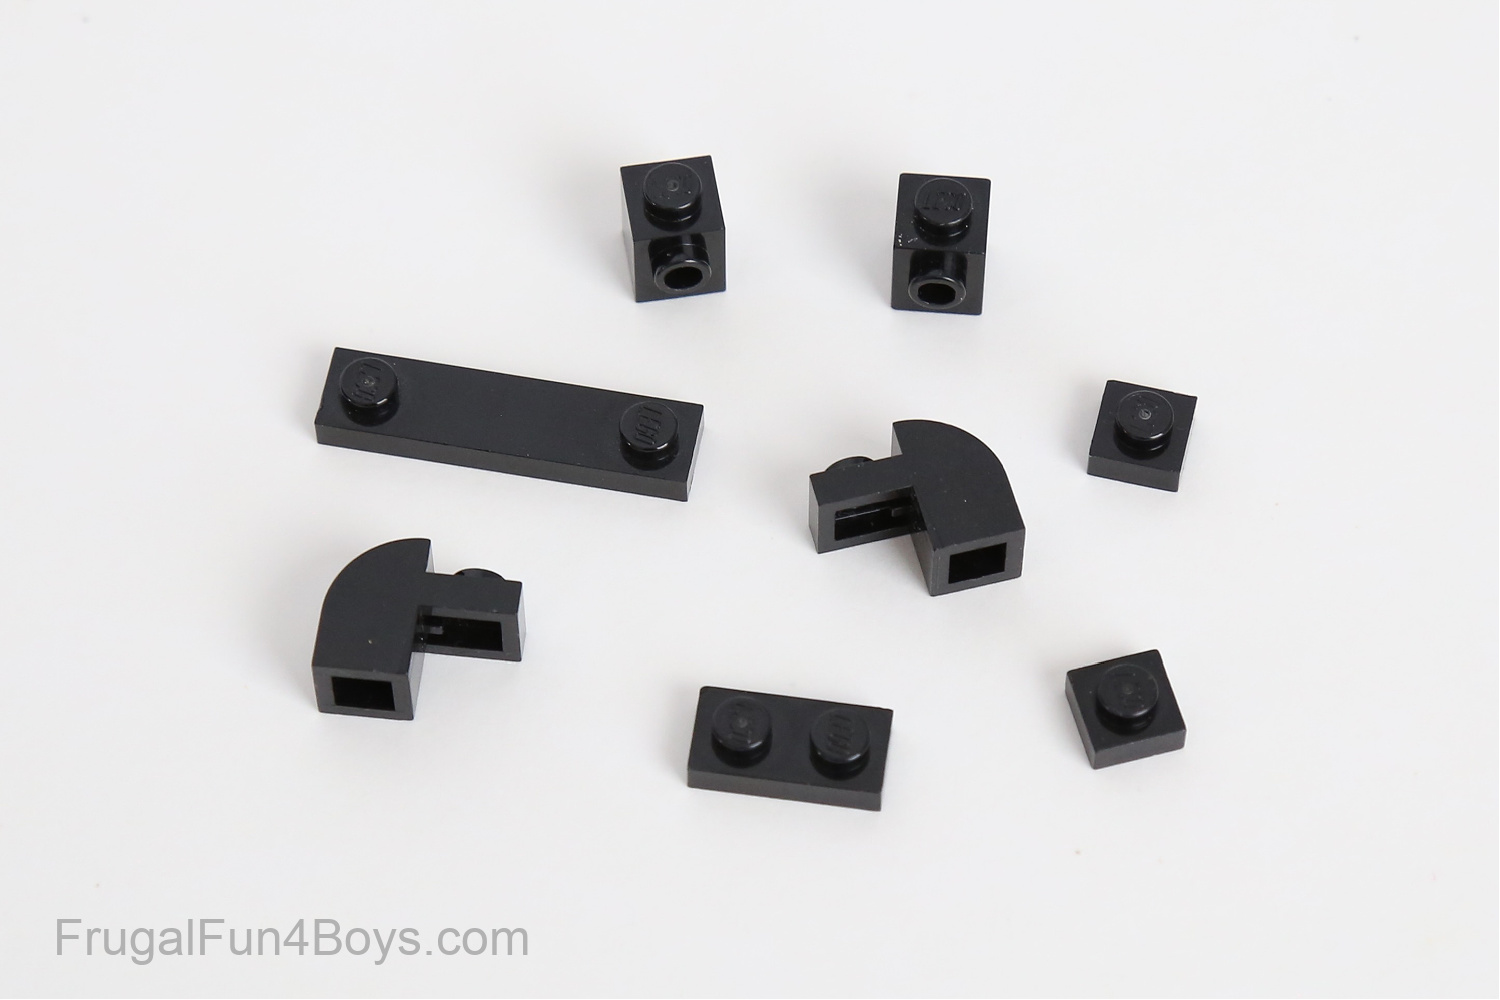
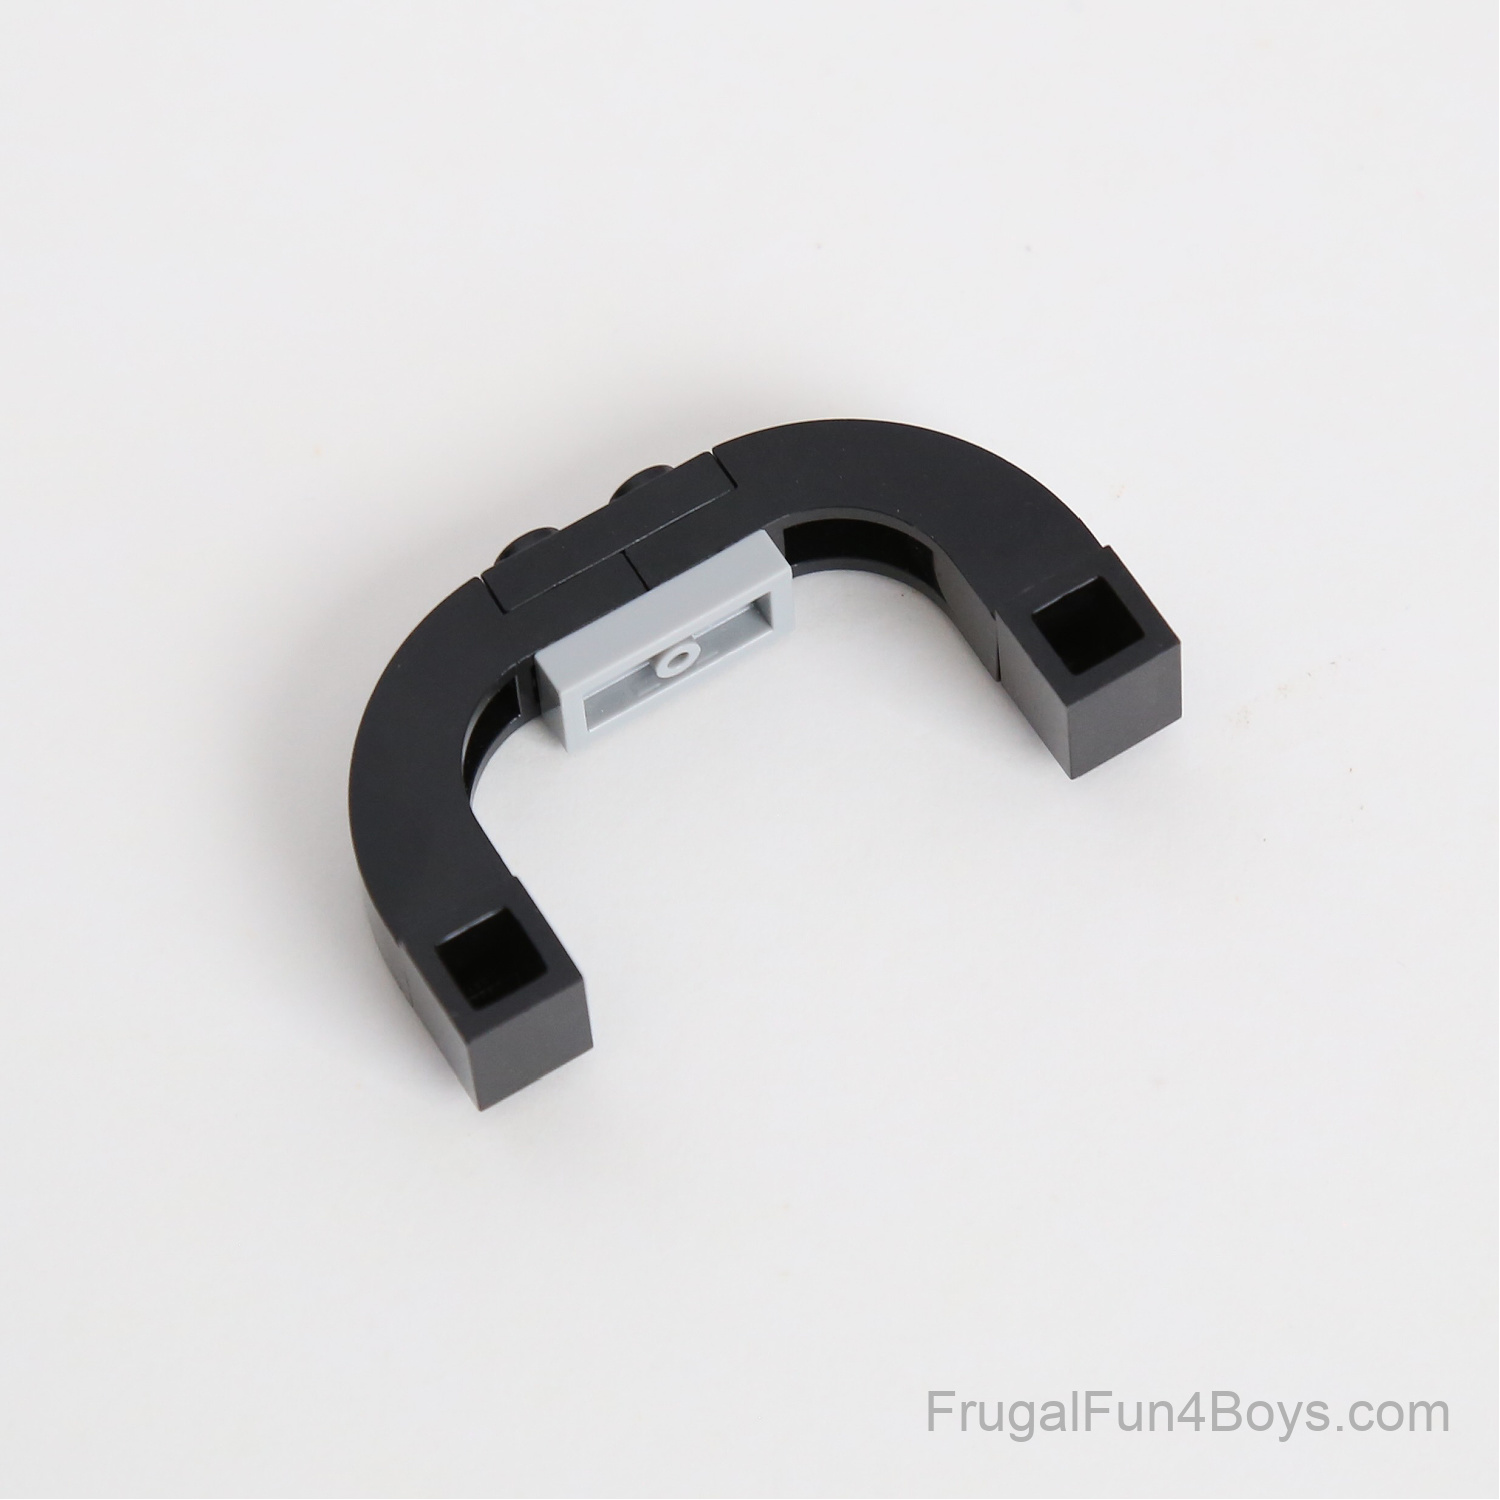
Step 16: Use a 1 x 4 plate to connect two 2 x 1 x 1 1/3 black curved slopes. Then place a 1 x 2 black plate underneath.
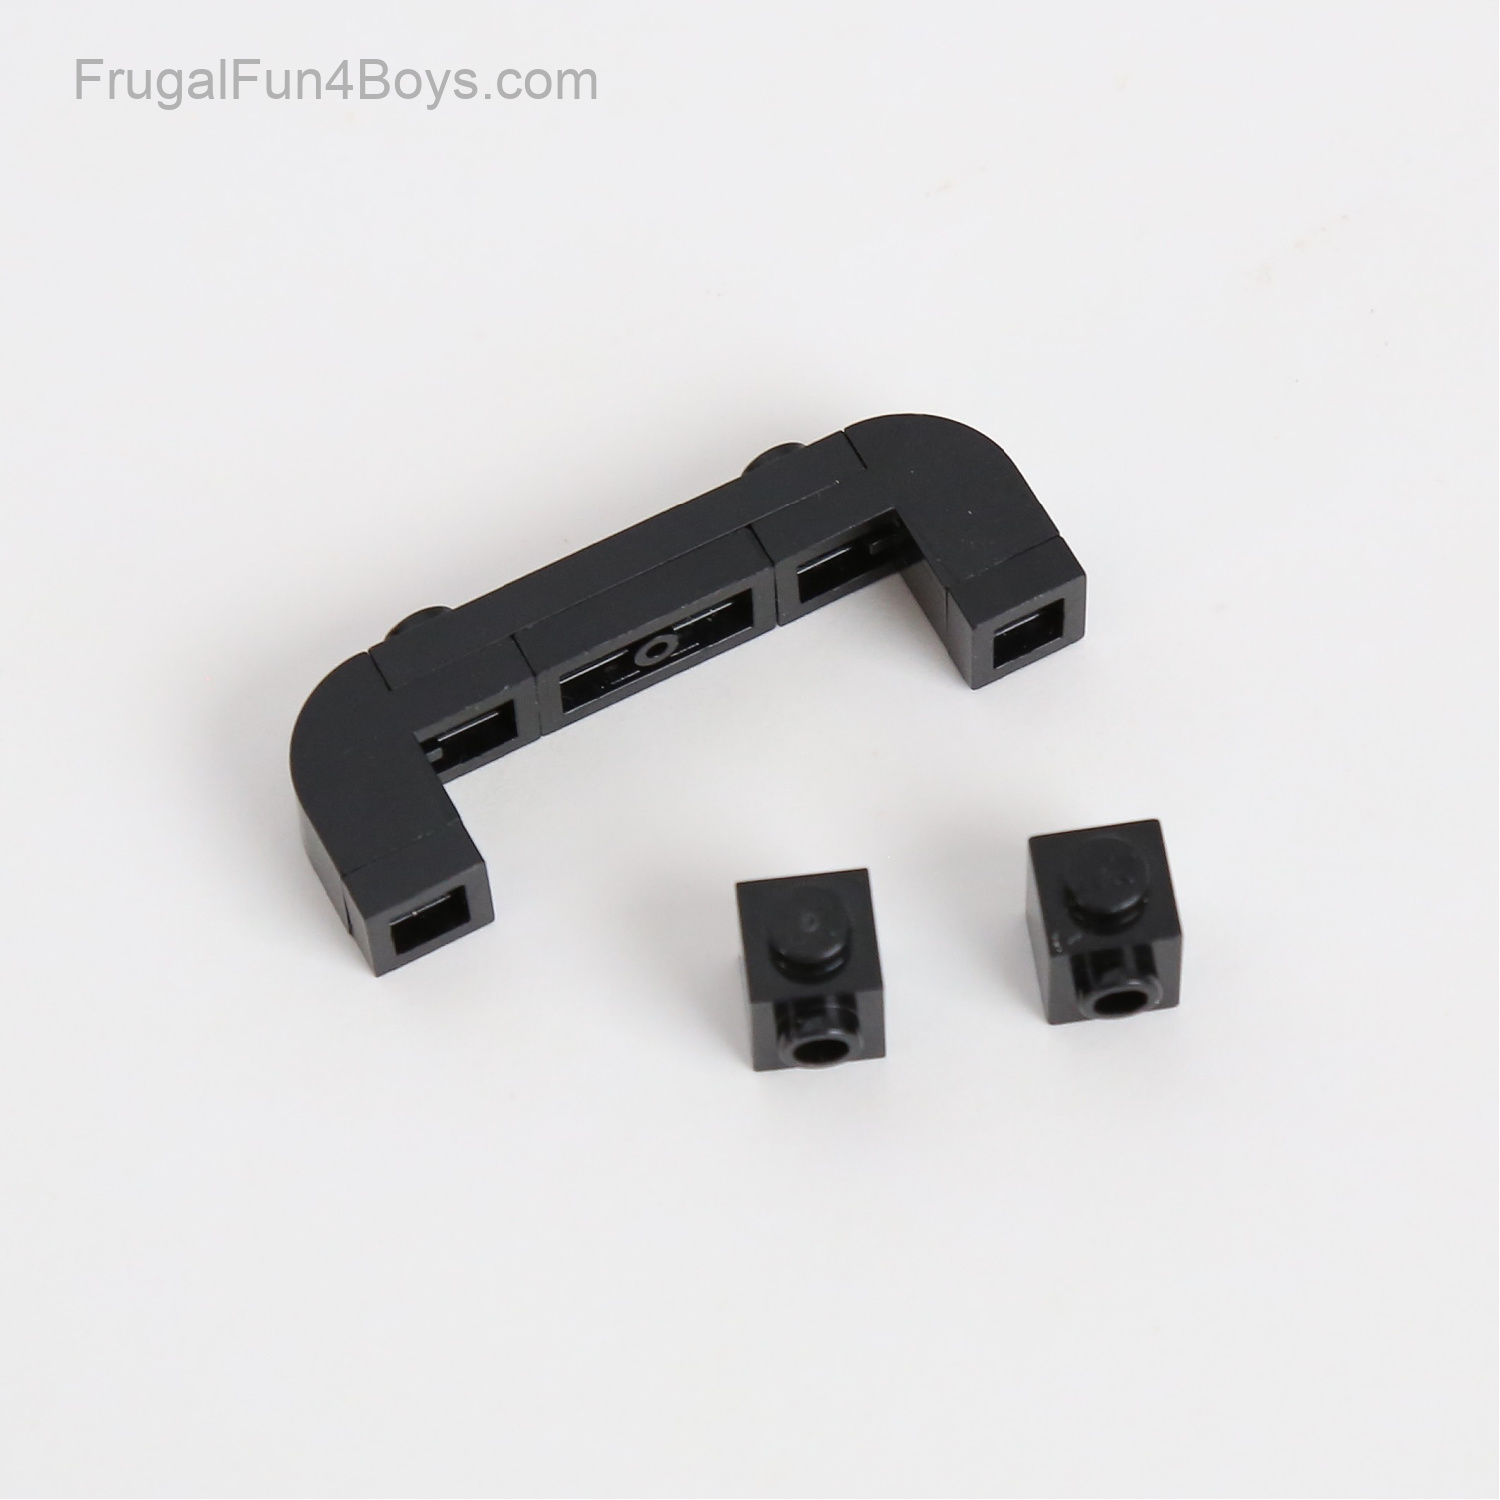
Step 17: Add a 1 x 1 black plate on each side, and then add two 1 x 1 black bricks with a stud on the side as shown.

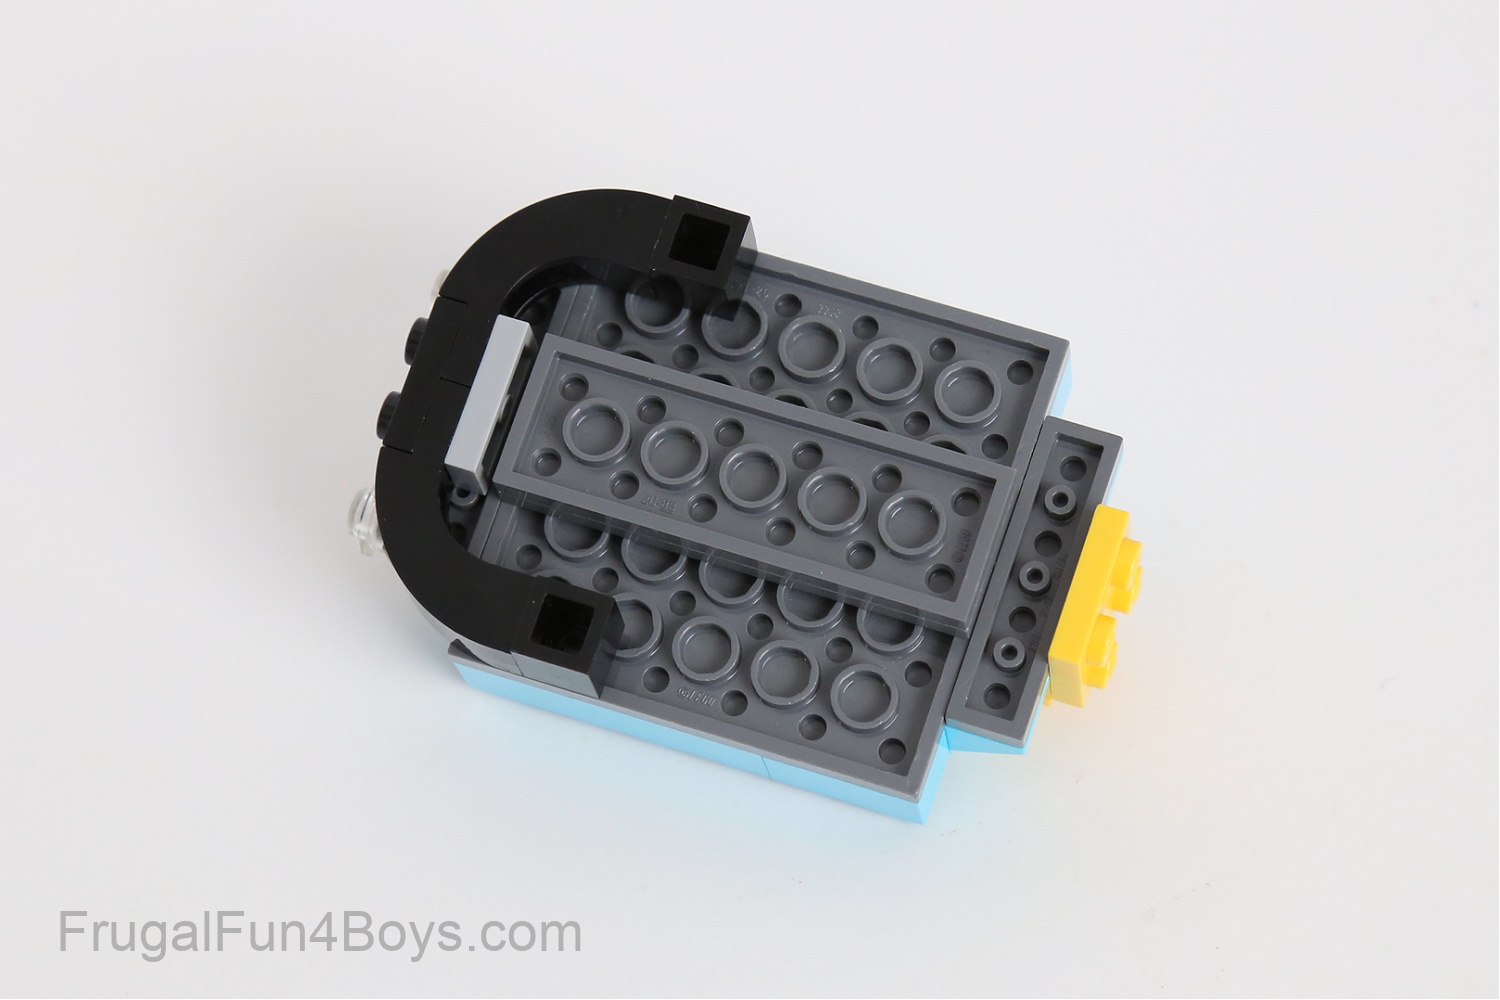
Step 18: Attach the back bumper to the car. Then find two 1 x 2 black bricks and some wheels.
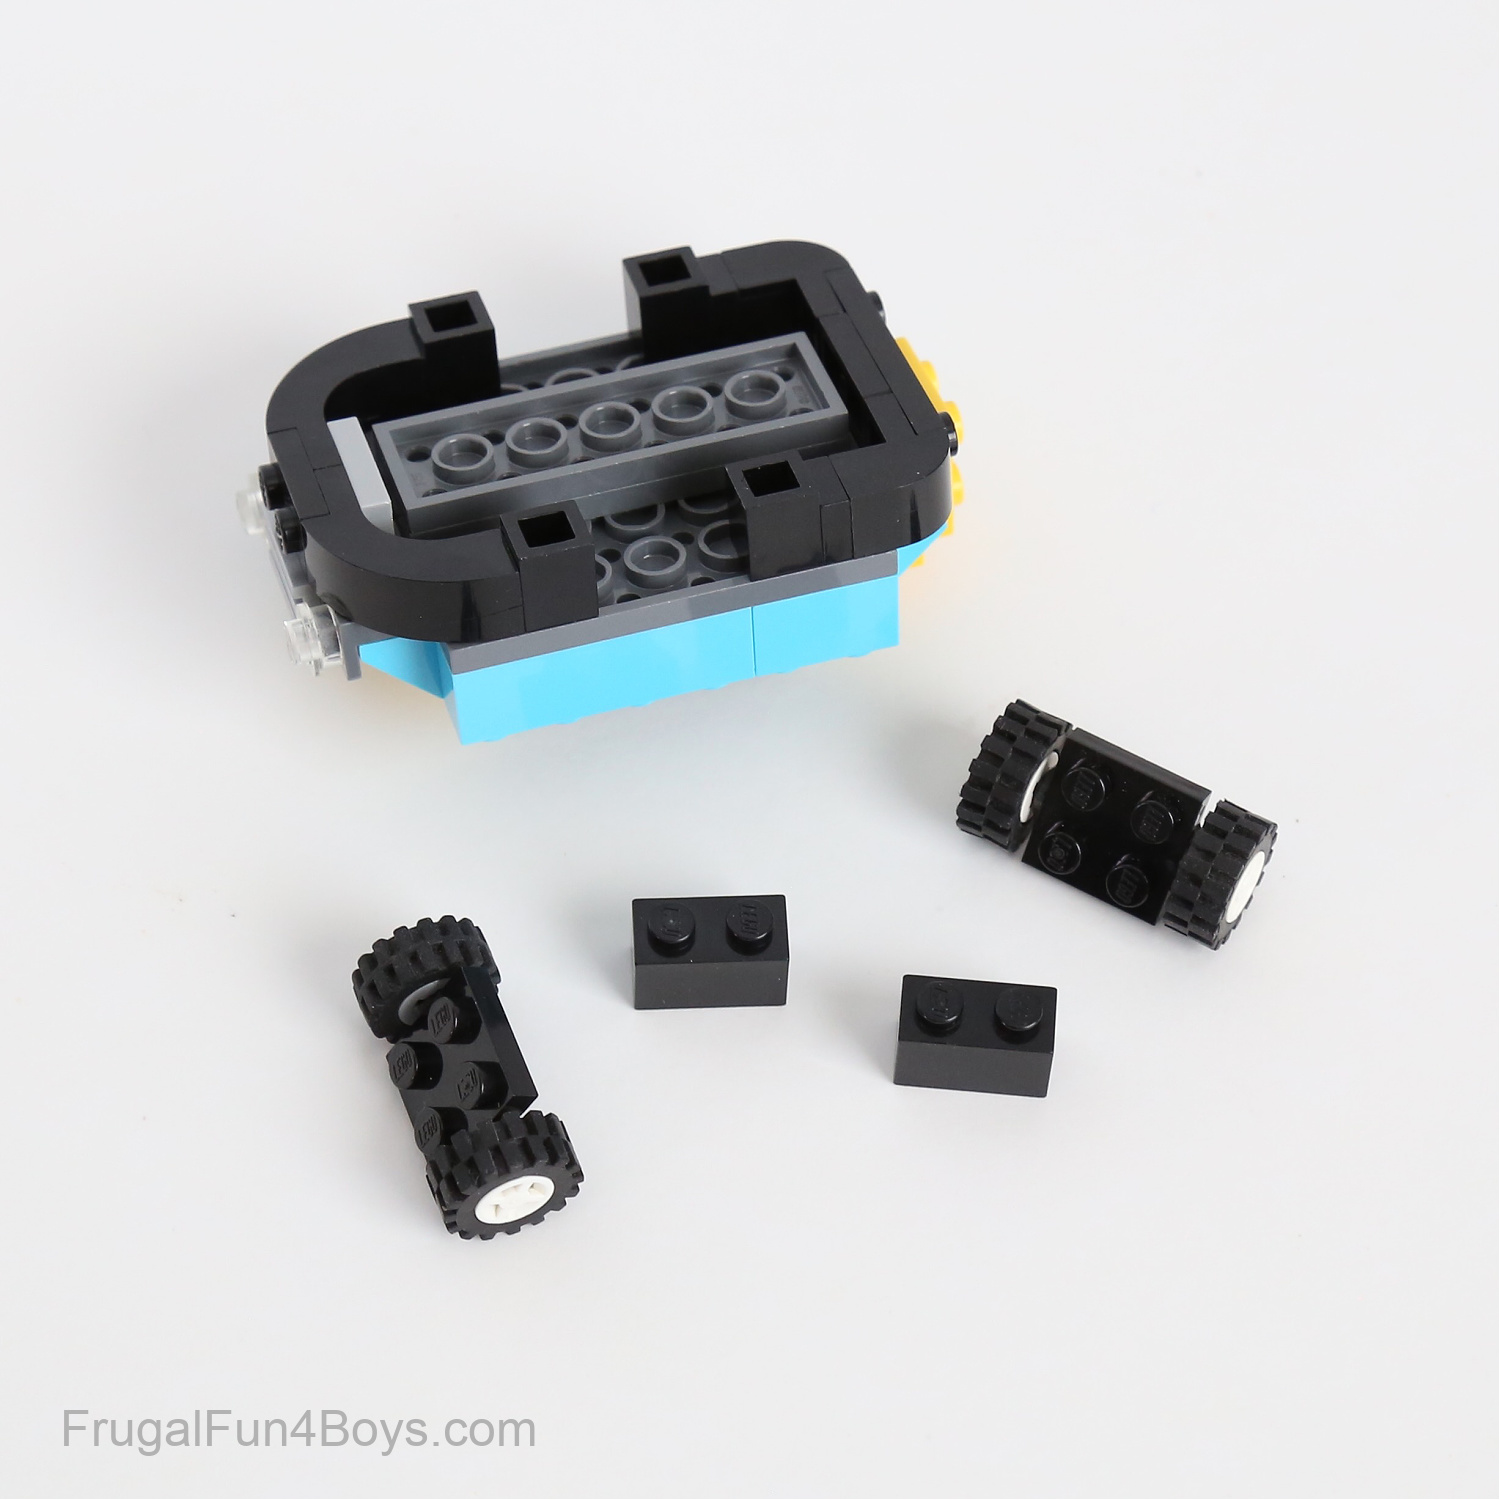
Step 19: Use the two 1 x 2 black bricks to fill in the bumper. Then add the wheels.
NOTE: If you don’t have the black arch bricks shown, you can just put a border of black bricks around the bottom of the car. It will be a rectangle shape instead of rounded, but it still works!
Step 20: Now your bumper car is complete! Add a black bar to look like the rod on a real bumper car.
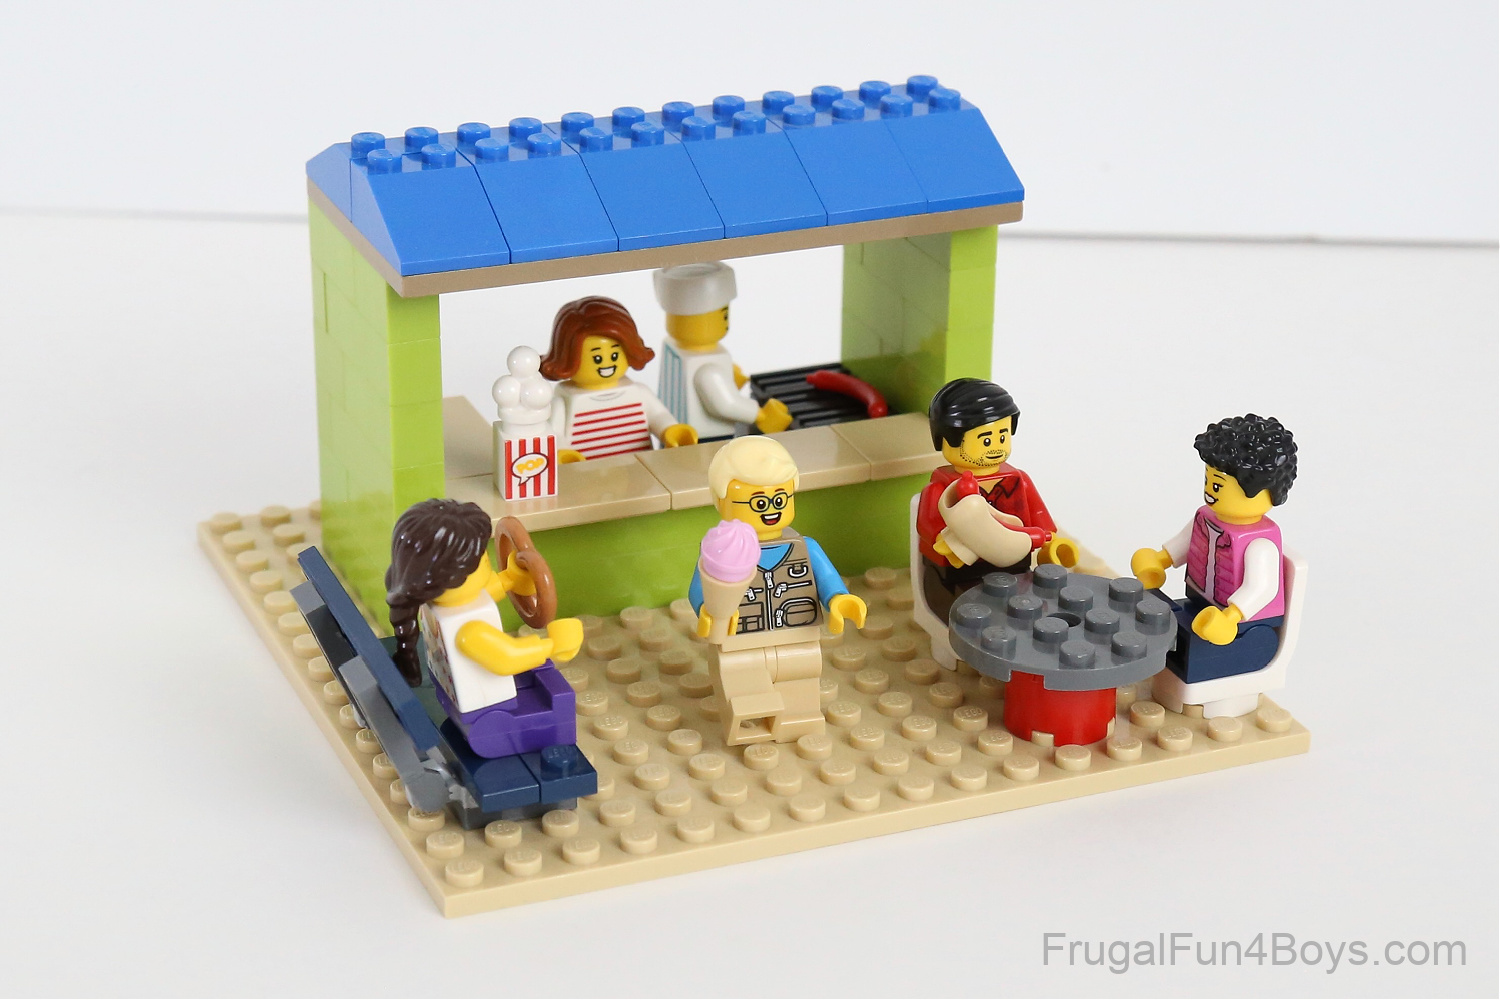
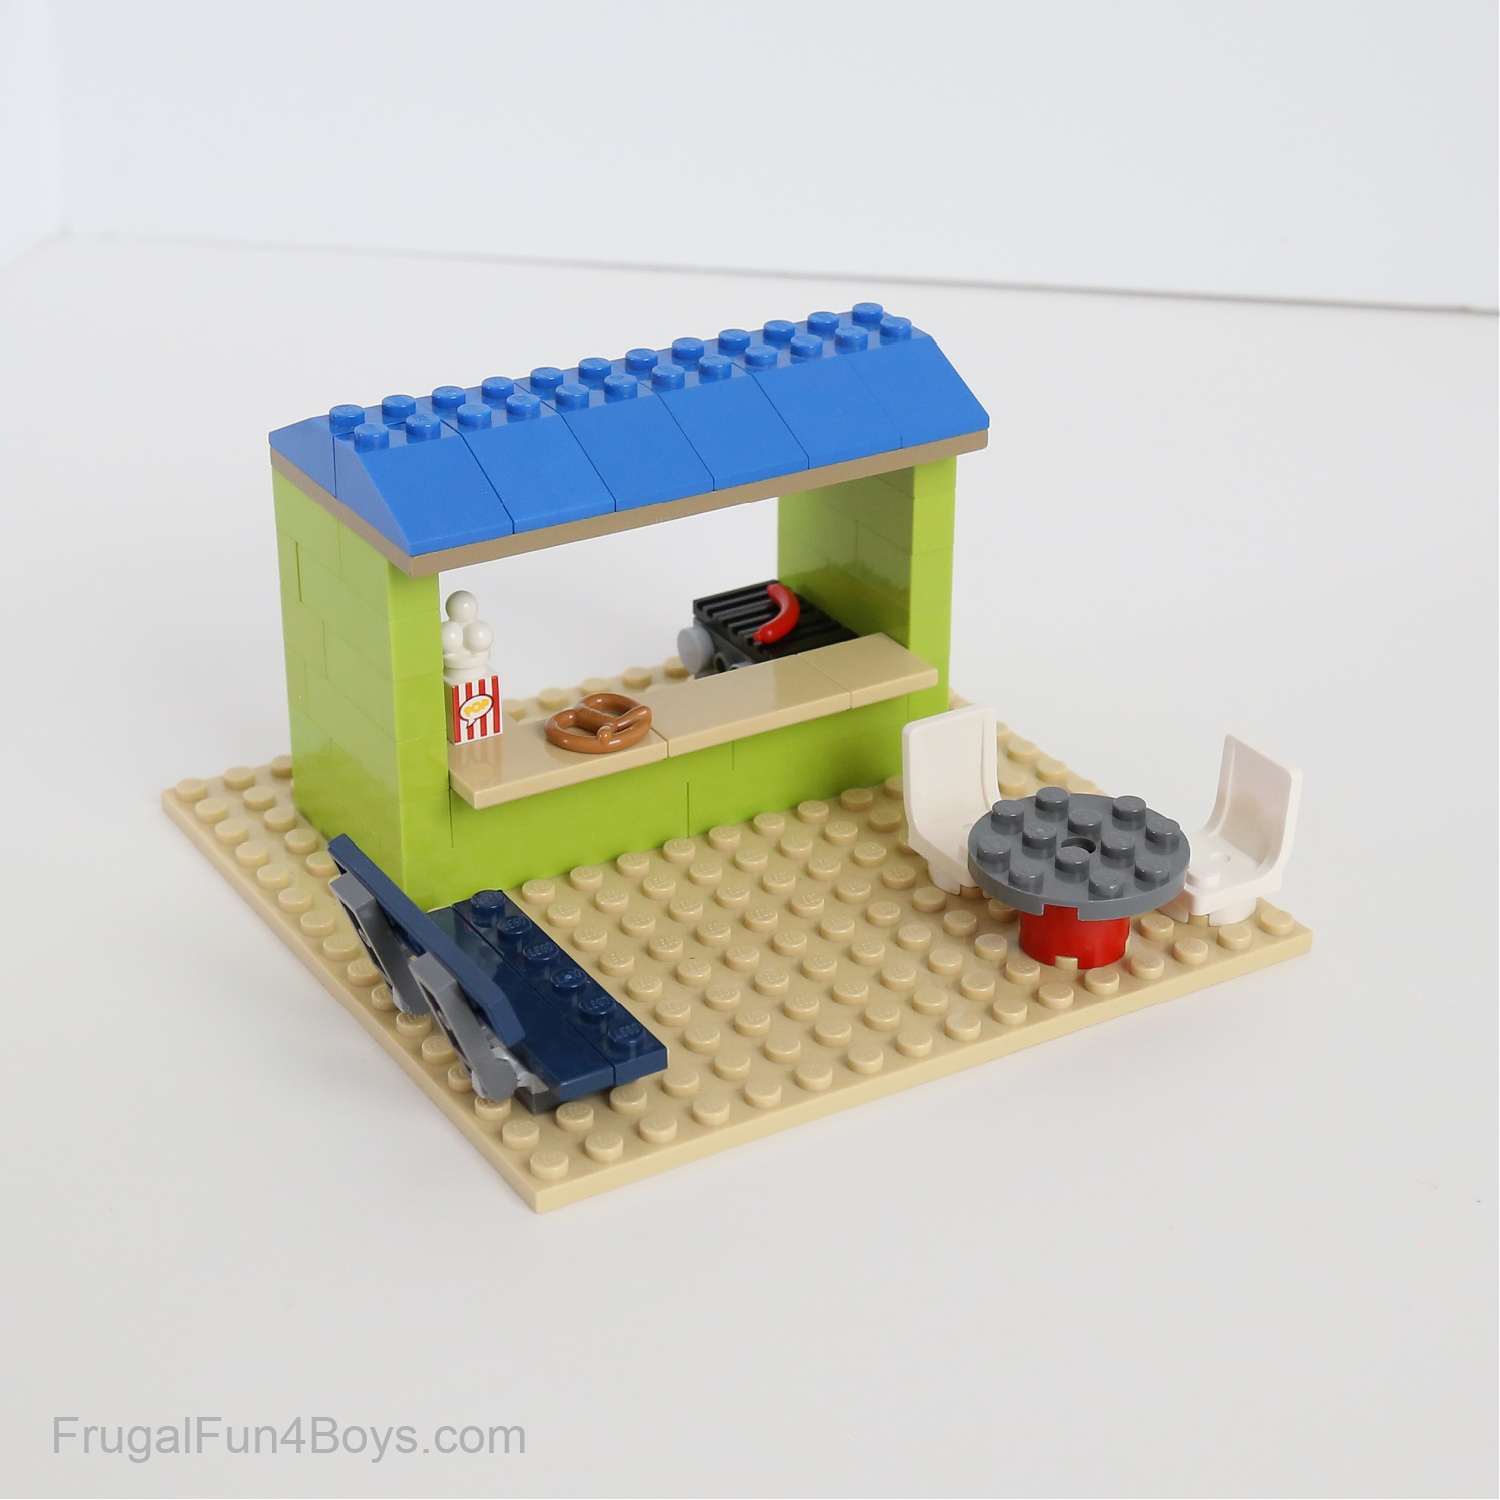
Build a LEGO Concession Stand
Gather whatever food items you have and build a simple concession stand!
We found LEGO popcorn, pretzels, hot dogs, and pizza in our collection.
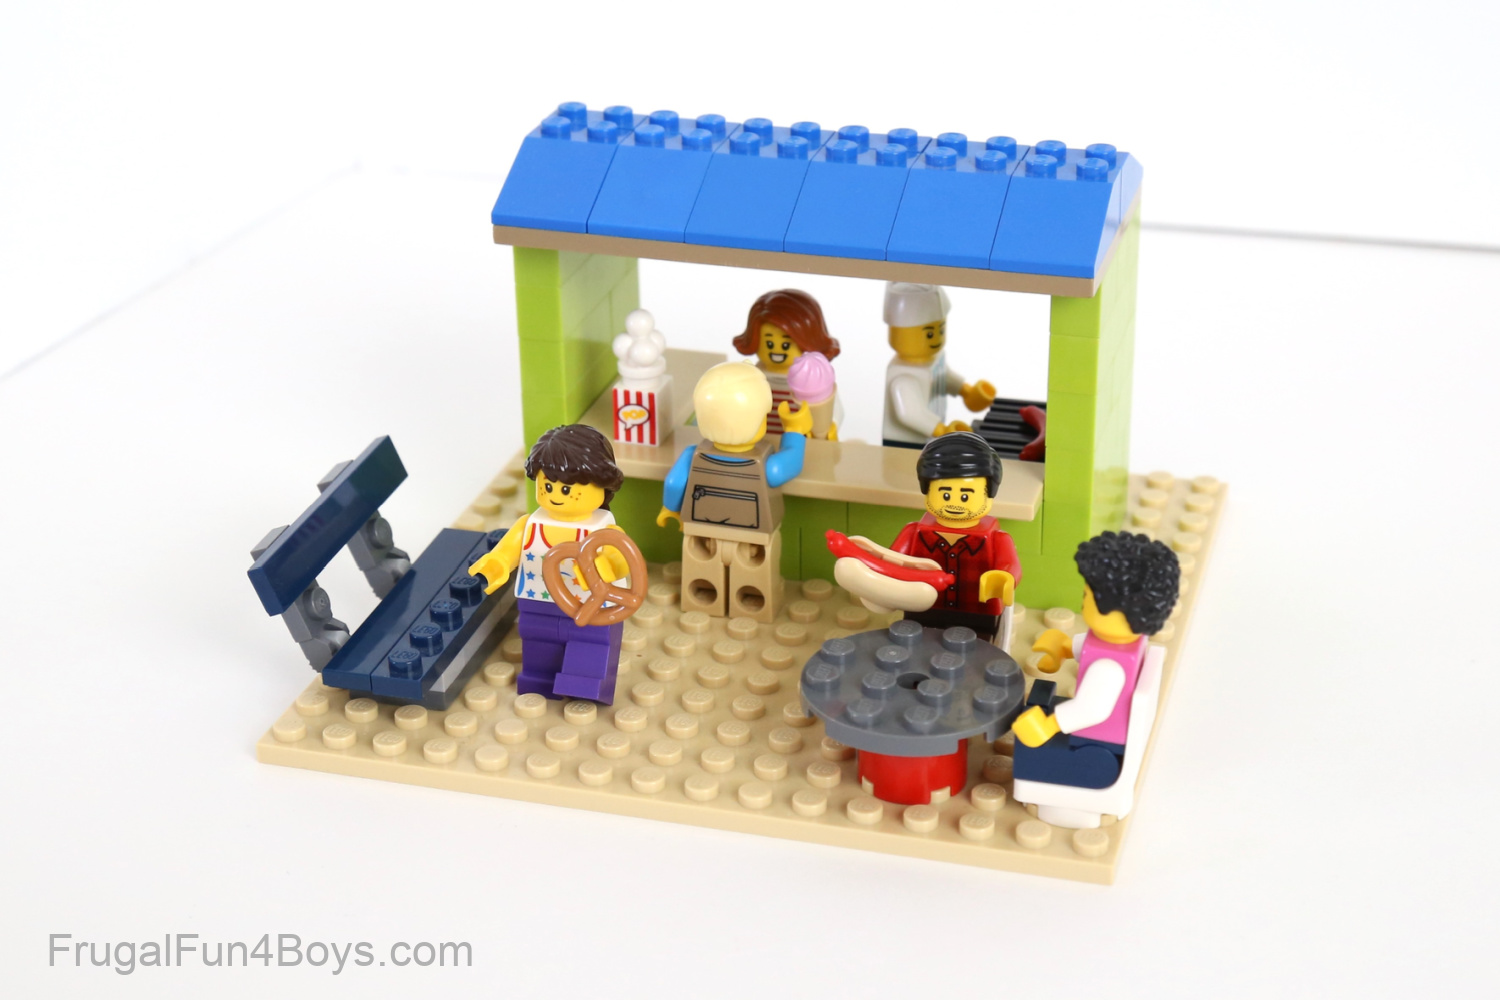
Oh, and ice cream cones!
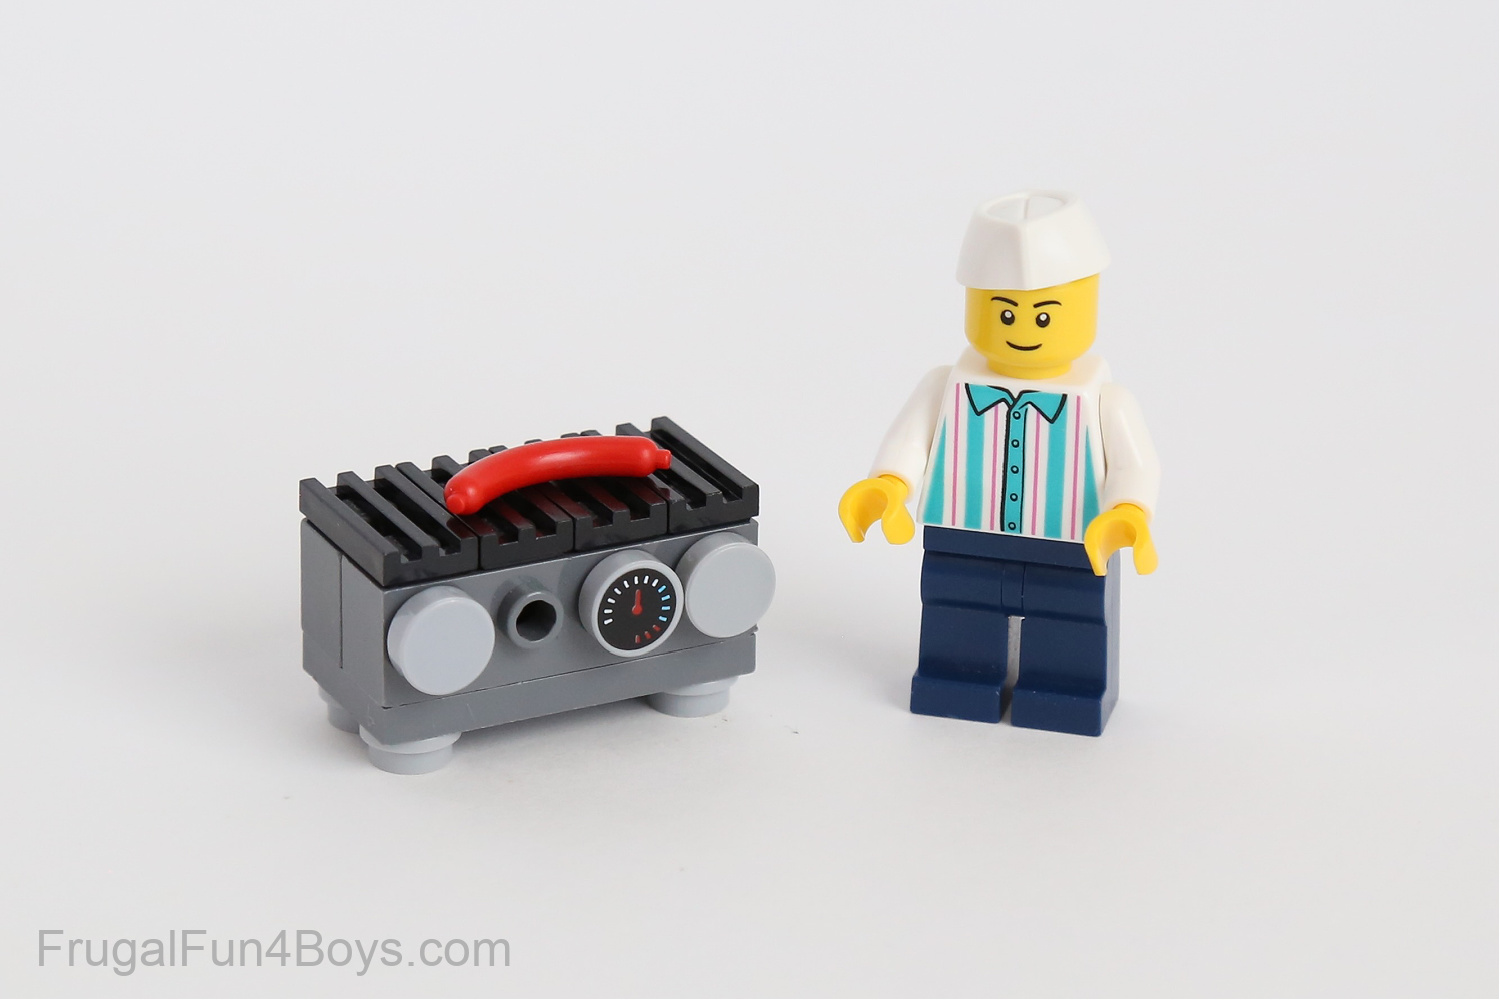
Here’s an idea for a grill made out of LEGO bricks. I don’t know where we got that little round tile, but it was perfect!
The building is really simple!
1 Comments
Andrew Aug 16, 2023
Thanks so much for these weekly ideas, we appreciate your effort! My 5 year old son and I built the Ferris wheel and he loved it. Even designed his own way of attaching the carriages since we didn't have enough of the technic pieces.
It's now displayed in his room.
Post a Comment