
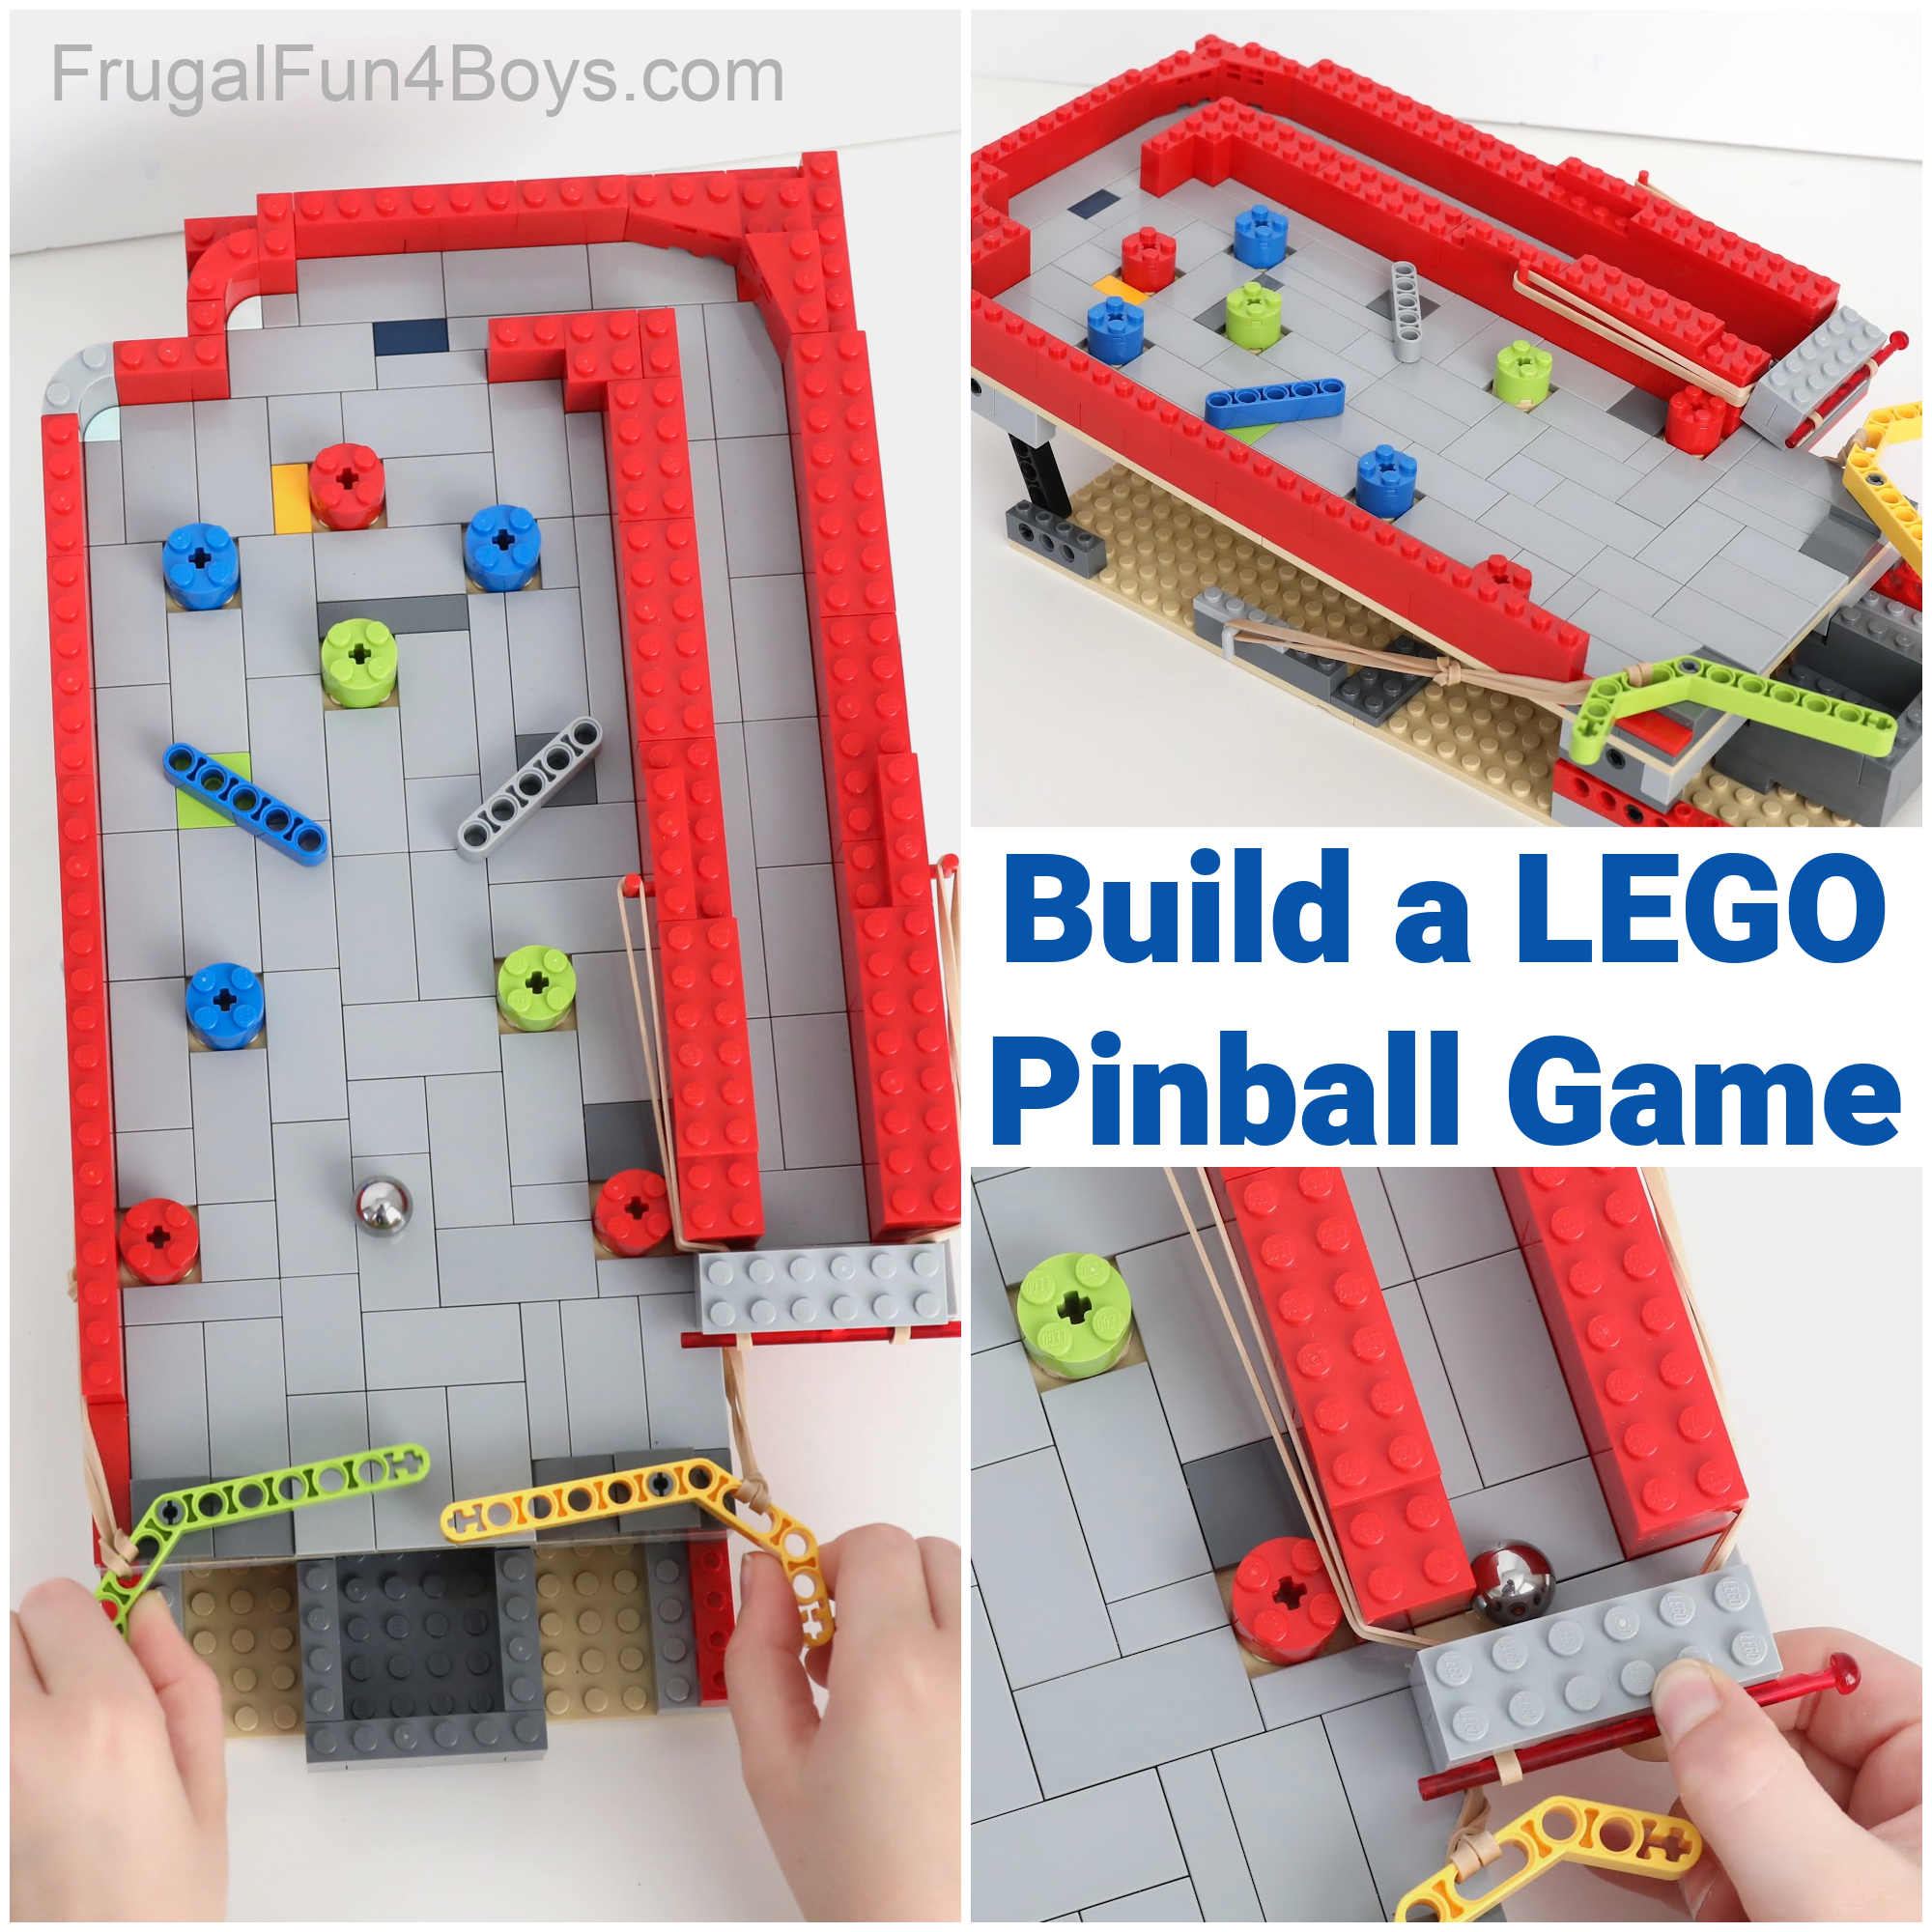
Use your bricks to build a LEGO pinball machine that really works!
This is such a fun LEGO project because you get to build, and then also play. We love building LEGO contraptions and projects that really do something!
This LEGO pinball machine is also easy to customize with the bricks you have. You can adjust the size of the game based on whether you want to use more or fewer bricks. You’ll definitely need tiles so that the ball can roll easily, but the tiles don’t need to be the same color or size as what’s shown. You can put your own spin on this!
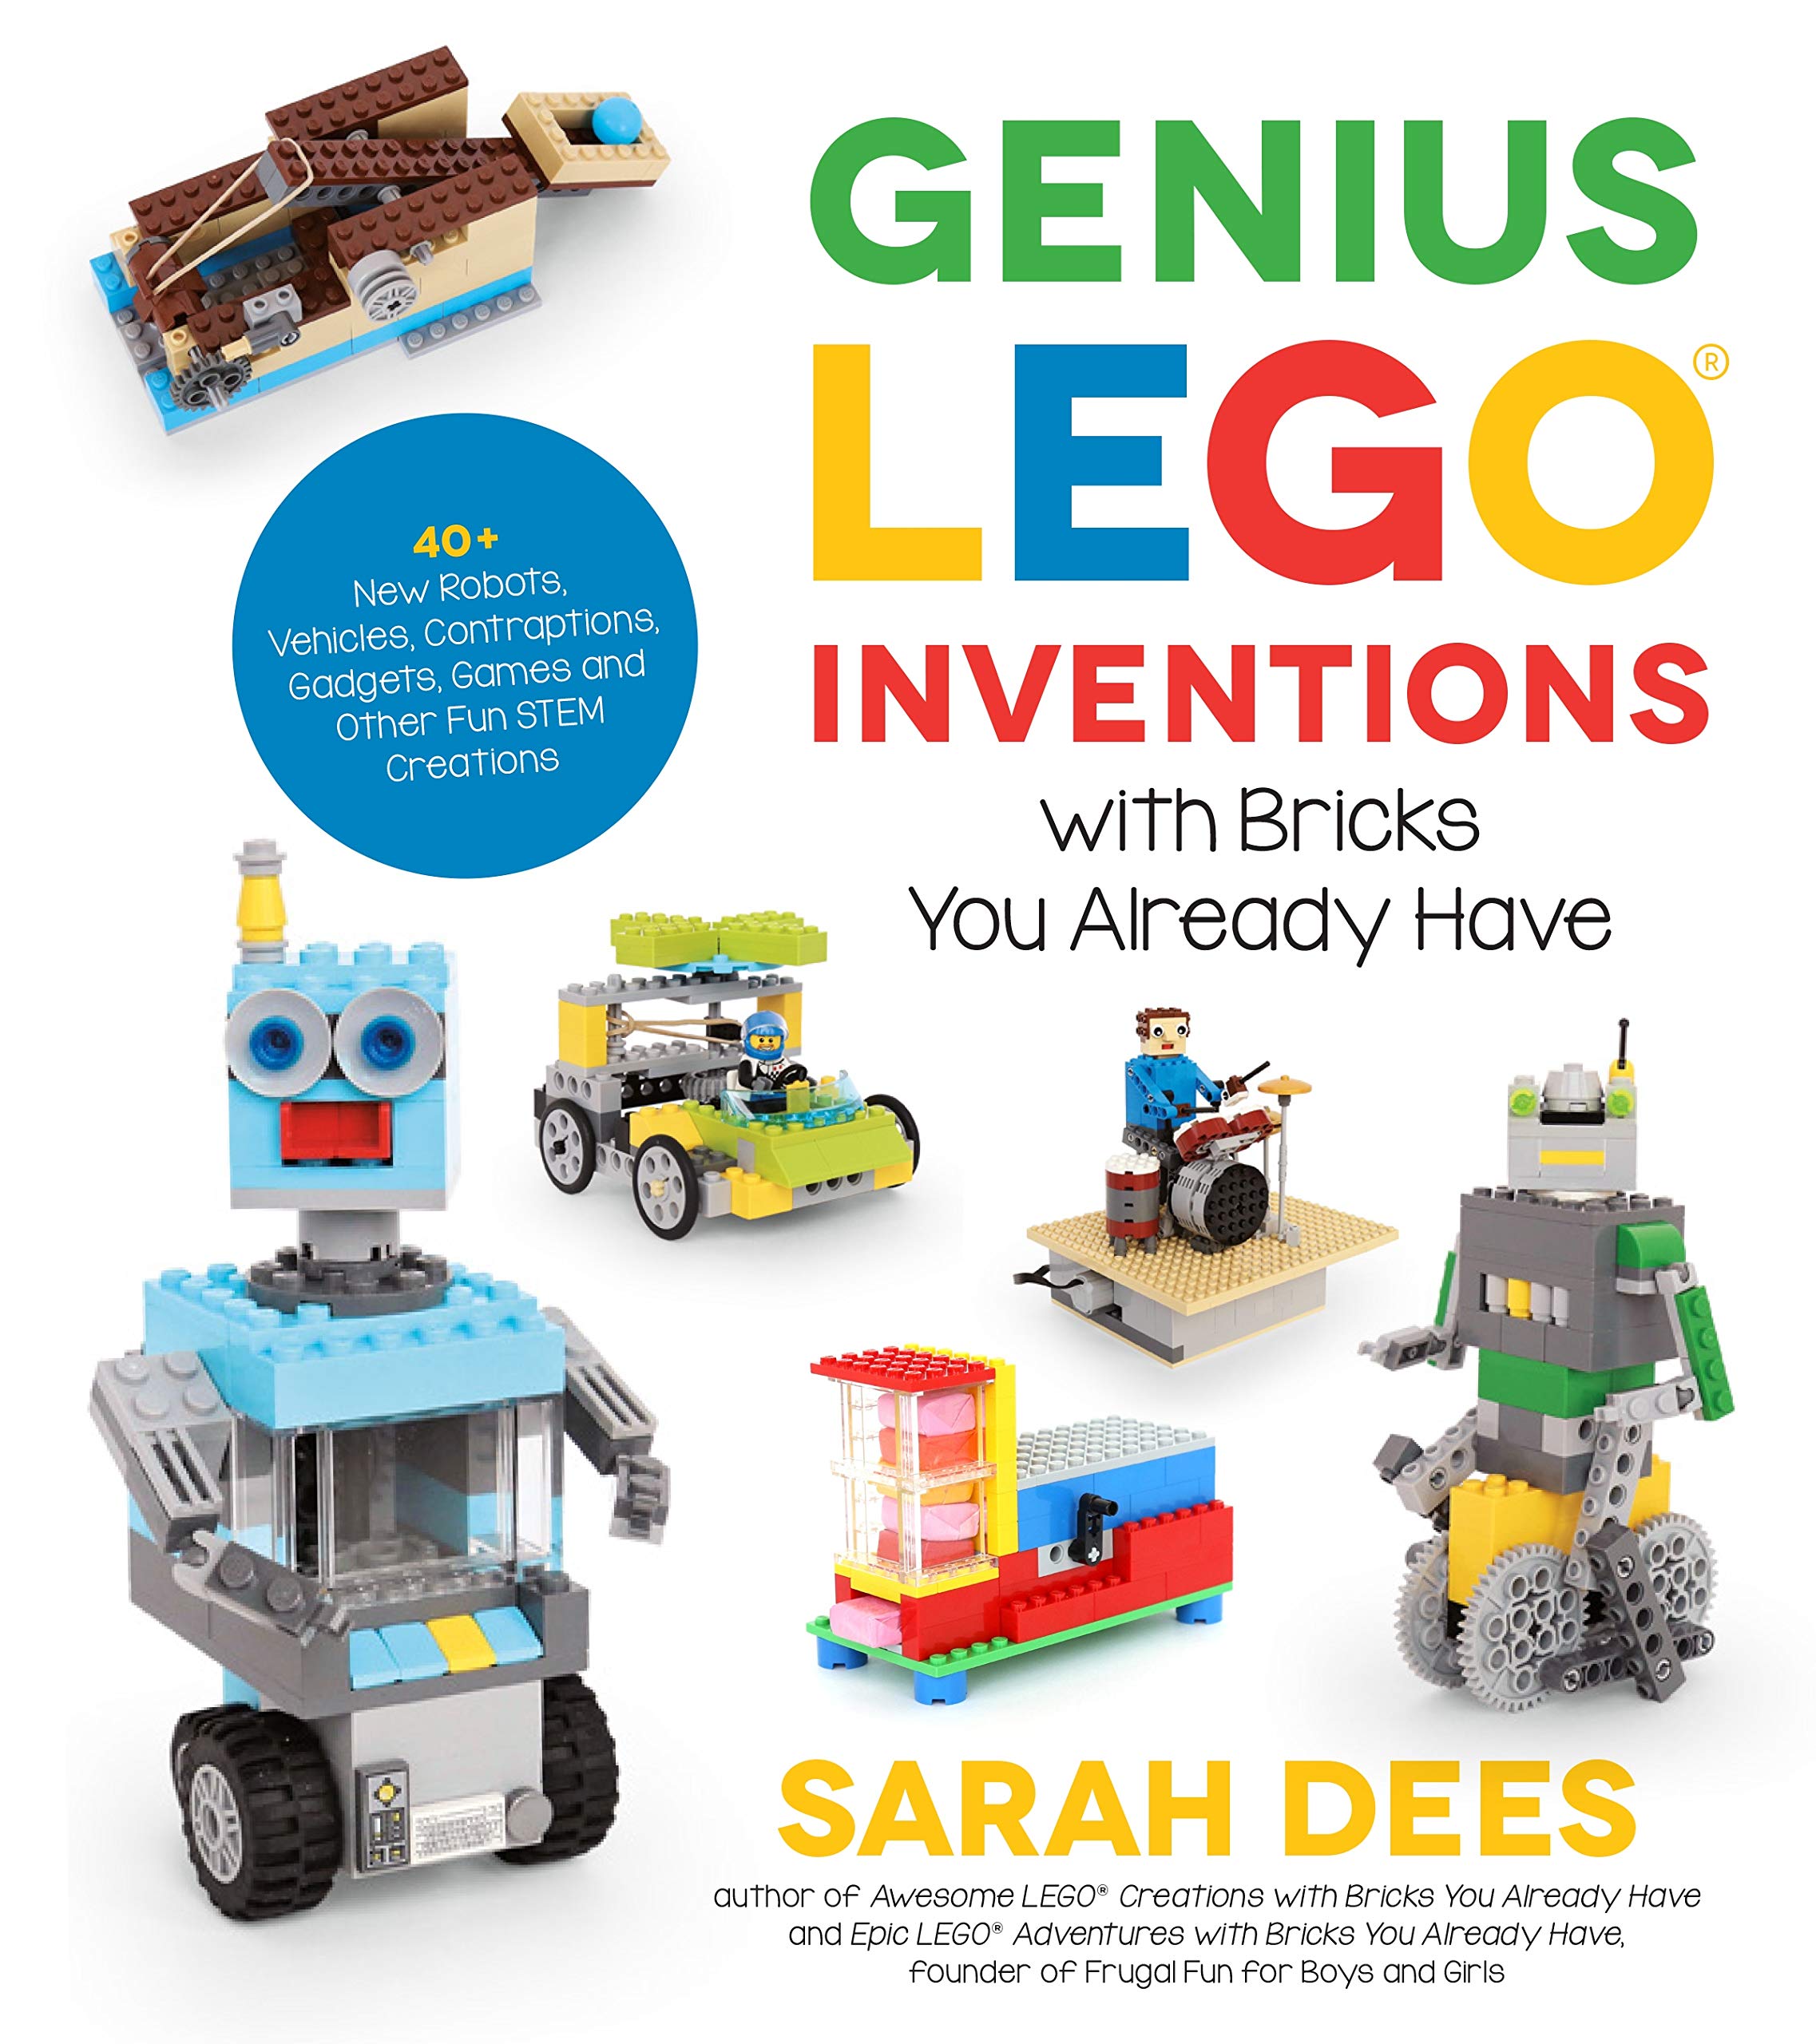
We originally built this LEGO pinball machine for our STEM book, Genius LEGO Inventions with Bricks You Already Have. If you have a kid who likes to tinker, they will love this book! It’s packed with 40 cool LEGO machines to build. Each project has moving parts and does something cool. The book also teaches physics and engineering concepts through detailed explanations of each mechanism.
Order Here: Genius LEGO Inventions with Bricks You Already Have
The pinball machine in the book does not have a way to release the ball. You just put the ball at the top of the game to start it. I have always wanted to come back to this project and find a way to build a lever that would release the ball like a real pinball machine. However, I didn’t want to use any rare LEGO elements, such as Technic shock absorbers/springs. What I ended up with is a simple rubber band release. It works really well!
Video Demonstration!
Want to see our LEGO Pinball Machine in action? Click the play button to watch the video.
LEGO Pinball Machine Building Instructions
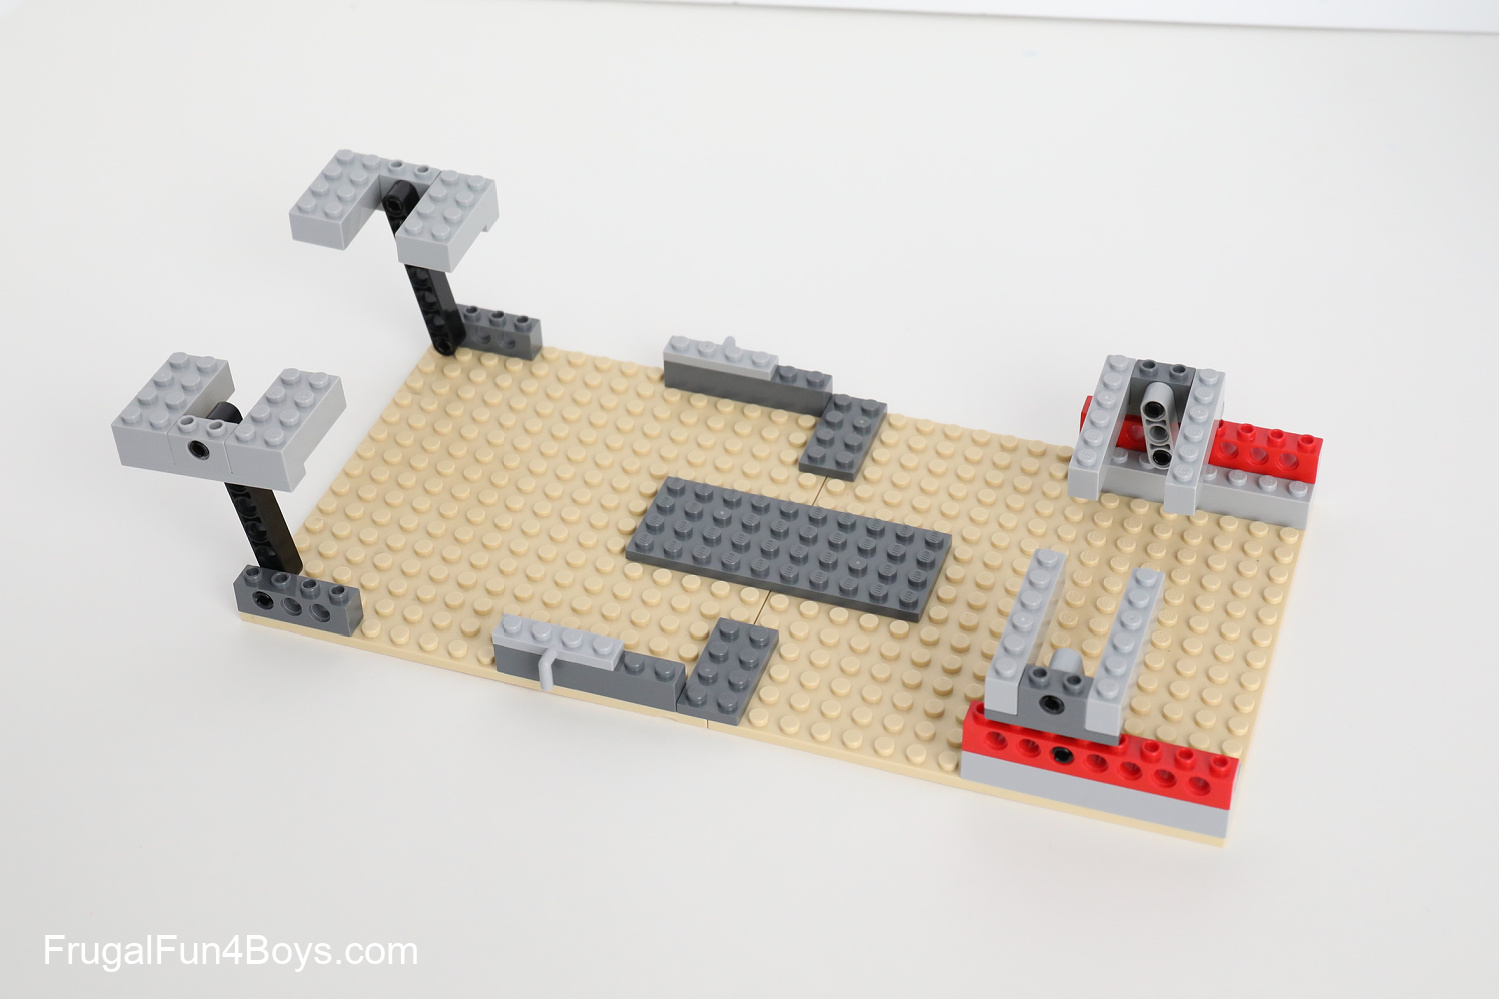
The base for our pinball machine is made from two 16 x 16 plates. I set up the base as shown below to create supports for the pinball game. It’s important for the pinball machine to sit at an angle so that the ball will roll.
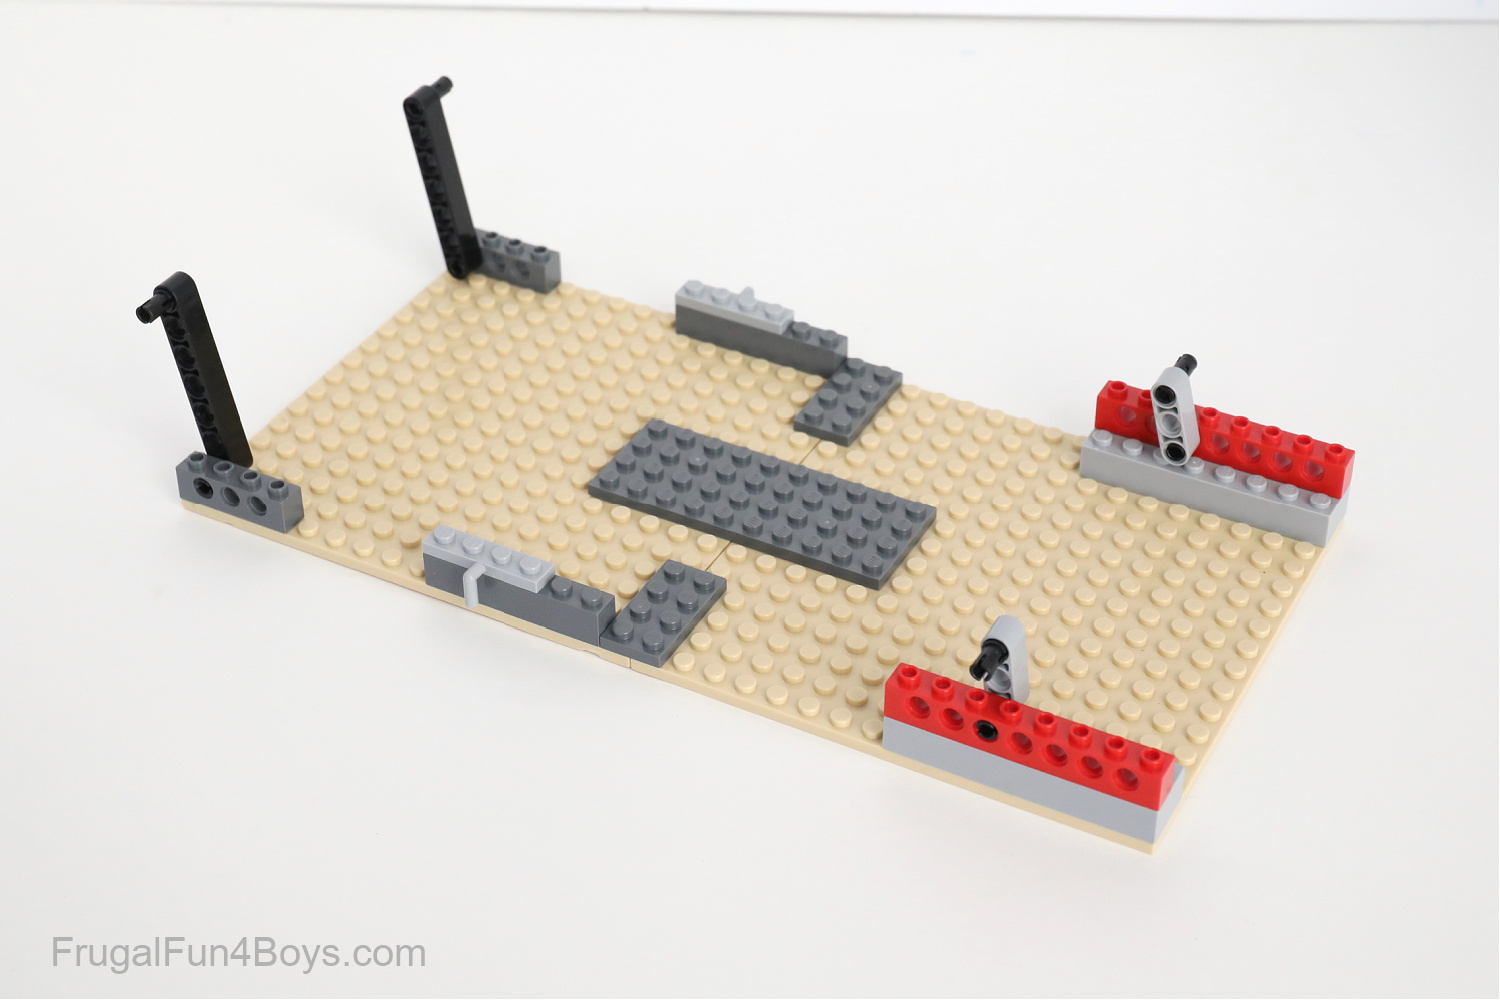
Gather the pieces shown for attaching the pinball game to the base.
Build two supports that each have a 1 x 4 plate, a 1 x 2 Technic brick, and two 1 x 6 bricks.
Then build two supports that each have a 1 x 6 plate, a 1 x 2 Technic brick, and two 2 x 4 bricks.
Assemble them as shown below.
Next, slide these supports onto the black Technic pins on the base.
Now you’re ready to build the pinball game.
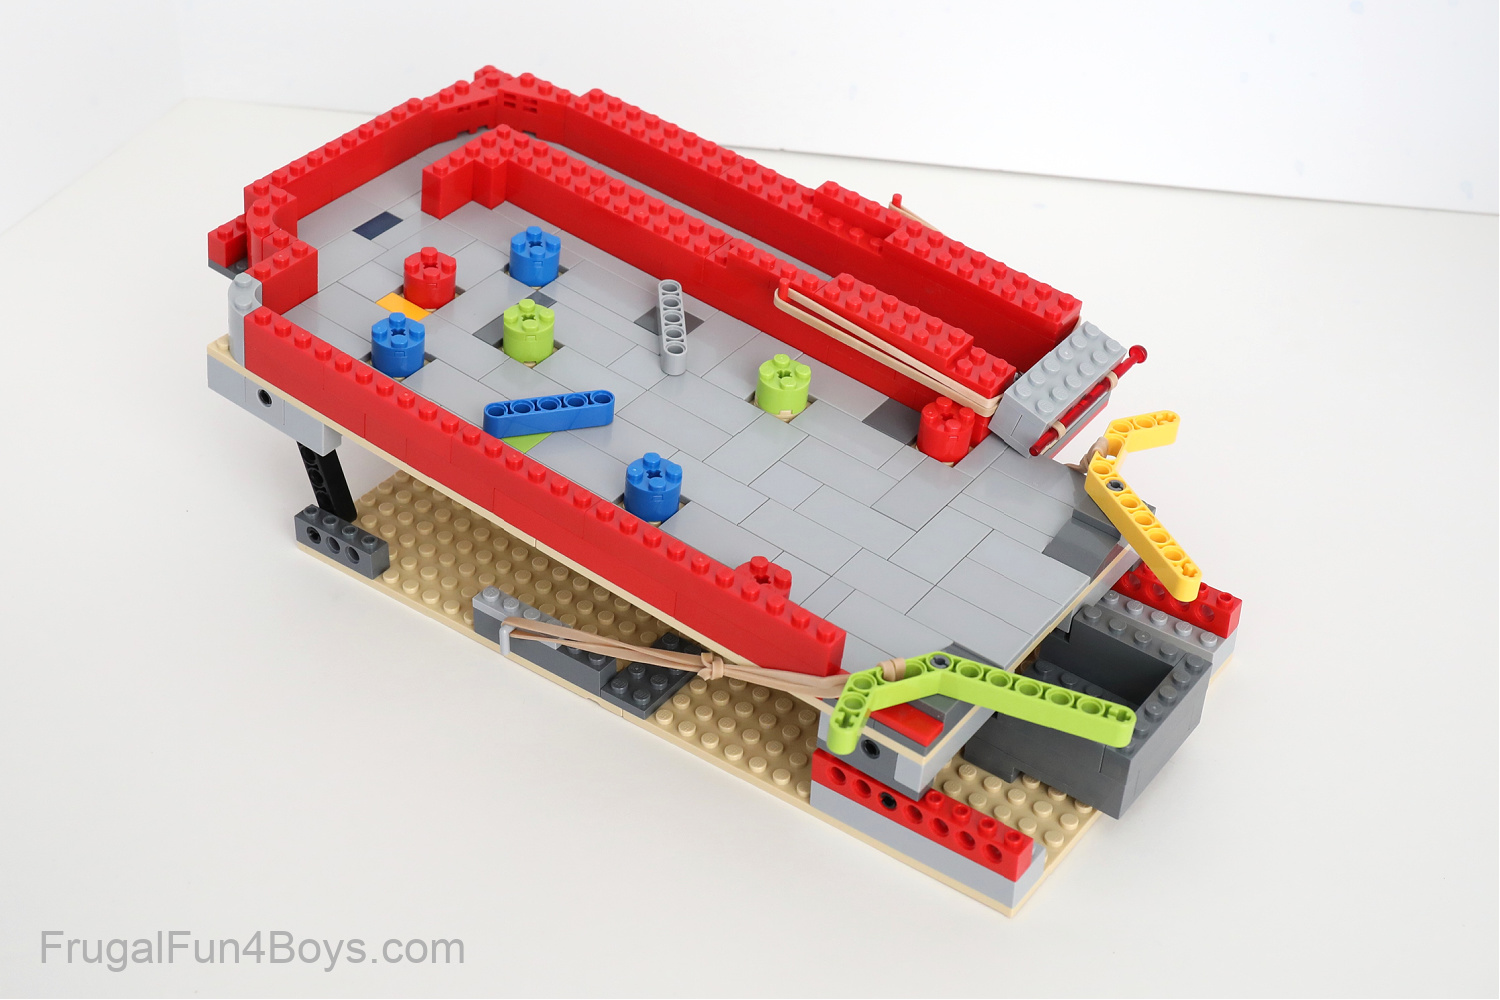
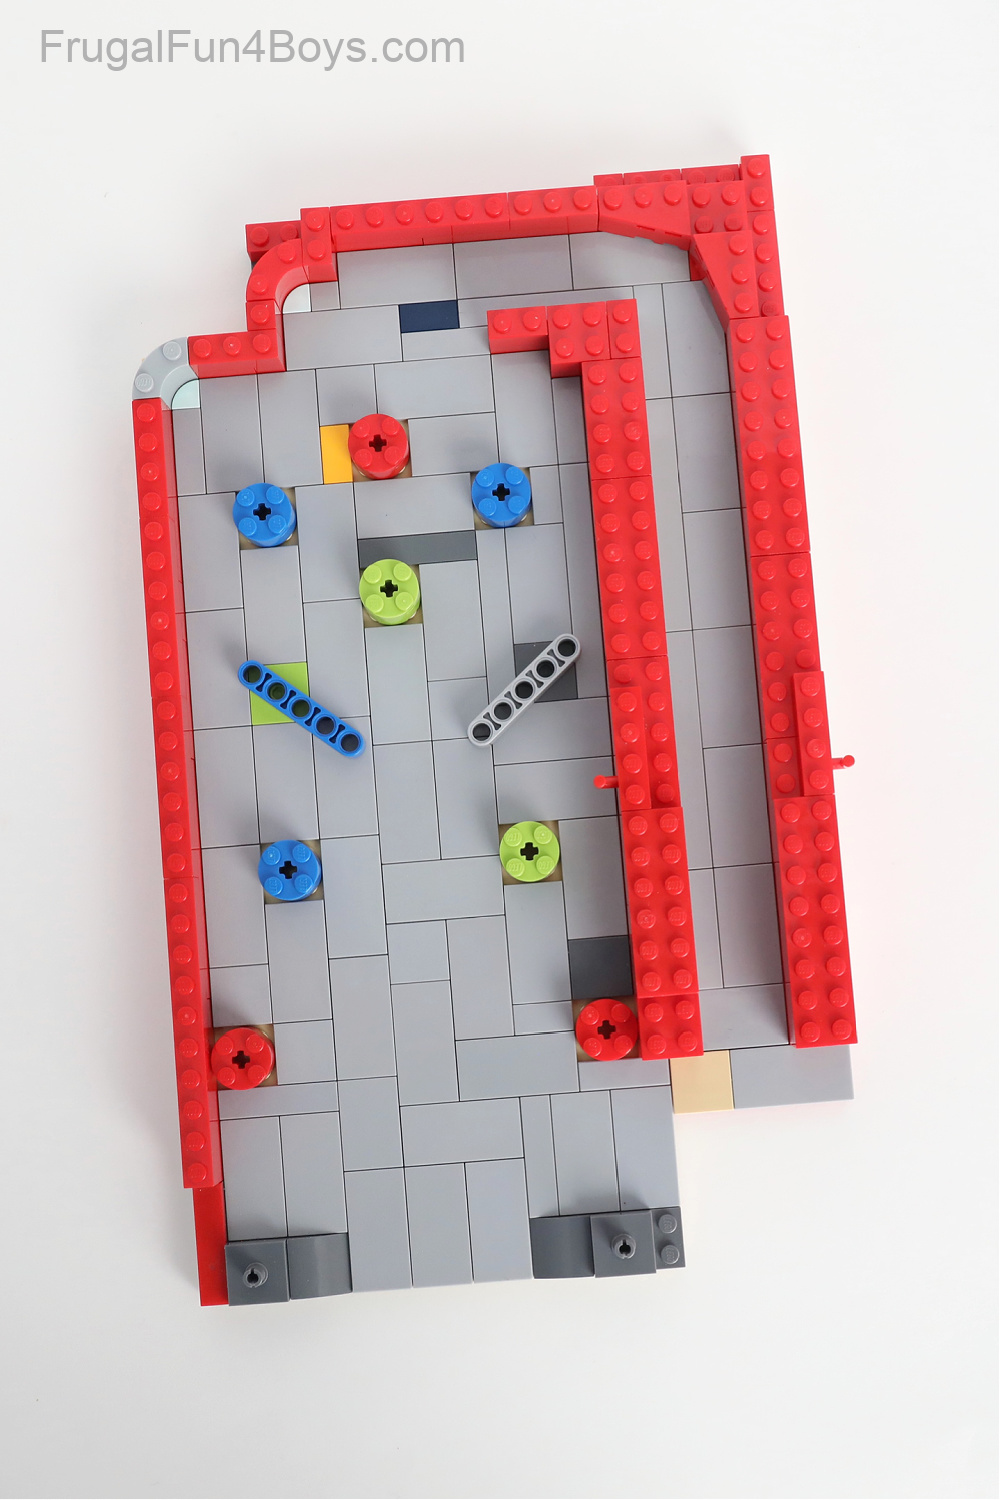
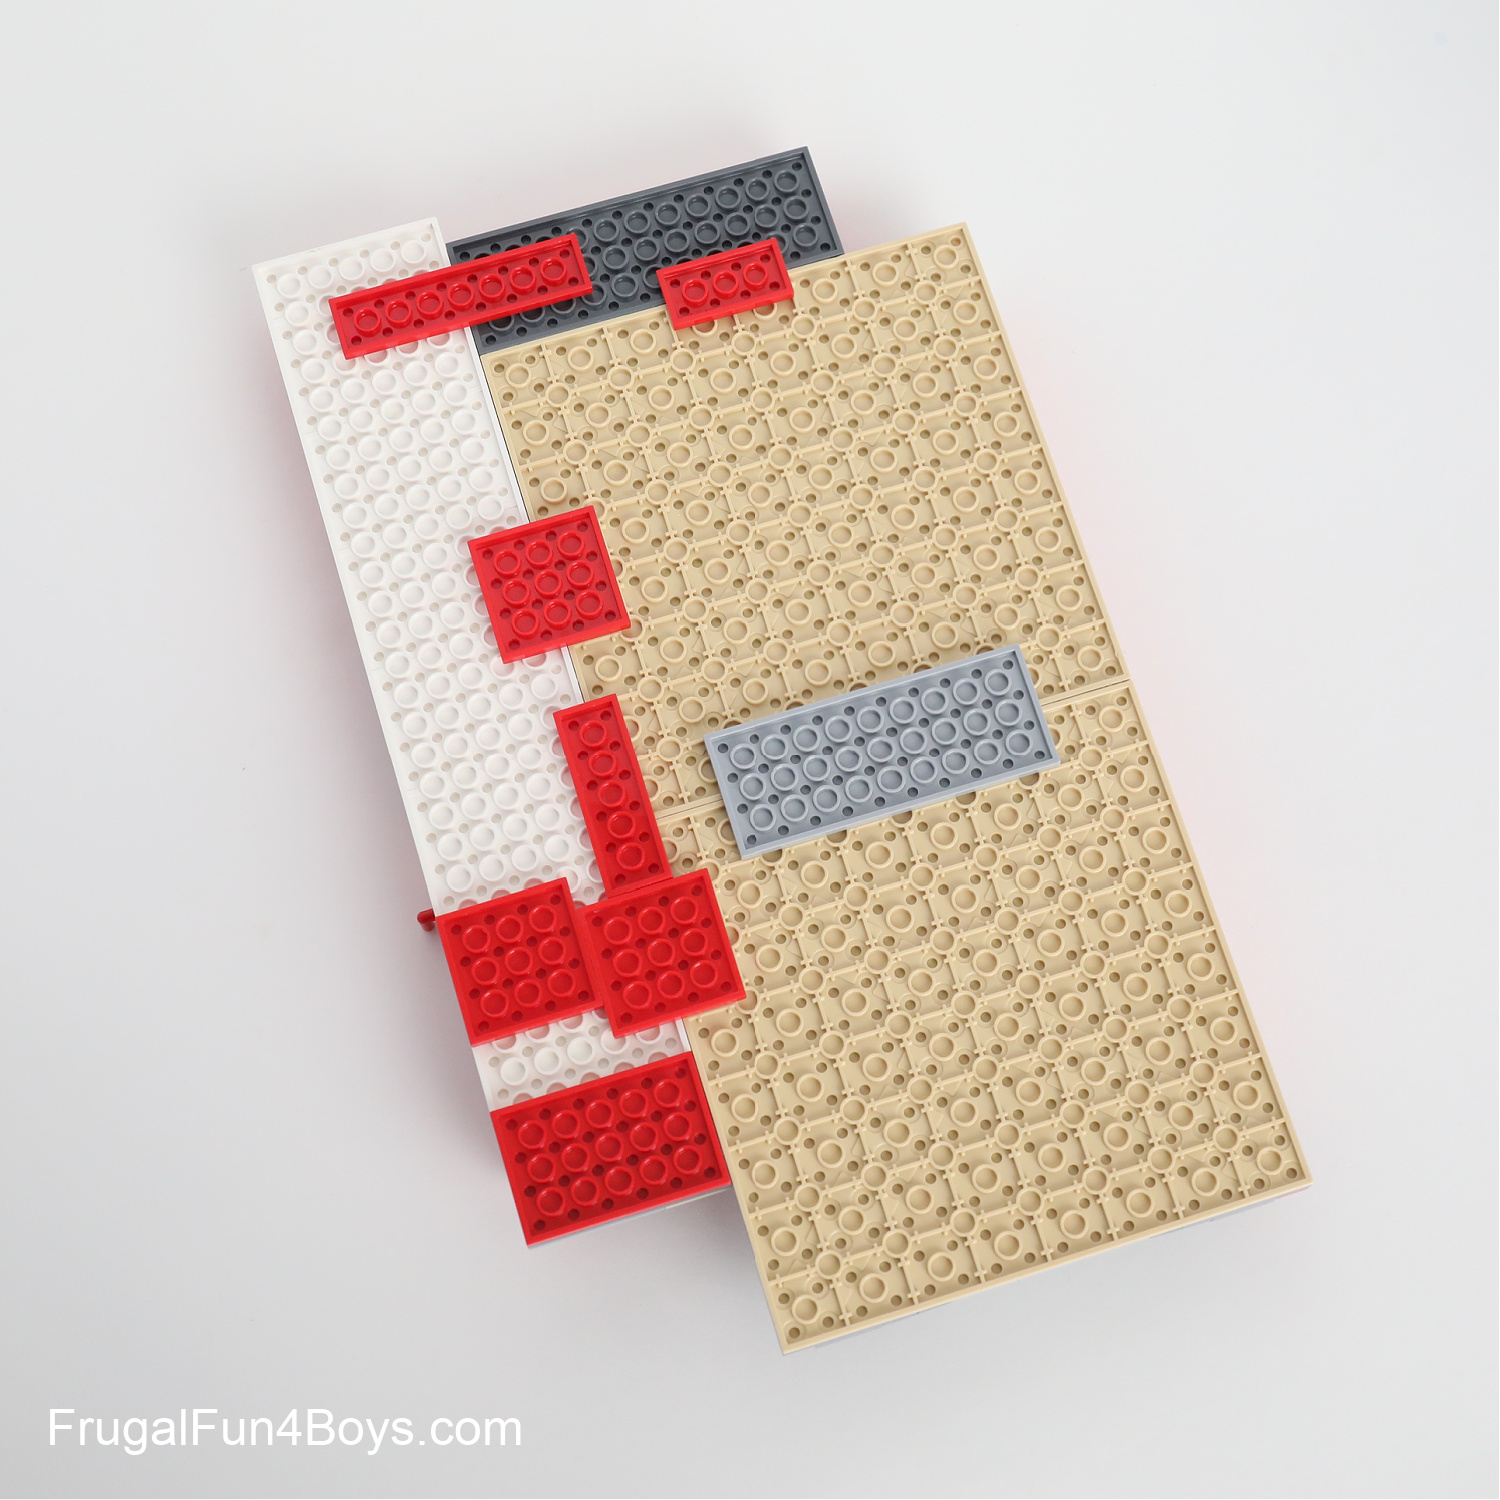
I started with two 16 x 16 plates. Then I added additional plates to create the pinball release on the right side of the game.
Here’s a view of the underside so that you can see how I connected all the plates together.
I needed to find a way to direct the ball through the release so that it would roll around the corner and down into the game. These 2 x 3 wedge bricks worked well! There is a 2 x 3 wedge plate on top of each one.
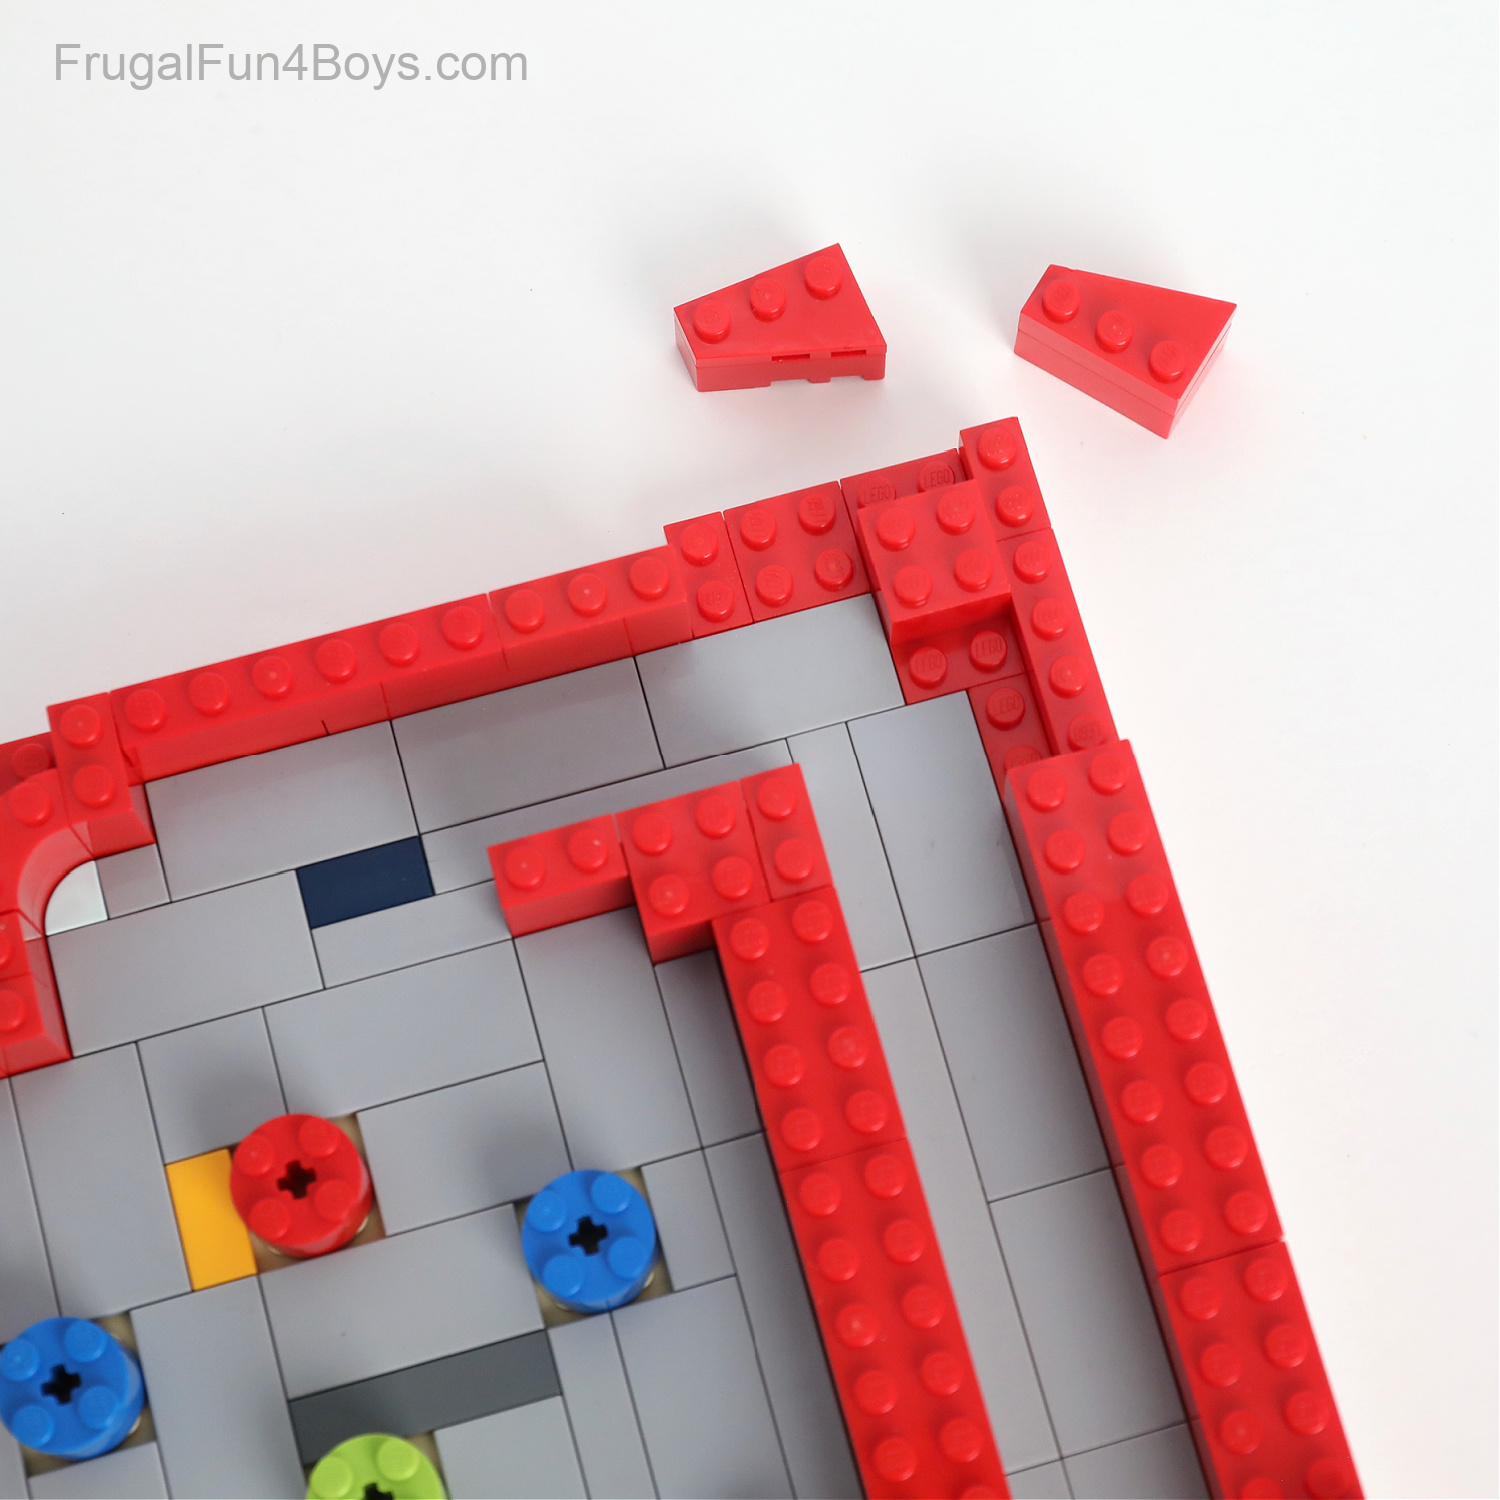
The wedge bricks are attached to one row of studs on the game board, but they also overlap onto the tiles.
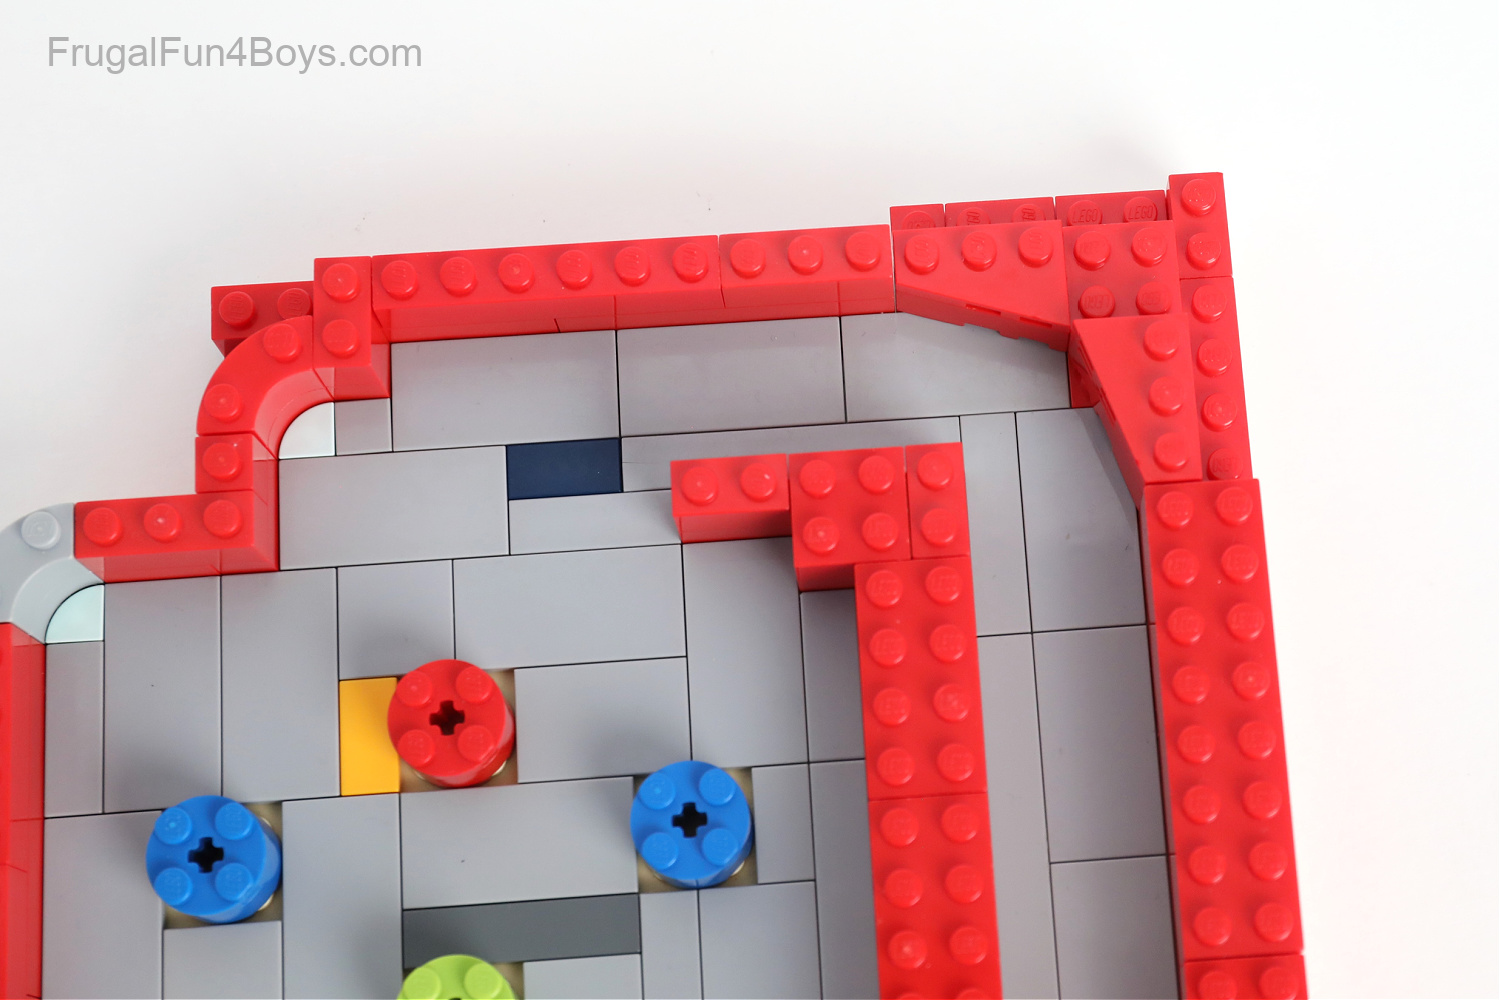
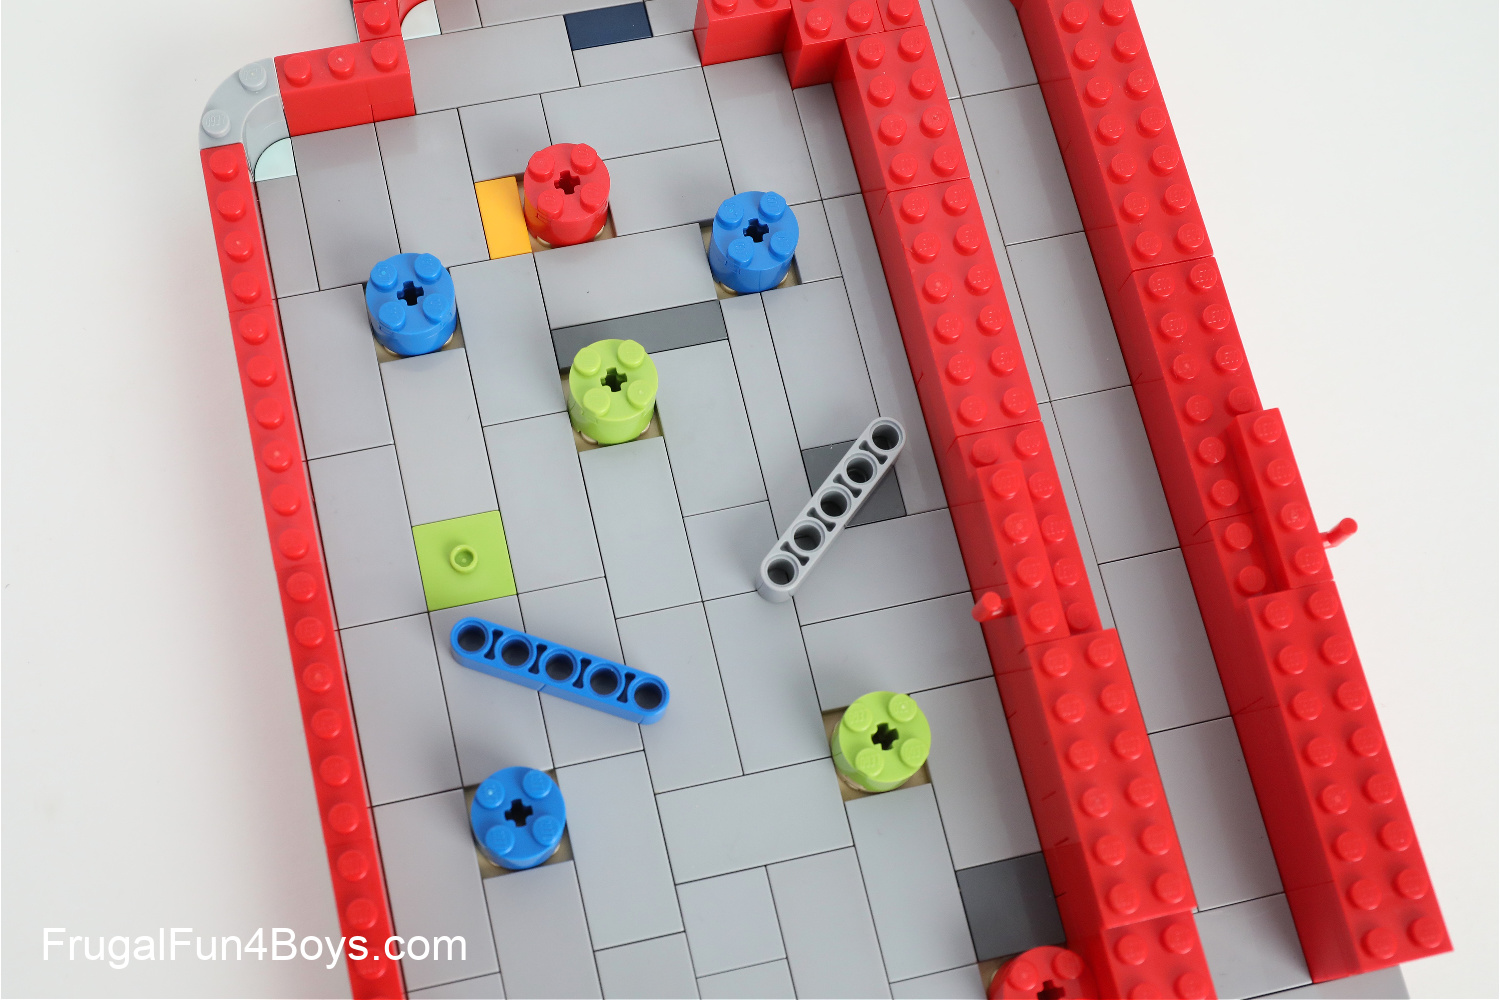
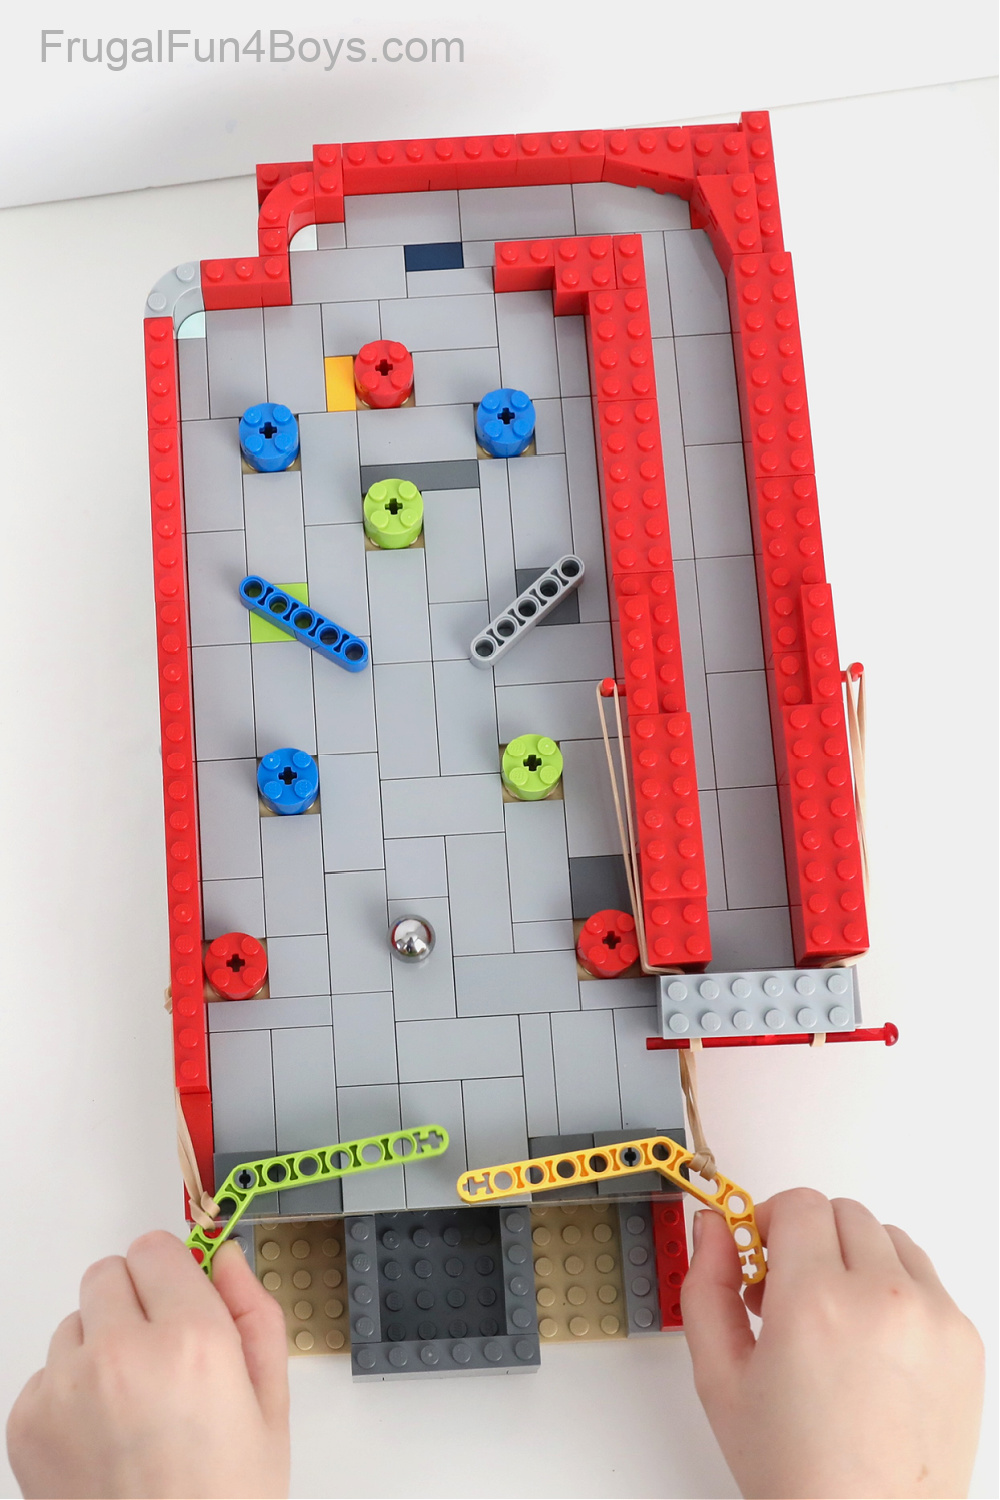
I used 2 x 2 round bricks to create bumpers for the ball to bounce off of.
I also made some short ramps by attaching Technic liftarms to 2 x 2 plates with one stud on top.
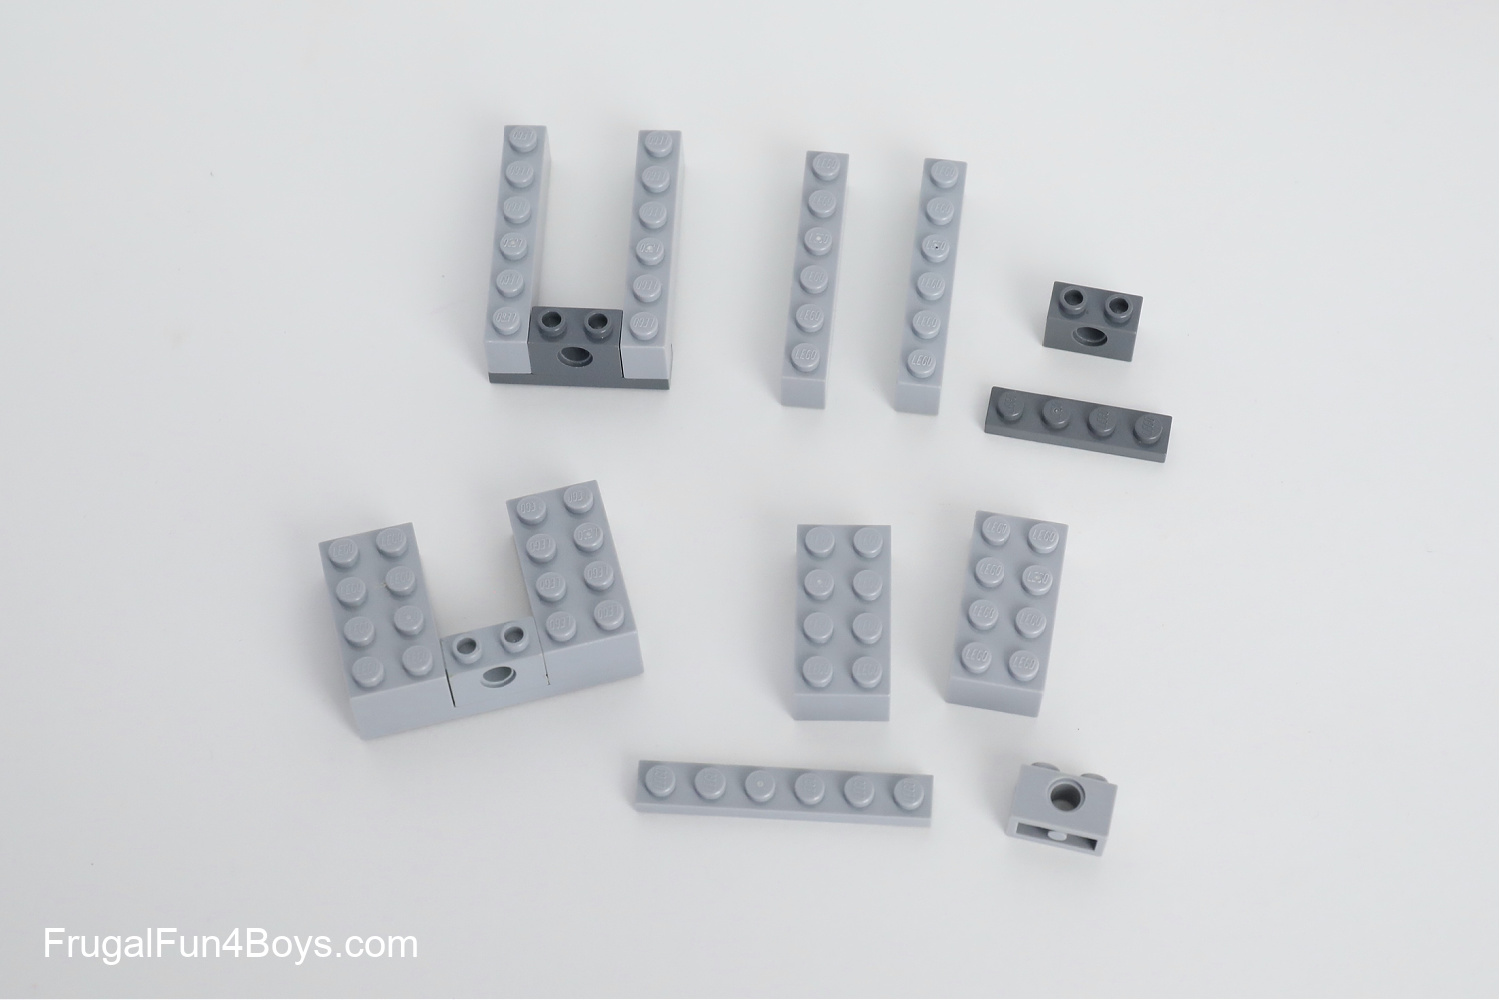
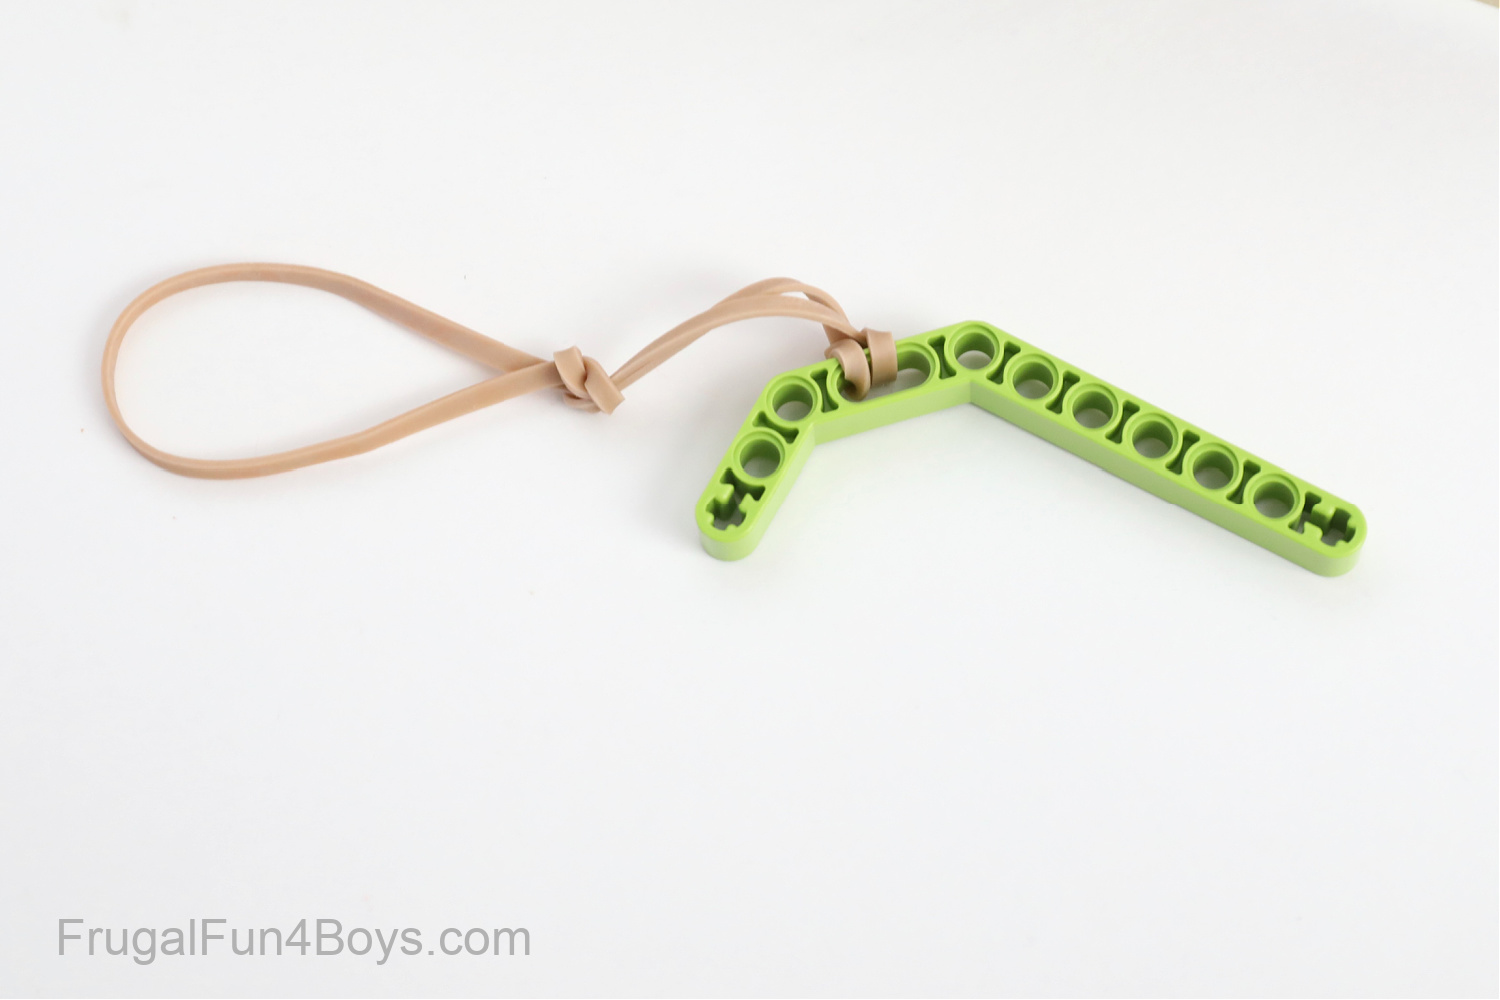
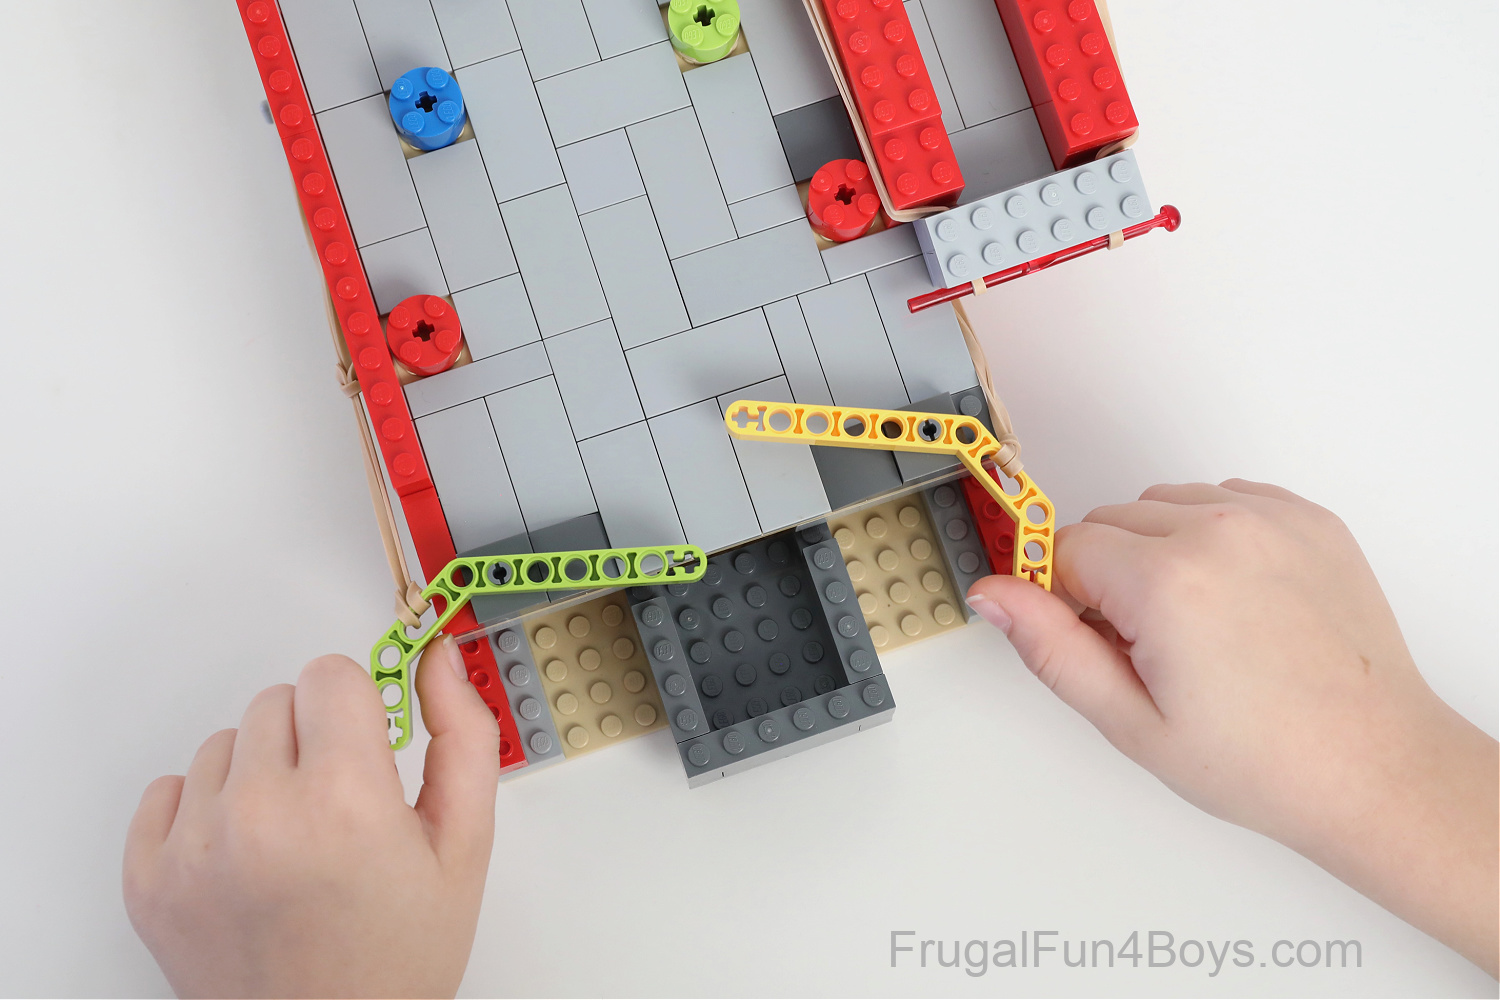
Here’s how I built the flippers, or the little paddles that the player uses to hit the ball.
First, I attached a 2 x 2 brick with a pin on top.
Here’s the piece on Brick Link. It’s called a 2 x 2 modified brick with top pin and 1 x 2 side plates. To keep this brick secure, I added a 2 x 2 dark gray curved slope on top of each one.
Then for flippers I used a Technic liftarm. It’s a Technic Liftarm Modified Bent Thick 1 x 11.5 Double.
By attaching a rubber band to the flipper, the tension is increased which enables you to hit the ball with more force. I know that sounds funny since the rubber band is pulling in the opposite direction, but trust me, it works!
Attach the game to the base. Then, the Technic liftarms attach to the pins at the bottom of the game. Then the rubber band stretches around a hook on the base of the game.
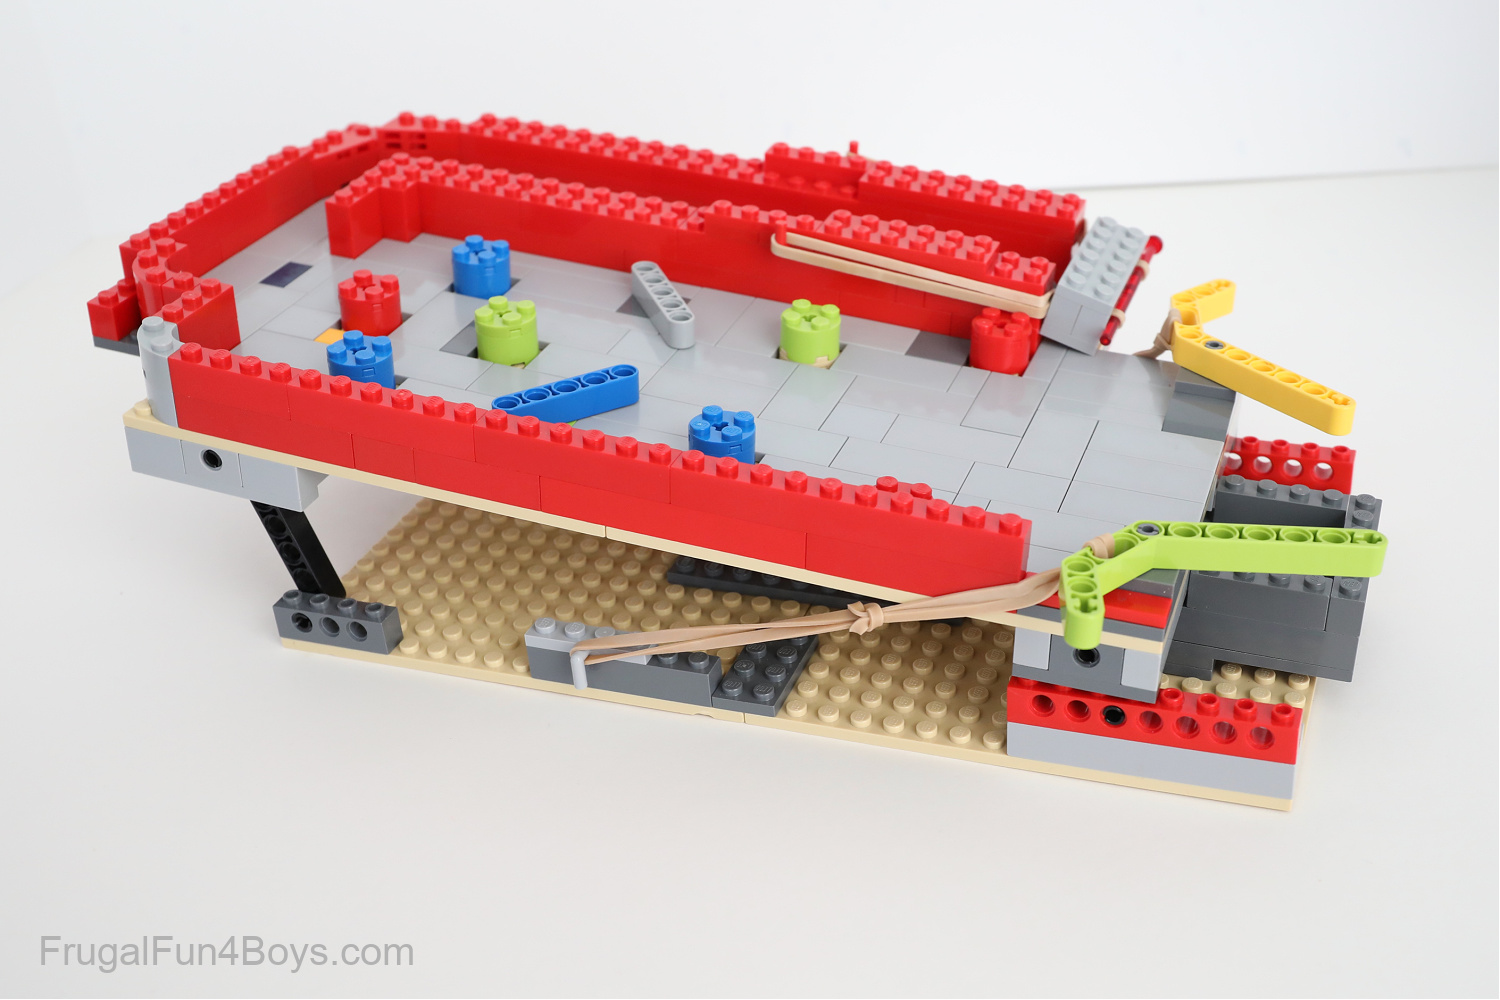
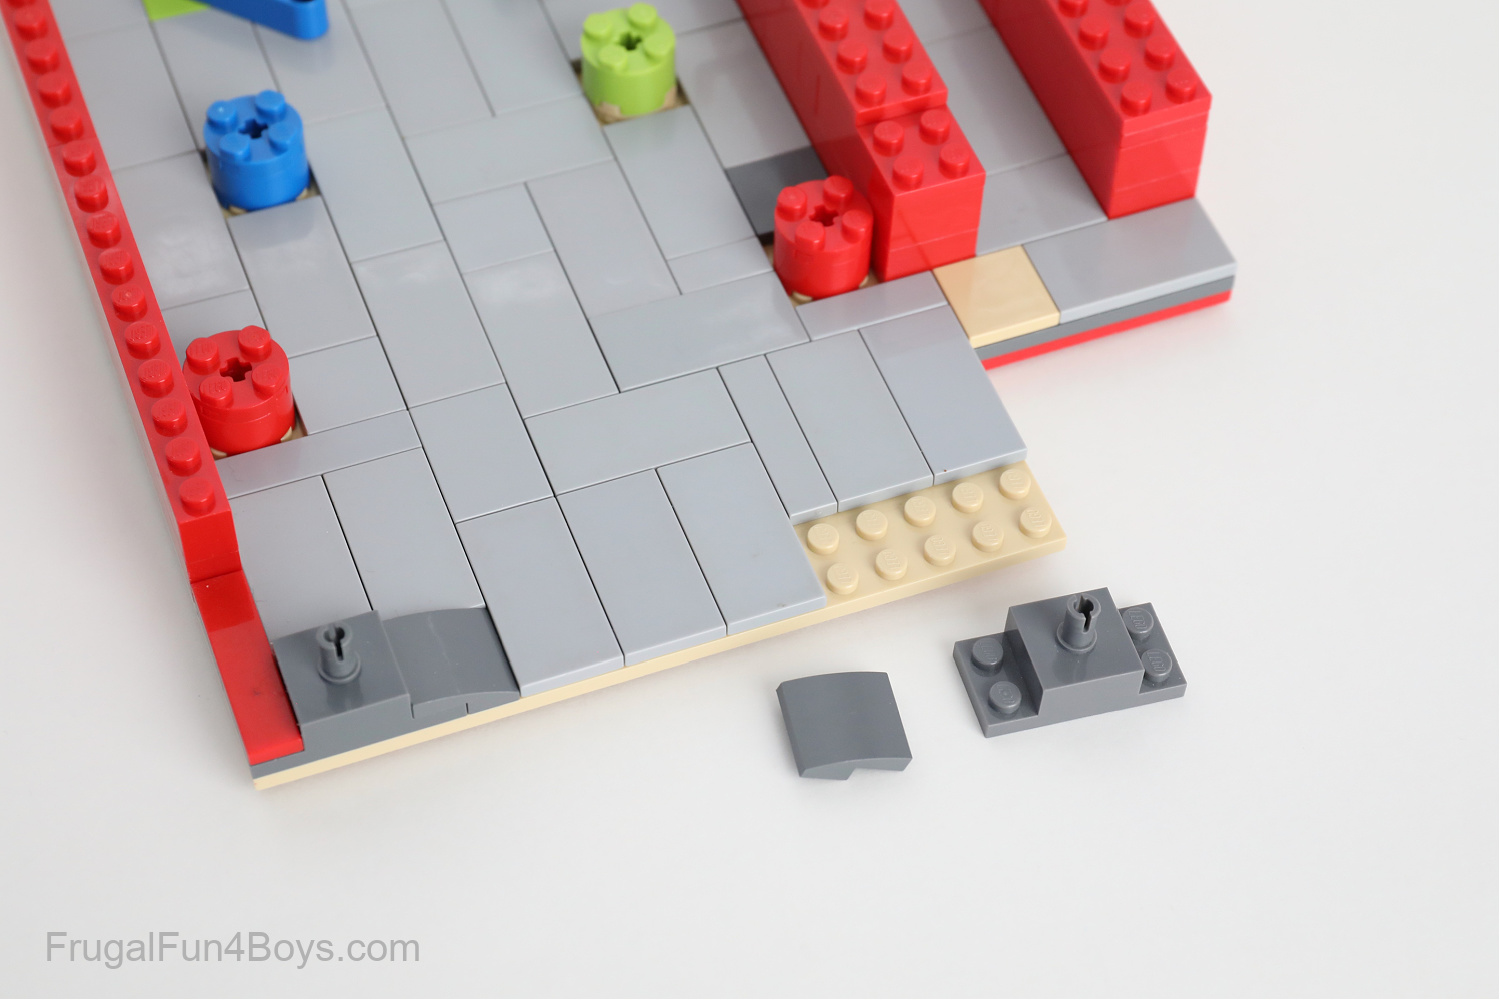
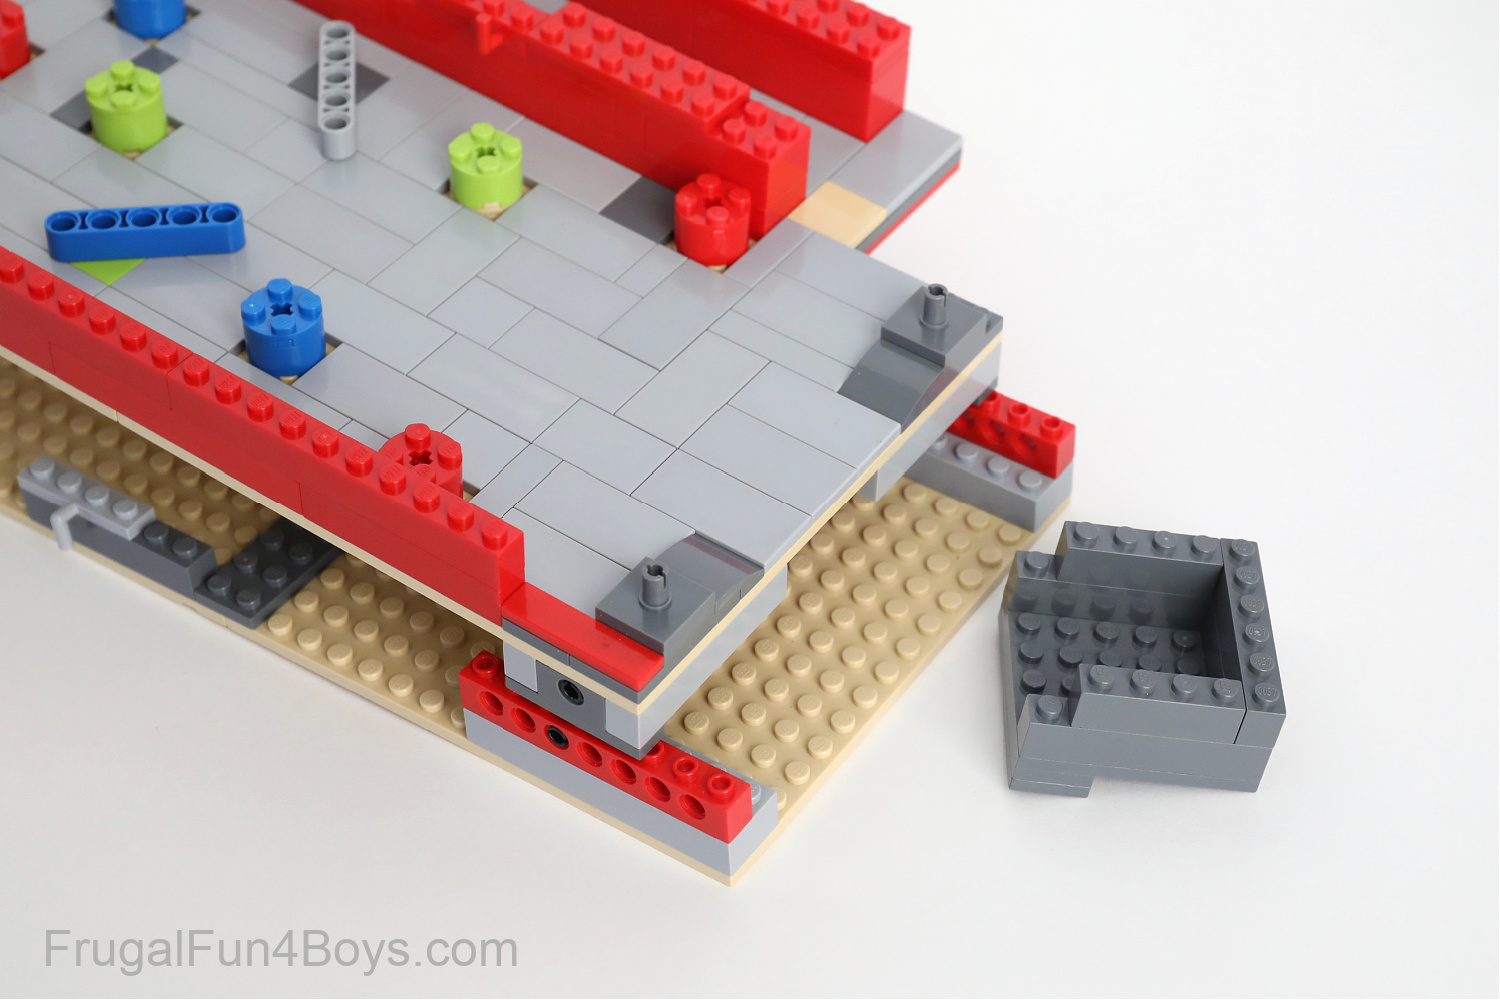
Use some basic bricks to build a little basket that catches the ball when it drops off the game board.
To use the flippers, simply move them with your hands.
With the size of this game board, you can adjust the position of the flippers to make the game easier or harder. Using the position shown, there is a gap between the flippers and the ball can slip through. If you move just one of the flippers over by one hole on the Technic liftarm, the gap will close and it’s easier to keep the ball from dropping into the basket.
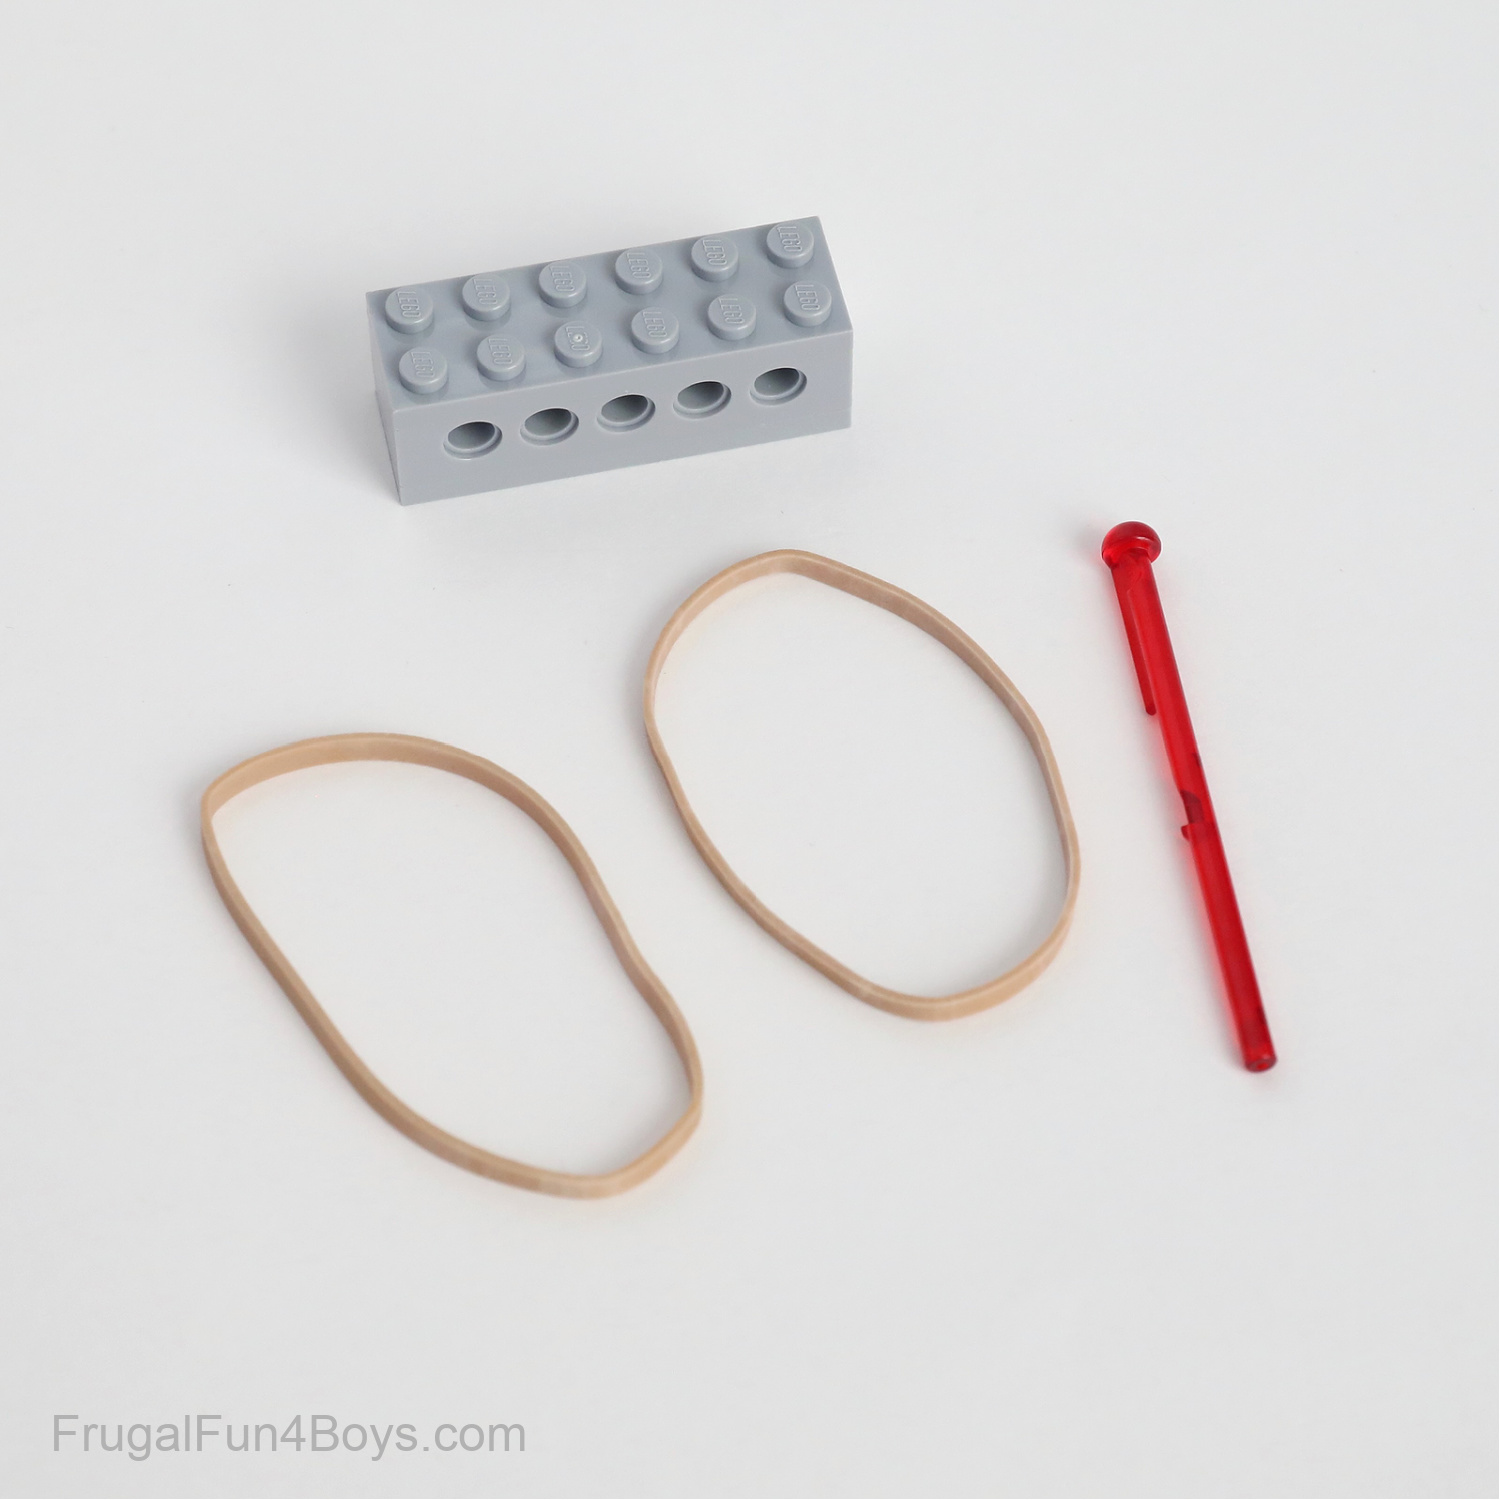
Here’s how I built the ball release for the LEGO pinball machine.
First, gather the bricks shown. The red spring shooter dart will not be used as a dart. It’s used to keep the rubber band from sliding back through the Technic bricks. So if you don’t have one of these, I’m sure you can improvise and find something else to hold the rubber band in place!

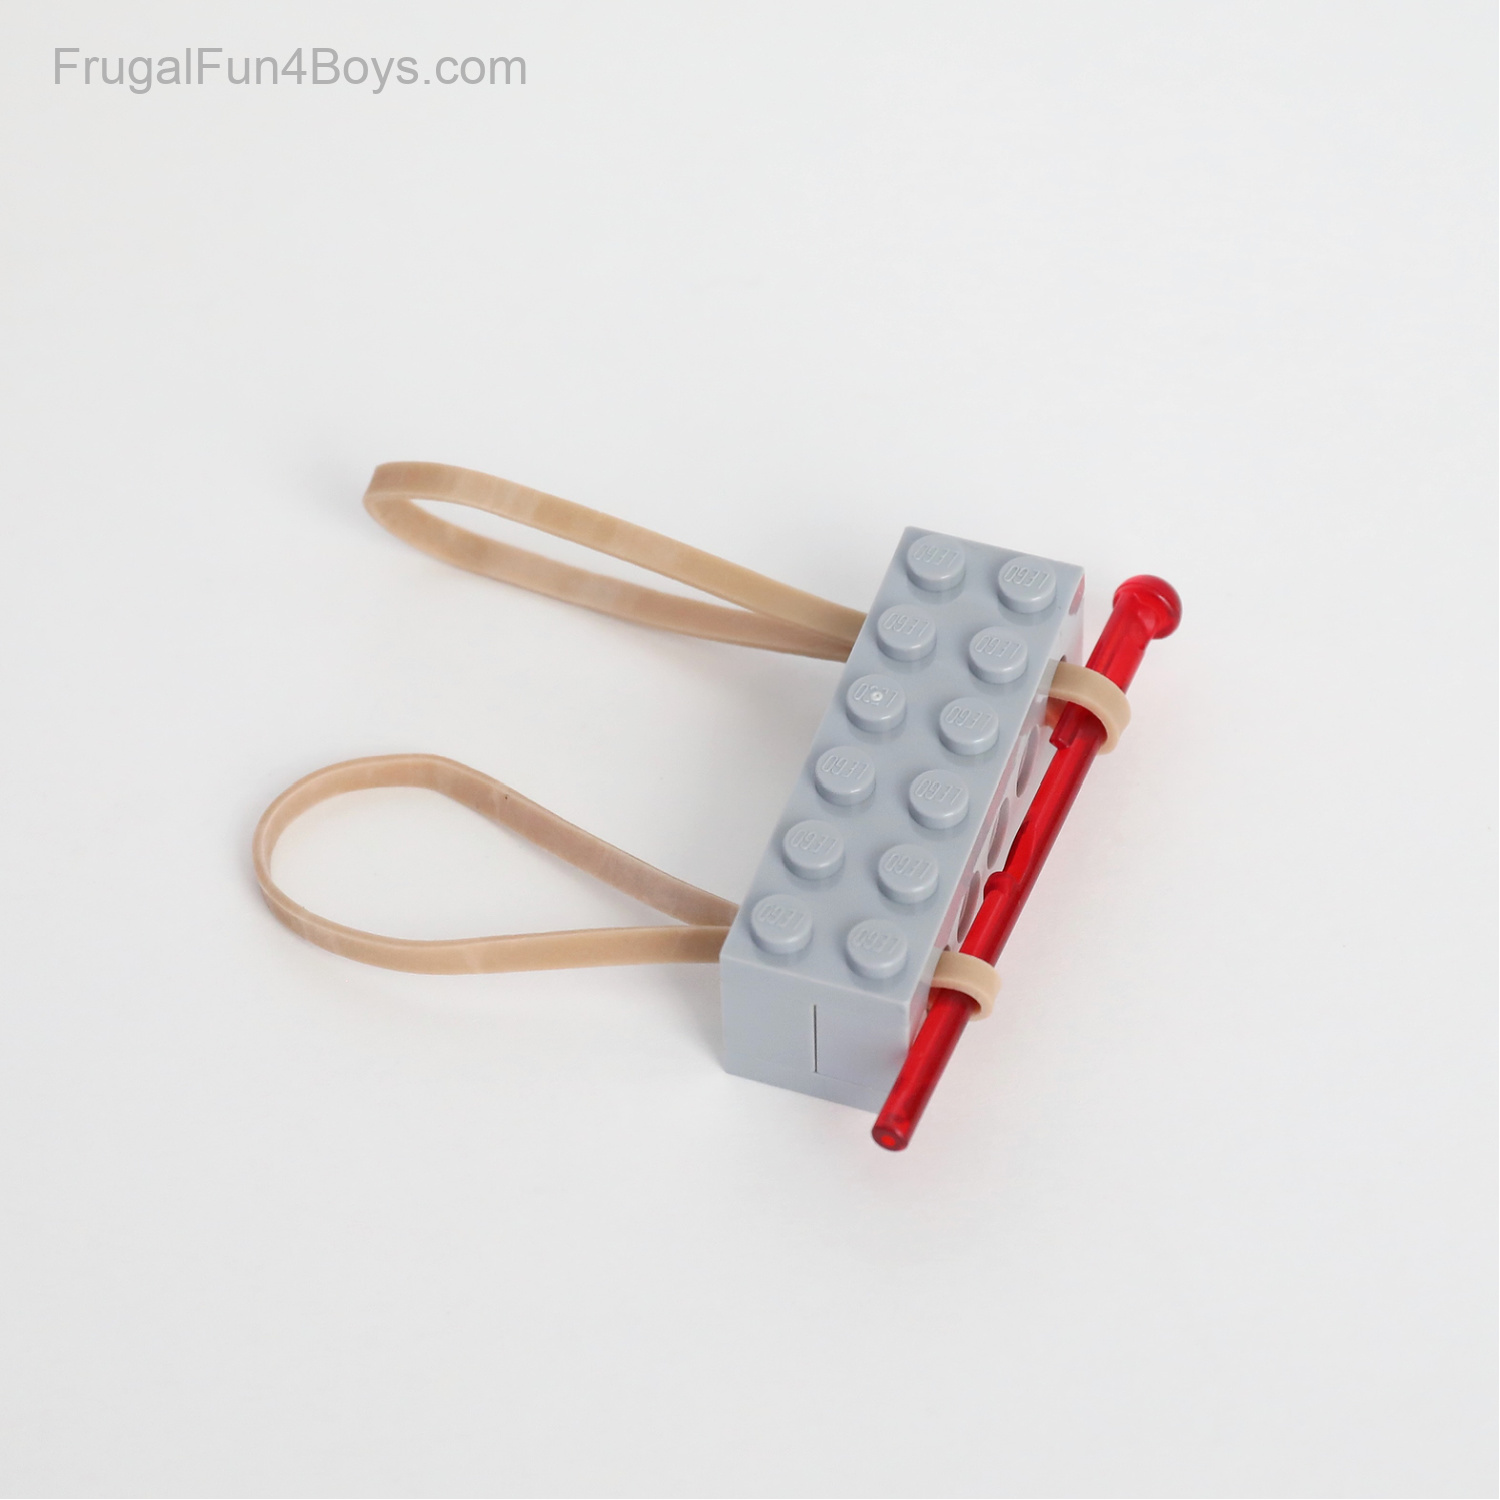
Attach two 1 x 6 Technic bricks to a 2 x 6 light gray plate. Then add another 2 x 6 light gray plate on top.
Slide a rubber band through the holes on each end of the Technic bricks. Then slide the dart through the rubber bands.
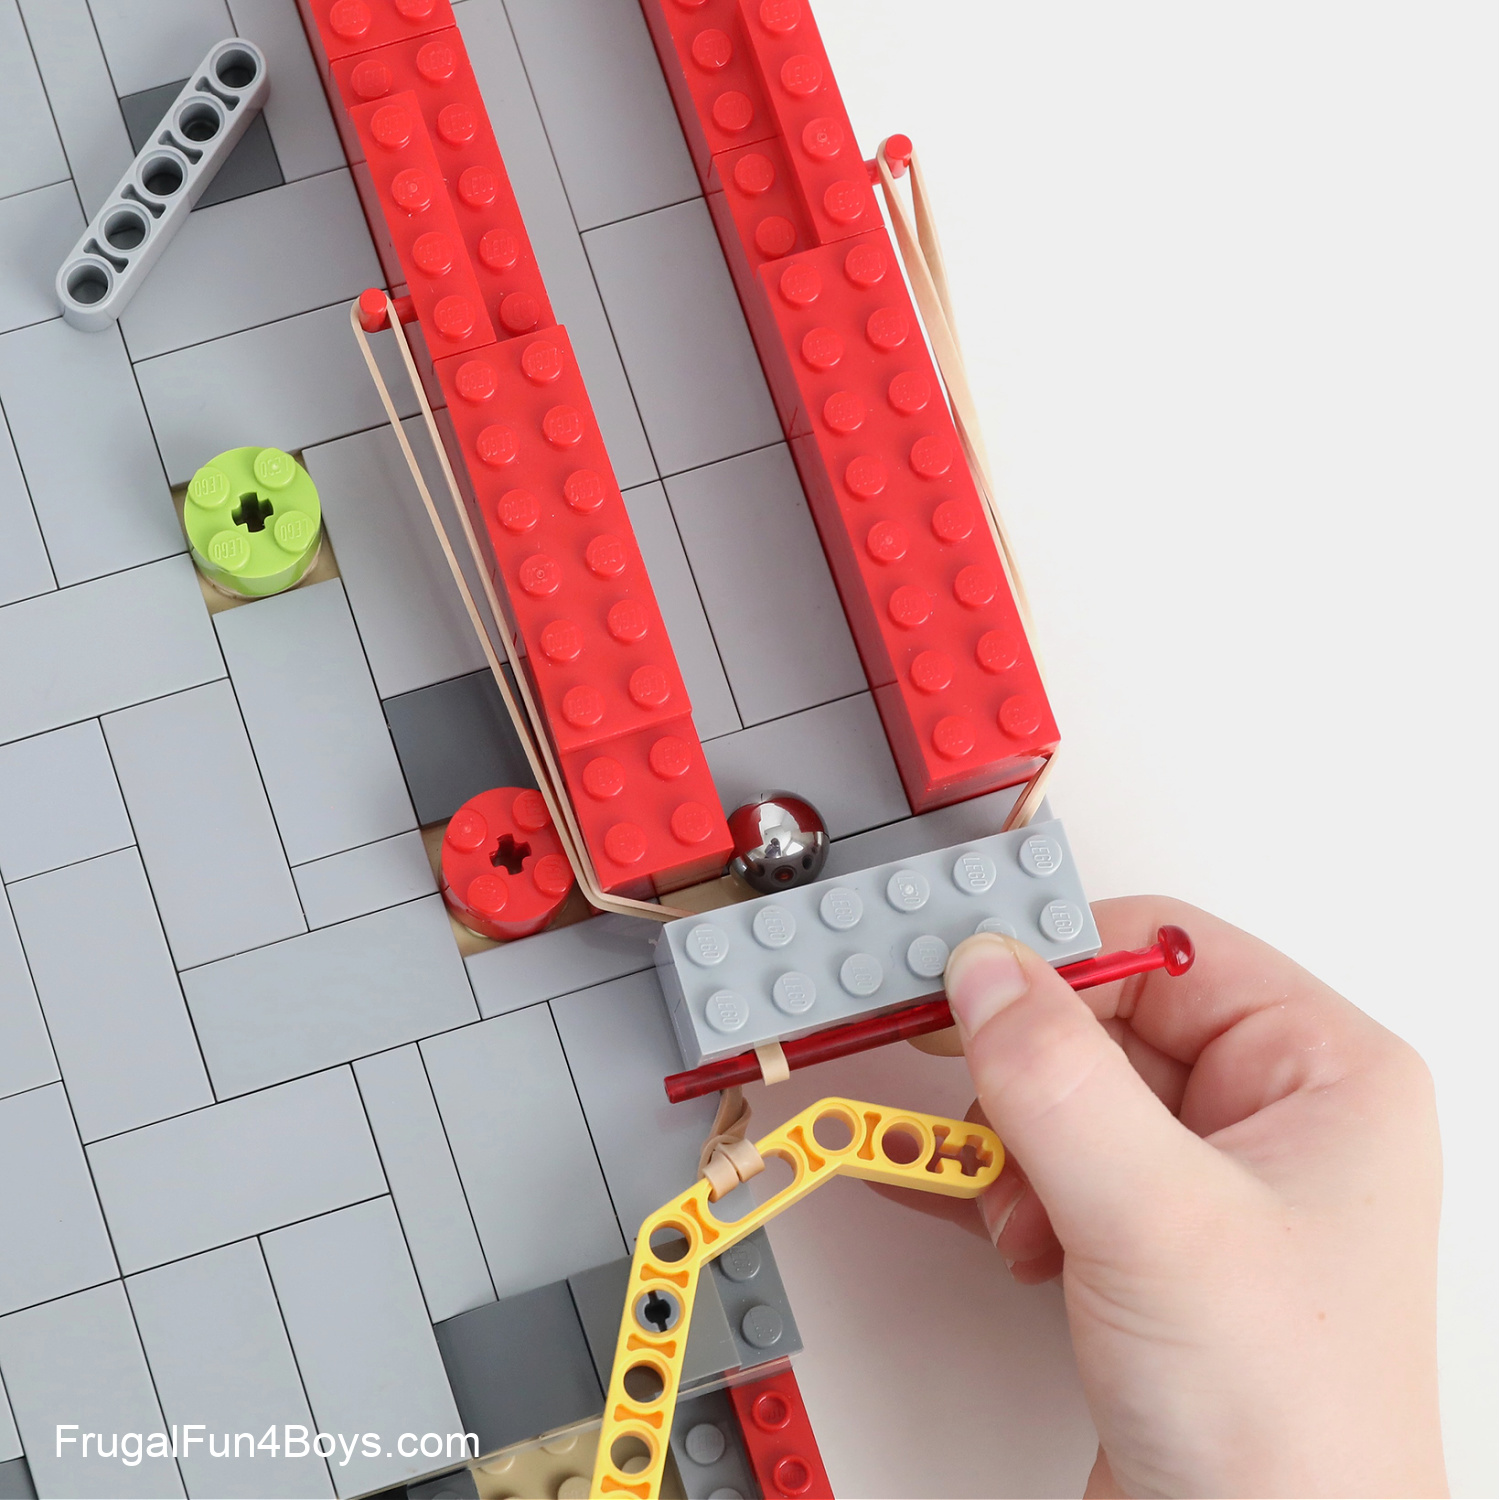
Next, hook the rubber bands to two 1 x 2 plates with a bar arm up on the game board.
Pull back the gray brick and then release it. The ball will roll up the ramp and down into the game!
Sometimes the ball slips into the space between the red bricks and the gray brick and you have to get it unstuck. But most of the time it works just fine! I’m sure there are ways to improve on this idea. I was going for simple, and something that used bricks that most kids have.
And that’s it! You’re ready to play! See how long you can keep the ball bouncing around in the game before it drops down into the basket.
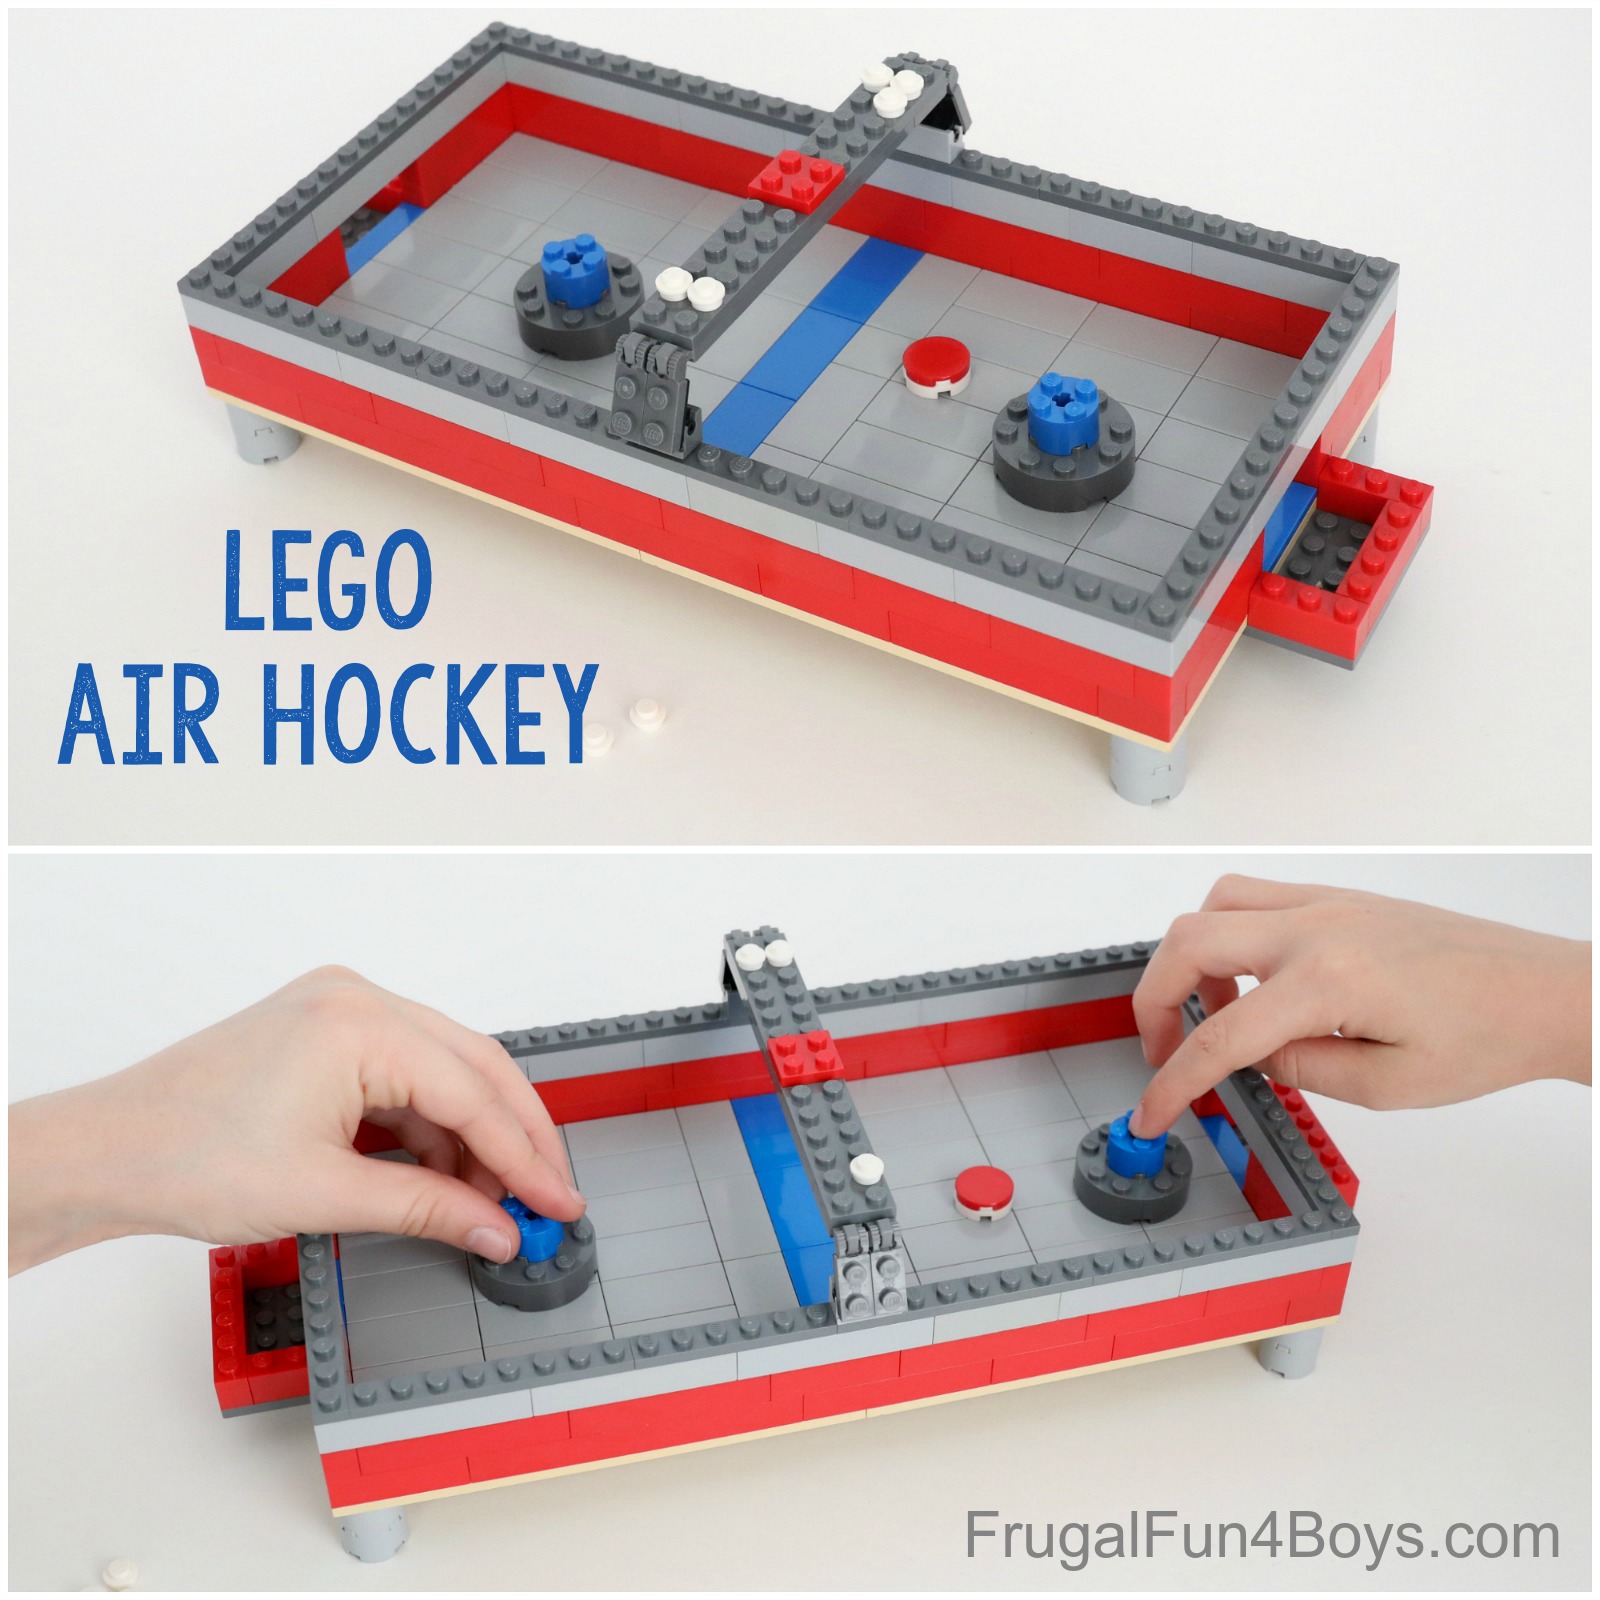
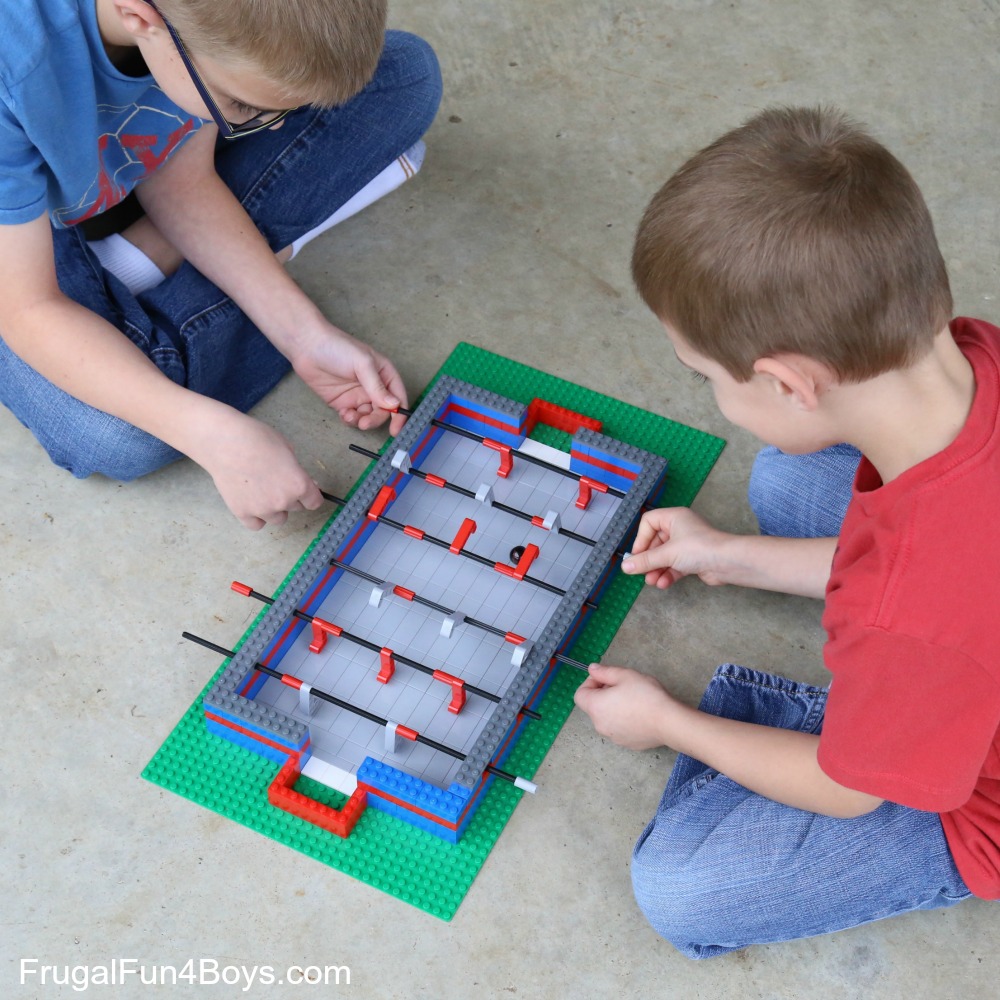
If you like LEGO games, then you’ll definitely want to check out our LEGO Foosball Game and our LEGO Air Hockey Game!
See the Air Hockey here: How to Build a LEGO Air Hockey Game
See the Foosball Game here: Build Your Own LEGO Foosball Game
1 Comments
Gina Duran Jul 2, 2023
In the above you do not list all the pieces needed to build the pinball machine. Are all the specific Lego/Technic pieces needed listed in your book?
Post a Comment