
Create your own castle building blocks set! This is such a fun and open-ended homemade toy that kids will spend hours with. It’s also extremely easy (even if you are not crafty!) and cheap to make. It would be fun to build a set of blocks with your kids’ help, or you can assemble it as a gift.
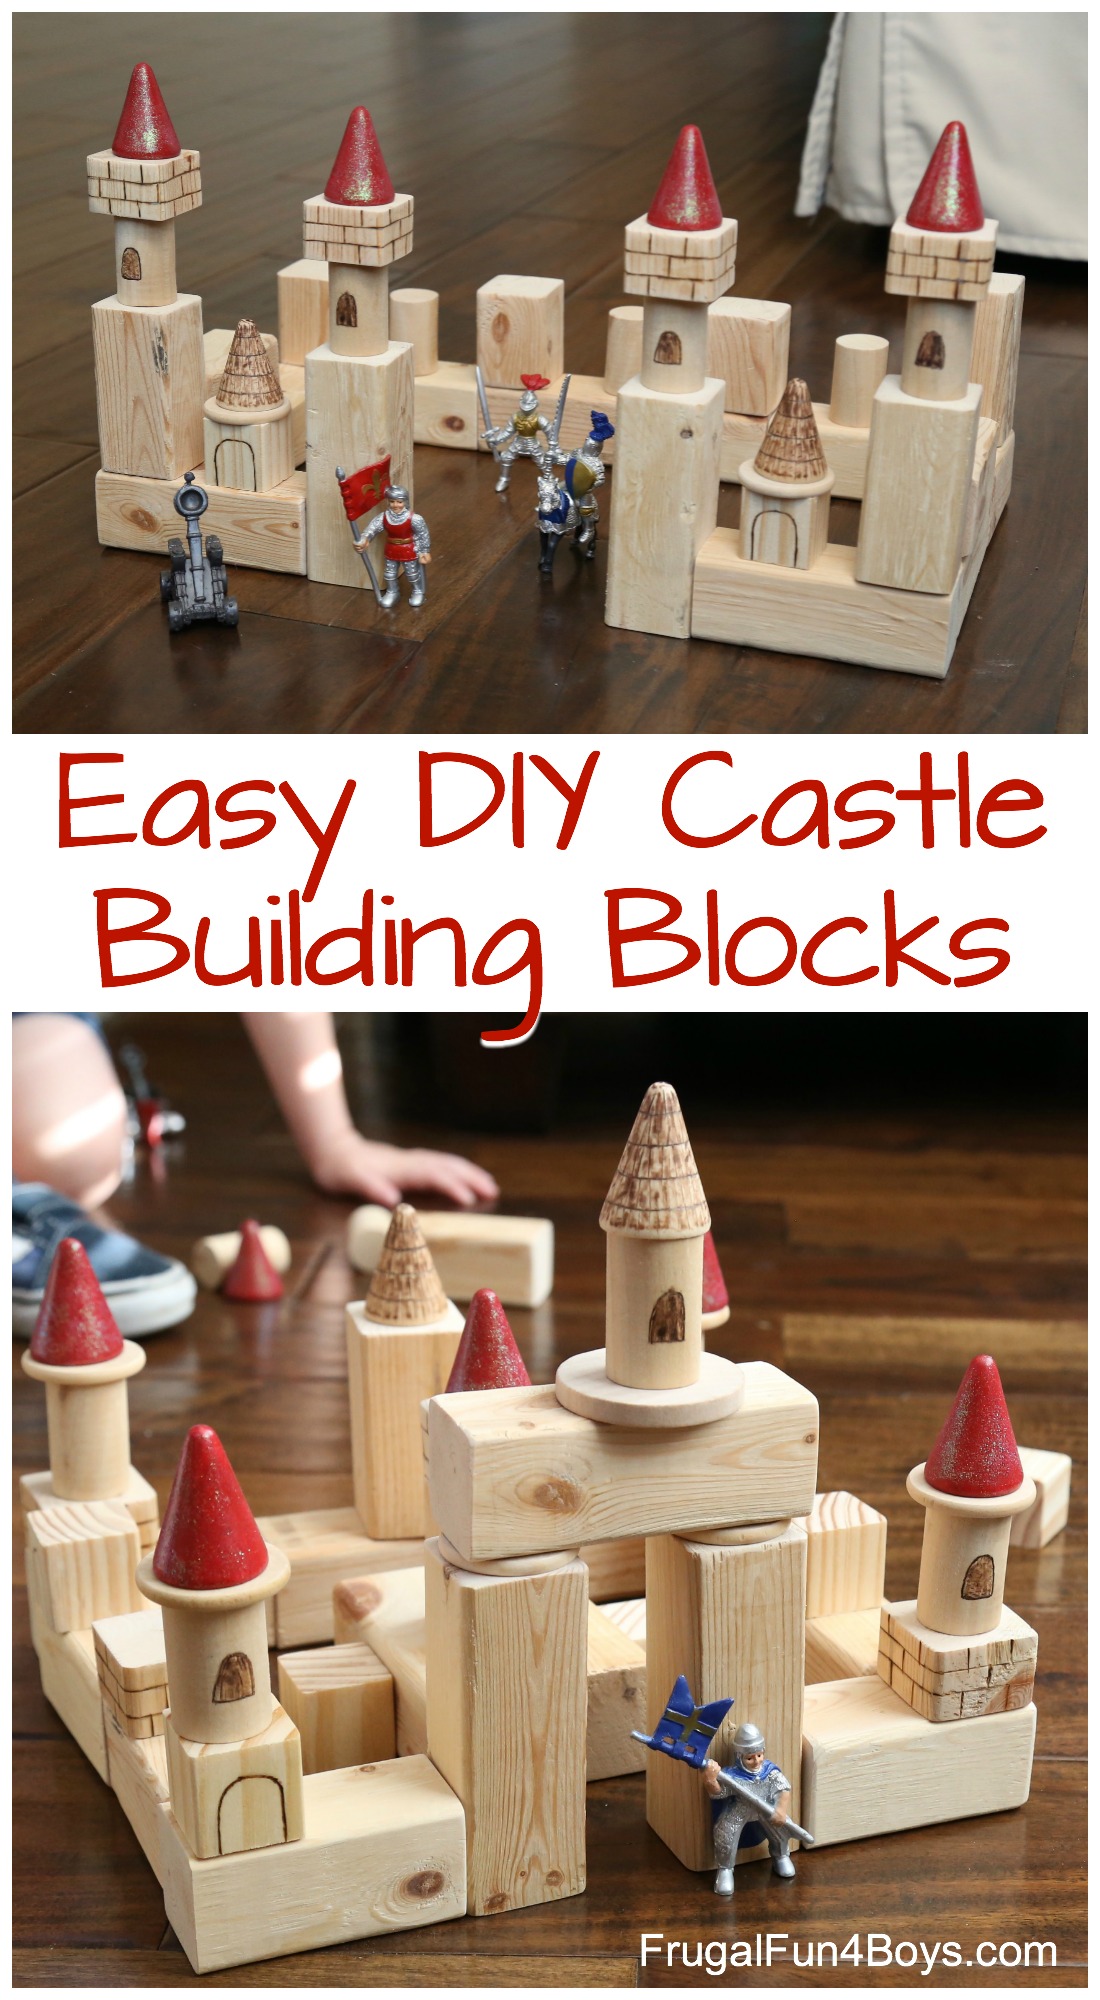
This building block set is not complicated and doesn’t require advanced woodworking skills, but there are so many ways to play with it!
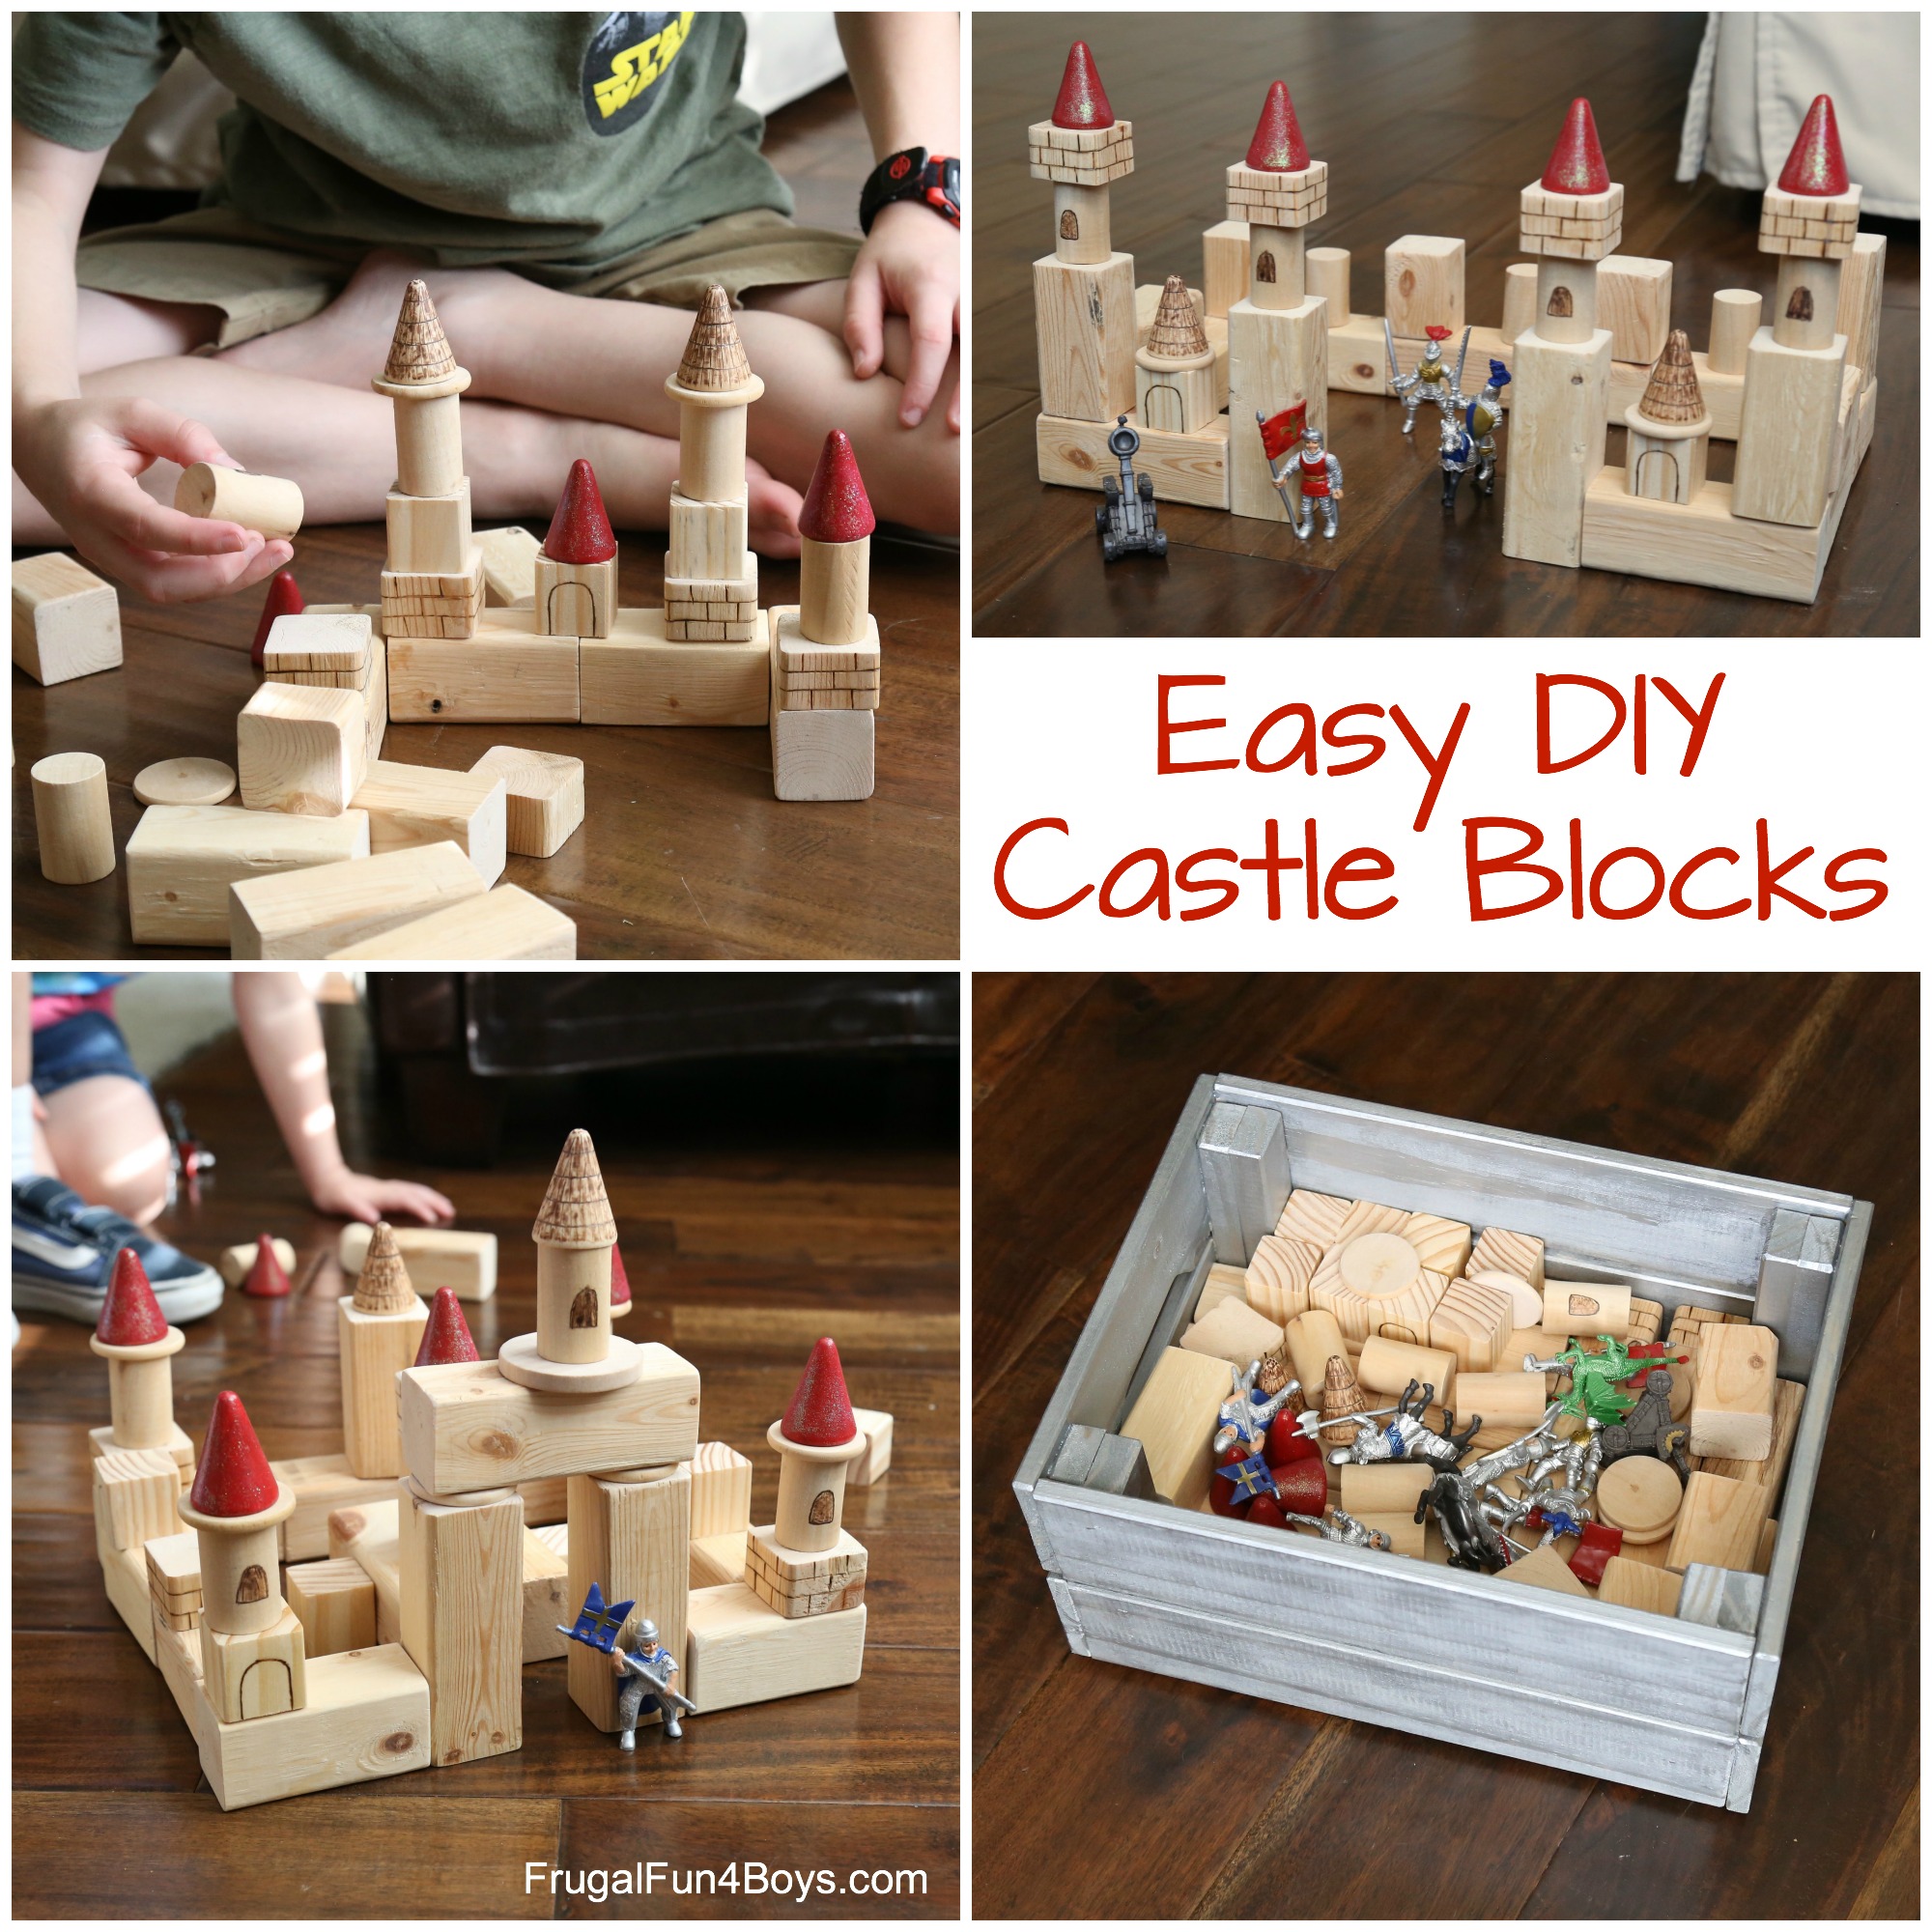
To make the castle blocks, I combined some wood parts from Hobby Lobby with blocks cut from one 2″ x 2″ board. That’s it!
This post contains Amazon affiliate links.
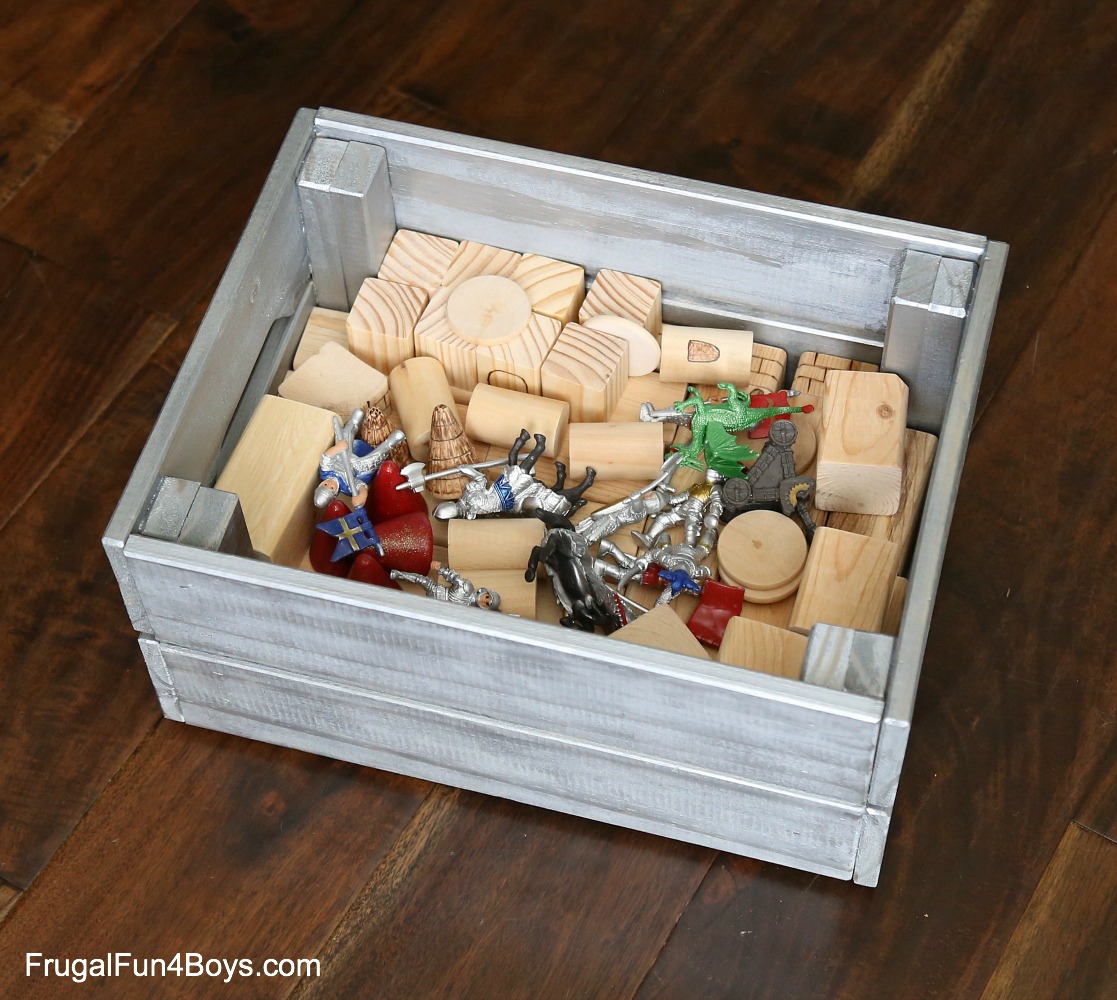
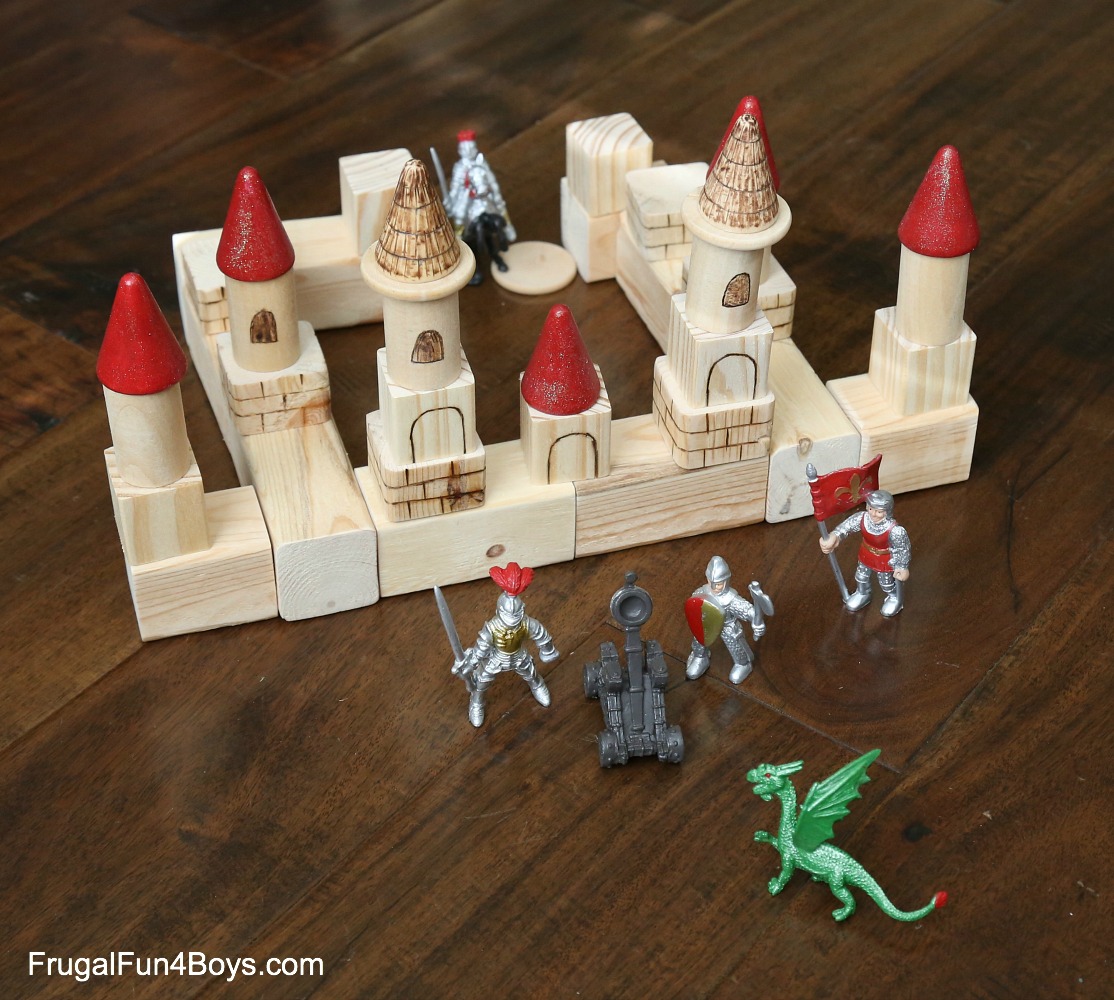
I added a Safari Knights & Dragon Toob, and the figures are the perfect size. I also had a small IKEA crate sitting around, so I painted it silver and used it to hold the whole set. So cute, and the kids can easily clean everything up and store it on the shelf.
Ready to make your own castle building blocks set?
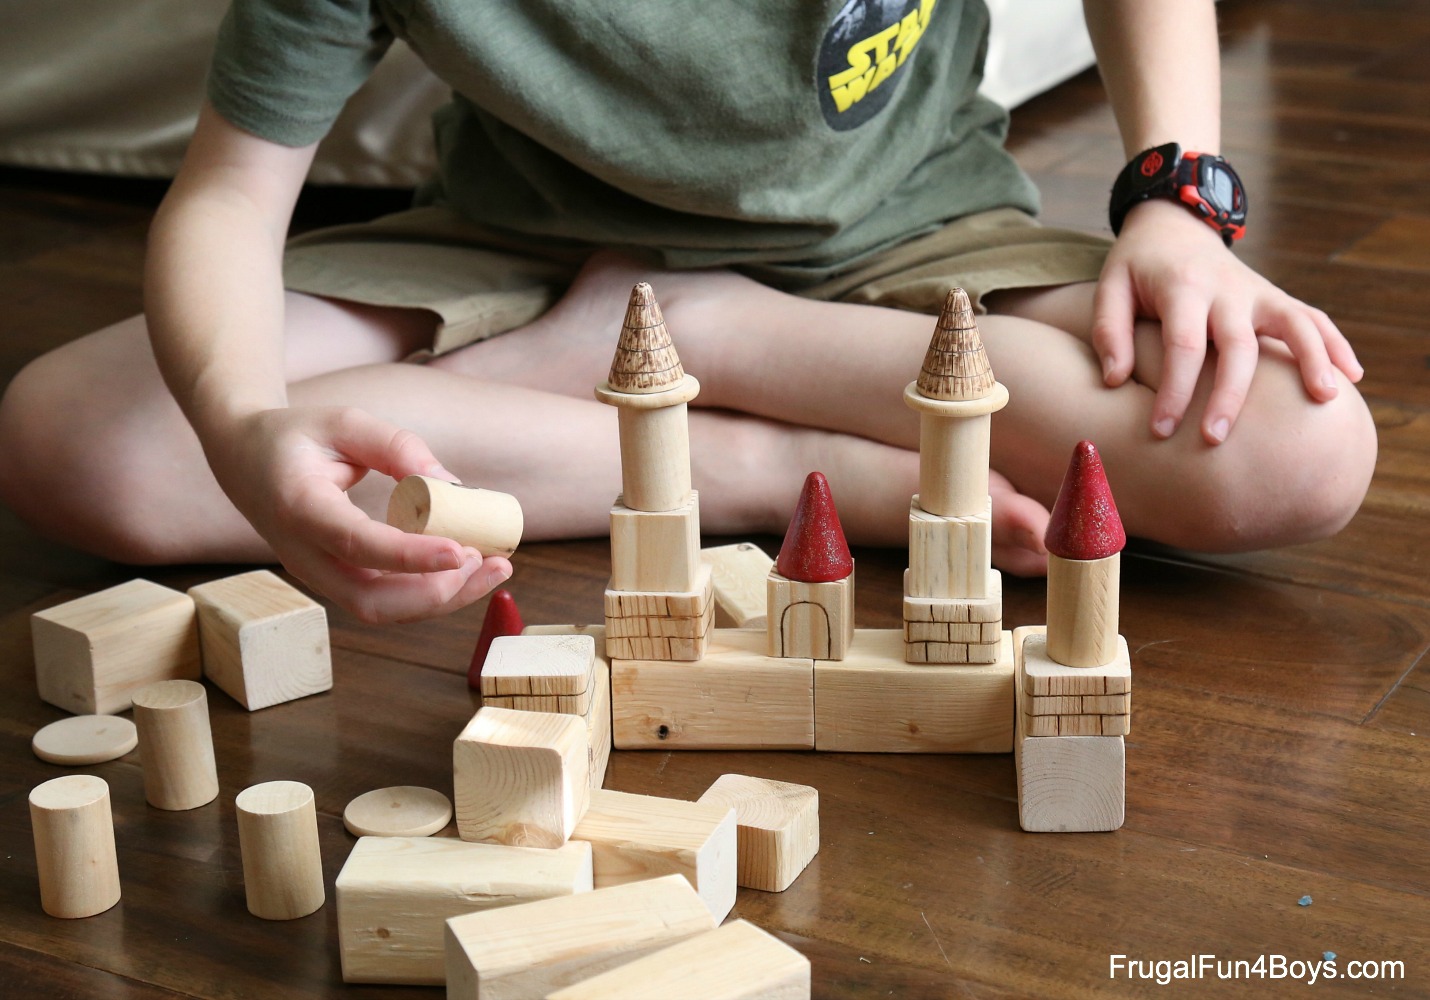
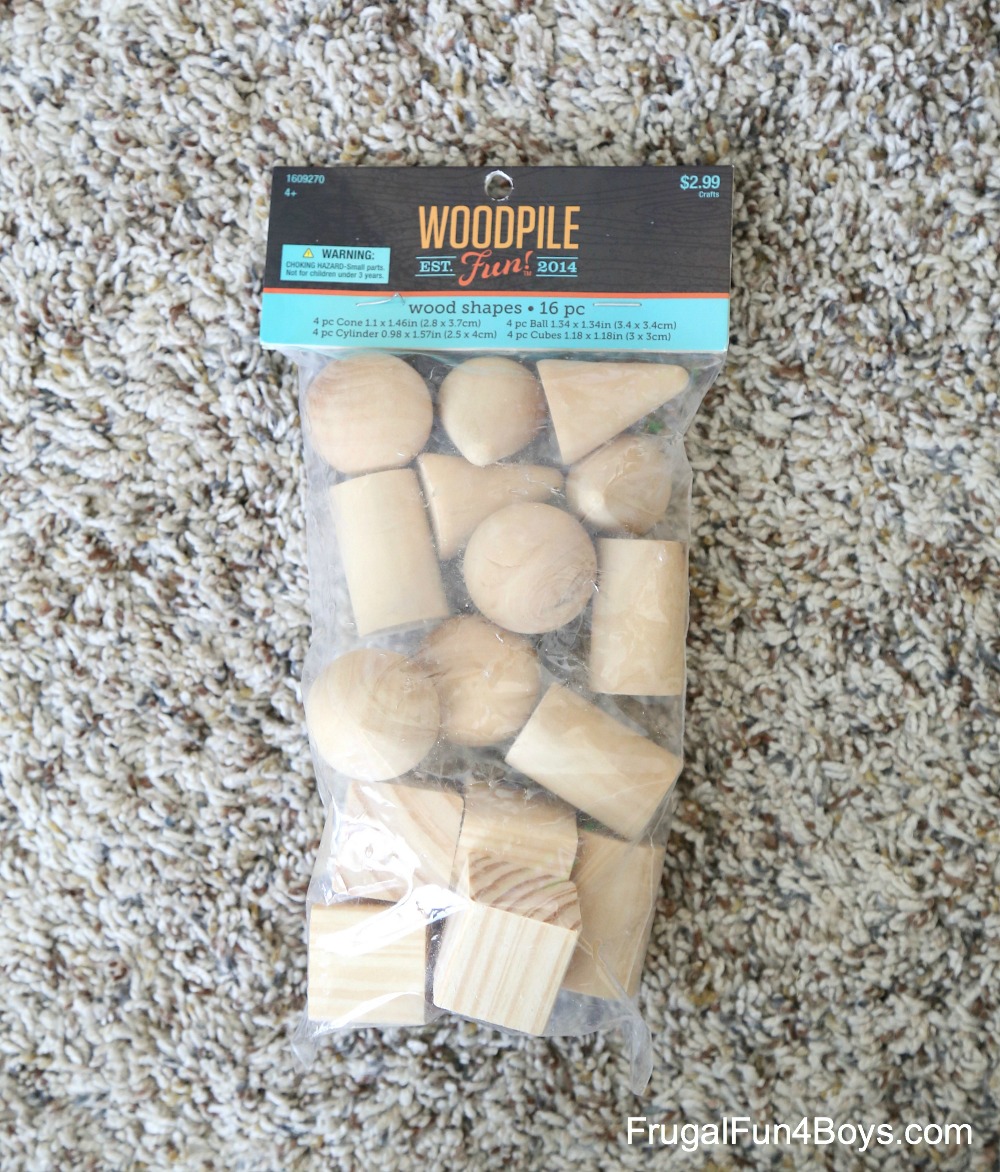
I used two packages of wooden shapes (see below), one package of 1.5 inch diameter wood disks, and a 2 x 2 pine board. Other than that, I just used a wood burning tool, sand paper, and some paint. That’s all!
I found this package of wood shapes at Hobby Lobby for $2.99. I bought two packages, which gave me 8 cones, 8 cylinders, and 8 small squares.
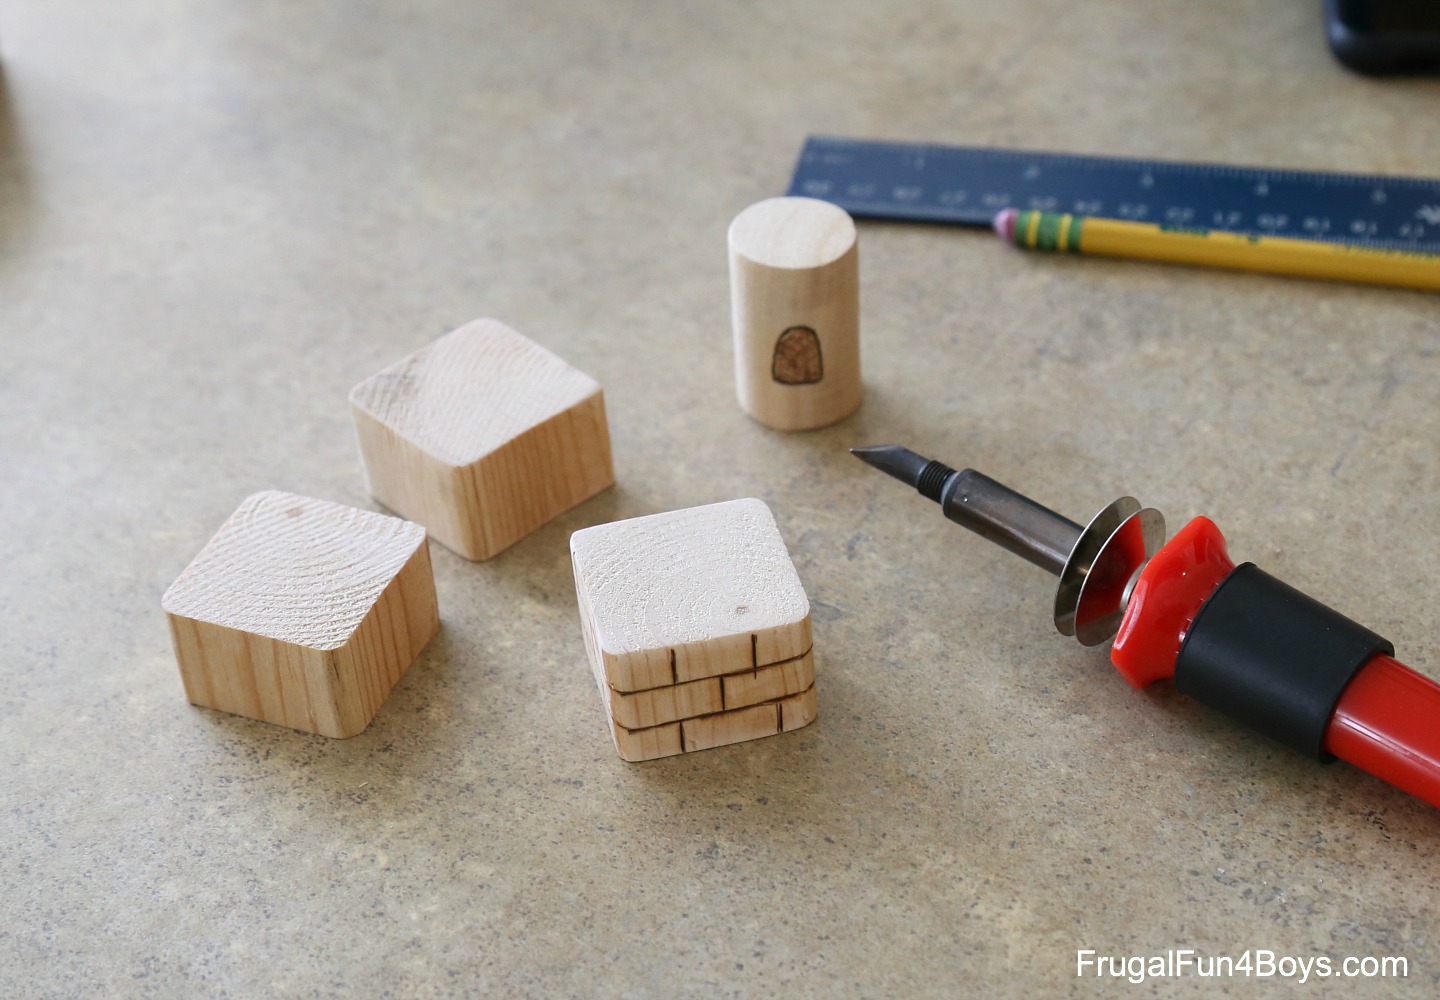
To supplement these fun shapes, I added a package of 1.5″ diameter wood disks. Then I found a 2 x 2 board in the garage, and my oldest son helped me cut it. We have a power miter saw, but a hand saw would also work. I marked the board and Aidan cut me lengths of 1 inch, 2 inches, 3 inches, and 4 inches.
We did 6 – 4″
10 – 3″
3 – 2″
6 – 1″
I really have no idea how I arrived at those numbers. You can make however many blocks you want though! You’ll want to sand your blocks thoroughly after cutting them. The kids enjoyed helping me with the sanding!
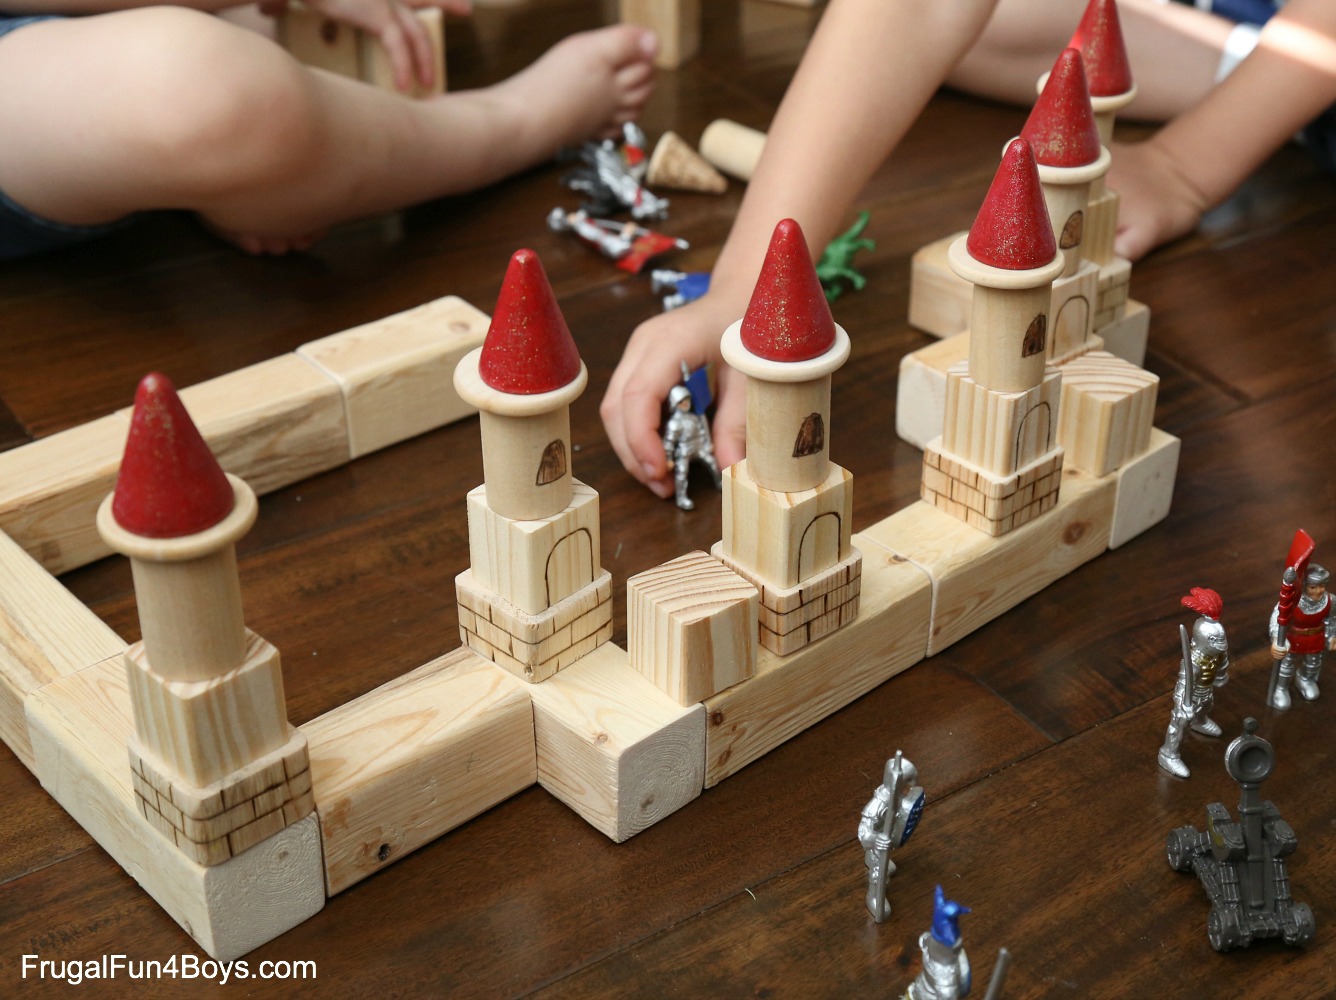
I used my wood burning tool to create some castle looking details on the blocks. I made brick lines on the 1″ sections and arch windows on half of the cylinders.
I also put arches on some of the square blocks that came in the package from Hobby Lobby. Then I gave two of the cones a thatch type roof.
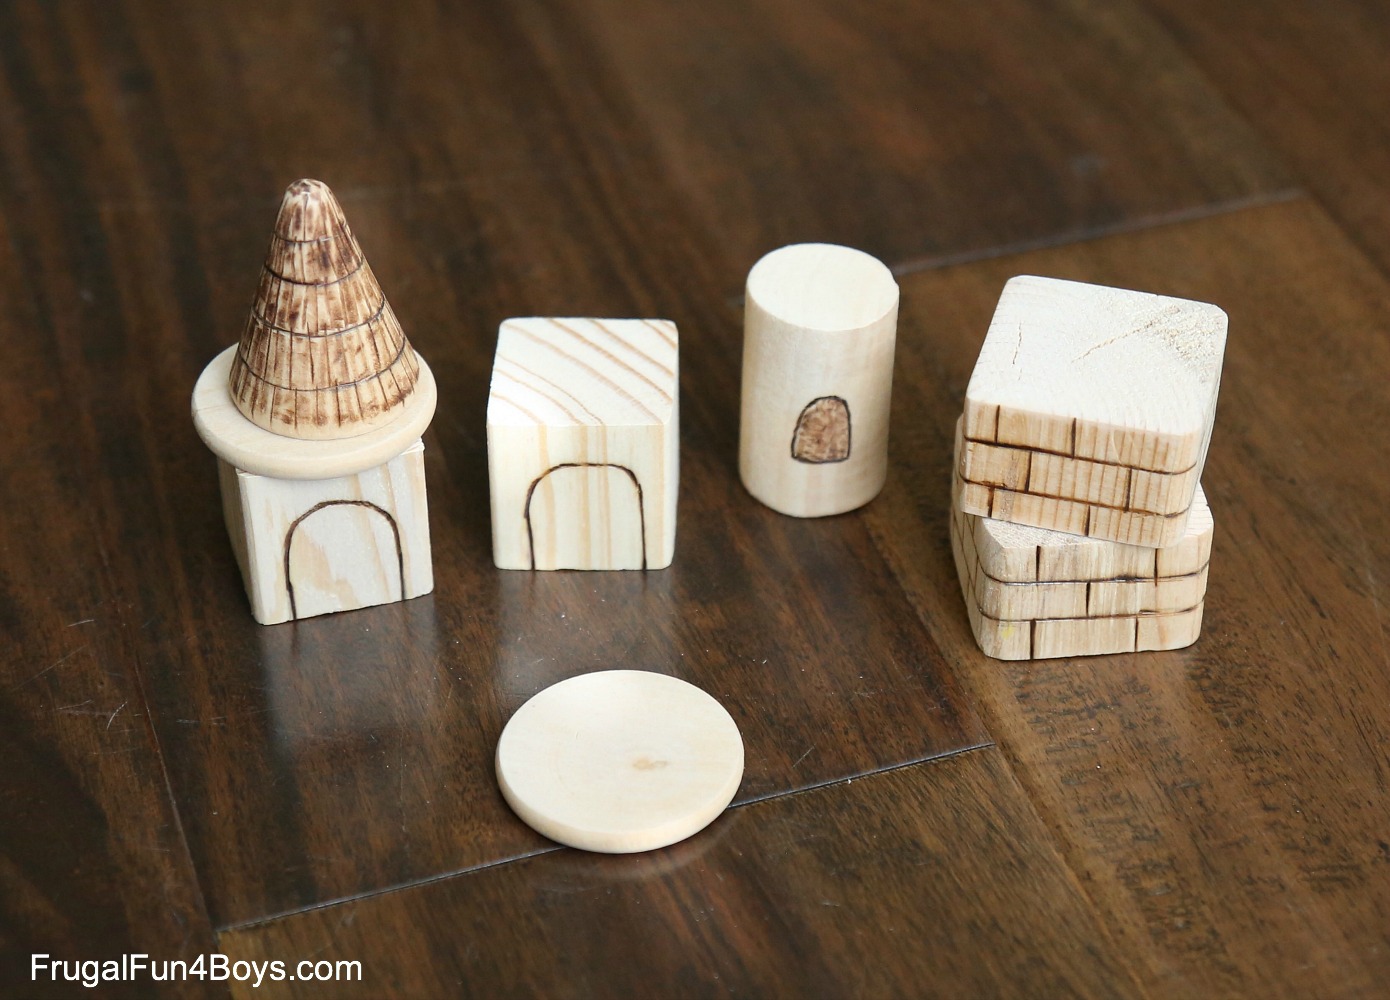
The thatch roof took a long time with the wood burning tool, so after finishing two of those, I decided to paint the rest of the cones. I did a coat of red and then a coat of “extreme glitter.” The glitter doesn’t add color, just glitter. It brushes on a pale white color but dries clear. (The cone over on the right was an oops – I used the wrong glitter paint. So just ignore that one!)

Once the glue dries, it’s time to play!
If you liked this project, you’ll want to check out some of our other homemade toy ideas!
- Make a Paper Plate Spiral Marble Track (so fun!)
- Make your own Dollhouse Building Blocks
- Create a Felt Play Food Taco Dinner (no sewing required!)
2 Comments
Debbie Vann Aug 7, 2018
This is such a great idea. Thank you for all you share. I have gotten so many fun ideas.
Terri Palmer Nov 9, 2018
I want to thank you for the great Castle Idea. I put this together for my Grandson and included some great books for him, too. He's enjoying his birthday gift immensely. You have so many wonderful ideas,
Thanks again, Terri
Post a Comment