
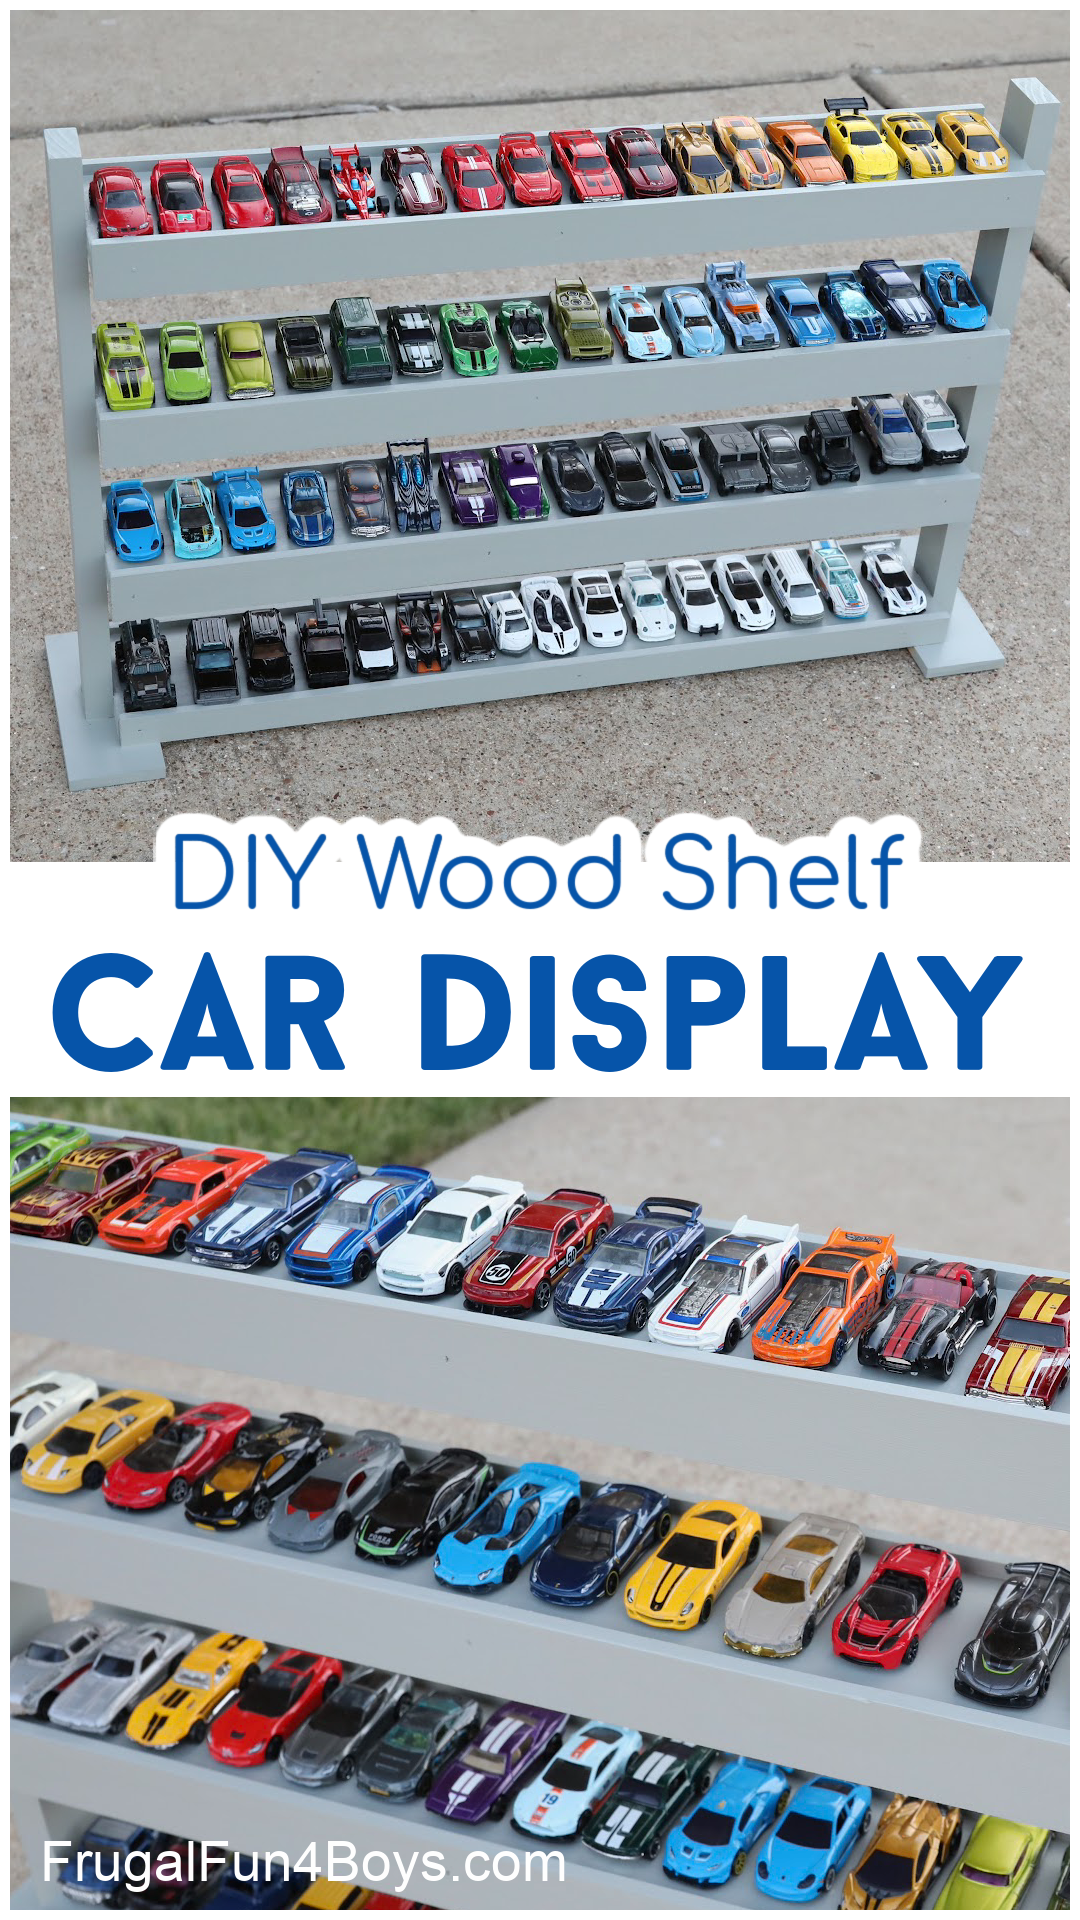
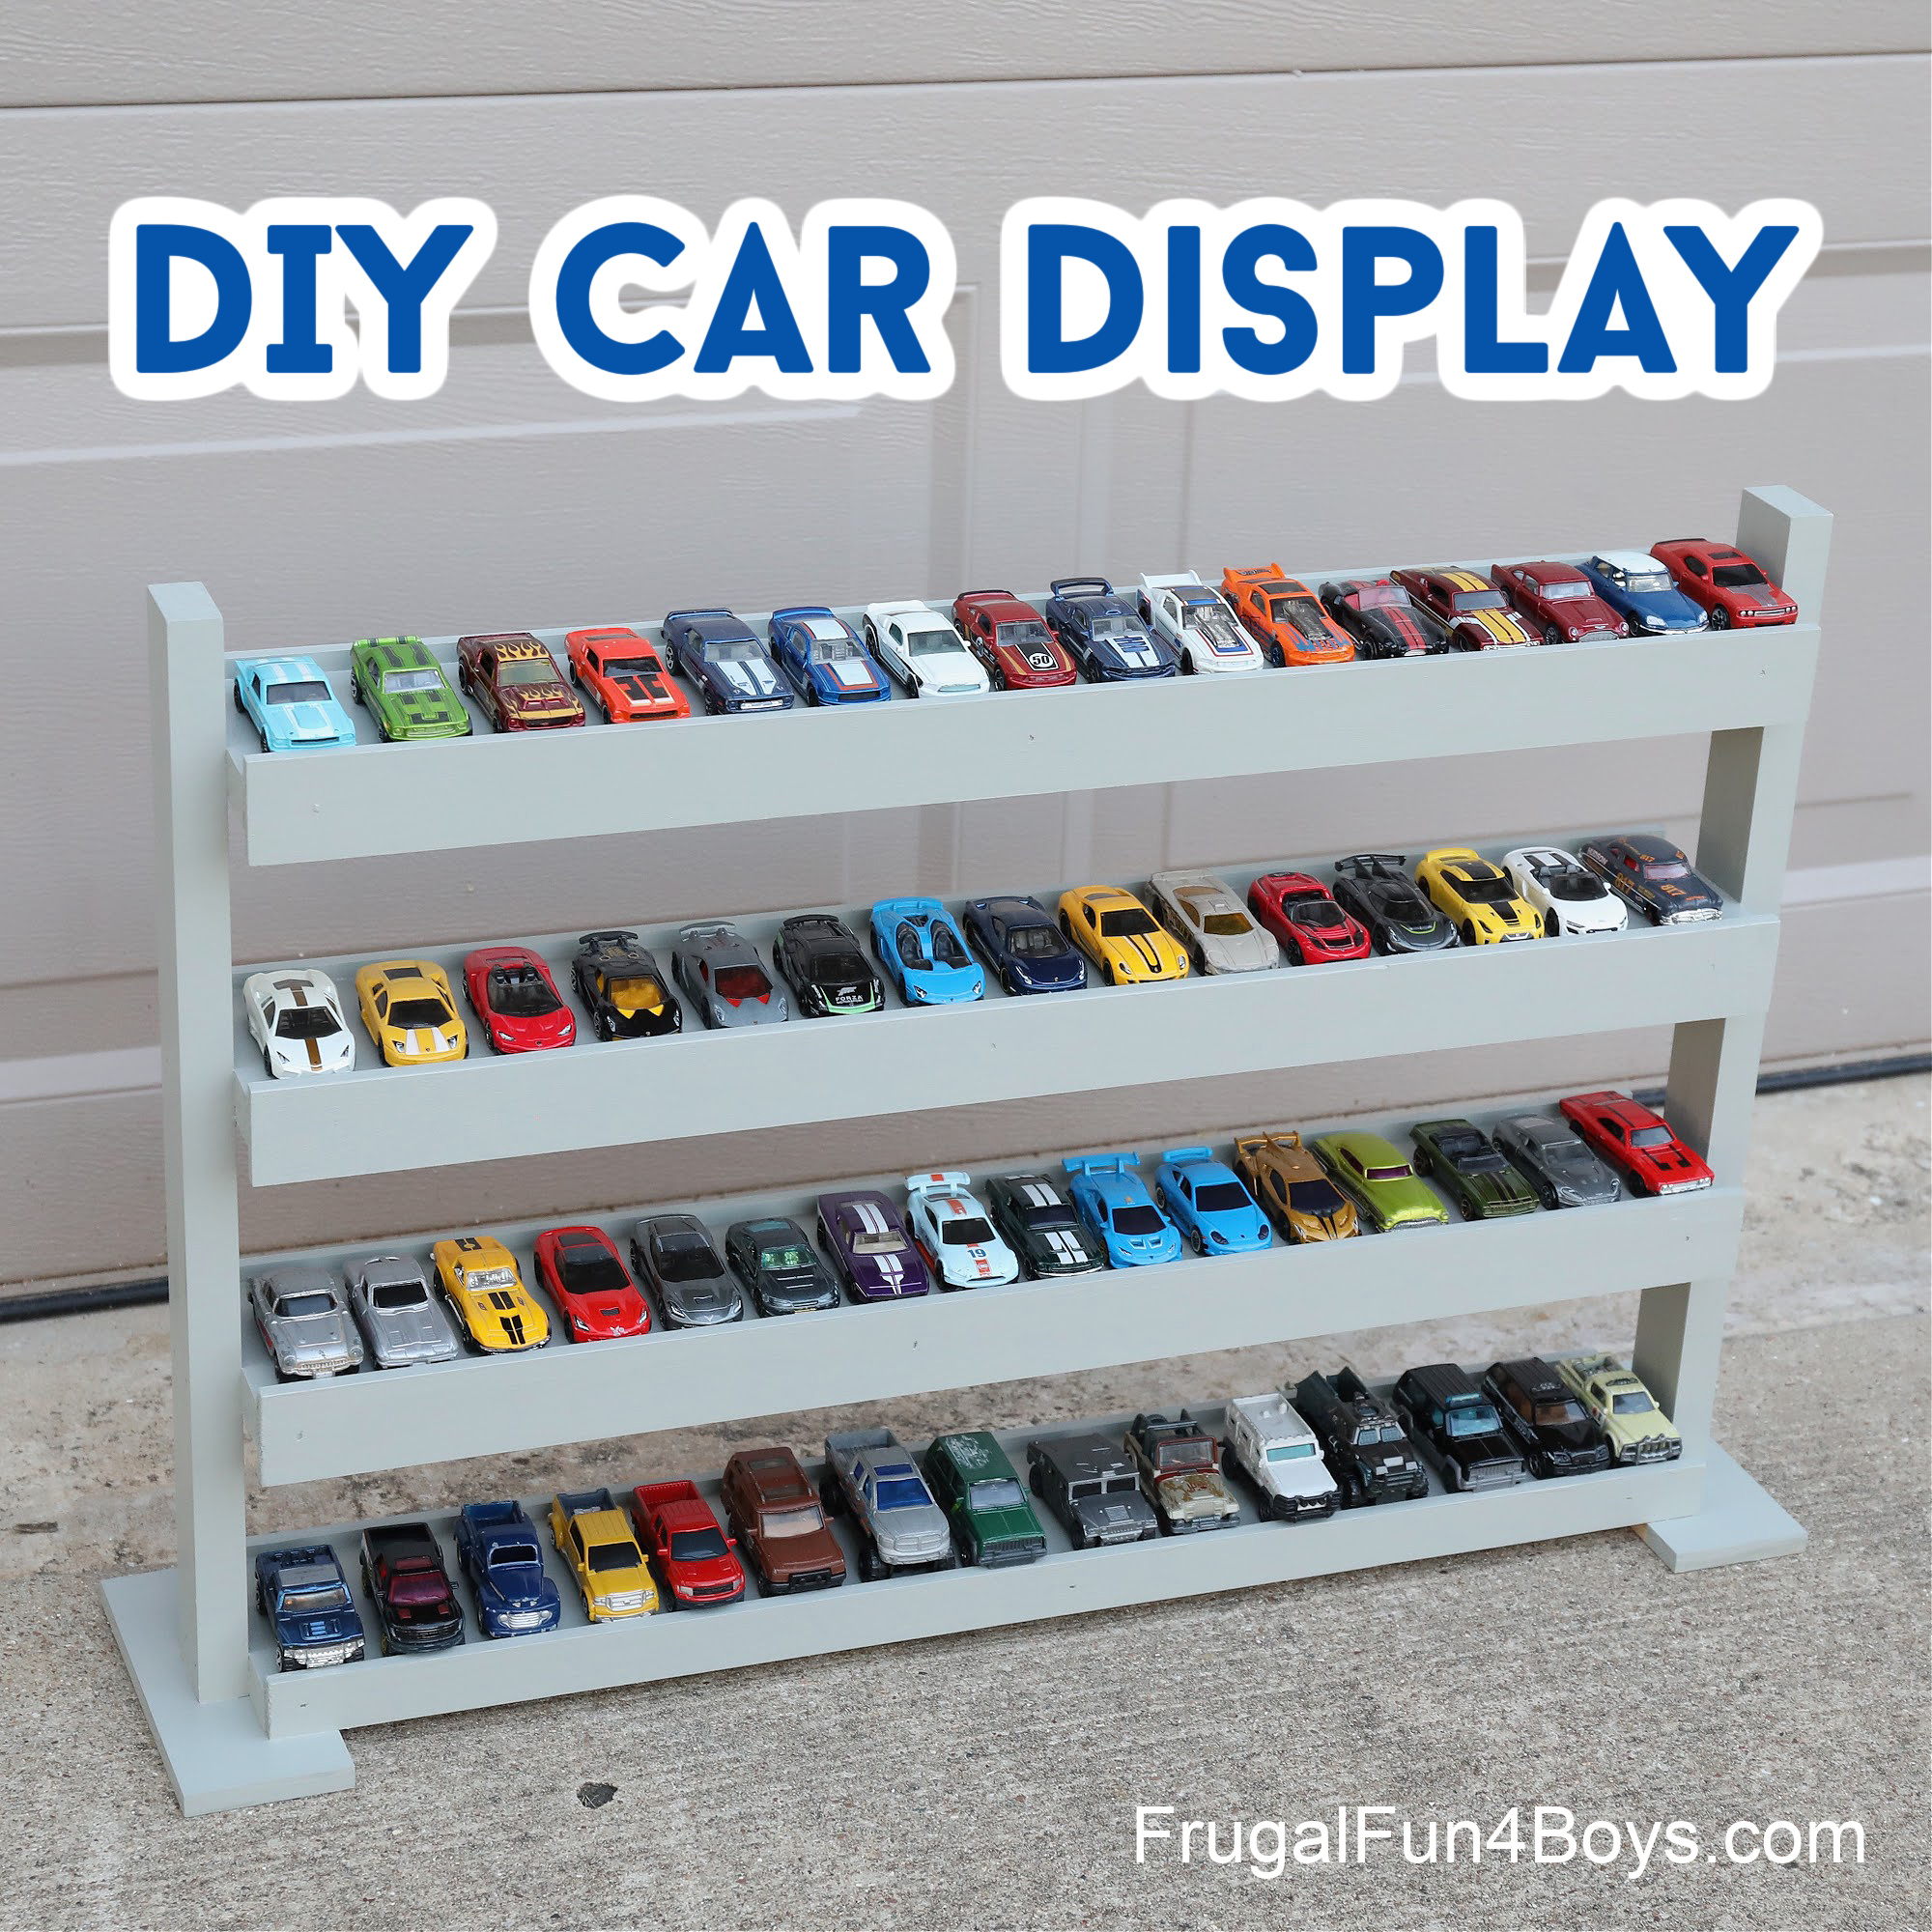
Got a large Hot Wheels car collection? Here’s an awesome DIY Hot Wheels car display case that holds a TON of cars! As pictured, this display shelf can hold about 65 cars, and we’ll tell you how to customize it to hold even more if your collection is really big.
If you’ve been following this site for very long, you know that we are big fans of Hot Wheels cars. They are so fun to collect and the perfect size for kids to carry around. And since they are only about $1 each, we’ve accumulated LOTS AND LOTS over the years!
As the kids have gotten older, they have become interested in displaying all the different cars they own.
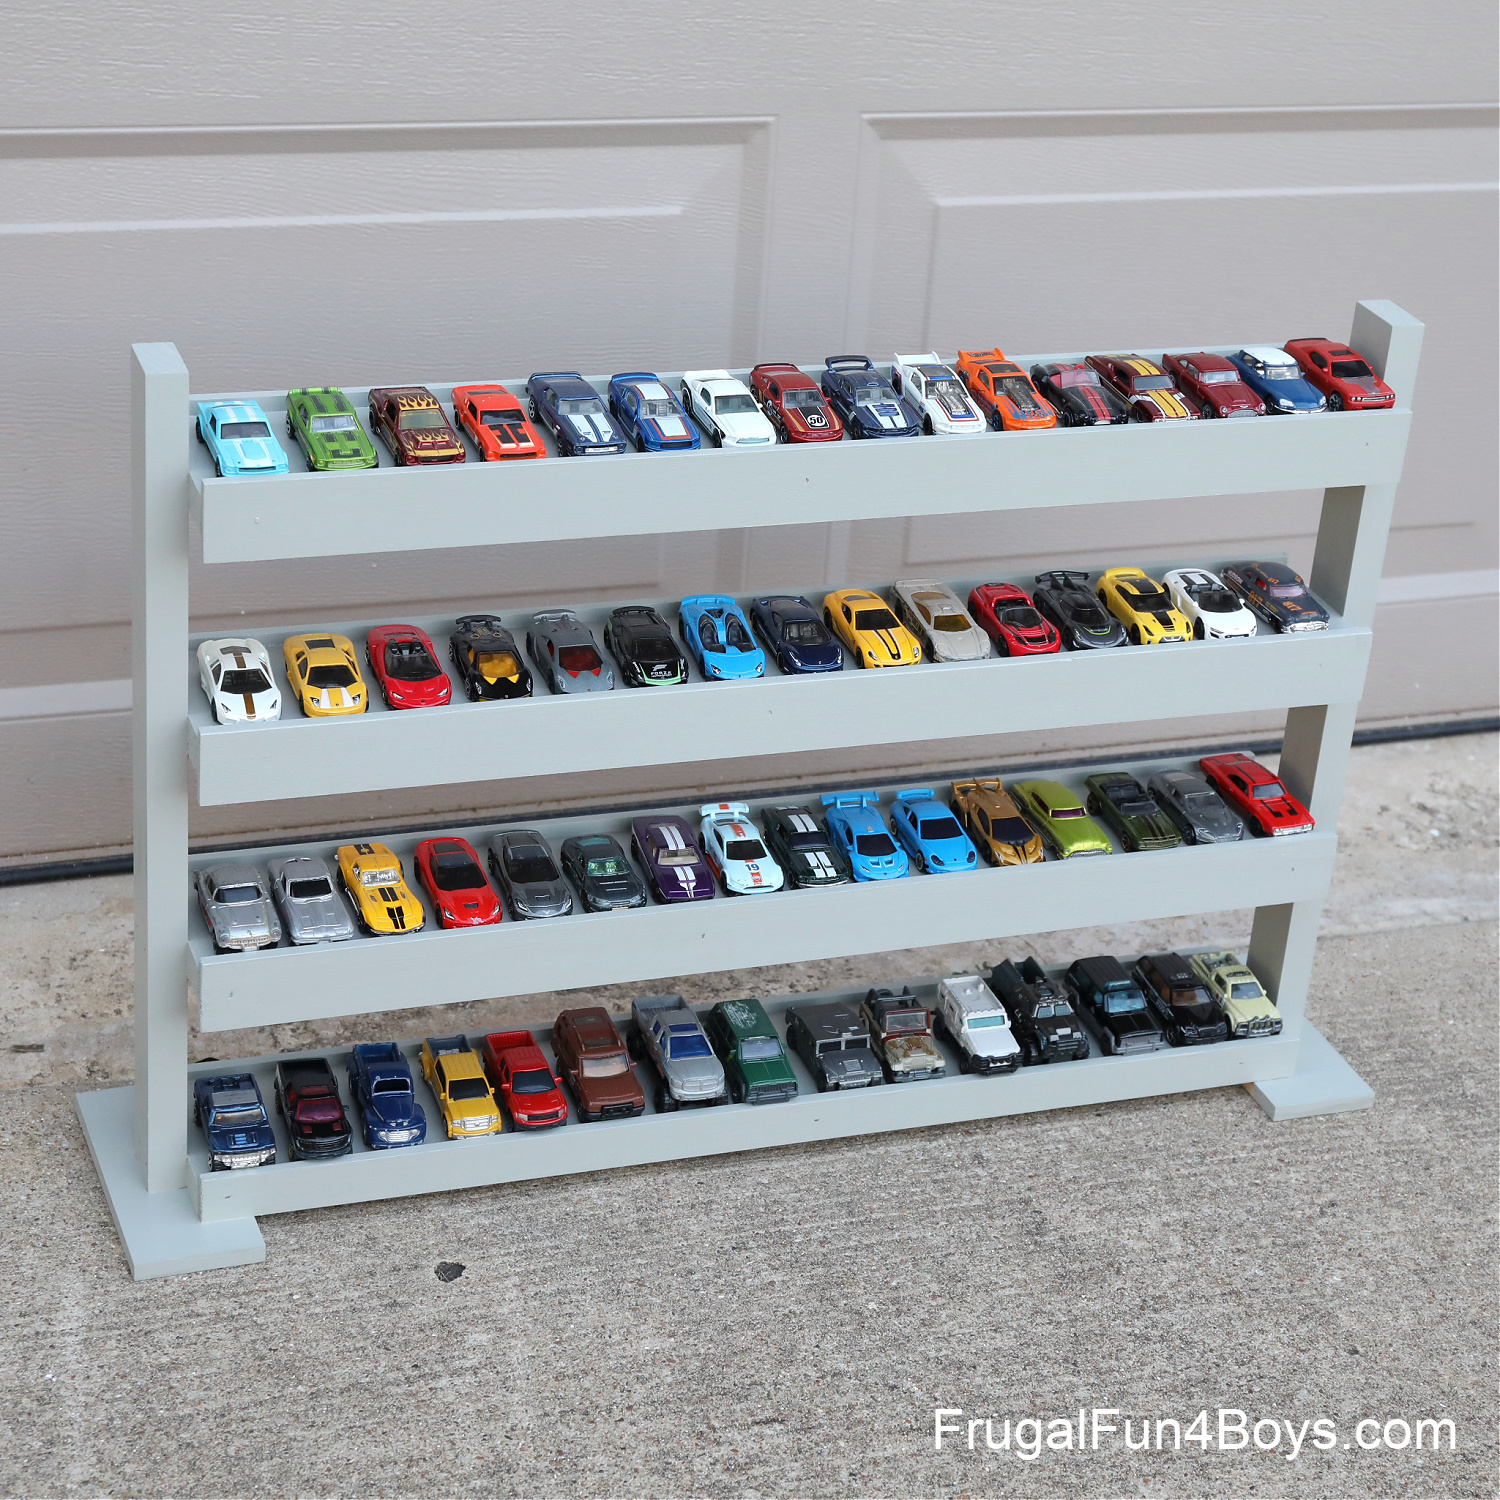
I’ve been wanting to build a wood display shelf like this for awhile, and we finally got it done. We love it because it doesn’t take up a lot of space, and yet it holds a ton of cars. Also, this display shelf doesn’t need to be mounted on a wall. Just place it on top of a dresser or book case!
A big thanks to my dad for helping me build this shelf. He has the woodworking expertise and did most of the hard work!
This is definitely not a project for kids, although kids can definitely help with the cutting, sanding, and painting, depending on age.
Our Hot Wheels display case has four shelves, and each shelf holds 15-17 cars. 18 if you squish them. We prefer 15 or 16 because it looks better with a little space between each car.
The shelf pictured is 24 inches wide. You can easily make it wider, or add a fifth (or even sixth) shelf for more cars.
Arrange the cars by the type of vehicle, or by color. My 9 year old has been exploring all different ways to arrange his cars.
Ready to build your own DIY Hot Wheels Car Display Case?
You won’t need to make a lot of cuts in the wood, as most of the boards come pre-cut in these sizes. And assembling the display shelf is not challenging. However, it will be much easier to assemble if you have access to a nail gun. A power saw (a chop saw/miter saw) is also very helpful.
We also used a table saw, but that’s optional. I’ll get to that in a minute…
Supplies Needed:
- Four – 1″ x 4″ x 2 ft. boards, we used pine
- Eight – 1/4″ x 2 x 2 ft. boards, we used poplar
- Two – 1″ x 2″ x 17″ boards, we used pine
- Two – 1/4″ x 2.5″ x 6″ pine boards for the feet
- Wood glue
- Nail gun, or hammer and nails
- Saw – power saw or hand saw, if your boards need to be cut to the lengths above
- Sandpaper, fine grit
- Paint or wood stain
- Varnish – if you choose to use stain
We purchased all our wood from Lowe’s. You can see the pine we used here. We used the select pine boards. Those have fewer knots, less warping, etc. The 1/4″ x 2″ boards were only available in poplar.
**Feel free to adjust the dimensions! Make the side boards longer and add a fifth shelf, if desired. Or, make the whole thing 2.5 feet instead of 2. That would add space for about 16 more cars, 4 on each shelf.
Step 1: Cut your boards to the right lengths and sand the rough edges.
We cut our 1 x 4 boards, but only because we didn’t like the condition of the particular 24″ length boards at our store and chose to buy a 4 ft. long board. The 1 x 2 x 17″ boards will need to be cut. The best option is to buy a 1 x 2 x 24″ board.
Step 2: Assemble the shelves.
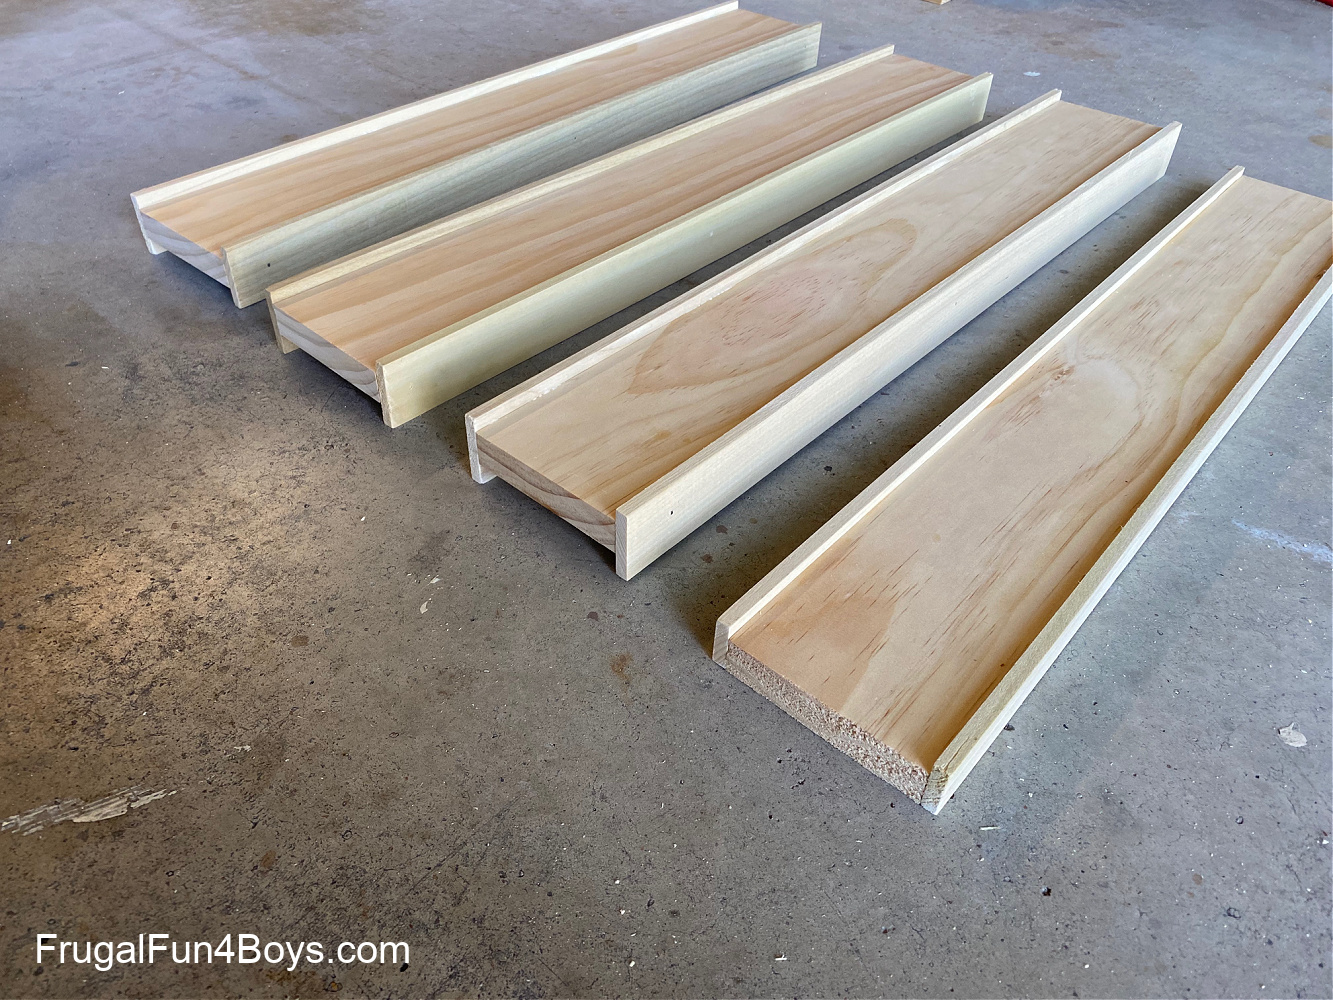
Each shelf has a “bumper” on both sides to keep the cars from rolling off. This is an important step since anywhere you place the display case is unlikely to be perfectly level. We used 1/4″ x 2″ poplar boards for this step.
You can decide how much you want the bumper to stick up in front of the cars and how much should hang down. The photo below shows the underside of the shelf. We used a couple scraps of wood under the shelf to help us position the bumper the same for each shelf.
Run some wood glue along the shelf. Then nail the bumper to the shelf.

Here’s a picture of all four of our completed shelves.
IMPORTANT NOTE: You’ll notice that the bottom shelf (on the far right of the picture below) sits directly on the floor. We realized that we wanted this shelf to sit directly on the feet of the display case. That meant that the bumper could not hang down at all from the shelf. My dad ripped the boards with a table saw to make them more narrow, which can be tricky to do! They came out great, but if you want to skip this step, cut the sides for your display case 1/2″ – 1″ longer and attach the bottom shelf a little higher.
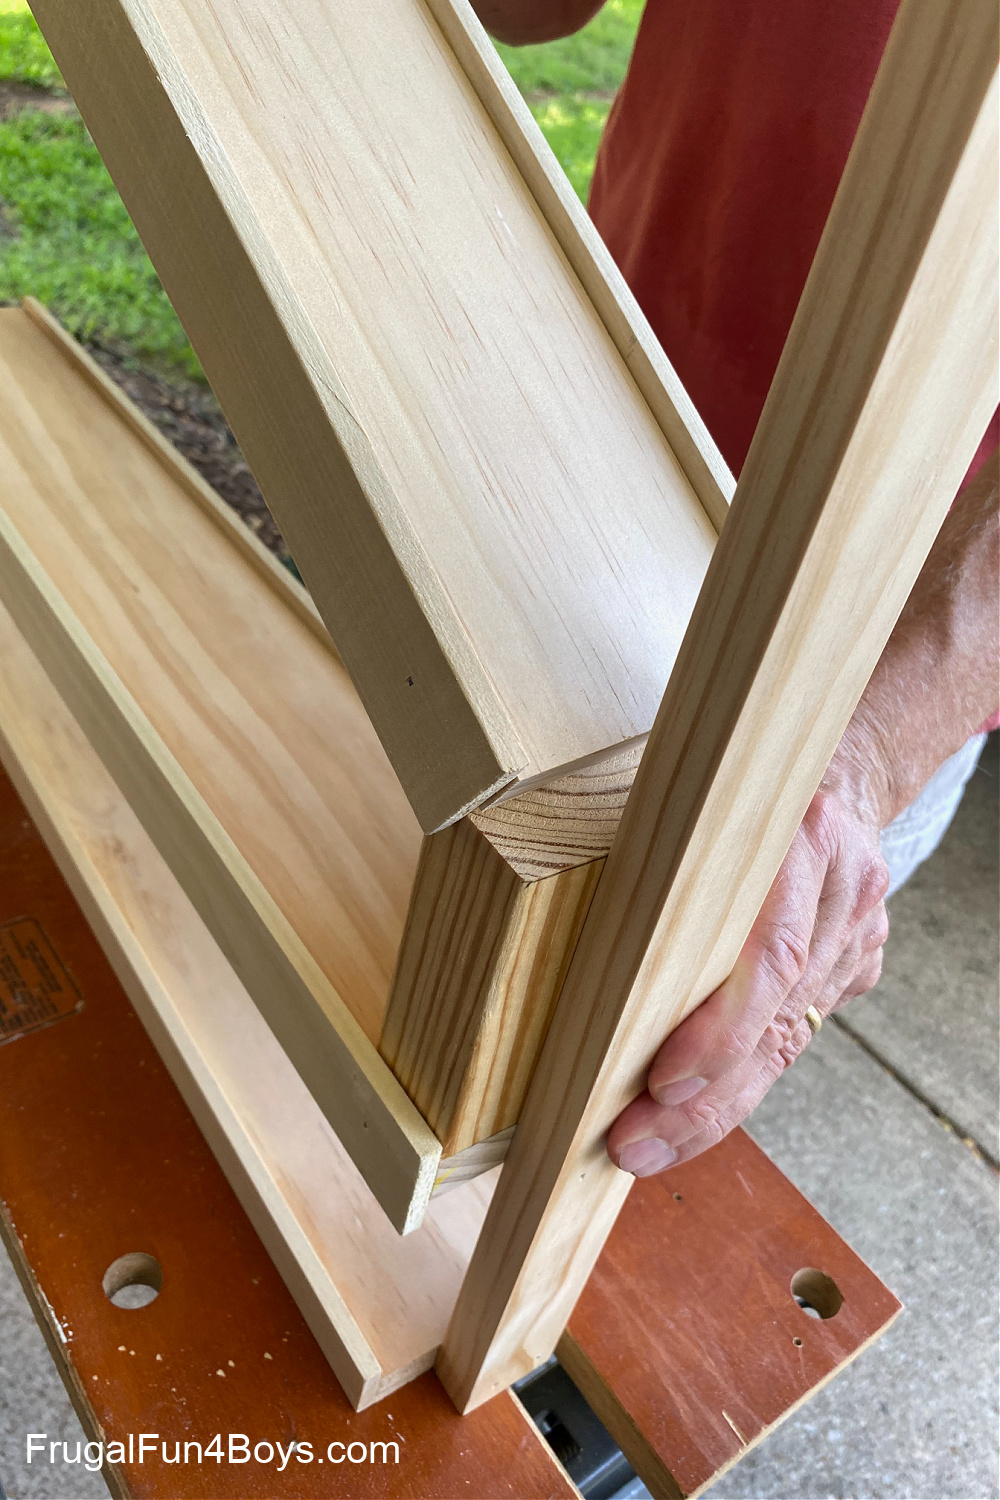
Step 3: Nail the sides to the shelves.
This step is not difficult, but it can be a little tricky to decide how you want to go about it.
Here’s what we did. We nailed the bottom shelf to the bottom of each side board. Then we cut a 4″ board to use as a template. We put the 4″ board between the shelves and marked the shelf height with a pencil on both sides. Then we took out the 4″ board and used our pencil lines to line up the shelf. We nailed it with a nail gun.
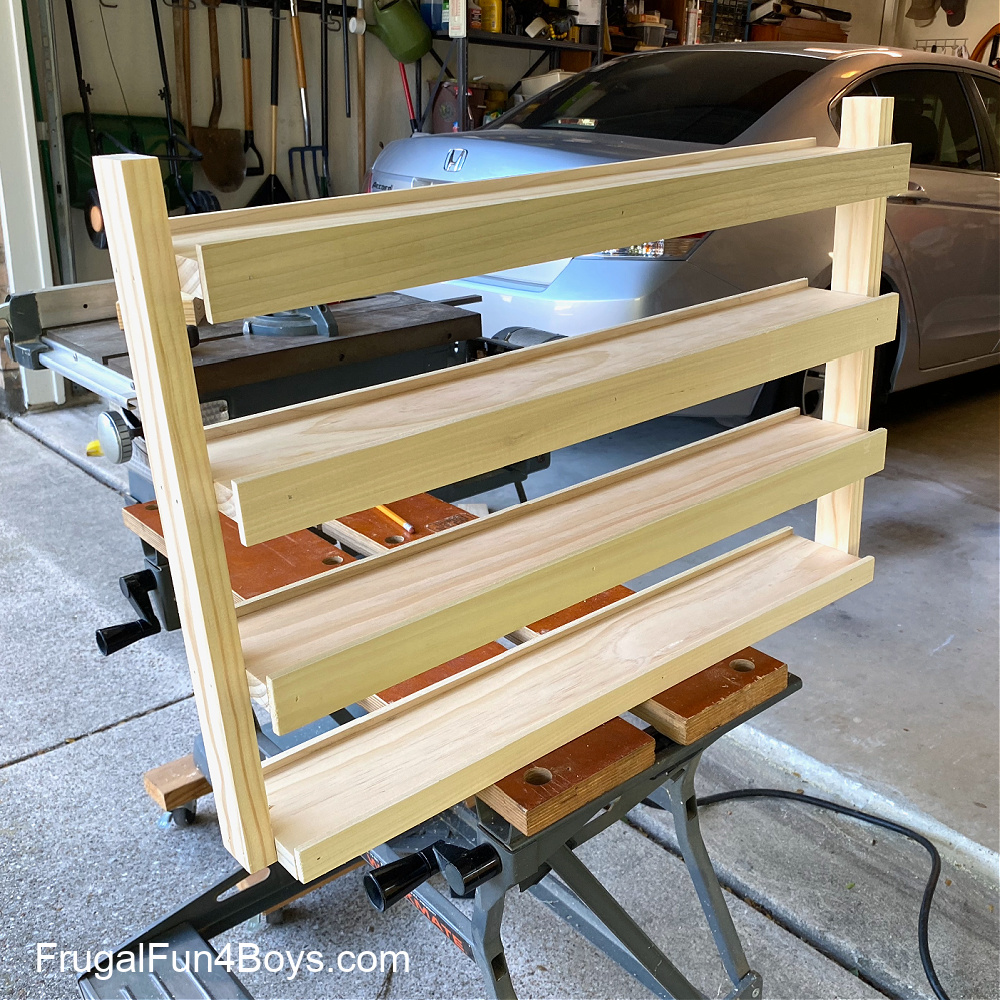
Step 4: Add feet to the bottom of the display case. We used boards that were 1/4″ x 2.5″ x 6″.
Here’s a picture of the finished display case! It just needs feet.
Without the feet, the display case was surprisingly stable, but with the feet added, it’s even more secure and definitely won’t tip over. We turned the whole thing over to nail the feet on from the bottom.
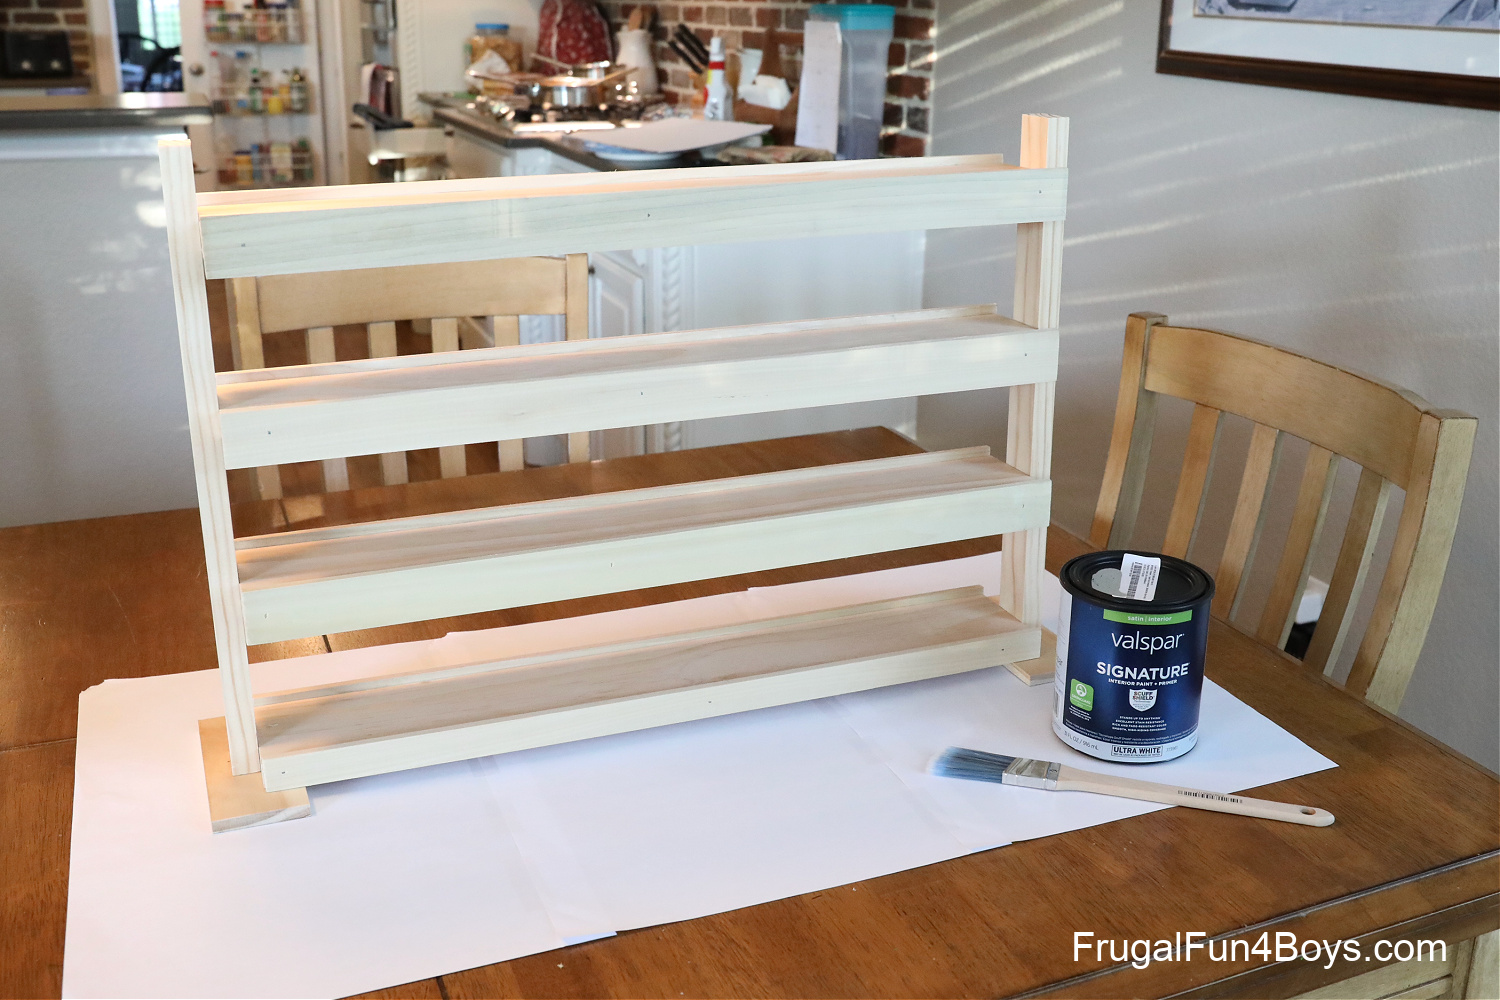
Step 5: Paint or stain your display case.
Now you can see the feet in this photo.
I purchased a quart of gray latex paint for the shelf, and had lots left over. I really like the look of it, and I’ll use the paint for something else.
If you want less expense, you can use acrylic paint from the craft store! Another option is to stain the shelf with wood stain. I decided not to go this route because the two different woods (pine and poplar) would take the stain differently.
If you do decide to stain the wood, you’ll want to use a coat or two of varnish after it dries to protect the wood.
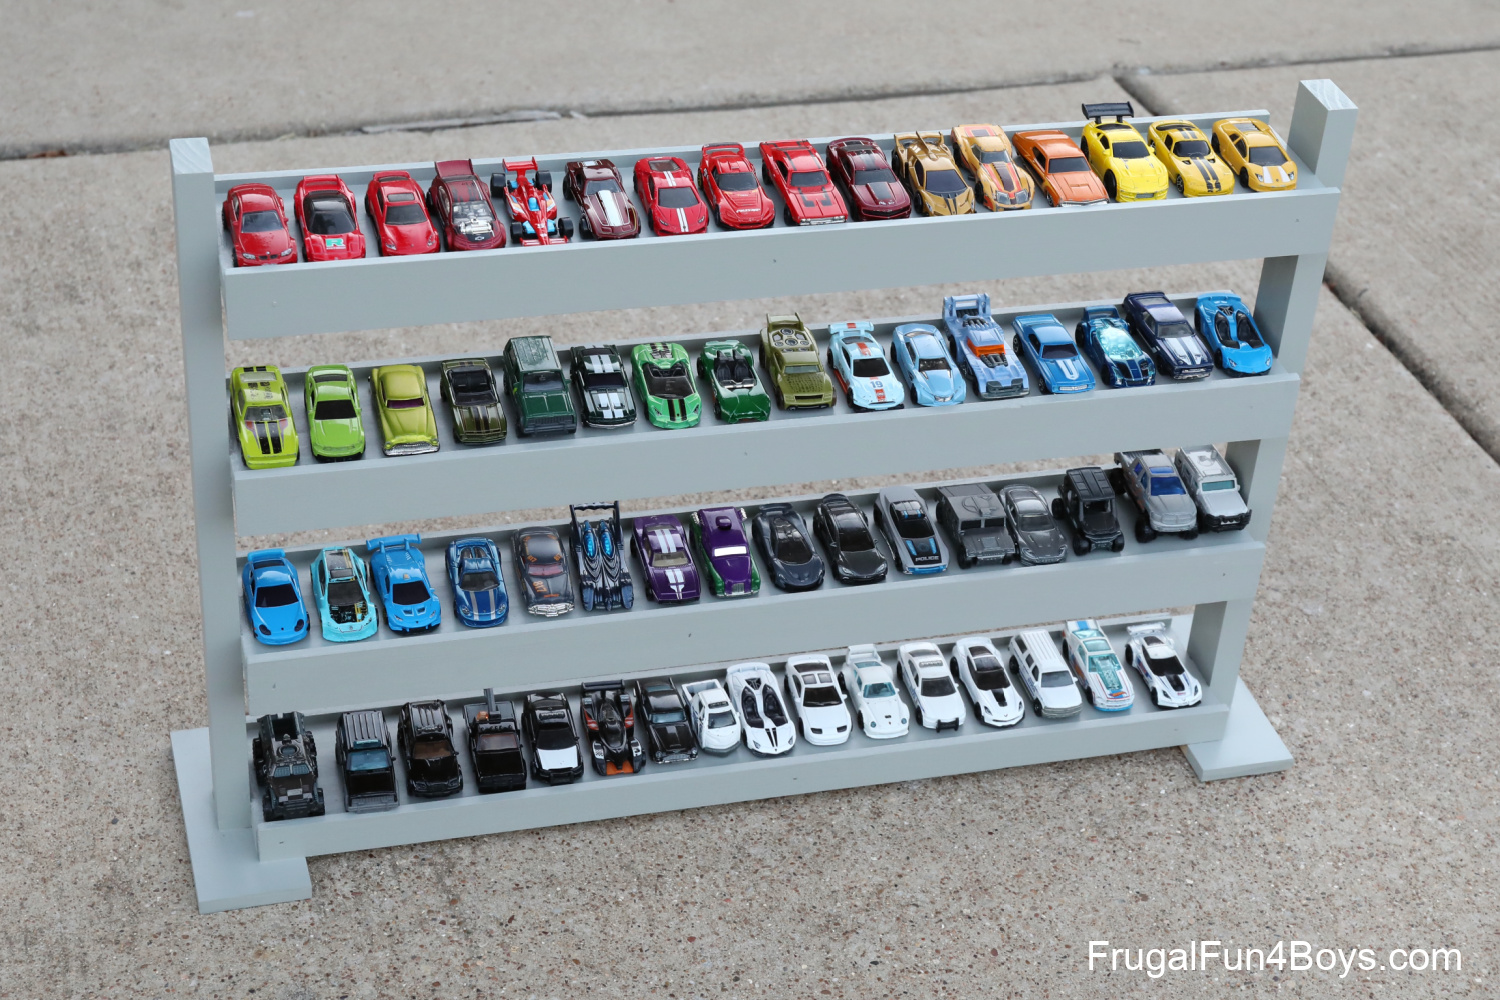
Here’s the shelf all painted!
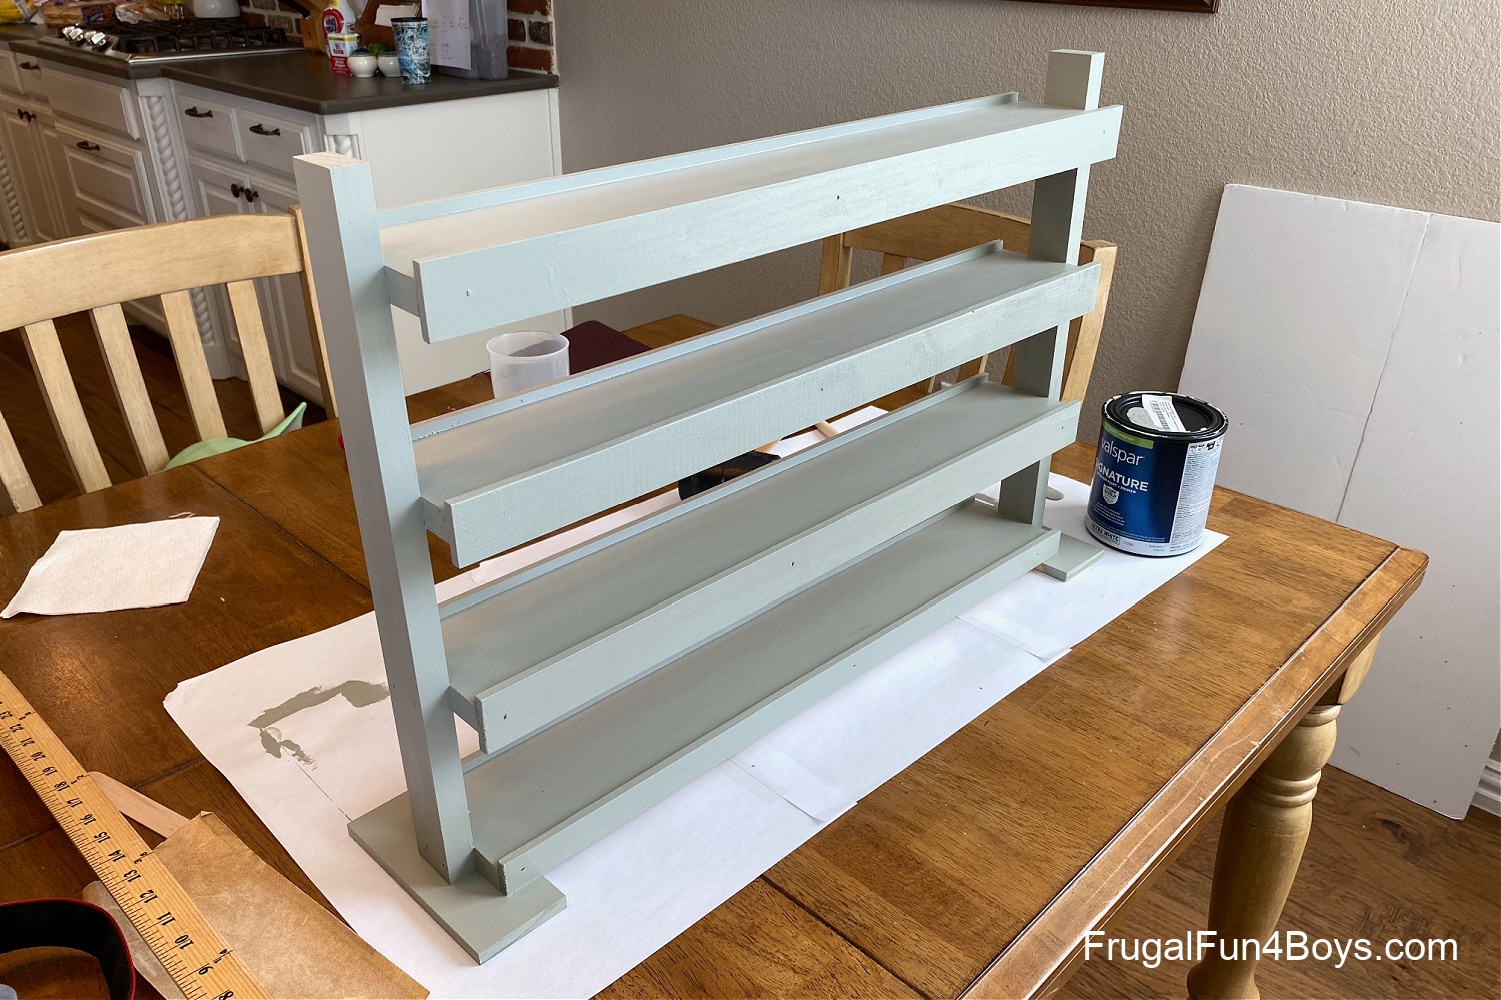
Then it’s time to load up the shelves with cars!
Place the display case on a dresser or on a shelf in the game room. It looks so good!
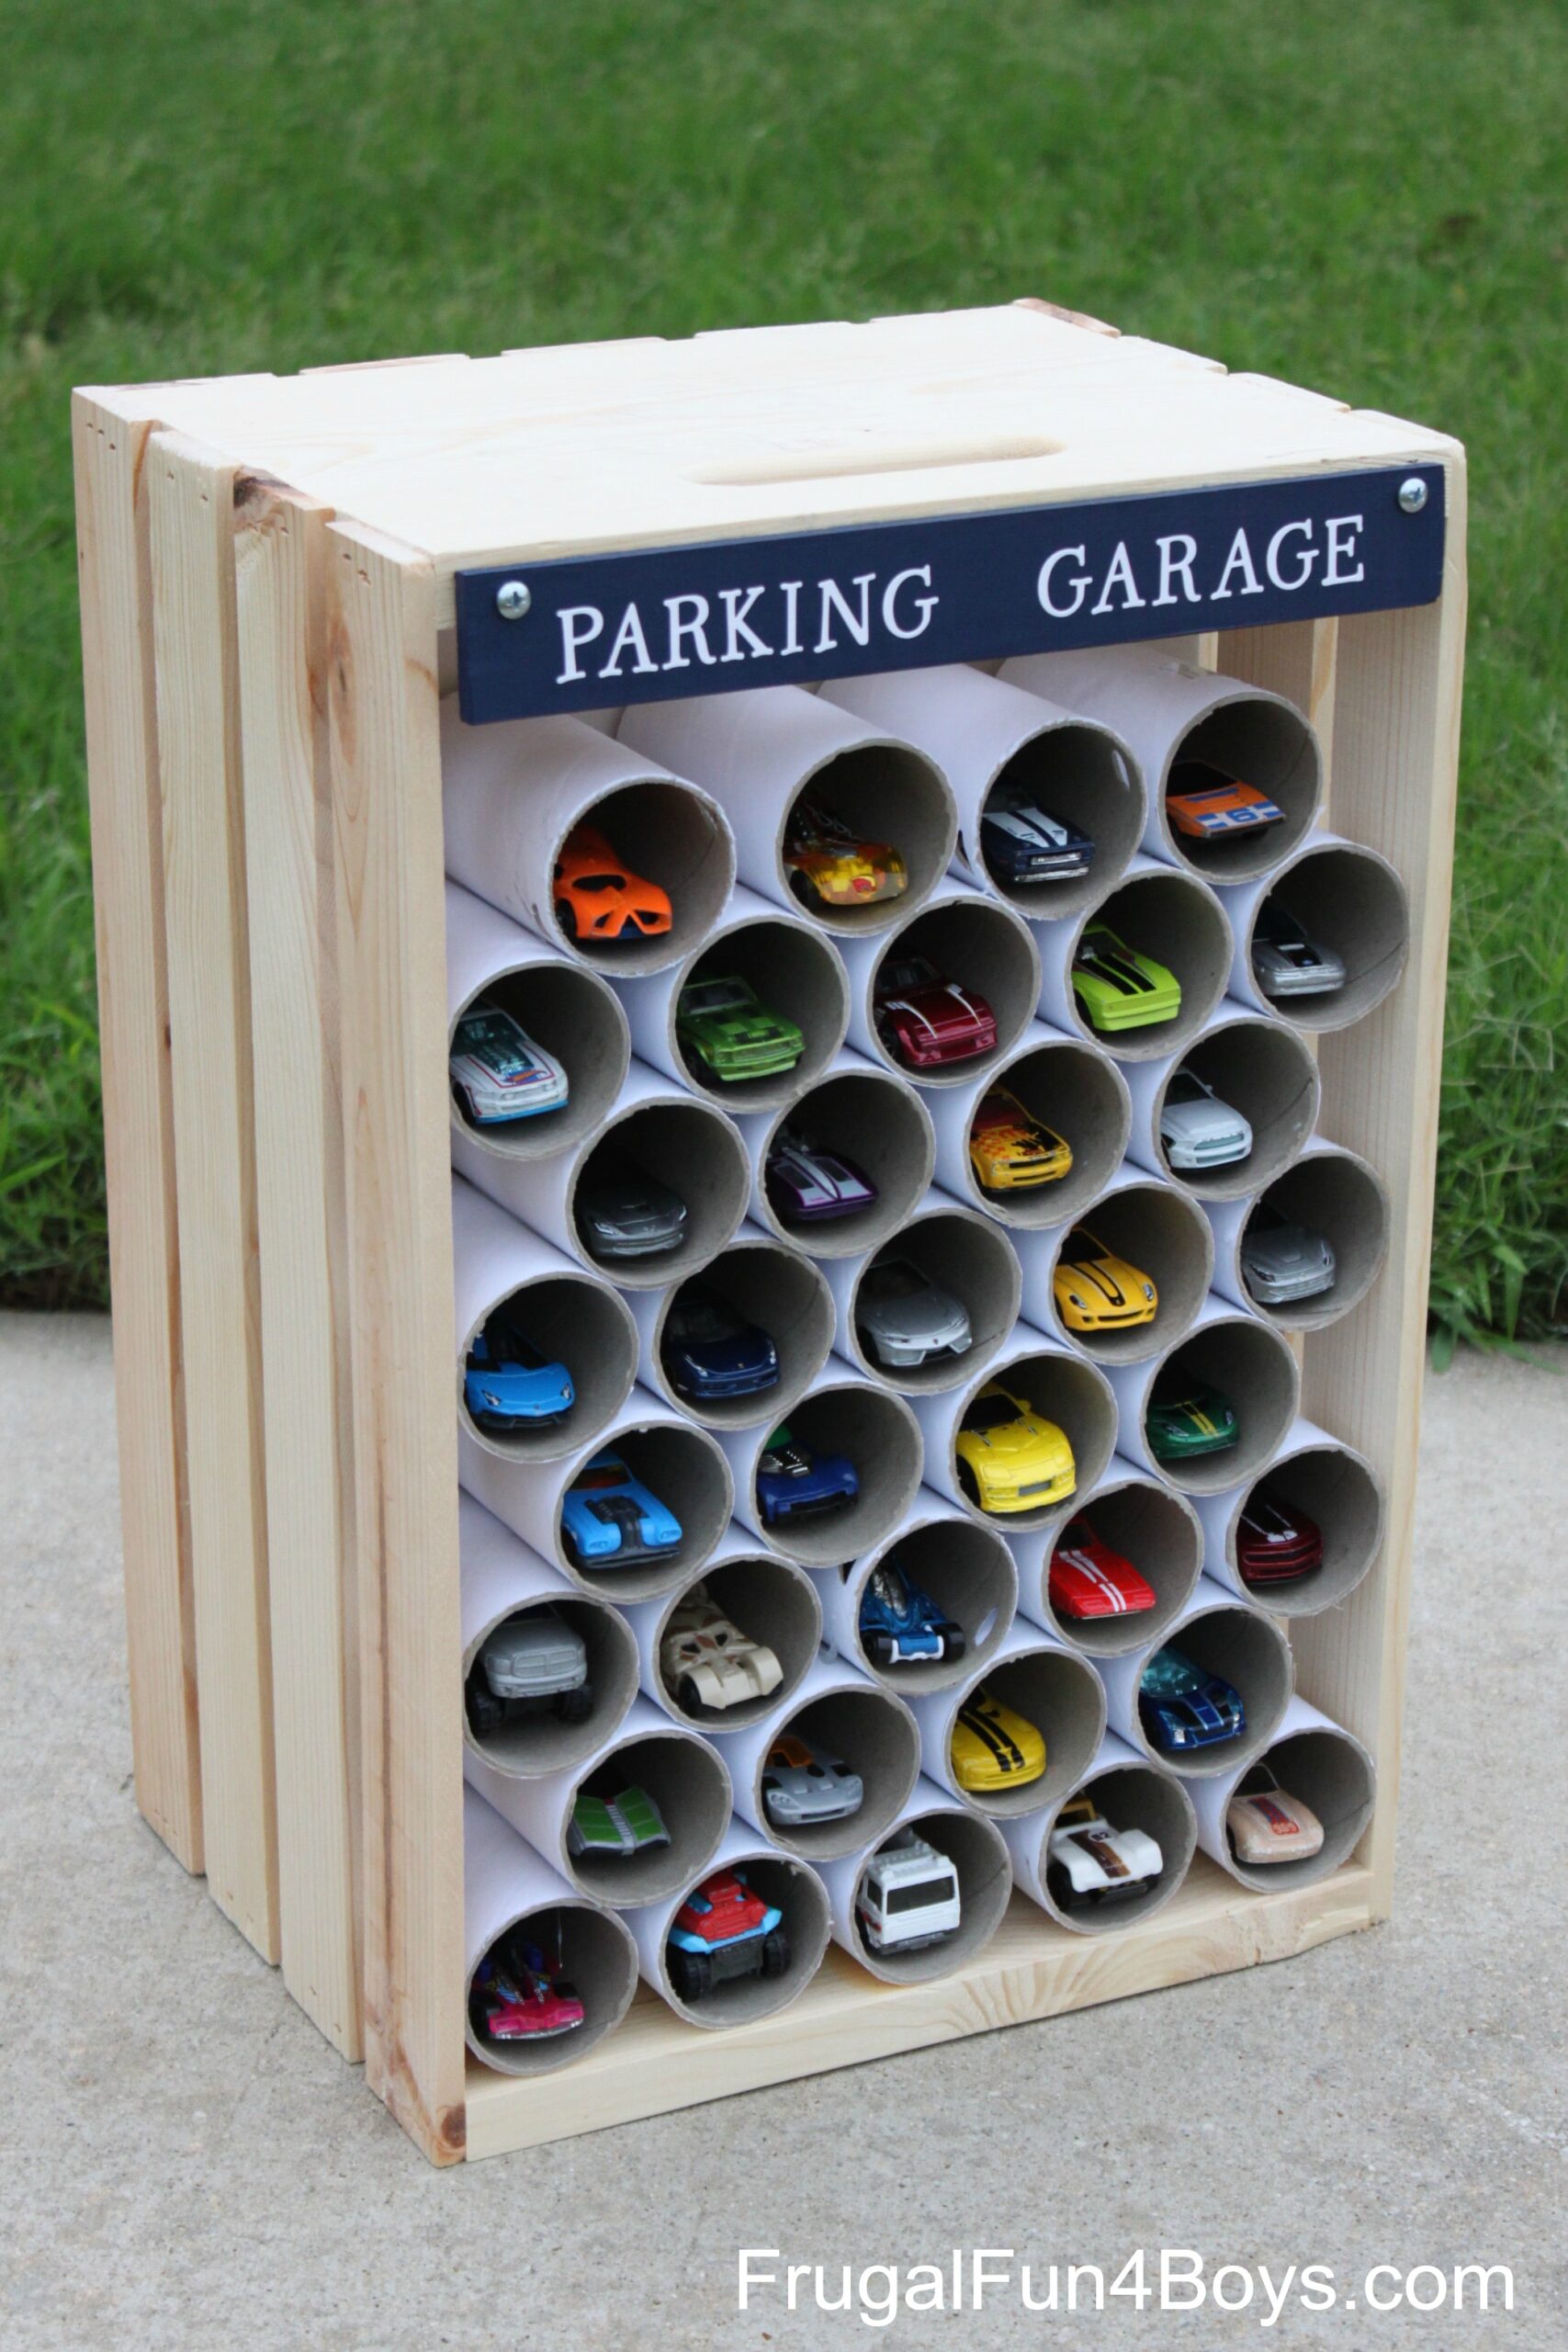
Here’s another fun idea – turn a wooden crate into a cool Parking Garage for Hot Wheels cars!
1 Comments
Micah Dec 2, 2021
I've been looking for a shelf like this everywhere. Thanks for the great tutorial. Curious if there is a specific reason you found for this not working on the floor that I'm not thinking of? Planning to make one a bit taller and wider and I can always do a different base/legs thing. Just wondering. Thanks!!
Sarah Dec 4, 2021
I think it would work great on the floor for younger kids!
Post a Comment