
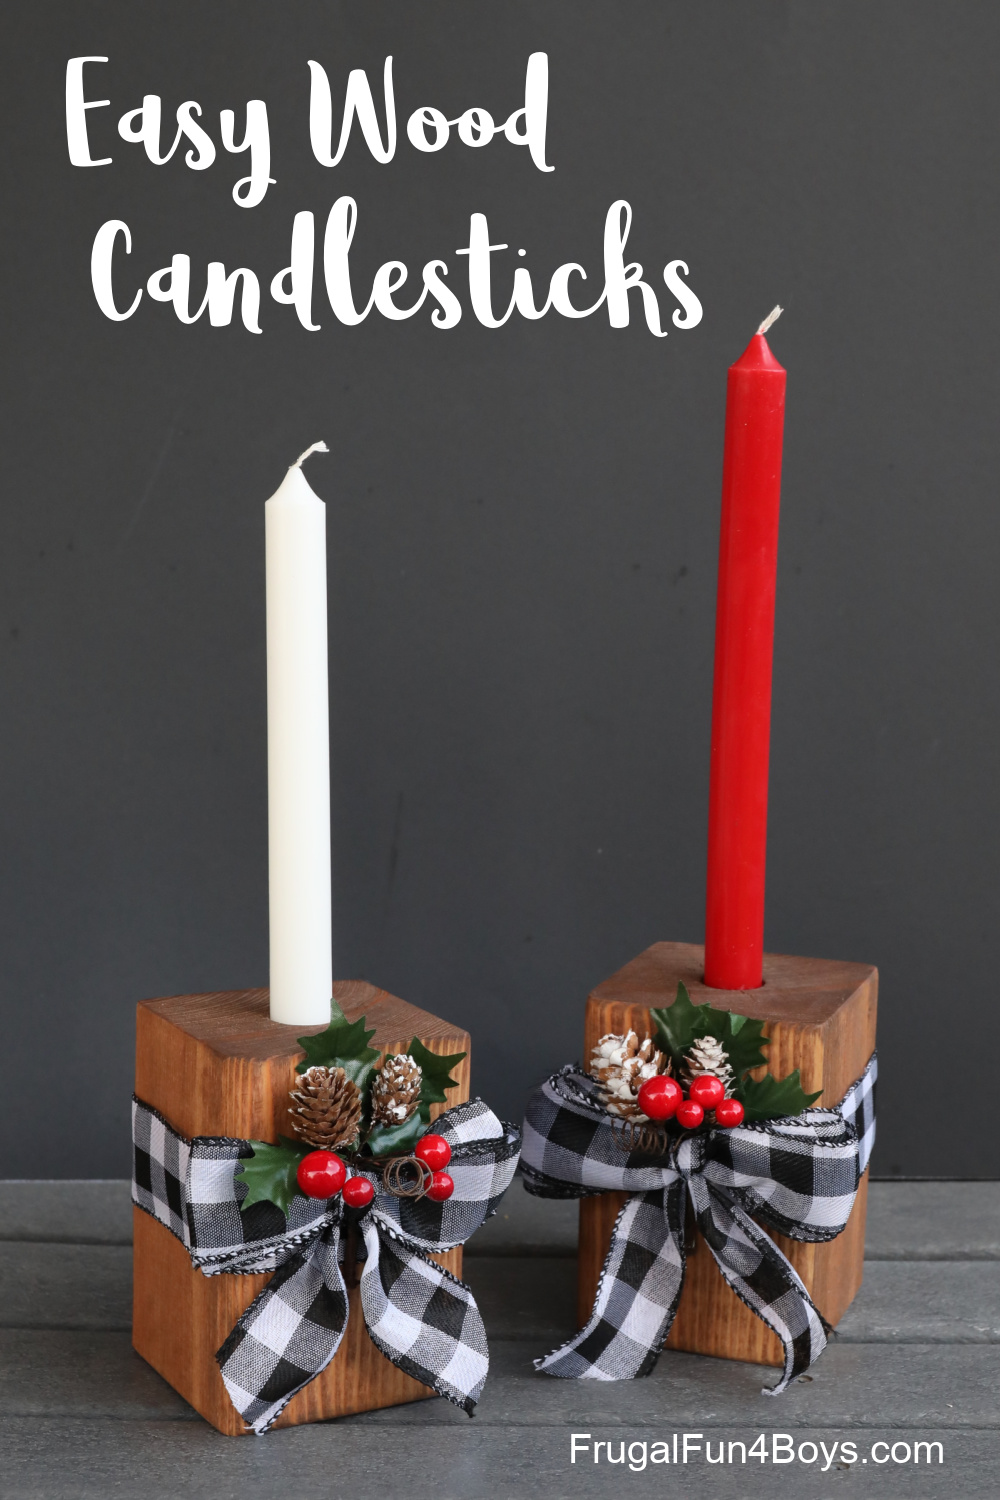
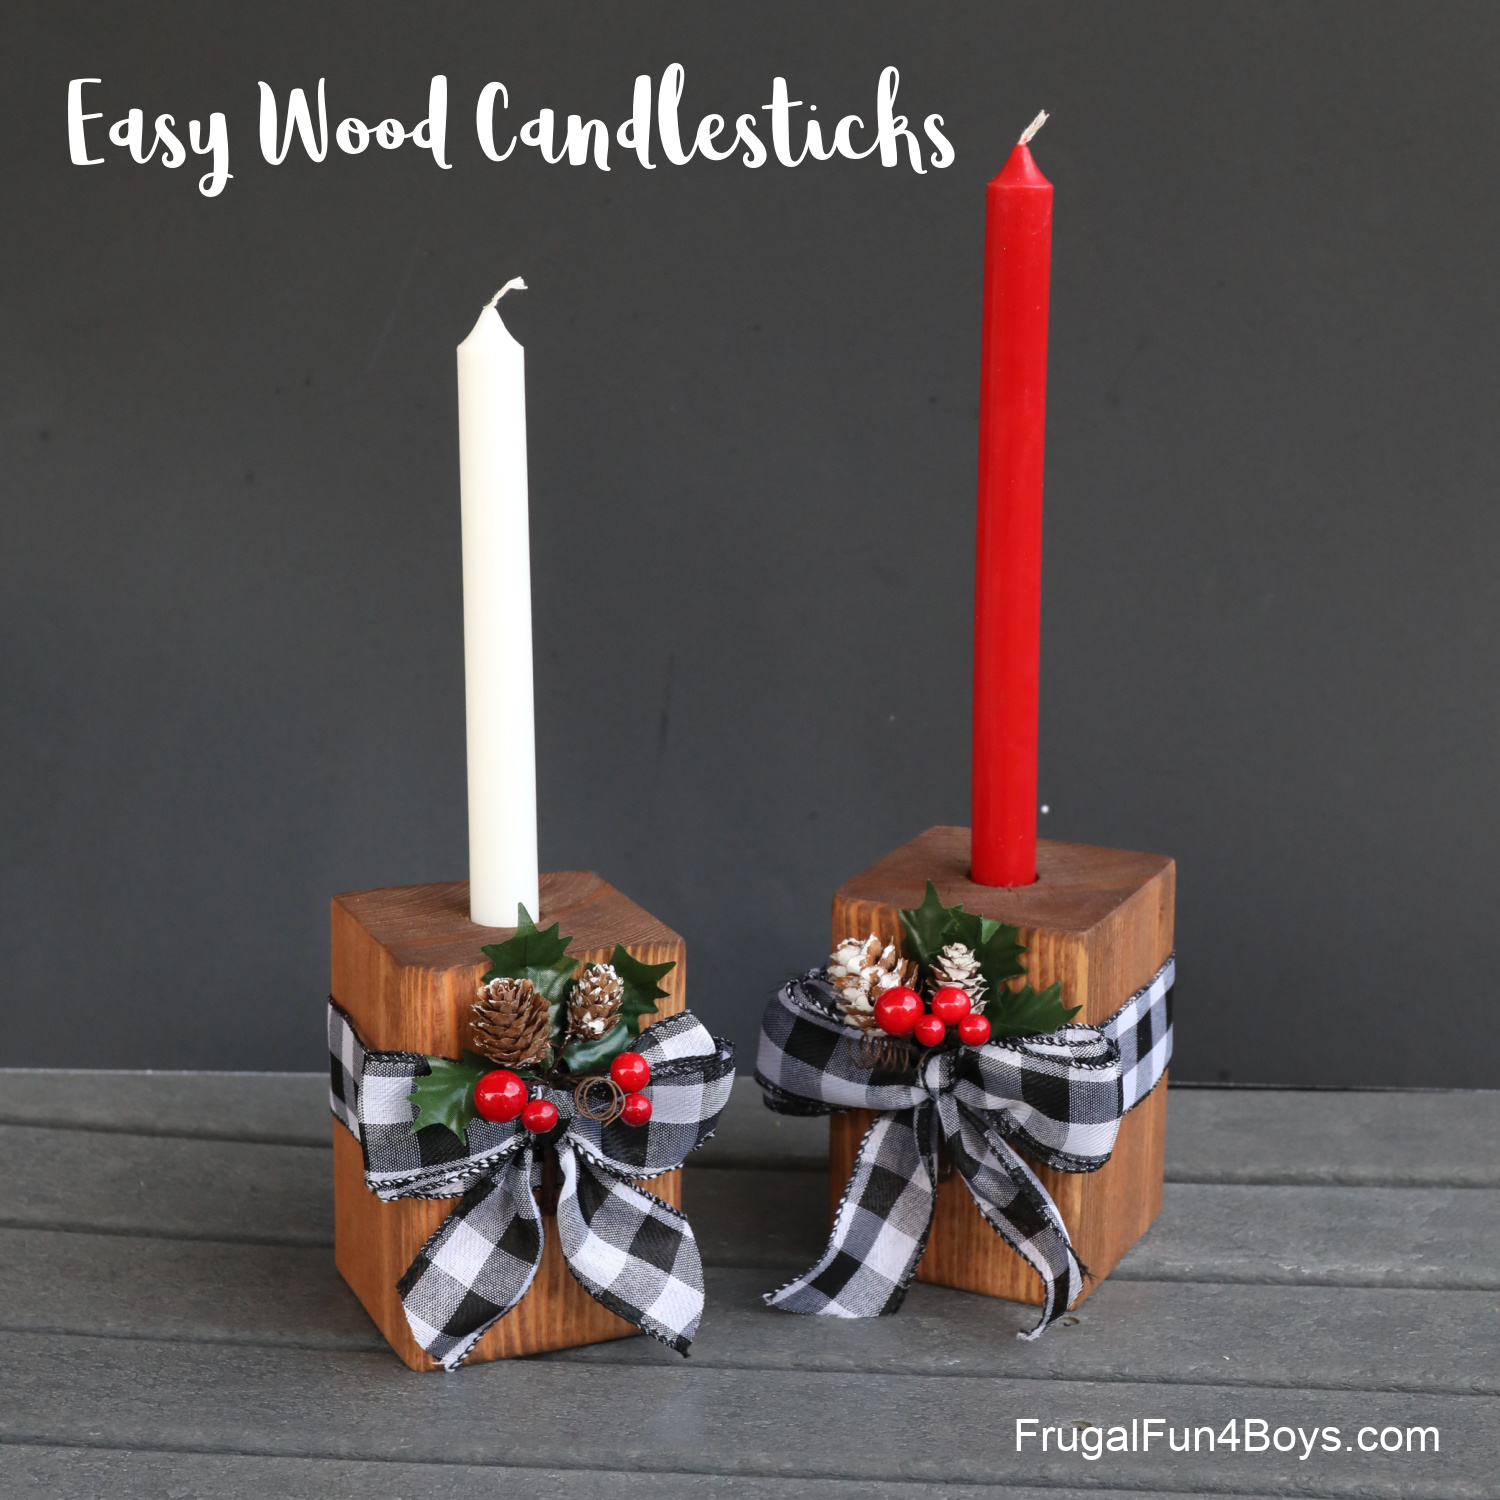
These Christmas wood candle holders are simple, beautiful, and make great gifts! This is a fabulous project for older kids to do, with a little adult help.
A couple weeks ago, we participated in a Christmas craft sale. My 9 year old son (turning 10 in two weeks) was so enthusiastic about making things to sell. His grandpa helped him make wood playing card holders (I really should post those too) and then we made these candlesticks at home. Our woodworking skills are okay, but Grandpa’s are better. Thankfully it doesn’t take much skill at all to make these candle holders!
My husband cut the wood and drilled the hole for the candle, but then Jonathan was able to sand, stain, and decorate the candlesticks with only a little help. And we love how they turned out!
Supplies Needed:
- A 4″ x 4″ pine board – ours was 8 feet long
- Wood stain
- Varnish – either in a can, or spray polyurethane. We used the spray kind.
- Ribbon
- Sprig of holly from the craft store
- A tapered candle in either 8″, 10″, or 12″ height
- Masking tape
- Hot glue gun
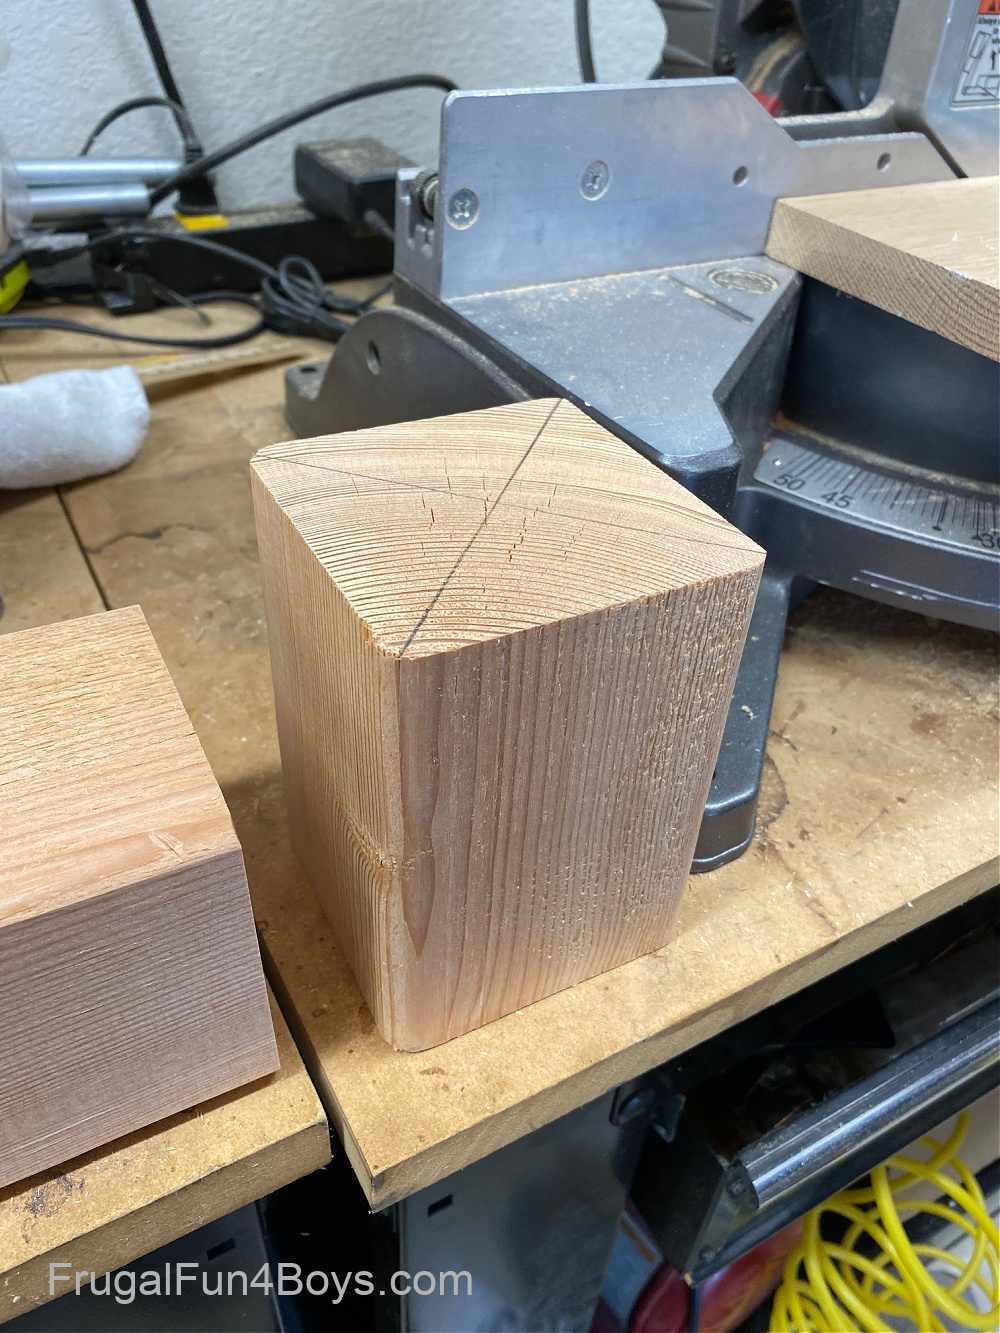
Cut the board into chunks. My husband used a chop saw for this. We made our candle holders 4.75″ tall. With our 8′ board, we were able to make 10 candle holders and have almost half of the board left over. Technically, you can make 20 candle holders with an 8′ board, but you’ll probably end up rejecting a few sections of the wood due to defects.
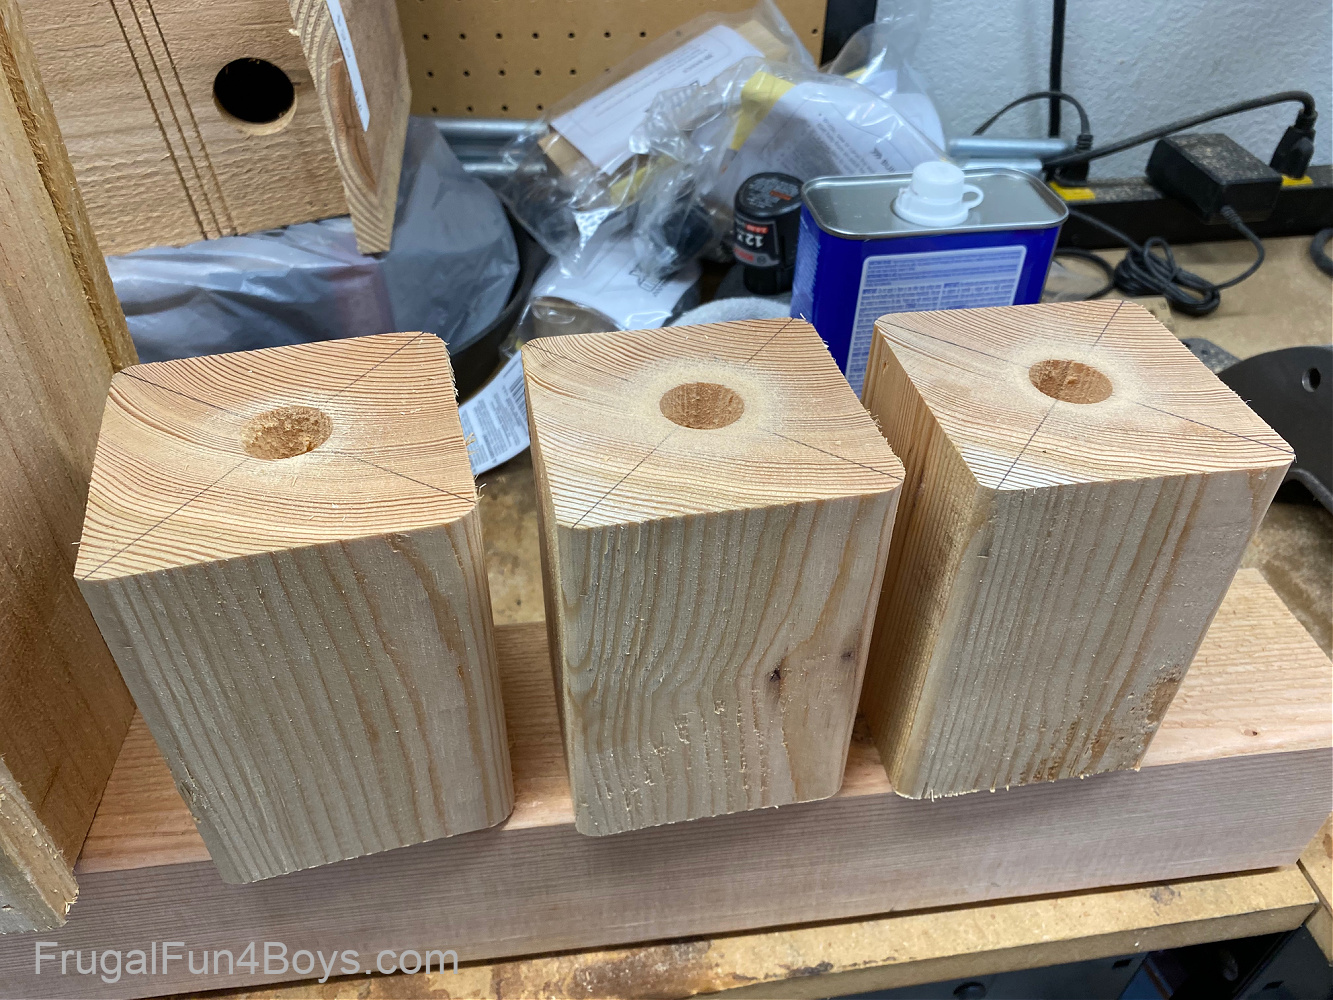
Use a ruler to draw lines across the wood to mark the center.
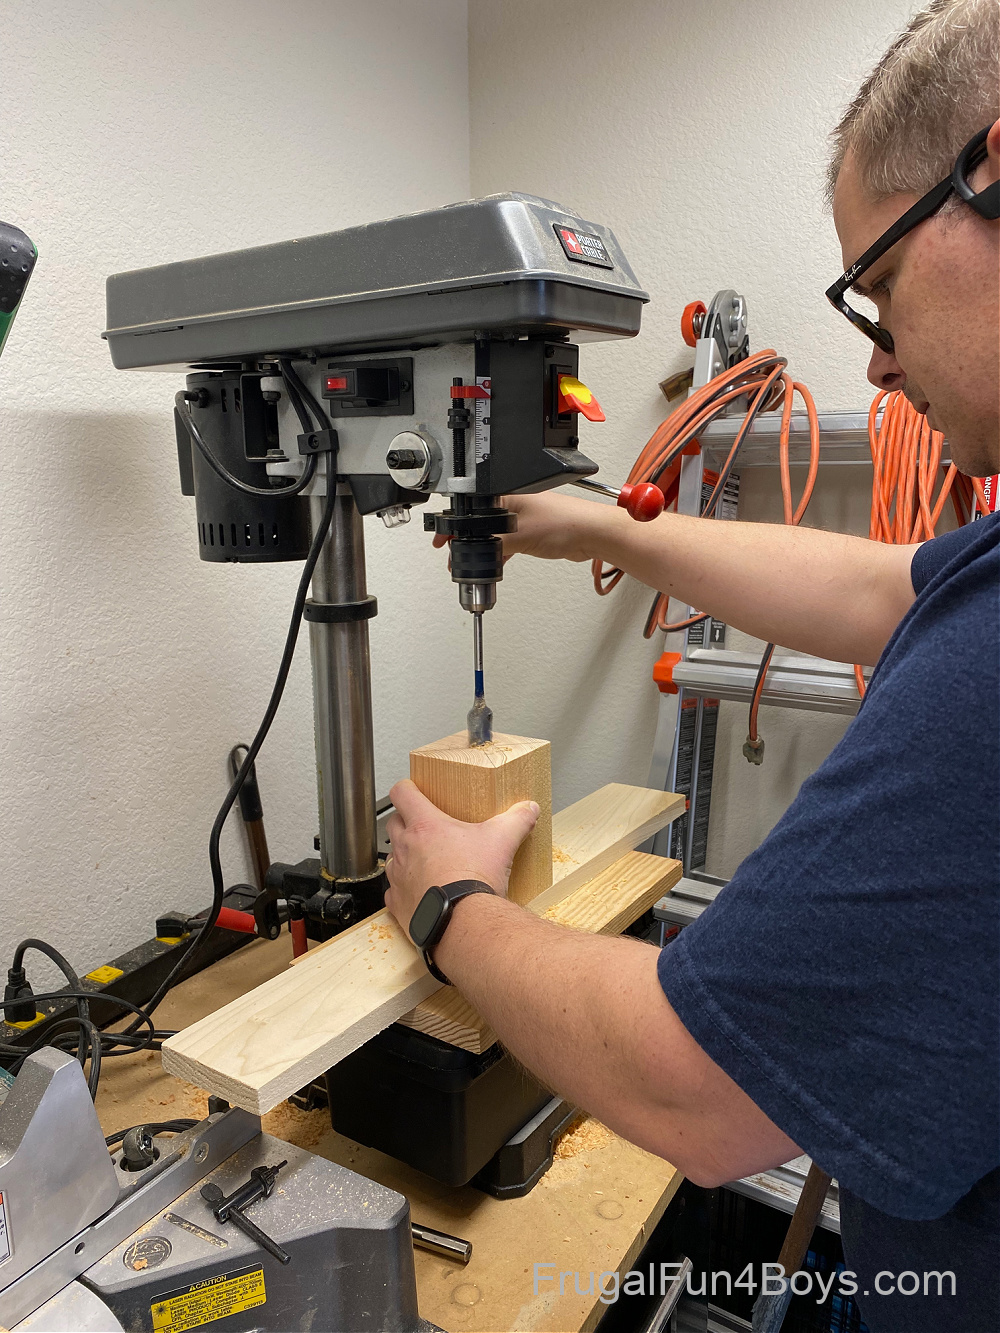
Drill a hole with a 7/8″ drill bit. The hole should be about 1.25″ deep.
(We were having technical difficulties with the tray on our drill press. Otherwise we would have used that to support the wood!)
Then cut out some more candle holders!
Sand the candle holders well. Then stain them in the color of your choice. Let the stain dry for at least 8 hours before varnishing.
We found that a spray varnish/polyurethane worked very well. You don’t need a heavy coat – just enough to seal the stain. Another option is to let the stain dry thoroughly and skip the varnish step.
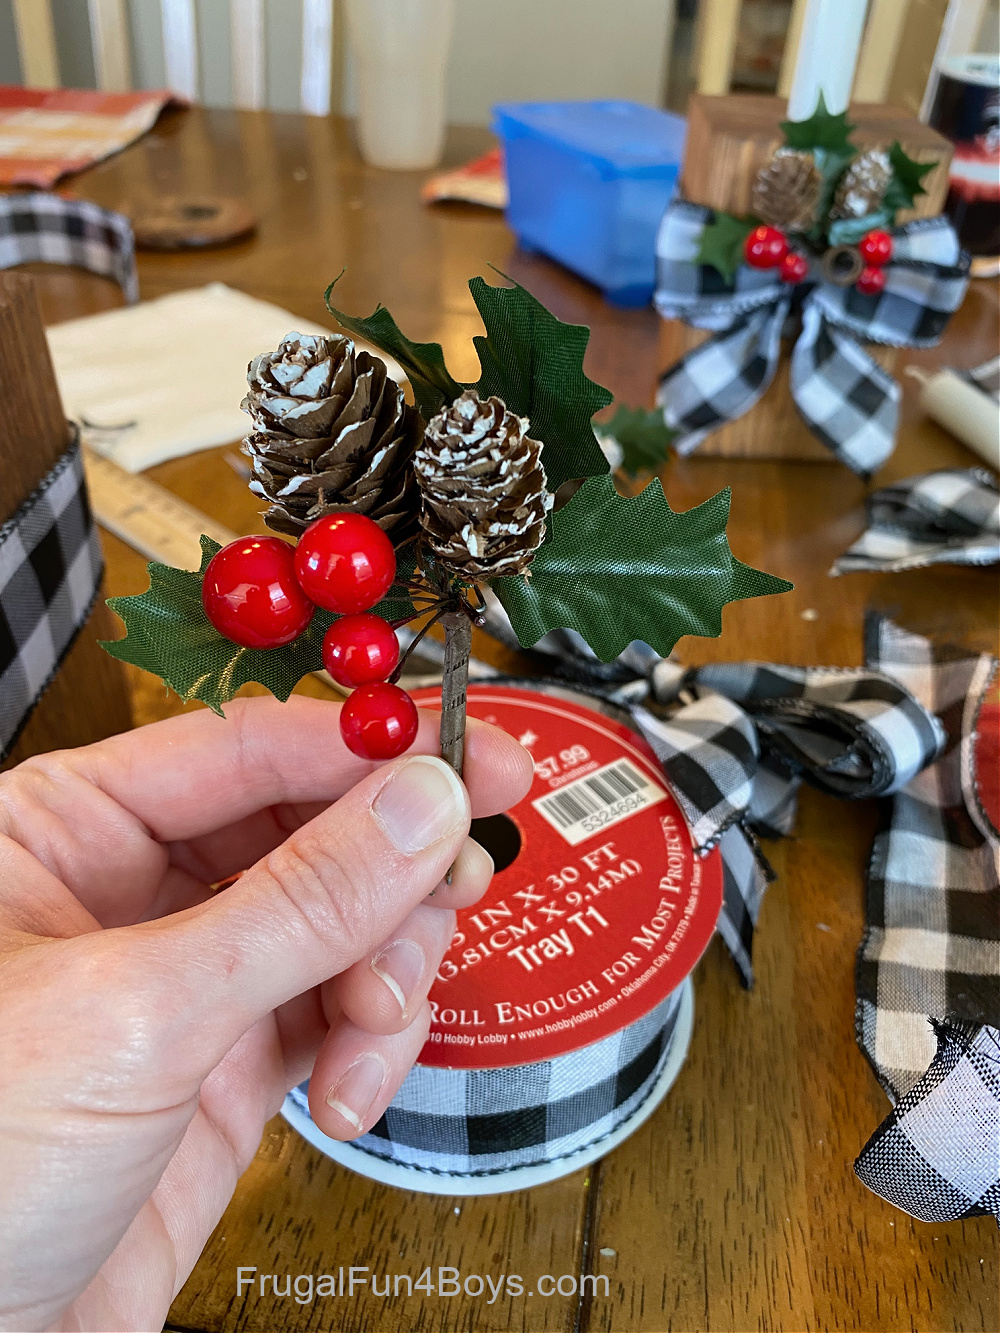
Jonathan and I found these little holly and pine cone sprigs at Hobby Lobby. They were only 50 cents each.
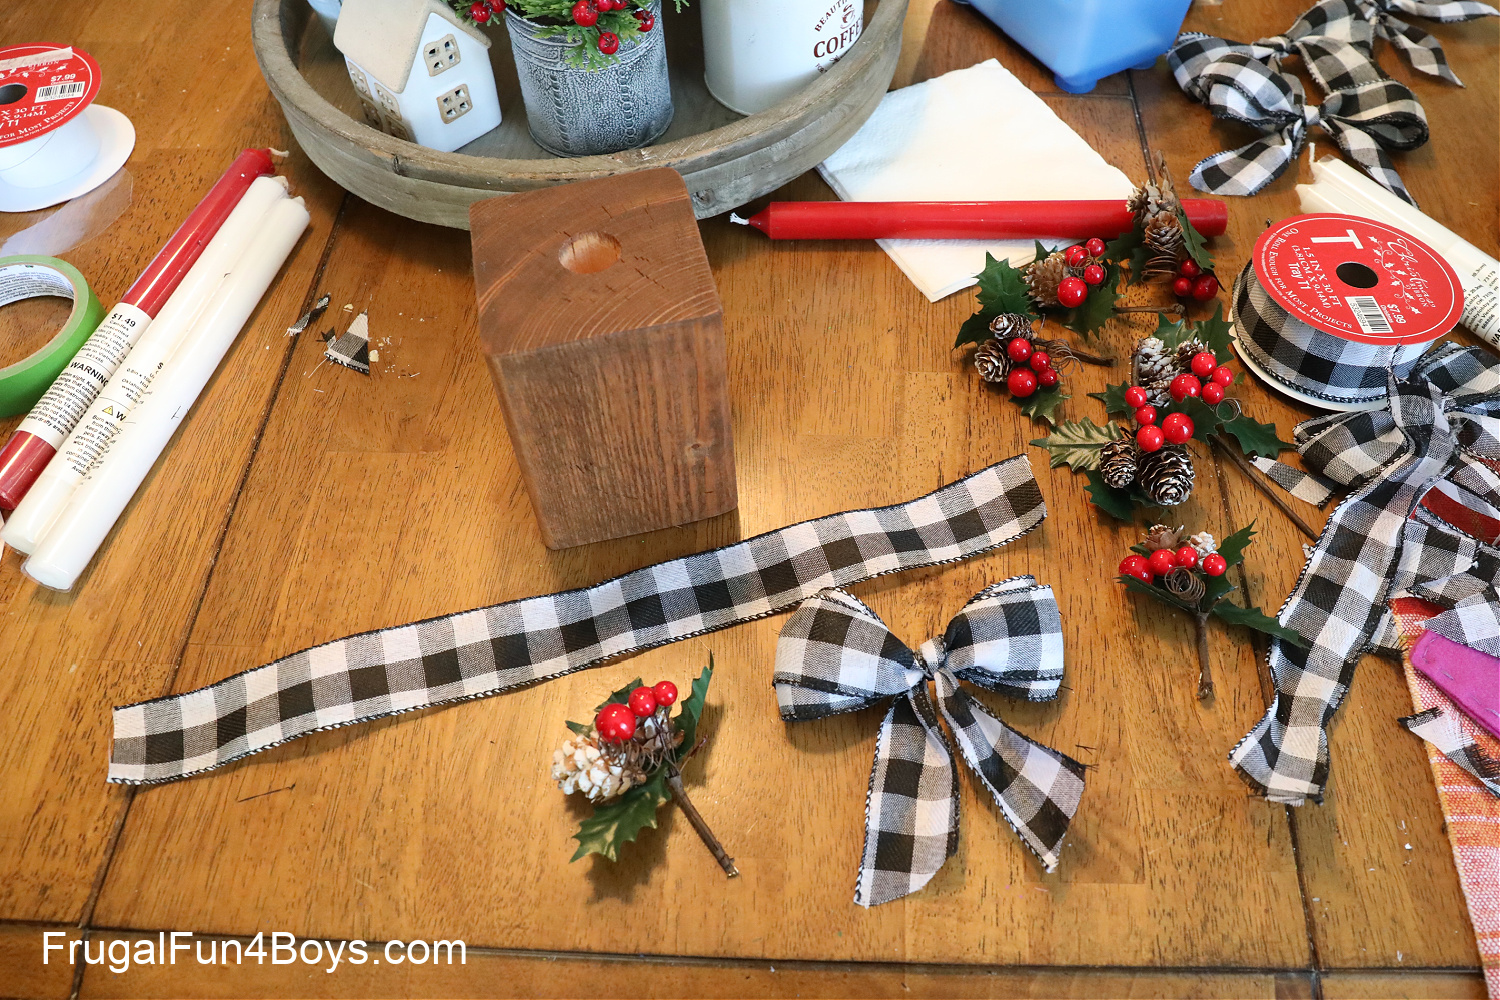
Here’s how we assembled the candle holders.
First, we glued a piece of ribbon around the wood. Then we glued on the sprig of holly, and finally we glued on the bow on top of the holly sprig. The bow will mostly cover the stem of the holly.
The finished candlestick is so pretty!
TIP: Candle sizes are not uniform, we discovered. I shopped at a few different stores and found that taper candles of different brands are close to the same size, but not exactly the same size.
We purchased individual candles from Hobby Lobby that were 0.8 inches in diameter. We used a 7/8″ drill bit for the hole (0.875 inches). So the candles should have fit almost perfectly! However, in reality, there was too much space for them to jiggle around. We wrapped a few layers of masking tape around the bottom of each candle, and this fixed the problem!
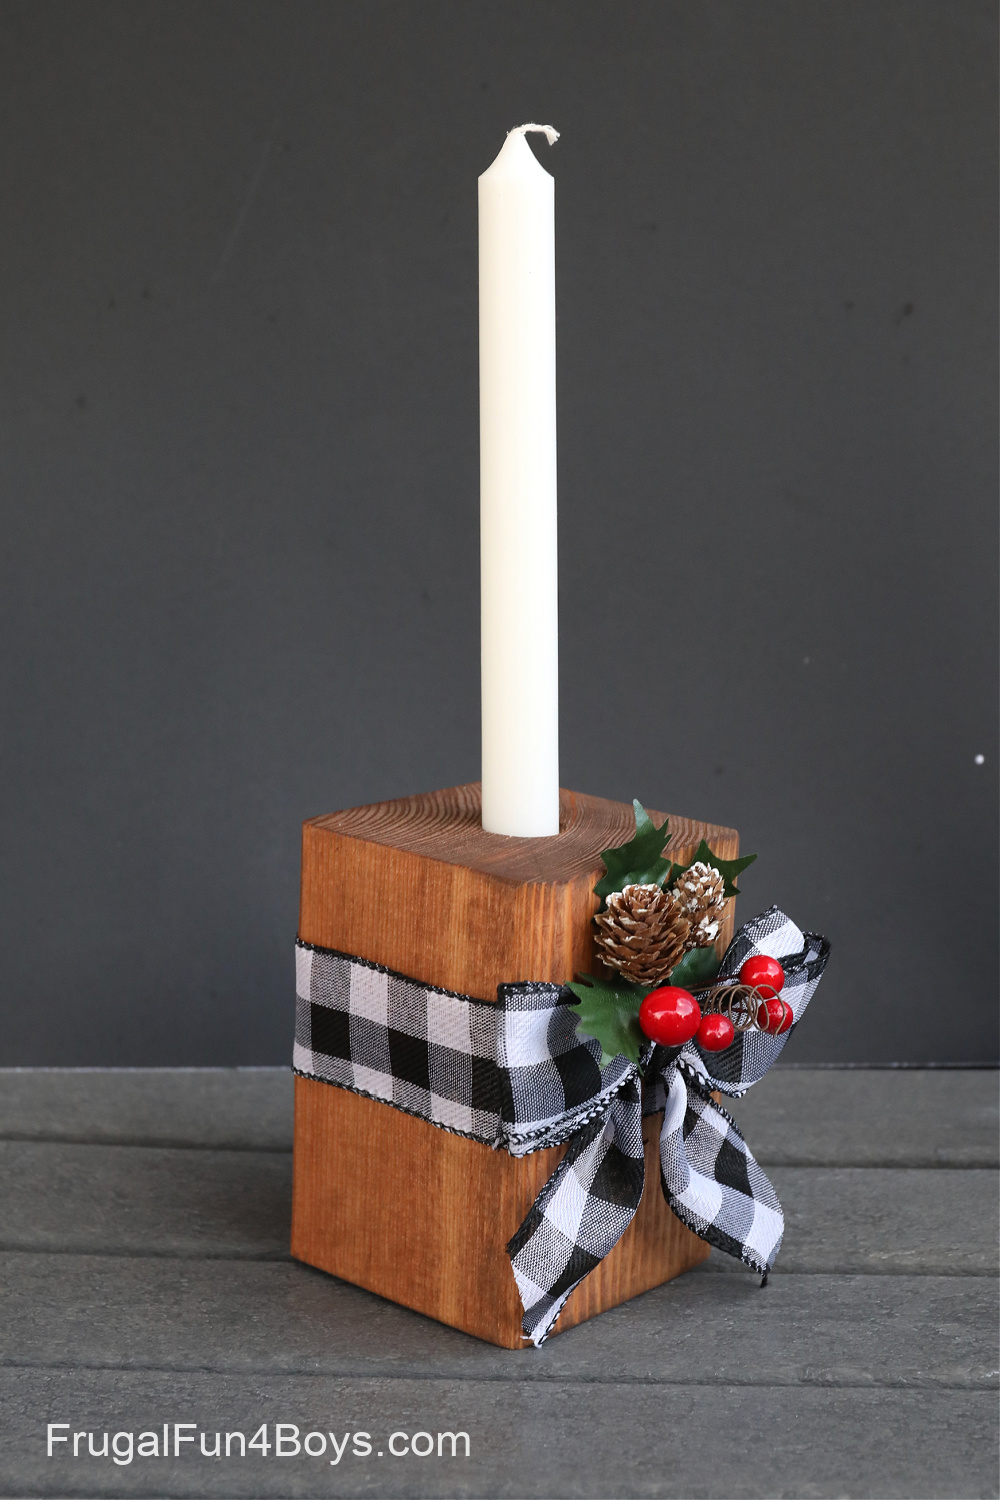
These candle holders make great gifts! They look good with any Christmas decor.

Need more Christmas craft ideas? We’ve got lots!
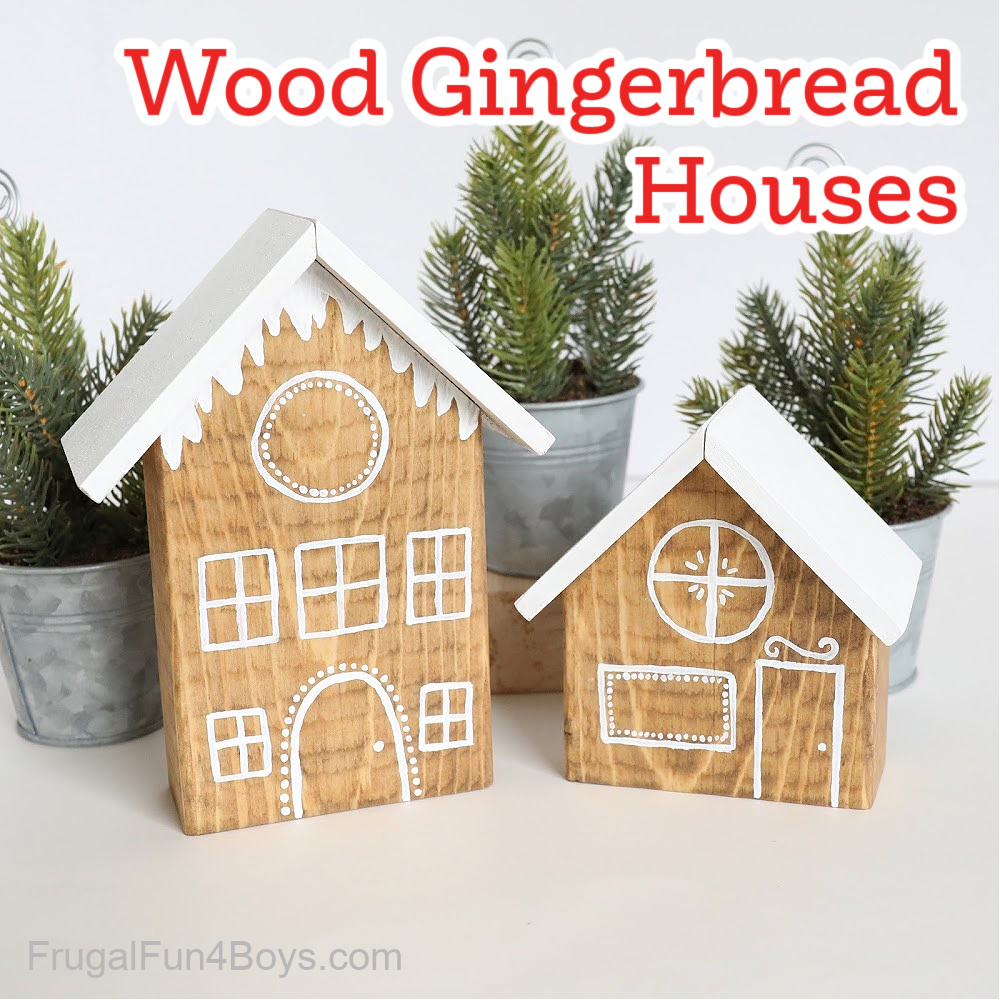
These Wood Gingerbread Houses are my favorite! We love getting them out each year.
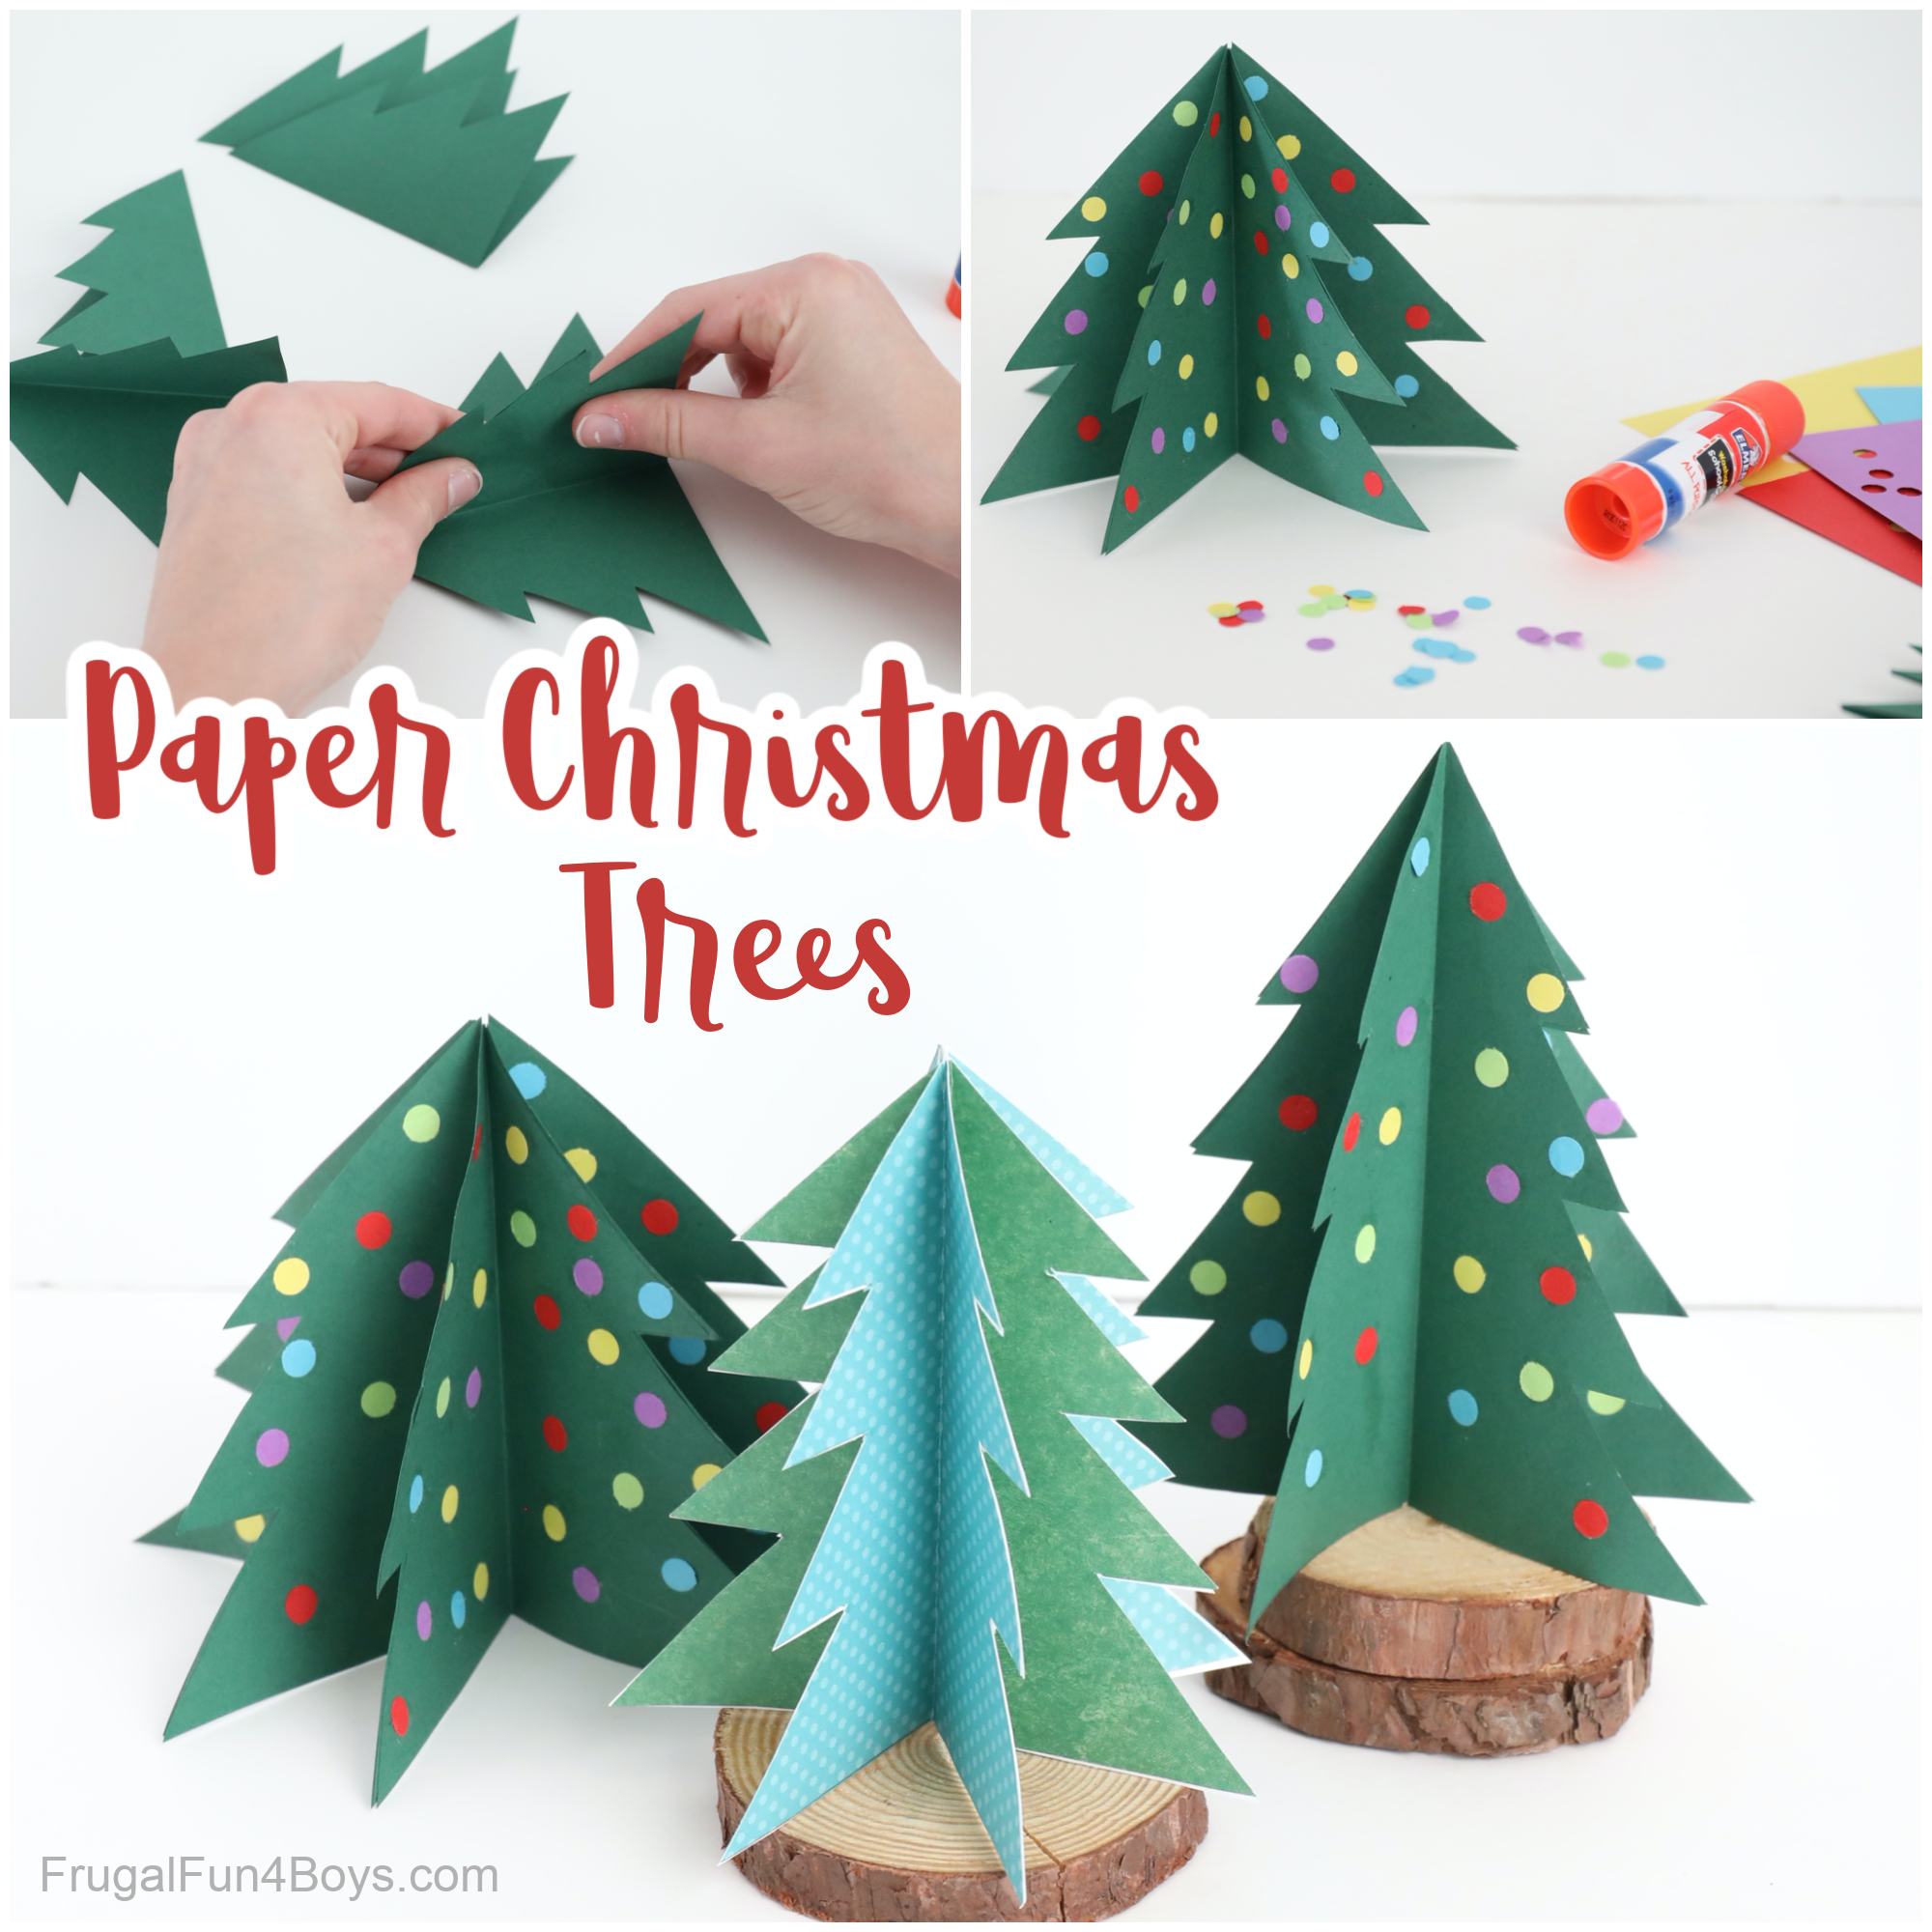
Older kids and teens will enjoy making these 3D Paper Christmas Trees. They make great decorations.
0 Comments
Post a Comment