
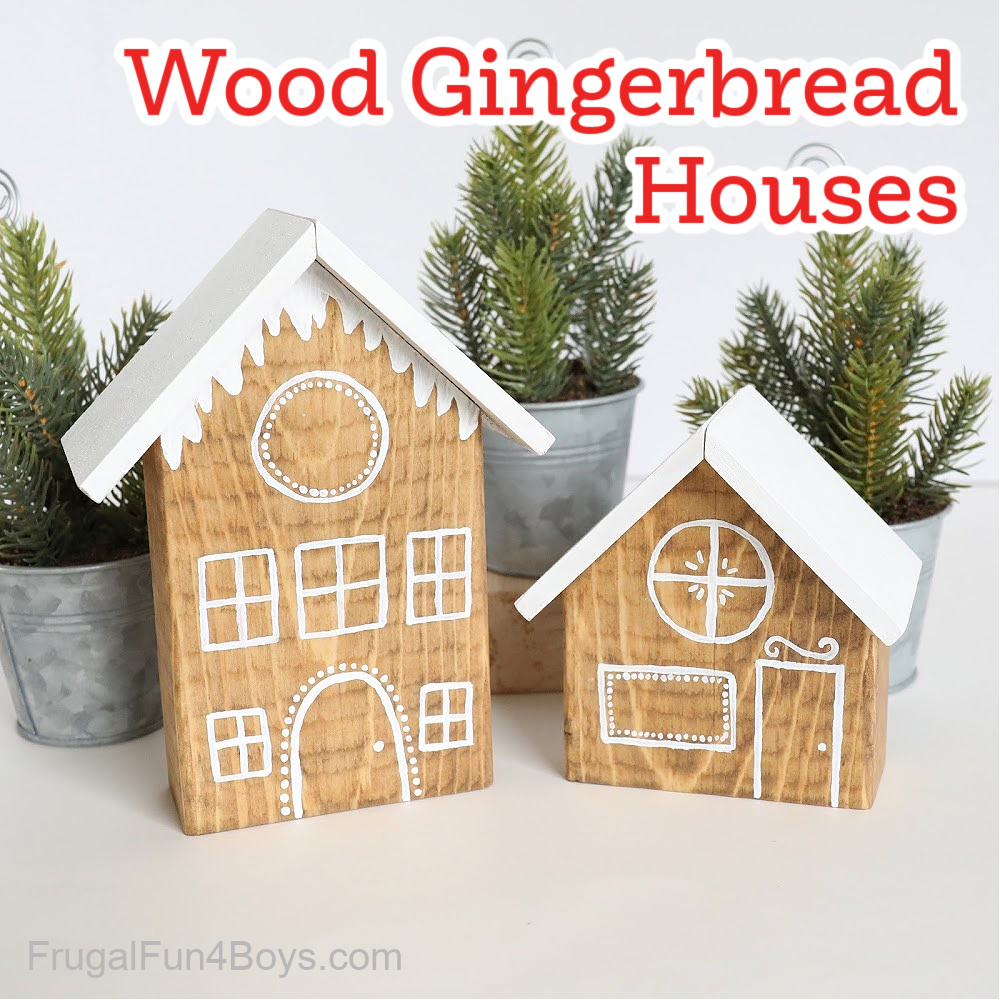
Use a simple 2 x 4 pine board to make some of the most adorable wooden gingerbread houses! This Christmas craft is probably more for adults and older kids, but your younger kids are going to love playing with the completed gingerbread houses. They’ll have fun using them to set up a little Christmas village!
These wooden gingerbread houses are definitely something that you’ll enjoy decorating with year after year.
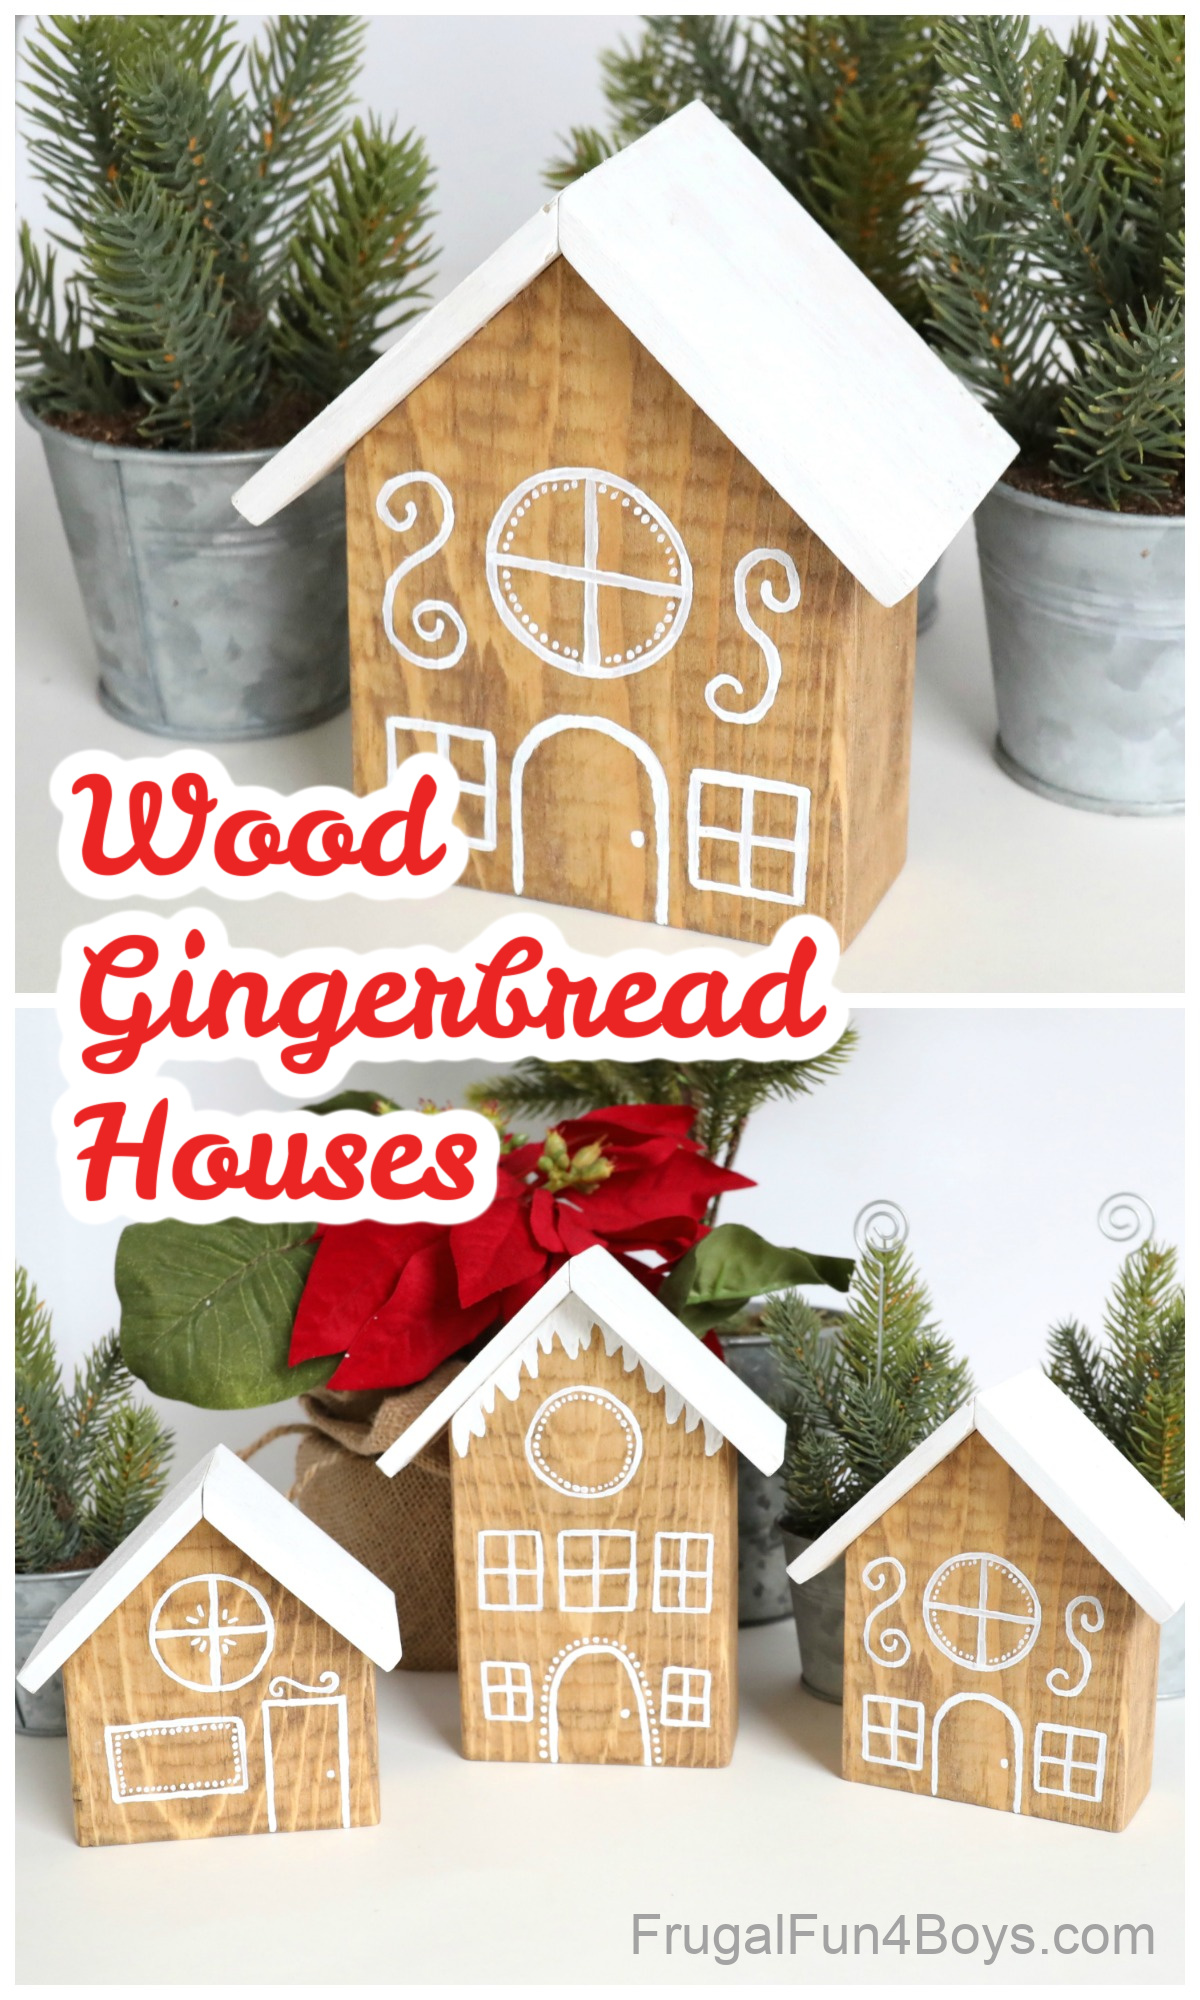
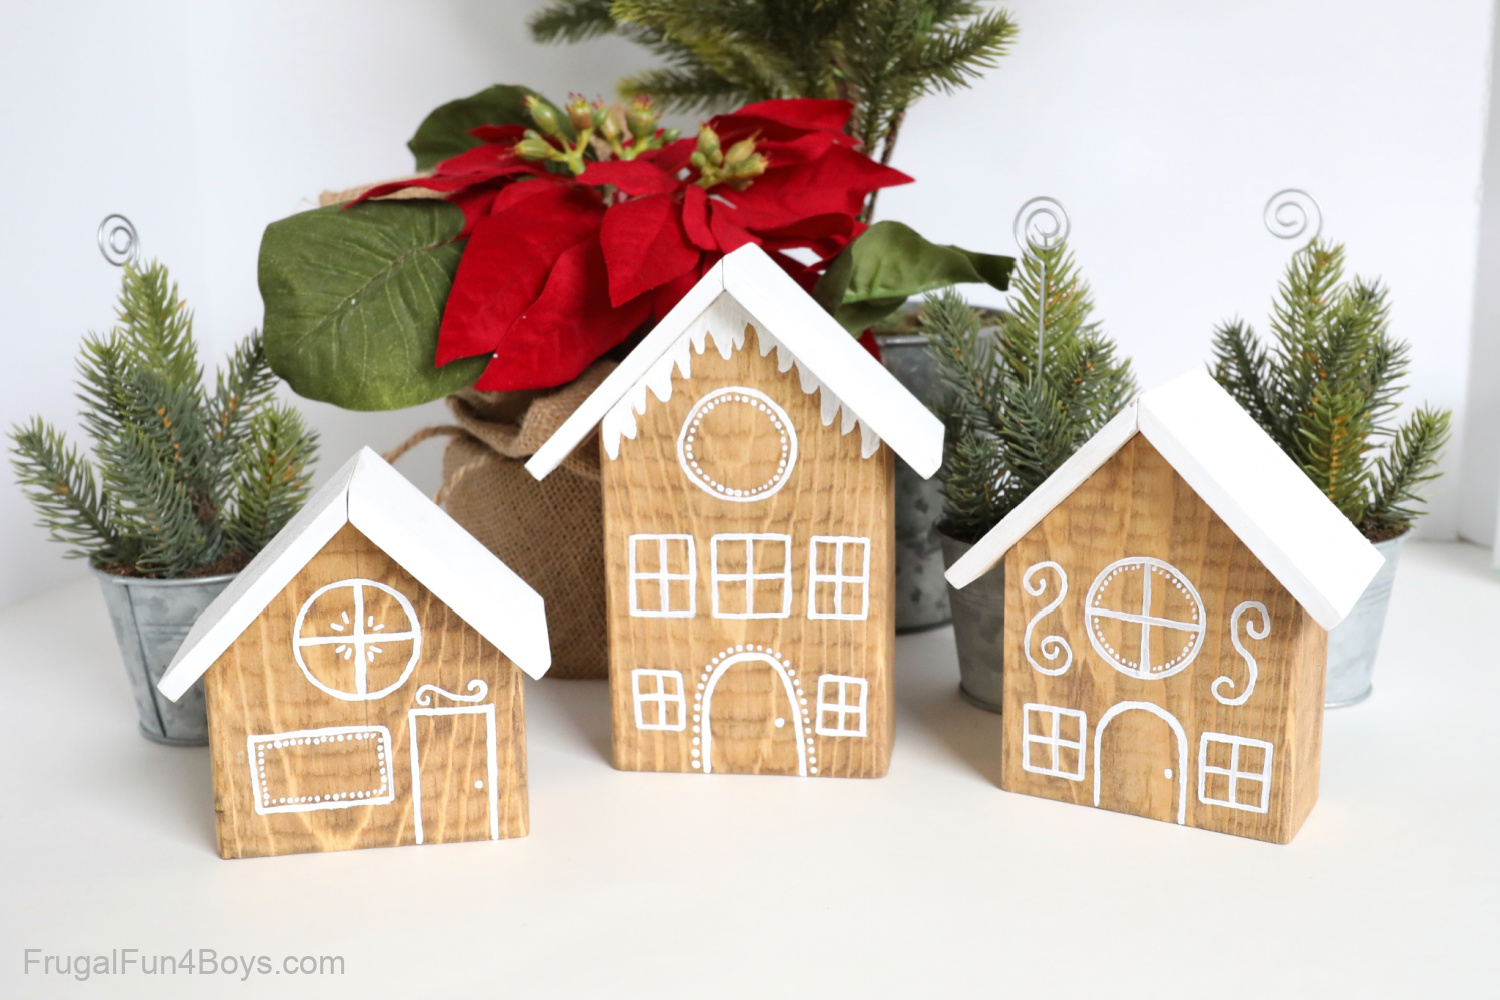
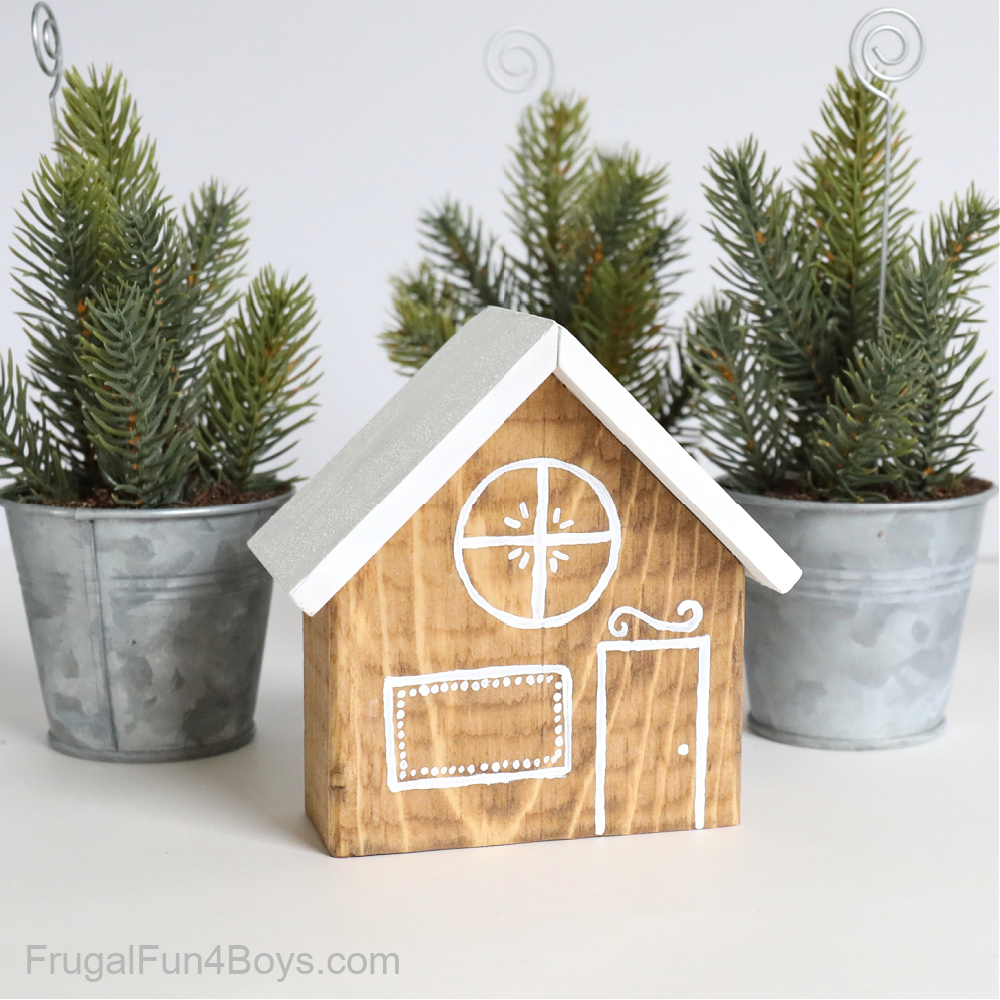
I love the simplicity of the stained wood and white paint. I had thought about adding different colors of paint or other embellishments like buttons or felt, but in the end I decided to go with a simple look, and I’m really glad I did.
The supplies for this project are very basic, and building the gingerbread houses is a simple task. However, I will admit that it is much easier if you own a power miter saw. I also recommend having a 16 year old son to do most of the work for you, haha! Mine has been trained in woodworking by his grandpa, and he does a good job. He cut out all the houses and roof pieces for me.
Supplies Needed:
- A 2 x 4 pine board
- A 2.5 inch by 0.25 inch board for the roof pieces
- A saw – preferably a miter saw
- Sandpaper
- Wood glue
- Wood stain – I used the color Early American
- Wood varnish/polyurethane – I used a spray type
- White acrylic paint
- Tiny paint brushes
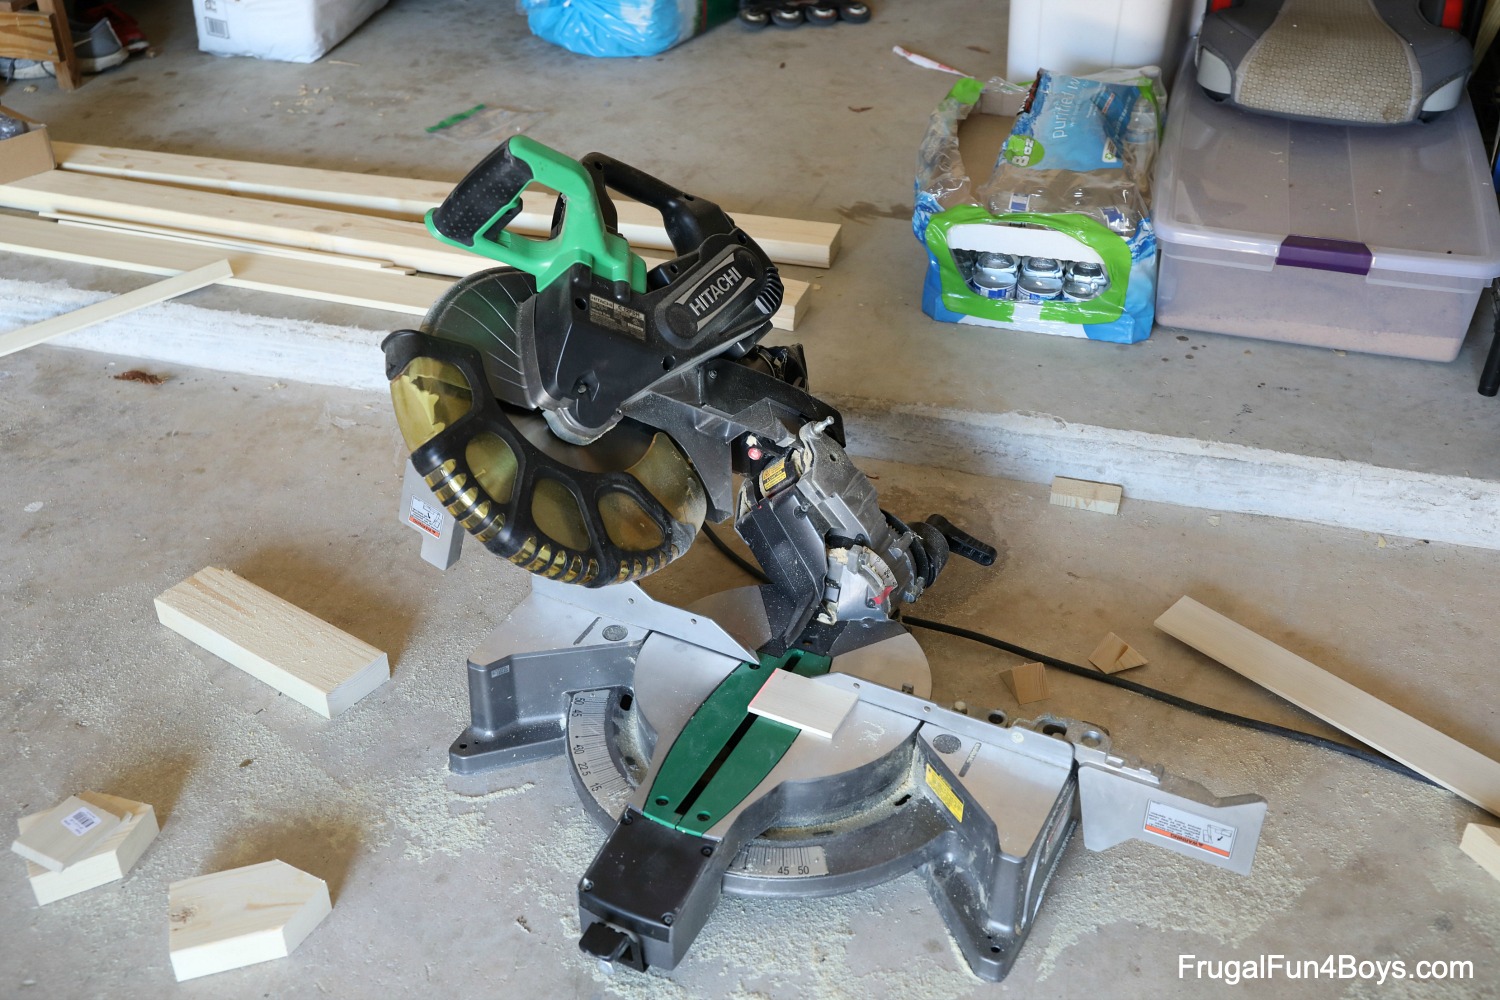
This is the miter saw we used. It can be easily adjusted to cut different angles. In the photo, the blade is tilted to 45 degrees – this is how my son cut the roof pieces.
How to Cut out the Wooden Gingerbread Houses
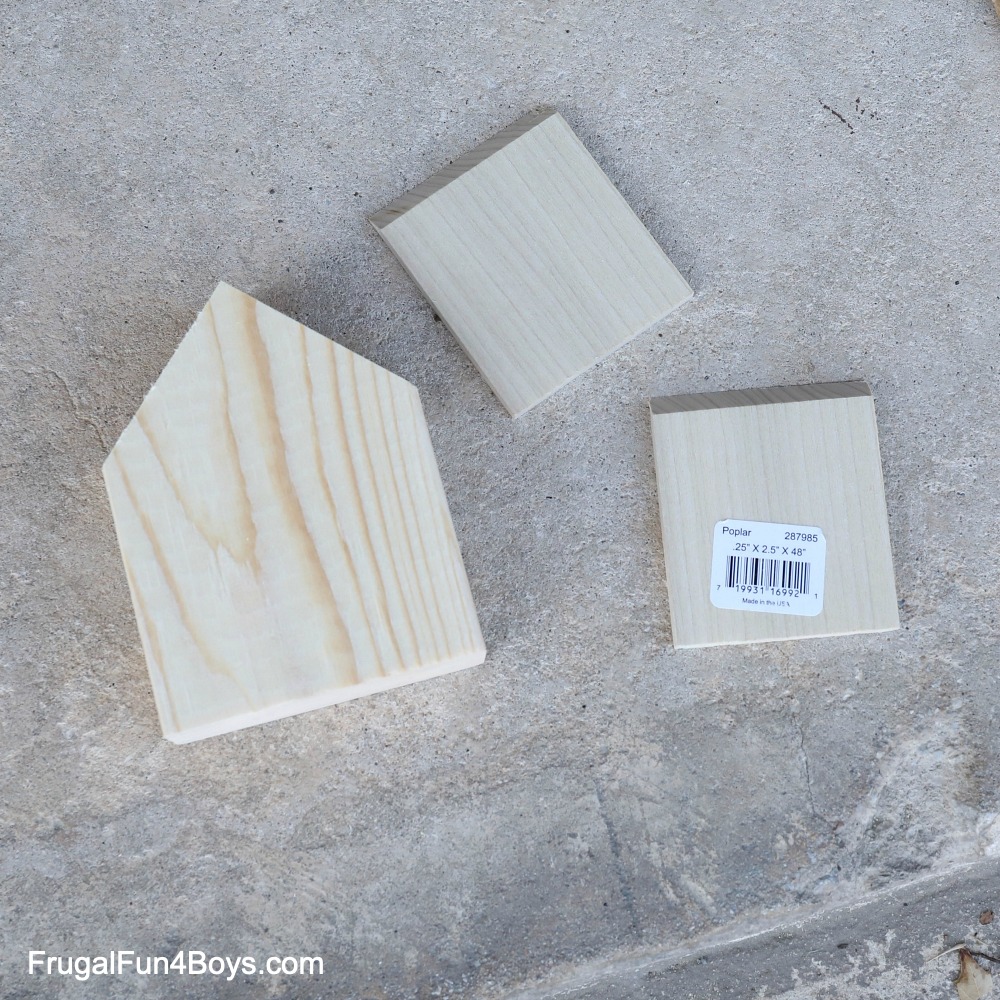
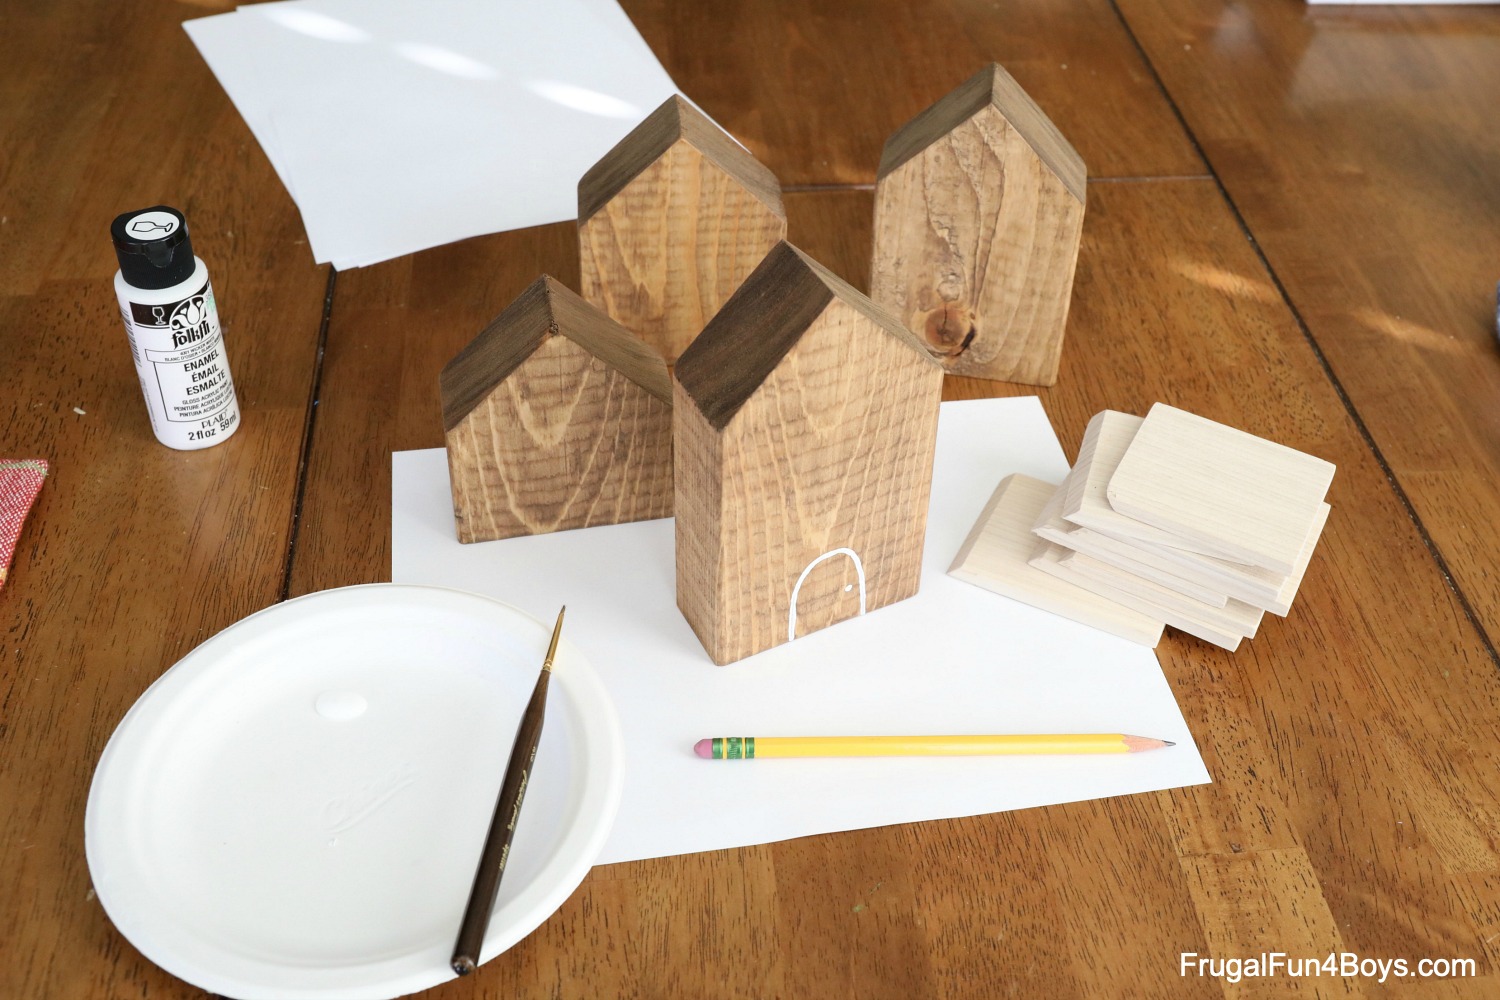
To make the houses, you’ll need to cut the 2 x 4 into chunks with 45 degree angles for the roof line. We cut out 4 houses total, and made each one a slightly different height. It helps if you mark the center of the house first with a vertical line before cutting the 45 degree angles.
For the roof pieces, I used a 2.5 inch by 0.25 inch poplar board. The whole board was 48 inches long. Since it’s trendy to decorate a wall with a collage of wood paneling, Home Depot has a selection of poplar boards in different widths. This was perfect for my project!
NOTE: If you don’t want to cut the 45 degree angle on the roof pieces so that they fit together, you can make straight cuts. Just make one board 0.25 inch longer than that other to account for how they will sit (since that is the thickness of the board).
You can also simplify this project by simply painting the tops of the houses white instead of using a separate roof piece.
After you cut out your house and roof pieces, it’s time to sand all the pieces. Make sure they are nice and smooth! Then stain the houses. I used Varathane stain in the color Early American.
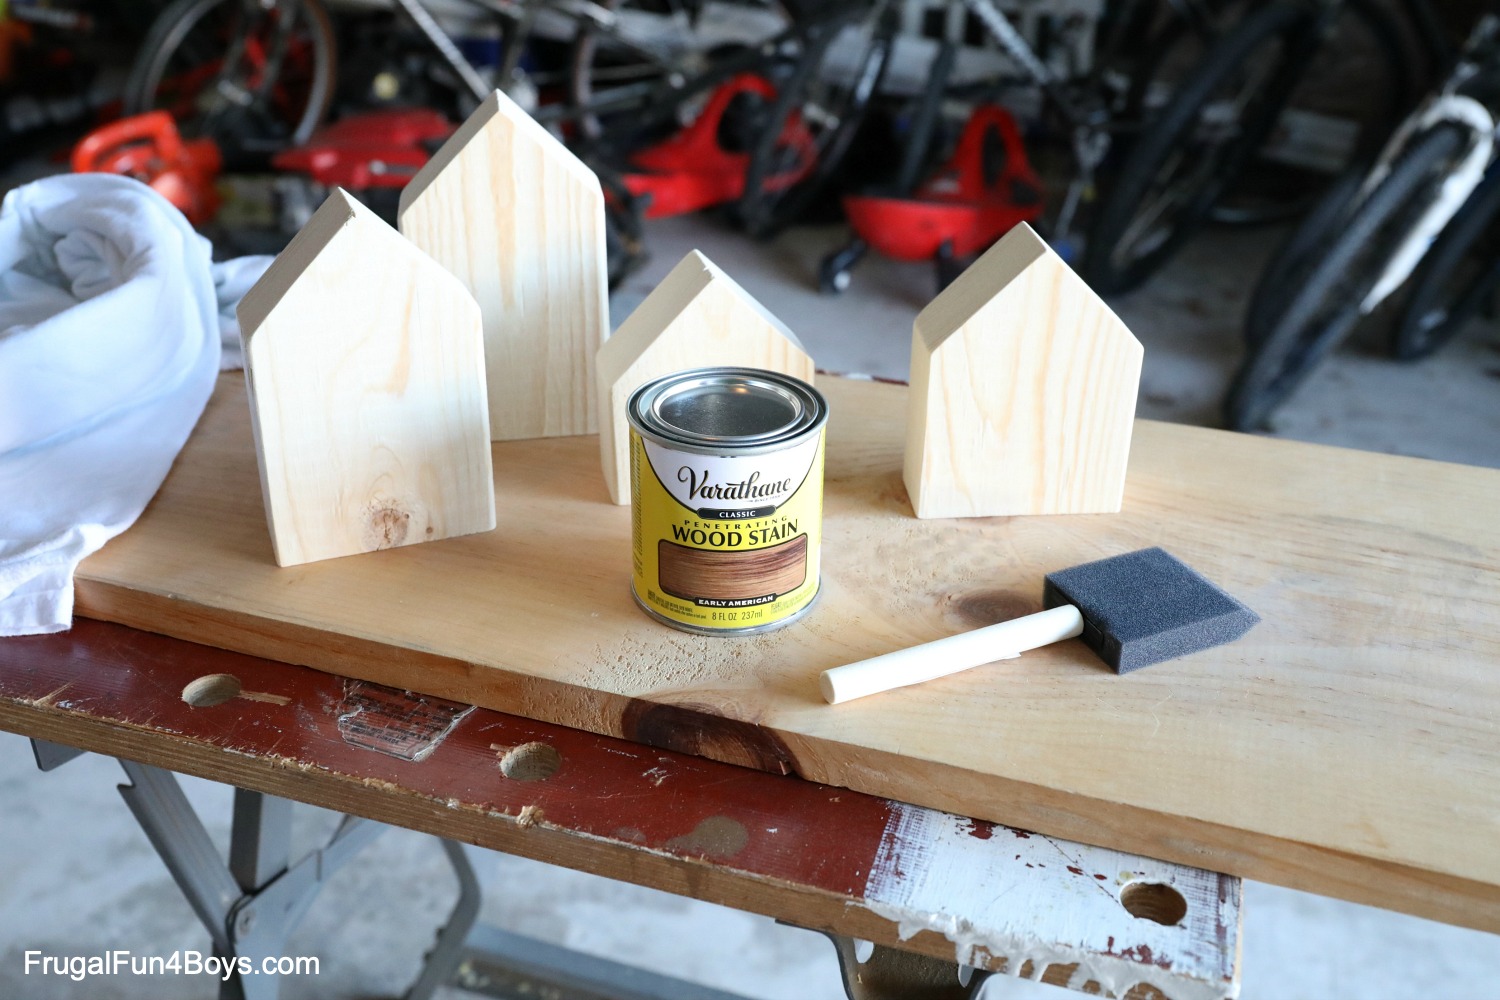
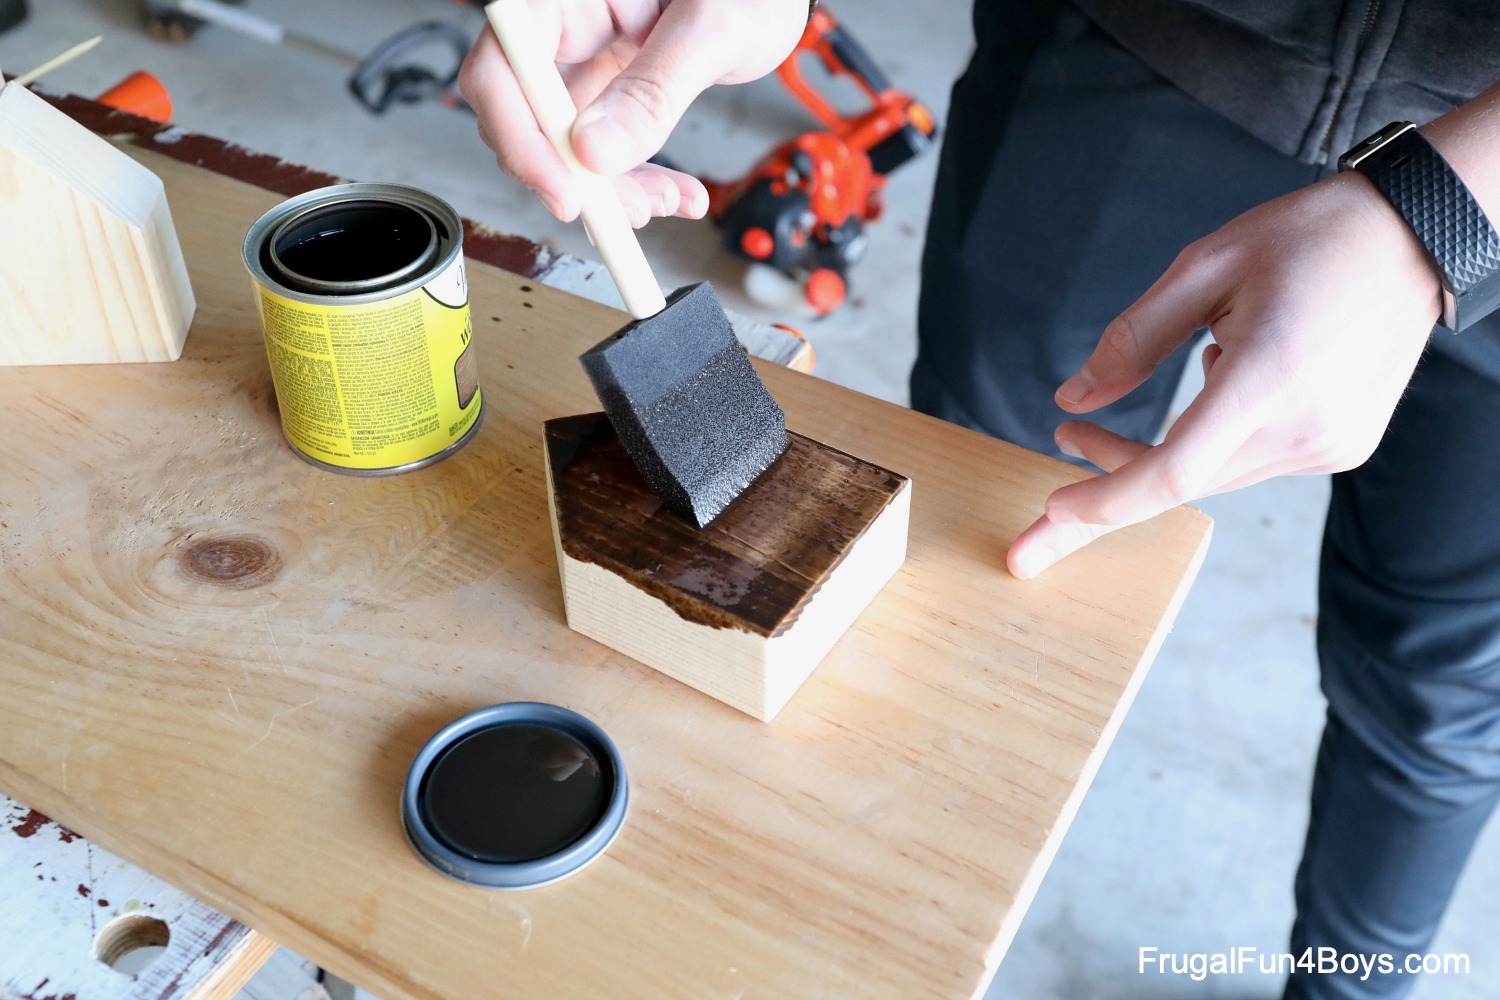
If you haven’t used stain before, it’s easy to do and gives such beautiful results. Stain is not like paint. Apply a generous amount of stain with a foam brush or something similar. Let it sit for a few minutes, and then wipe off the excess with an old t-shirt or another cloth that you don’t care about.
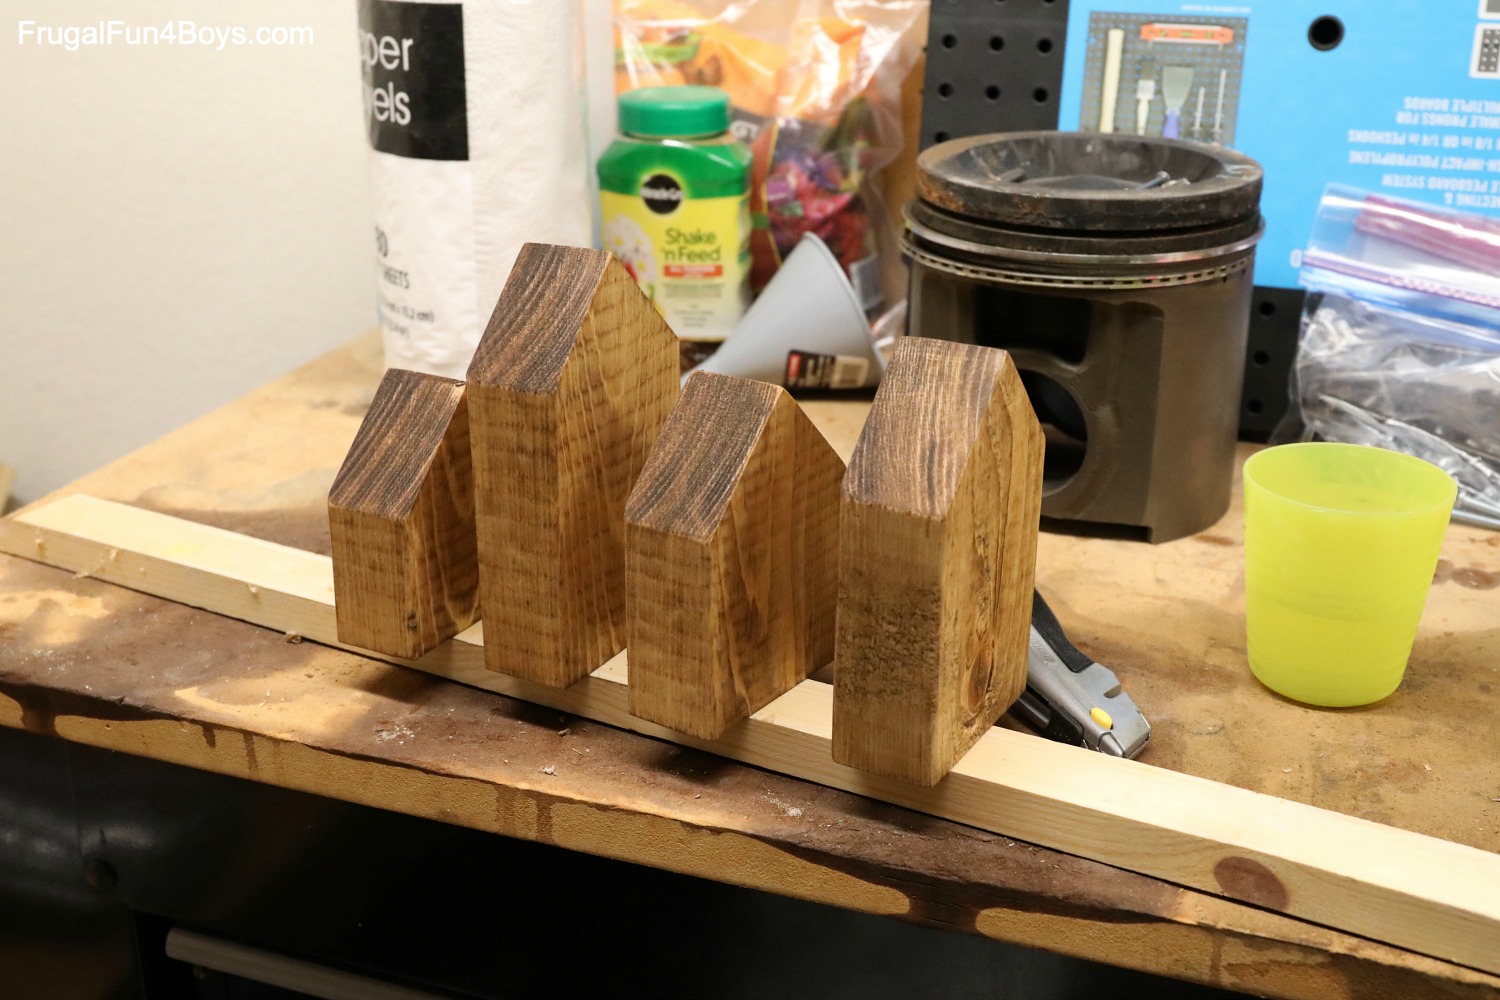
I let the gingerbread houses dry for more than 24 hours before decorating them with white acrylic paint. Once they were dry to the touch and the smell had gone down some (maybe 2 hours?) I brought them inside to the laundry room to finish drying since it’s so cold in the garage this time of year.
Then it was time to decorate! My second son painted the roof pieces white with acrylic paint while I painted decorations on the houses.
There is a lot of inspiration on Pinterest for gingerbread house decorating! I searched for cardboard houses, since many of those are decorated with white paint.
NOTE: White paint pens would have been SO much easier! However, our Sharpie paint pens would not write on the wood. I thought they would work because the stain is oil-based and the paint pens are oil-based. However, the paint pens did not show up at all on the wood. Maybe the stain was combining with the paint? I don’t know!
Glue on the roof pieces with wood glue. You’ll need to hold them in place for a couple minutes to let the glue set.
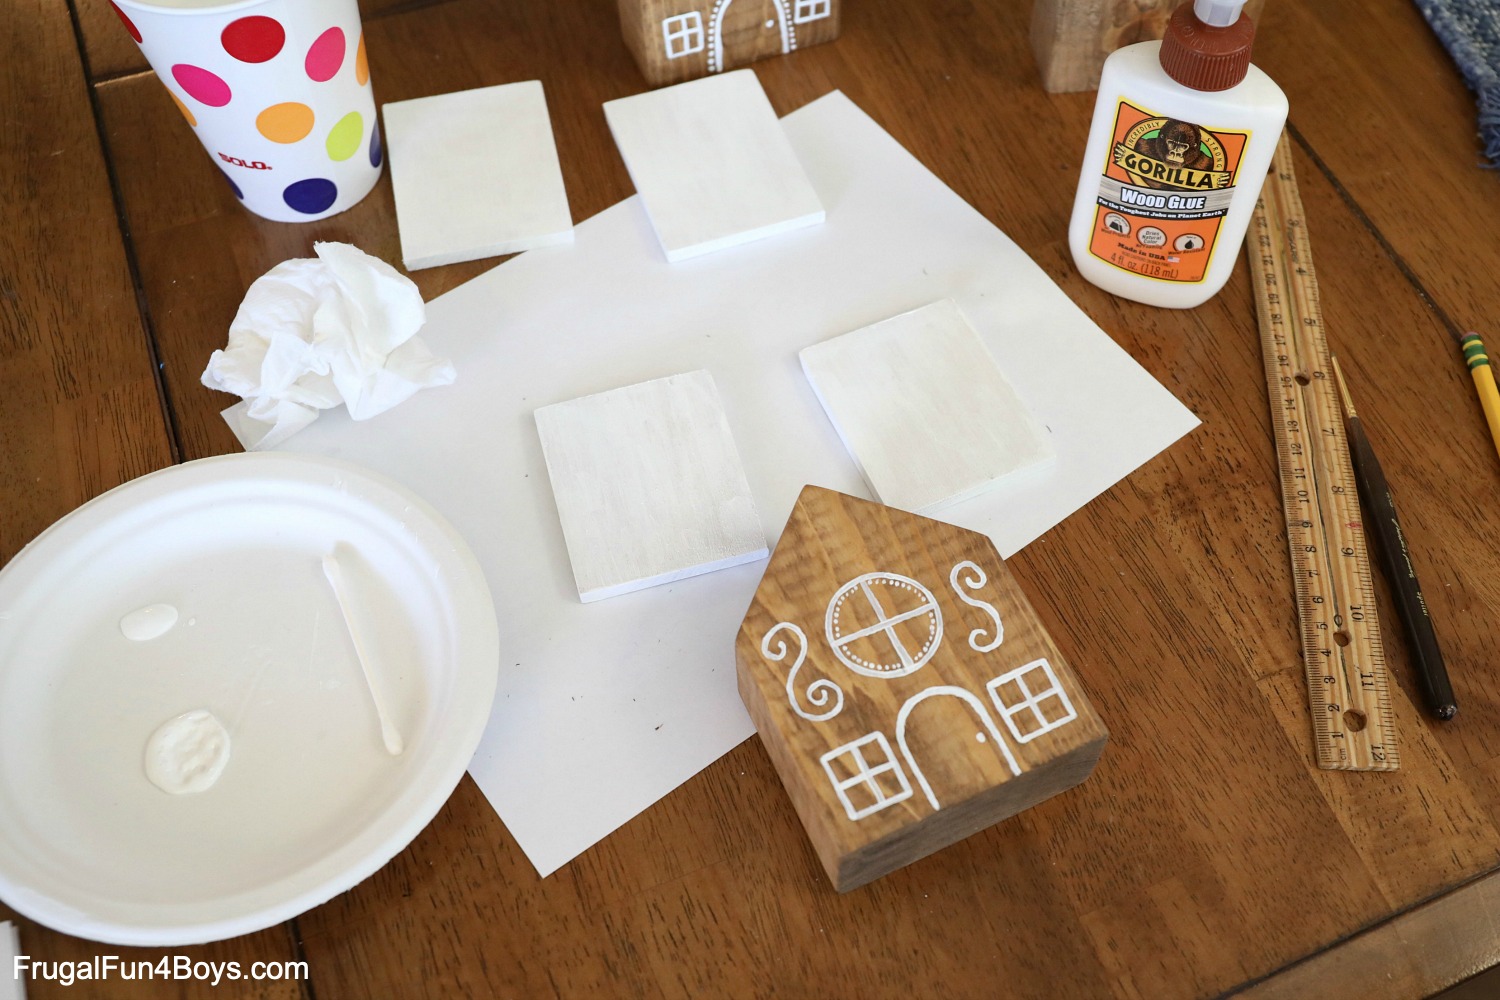
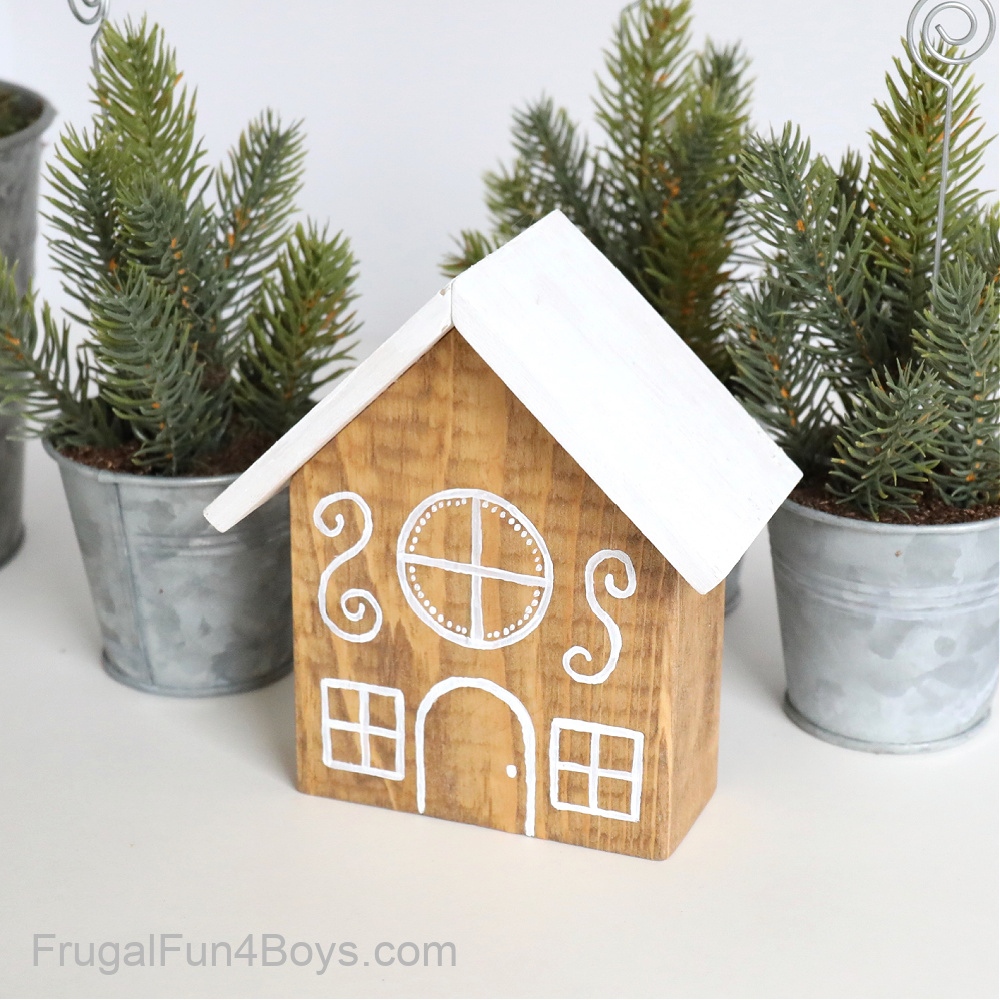
I used a ruler and a pencil to mark out the designs before painting them. I also had a wood circle from the craft box that I traced to make the round windows.
Varnish your wooden gingerbread houses or spray them with a polyurethane spray to protect the wood.
Other design ideas… try adding snowflakes with paint! You could also try different colors of paint, although I do love how the white and gingerbread color turned out.
Have fun Christmas crafting! There are so many fun things to make!
Here are some Woodland Animal Felt Ornaments to make – with printable patterns.
Kids will also enjoy our Christmas LEGO Building Cards!
4 Comments
Niti Dec 1, 2020
I love ready made wooden house to paint.
Where can I buy them?
I do not have expertise to make one,but would like to give them to my granddaughter to paint ginger bread.
Carol Dec 1, 2020
These are great! Fantastic style and design. My son is in distanced-learning (online homeschool) due to covid this year. He has wood shop and this will be a great one for his Xmas project. Thanks for the brilliant idea.
Syl Dec 1, 2020
Love the simplicity of this craft
Denise Dec 19, 2020
Just wanted to let you know. I just found this out. If the base paint or stain you are using is oil based it won't take any other oil based paint. You must use water based. Now I know why my oil based paint pens always ran when I sprayed a clear finish over them. It also is the same for the reverse. If water based used first should use oil based over it.
Post a Comment