
Here are 4 cool LEGO robots to build – with instructions!
Grab that big bin of LEGO bricks and taken-apart sets, and challenge the kids to build some robots. This is such a great LEGO challenge because kids can truly use whatever bricks they have. There are many ways to build a LEGO robot!
For example, for the robot’s eyes you can use eye tiles, or you can use wheels, round plates, or dishes. Add antennas, buttons and dials, tools, and more. Make your robot roll along on wheels, or give it legs.
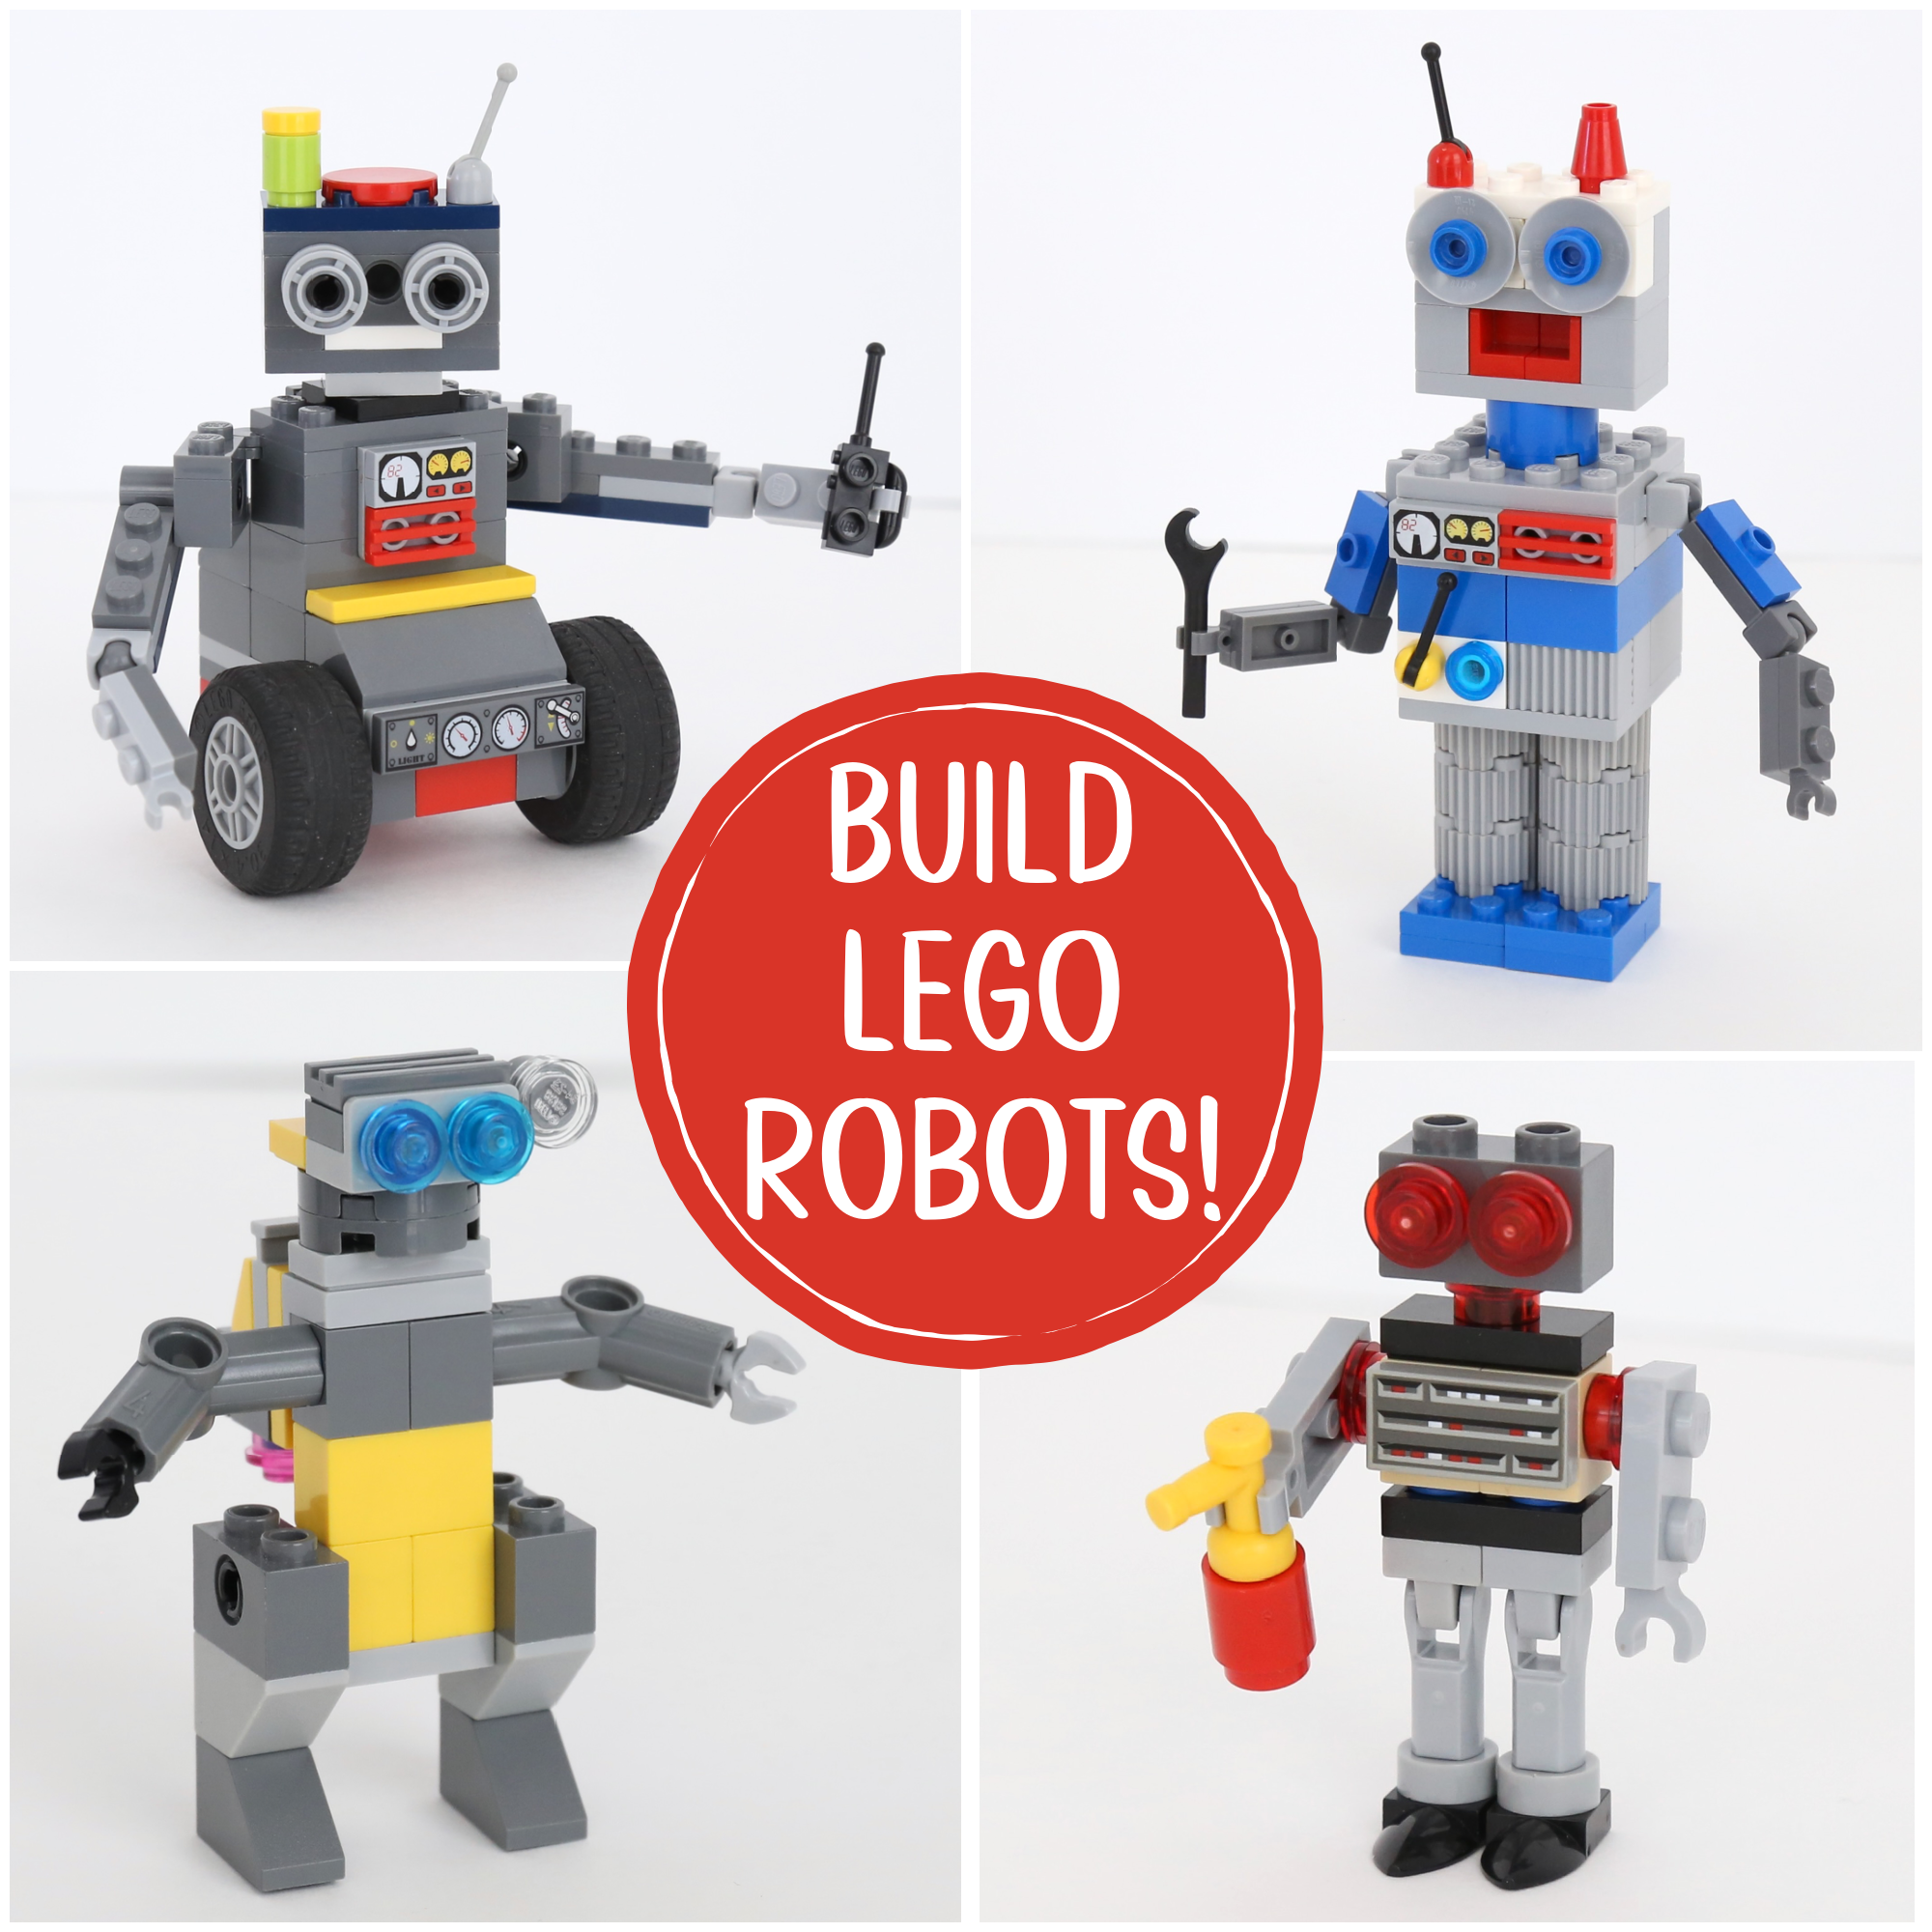
My son Owen and I designed these LEGO robots. We’ll show you how to build them!
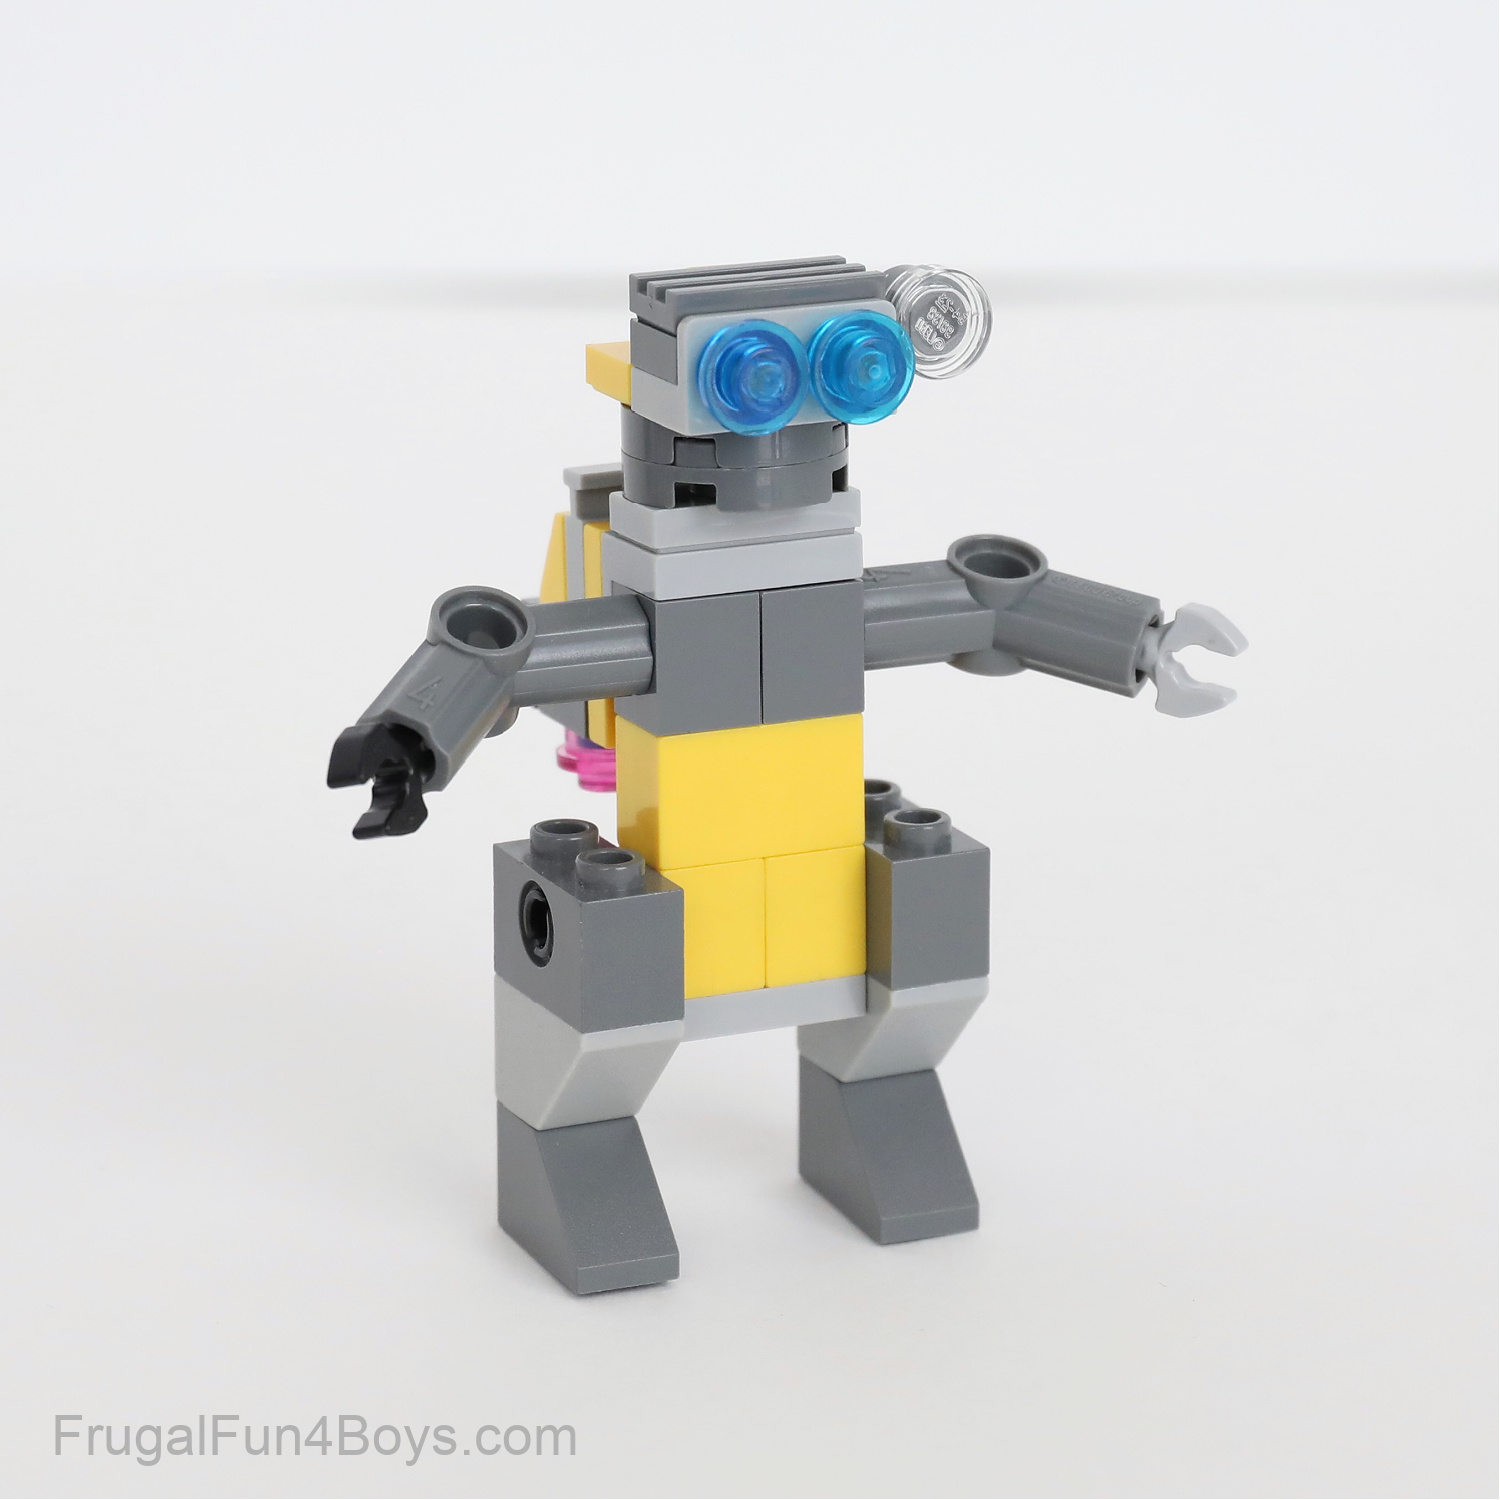
Tiny Robot Building Instructions:
Let’s start with a tiny robot! Build this from random pieces at the bottom of your LEGO bin. So cute, and it has a retro robot look.
Start with a 1 x 2 black plate. For each leg, attach a 1 x 1 plate with a clip on top and a bar holder with handle.

Then each foot is a 1 x 1 black plate with tooth. I cannot find that little round light gray piece on Brick Link to tell you what it’s called! But they are definitely around in lots of sets.

After you build the legs, construct the body. Grab two 1 x 1 bricks that have studs on two adjacent sides. Connect them with a 1 x 2 plate with one stud on top. Insert two blue pins (1/2 length) into the bottom of the bricks.

Then attach the body to the legs. The blue pins are inserted into the BOTTOM of the 1 x 2 black plate on the legs. So that plate is upside down.

Now just add arms and a decorative tile on the front. Each arm is a 1 x 1 translucent red round plate and a 1 x 2 light gray plate with a clip on the end.
Finish up the robot with a simple head! It’s a 1 x 2 brick with two studs on the side. The neck and eyes are all 1 x 1 translucent red round plates.
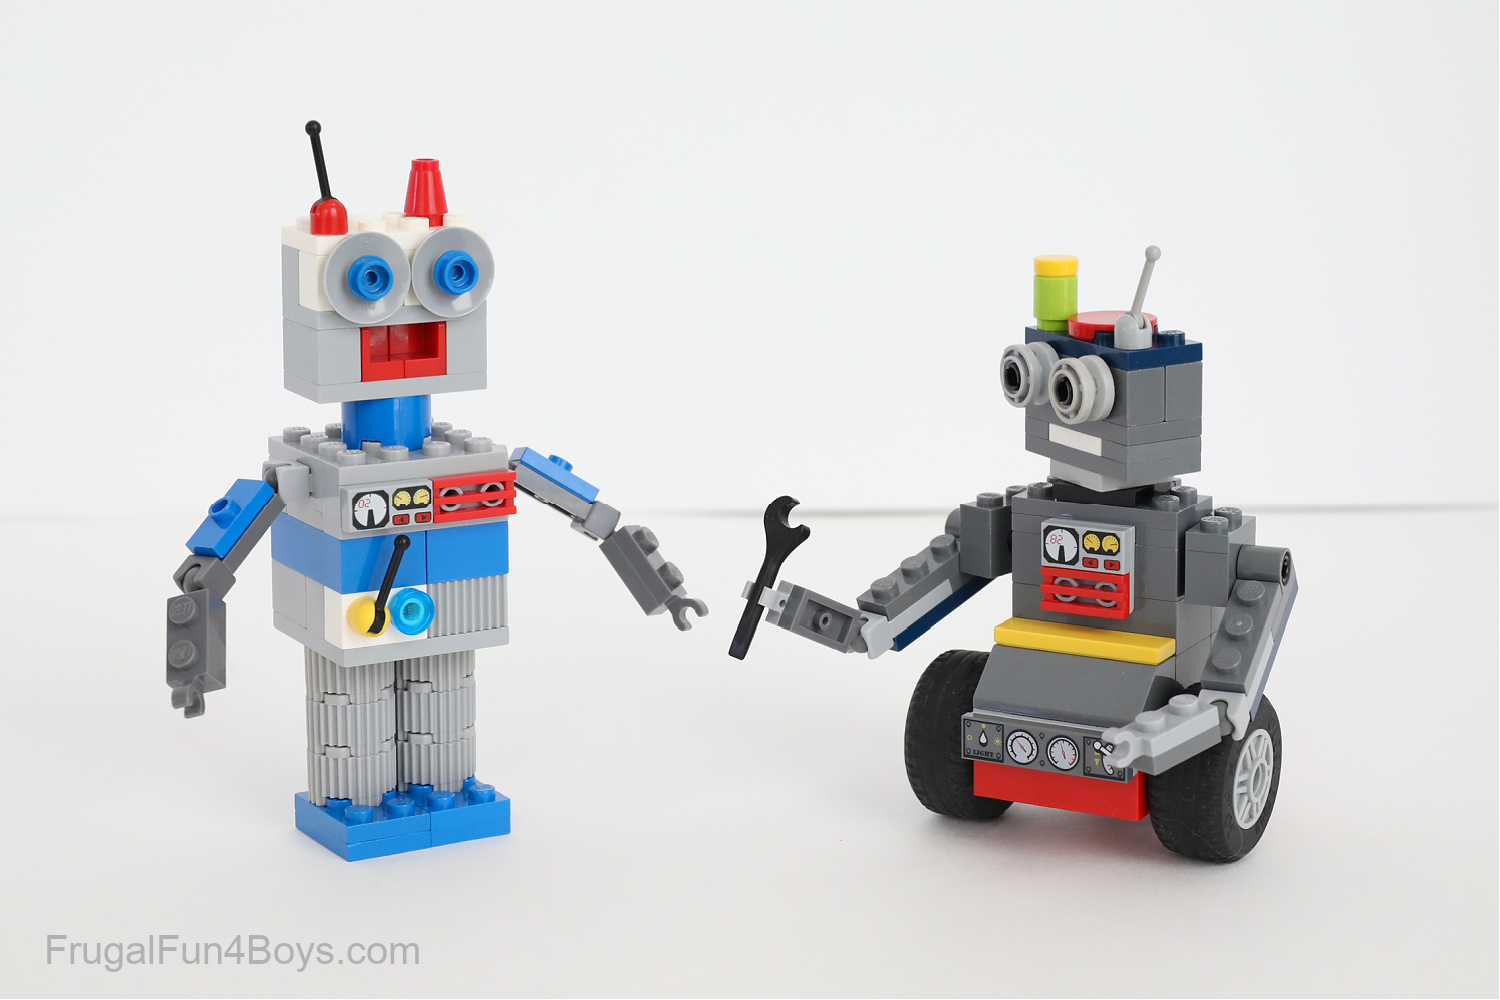
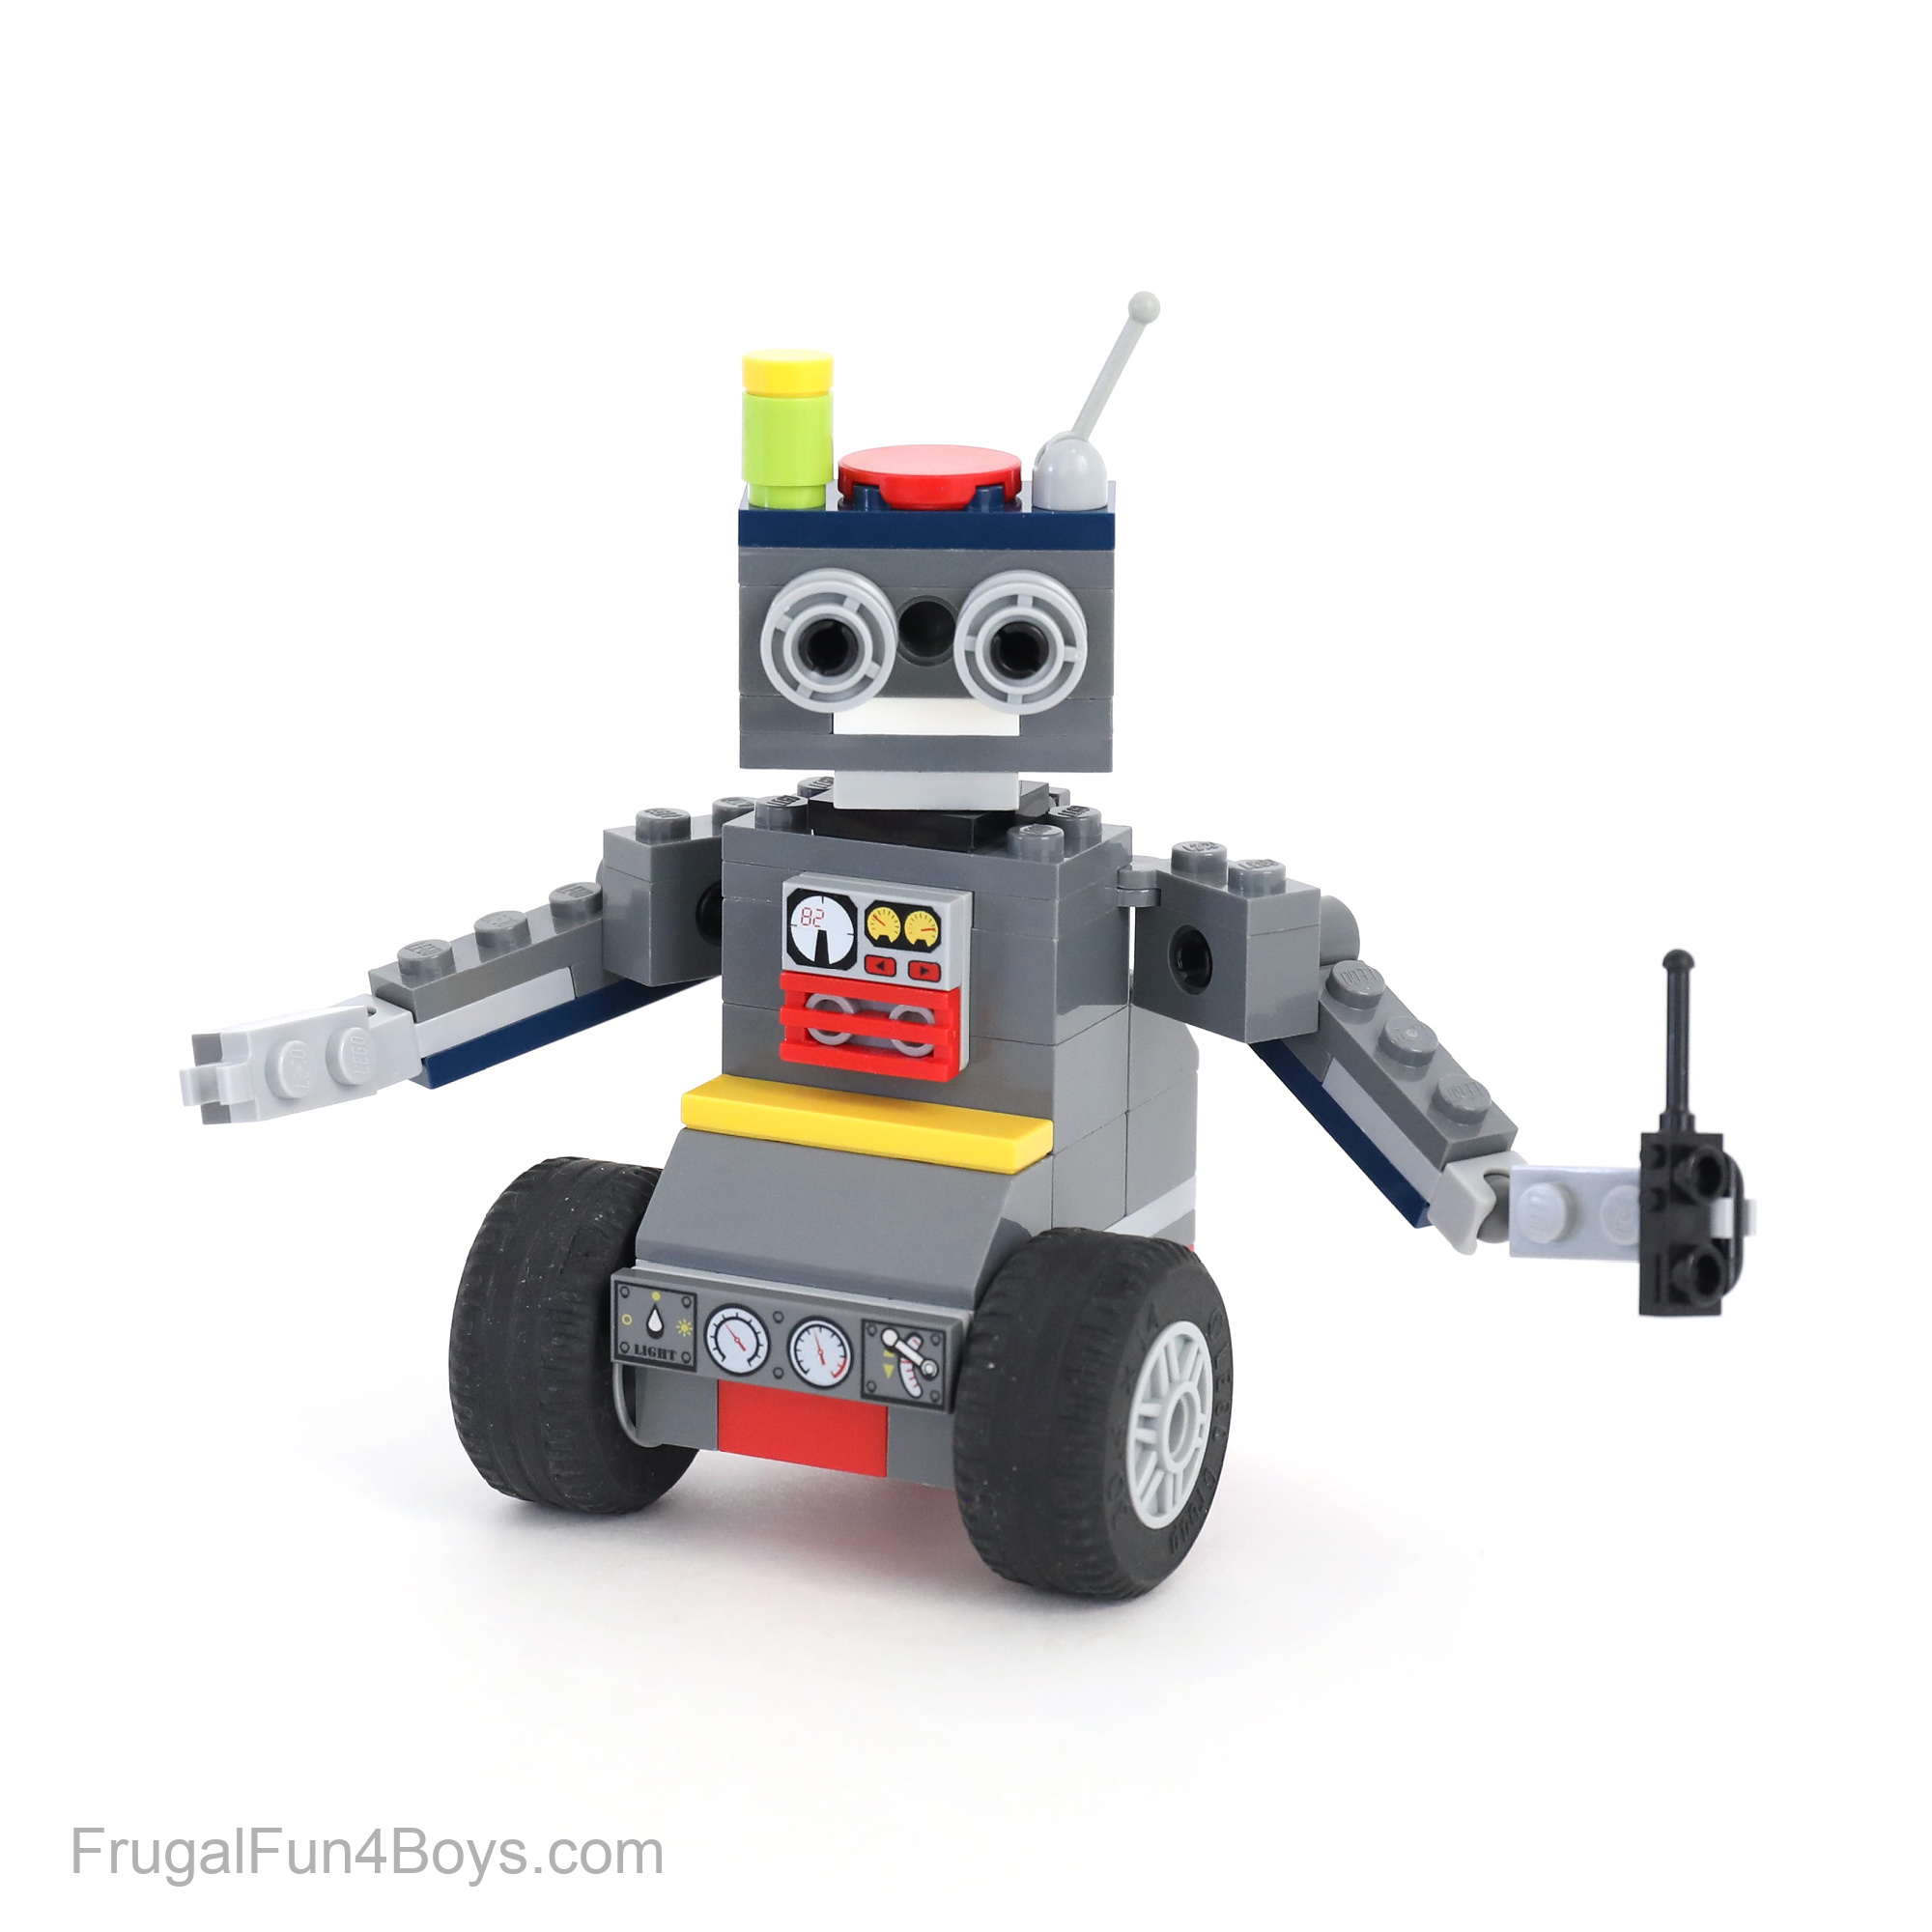
Wheeled Robot Building Instructions:
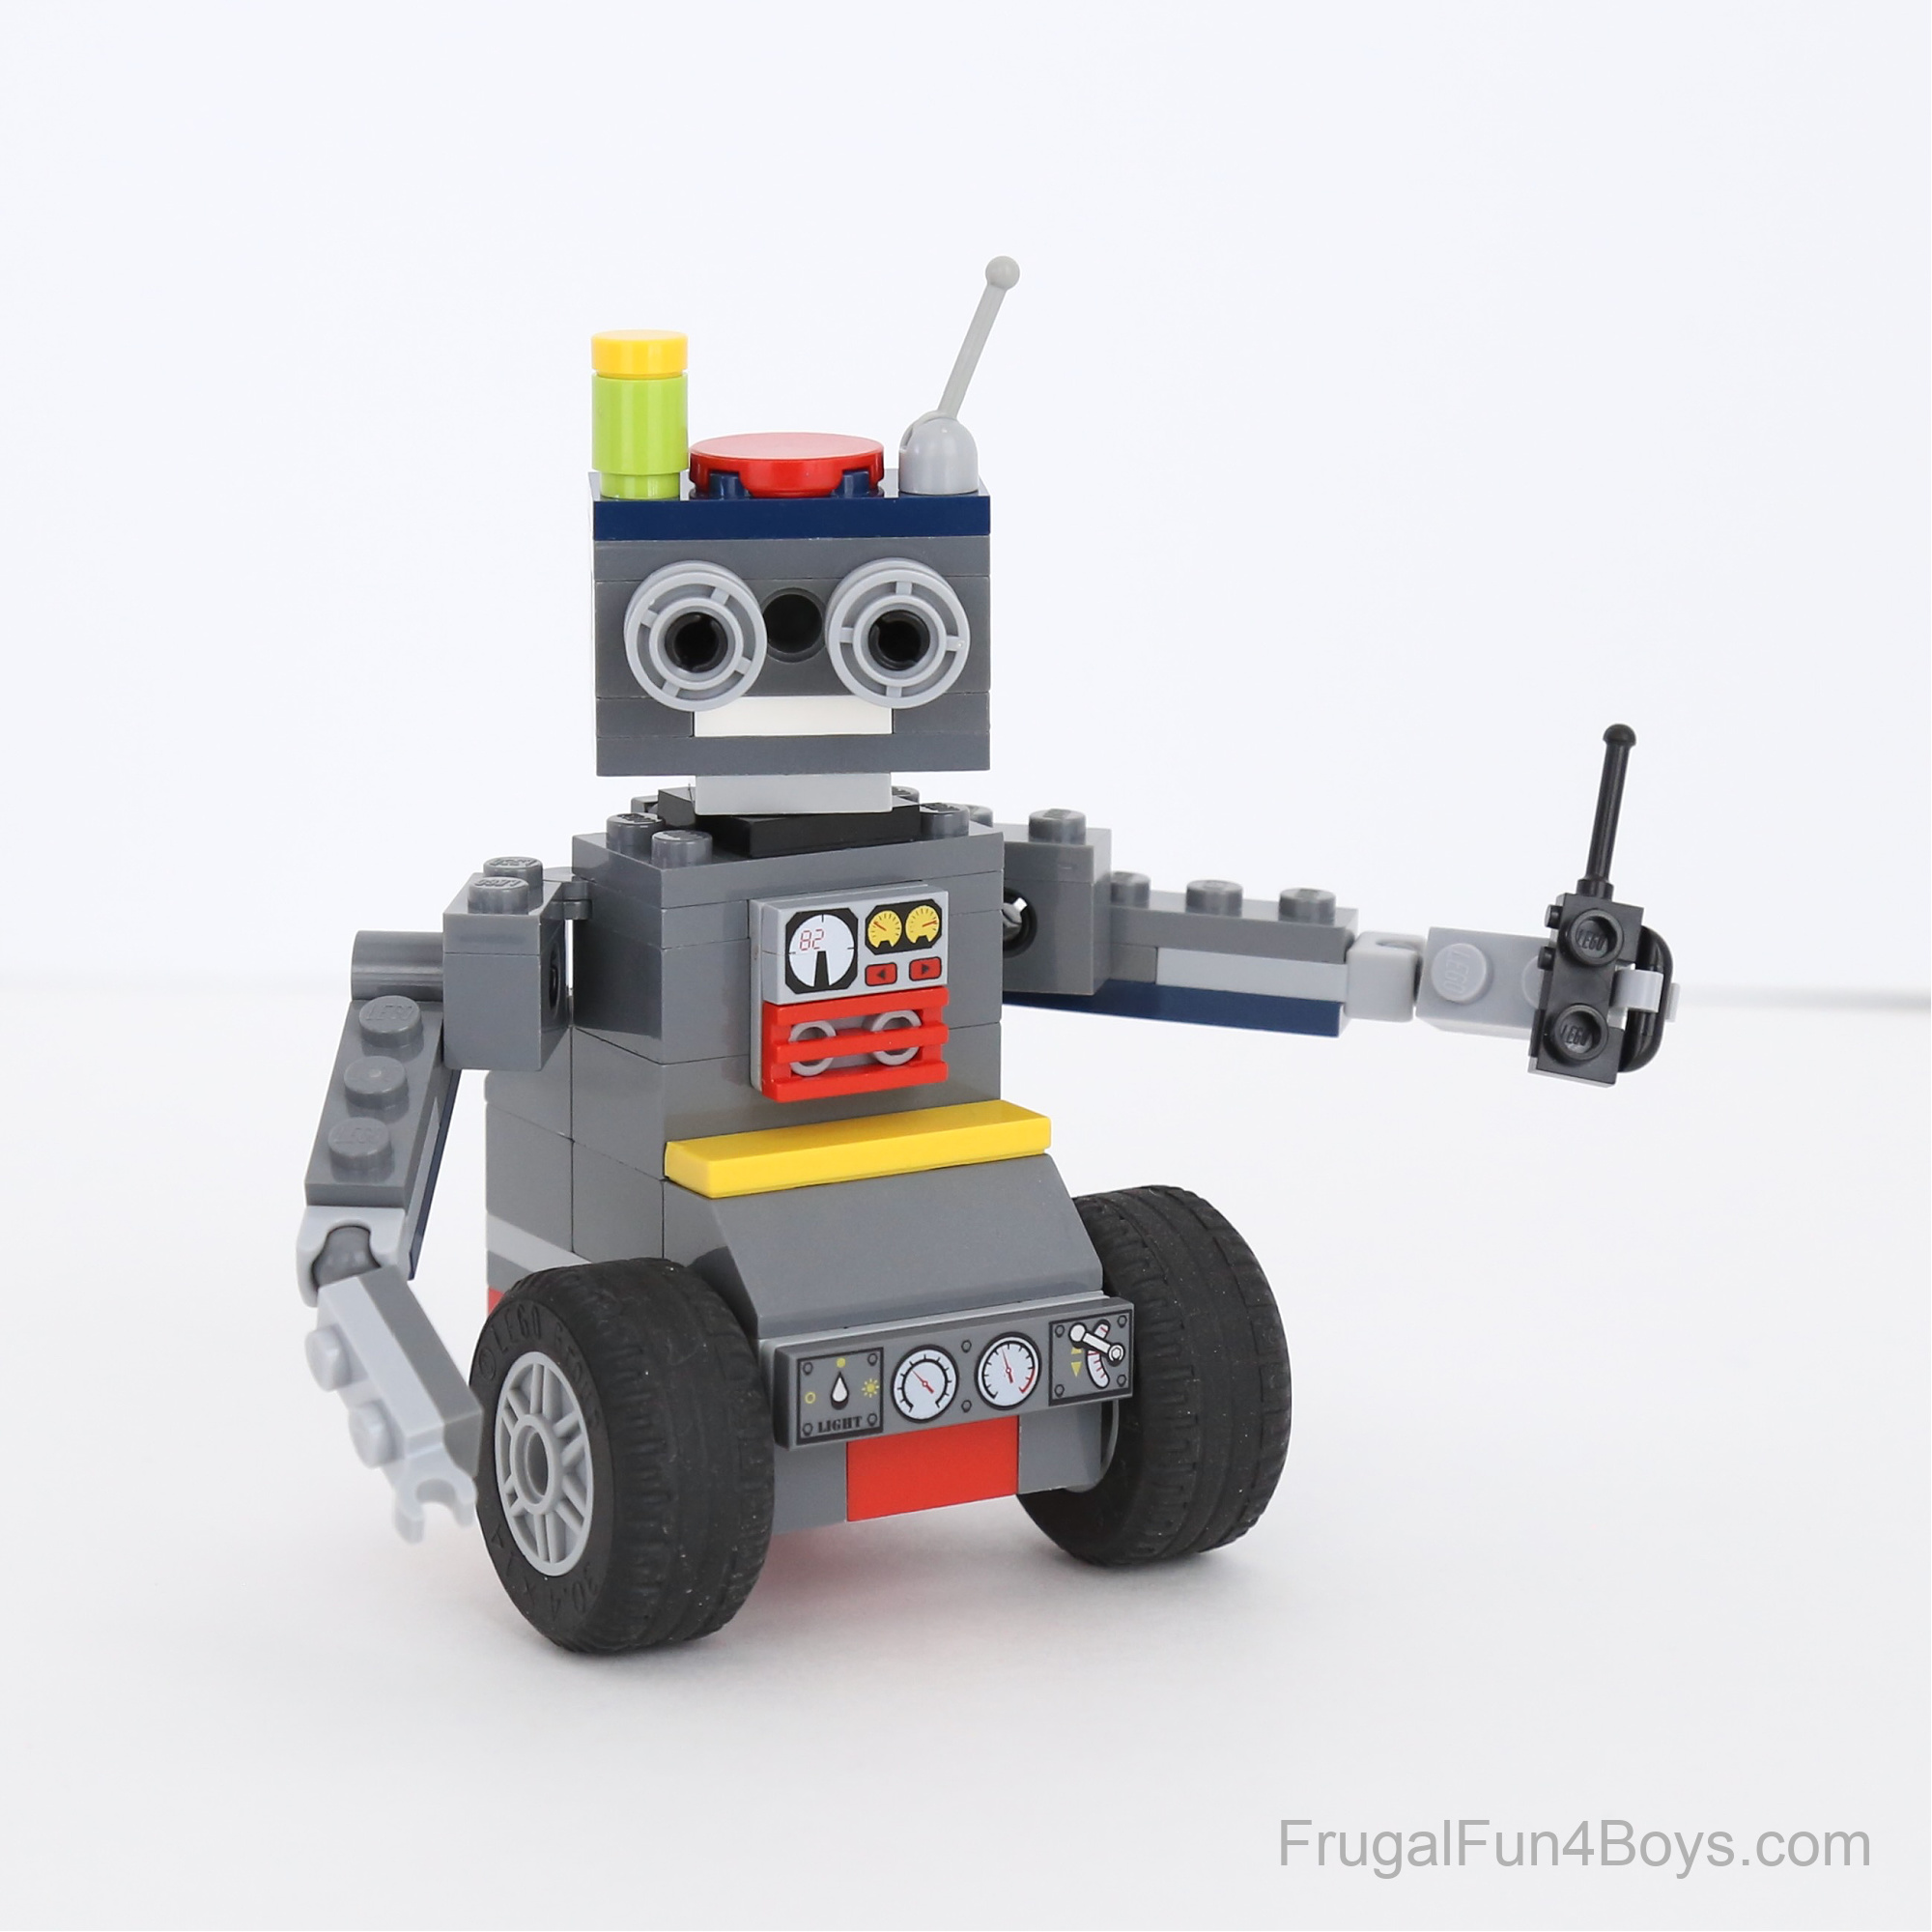
Now build a rolling robot! This one has two large wheels and a set of tiny wheels in the back for balance.
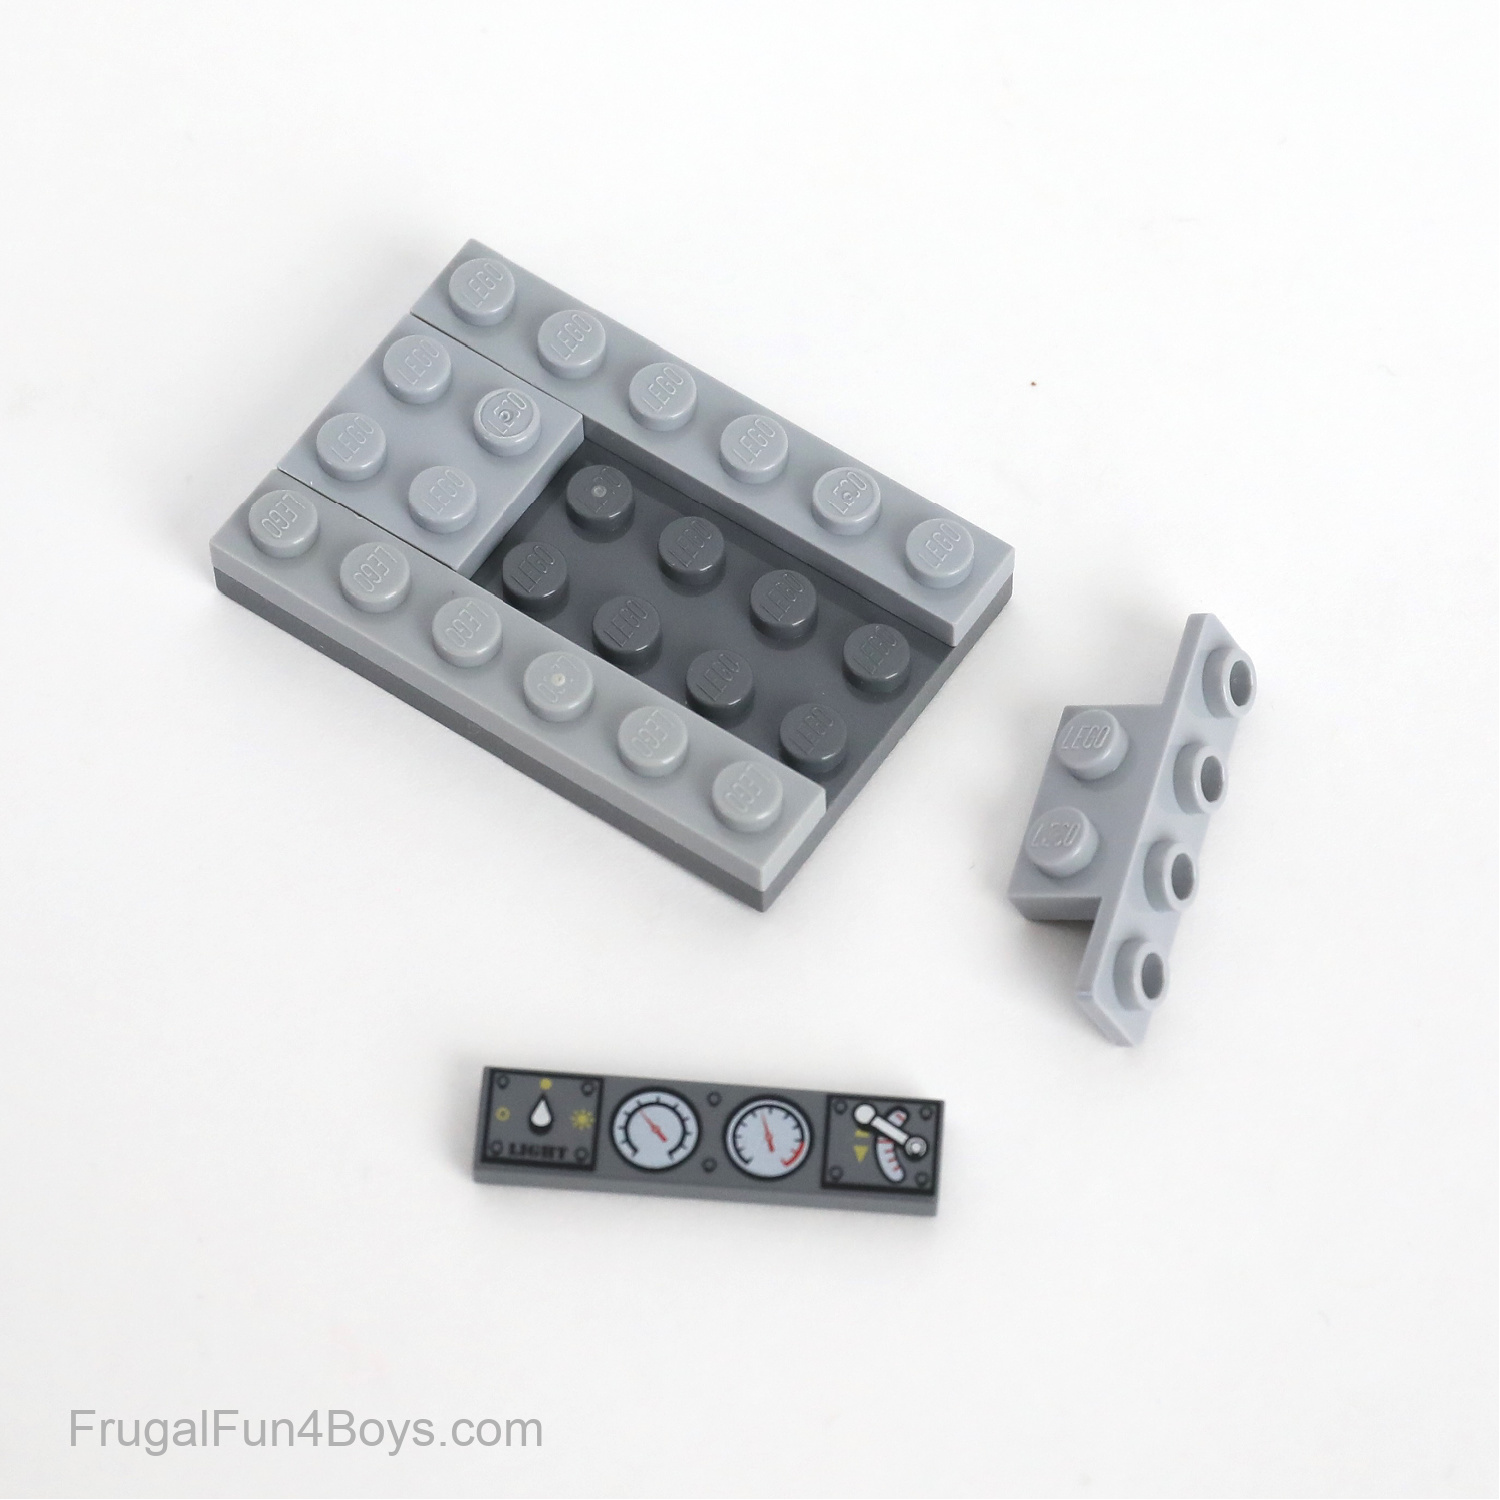
Step 1: Gather the plates shown for building the robot’s head.

Step 2: Place three 1 x 2 dark gray plates and one 1 x 2 white plate on top of a 2 x 4 dark gray plate.

Step 3: Add a 1 x 4 dark gray brick and a 1 x 4 dark gray Technic brick. Then find a 2 x 4 dark gray plate, a 2 x 4 dark blue plate, two black pins, and two small wheels with pin holes. Substitute other colors if needed.

Step 4: Insert the pins into the Technic brick. Then add the 2 x 2 dark gray plate and 2 x 4 dark blue plate on top of the head.

Step 5: Slide the wheels onto the black pins. Then decorate the robot’s head with an antenna and buttons. I also used a 2 x 2 red round plate, a 1 x 1 lime green round brick, and a 1 x 1 yellow round tile. But you can use whatever you want to make his head look cool!

Step 6: Start building the body of the robot. Grab a 6 x 6 dark gray plate. Add two 1 x 6 light gray plates and a 2 x 2 light gray plate. Then add a 1 x 2 – 1 x 4 bracket. I also added a 1 x 4 tile with dials.
Step 7: Add bricks to the body. I added four 2 x 4 dark gray bricks, a 2 x 4 dark gray slope, and a 1 x 4 yellow tile. But you can design the body however you want!

Step 8: Add a 1 x 2 – 2 x 2 light gray bracket to the body. Then add a 1 x 2 – 1 x 2 dark gray inverted bracket on the back and two 1 x 2 hinge plates. These will hold the arms.

Step 9: Add a 2 x 4 dark gray plate to the body. Then decorate the front with a 1 x 2 red grill and a 1 x 2 tile with gauges. Find a 2 x 2 turntable and a 2 x 2 light gray plate.

Step 10: Gather the bricks shown for building the robot’s arm. You’ll need two sets of these bricks.

Step 11: Attach a 1 x 2 plate with a socket and a 1 x 2 plate with a pin hole to a 1 x 4 plate.

Step 12: Complete the arm as shown, and then build a second arm.

Step 13: Add the 2 x 2 light gray plate and the 2 x 2 turntable to the body, and then attach the head. Attach the arms by connecting them to the hinge plates on each side of the body.

Step 14: Add wheels to the underside of the body. I used two large wheels on the front and some tiny wheels on the back.
The tiny wheels are the skateboard trolley and 2 x 2 round plate with wheel holder.

Attach all the wheels and your robot is complete!
This next robot is my favorite!
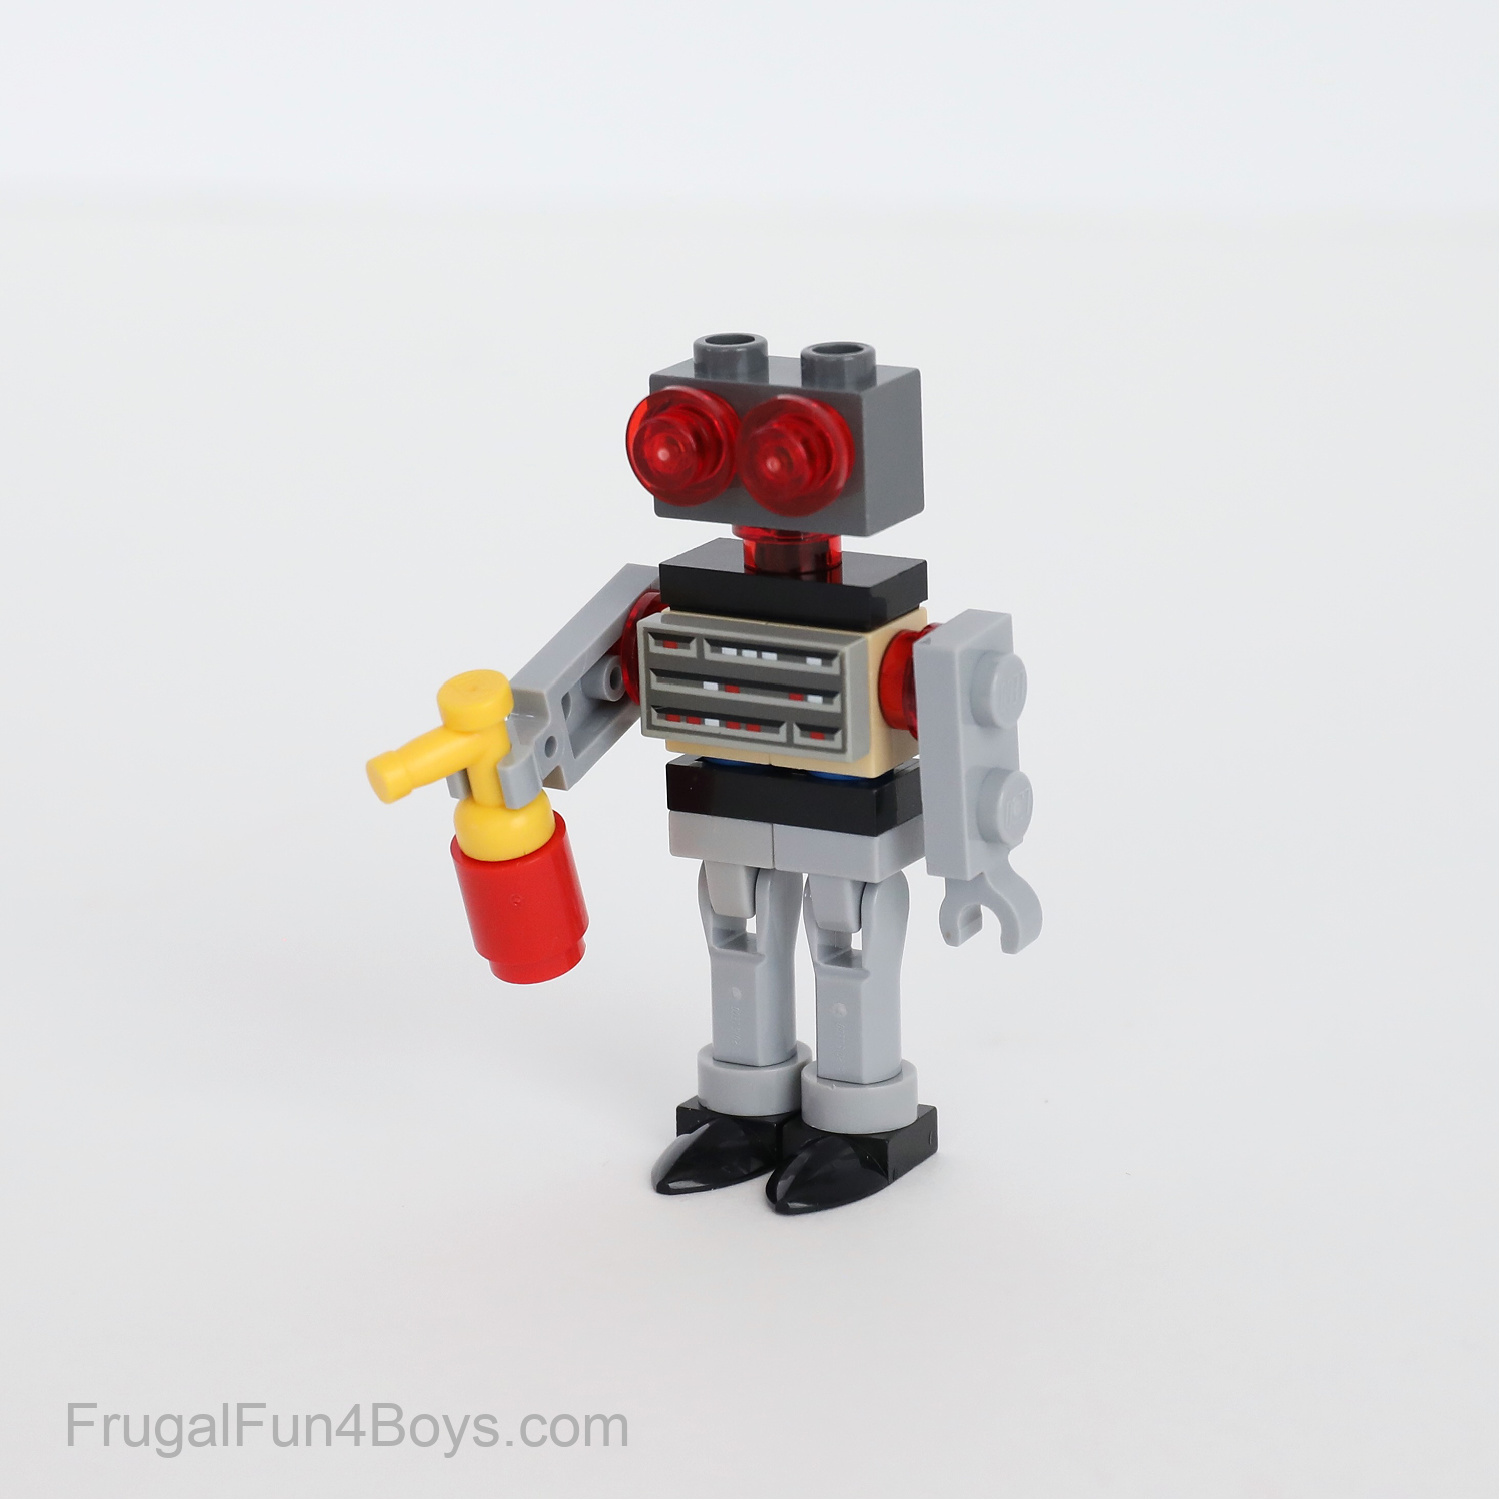
Classic Robot Building Instructions:
This robot is easy to figure out, so I’m not going to show each step.
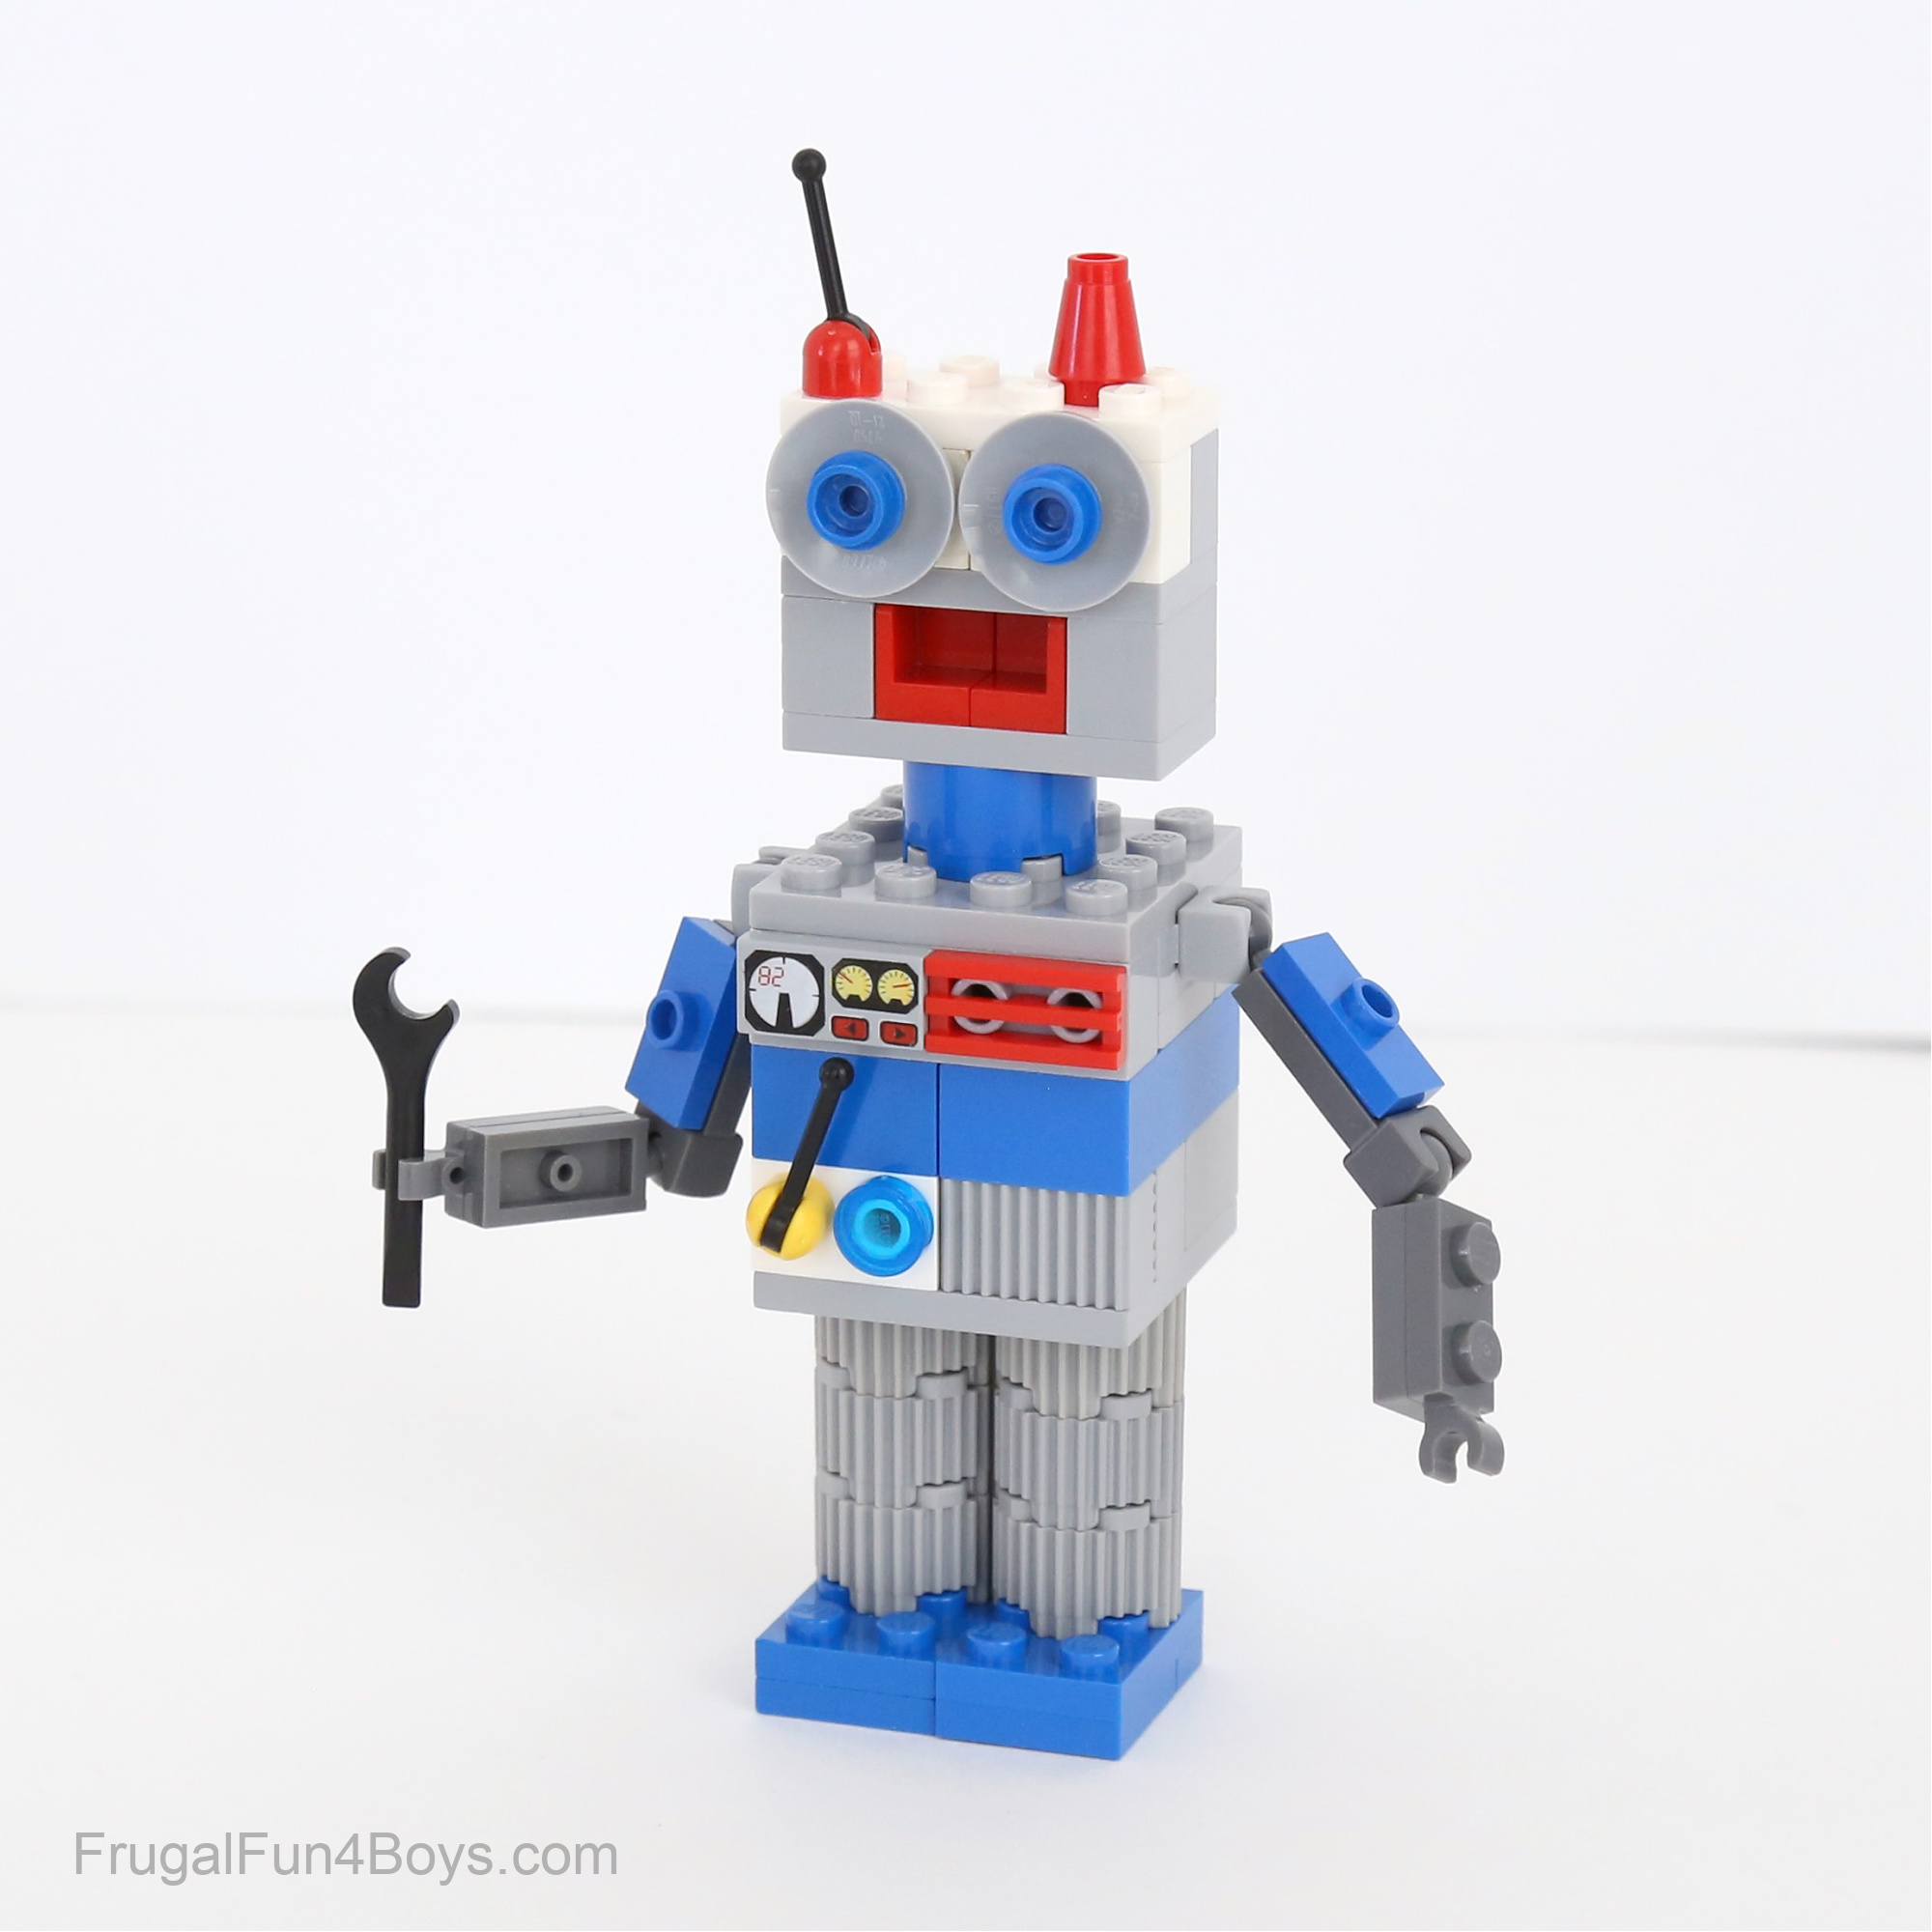
Here’s how to build the head.
The head is two basic sections. Start with a 2 x 4 light gray plate. Add three 1 x 2 light gray bricks and then build the mouth with two 1 x 1 x 1 red corner panels. If you don’t have the panels, try putting a 1 x 2 red plate in that space.
Then build the top of the head. Grab another 2 x 4 light gray plate. Use two 1 x 2 white Technic bricks to hold the eyes. Each eye is a 2 x 2 light gray dish and a 1 x 1 blue round plate. Behind the eyes, I have a 1 x 4 light gray brick.

Build the body. I used a 4 x 4 light gray plate on the bottom and then added bricks. The arms are made with plates that have balls and sockets.
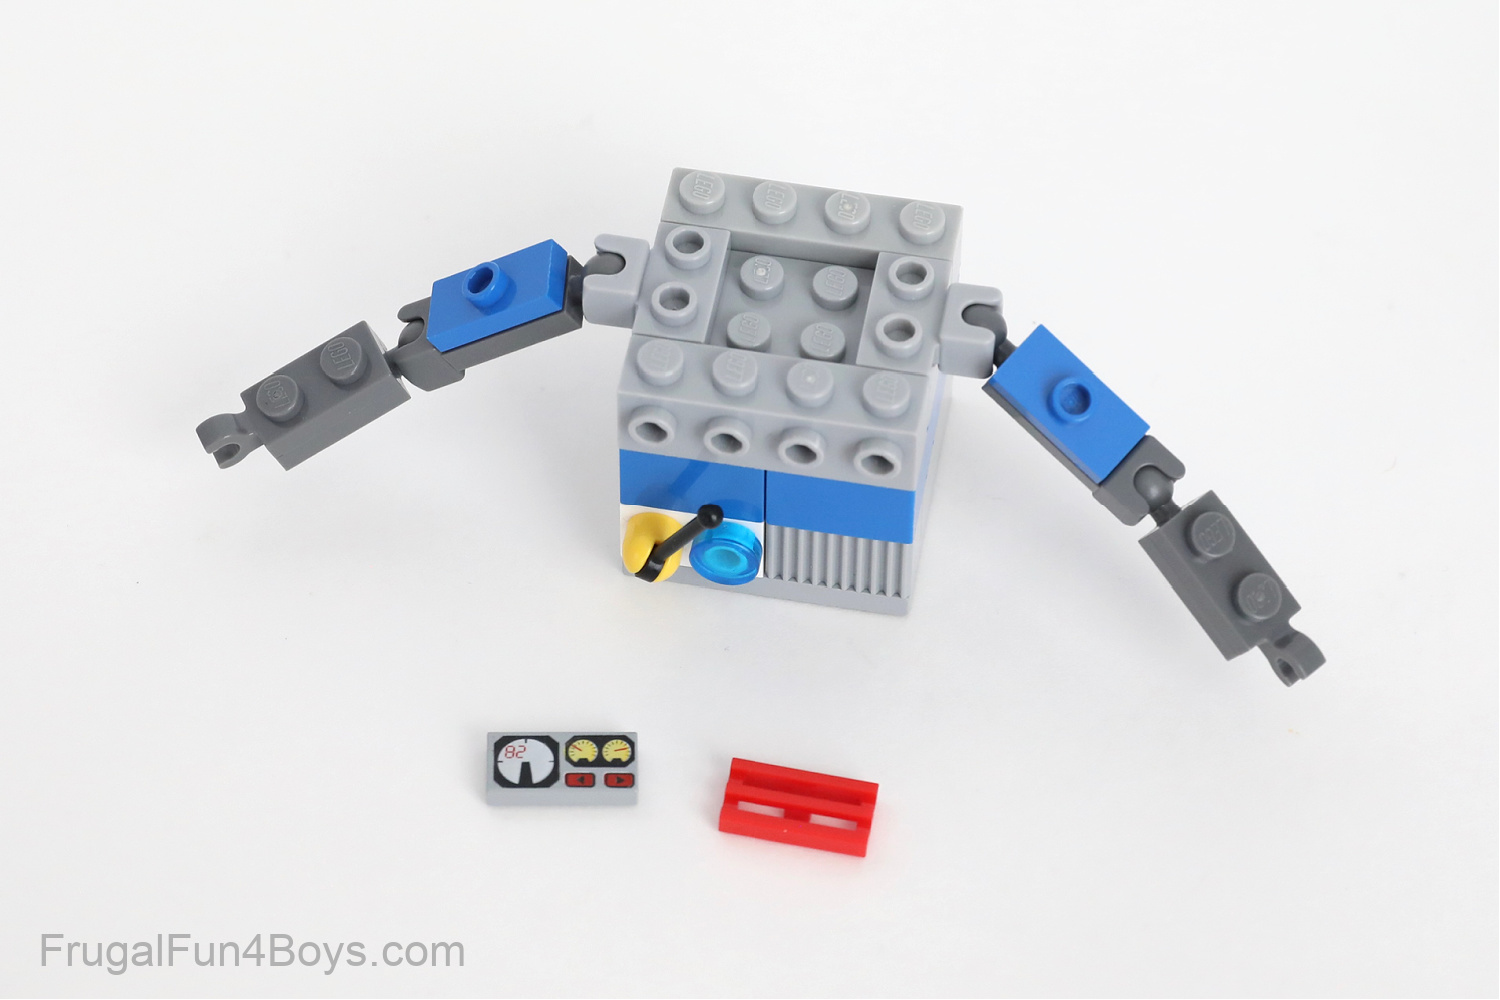
Add another 4 x 4 light gray plate to finish off the body. Add a 2 x 2 round brick for the neck.

The robot’s legs are super simple. Each leg has three 2 x 2 round bricks with ridges, and each foot is made from two 2 x 3 blue plates.

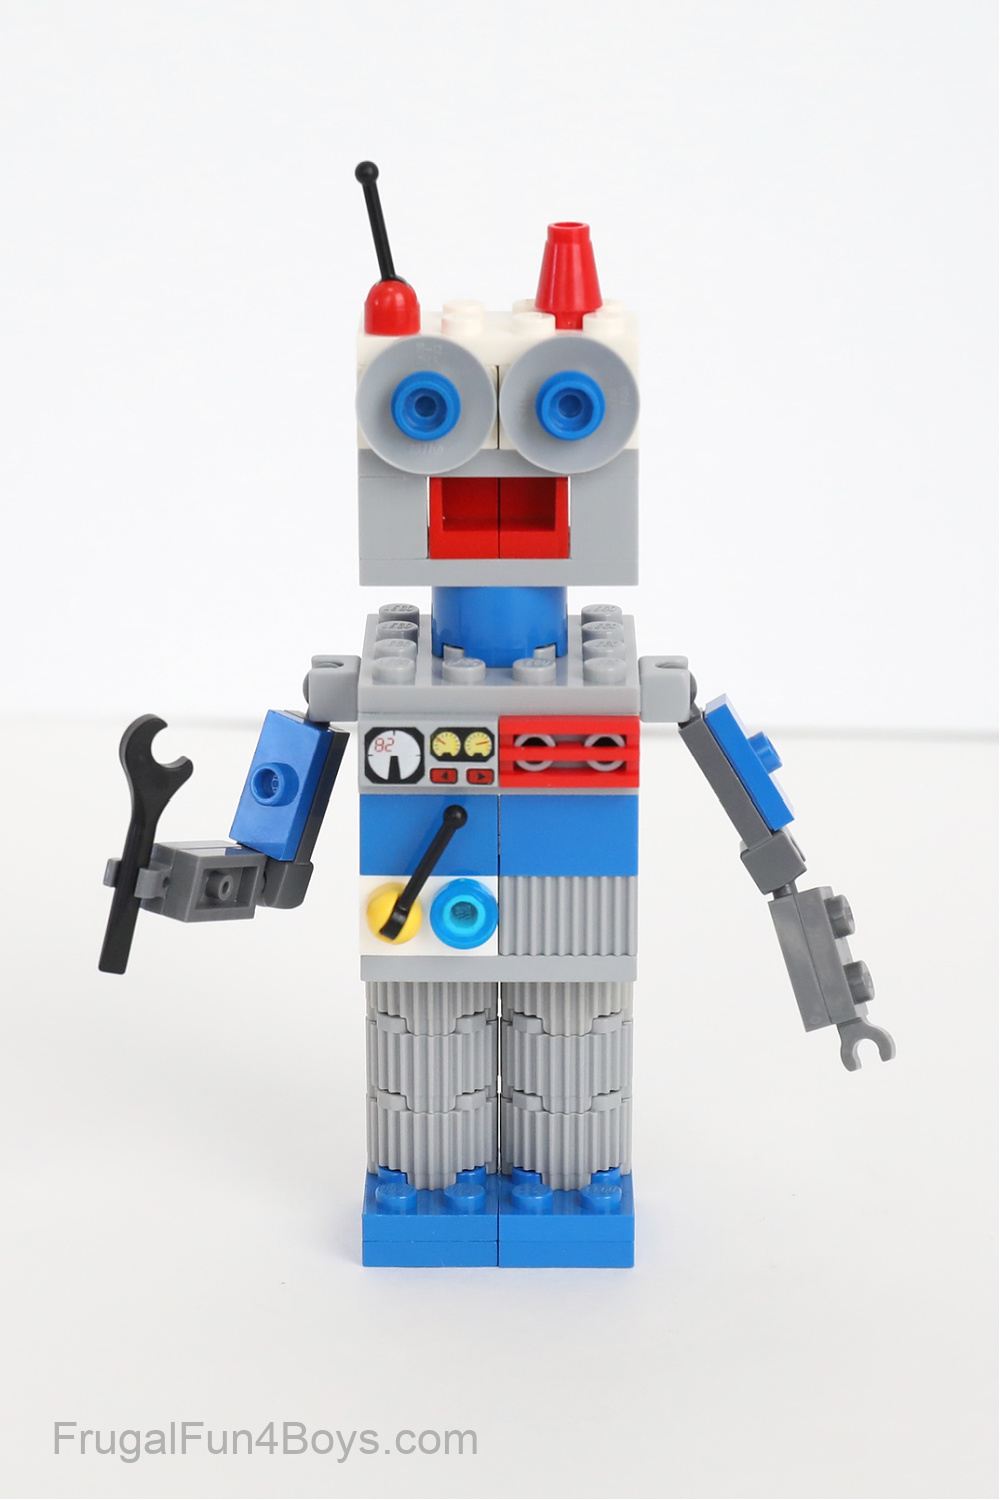
The assembled robot looks like this.
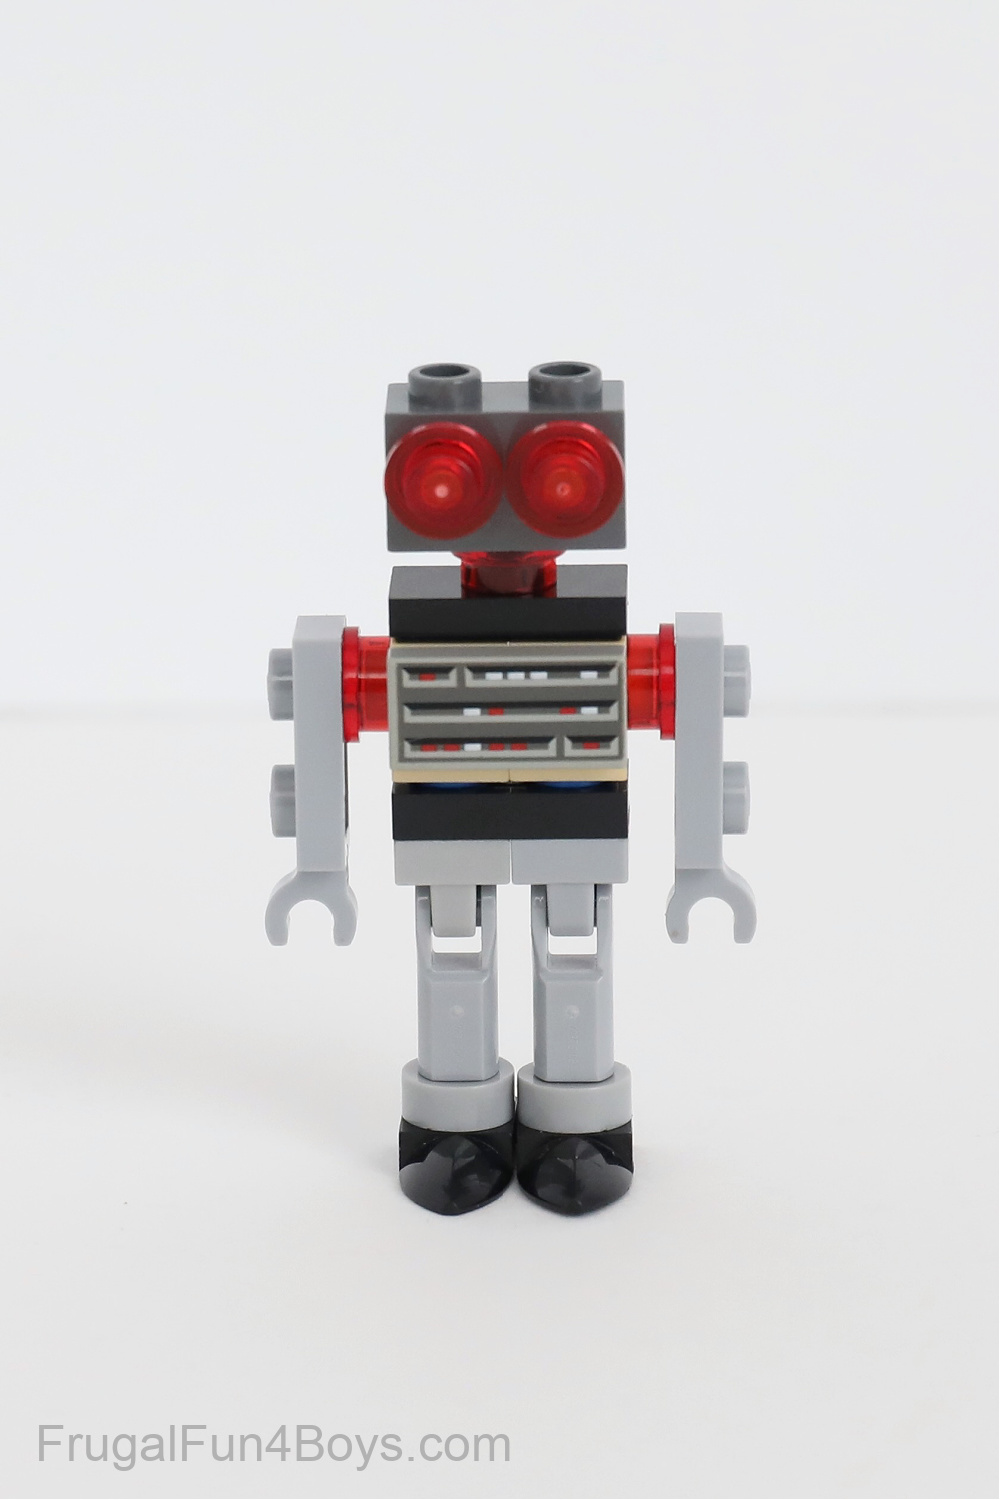
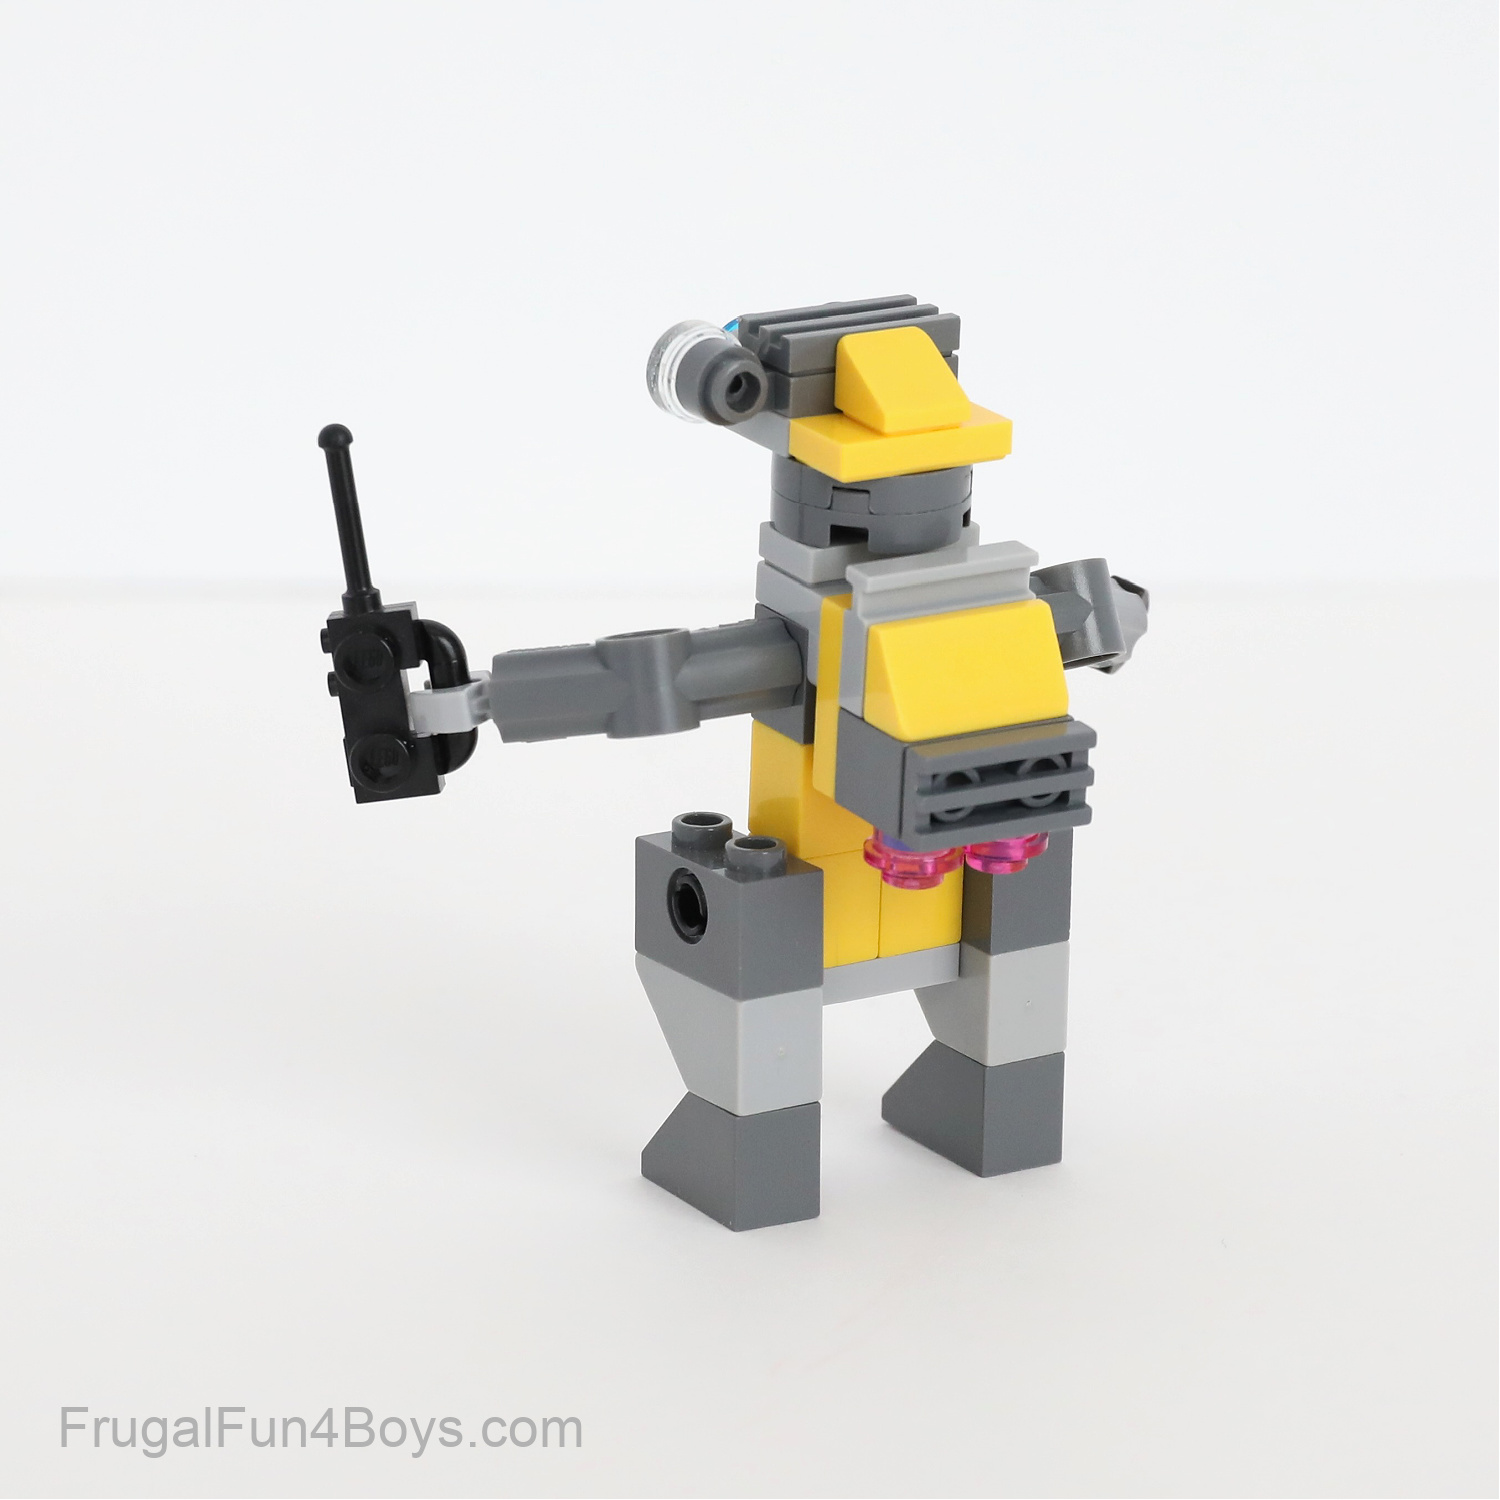
Build a Jet Pack Robot
Last one! Build this fun mechanical-looking robot. This one even has a jet pack!
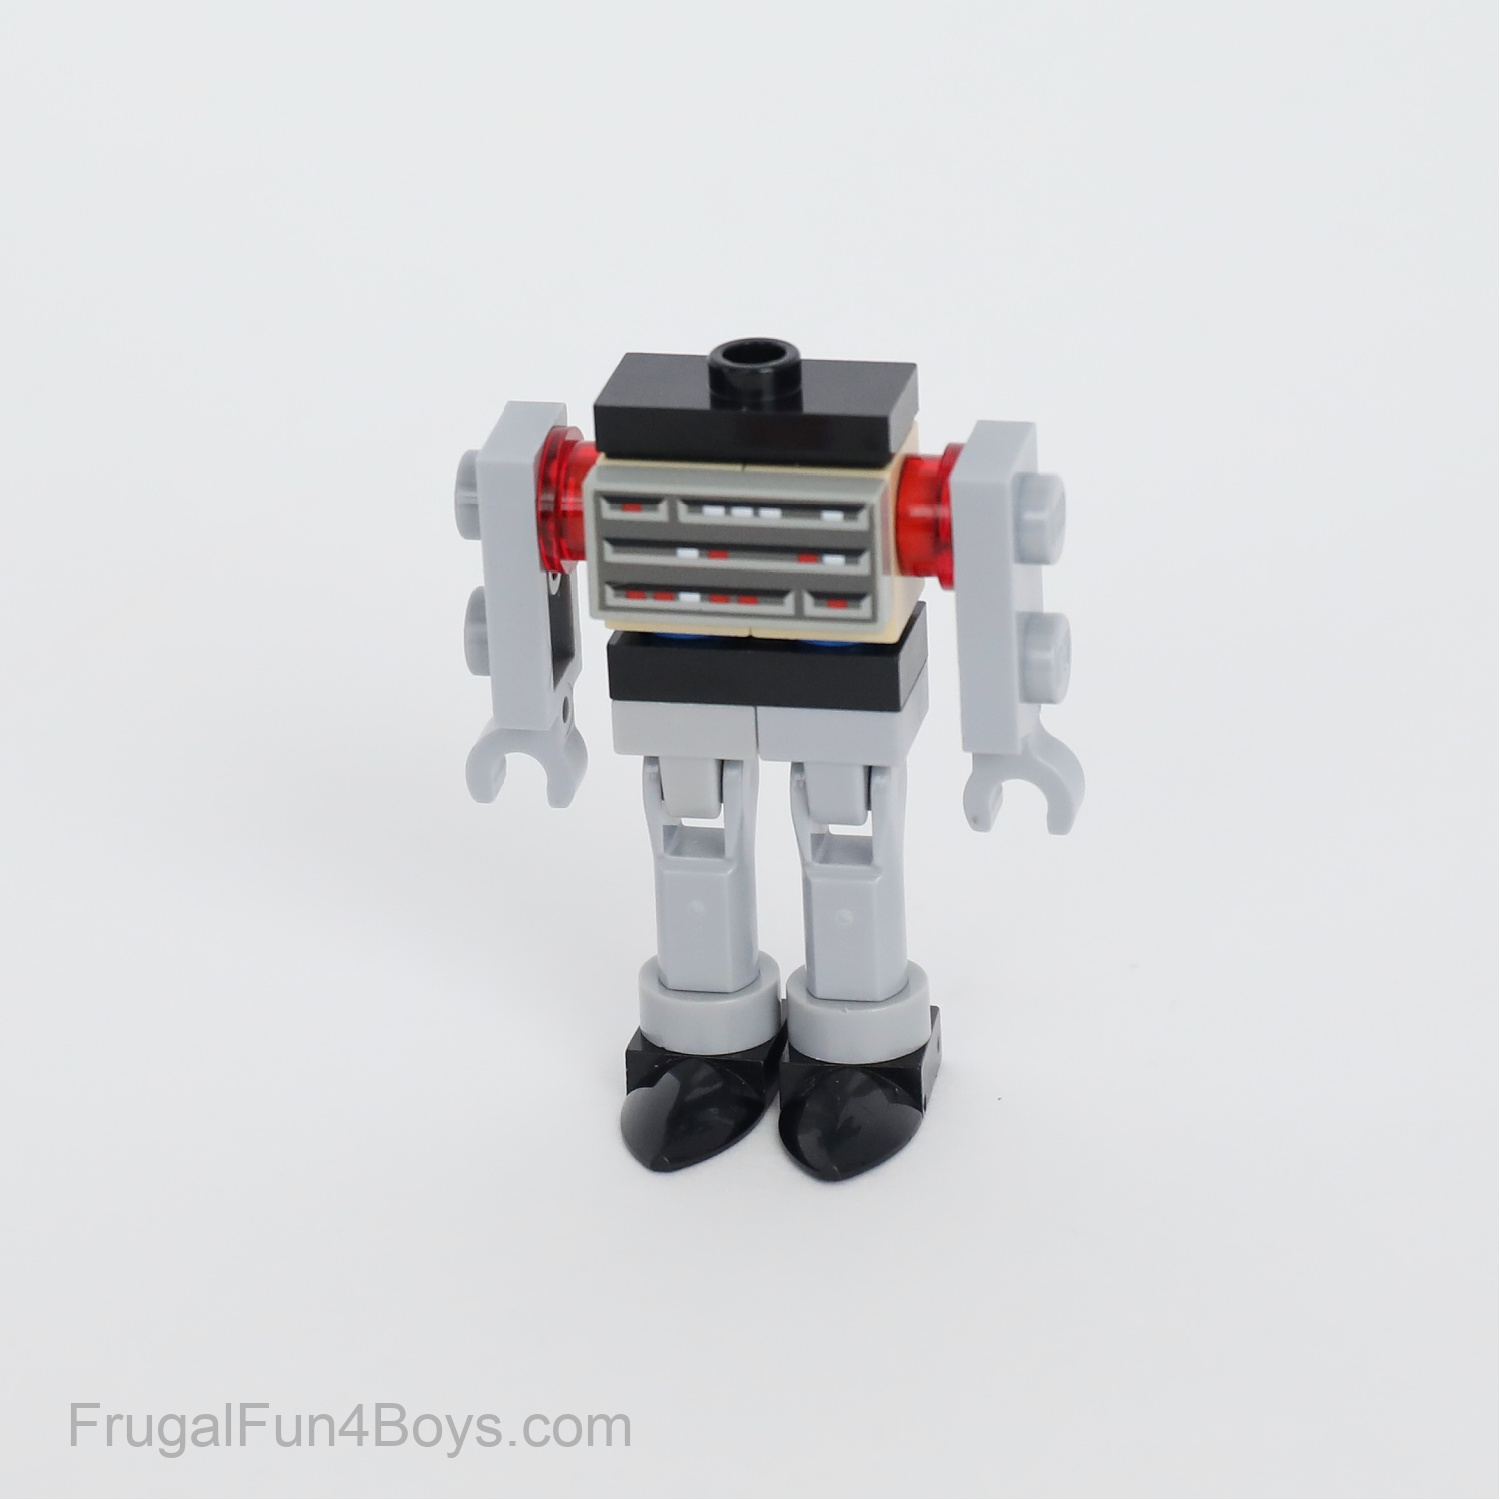
Here’s a view from the back. If you don’t have these exact pieces, hopefully these photos will give you some ideas, and you can customize the robot with what you have!
Build robots with moving parts!
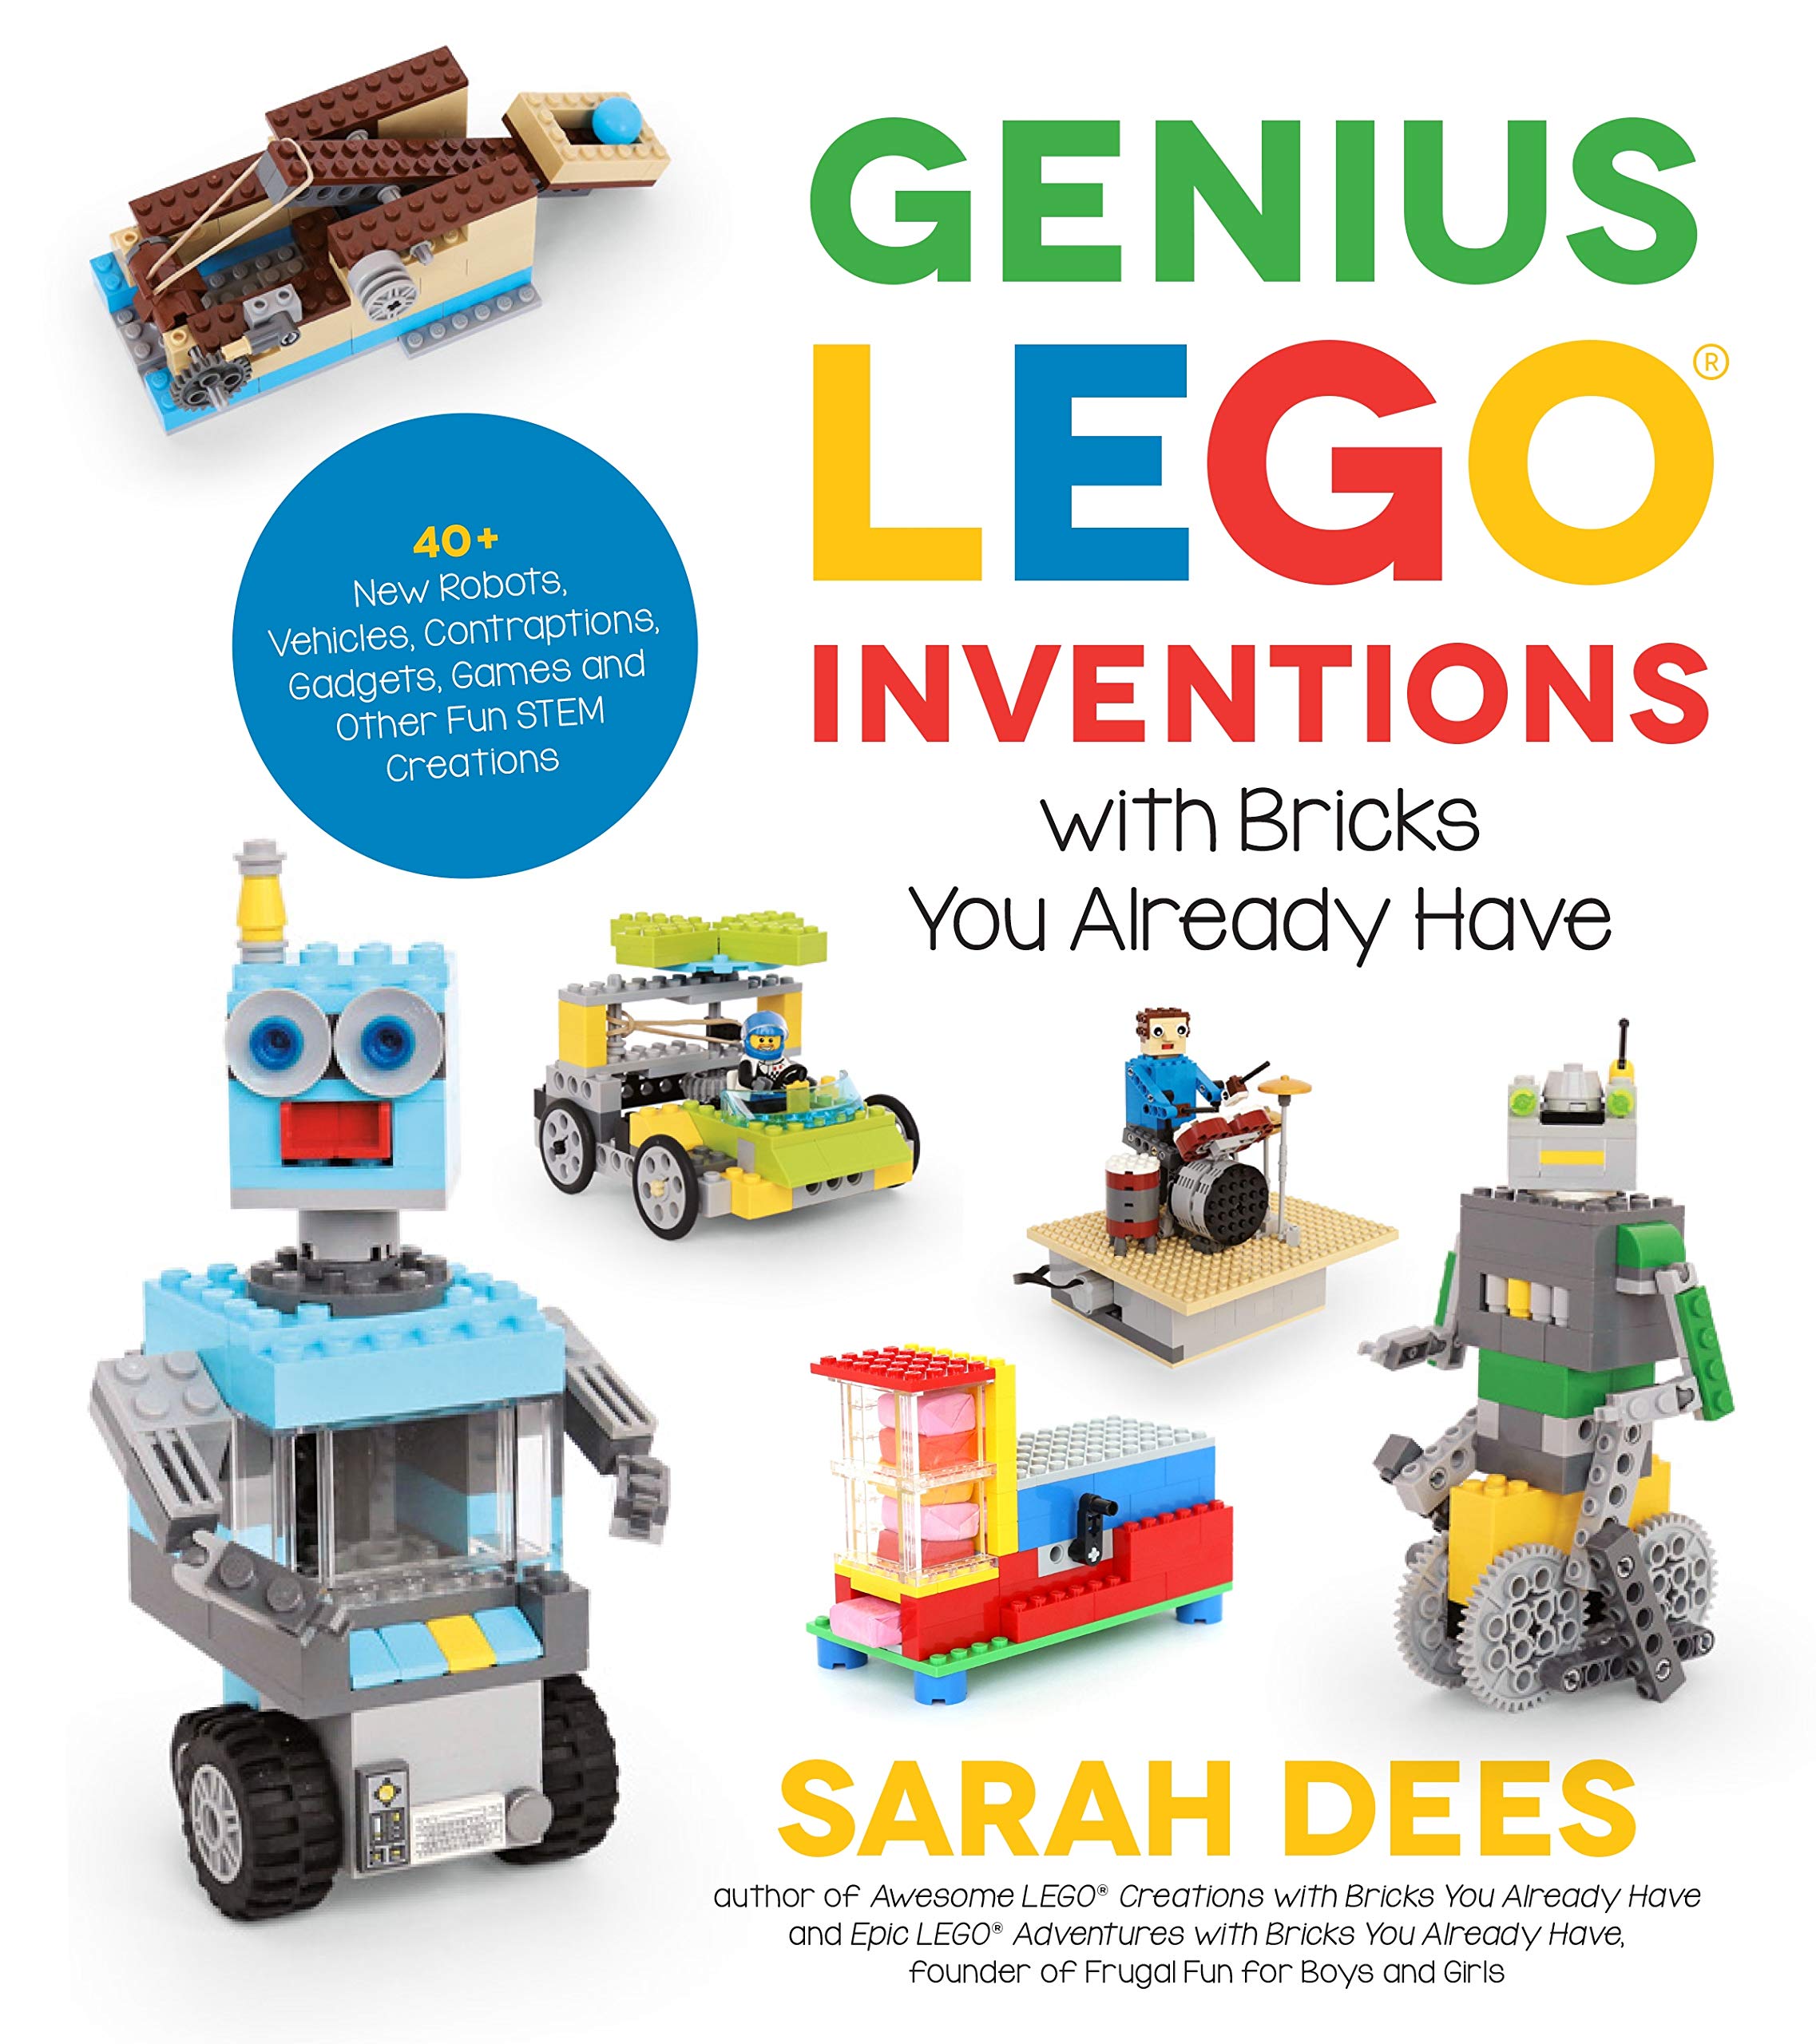
If you love building robots, our inventing book, Genius LEGO Inventions, has a chapter full of robots that DO something! Each one has a different kind of mechanism to make the head turn, the legs move, etc.
Order Here: Genius LEGO Inventions with Bricks You Already Have
Need more LEGO building ideas? We’ve got tons?
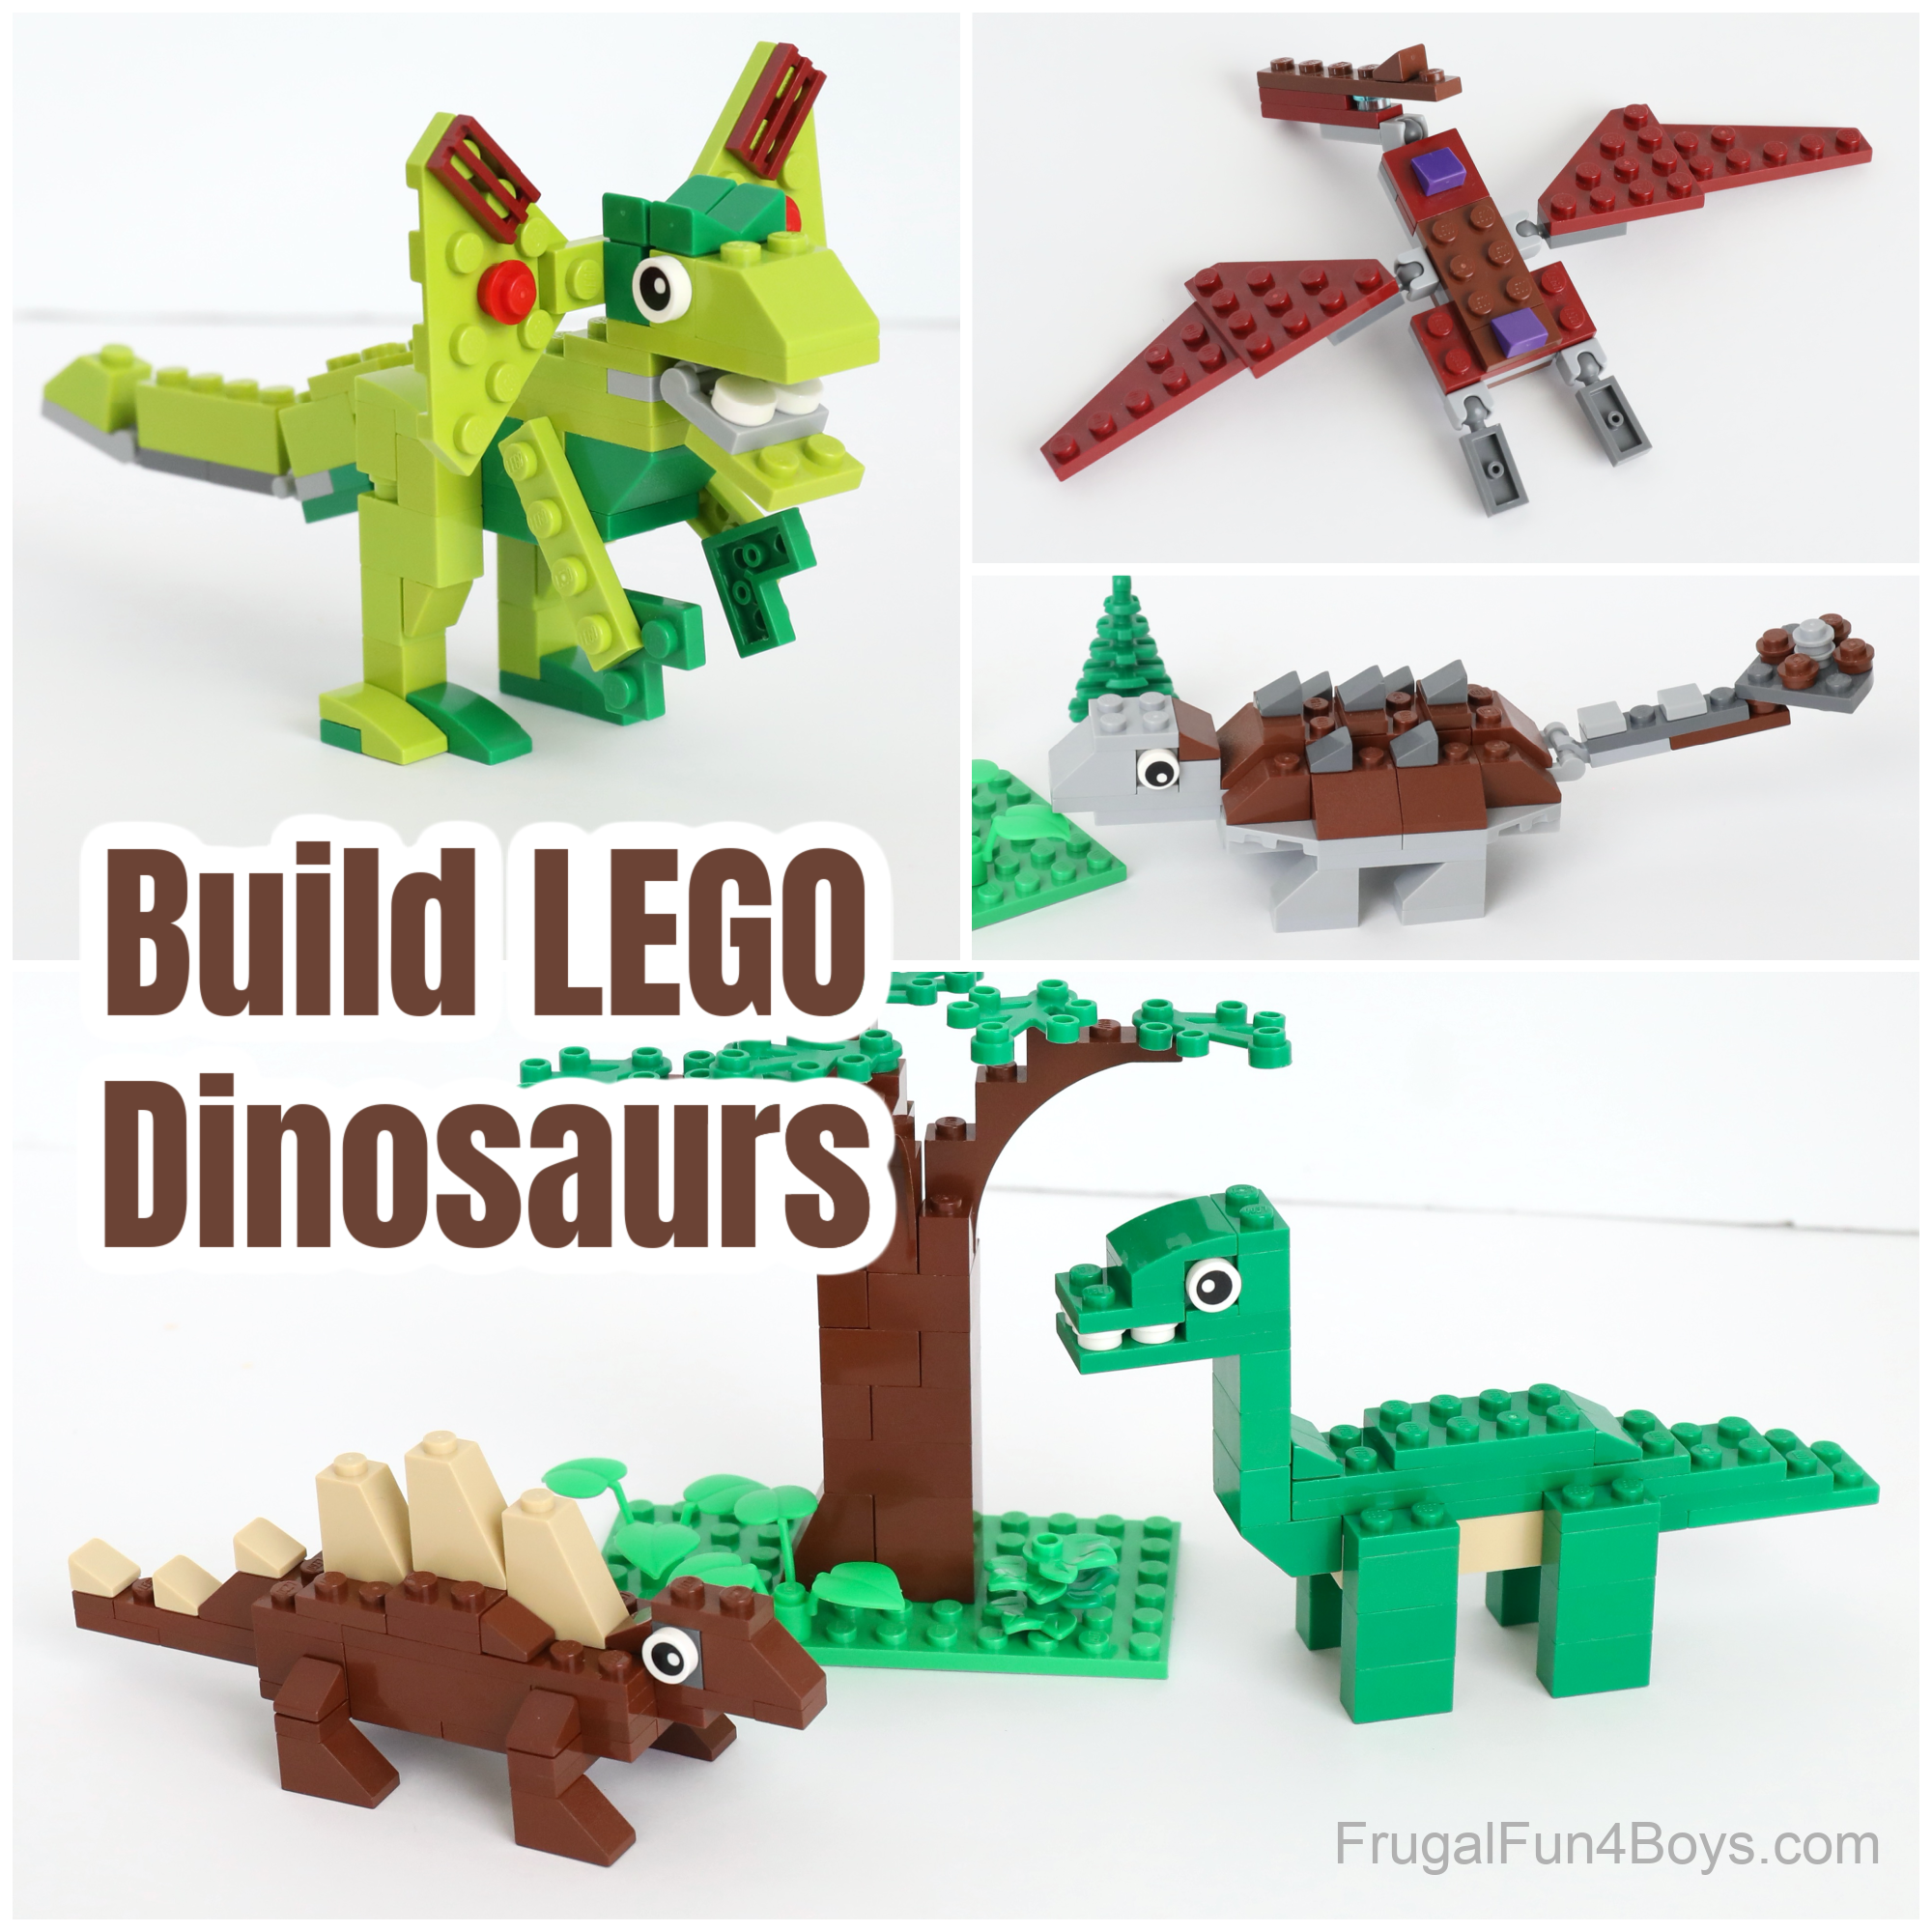
Here are 5 LEGO Dinosaurs to Build with instructions.
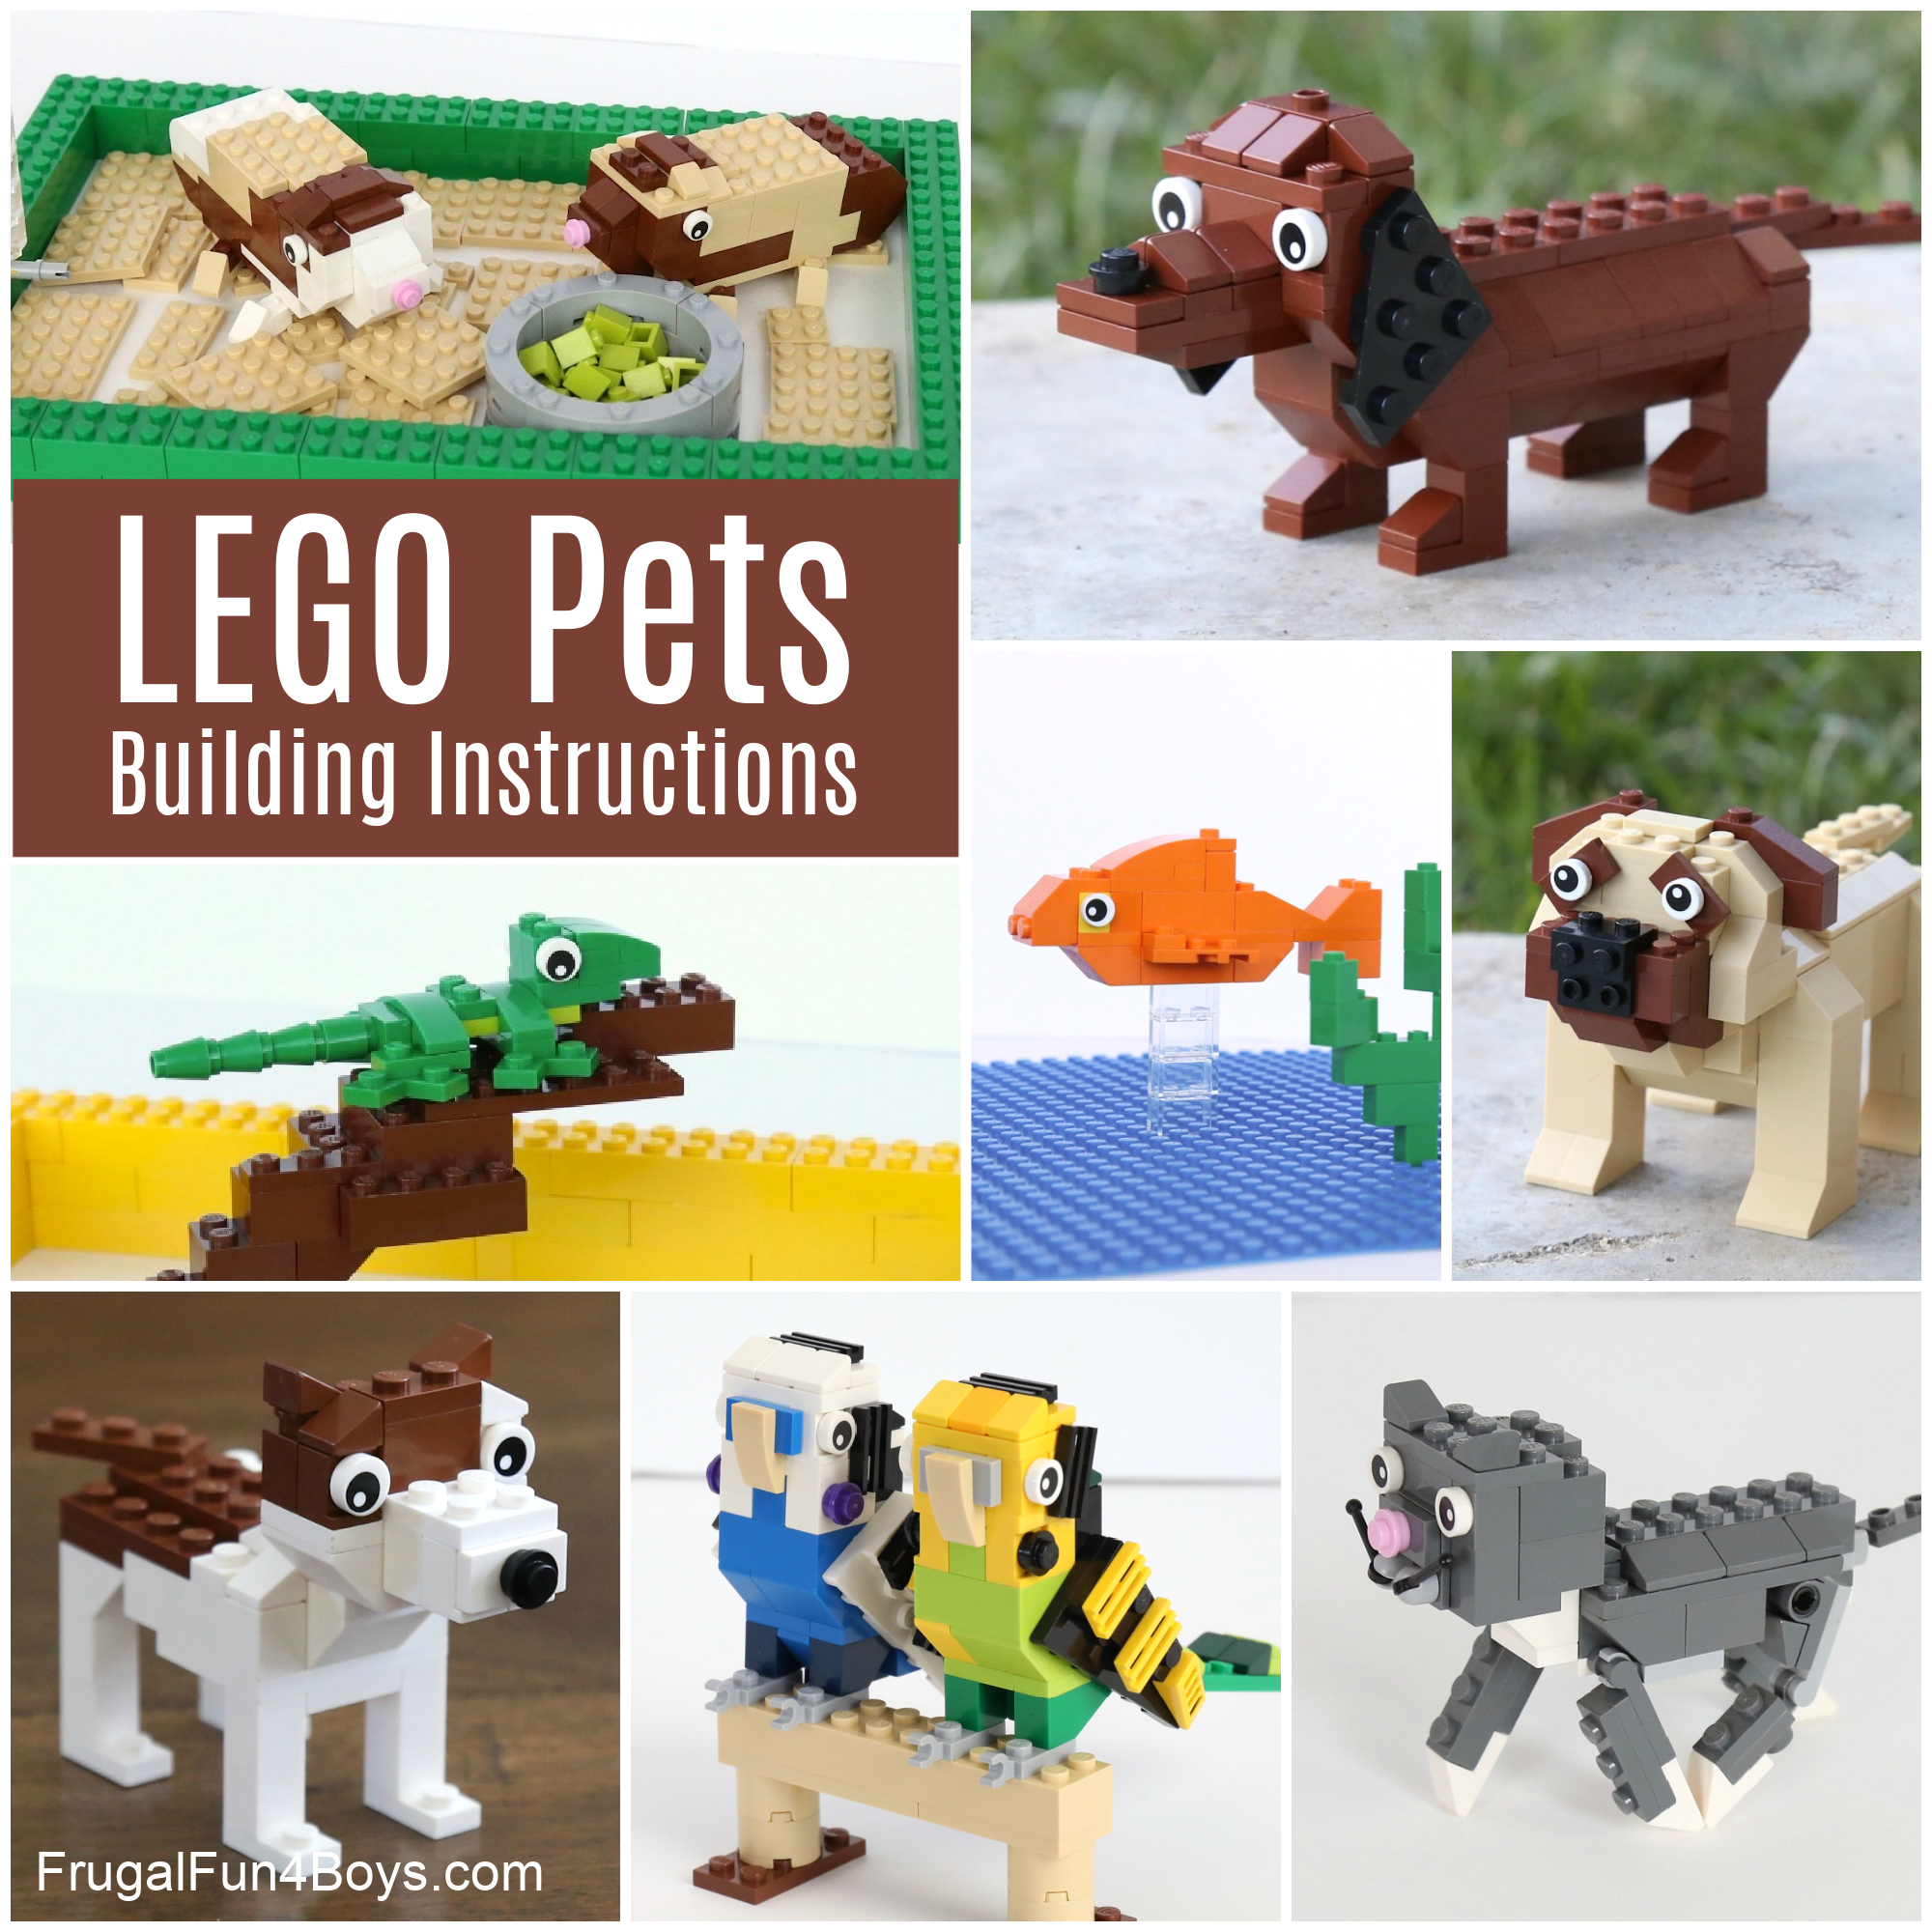
These LEGO Pets Building Instructions are also lots of fun! Build dogs, cats, guinea pigs, fish, and more.
0 Comments
Post a Comment