
Need some Perler bead ideas? There are so many fun things to make with Perler beads! If you’re not familiar with them, Perler beads are tiny plastic beads that melt and fuse together when you iron them. You can make all kinds of cool things with them.
Janie and I had SO MUCH FUN creating these Perler bead necklaces! This is the perfect craft to keep kids busy for a rainy afternoon. We have ideas in this post for adorable necklace charms that you can make with Perler beads.
You’ll also want to check out our Perler bead Star Wars patterns, minions, emojis, and snowflakes.
This post contains Amazon affiliate links.
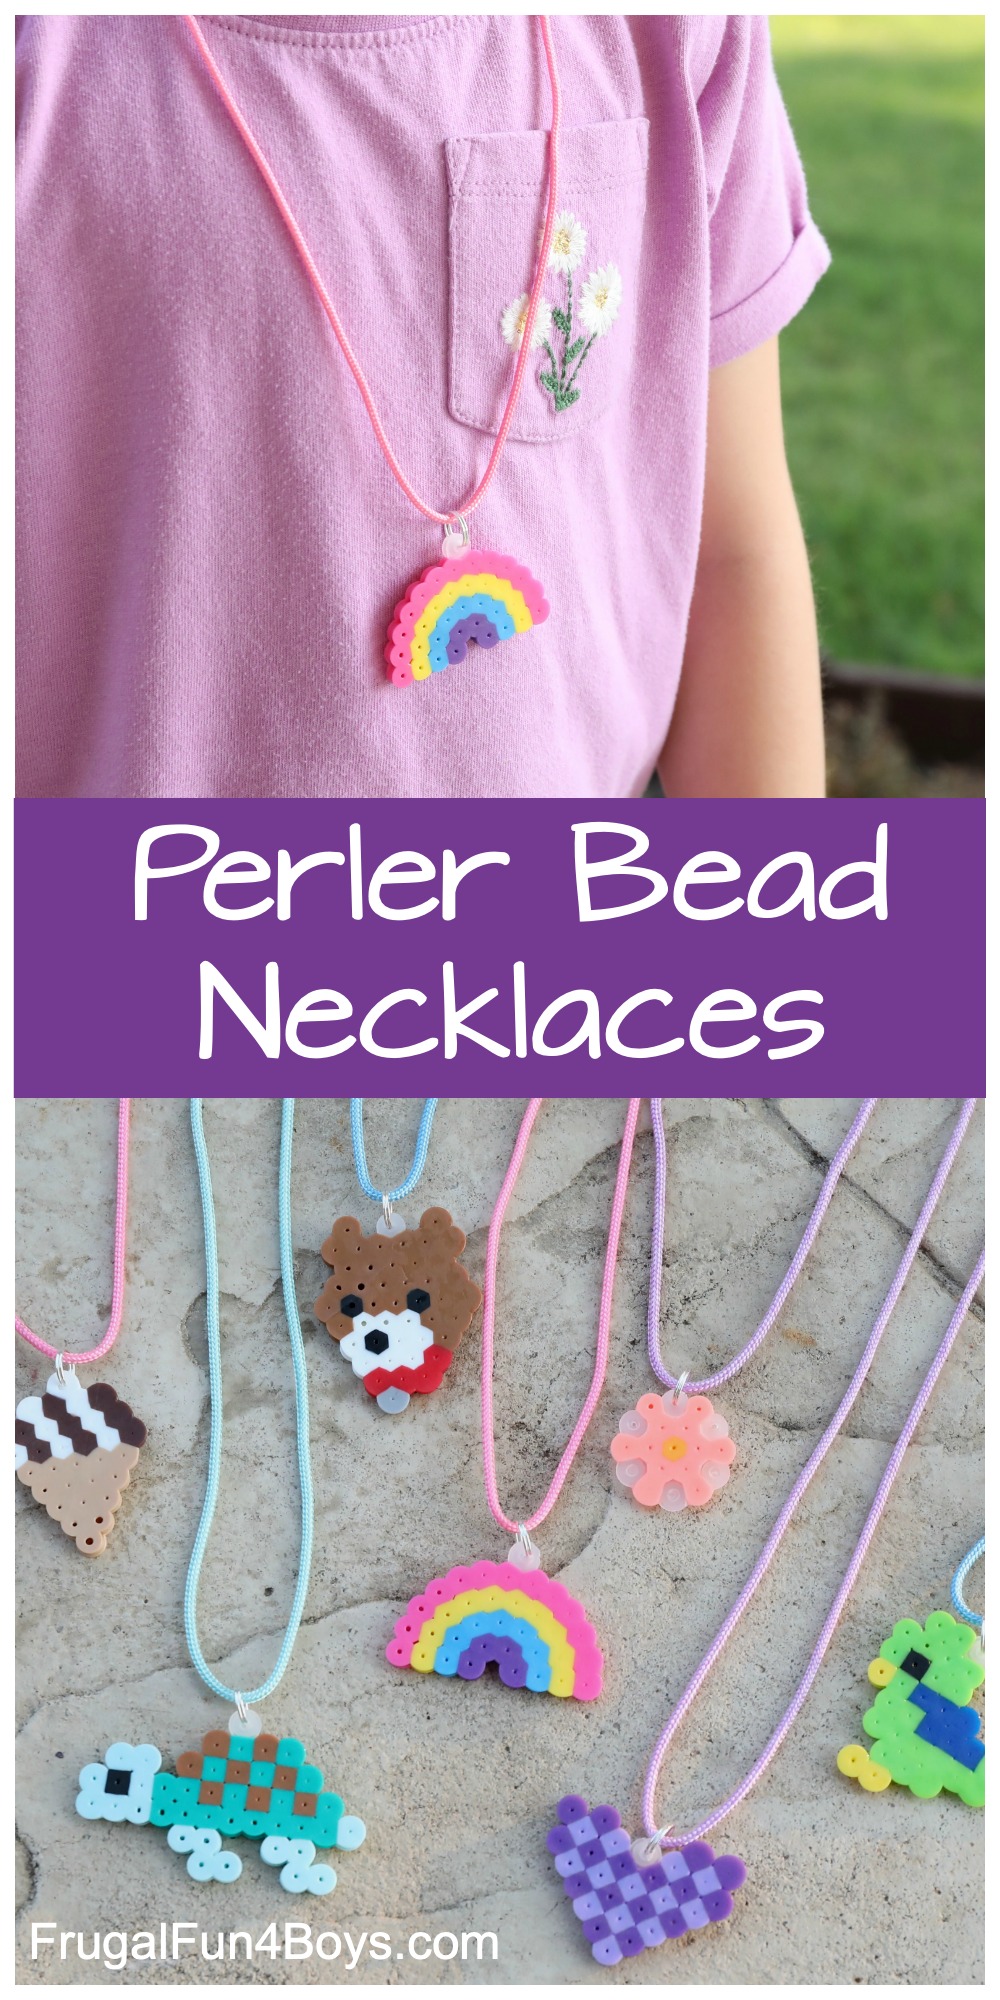
Making these necklaces is super simple, and there are just so many possibilities for cute designs!
Supplies needed:
- Perler beads
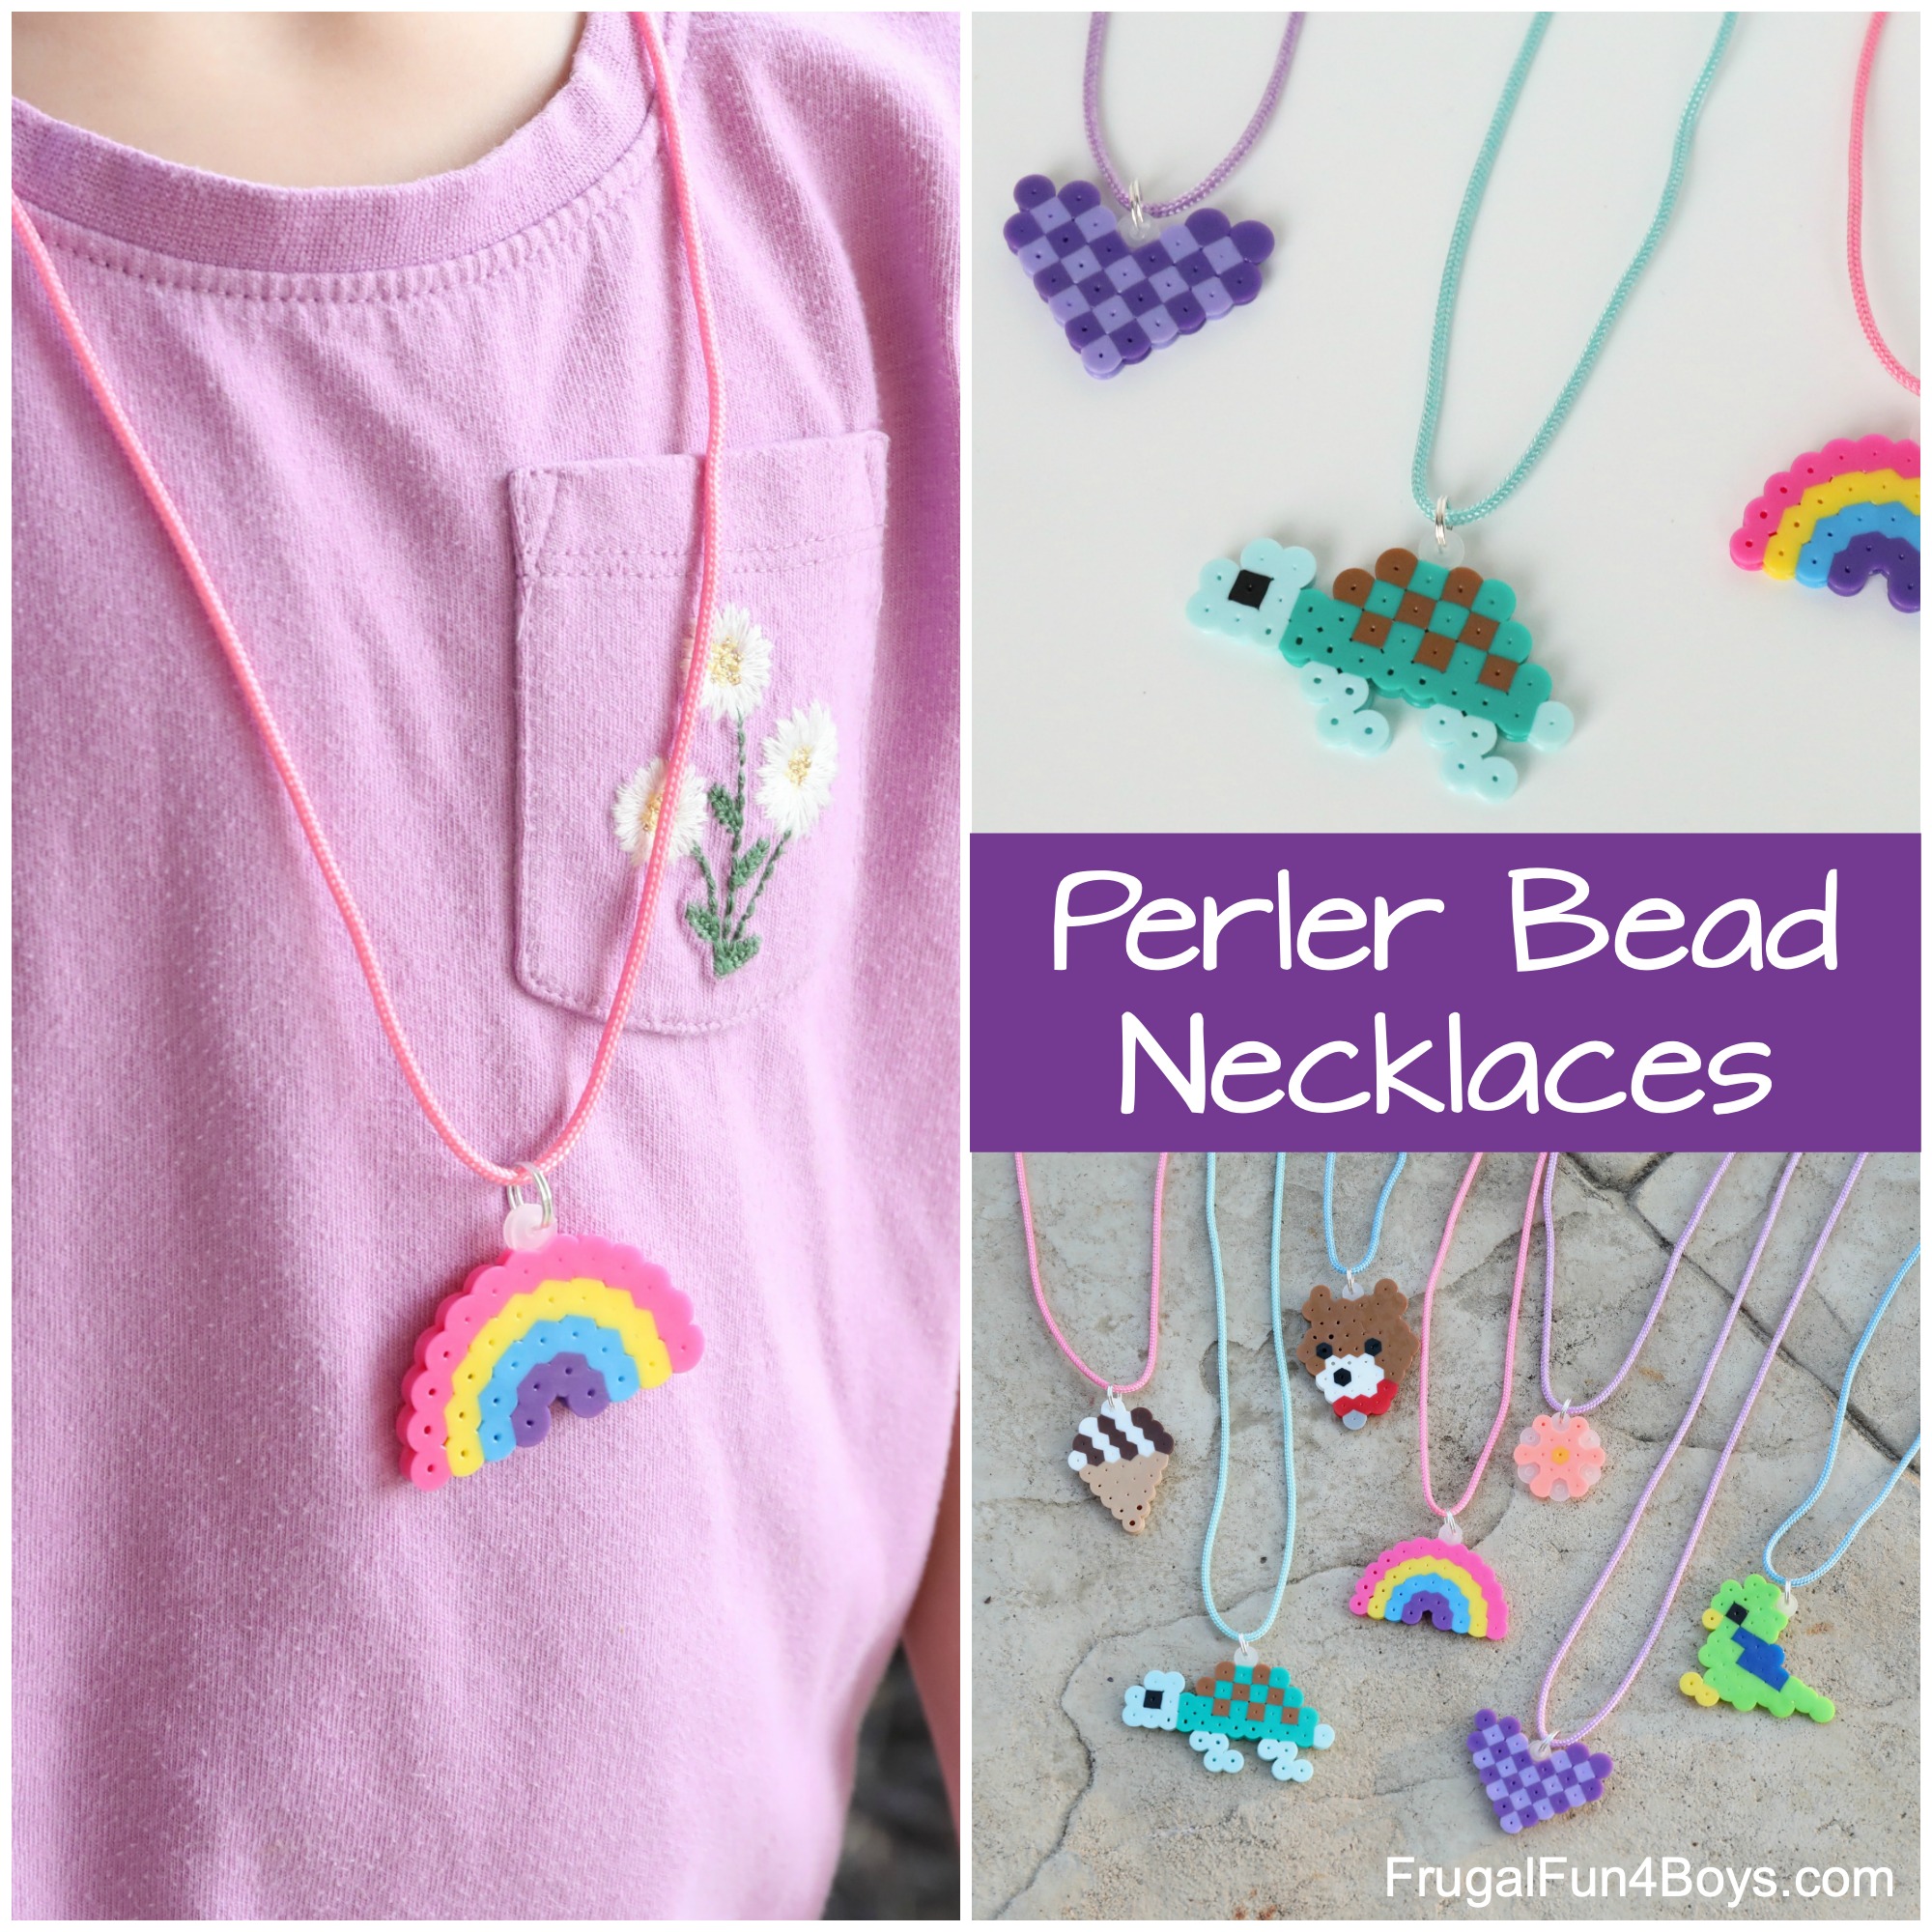
- Paracord – we used the thinner 100 weight. (The thick kind is 550.)
- Jewelry rings – we used 9 mm split rings
- A lighter – to fuse the paracord
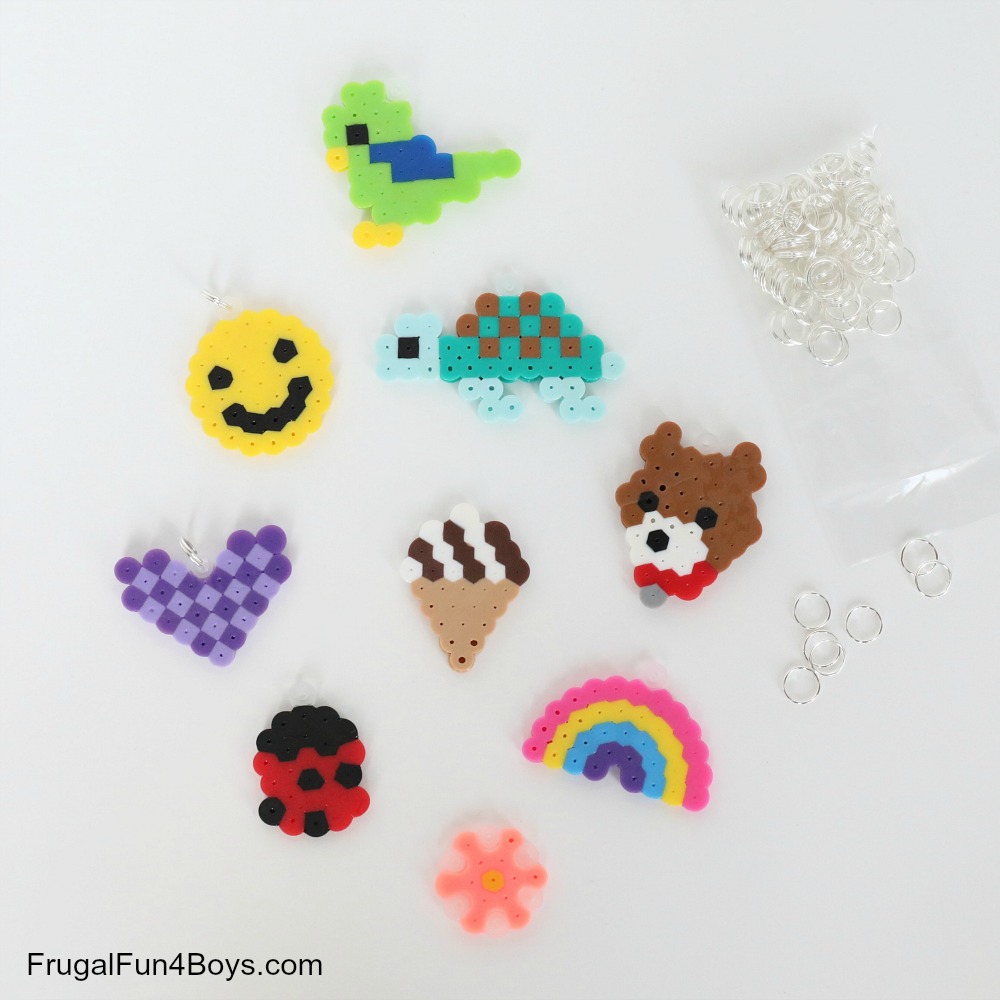
First, make your charms. These are the ones we made! So fun. I have pattern photos below.
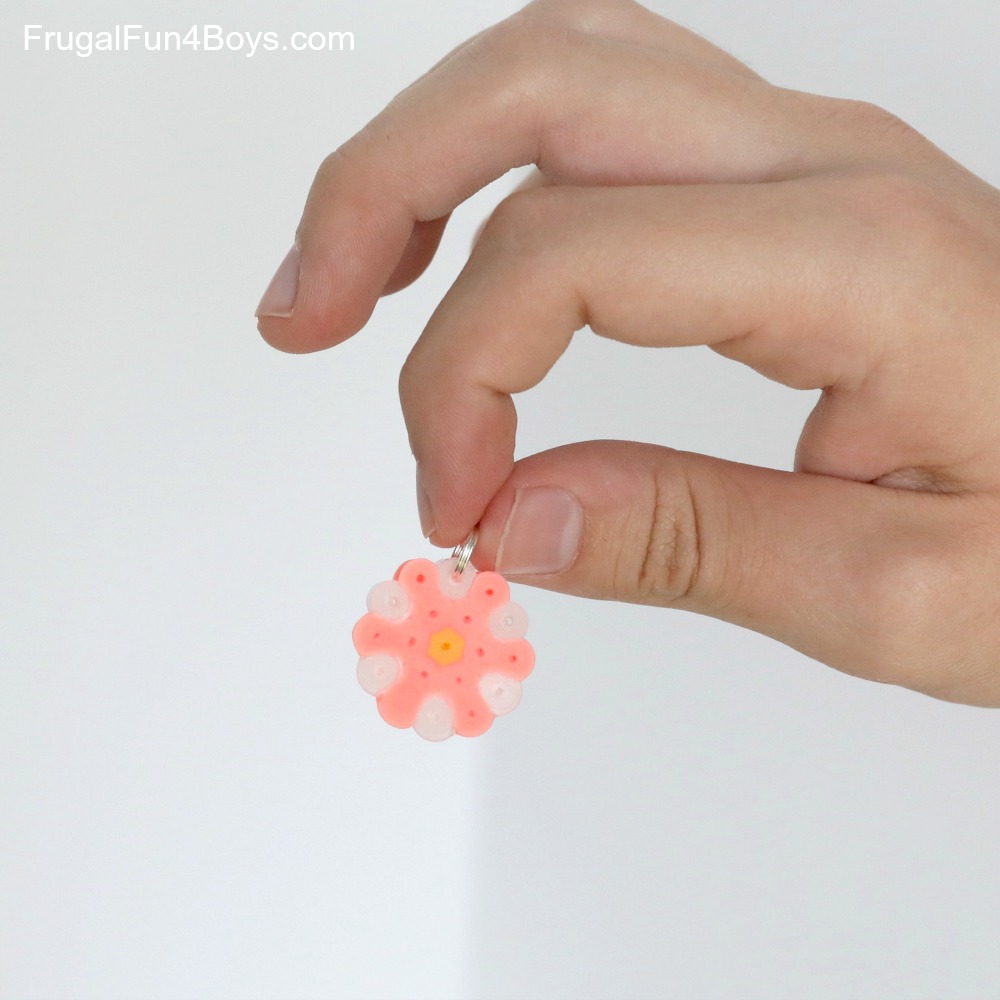
Add a clear bead to the top of your charm designs. This will give you a place to insert your jewelry ring.
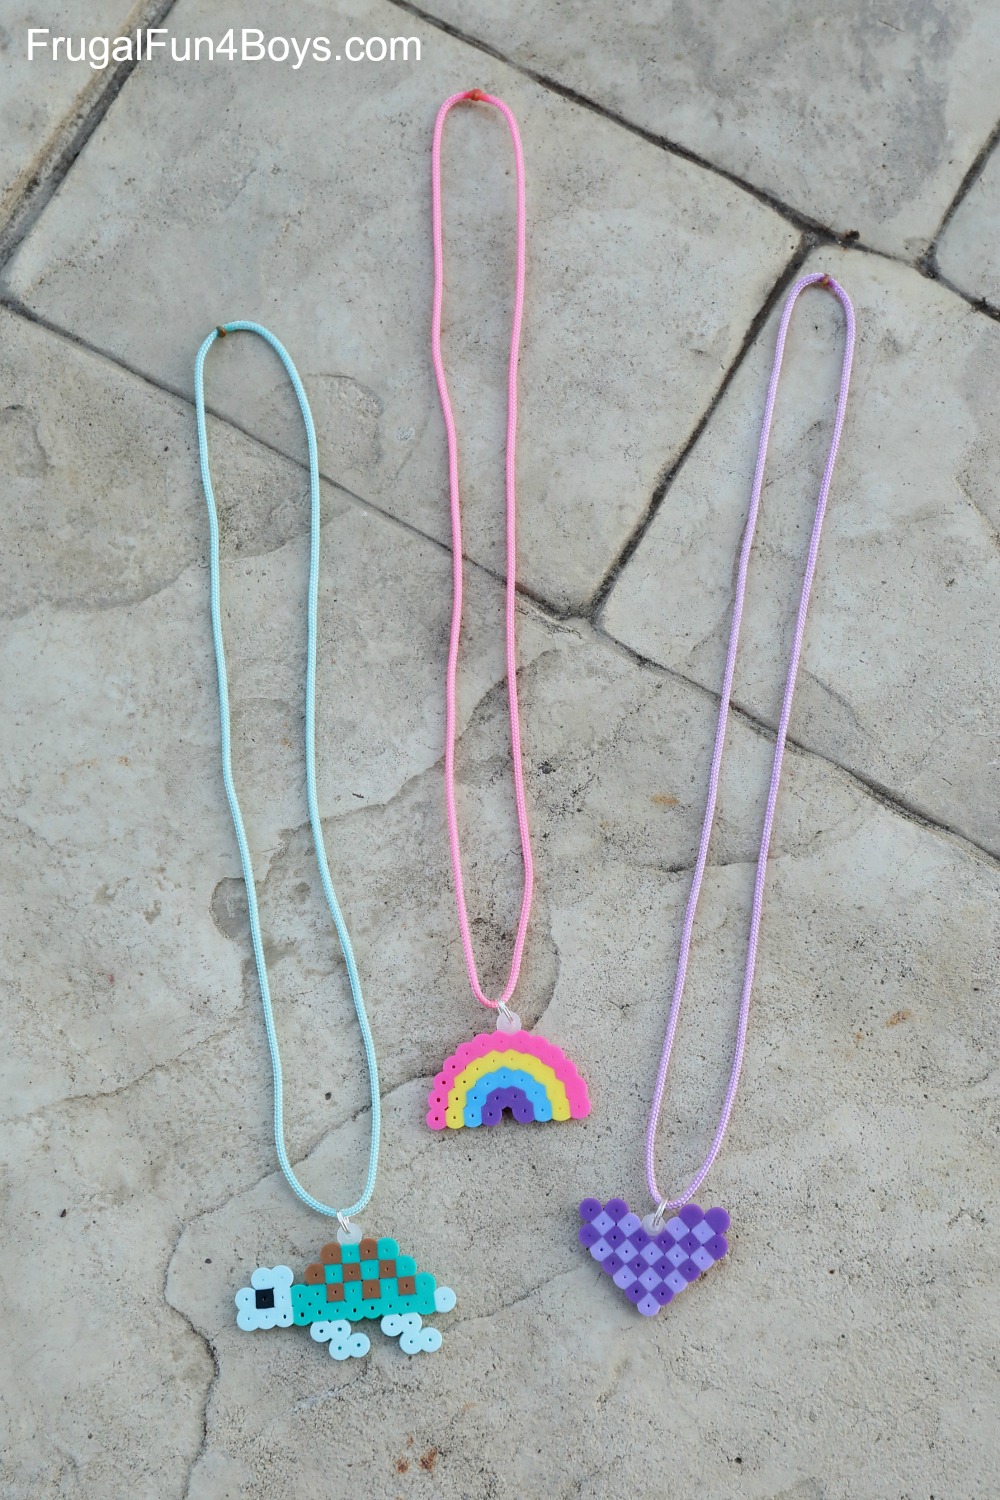
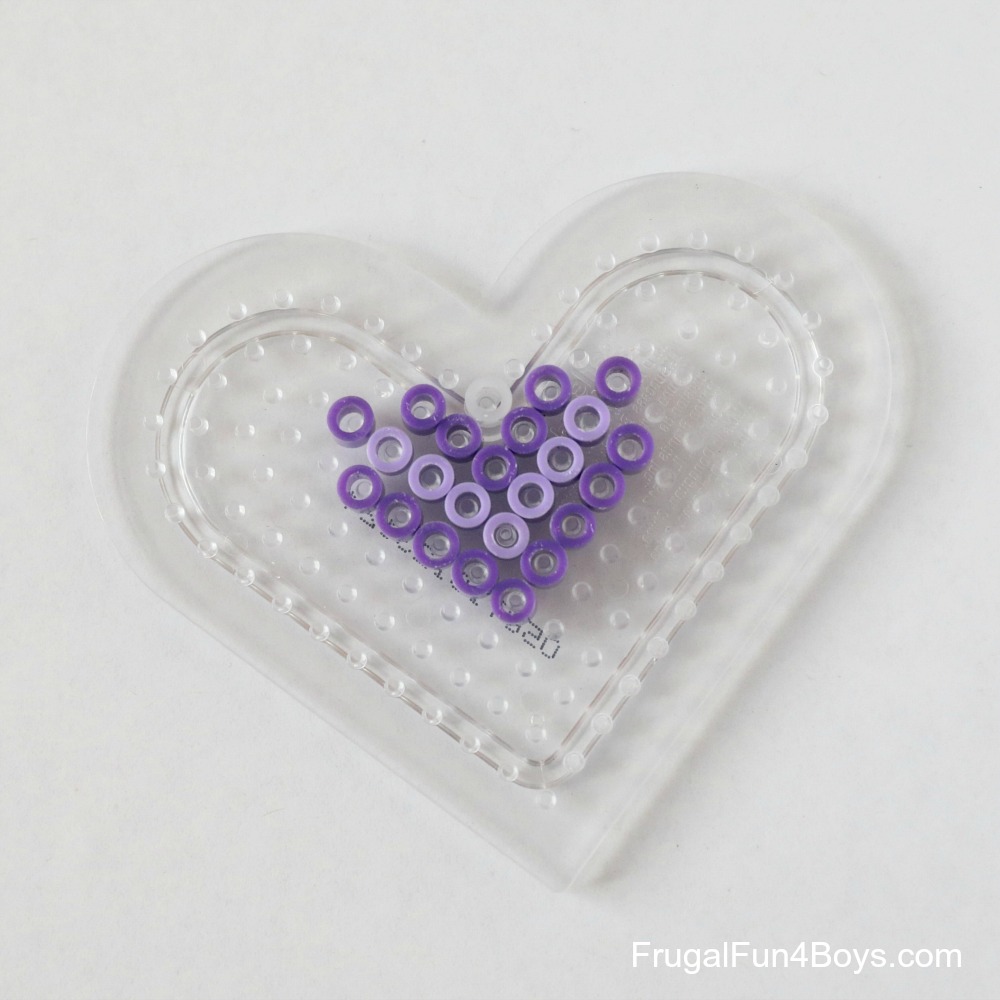
Here’s how to make the heart:
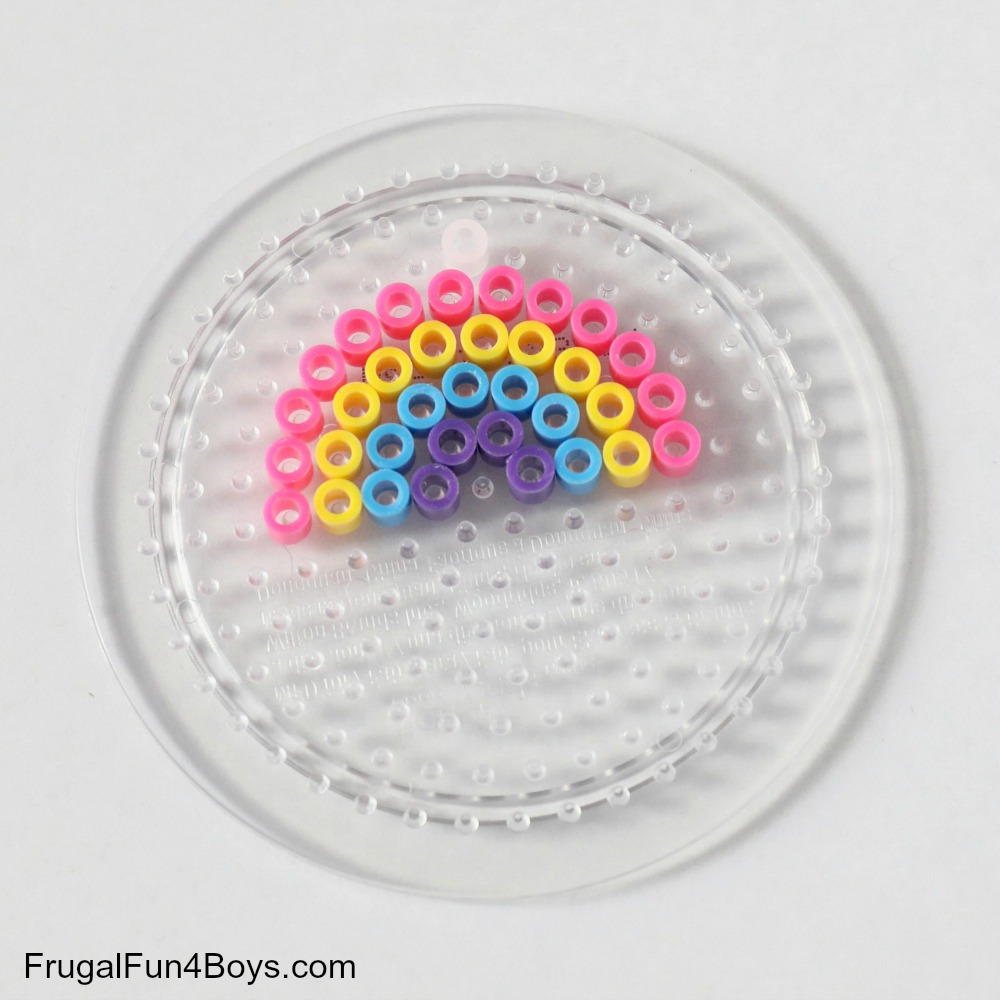
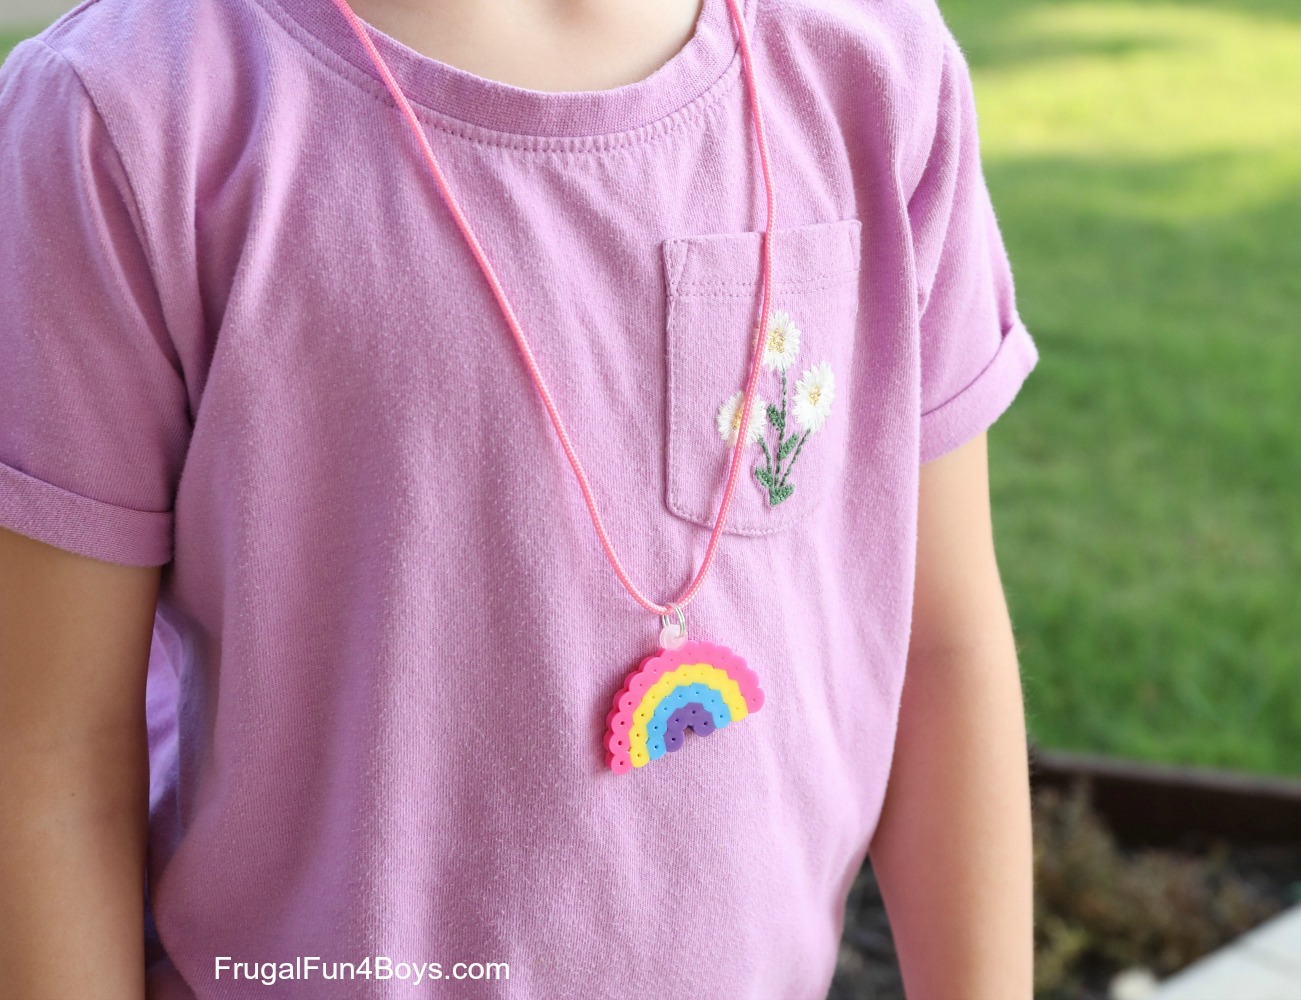
And the rainbow:
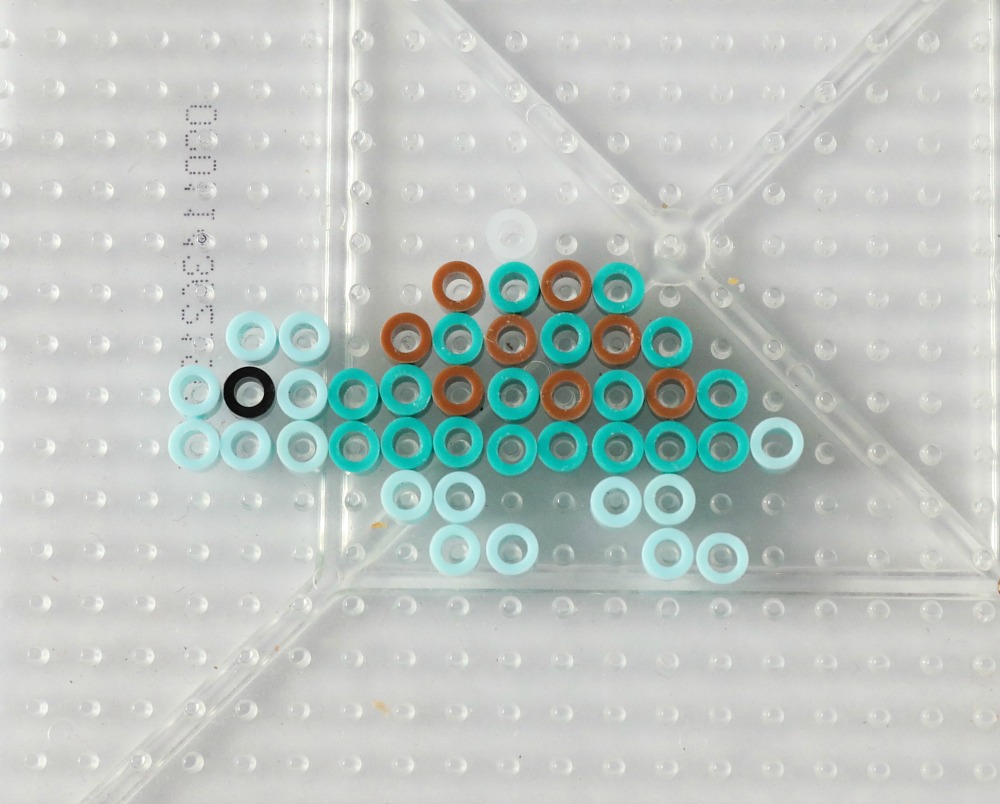
The turtle is a design that I modified from this pattern.
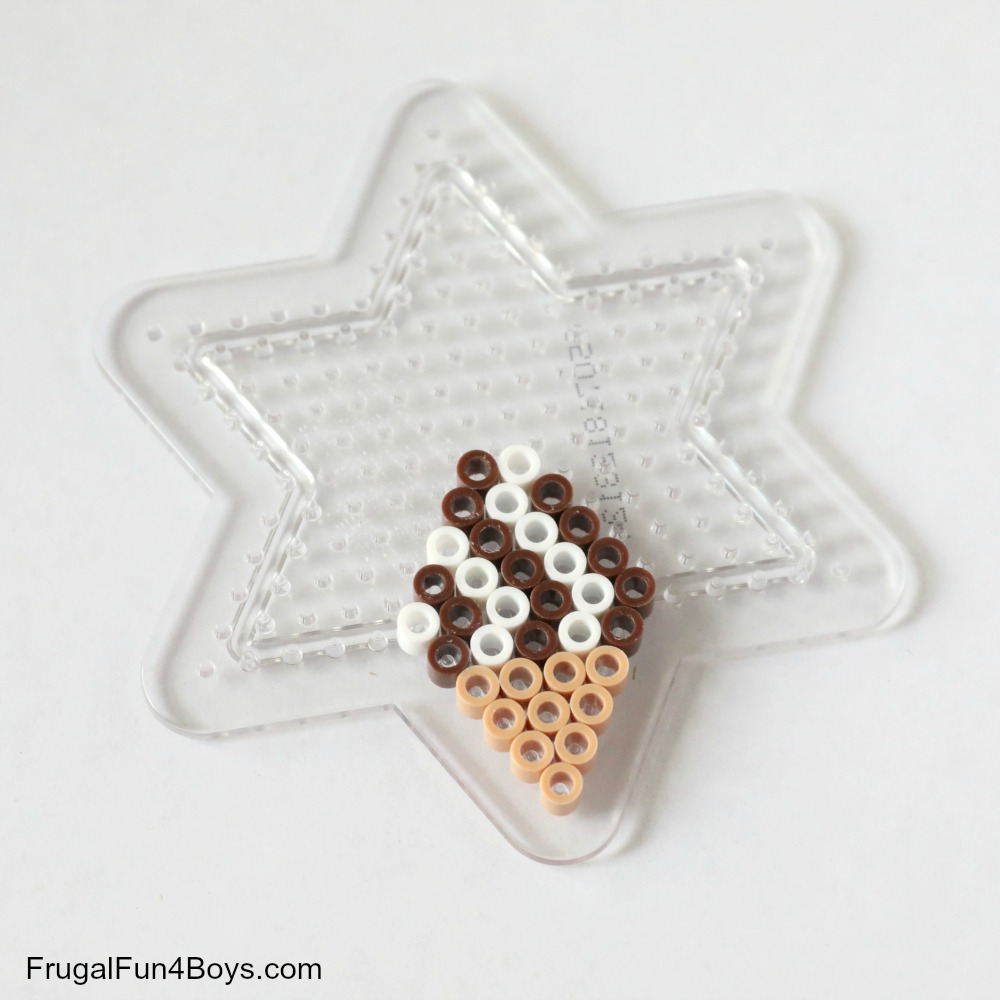
The ice cream cone can be made using a star plate. I would actually recommend adding one more row of the cone color before starting the ice cream. My final design has a cone made with five rows and then only 4 rows of ice cream.
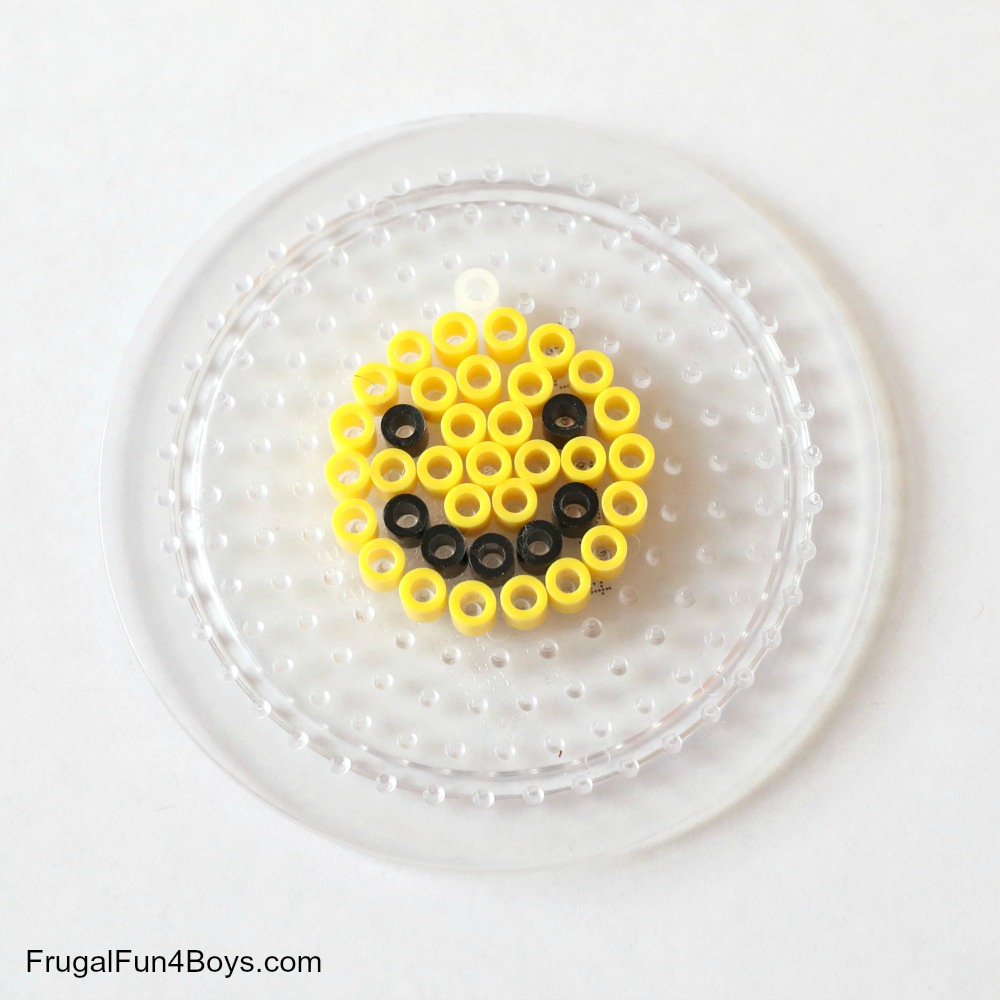
Here’s the smiley face:
The doggy head was made using this pattern on Pinterest.
How to Assemble the Necklaces
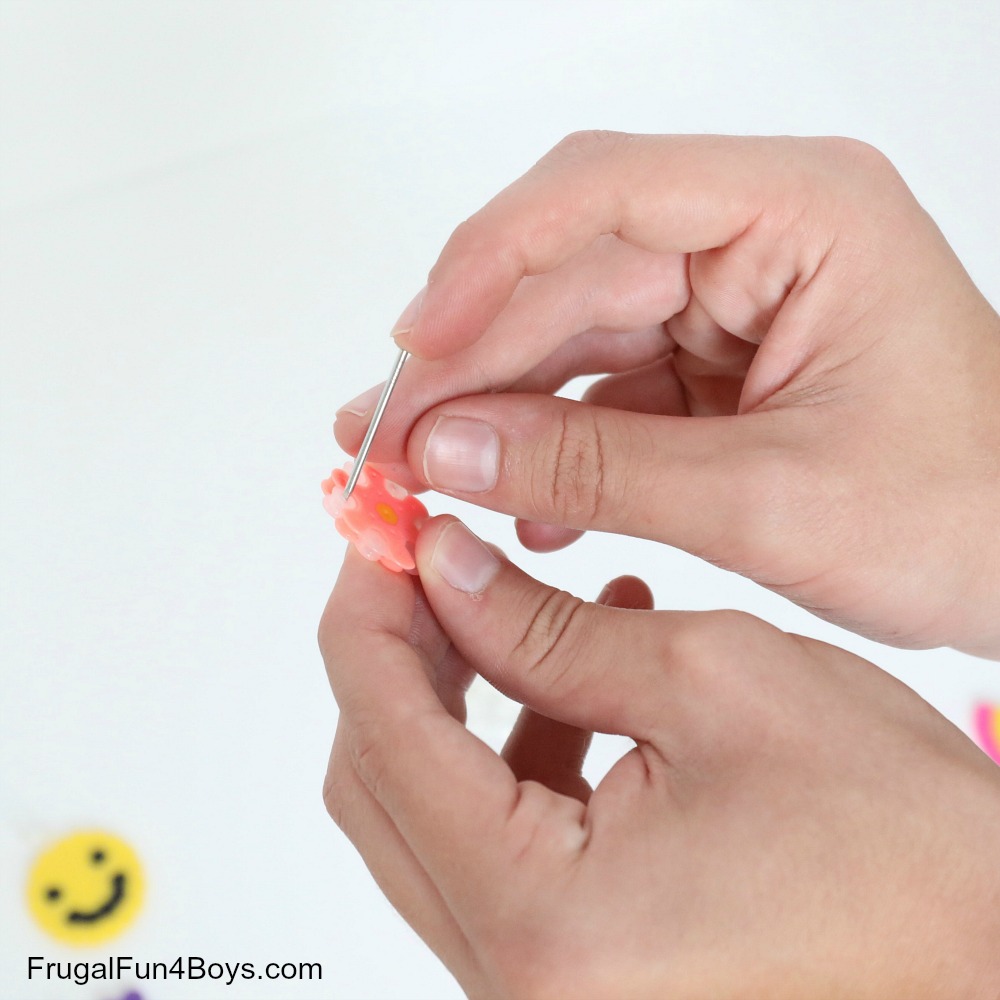
Step 1: Insert the ring.
Once your charms are ready to go, it’s time to insert a split ring. It takes a little strength to get the rings in! This is why it pays to have a teenage son. He did all of them for me! Here’s his trick for getting the rings in.
This part is an adult job.
First, use a nail to poke hole if the holes fused together during ironing.
Then slide the ring onto a flat head screwdriver. This is helpful for getting the ring open wide enough.
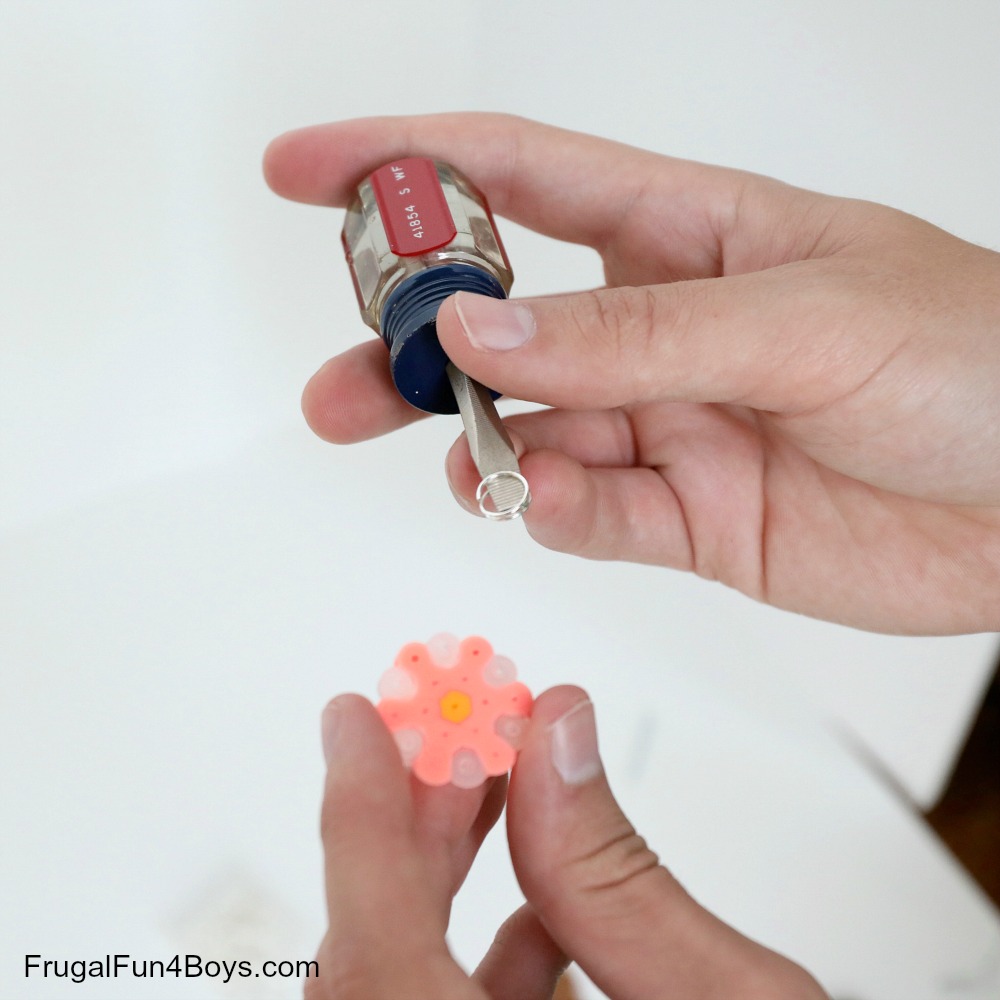
Stick one end of the ring into the hole on the charm and turn the ring until it’s attached!
Step 2: Cut the Paracord to the right length.
Then it’s time to cut a piece of Paracord. I experimented with various buckles and clasps from Hobby Lobby, but we couldn’t get anything of them to work to our satisfaction. It’s much easier to just fuse the Paracord and put the necklace on over your head. Janie (age 5) prefers that anyway!

Step 3: Fuse the ends of the Paracord together with a lighter.
The best method, in my experience, is to have one adult hold the lighter while the other holds both ends of the Paracord in the flame. Once the ends begin to melt (which happens quickly), push them together and hold them for a few seconds while they fuse. Your first try might come out a little wonky, but it’s not difficult once you get the hang of it!

So fun! The hard part is deciding which necklaces to wear first! Janie is planning to share necklaces with her friends.
Find more Perler bead ideas here:
Star Wars Perler Bead Patterns
5 Comments
Ice Cream N Sticky Fingers Jul 5, 2019
I haven't played with perler beads in a long time. My older kids loved designing fun patterns or animals. I never thought about turning them into a necklace or even a keychain. I should buy some of these beads for my son; however, I tossed out my iron when I moved.
Kaly Jan 21, 2020
I love this idea! Whenever we have done projects with Perler beads, they fuse at first, but then they always break. What's the trick to keeping them together?
Sarah Jan 29, 2020
We have not had trouble with them breaking! I'd suggest ironing them longer.
Jamie W Jan 24, 2020
How do you keep the finished perler bead designs from falling apart?
Sarah Jan 29, 2020
Perler Beads are meant to be ironed. The heat from the iron fuses the beads together.
Sheryl May 18, 2021
Don’t forget to put a piece of parchment paper over the beads before ironing.
Jennifer Hodges Feb 1, 2021
Such a cute project! We are going to make some this week for friends. Where did you find that weight paracord? I am in Canada and searching!
Sarah Feb 1, 2021
The US has it at either Michael's or Hobby Lobby. I hope you can find some!
Karen P Paulus May 19, 2021
Sometimes I find with the more fragile finished items, some Mod Podge or glue on the back will help enforce them.
Post a Comment