
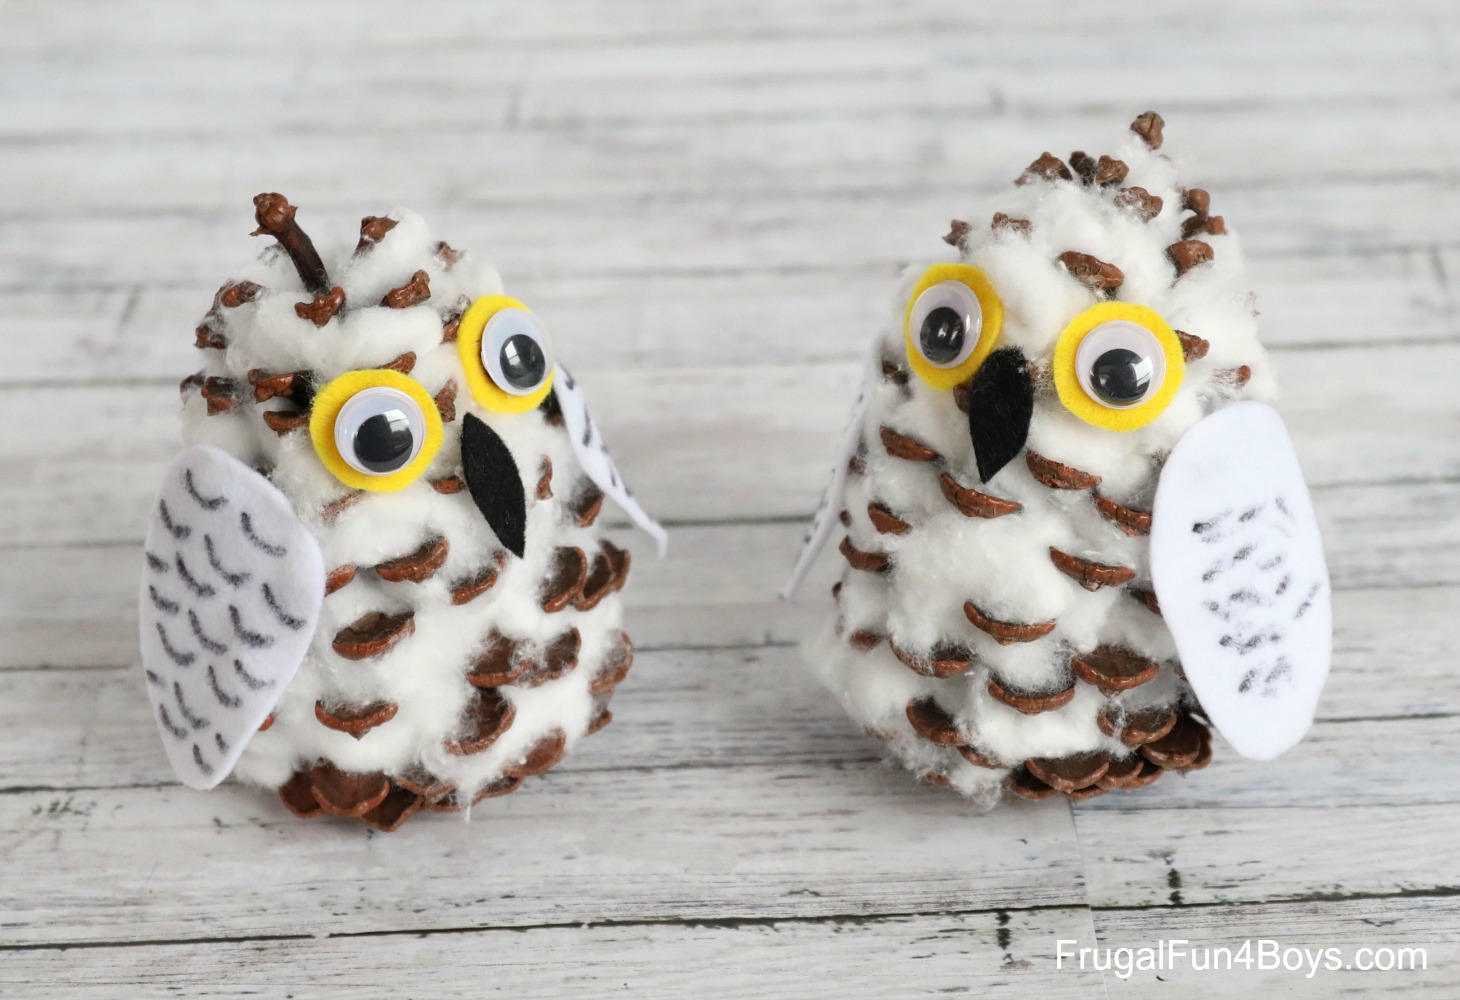
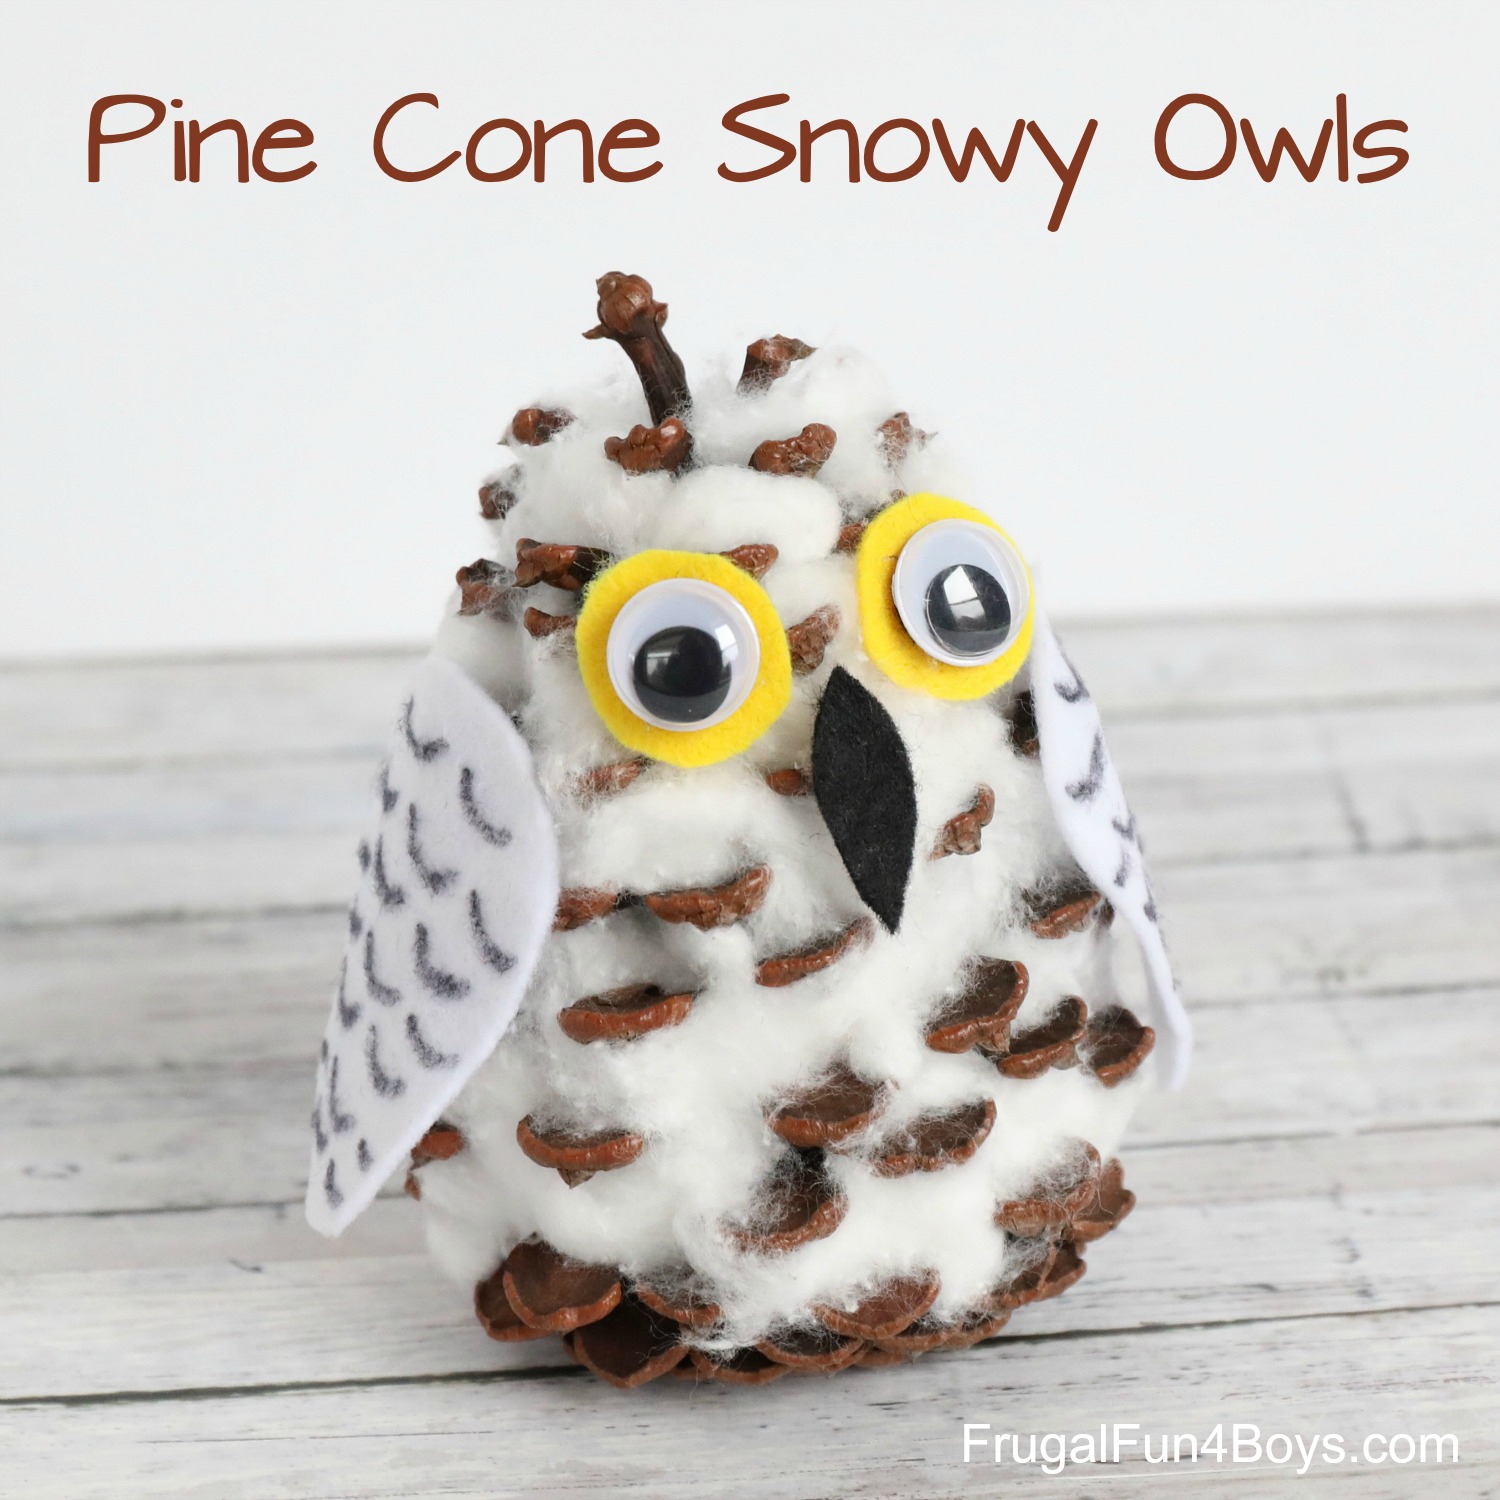
Turn a pine cone into an adorable snowy owl craft! This project is great for kids because the process is a lot of fun and the final product is so cute. Combine this owl craft with a book about snowy owls, and you’ve got a great science lesson for winter!
Owls are definitely one of our favorite things. We love photographing owls, learning about owls, and making owl crafts, such as these paper plate owls or owl painted rocks.

These pine cone snowy owls really look adorable as home decor! We have ours on the fireplace mantle right now.
I would recommend this craft for both preschool and elementary aged kids. Older kids (7+) will be able to make the whole thing by themselves. Preschoolers will need help cutting out the felt shapes, but they will really enjoy filling the pine cone with cotton balls!
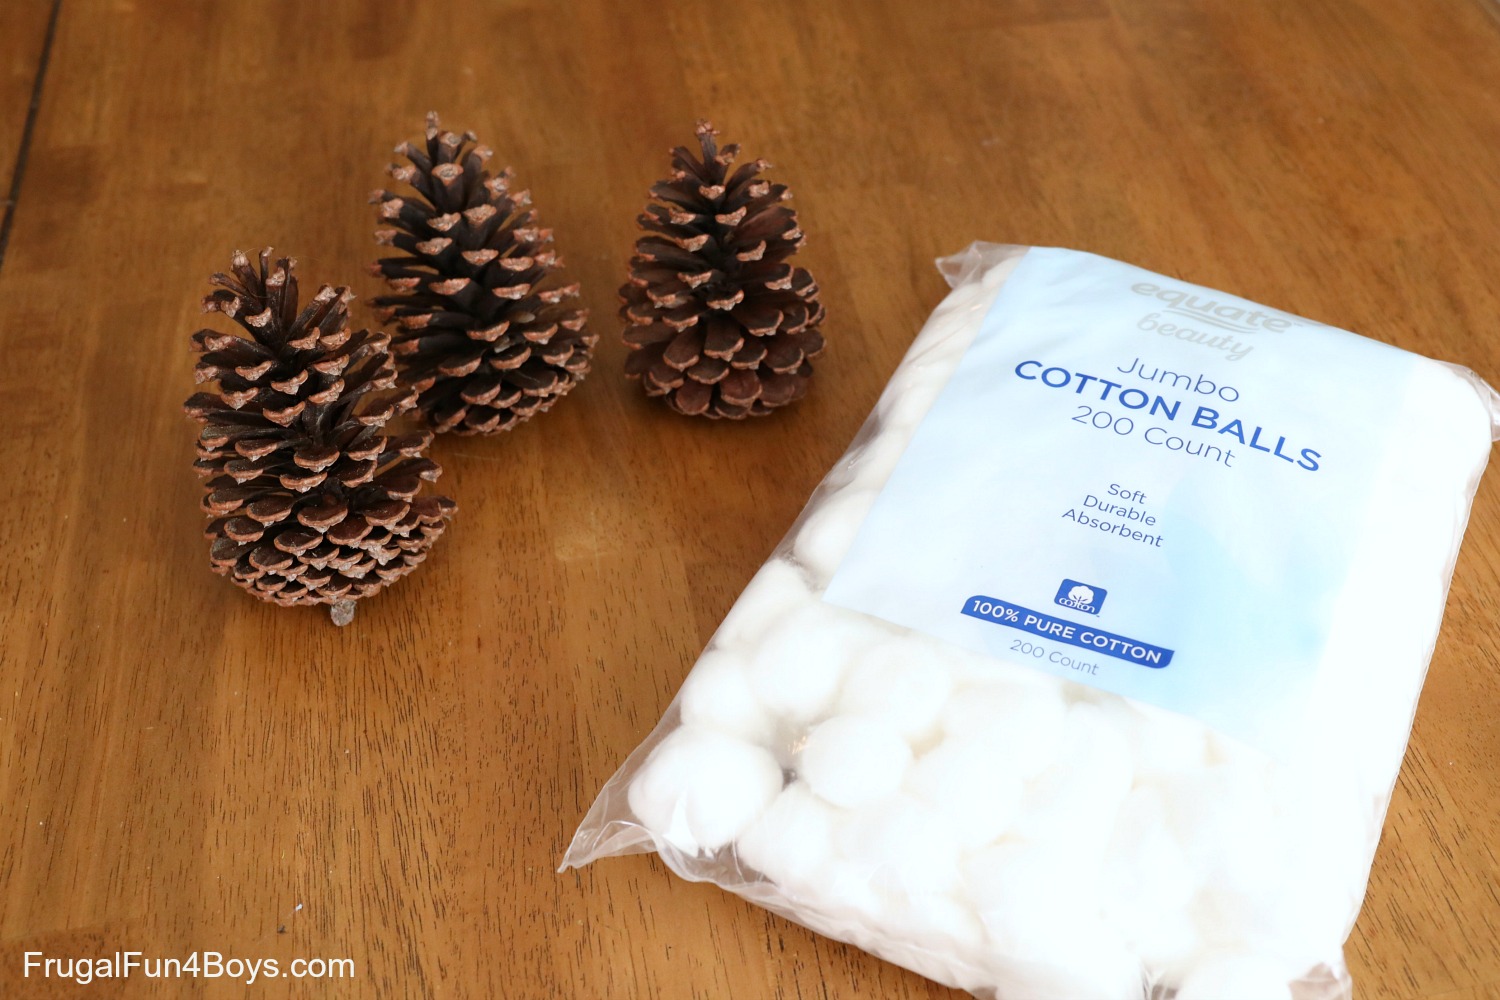
Supplies Needed:
- Pine cones – you’ll want them to be a good size. Not huge, but not small either.
- Black, yellow, and white felt
- Googly eyes – large
- Sharpie marker
- Cotton balls – about 15 per owl
- Hot glue or Tacky Glue
How to Make Pine Cone Snowy Owls
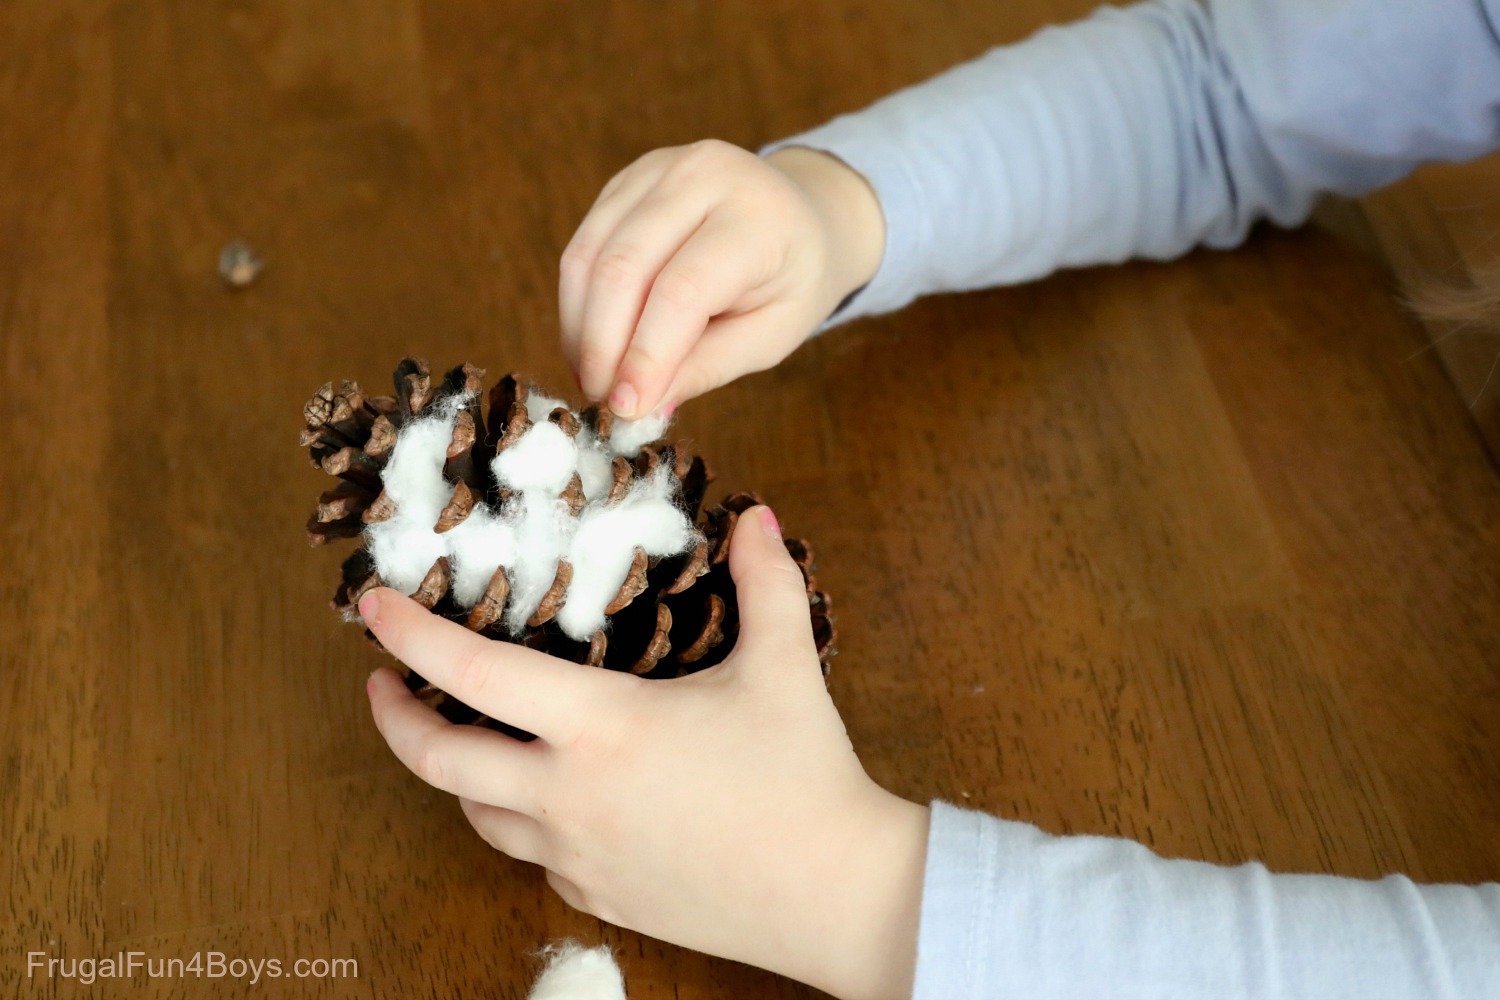
The first step in making this pine cone snowy owl craft is to stuff the pine cones with cotton balls.
Pull the cotton balls apart into smaller pieces before stuffing the pine cones. A full cotton ball won’t fit, and they won’t look as fluffy that way anyway. This is a very fun process, and it’s honestly great fine motor practice for kids! We tore our cotton balls into 3-4 pieces each.

Poke the cotton in between the scales of the pine cone. Our pine cones were a little poky, but it didn’t bother anyone too much. They quickly figured out how to avoid the poky parts.
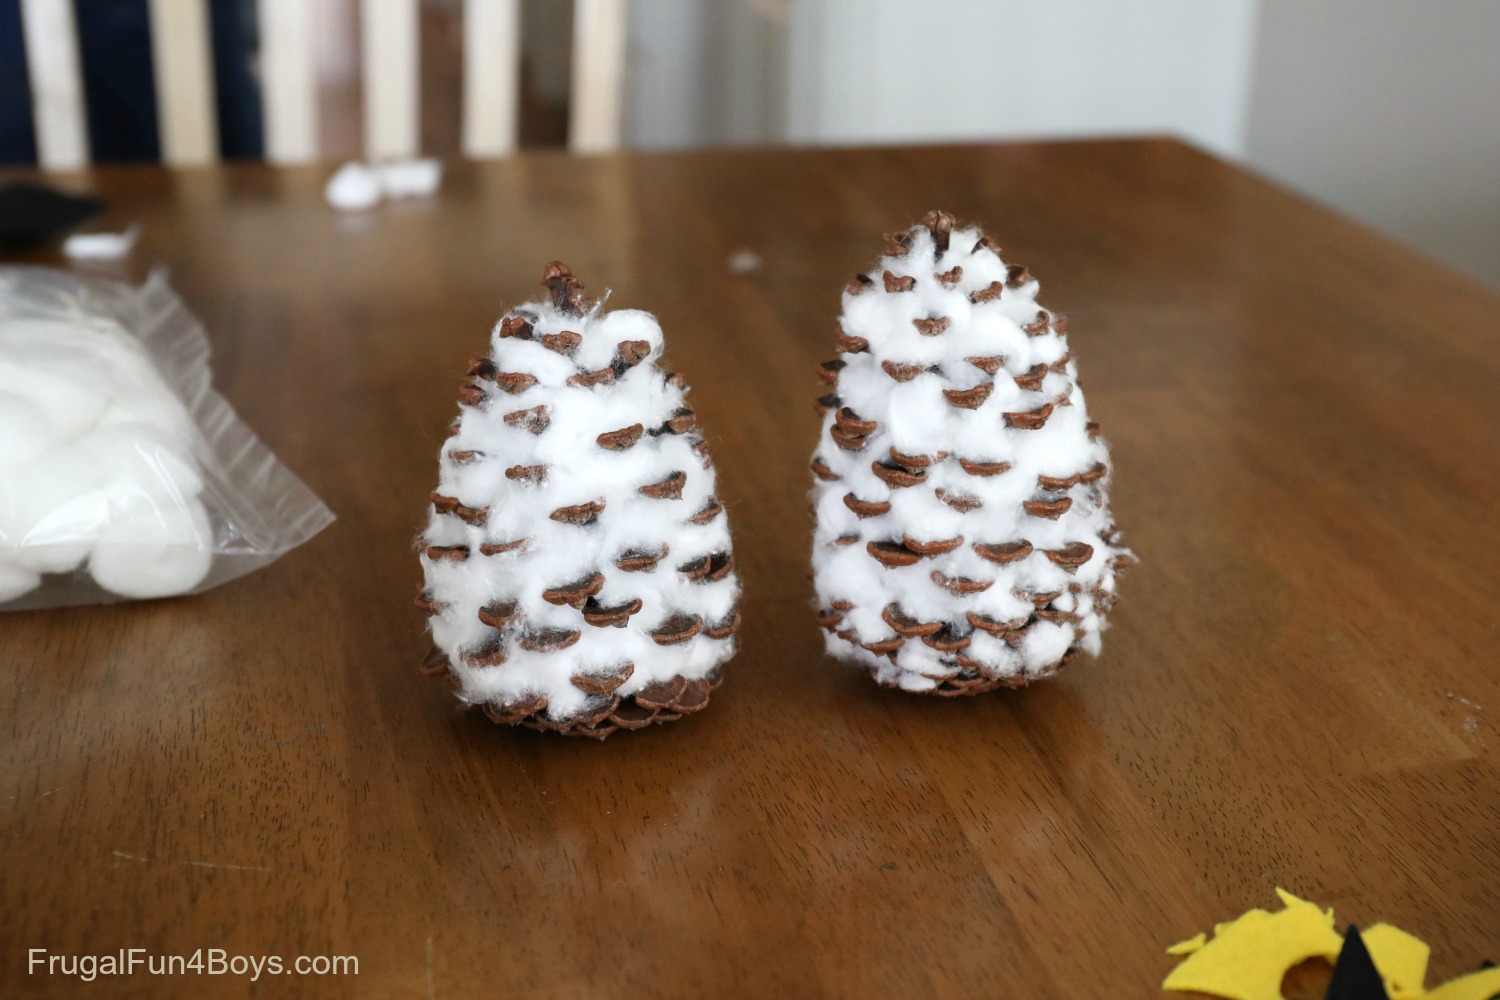
Once your pine cone is adequately “snowy,” it’s time to move on to making the eyes, beak, and wings.
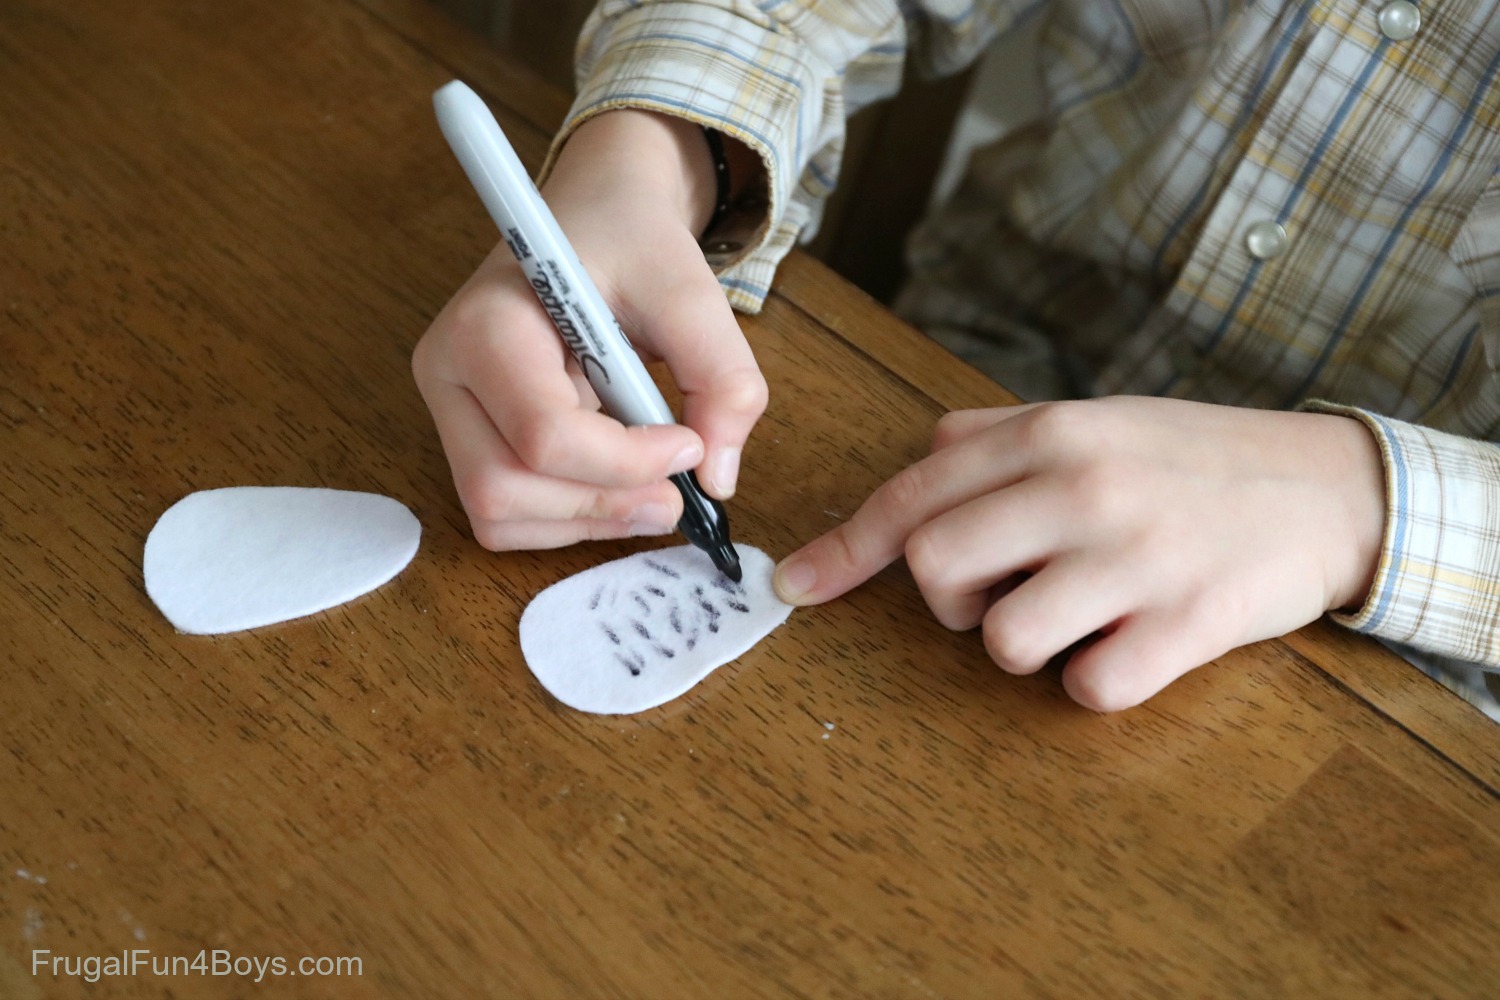
Cut out wings from white felt. We used a black Sharpie marker to draw some patterns on the wings.
Real snowy owls have black markings as juveniles, which they lose as they age. Adult males are almost completely white, while adult females have small amounts of black barring.
Cut out a beak from black felt, and two circles from yellow felt. You’ll want the yellow circles to be slightly larger than your googly eyes. Glue the googly eyes to the yellow circles with hot glue or Tacky glue.

Then you’re ready to assemble your owl! Glue on the eyes, beak, and wings.
NOTE: Make sure that each item is glued to the actual pine cone in at least one spot. If the felt is glued only to the cotton balls, you can pull it right off again because the cotton is not really attached to the pine cone.
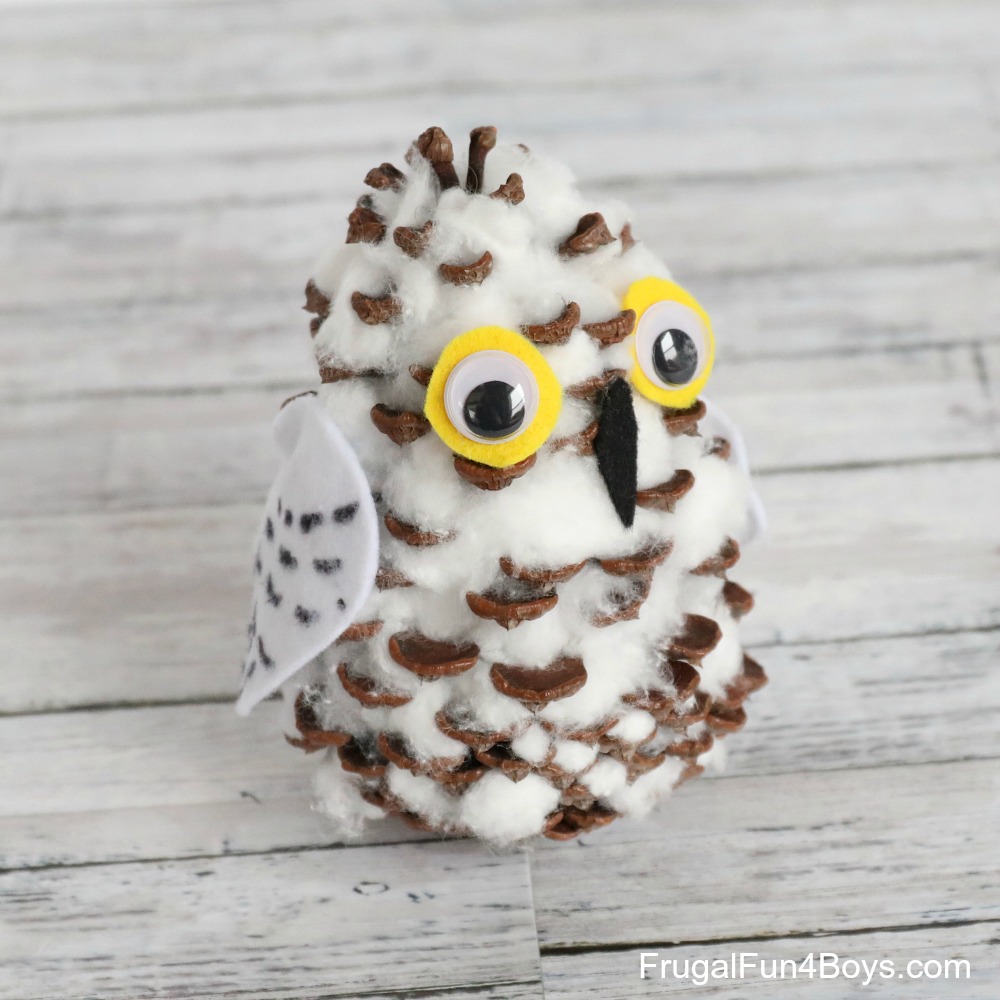
Then find a place to display your owls! Such a fun winter decoration.
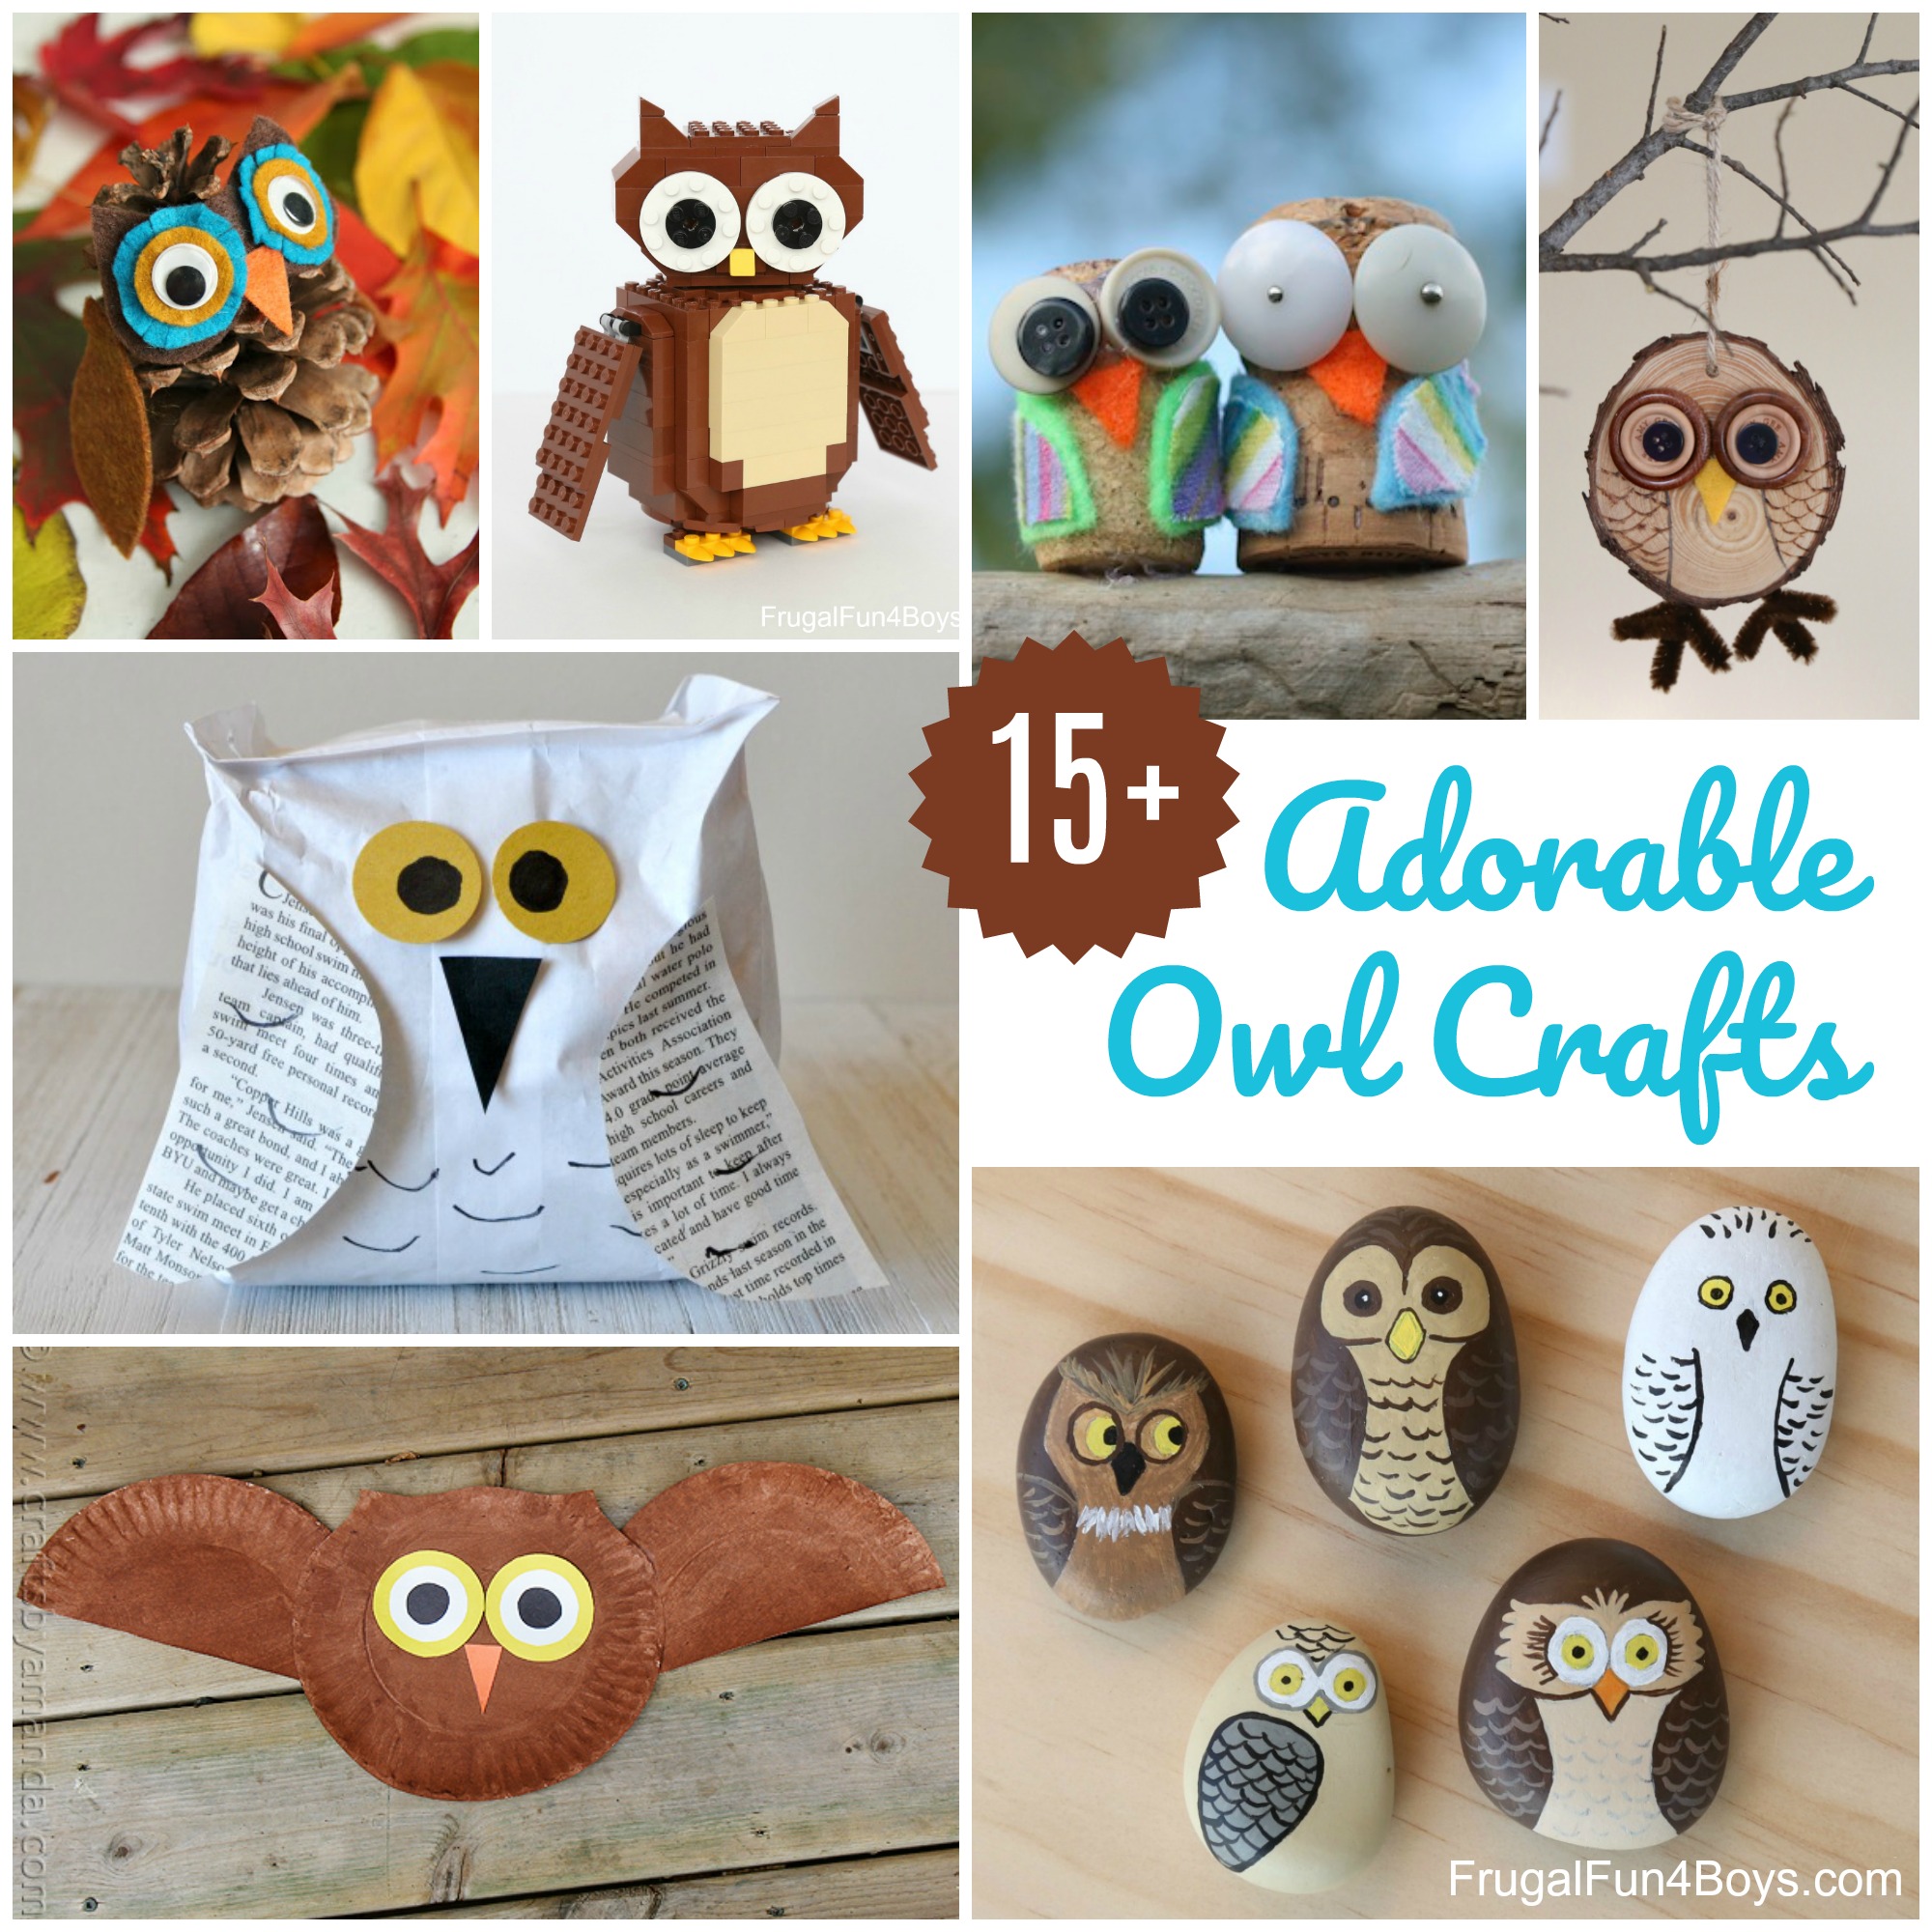
Need more owl craft inspiration? Check out this collection of 15+ Adorable Owl Crafts.
12 Comments
Marella Troyer Jan 6, 2020
I collect Owls. These are adorable. I will have to make some with my great-niece and nephew for this next Christmas season.
Karen Dec 21, 2020
These owls are very cute and will be simple to make with my grandchildren.
Kay Jan 20, 2021
As a 2nd yr homeschooler for 3rd and 7th, and living in the south with an abundance of great pine cones- this project was so much fun! Especially for my 3rd grader that is in love with all things owl!! Thank you!!
Neveen Nov 3, 2021
I love it . Thank you so much for your great ideas
Lori Mar 12, 2022
So cute! I actually use a nail file on the “poky parts”. It doesn’t take as long as you would think and makes a huge difference.
Sarah Mar 18, 2022
That's a brilliant idea! Thanks for sharing!
LINDA Oct 25, 2022
Awesome idea I'm going to try to make one tomorrow Thanks for sharing
Aurora Dec 9, 2022
I made them tonight with the kids, they turned out super cute! We tied twine around the top of the pinecone before we stuffed it to make them into ornaments.
Thanks so much for the cute idea!
Debbie Nov 5, 2023
My grandkids did this last night!! We made a Grandma owl and 3 little ones(my grands here) went in a nest!
Sandi Nov 15, 2023
Oh my goodness, I did this with my class of 3 year olds and they turned out great! All I did was cut the felt and they got after it. I wish I could attach a picture of their success. Thank you for this fun idea.
Pat Dec 4, 2023
I teach 4 year old preschool and we are doing these tomorrow. Thank you for a great idea!
Bev Oliver Jan 27, 2024
Thanks for this great idea. I work in primary school in England and did this with every child in nursery, EYFS, Yr1 and yr2. I made three of my own made a nest for them and mummy owl. Then read Owl babies to them. We finished off by the children making their own owl baby to take home.😍😍
JAN Jan 1, 2026
Did you post this years ago also? Because I used to run an after-school care program and I collected a huge bag of pinecones from my brother's "forest" out back. Brought these to school with felt pieces precut, and the kids couldn't stop making them for themselves and friends. A very favorite craft! But I did this years ago. I know I didn't think it up myself and I worked from a picture.
Post a Comment