
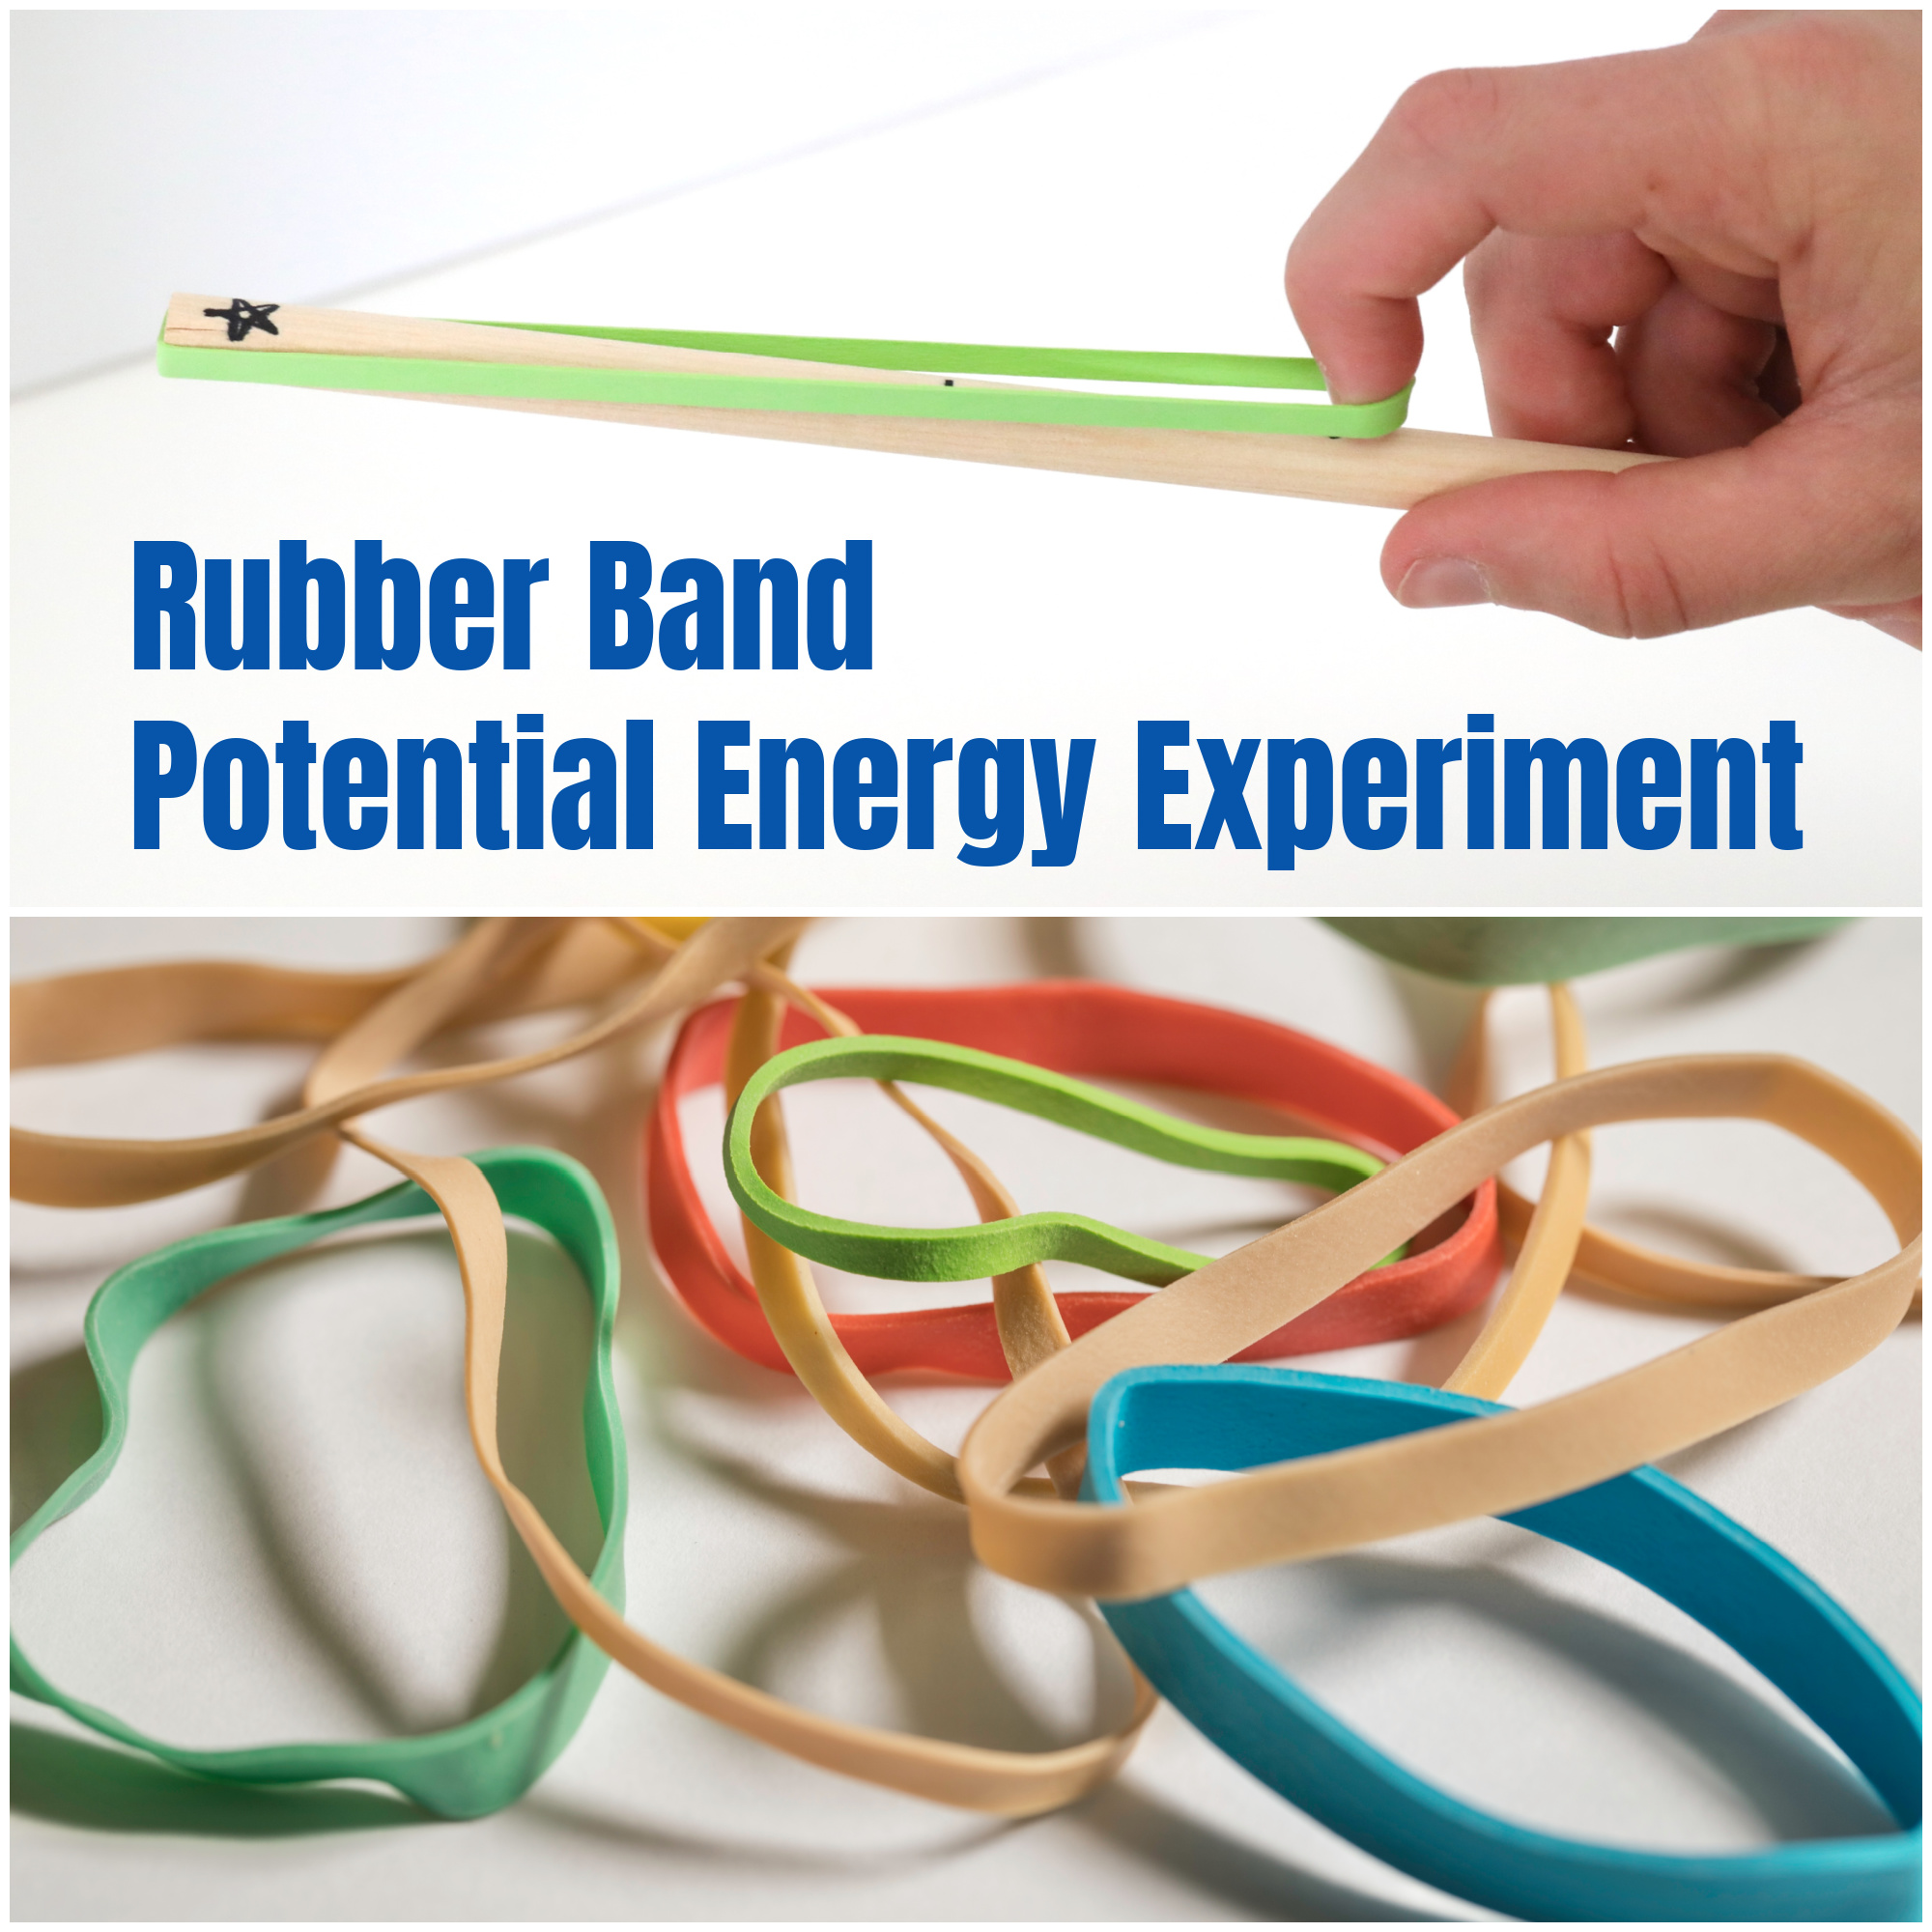
This science experiment just feels like fun (I mean, we get to shoot rubber bands!), but it’s such an effective way to teach kids about potential energy and kinetic energy. Elementary students will love this experiment and will understand the concept, but middle schoolers can take it a step further by creating graphs with their results.
I did this experiment this past spring with my 8th grade science class at our homeschool co-op. They loved it! And the process of measuring the distances and recording the data was fabulous practice.
Supplies Needed for the Rubber Band Potential Energy Science Experiment:
- Dowel rod – one for every 2 students, if you’re doing this in groups
- Sharpie marker
- Rubber bands – in multiple sizes and thicknesses
- Tape measure
In our experiment, we were working to answer the question, “Does the distance a rubber band travels depend on how far I pull it back?“
We can play around with rubber bands and find out pretty quickly that stretching the rubber band more will cause the rubber band to travel farther, but this simple experiment is a great way to learn to be precise in scientific measurement.
It’s also a great way to understand potential and kinetic energy. Stretching the rubber band farther increases the potential energy (elastic potential energy). This is converted into kinetic energy when the rubber band is launched. A little energy will always be lost to friction in the transfer, but more potential energy means more kinetic energy and a rubber band that travels farther!
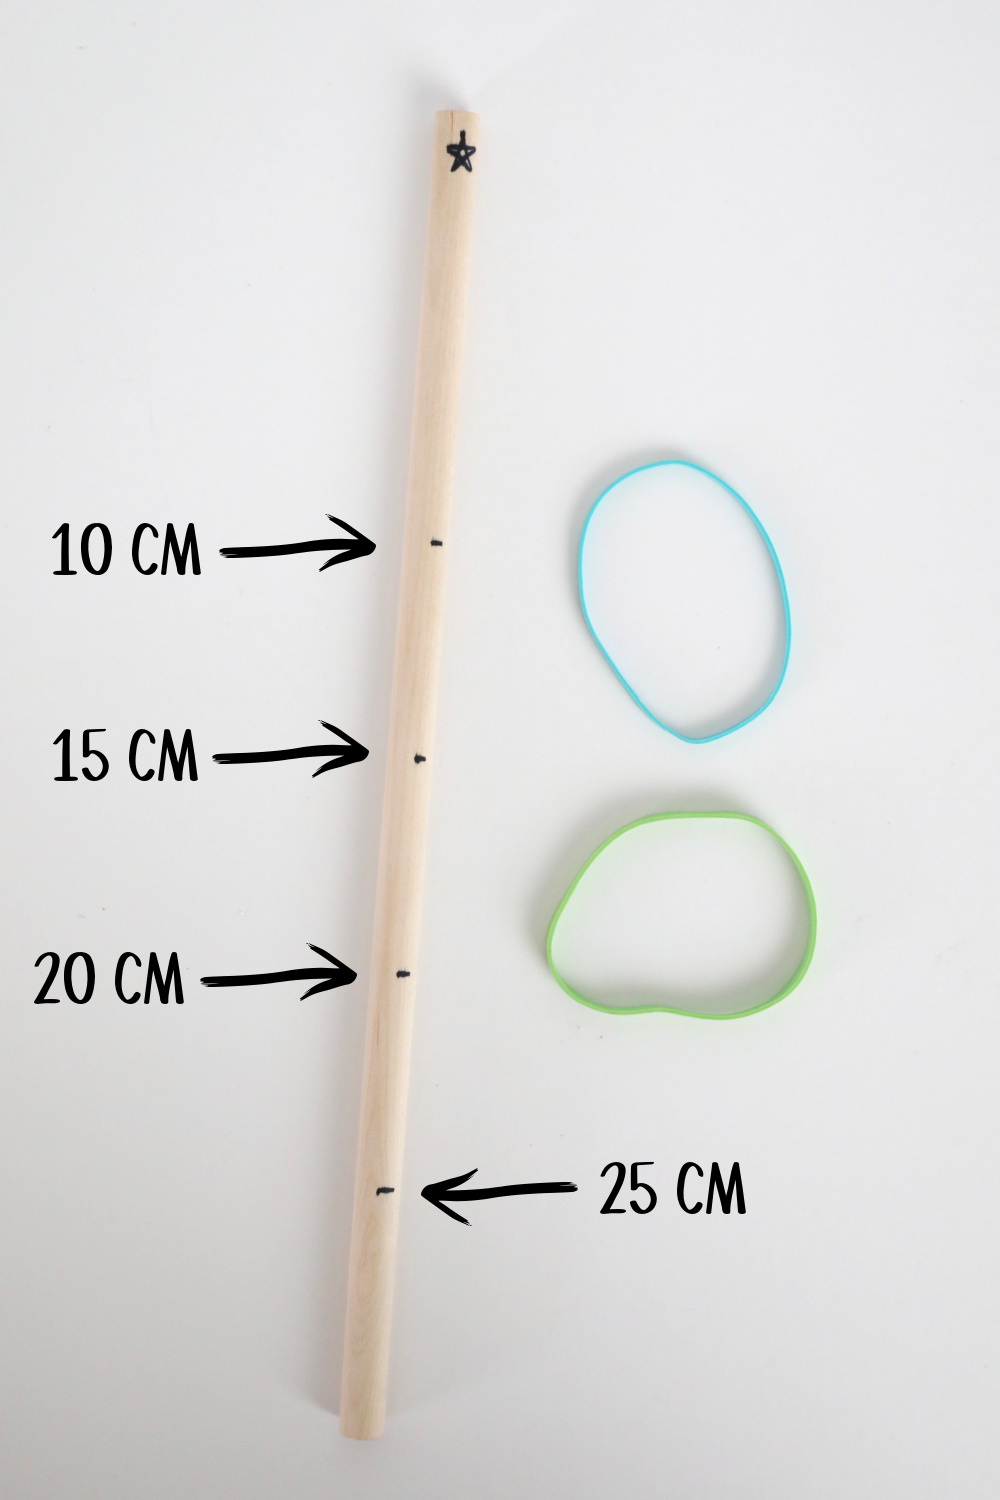
Our science book asked us to stretch the rubber band 10 cm, then 15 cm, then 20 cm, and finally 25 cm.
They recommended stretching it around the end of a ruler. However, that ended up being frustrating because the rubber band kept popping back off.
I found a great solution – we stretched our rubber bands over the end of a dowel rod. I drew a star on the end where the rubber band should go. Then I drew lines to mark 10 cm, 15 cm, etc.
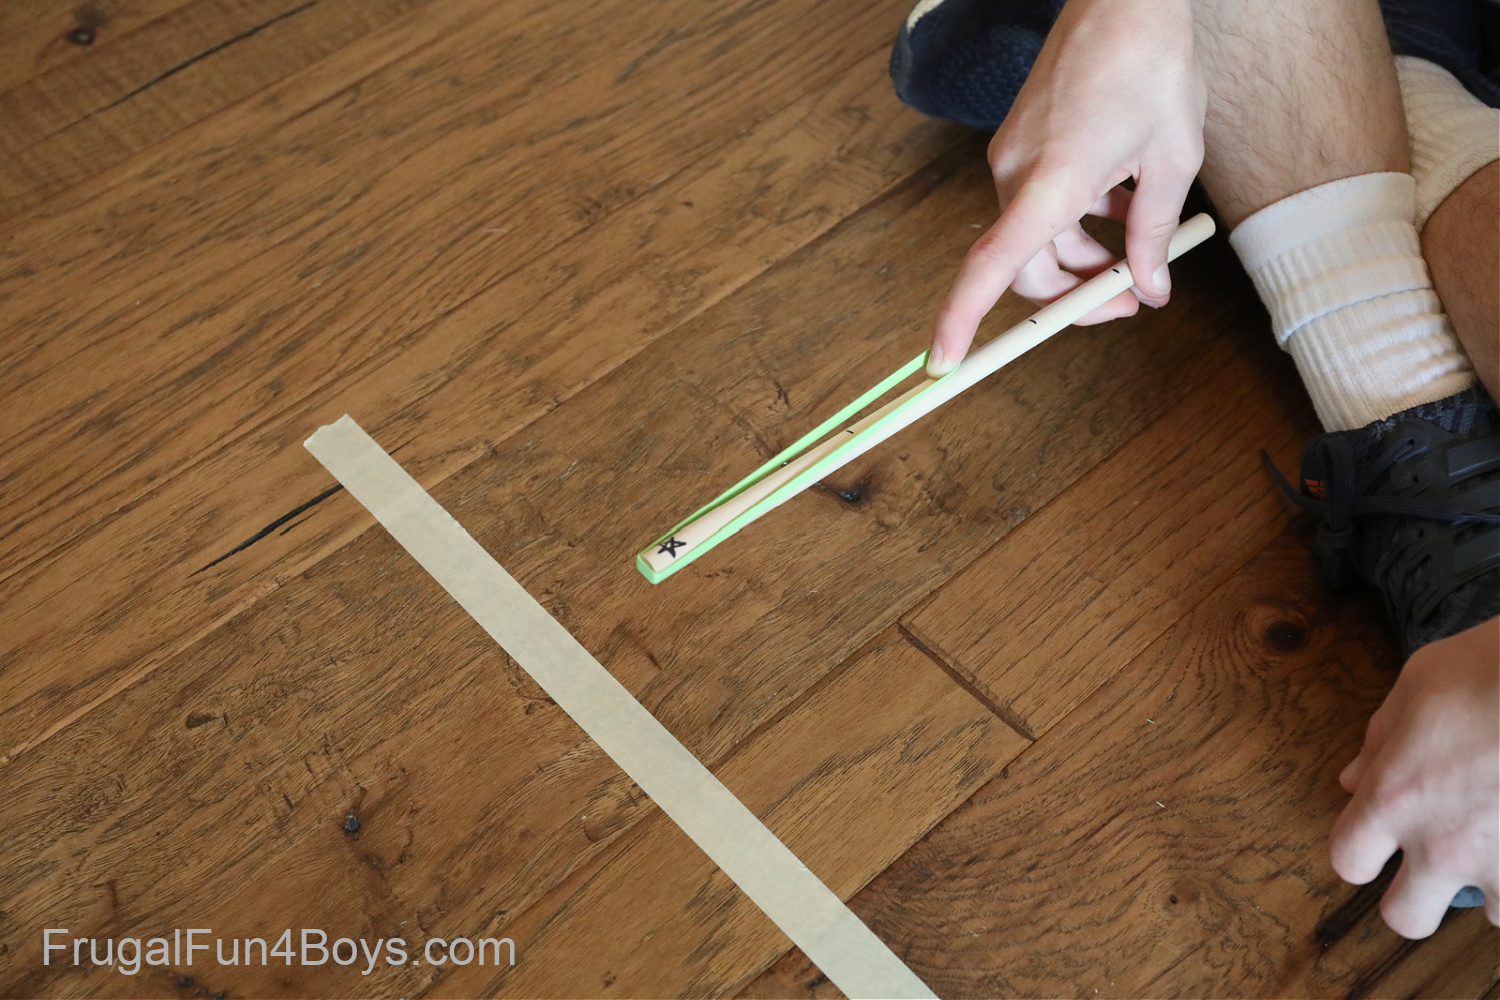
Procedure:
- Mark a starting line on the floor with masking tape.
- Stretch the rubber band around the end of the dowel. Pull it back to 10 cm.
- Hold the dowel level and let go of the rubber band.
- Measure how far it traveled!
- Launch the rubber band 5 times and then average your results.
- Repeat this process for 15 cm, 20 cm, and 25 cm.
It’s definitely best to do more than one trial with each length. By repeating the launches and then averaging your results, you’ll get more accurate data and reduce the impact of any outliers.
Add another variable by testing different thicknesses and lengths of rubber bands.
We compared a thicker, shorter rubber band with a longer, thinner one. The thicker one did travel farther, but the results were more similar than I expected.
For the 25 cm length we measured:
- 264 inches for the thick rubber band
- 241 inches for the thin rubber band
Yes, we measured the tension of the rubber band in metric and the distance in English units. I know, I know… but we don’t own a meter stick!
Graph Your Results!
Depending on the age of your students, you may want them to graph their results! They can graph the average distance traveled for 10 cm, 15, cm, 20 cm, and 25 cm. Either a bar graph or a line graph would work well for this. I think I’d lean toward the bar graph.
Cool Fact: The rubber band will travel through the air for the same amount of time regardless of how far horizontally it travels! If you hold the dowel level, the rubber band is in free fall. It will accelerate 9.8 m/s2 until it hits the ground. If you launch two rubber bands at the same time and from the same height, they will hit the ground at the same moment, even if one travels several feet farther than the other.
We tried this in our class, and it WORKS!
Explore what happens when you launch the rubber band at an angle.
After being careful to hold your dowel level, try launching a rubber band with the dowel angled 45 degrees. You have now created a parabolic trajectory, and your rubber band will travel farther!
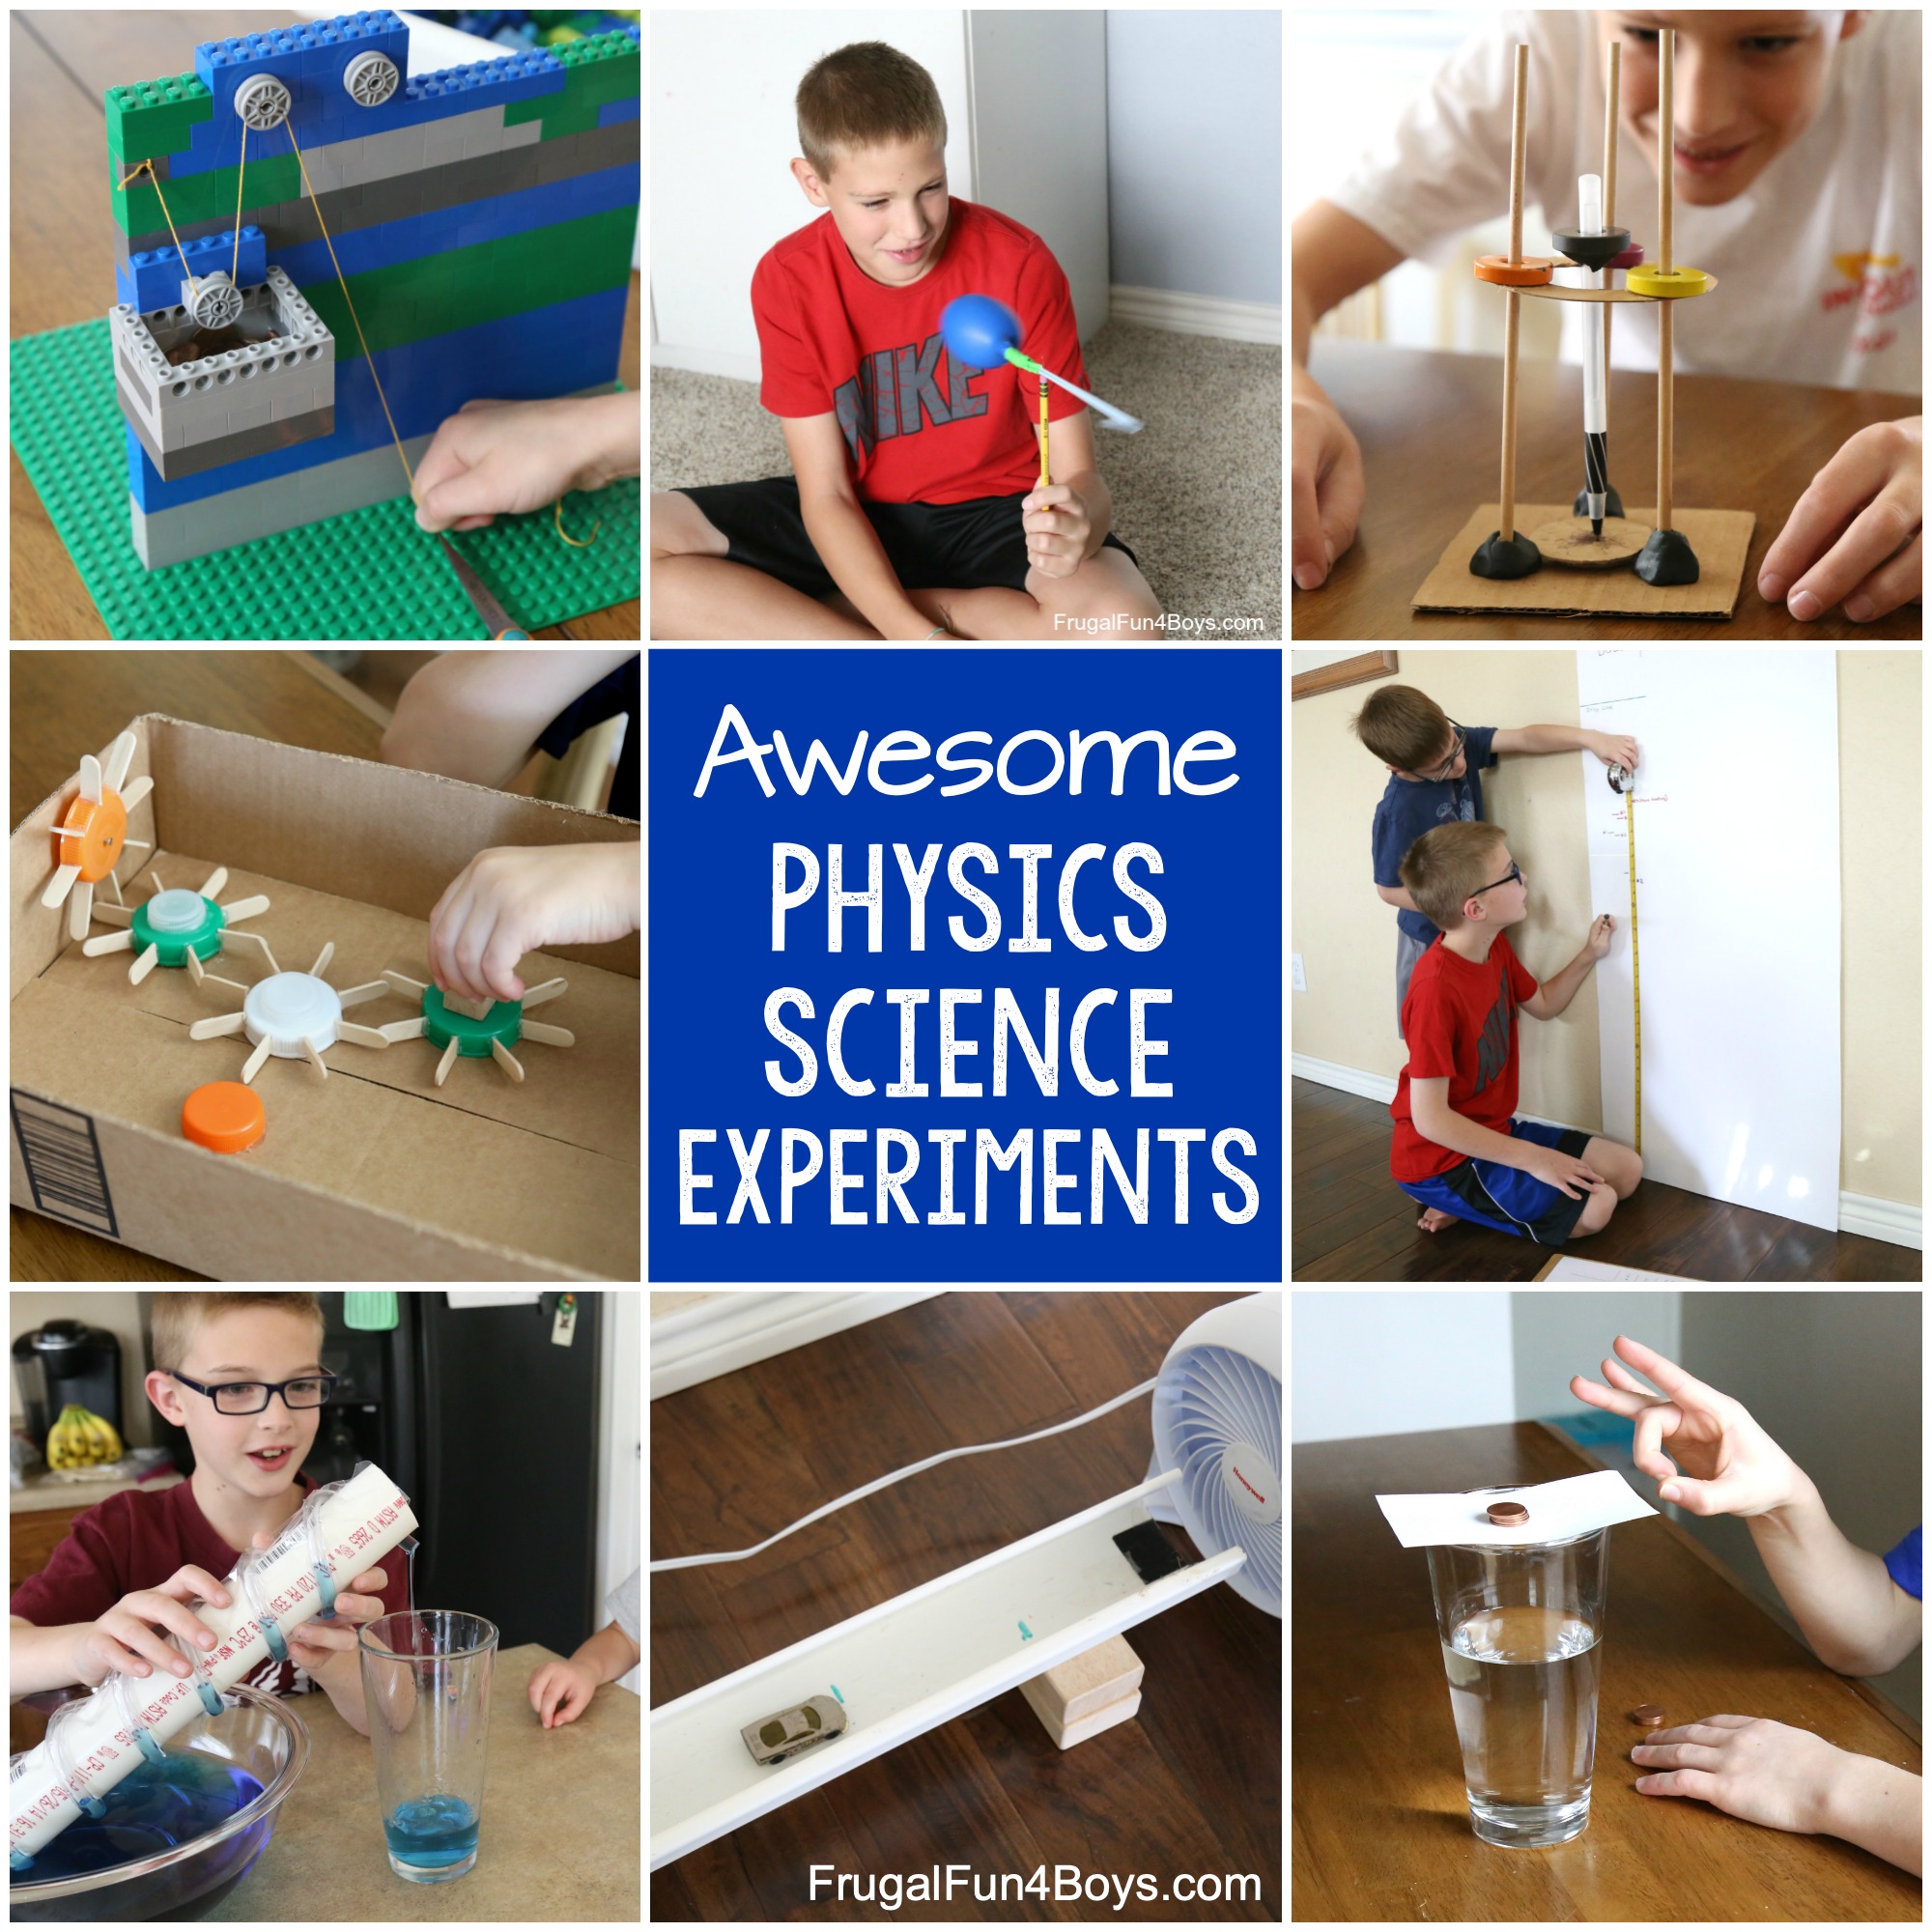
Head over to see more physics science experiments for kids!
Explore force and motion, magnetism, electricity, and more with these Physics Science Experiments for Kids.
1 Comments
Christina Aug 1, 2023
Sarah,
Thanks for sharing. I love that your projects are made with supplies that can be found around the house, are easy to execute and always very well explained along with what your results were. And of course fun! Love your ideas.
Post a Comment