
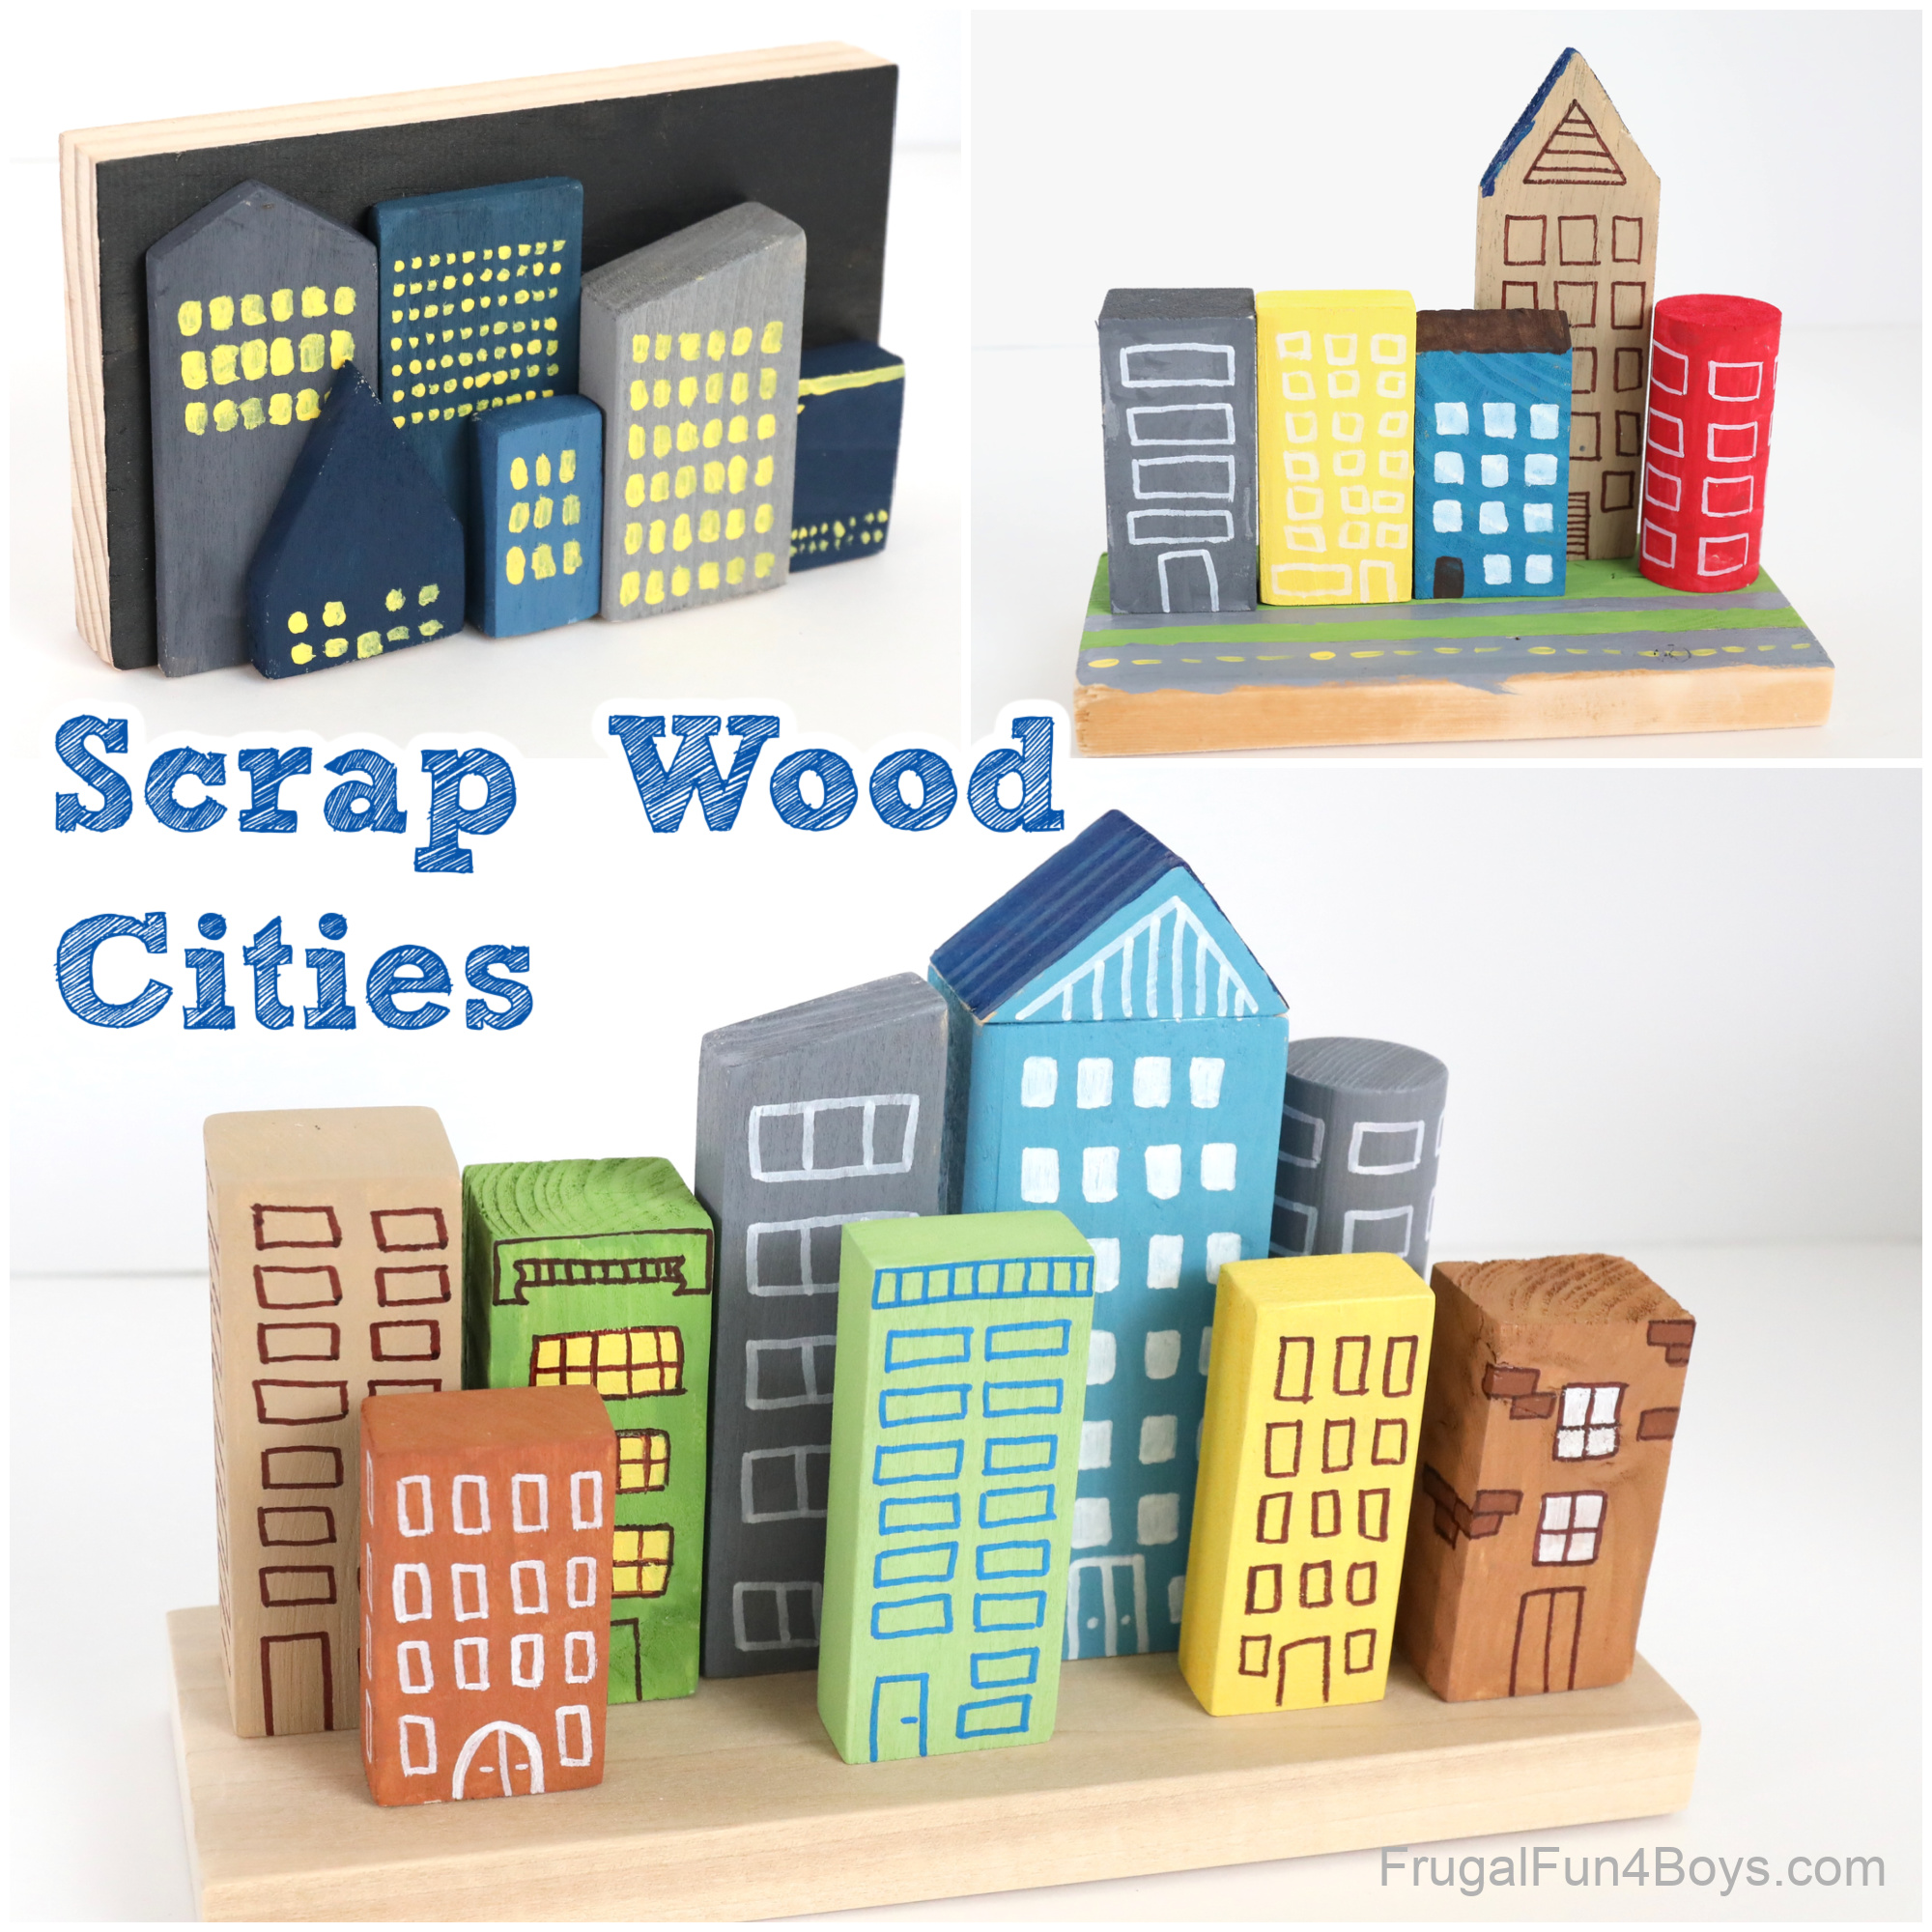
Turn scraps of wood into city skylines! This activity is part woodworking project and part art project, and it’s SO MUCH FUN!
You can decide how much woodworking you want the kids to do with this project. You can pre-cut all the wood and then let the kids sand the blocks, paint the buildings, and assemble their cities. Or depending on the ages of the kids doing this project, you can involve them in cutting the wood as well.
The city skylines in this post were made by my 16 year old, my 9 year old, and me. The 16 year old did all the cutting with a chop saw. He has taken a woodworking class and does very well!
This post contains Amazon affiliate links, which means that I earn from qualifying purchases at no additional cost to you.
Supplies Needed for Making Scrap Wood Cities:
- Wood scraps
- A saw
- Sand paper
- Acrylic paint and brushes
- White, black, brown, and blue paint pens – we like these Sharpie oil-based paint pens
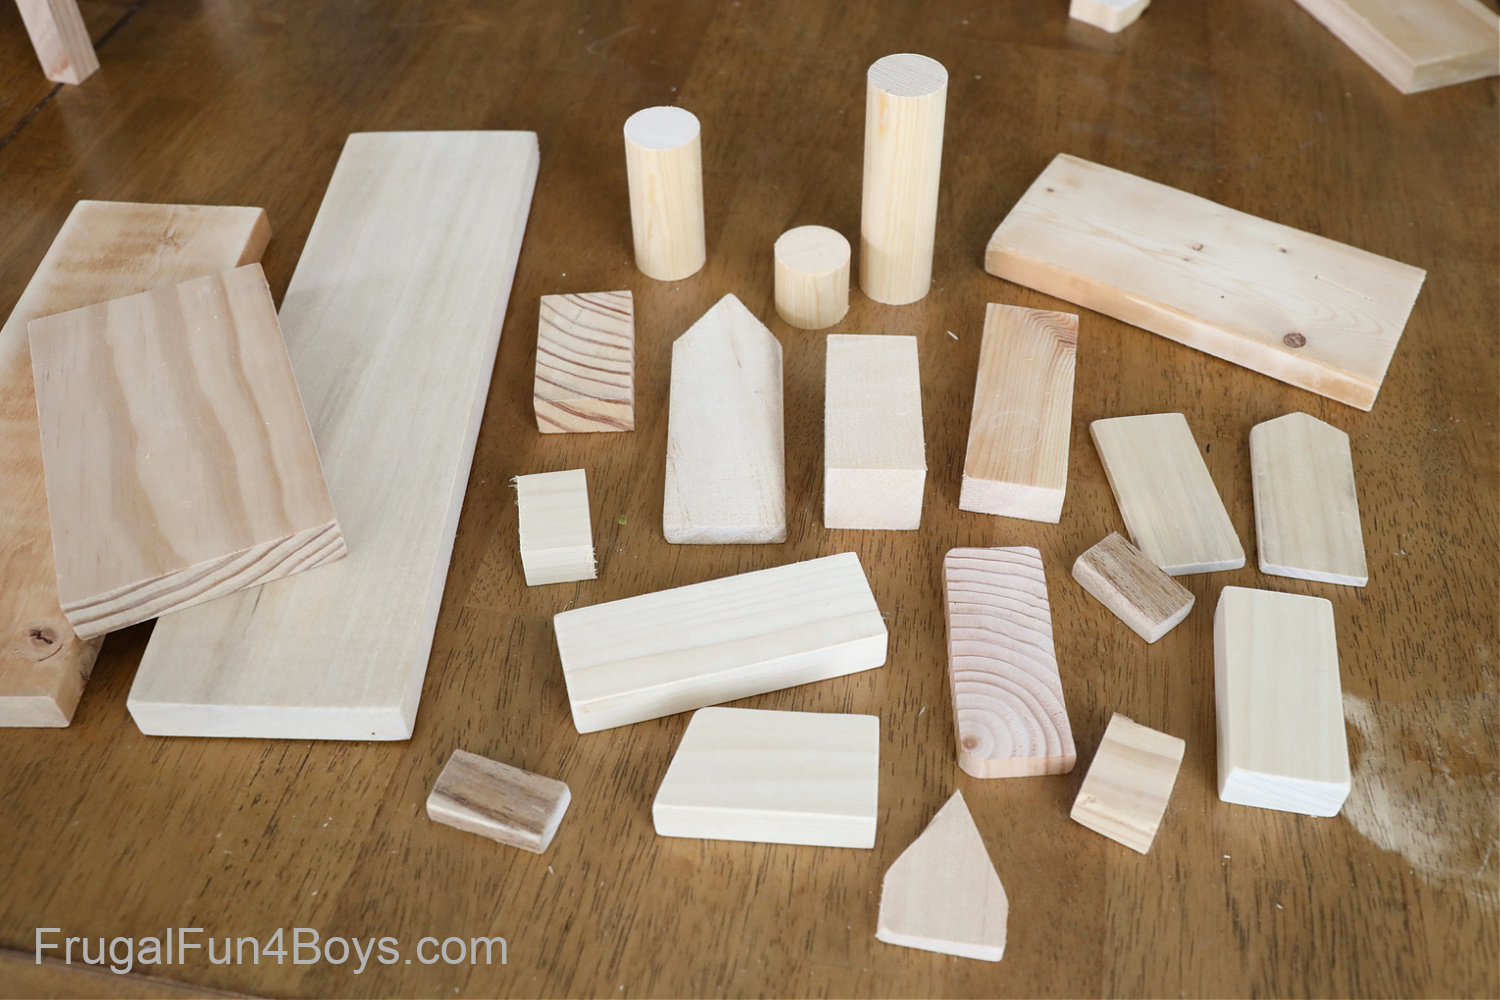
Step 1: Gather a variety of scraps for making cities.
This project is perfect for using up little scraps of wood!
My 16 year old son made cuts with a chop saw (a power miter saw) to get the sizes and shapes we wanted.
We chose one piece of wood to be the base for each city.
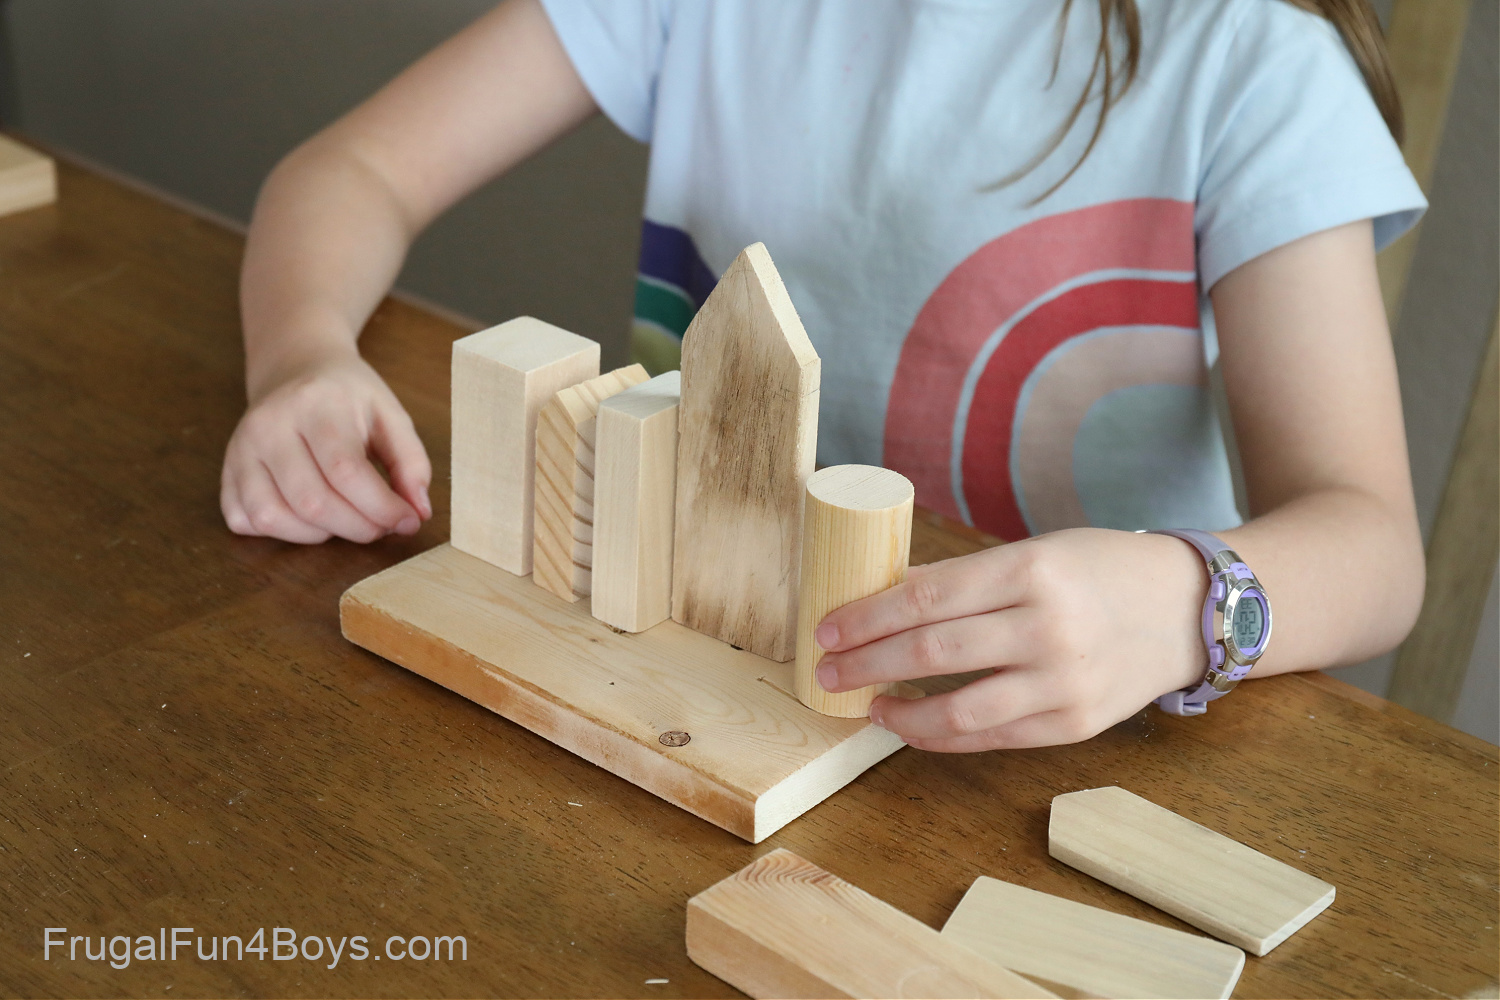
Step 2: Sand all the pieces until they are smooth.
Step 3: Design your city.
After sanding all our pieces, we played around with our options until we had city skylines that we liked!
I could not find our wood glue, so we used Tacky Glue to attach a triangle to the top of this building. It held just fine!
The triangle is a bit uneven… we didn’t worry too much about all our shapes being perfect.

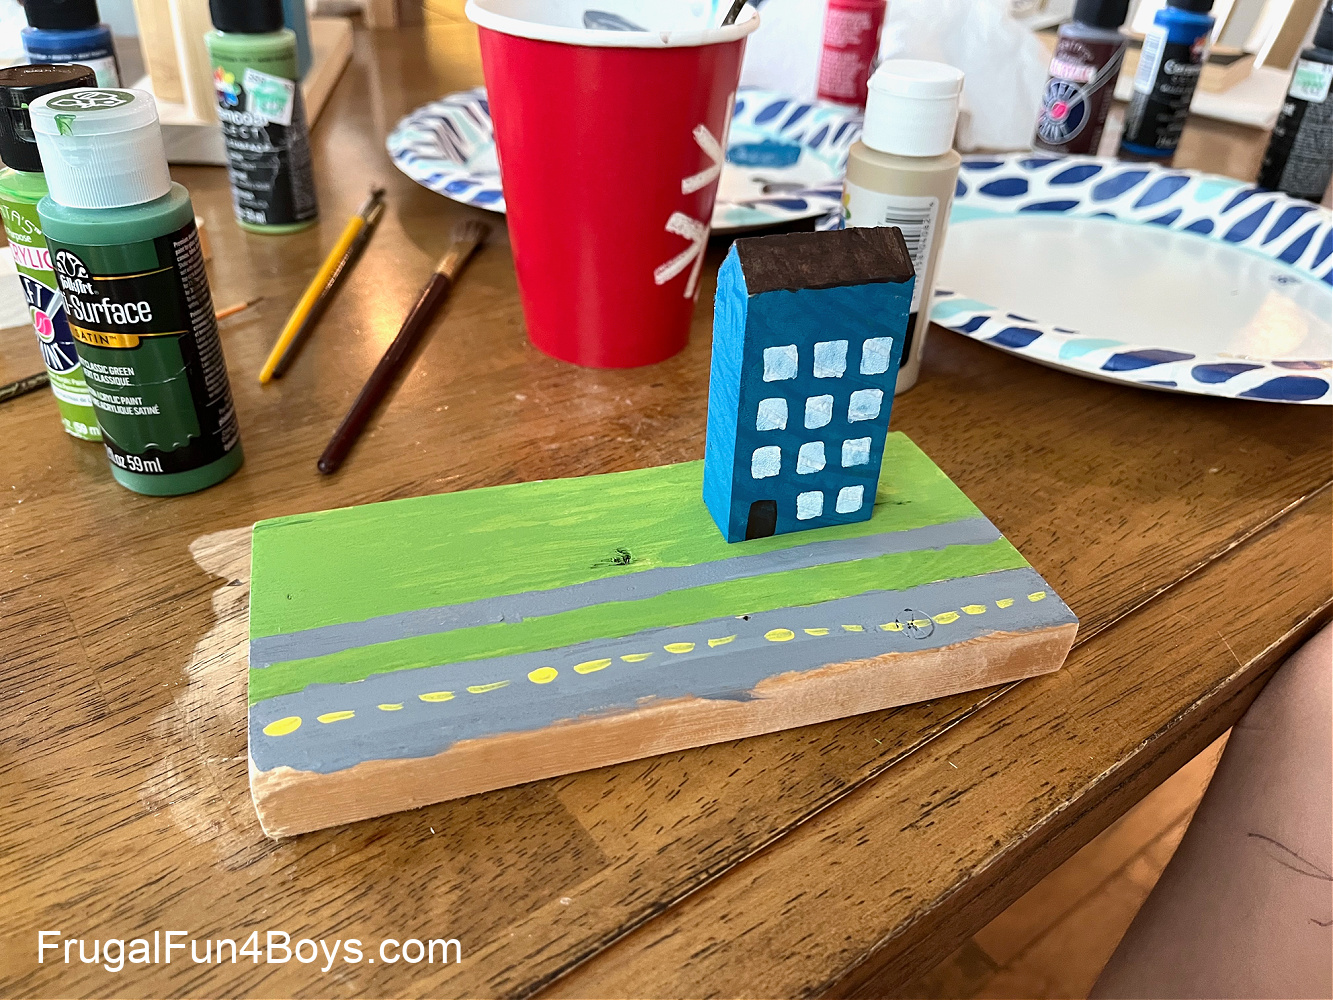
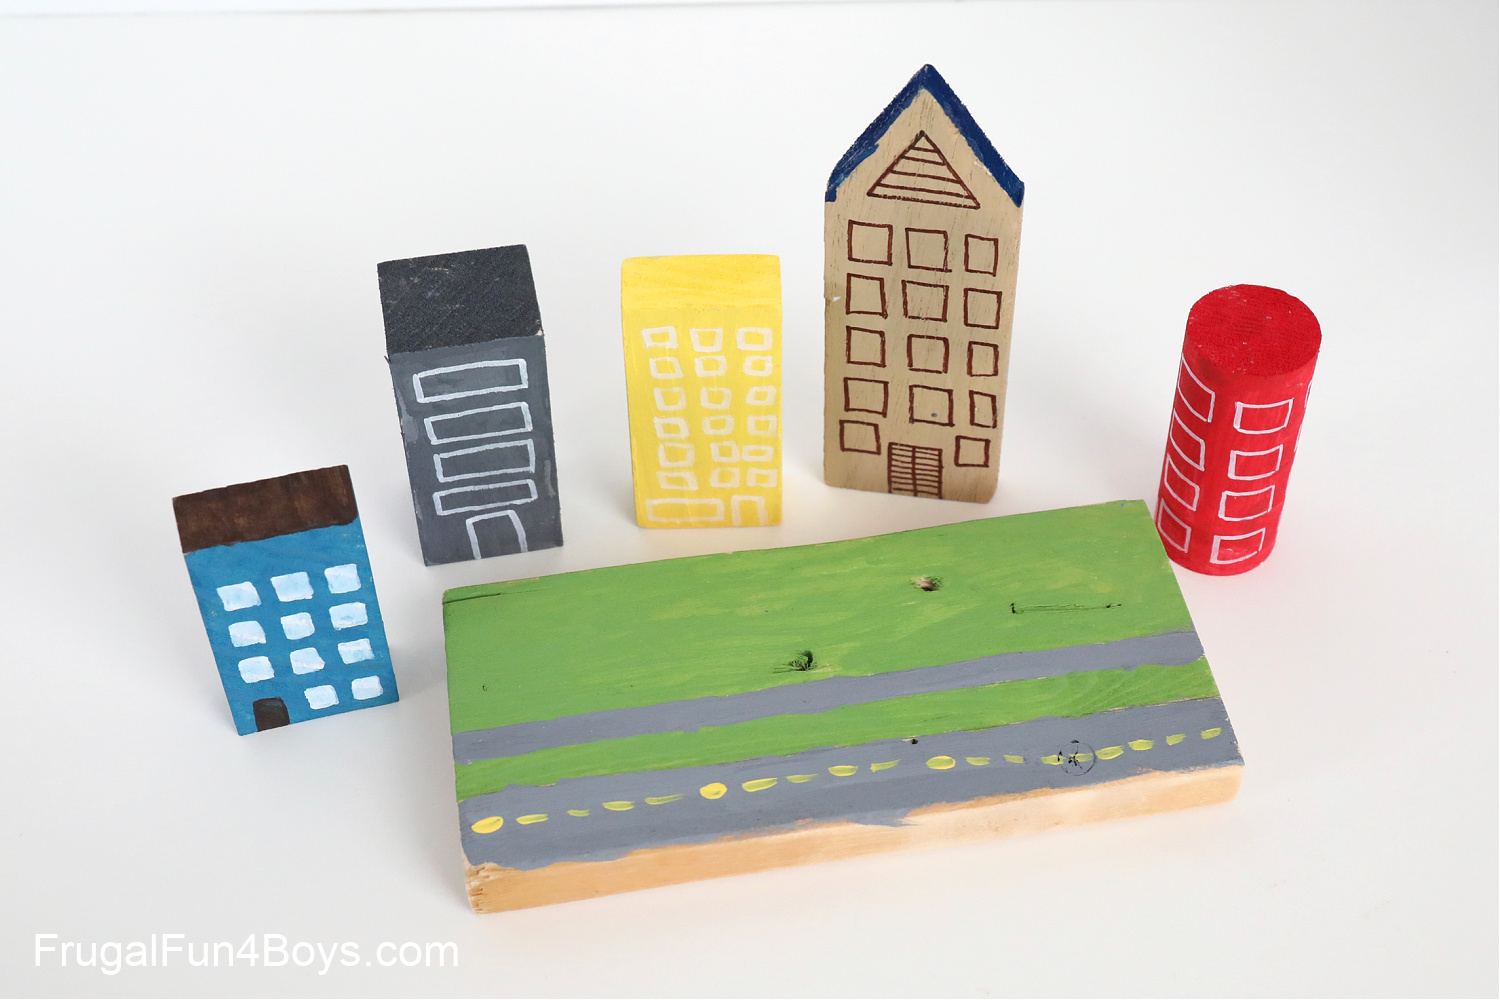
Step 4: Paint your city buildings, and paint your base if desired.

We used paint pens to draw the windows and doors. Much easier than a paintbrush!
Janie painted a road and a sidewalk on her base. Our yellow paint marker wouldn’t show up on the gray paint for whatever reason, so she did use a brush for the yellow dotted lines.
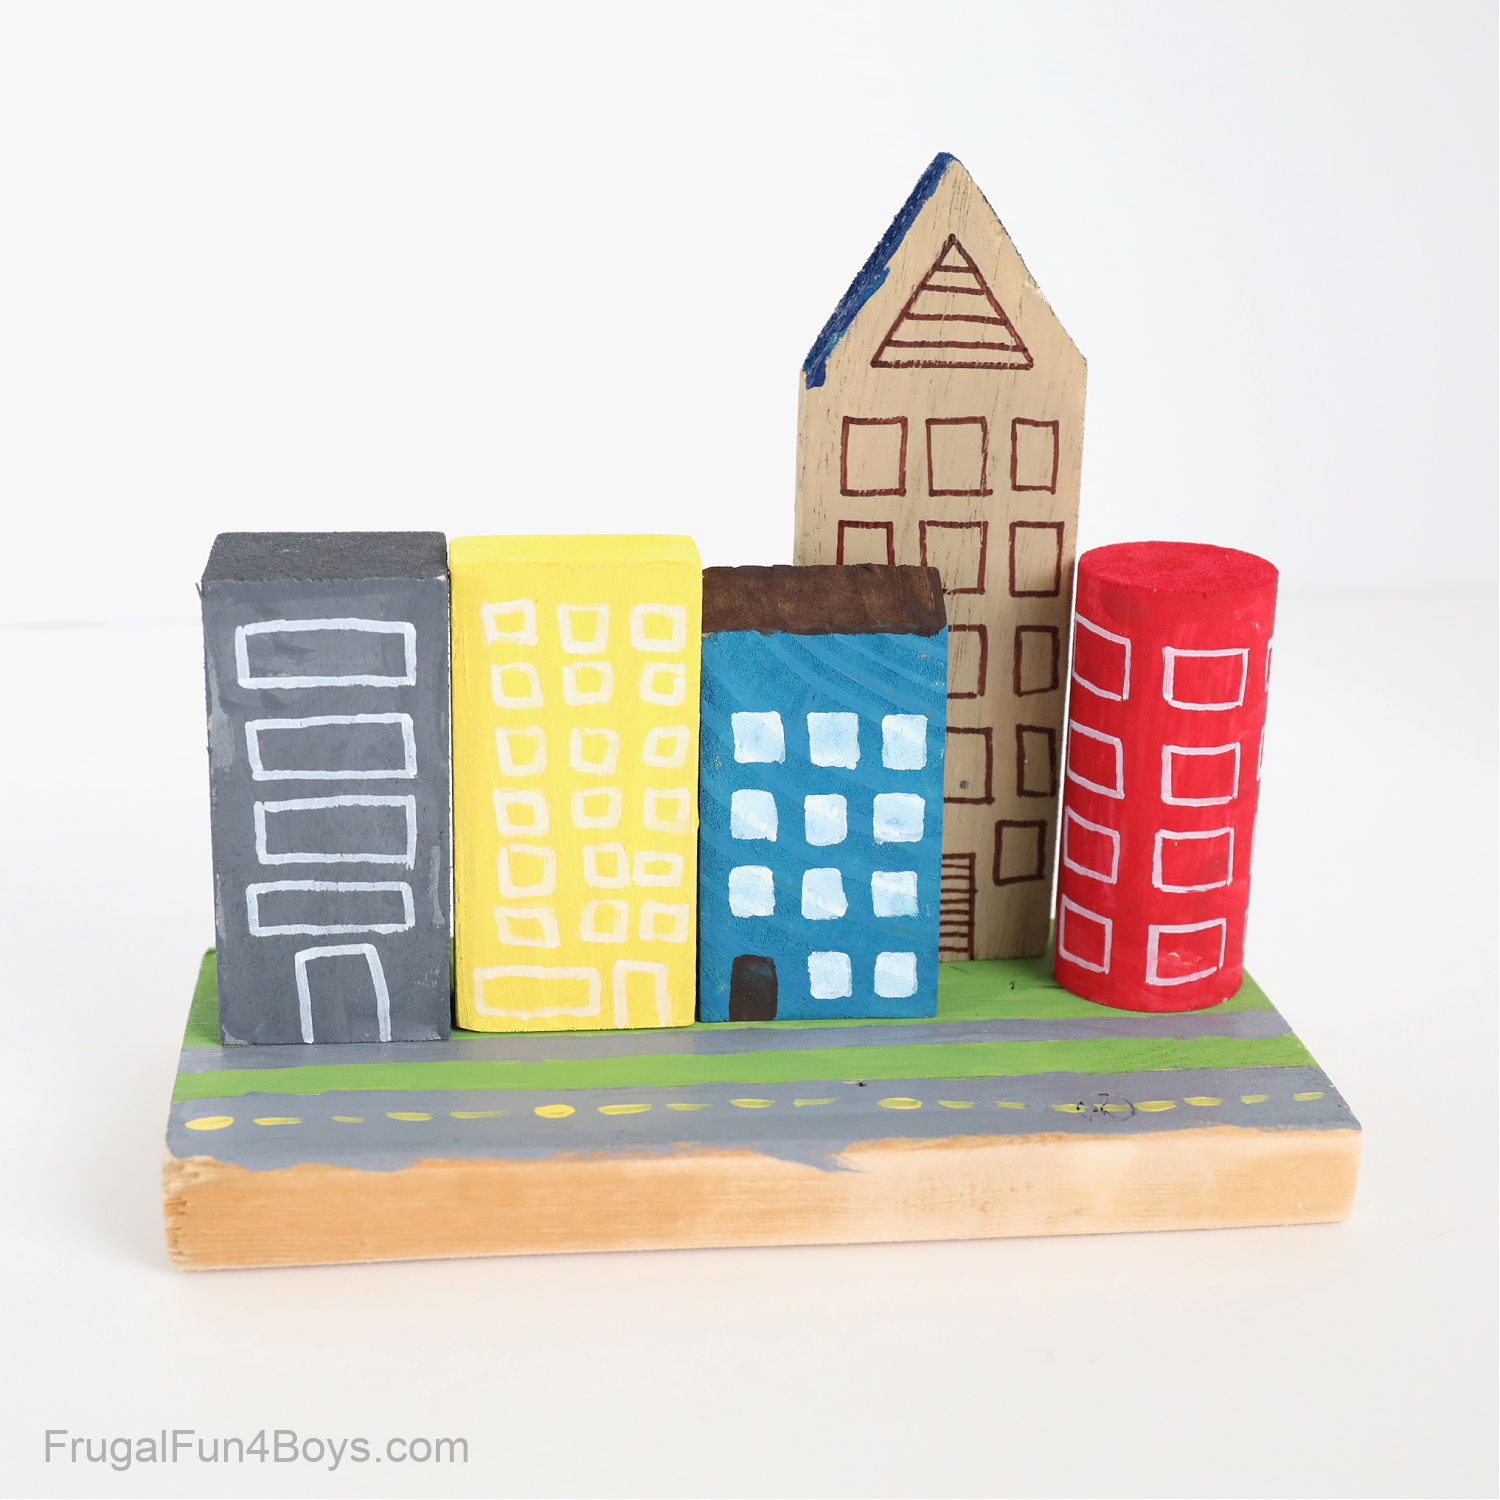
Step 5: OPTIONAL – glue down your buildings on the base.
I had planned to do this! But then I decided that it was fun to leave the buildings moveable. We’ve been having fun rearranging them to make different city designs.
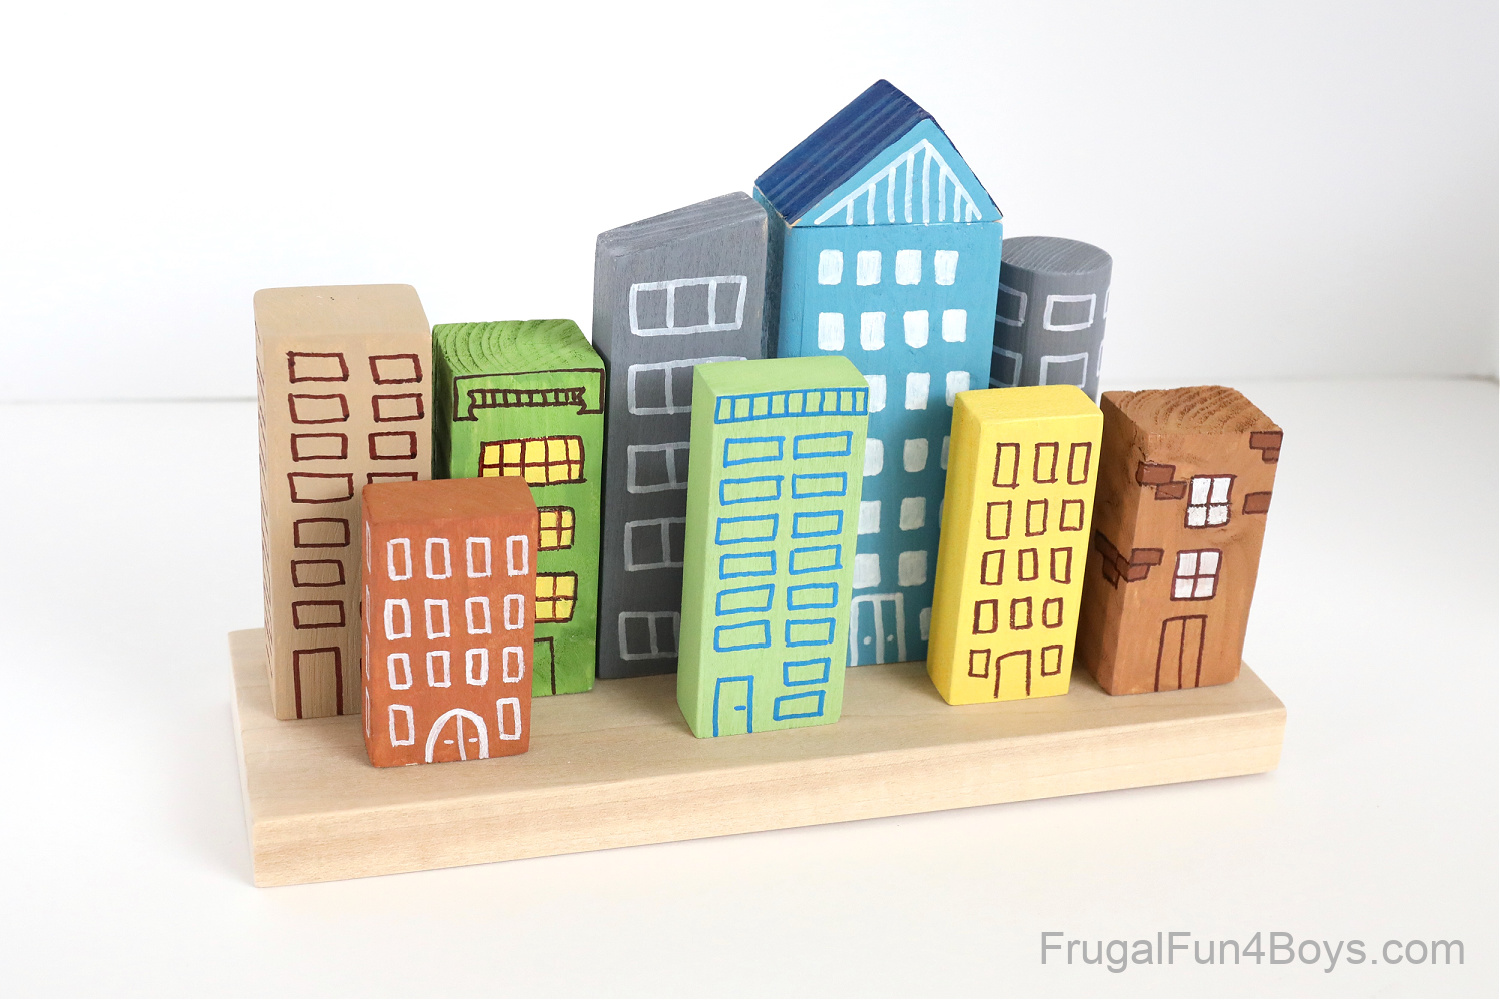
Here’s Janie’s city. So cute!
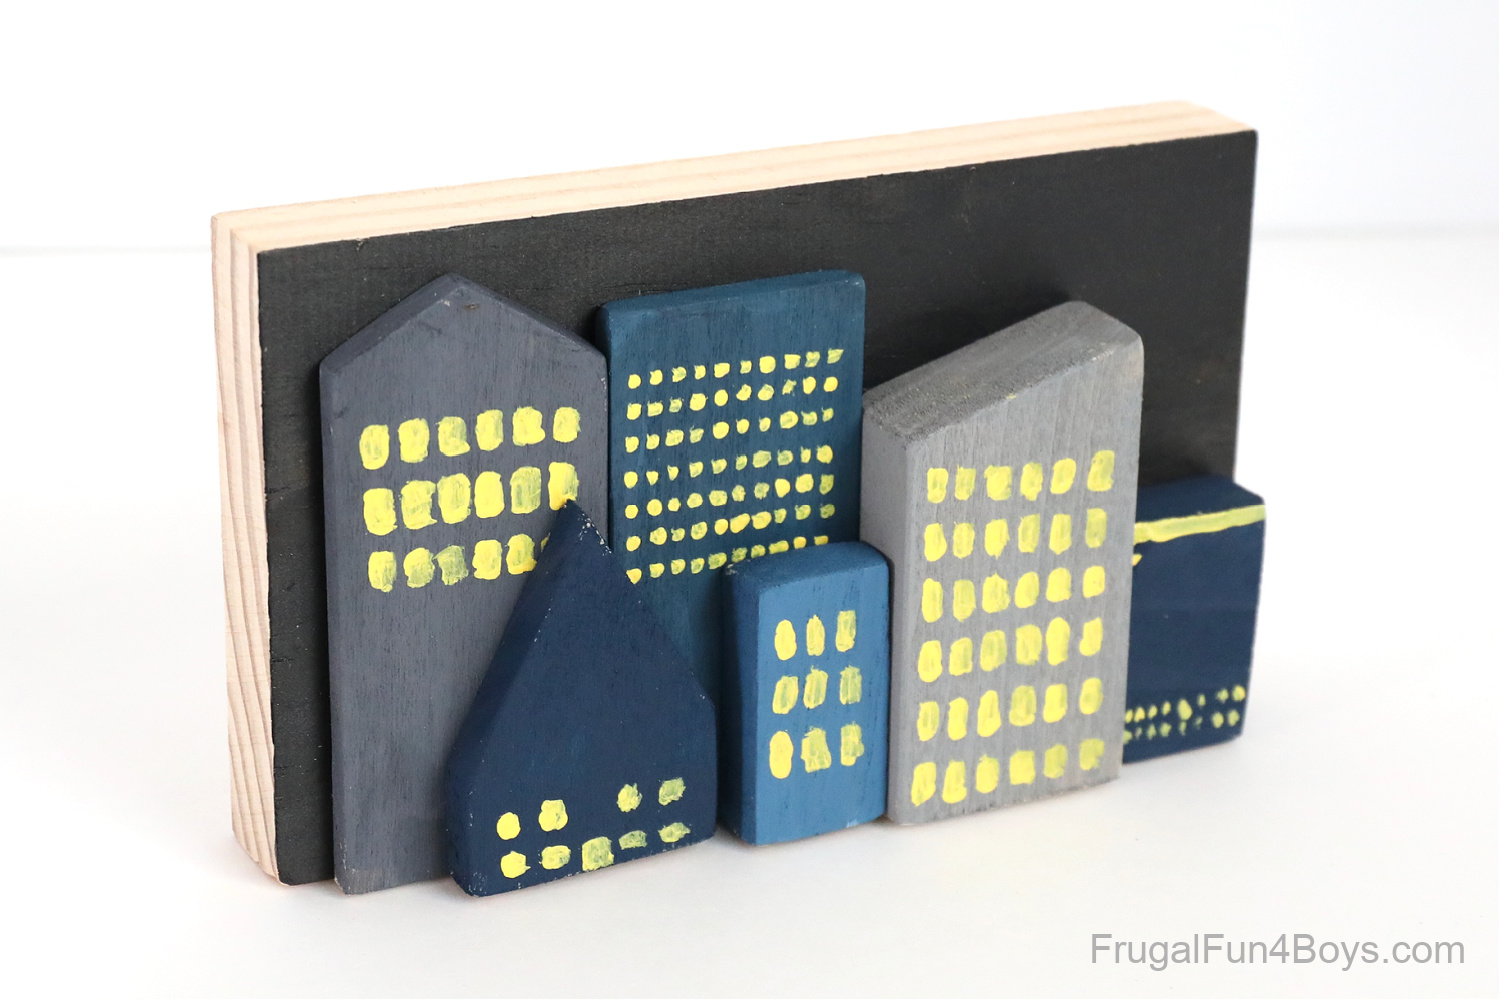
Gresham decided to put his base BEHIND the city and make a nighttime skyline. He did glue his buildings down. I love the effect!
And this is my city skyline. I had so much fun with this!
We have it sitting on the kitchen counter, and it’s fun to rearrange the buildings.
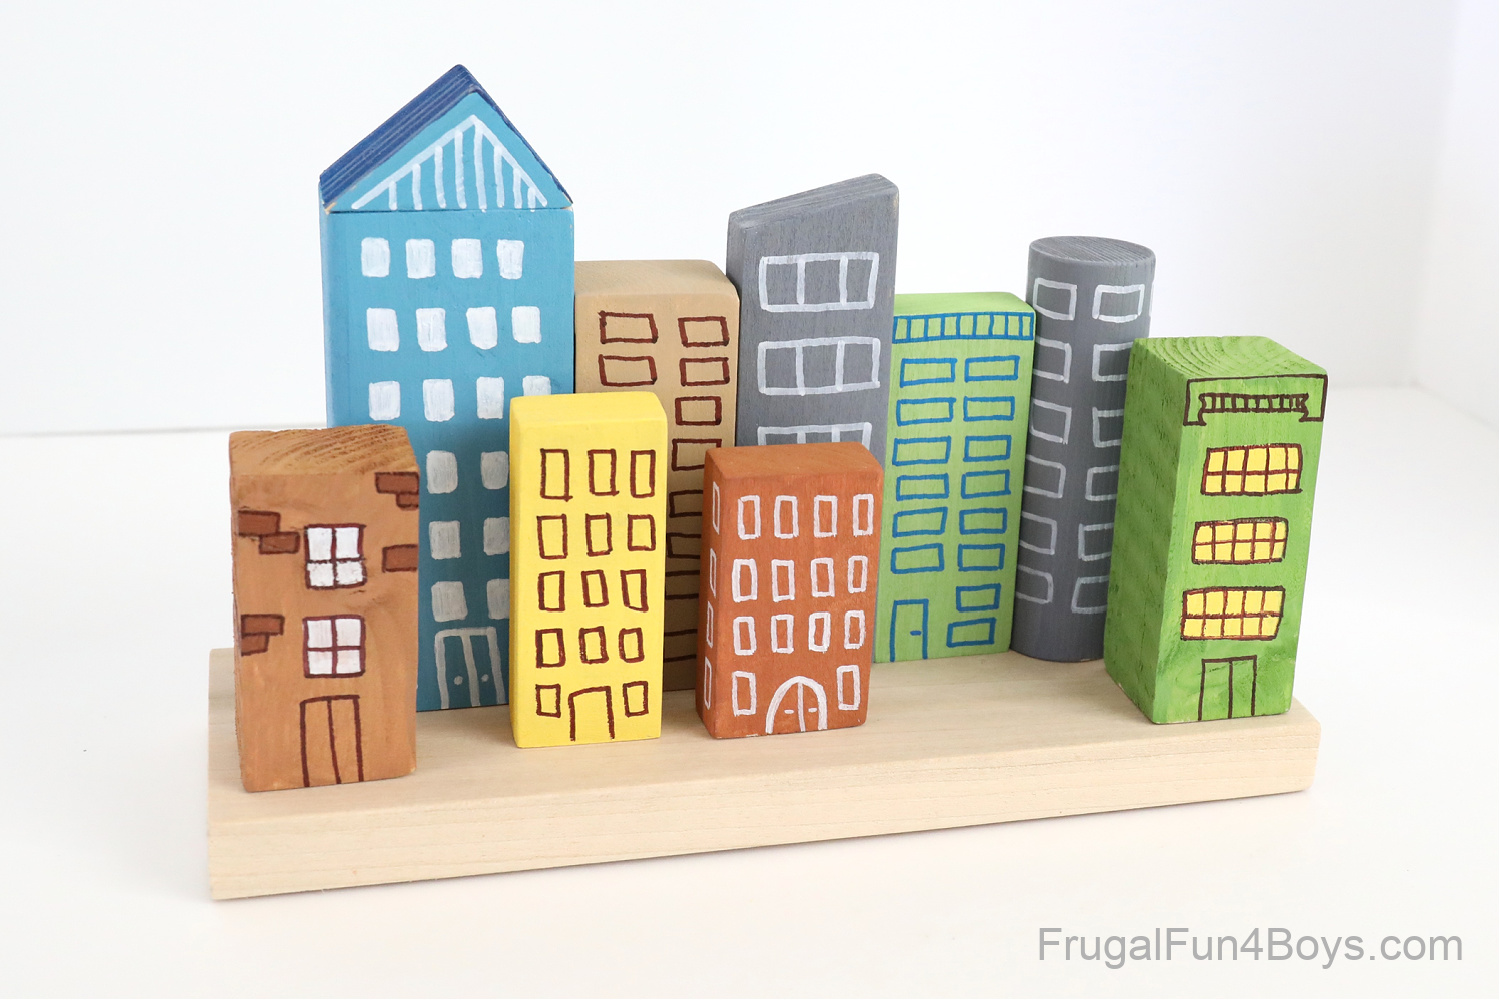
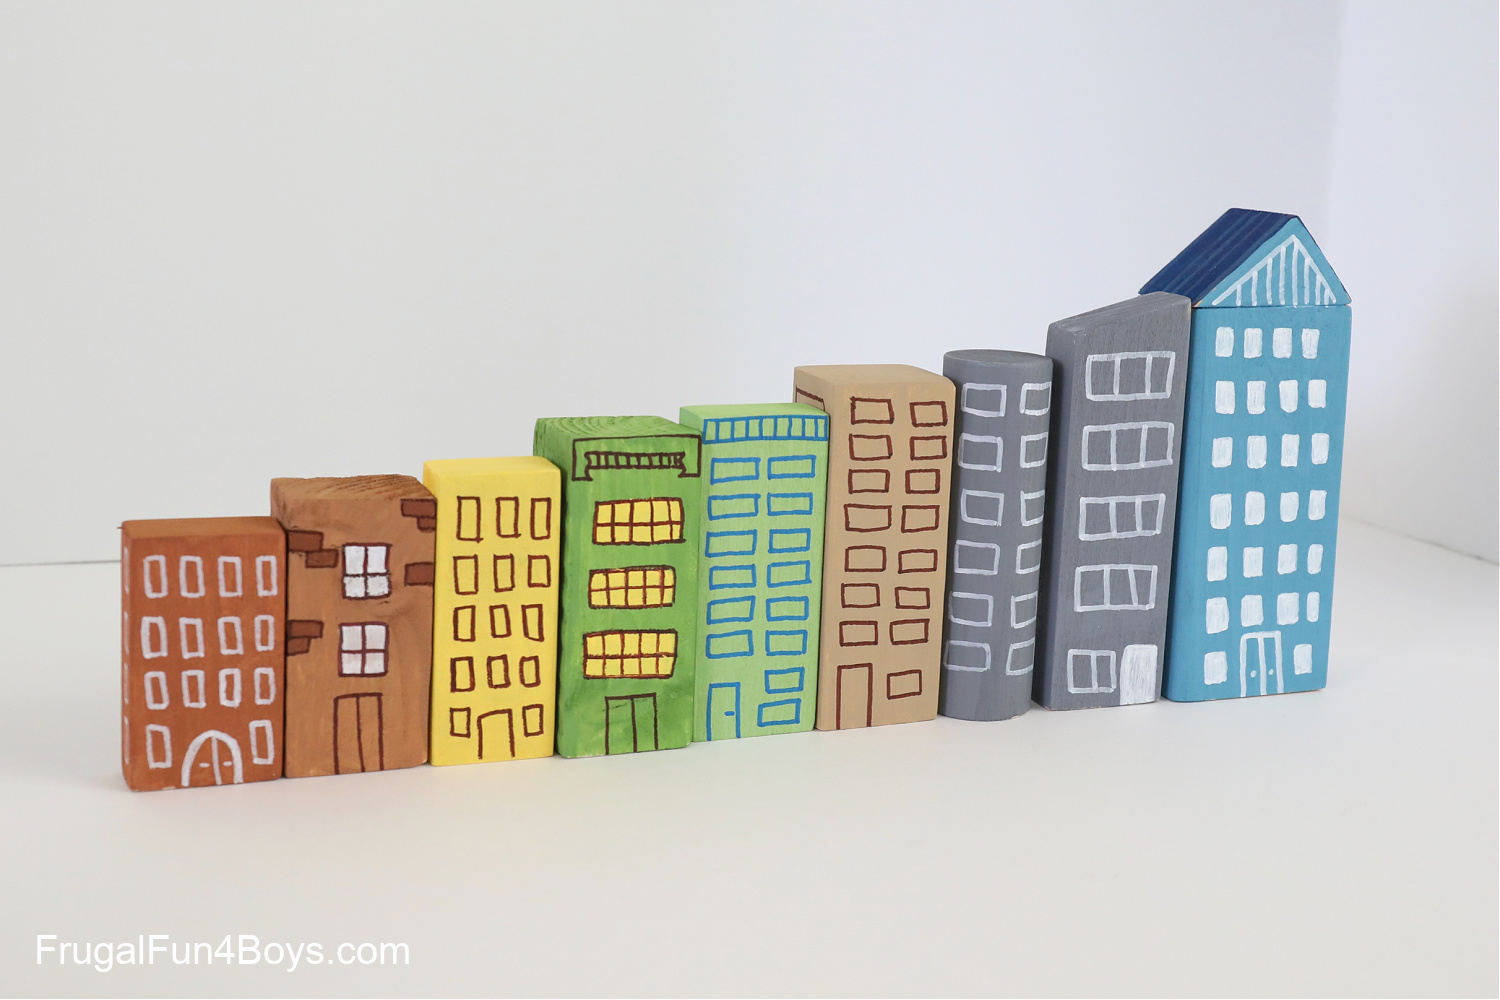
It’s also fun to line up the buildings shortest to tallest. (I didn’t even plan out the colors but it made a cool pattern!)
Need more woodworking projects for kids?
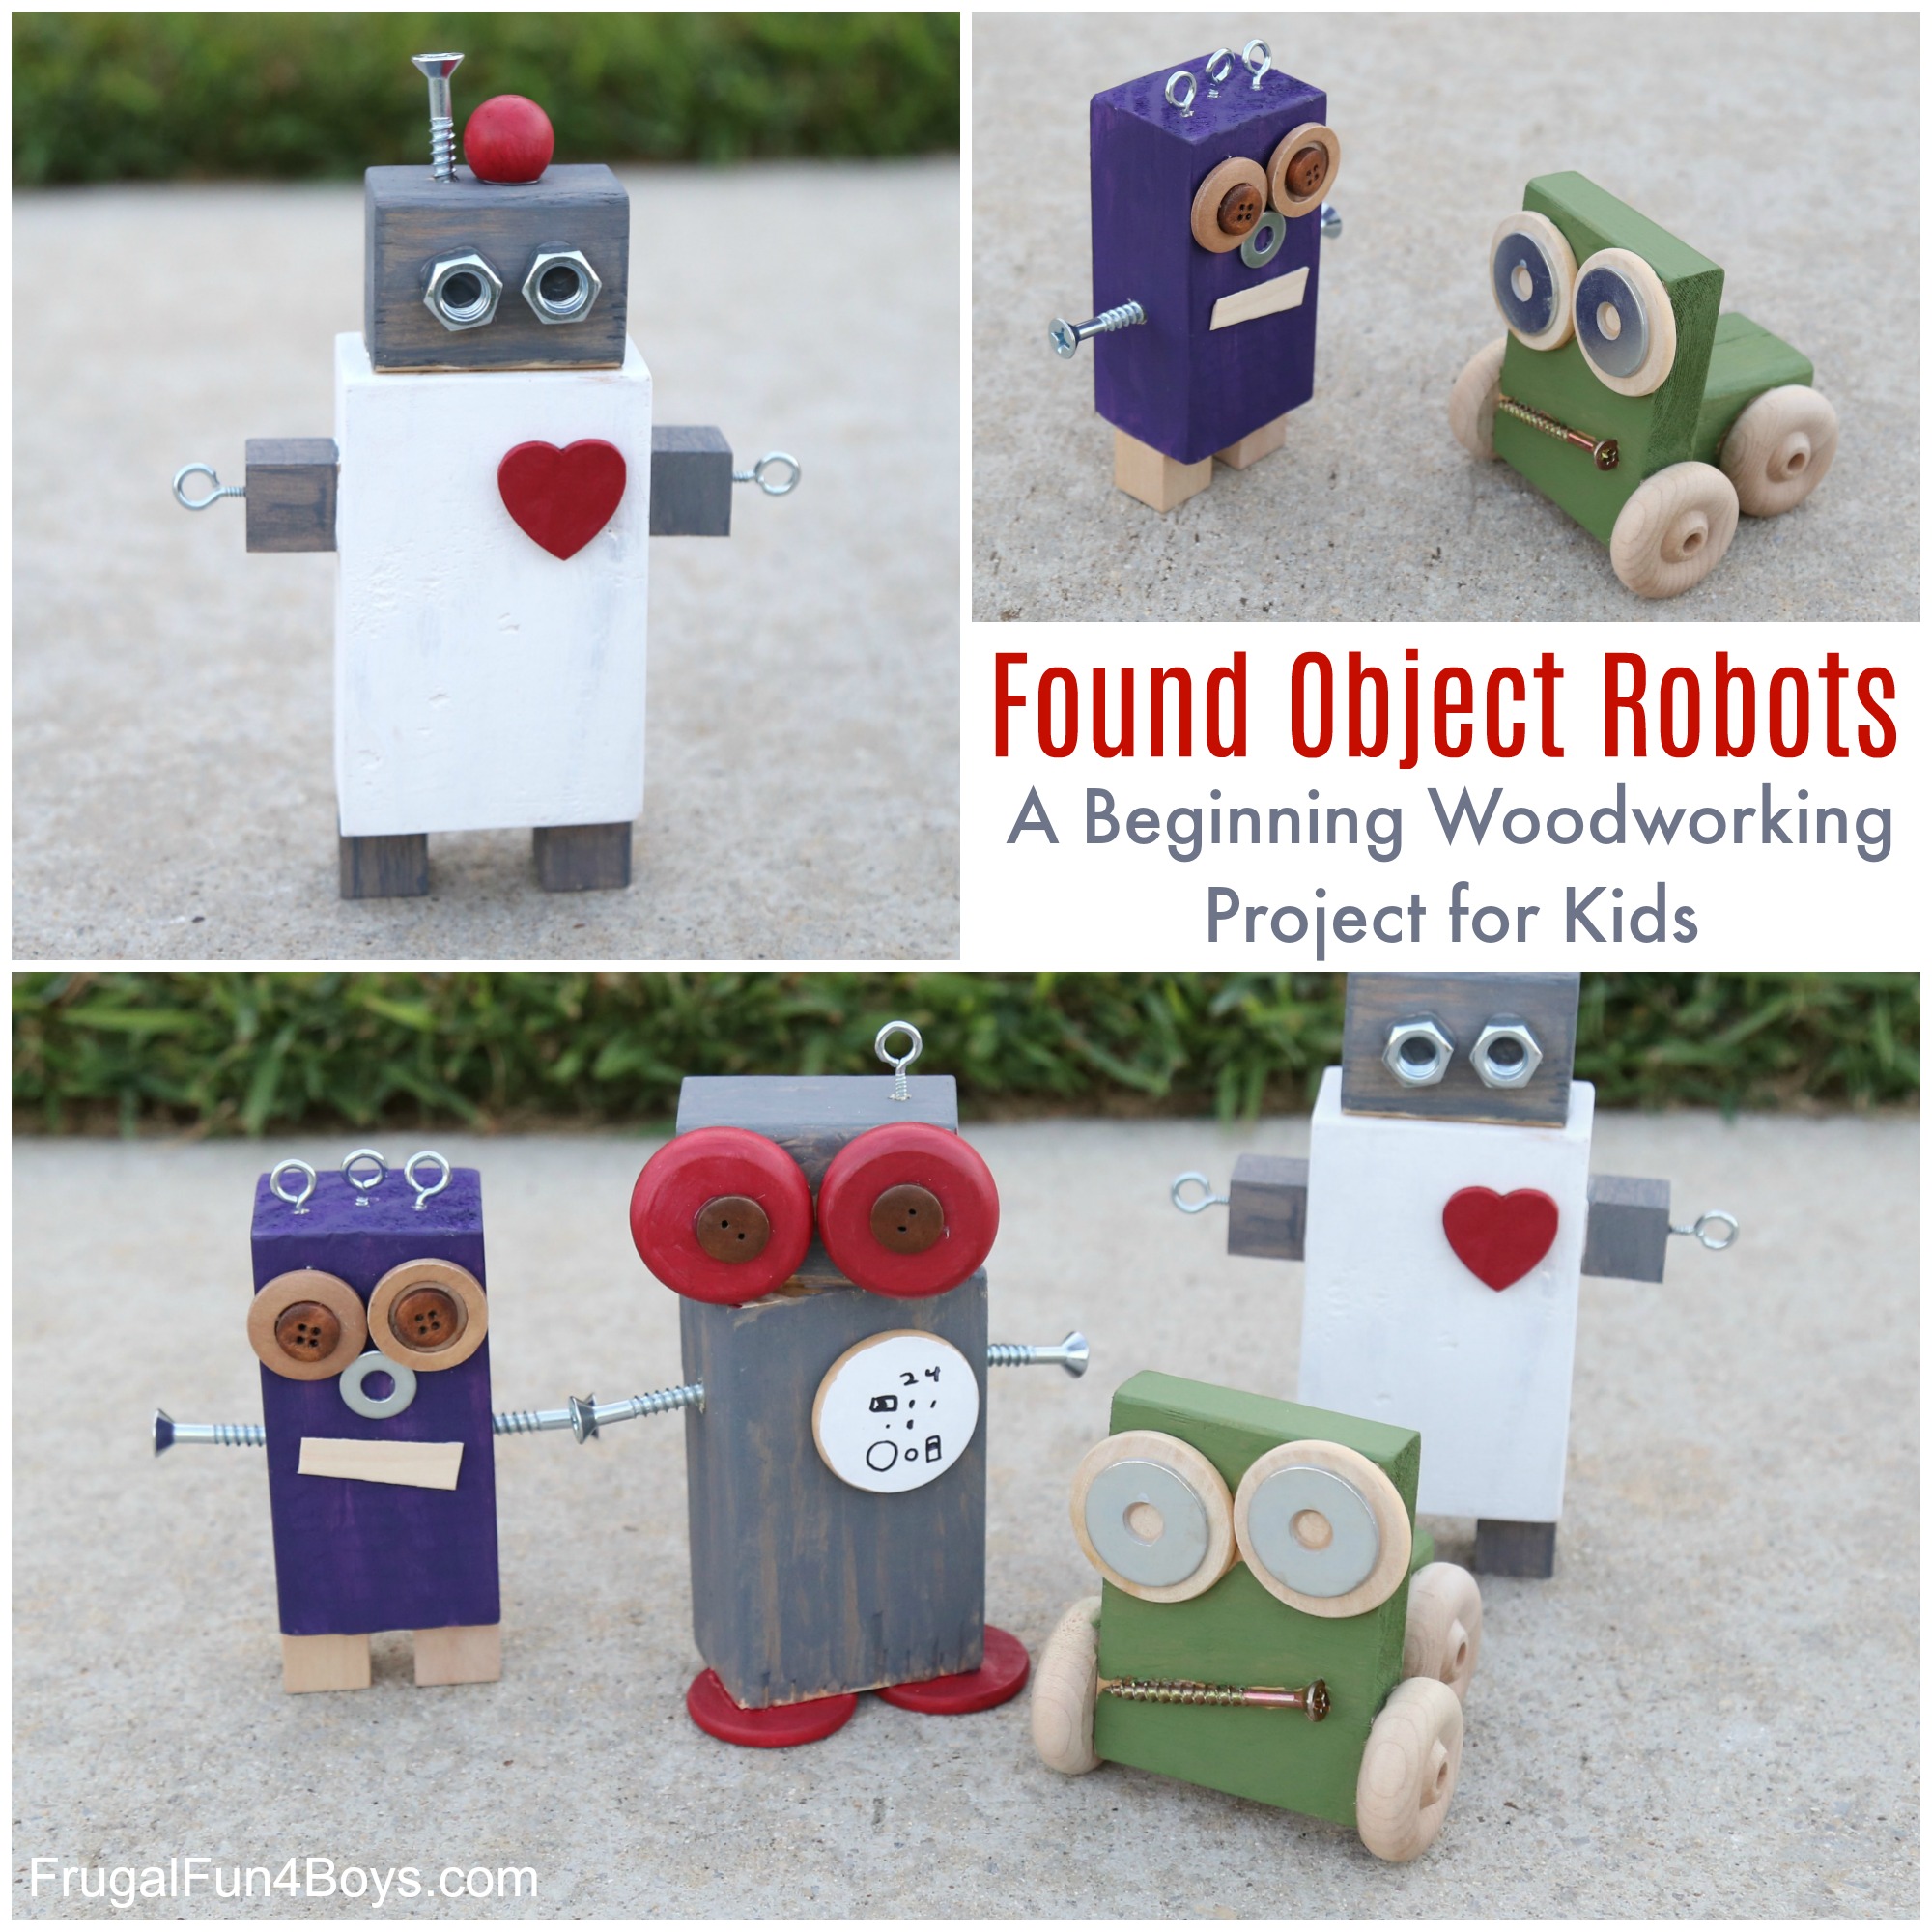
These Scrap Wood Robots are another fun way to use wood you already have.
And here’s an idea for Wood Candle Holders that kids can make.

1 Comments
Cindy Jul 16, 2023
I love your scrap wood project! They did great on them!
Post a Comment