
How to Teach Geometry with LEGO Bricks
Here’s a fun LEGO math lesson that kids will love! Janie (5th grade) and I have been working on geometry in her math book, and I started building some LEGO triangles. Janie started exploring with different LEGO shapes, and we came up with several ideas for teaching geometry concepts.
Learn about triangles, polygons, perimeter, area, and volume – all with LEGO bricks!

Build LEGO Triangles and Polygons
Gather plenty of plates that are one stud wide.
You will also need a few 1 x 1 round plates and 1 x 2 jumper plates. These will enable you to attach the plates at certain angles.
In the photo below, you can see a right triangle, and obtuse triangle, and and equilateral triangle.
The obtuse triangle is not an obtuse as it could be, but LEGO bricks have their limits. I can confirm that the angle on the top is definitely larger than 90 degrees.
The right triangle has one 1 x 1 round plate in it (at the top angle) and one jumper plate. The jumper plate allows you to connect a 1 x 12 plate at the right angle.

Here’s an isosceles triangle (on the left). Grab two 1 x 6 plates and connect them with a 1 x 1 round plate in between. Then add a 1 x 4 plate across the bottom.

Challenge kids to see what other LEGO triangles they can construct!
Build LEGO Polygons
It’s easy to build rectangles and squares with LEGO bricks, and we just showed you how to build triangles. What other polygons can you make? Janie build a trapezoid, a diamond, and even a hexagon!

Teach Perimeter, Area, and Volume with LEGO Bricks
LEGO bricks are so handy for teaching perimeter, area, and volume! These seem like easy concepts for adults, but students who are new to these ideas often have a hard time remembering which is which when it comes to perimeter and area.
Perimeter:
I keep reminding one of my kids that perimeter is THE DISTANCE AROUND!
Build LEGO polygons and then count the studs around the edges to determine the perimeter.
NOTE: The studs on the corners will be counted TWICE. Look at the blue square at the top right in the photo below. It has a perimeter of 16 because each of the four sides is 4 studs long.
The lime green shape has a perimeter of 4 + 6 + 2 + 6 + 4 + 2 + 2 + 14 = 40
That is a LOT of sides!

Area:
For area, we chose to count 2 x 2 bricks as a unit rather than counting studs. The reason is that area is measured in square units (square inches, square feet, etc) and it’s easy to visualize square units this way. Also, this approach leads right into volume.
Build squares and rectangles and calculate the area! Area is base x height or you can call it length x width. Simply count the number of 2 x 2 bricks in each direction and multiply them together.

Volume:
For volume, we’re now going to add layers on top of our basic rectangle. Volume is calculated in three directions: length x width x height.
Kids can multiply the three sides to find the volume of the rectangular prism below. But then the great part is that they can also count the bricks and verify that their answer is correct. So concrete and hands-on for kids that need that!

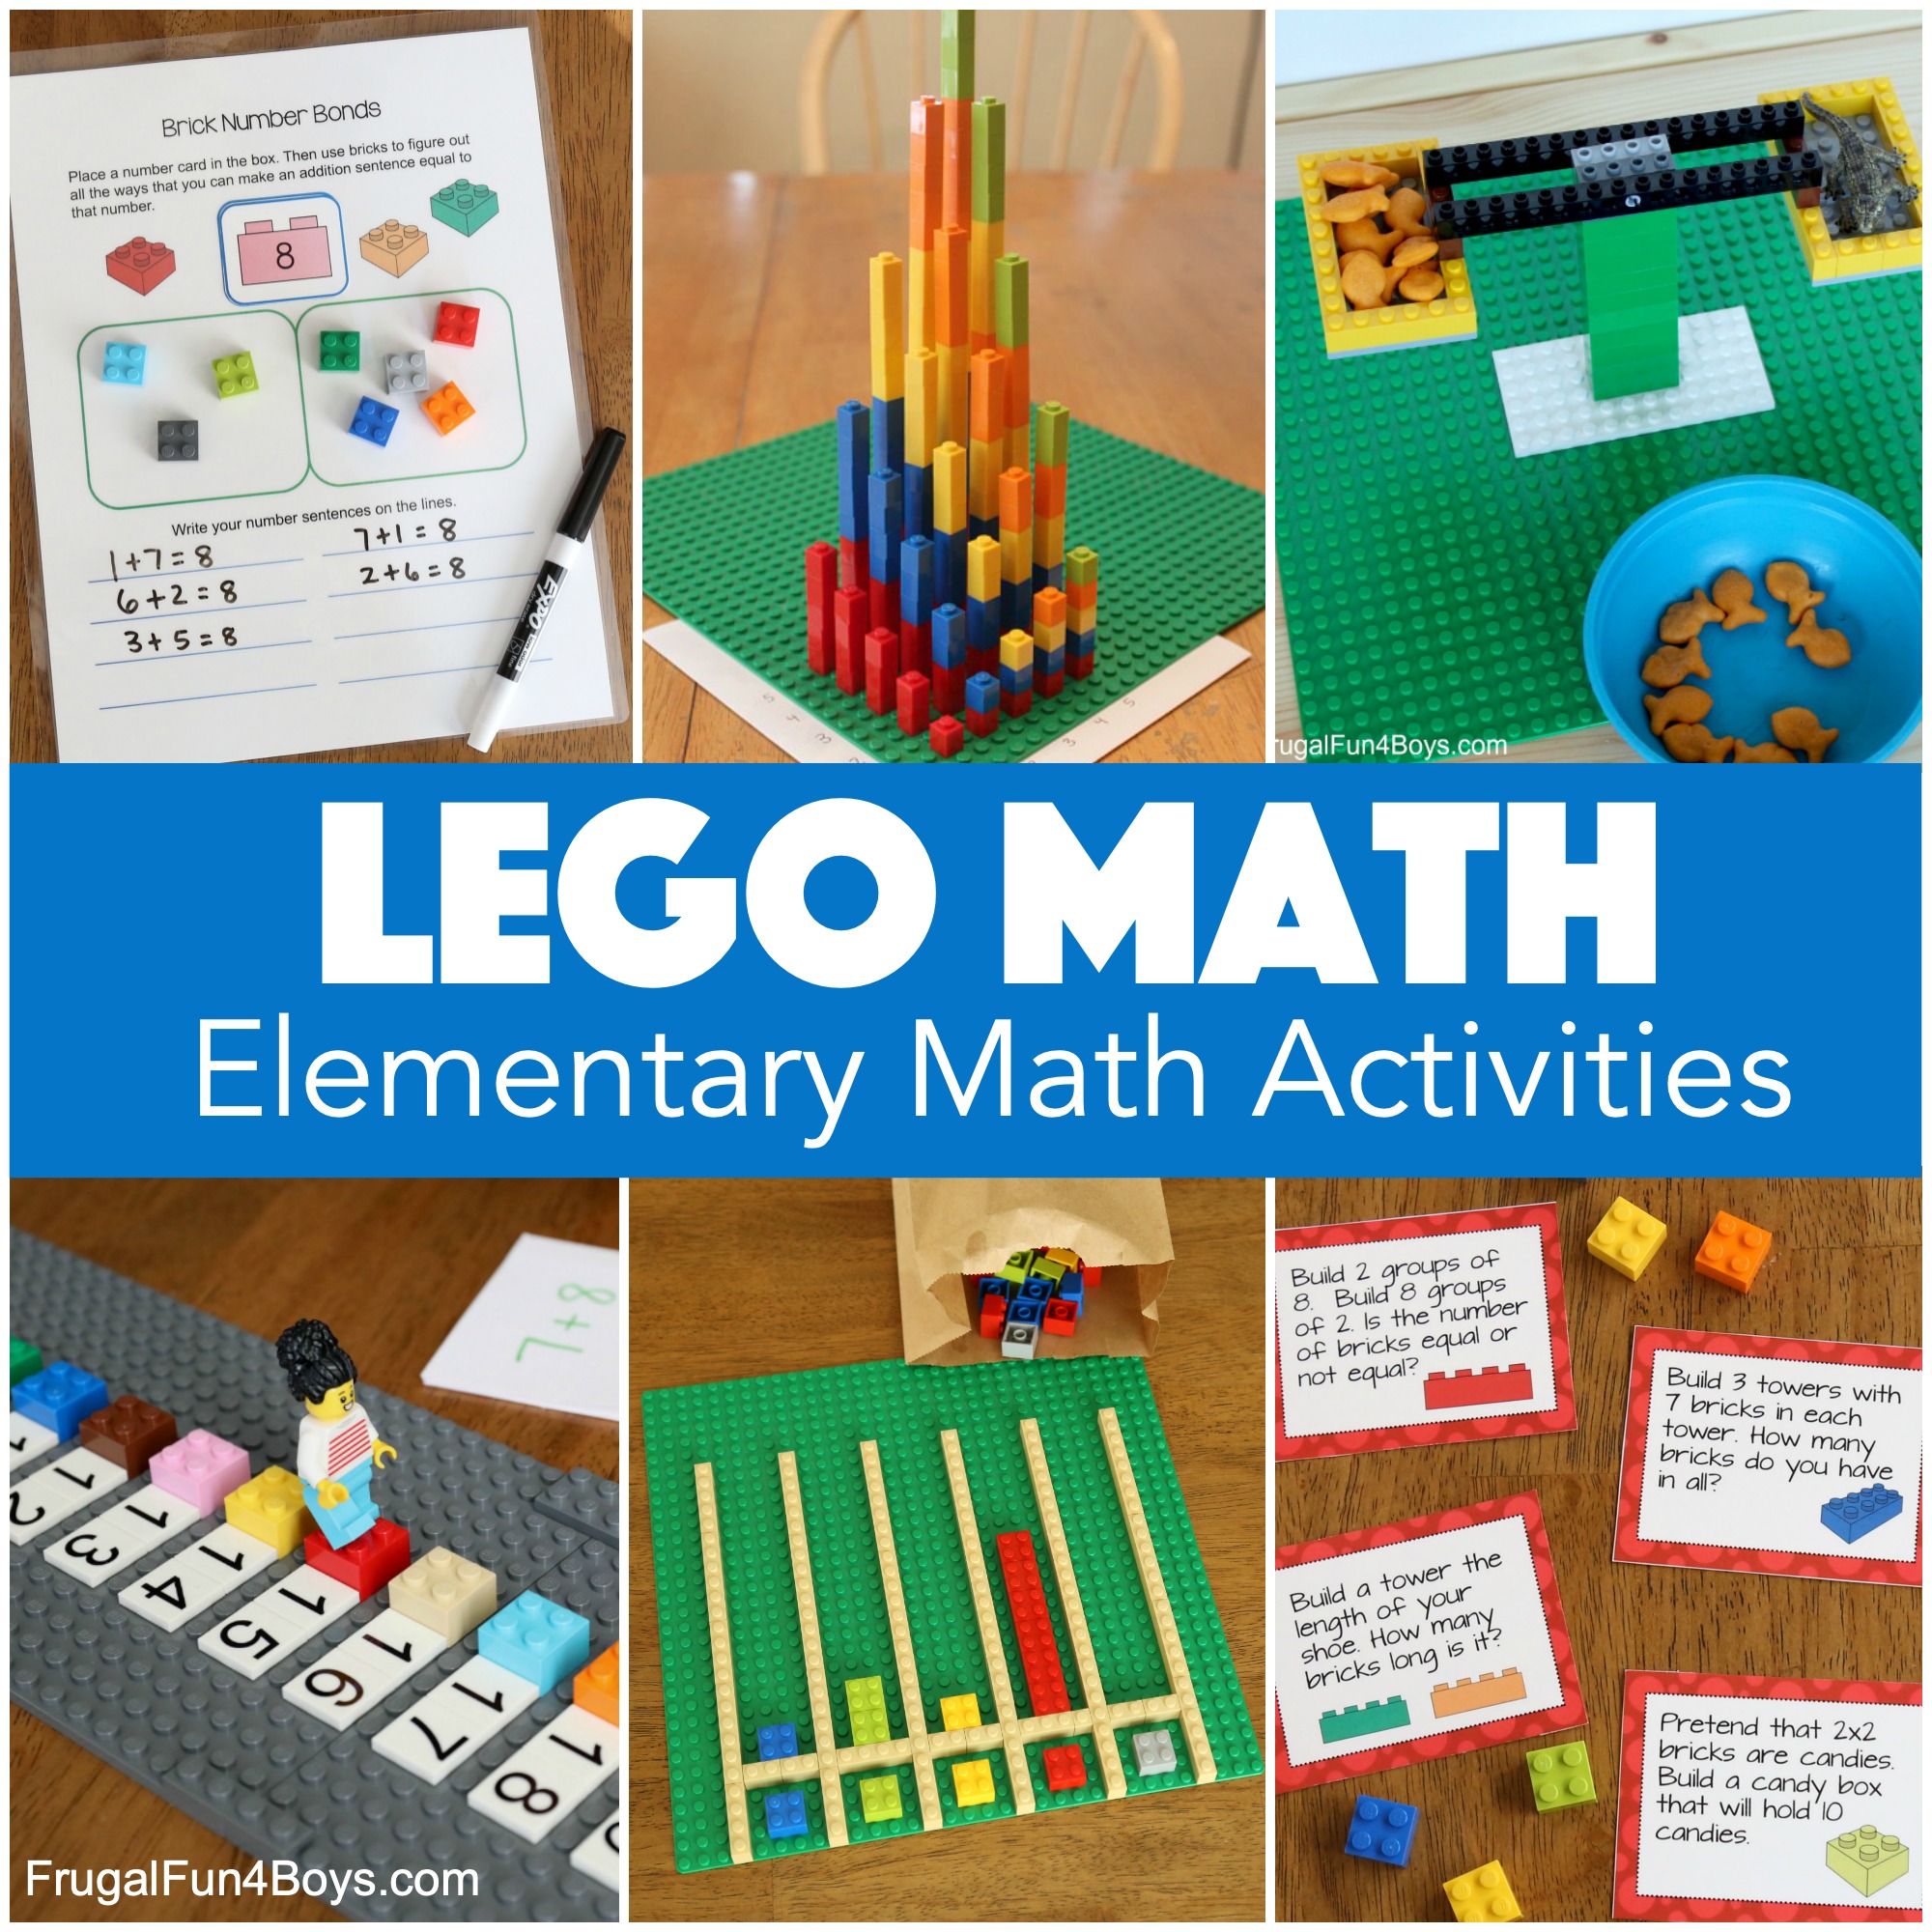
More LEGO Math Activities and Lessons
You can explore all our LEGO Math Activities for Elementary School here. Learn about measurement, fractions, multiplication, number lines, and more. Then you’ll want to check out our LEGO balance! So simple to build and fun to explore.
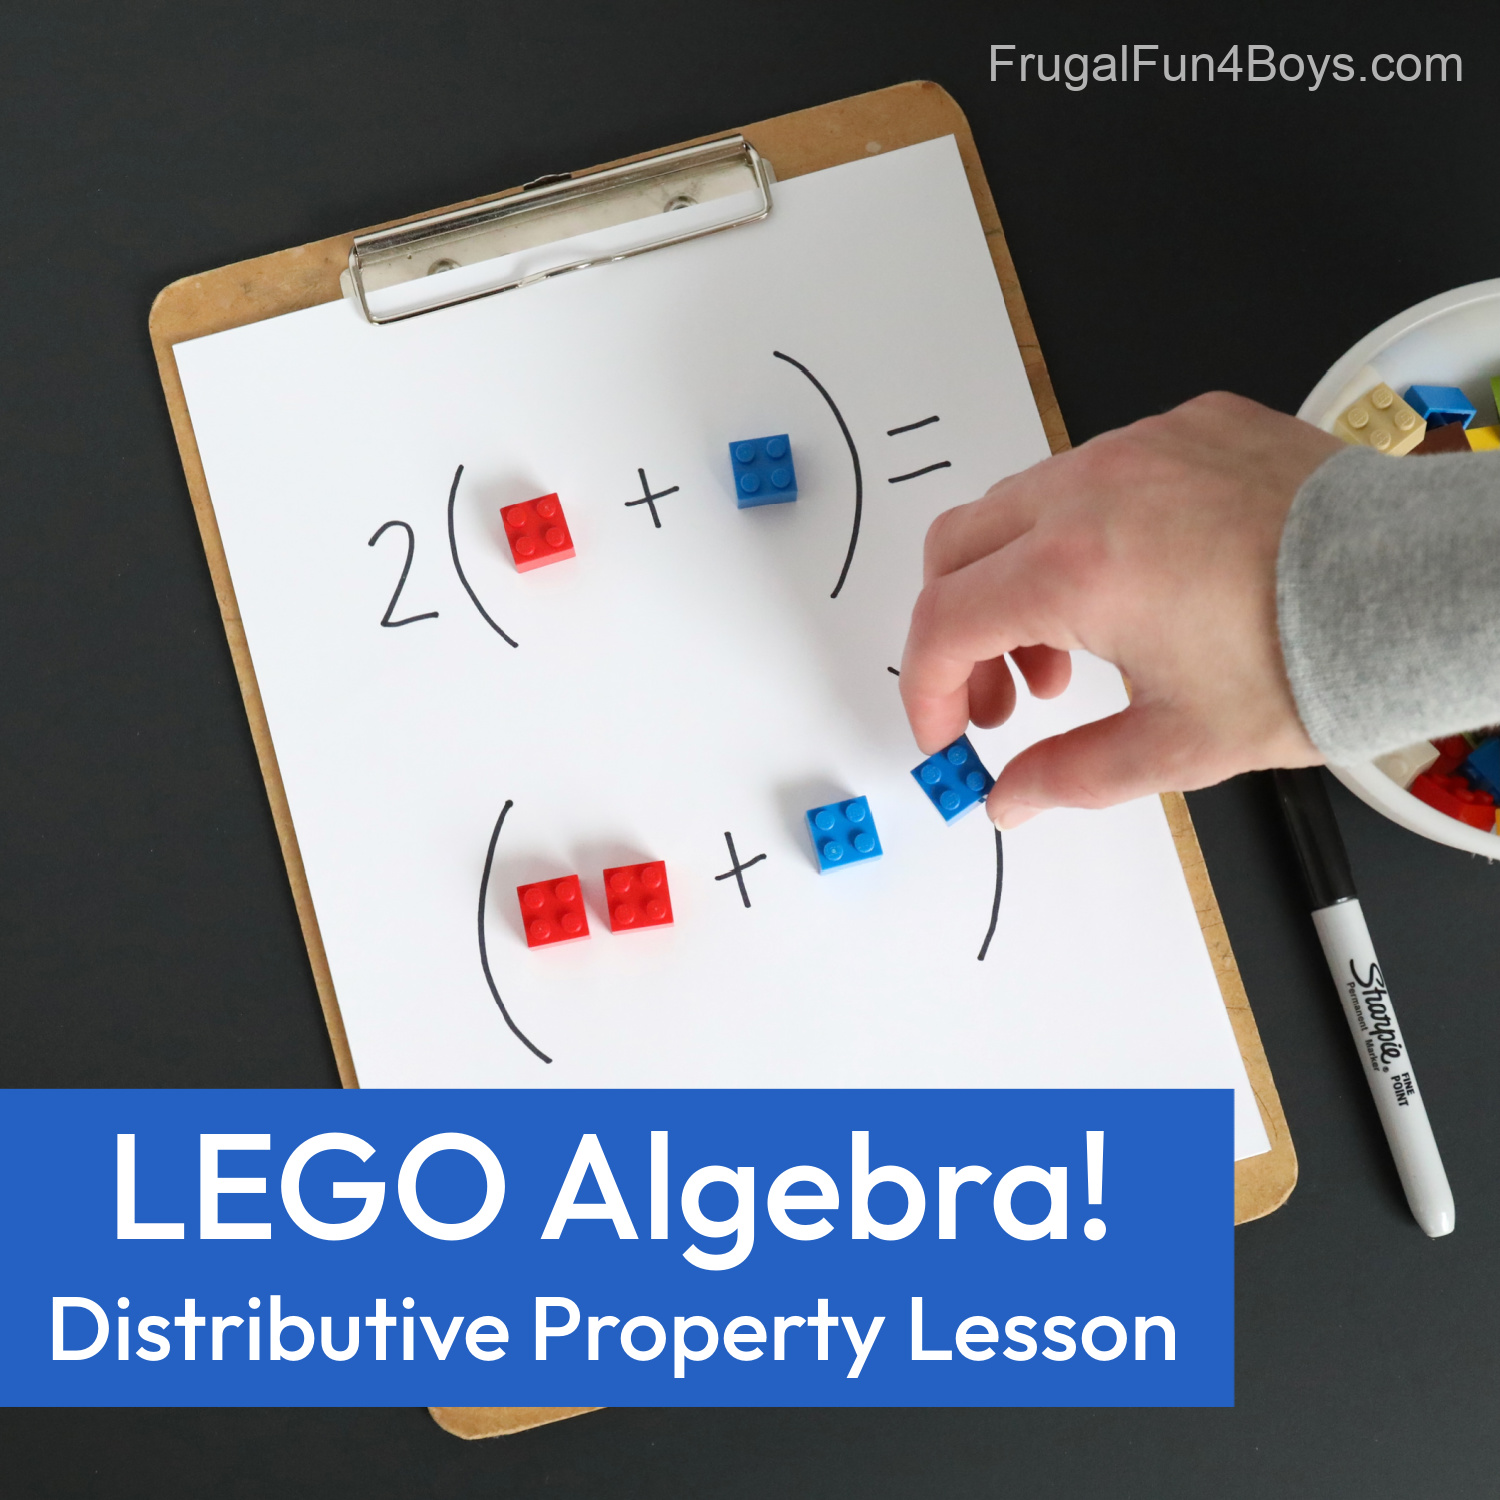
Then we also have some LEGO activities to teach ALGEBRA skills!
Teach the Distributive Property with LEGO Bricks. You just need 2 x 2 bricks and some paper!
Then here’s a fun way to teach Square Roots and Exponents with LEGO Bricks!

1 Comments
Neveen Sep 3, 2024
Thank you so much for these wonderful ideas!
Post a Comment