
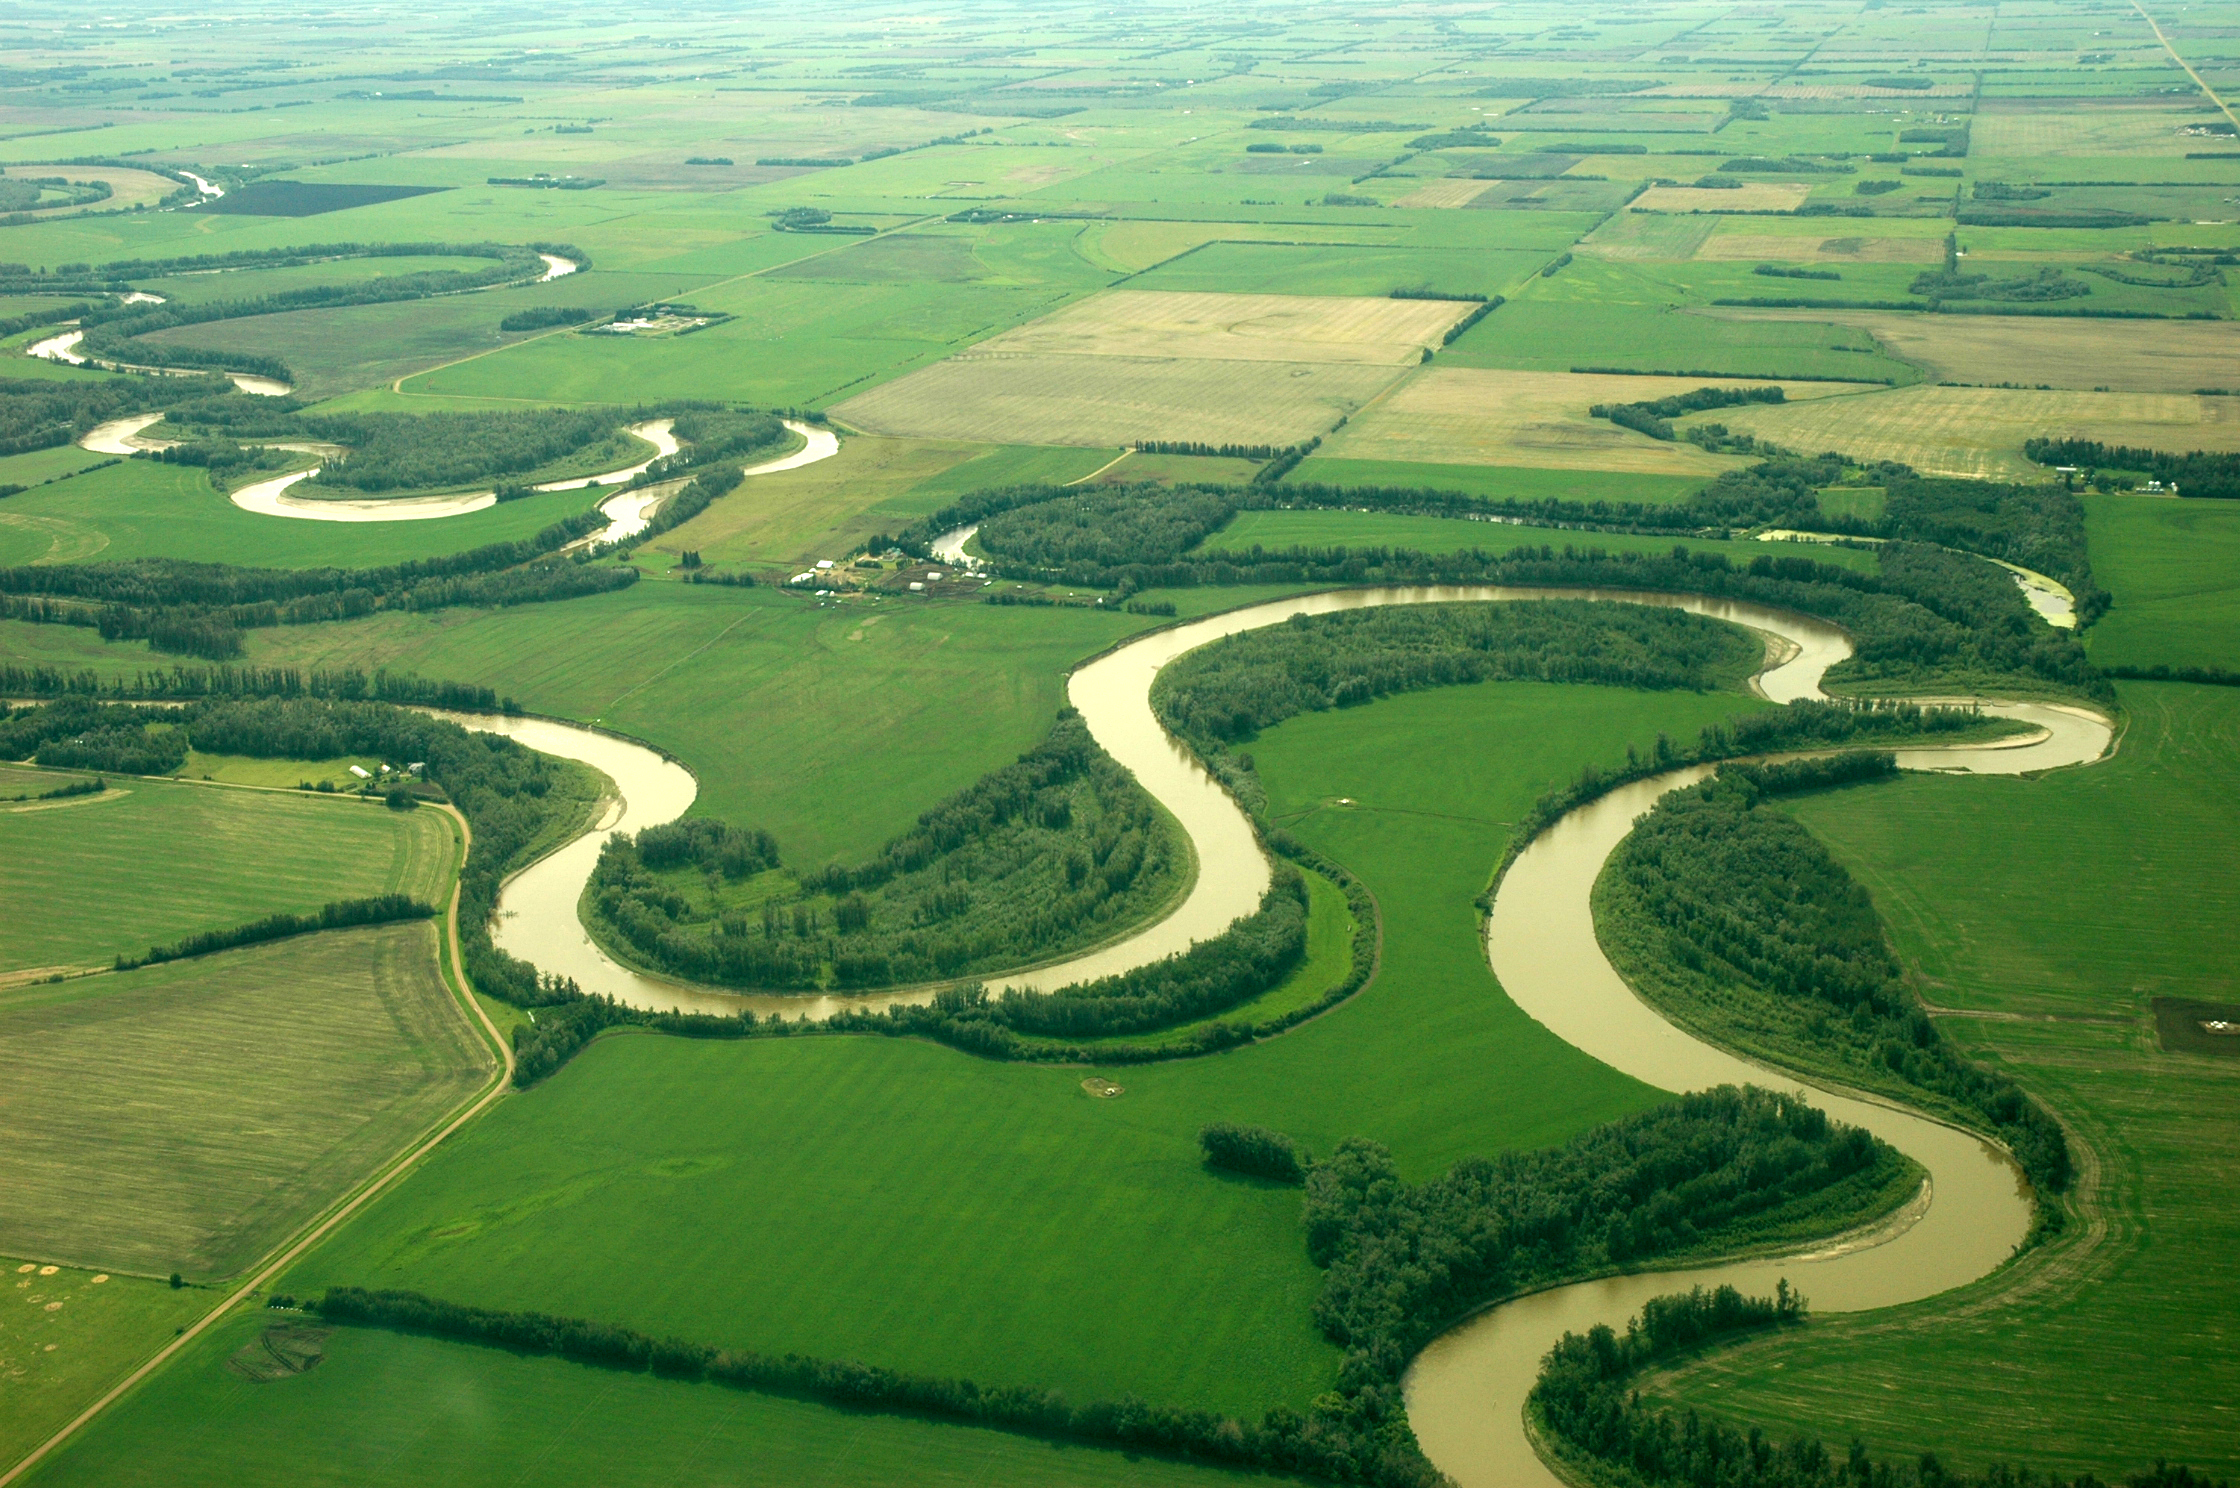
Why do rivers curve? Have you ever wondered that? If you’ve ever paid attention, you’ve probably noticed that rivers are rarely straight, and many have significant u-shaped curves. Some rivers curve around rocks, hills, and other natural landforms. But even a fairly straight river without interference from landforms will tend to form curves called meanders. Why is this?
Here’s a geology science experiment for kids that will demonstrate why rivers form meanders. In addition to being a great teaching opportunity, this activity is also just lots of fun because kids will get to experiment with a tin foil river!
So, why do rivers curve? Why do they form meanders?
Because no river is perfectly straight, a new river that forms is going to have some curves, even if they are small. The curves naturally get larger over time because of water speed, sedimentation, and erosion. On the outside of a curve, the water flows faster than the inside of the curve. The water erodes some of the river bank and carries the sediment downstream. However, on the inside of a curve, the water flows more slowly. This slower speed causes the water to drop sediment that it may have been carrying.
(If students aren’t familiar with moving water carrying sediment, try filling a jar with water and some dirt. When you shake the jar, the dirt particles are suspended in the water. When you stop shaking the jar, the larger particles will settle to the bottom first, followed by smaller particles once the water has completely stopped moving.)
So on one side of the curve (the inside), deposition is happening. This means that sediment is being deposited. On the outside of the curve, erosion is happening. The effect of all that is that the bend in the river gets larger over time!
Look at the river below to see a great example of meanders.
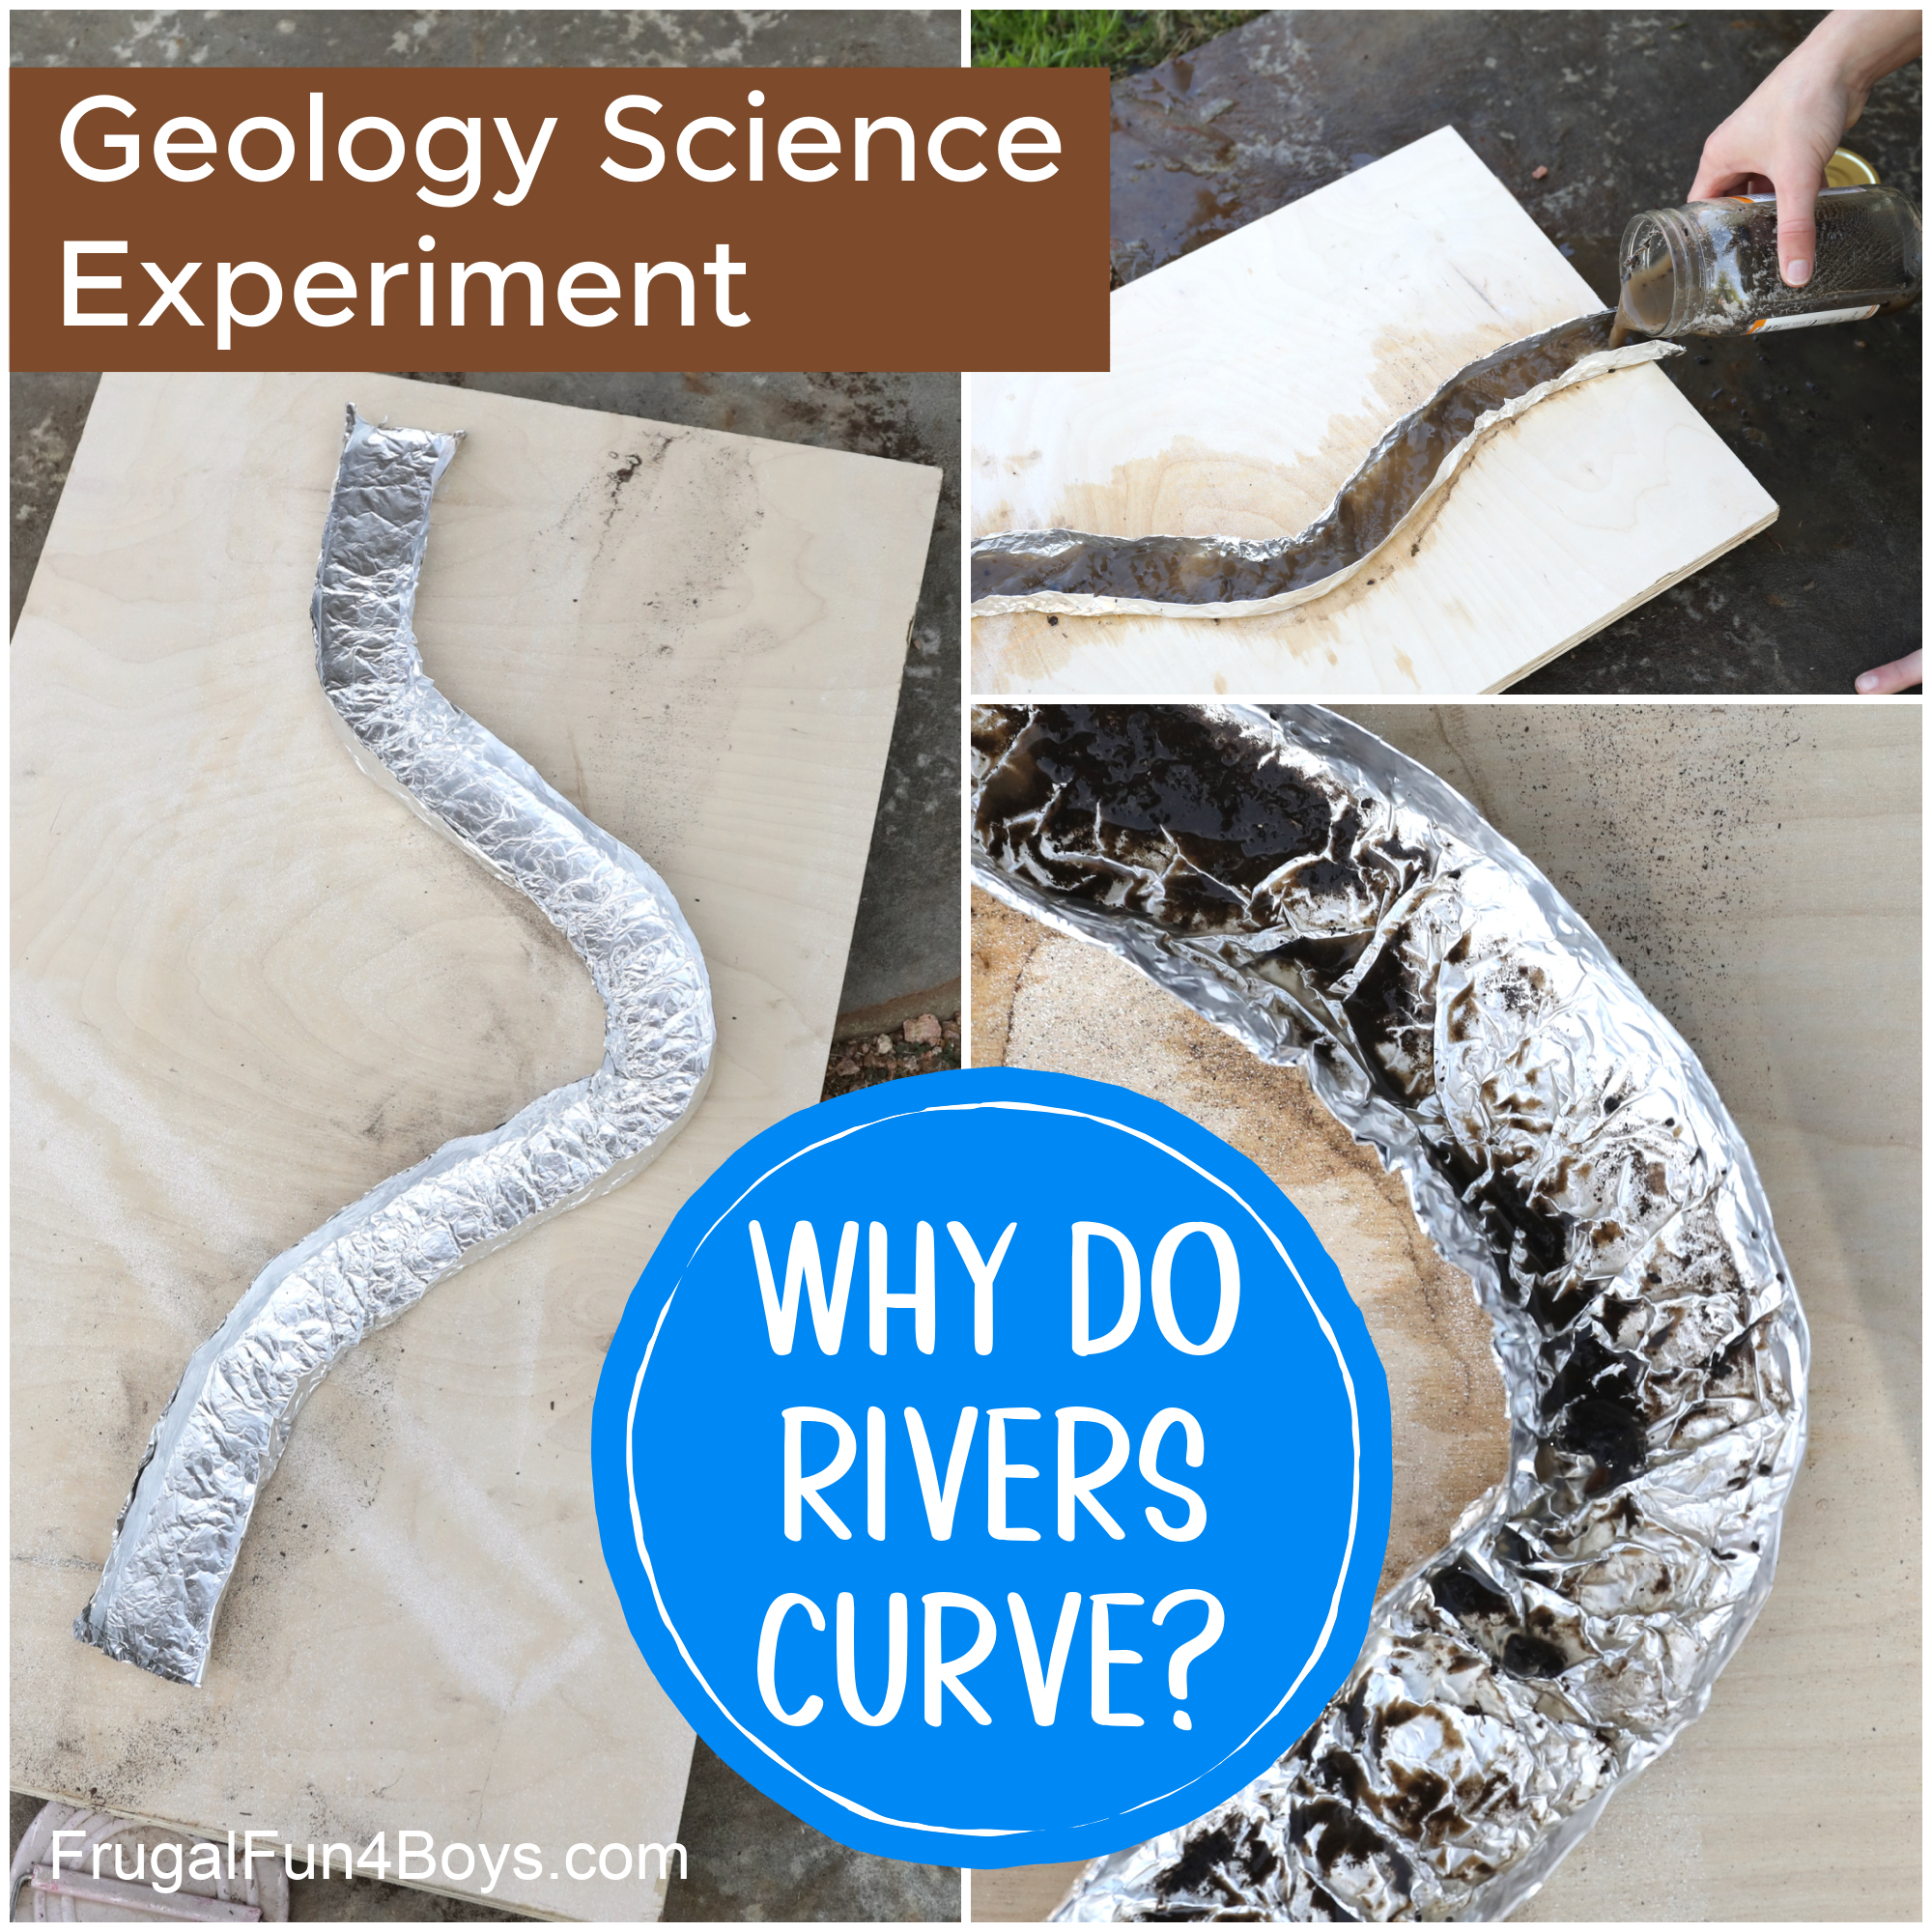
Why Do Rivers Curve? Science Experiment
Students can SEE the difference in sedimentation between the inside and outside of curves by making a tin foil river!
I found this experiment on Science Buddies and adapted it to suit the lesson I wanted to teach my 8th/9th grade science class. They did not do the sedimentation the same way we did, but you’ll want to check out their experiments as well.
Recommended Ages: Third grade (ages 8/9) up through high school
Middle schoolers and up can do this experiment with minimal help. Making the foil river with curves was a little challenging for my 13 – 15 year old students, but they did it themselves with only a little help from me. Upper elementary students will enjoy this experiment, but an adult may need to make the river, or at least be available to help.
Supplies Needed:
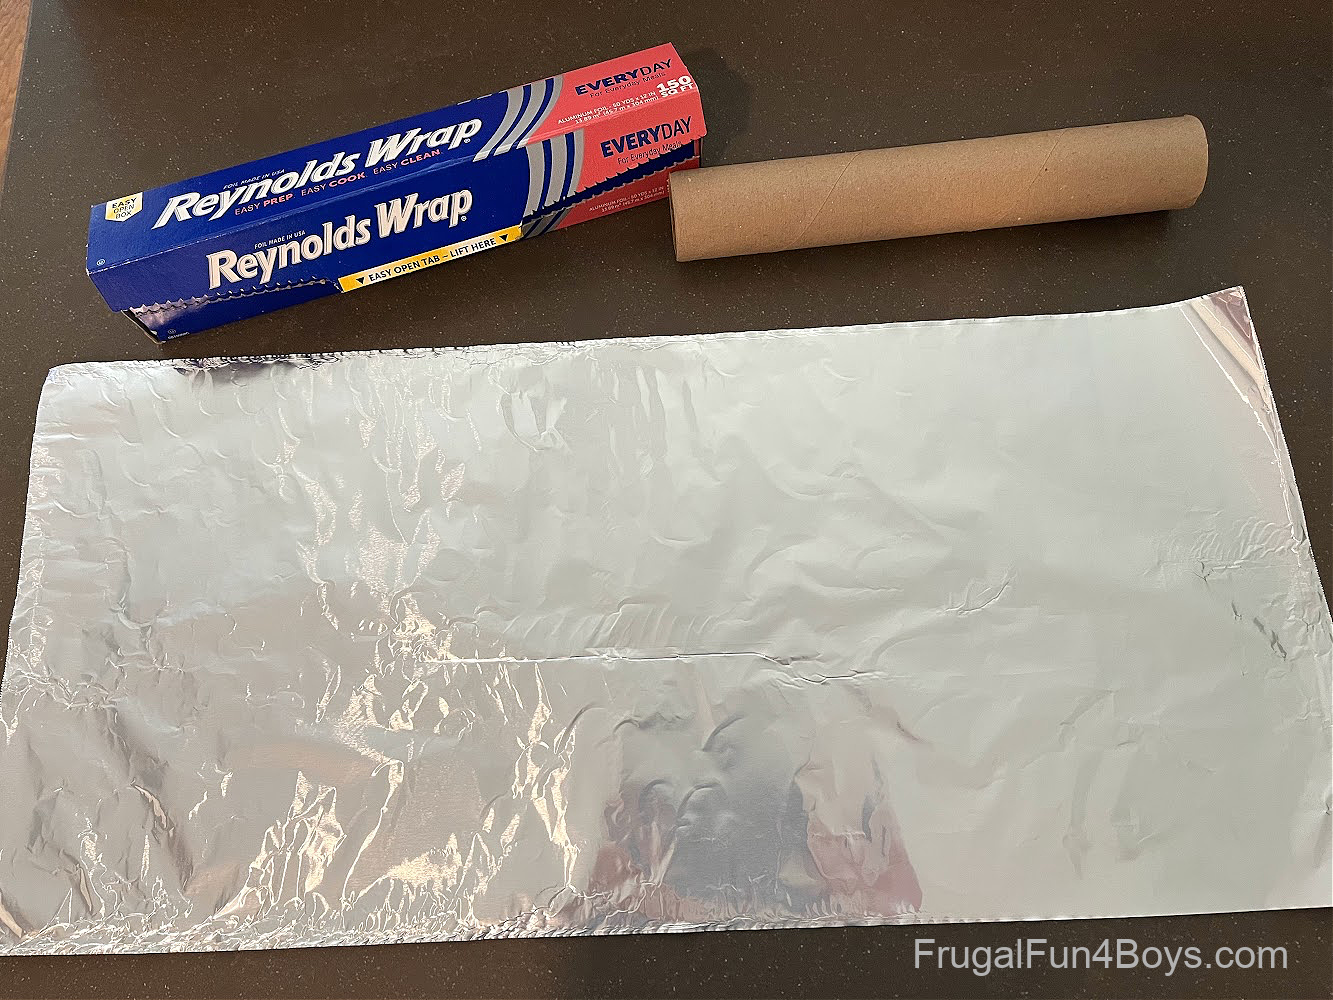
- Tin foil
- A board to support the river – ours was 14″ x 21,” but anything close to this will work
- Smaller pieces of wood (or books) to prop up your board at a slant
- Dirt
- A jar with a lid
- Clean water
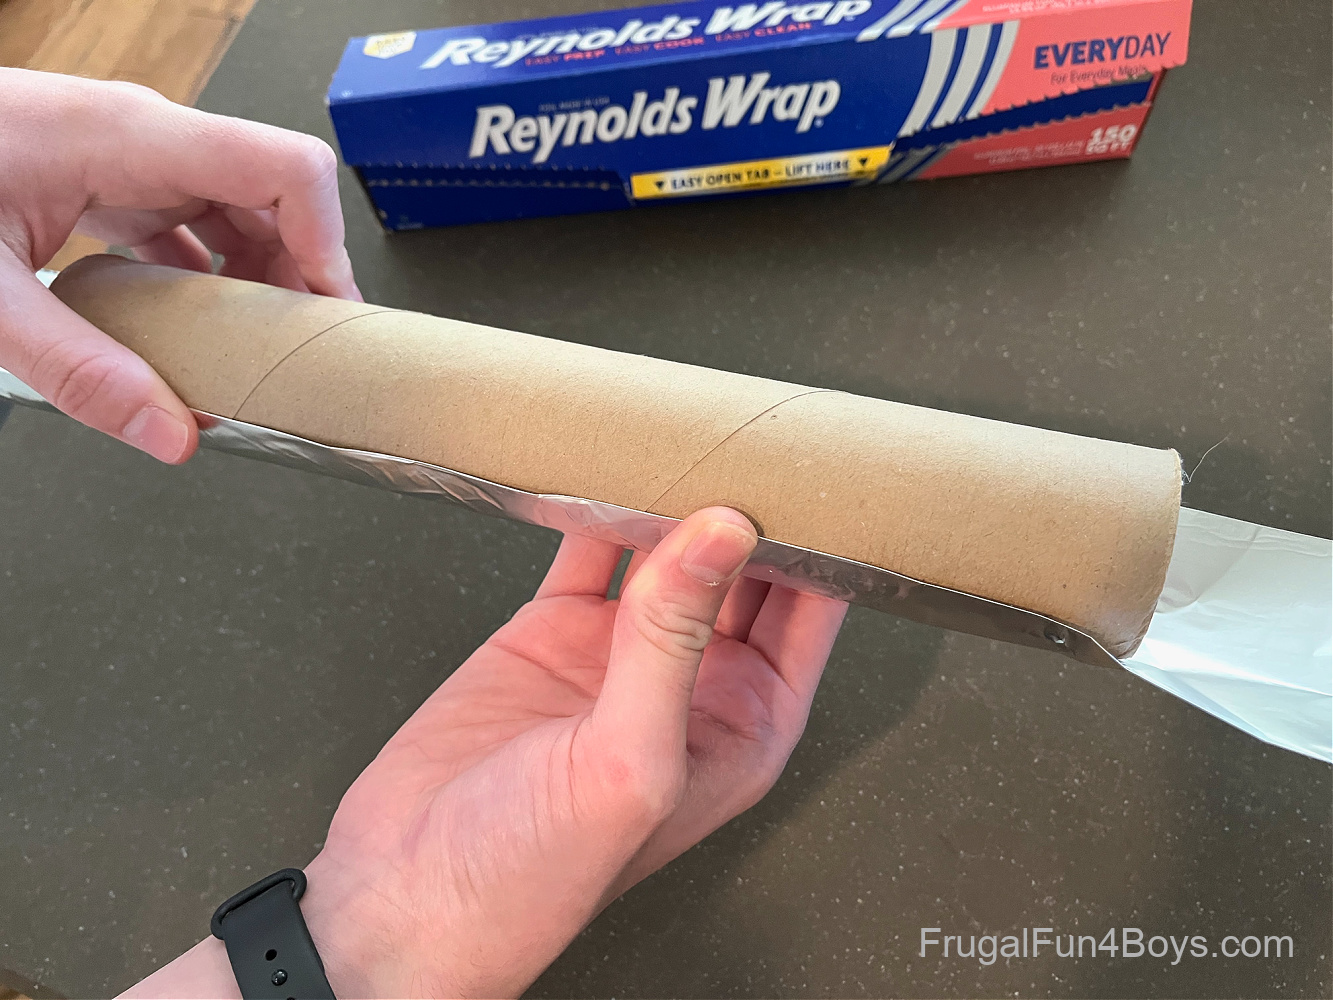
- An empty paper towel roll – helpful, but not essential
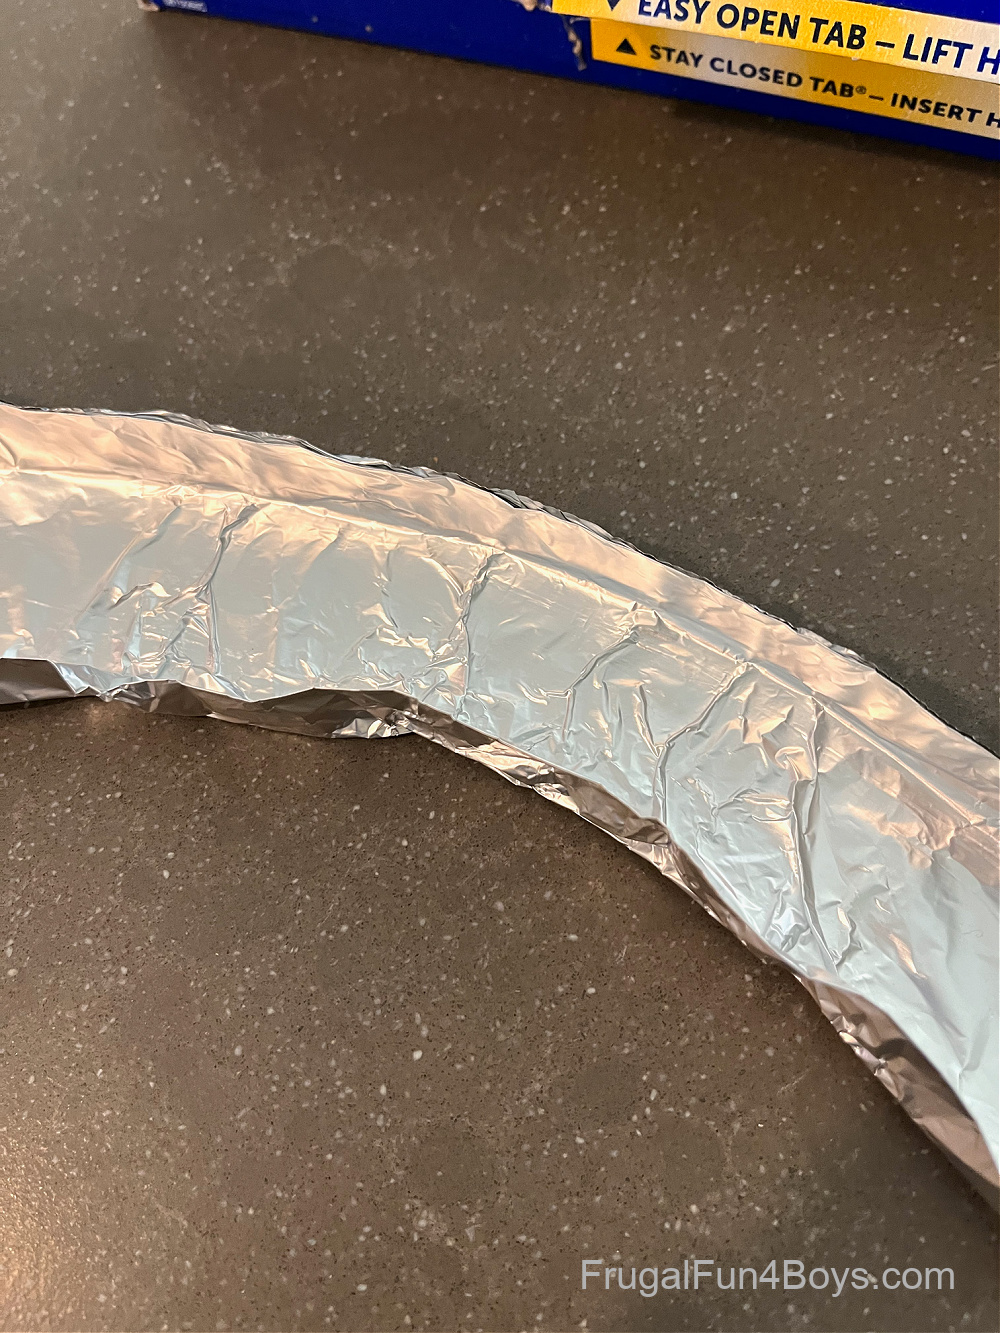
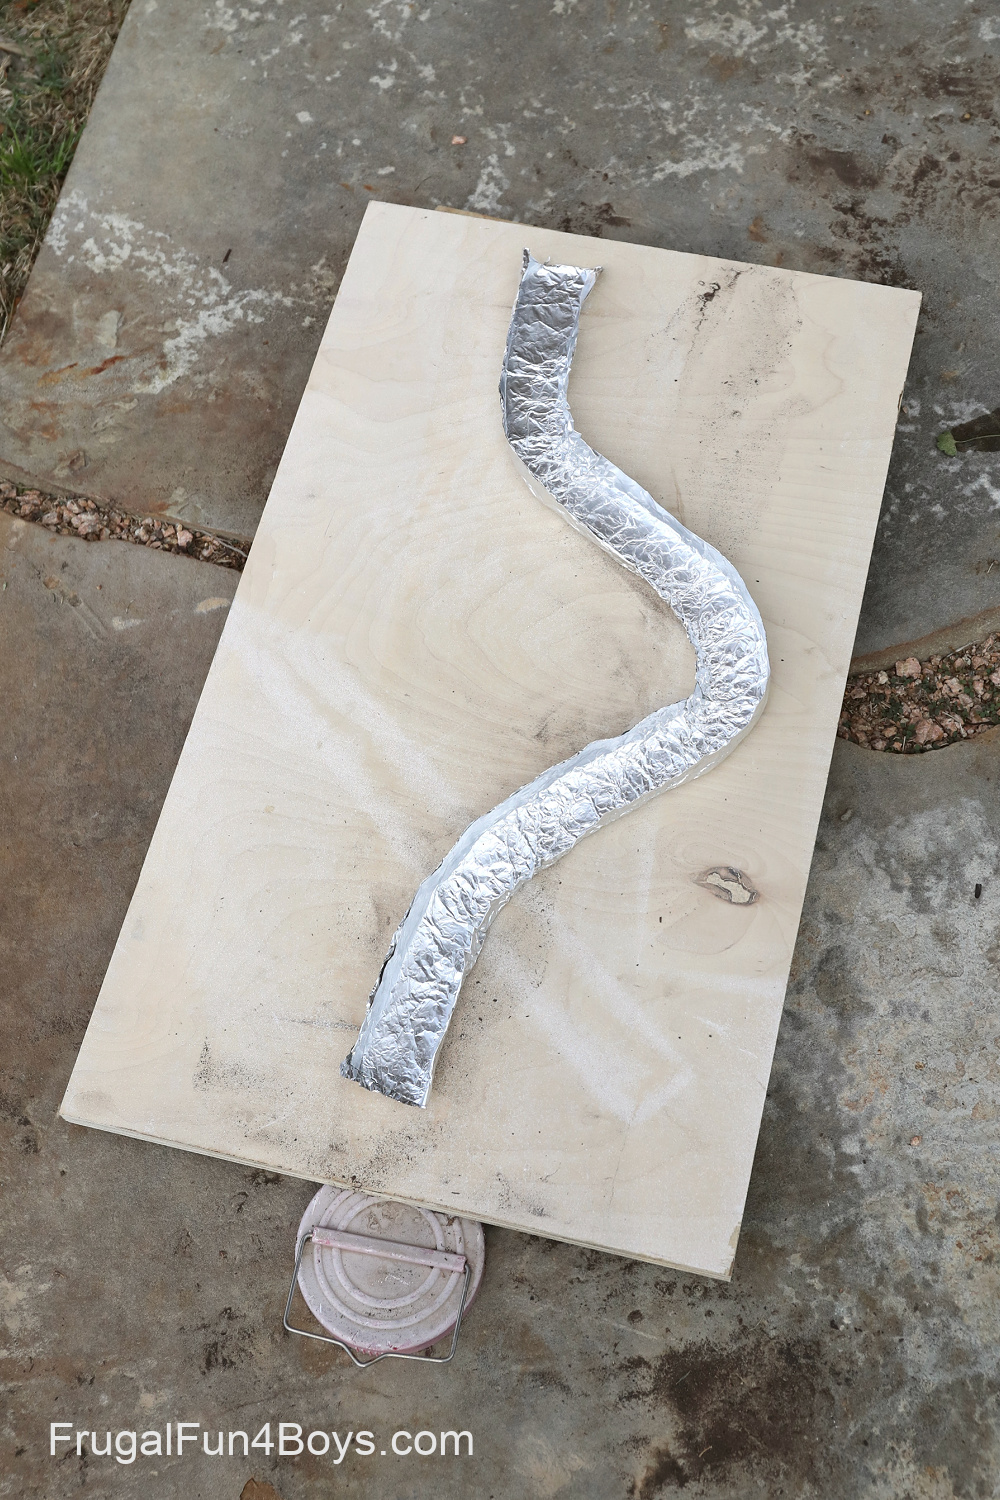
First, make your river. Start by tearing off a sheet of tin foil that is 2 – 3 feet long. (This is a shorter piece so that I can show you how to fold it.)
Fold the foil in half lengthwise.
Then fold it in half lengthwise again. This gives the foil enough thickness to hold its shape.

To get a nice even river shape, it can be helpful to fold the foil around an empty paper towel roll.
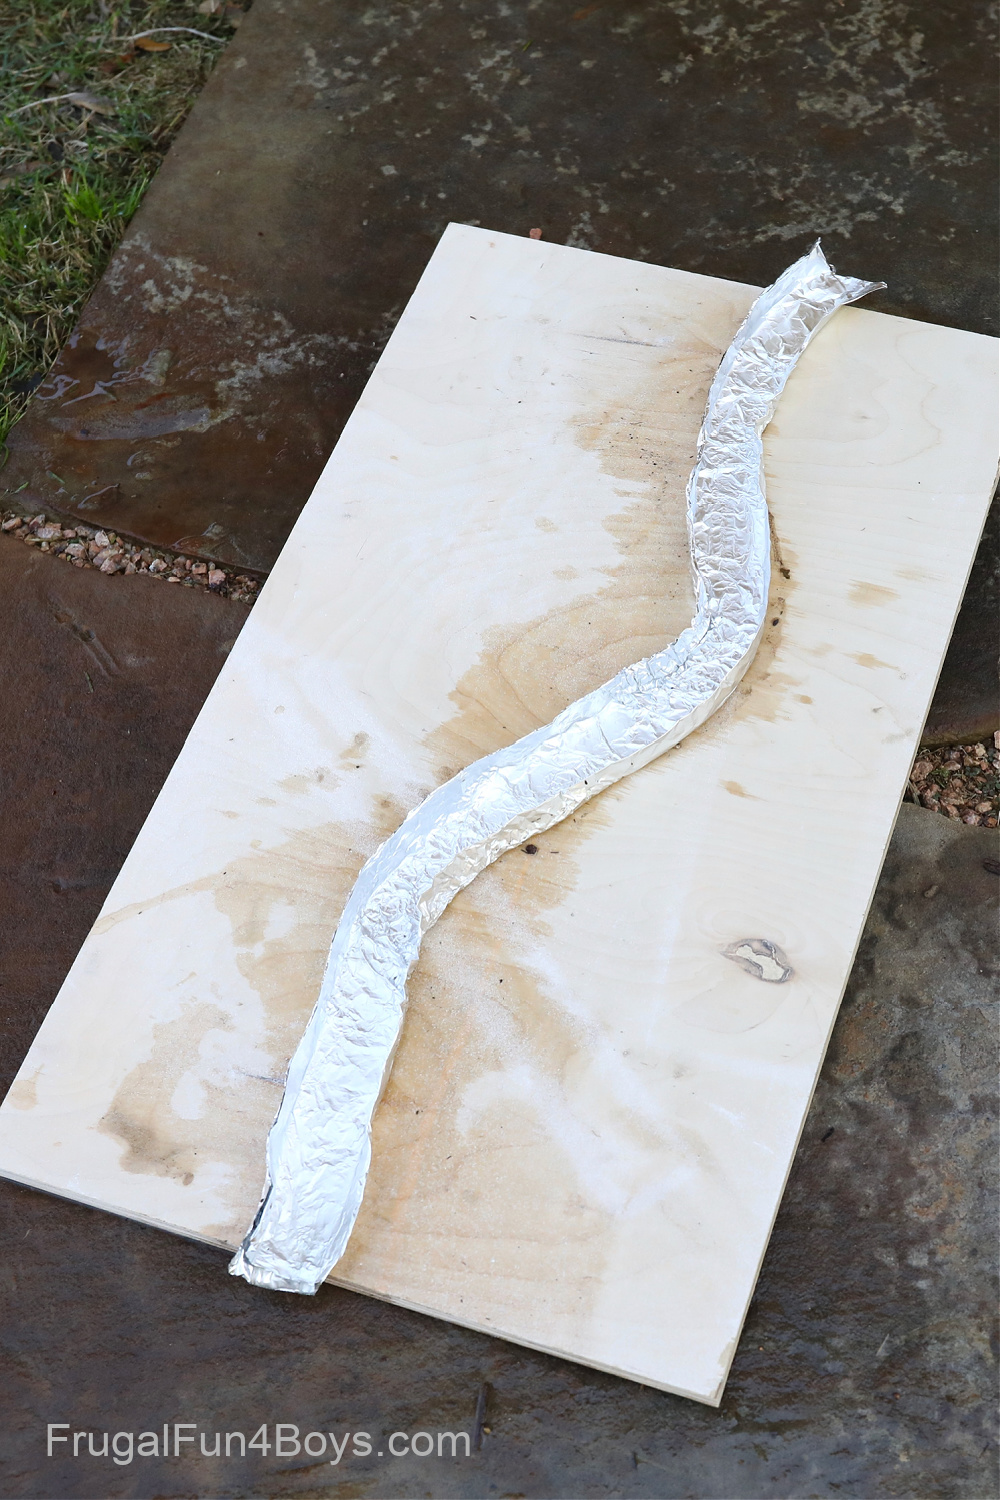
Then, start shaping the foil to make a river with curves in it.
You’ll want the bottom of your river to be as flat as possible. For this experiment, we are testing the effect of the curves. We don’t want the elevation of the river bed to be a factor!
NOTE: You don’t want the curves to be NARROWER than the rest of the river. Narrow spots will make the river speed up, or if they are really narrow they may cause the water to pool behind them. Try to make your river a uniform width.
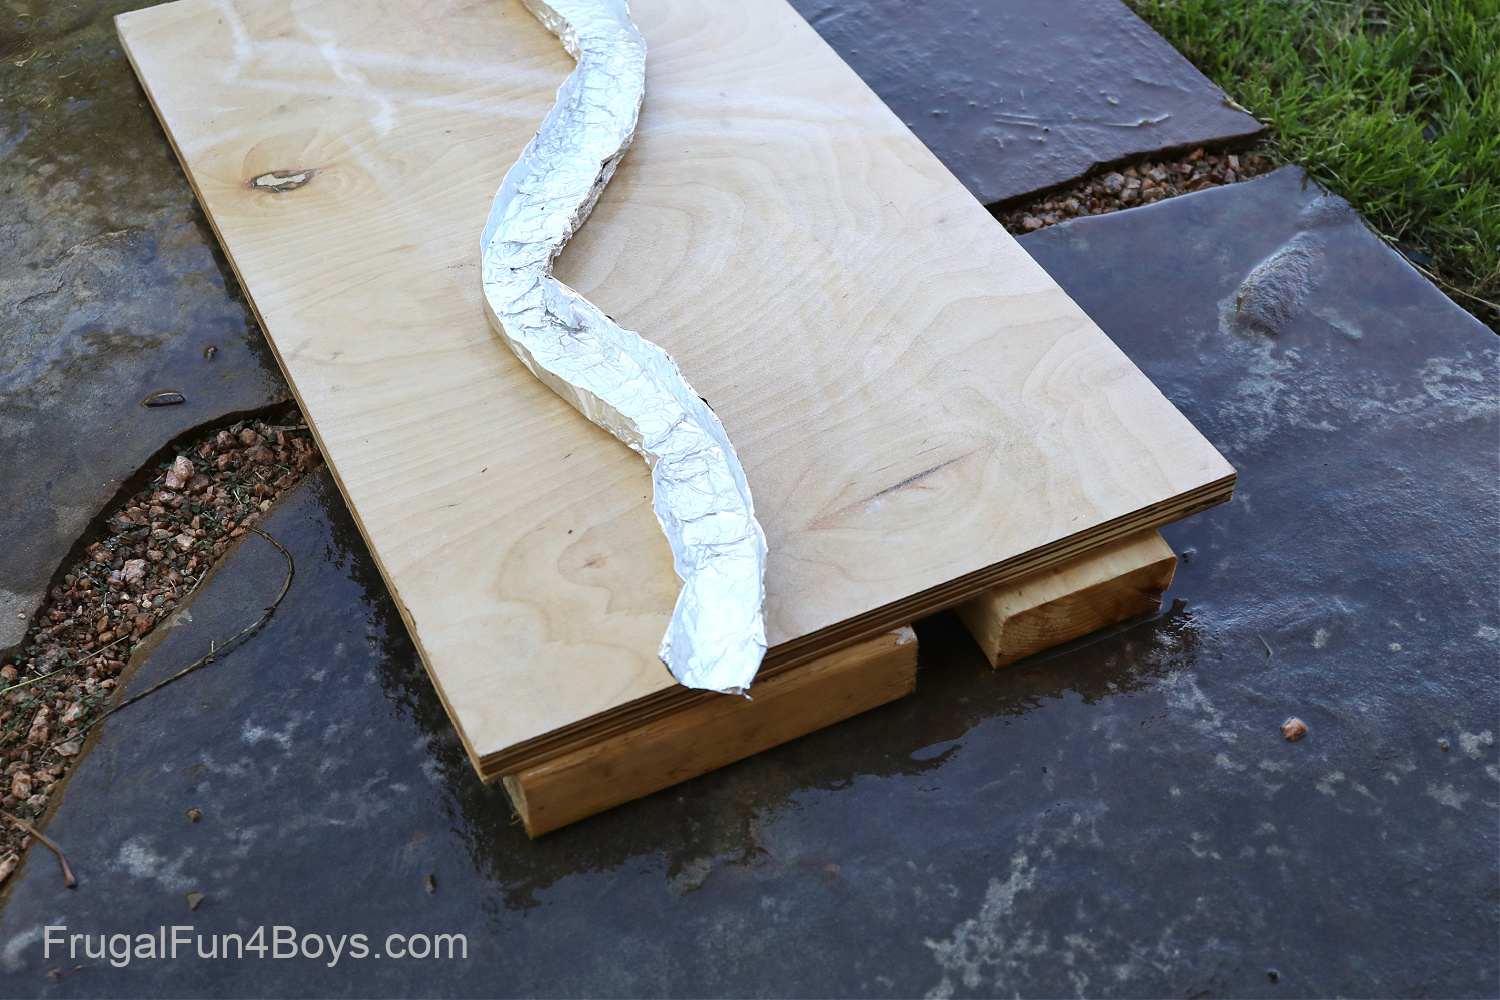
Once you’ve made your foil river, set it up at a slant by using a board to support it.
I put a couple small blocks of wood under one end of the board. You don’t want much of a slant! If the water moves too quickly, the sediment won’t deposit itself on the river bottom.
Put some dirt in your jar. Add water, and shake it up. Then pour the muddy water into your riverbed!
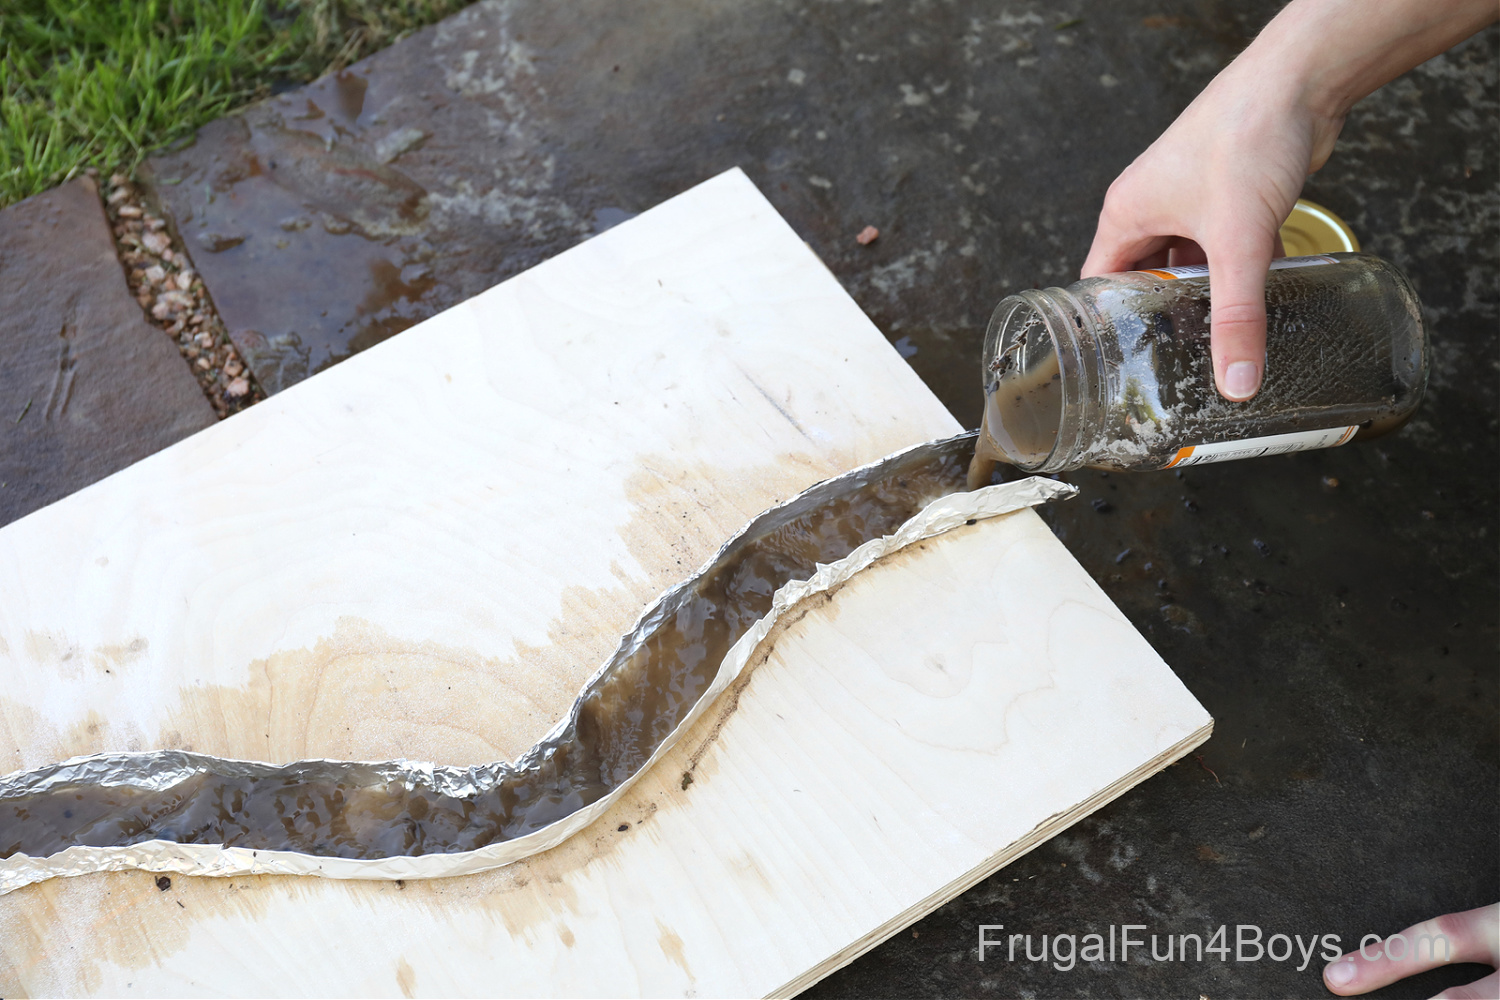
You can visibly see the water moving more slowly on the inside of the curves! Watching larger pieces of sediment move along is helpful for observing the water speed.
We could definitely see more sediment deposited on the insides of our curves, but we wondered if we would get an even more dramatic result with bigger curves! So we adjusted our river.
Here are our results! Isn’t this cool? We did several runs with our muddy water river. Every time, we had more sediment on the inside of the big curve.
Tip: If you want to try your river more than once, just rinse it with clean water between runs!
What else caused sediment to drop? Foil wrinkles. A real river would have rocks and fallen tree branches that would do the same thing!
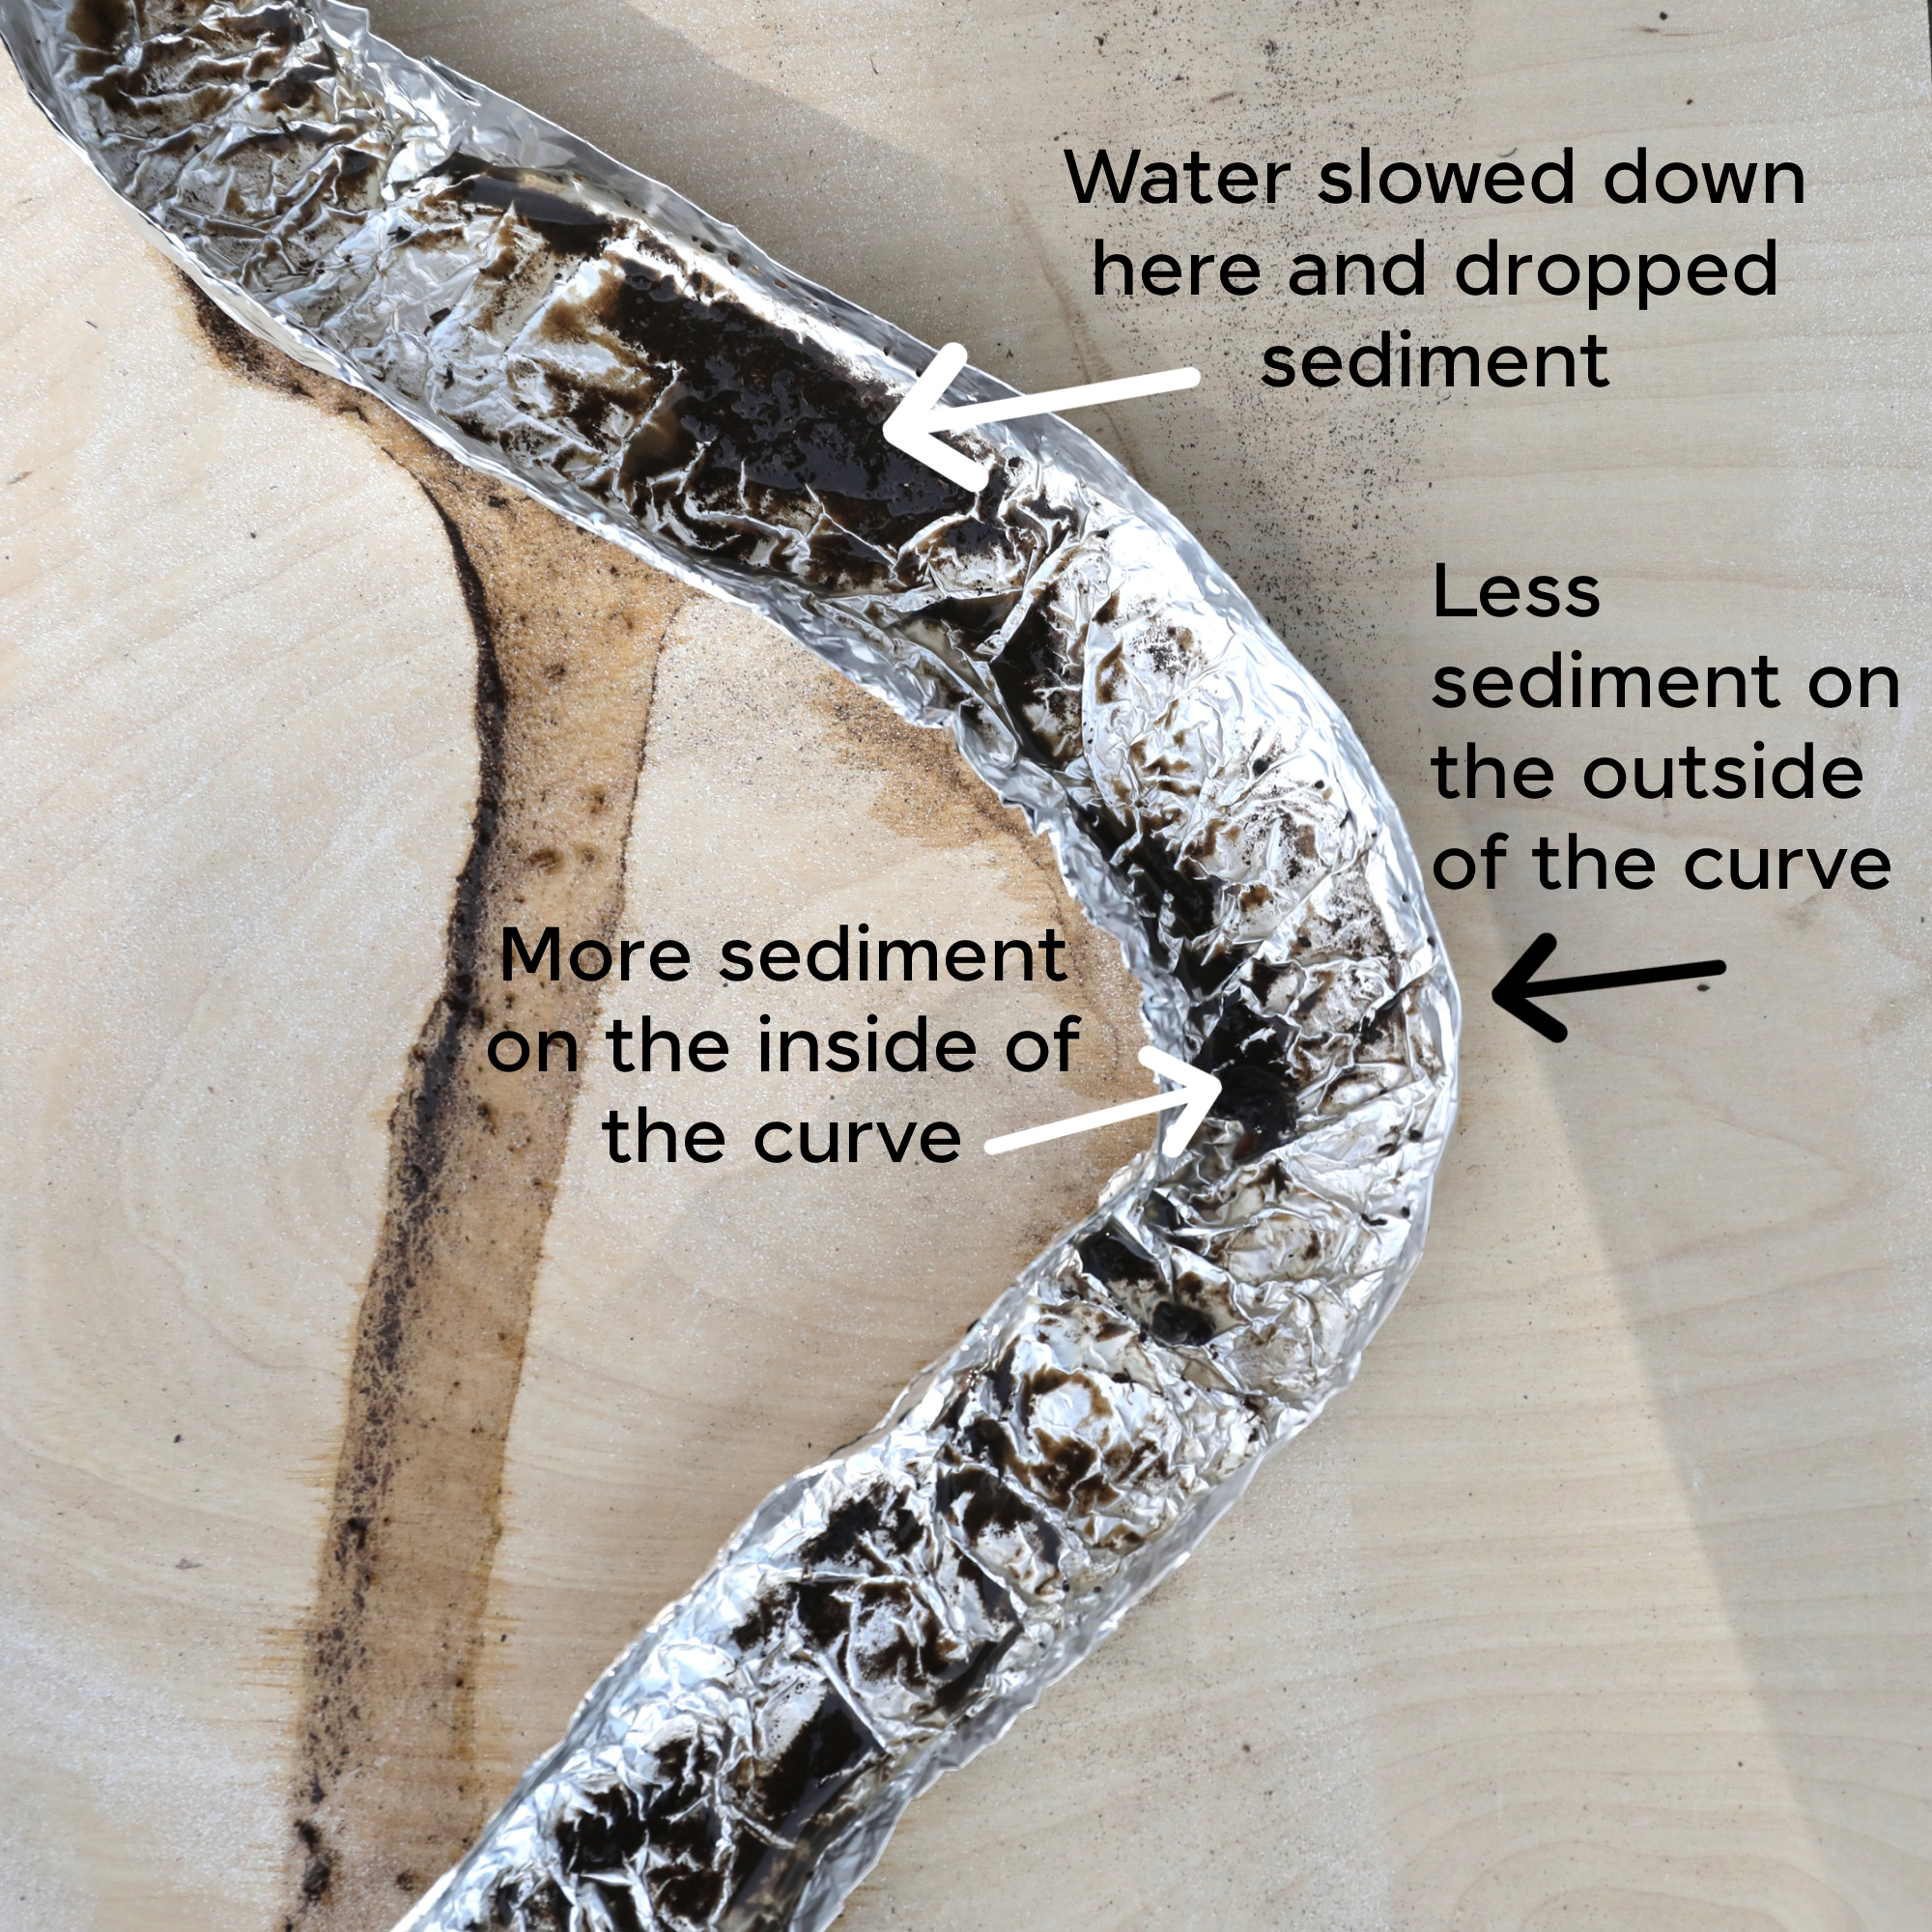
In the photo, you can see a large area of sediment before the curve. I think that the curve was just narrow enough to slow the water down leading up to the curve, which meant that the water let go of more sediment.
Try Testing More Variables
- Compare different water speeds by changing the slant of the board. How does this affect deposition of sediment throughout the river?
- Compare sandy water with muddy water. What differences in sedimentation do you notice?
- And of course, you can compare small curves with large curves to observe the effect on deposition of sediment.
Need more science experiment ideas?
Explore Why Is the Sky Blue? with this cool experiment! This experiment is lots of fun, and only requires a few minutes to perform.

It’s so much fun to make a Sand Volcano! This is a fun twist on the baking soda and vinegar volcano experiment because you don’t have to mess with paper mache!
0 Comments
Post a Comment