
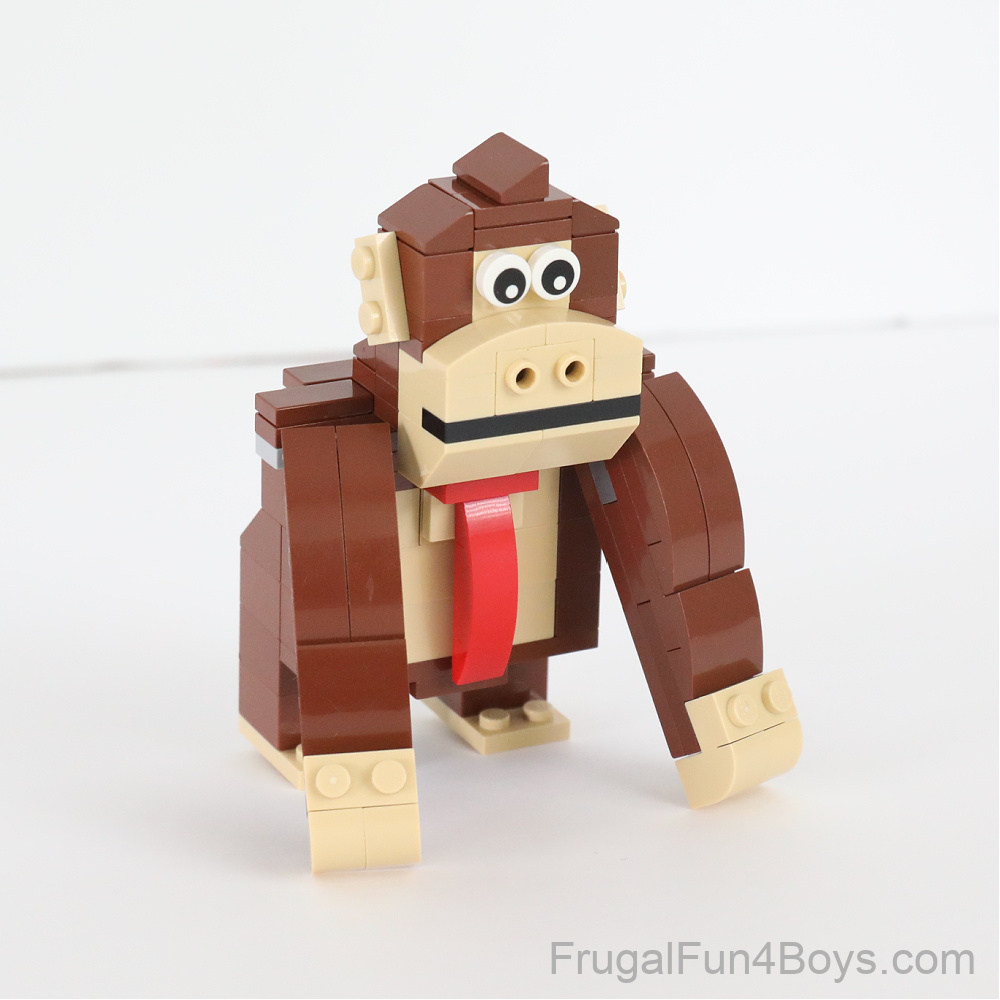
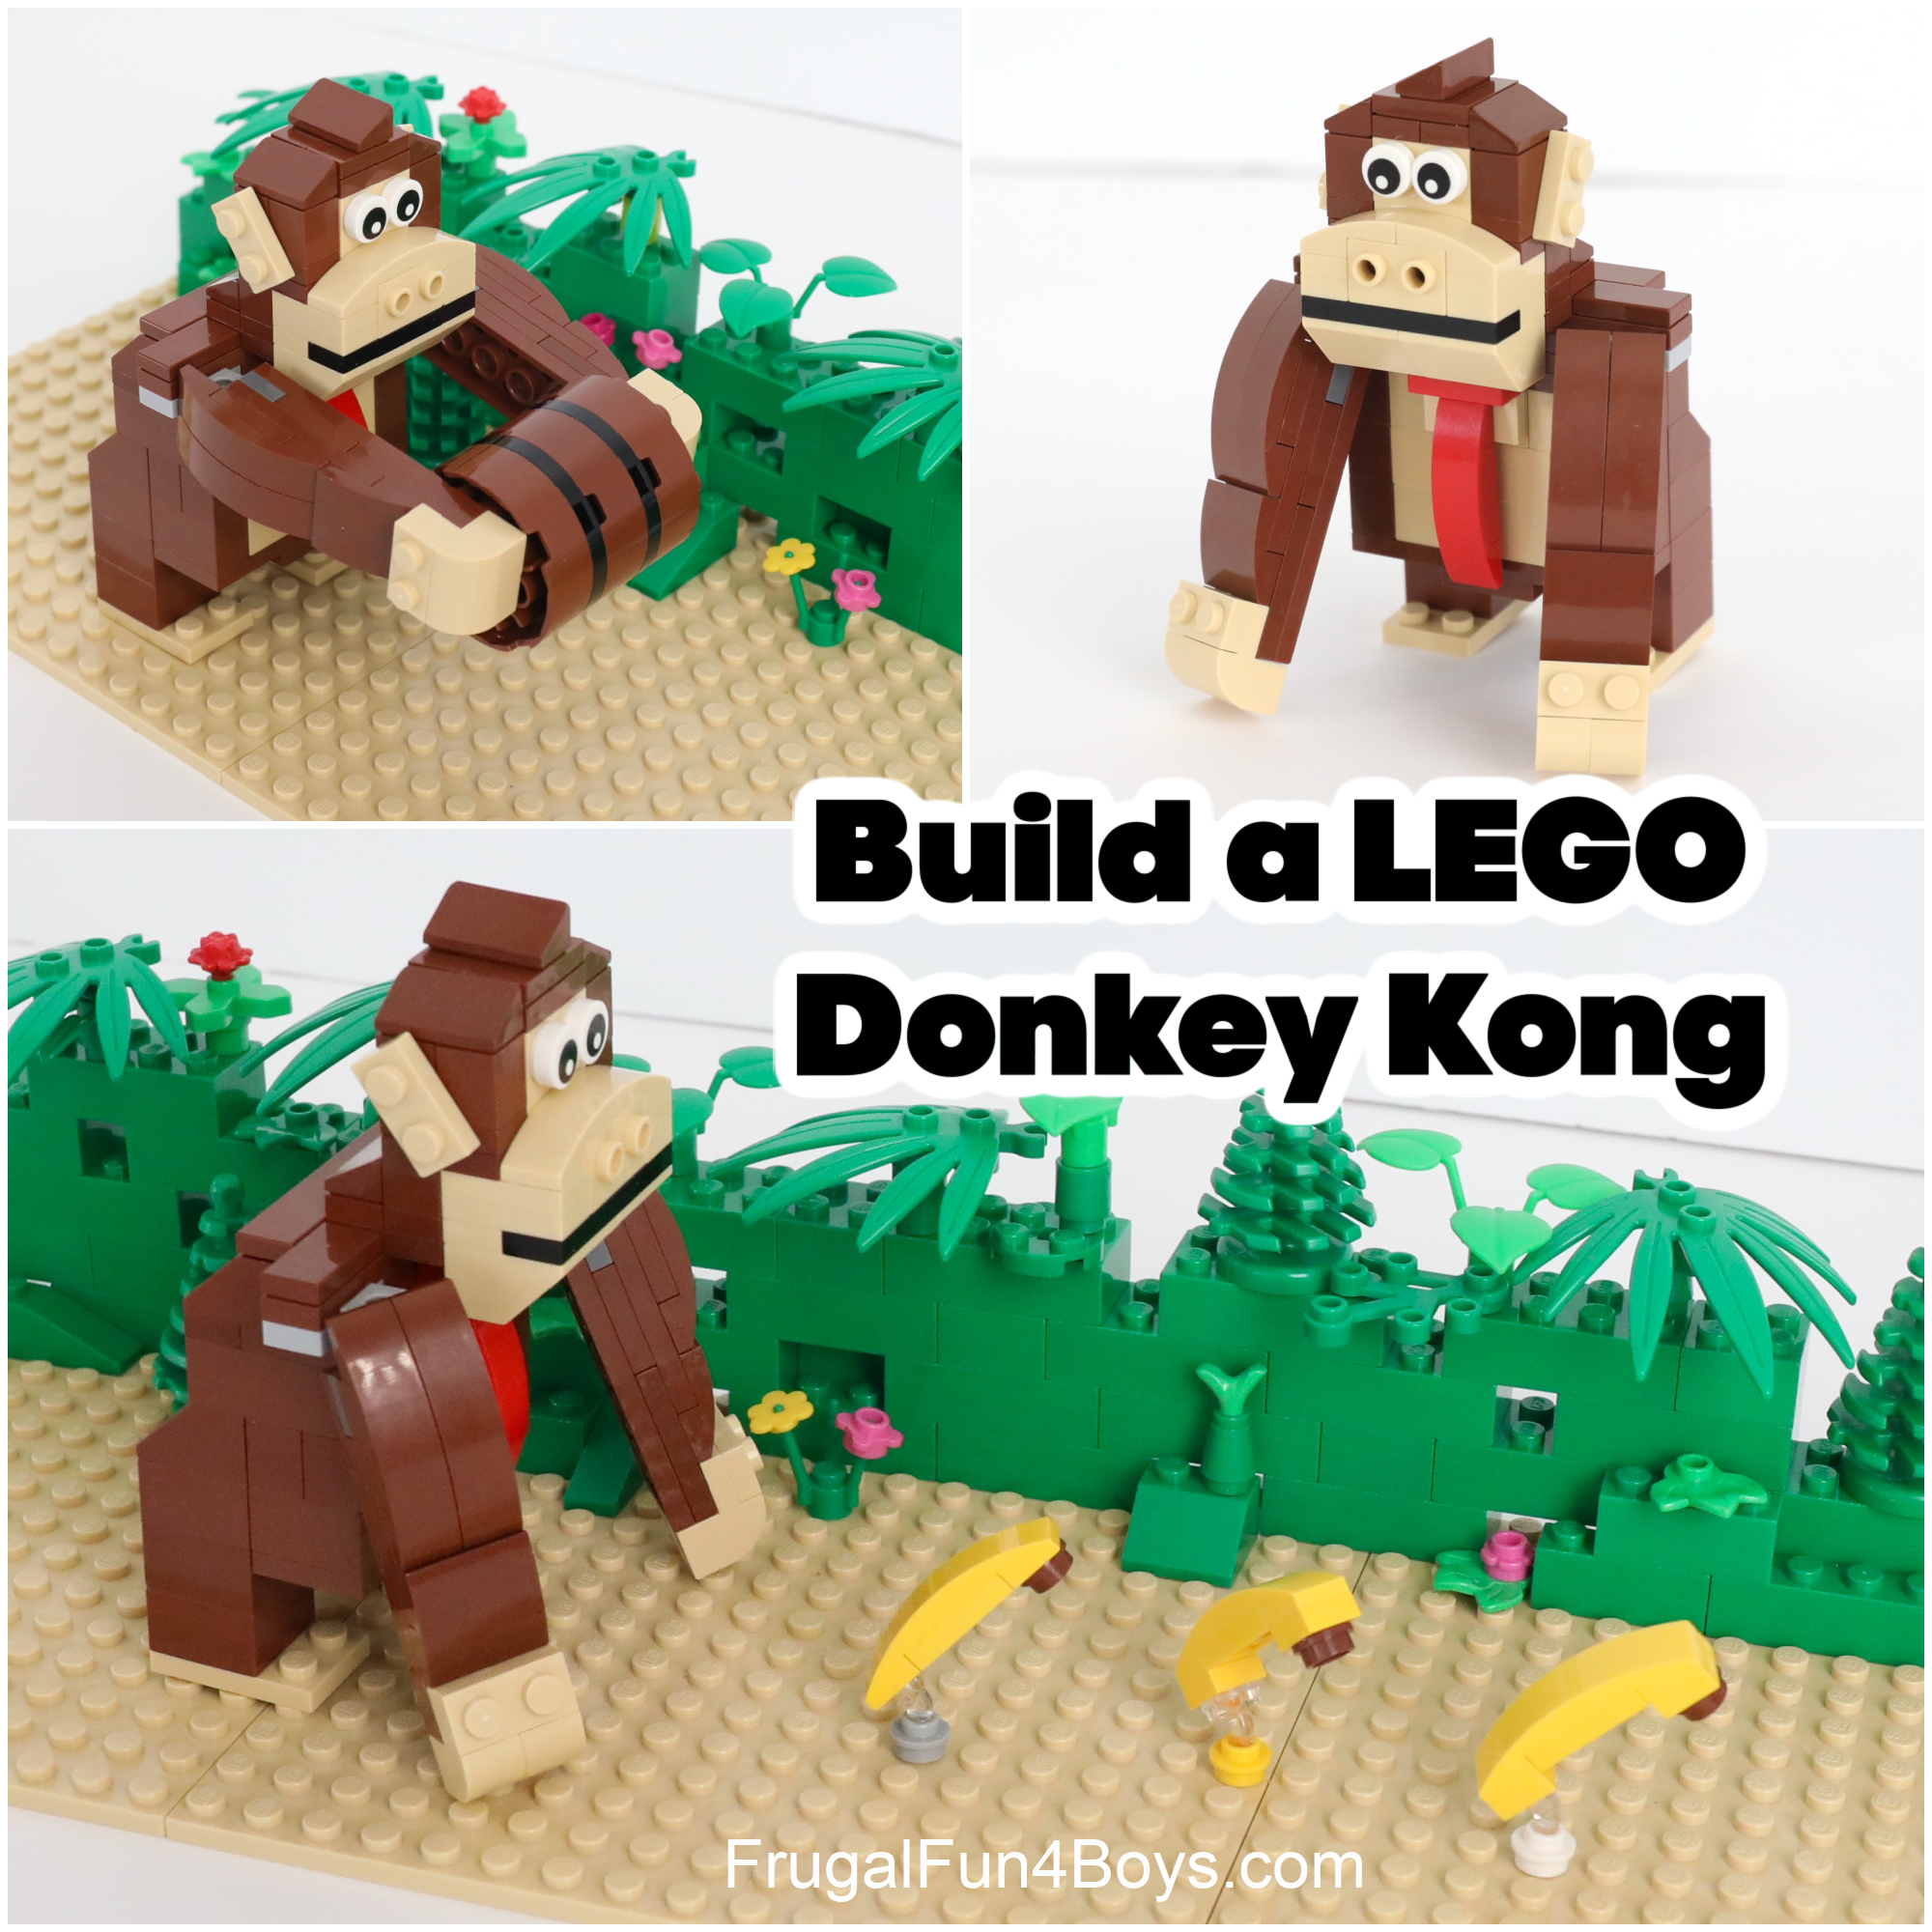
Build your own adorable (and posable!) Donkey Kong character out of LEGO bricks!
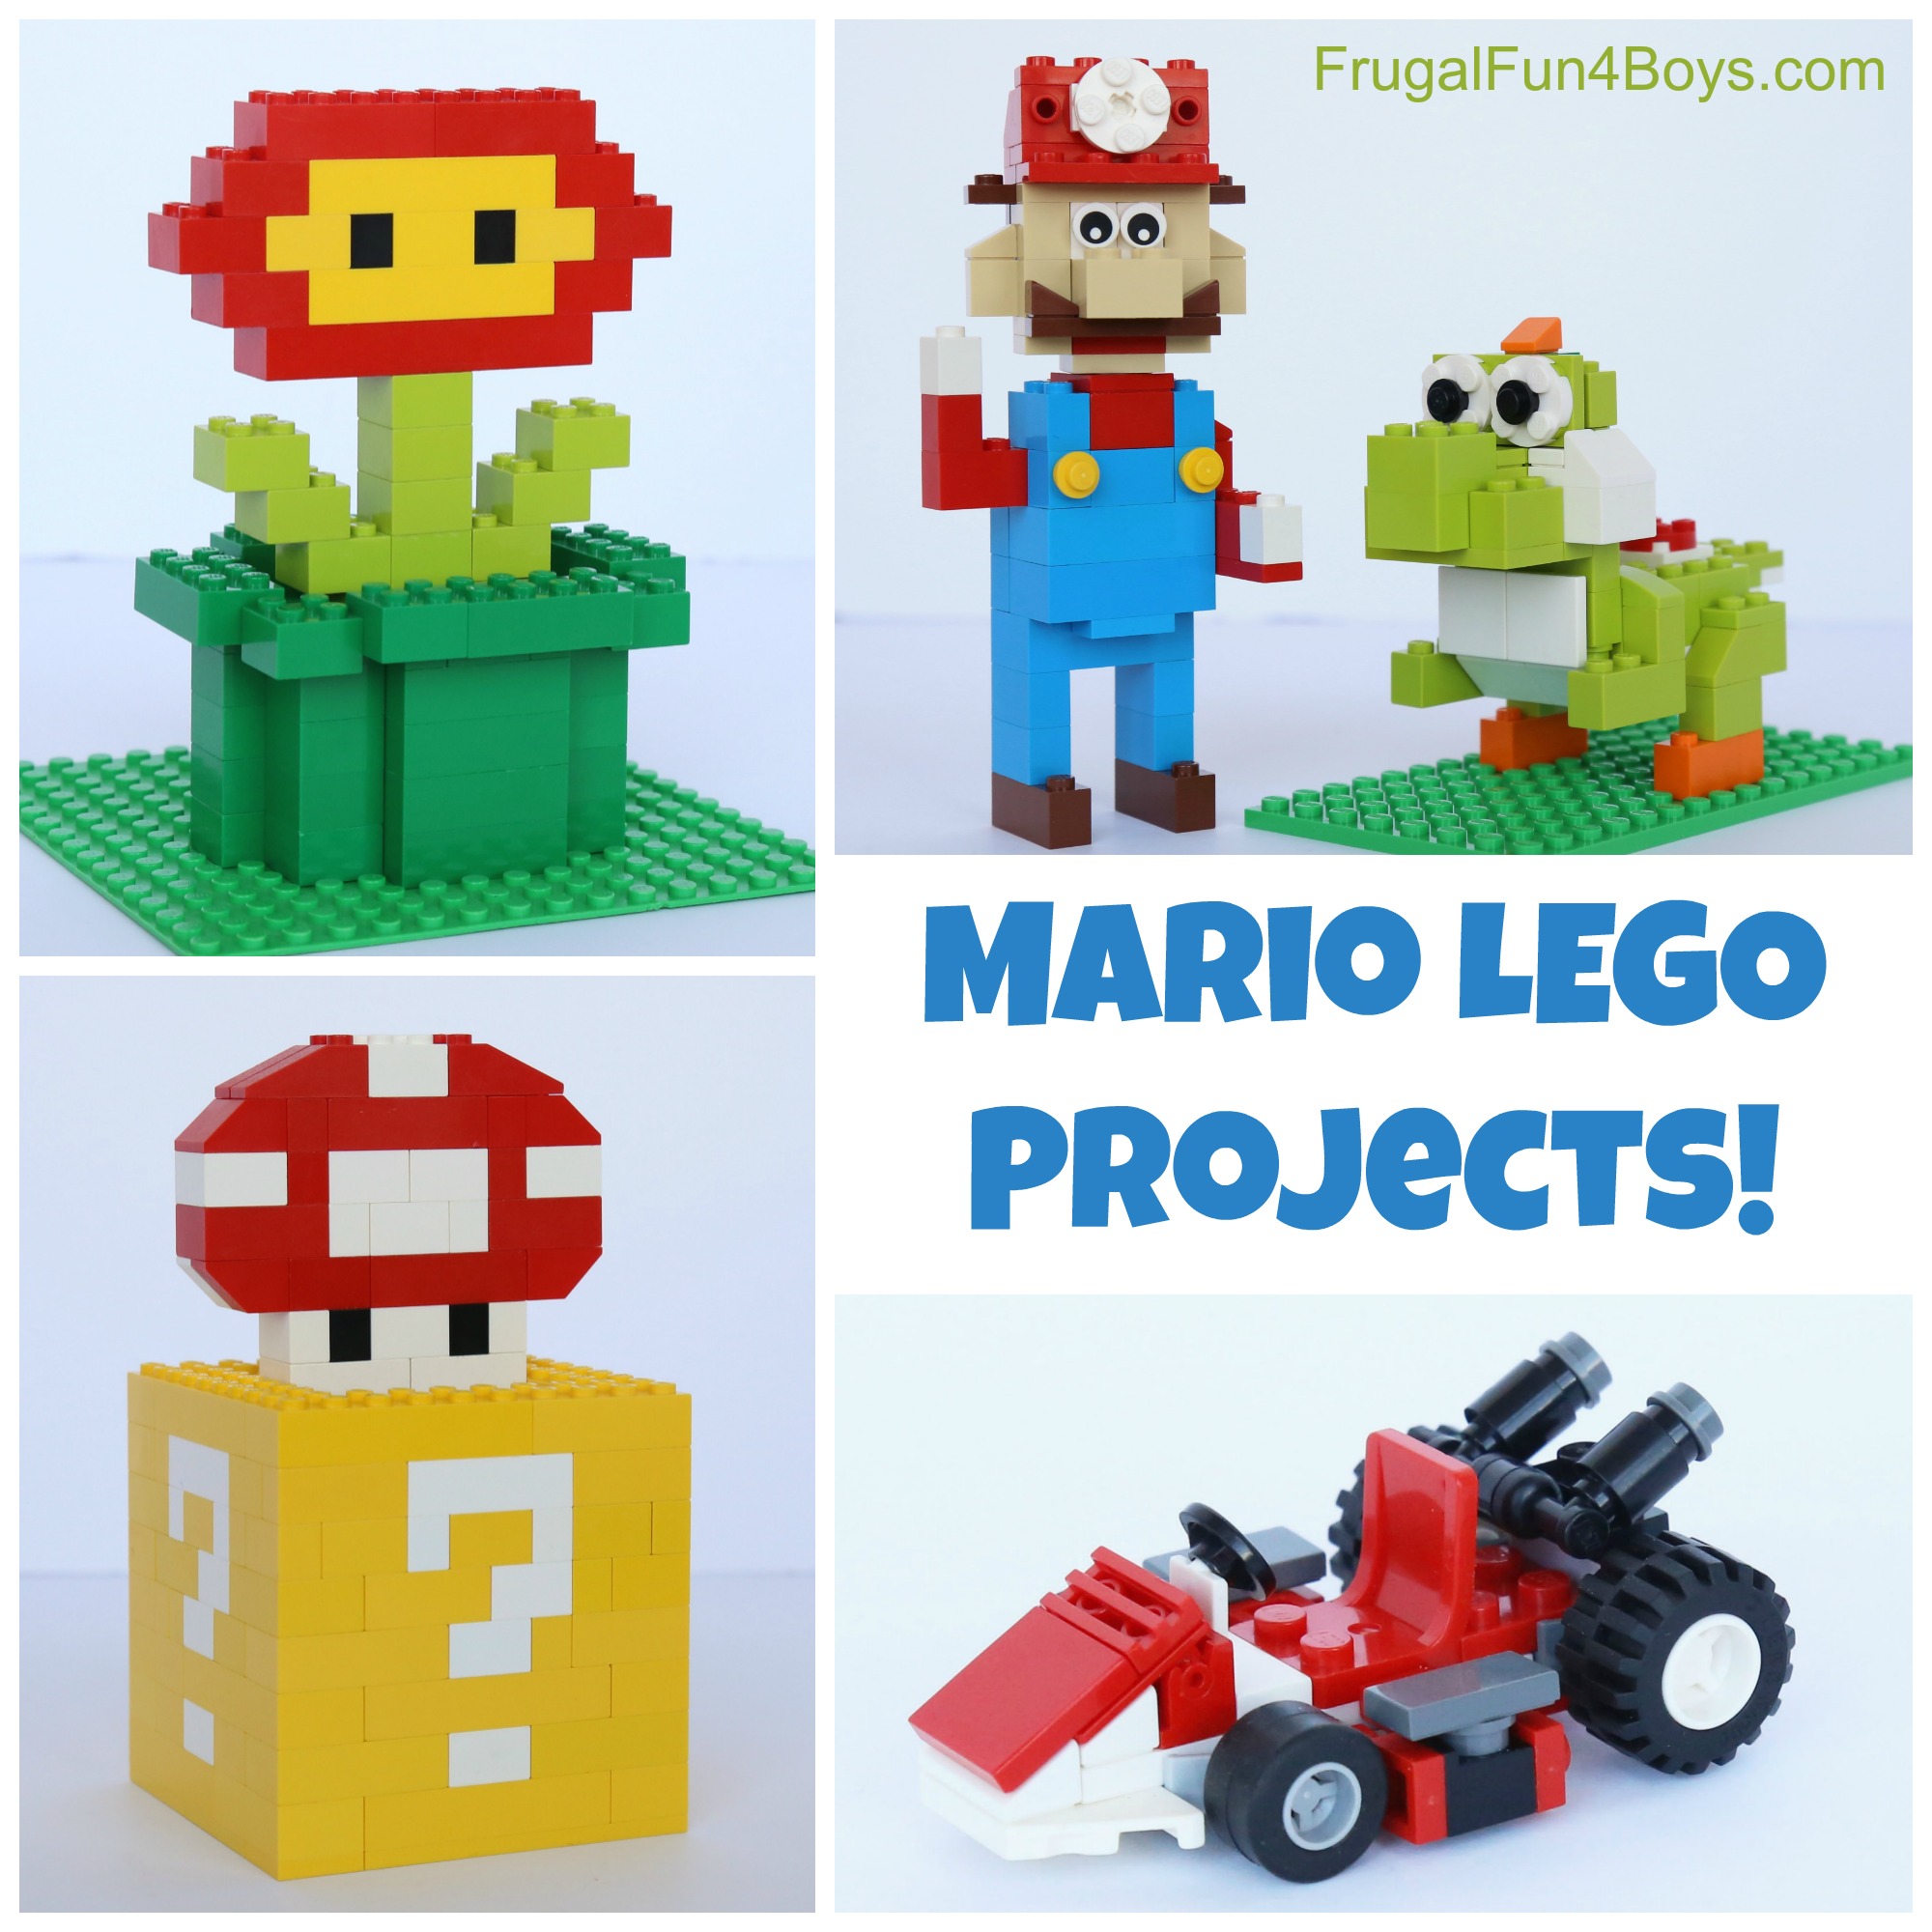
We have created a few Nintendo Mario LEGO projects for this site before, and we had a blast designing this Donkey Kong to add to our collection. Once your Donkey Kong is assembled, build your own jungle plants and create a scene from Donkey Kong Country! We’ve even got instructions for creating barrels and bananas.
Be sure to check out our LEGO Link and Zelda projects too – fun building ideas from Breath of the Wild.

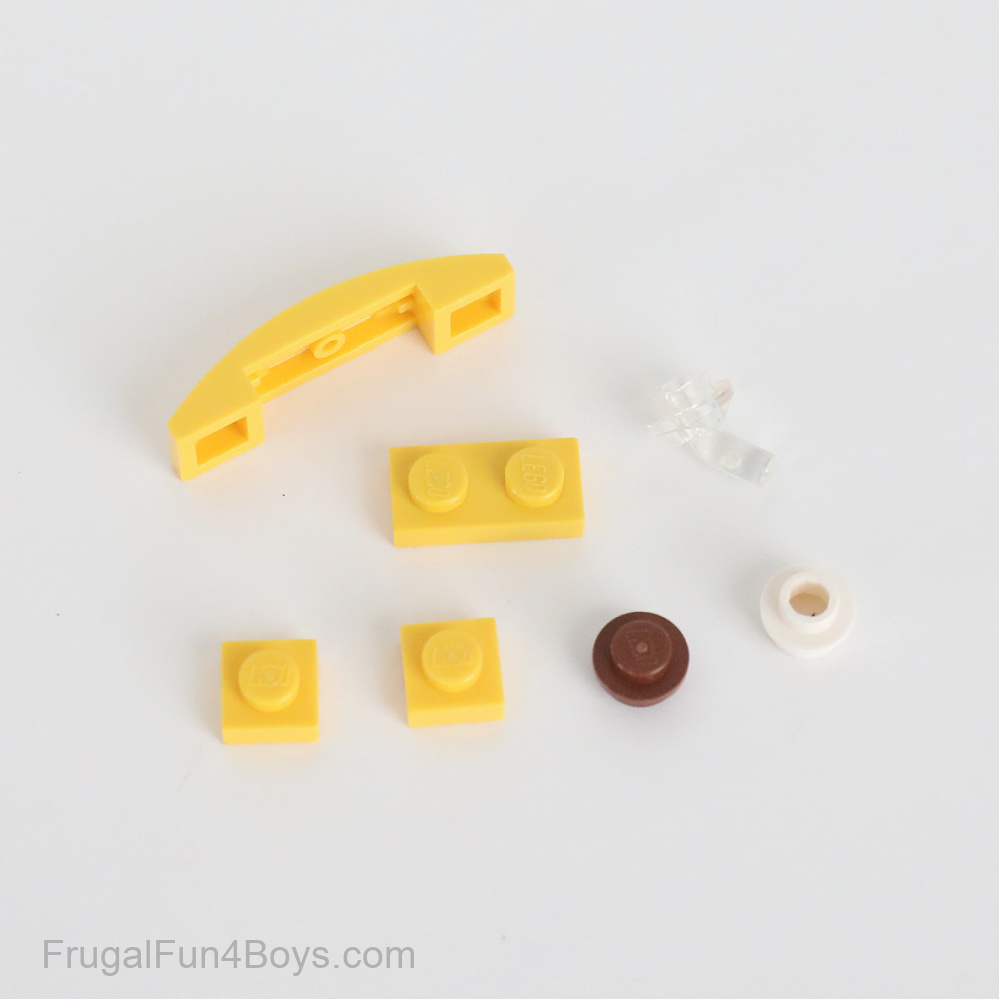
If you have some clear minifigure posing stands, you can make the bananas look like they are suspended in the air, just like in the game. We inserted our minifigure posing stands into 1 x 1 round plates with a hole.
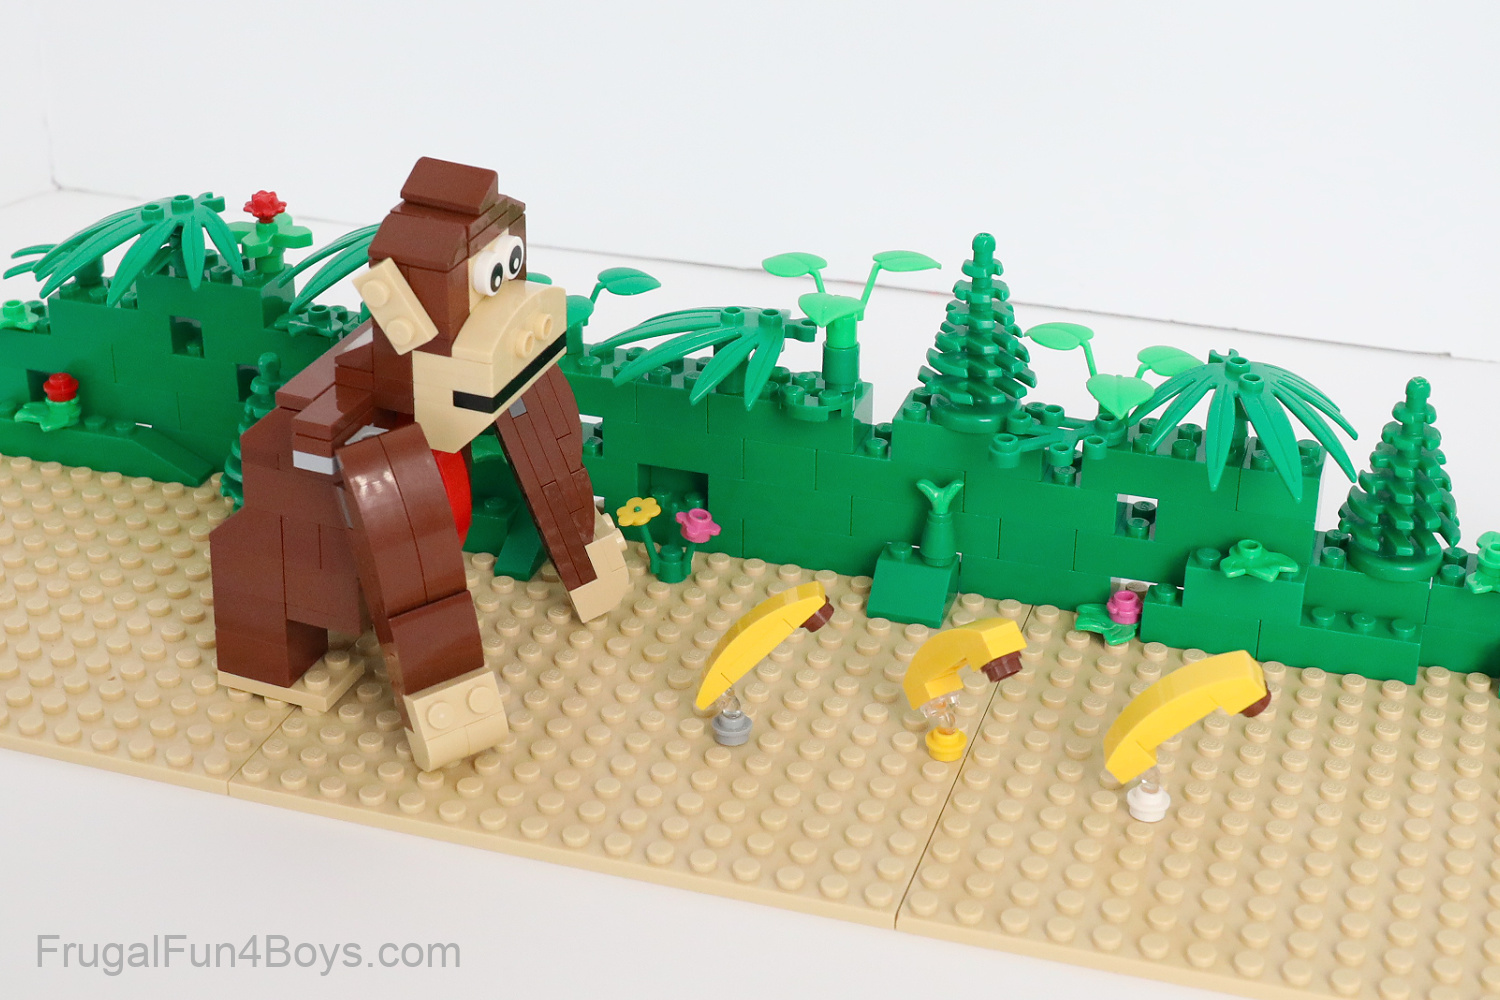
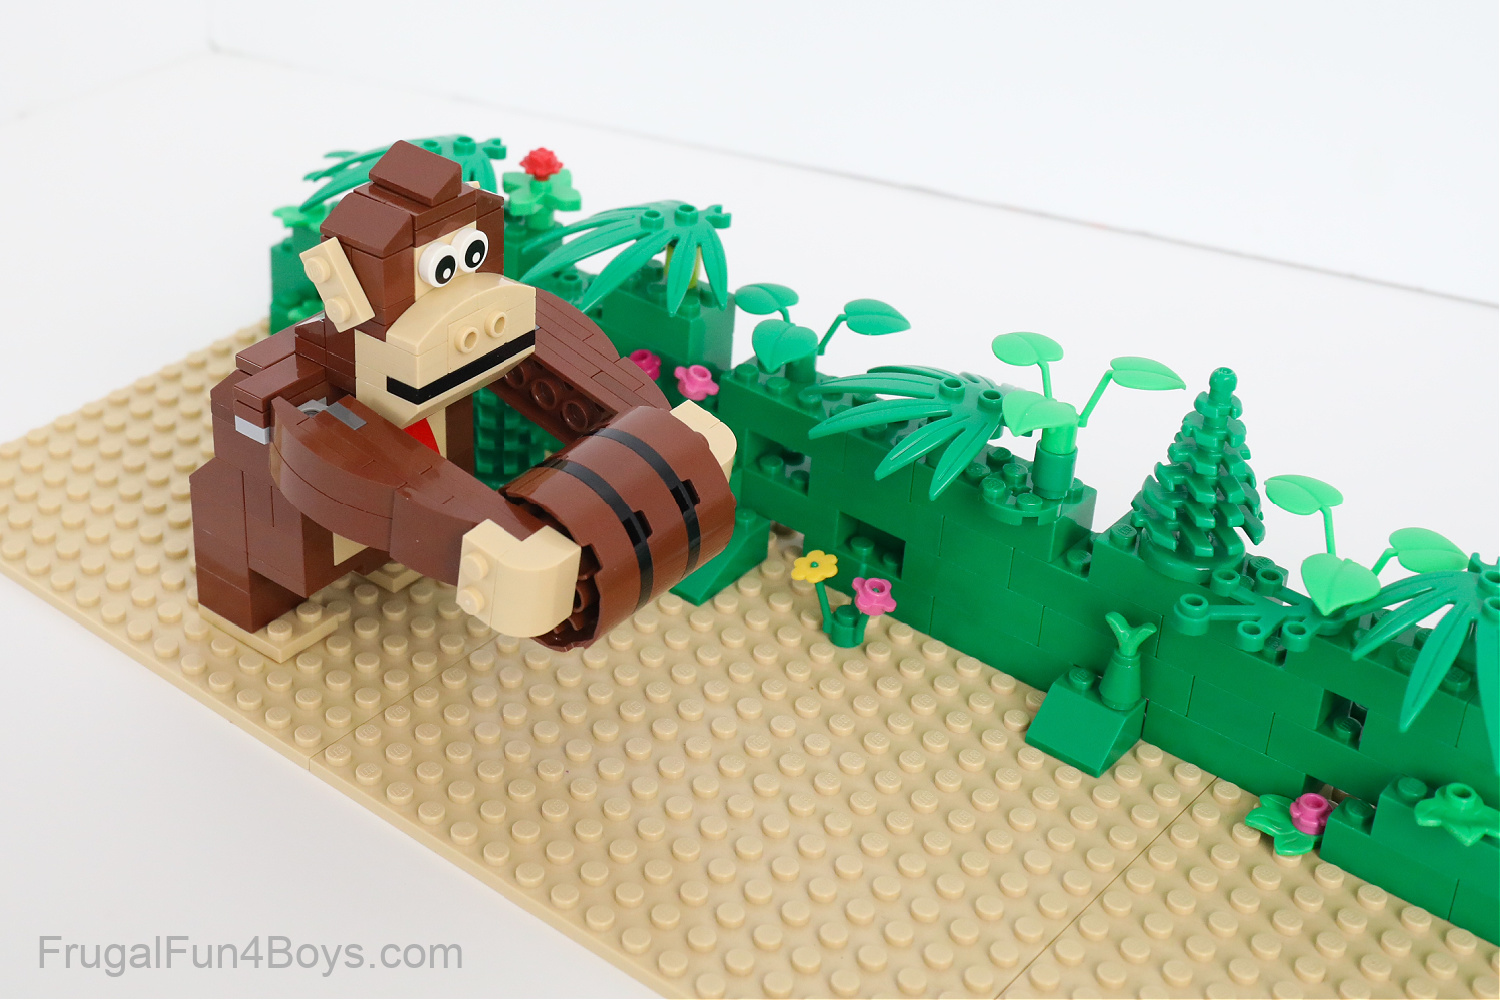
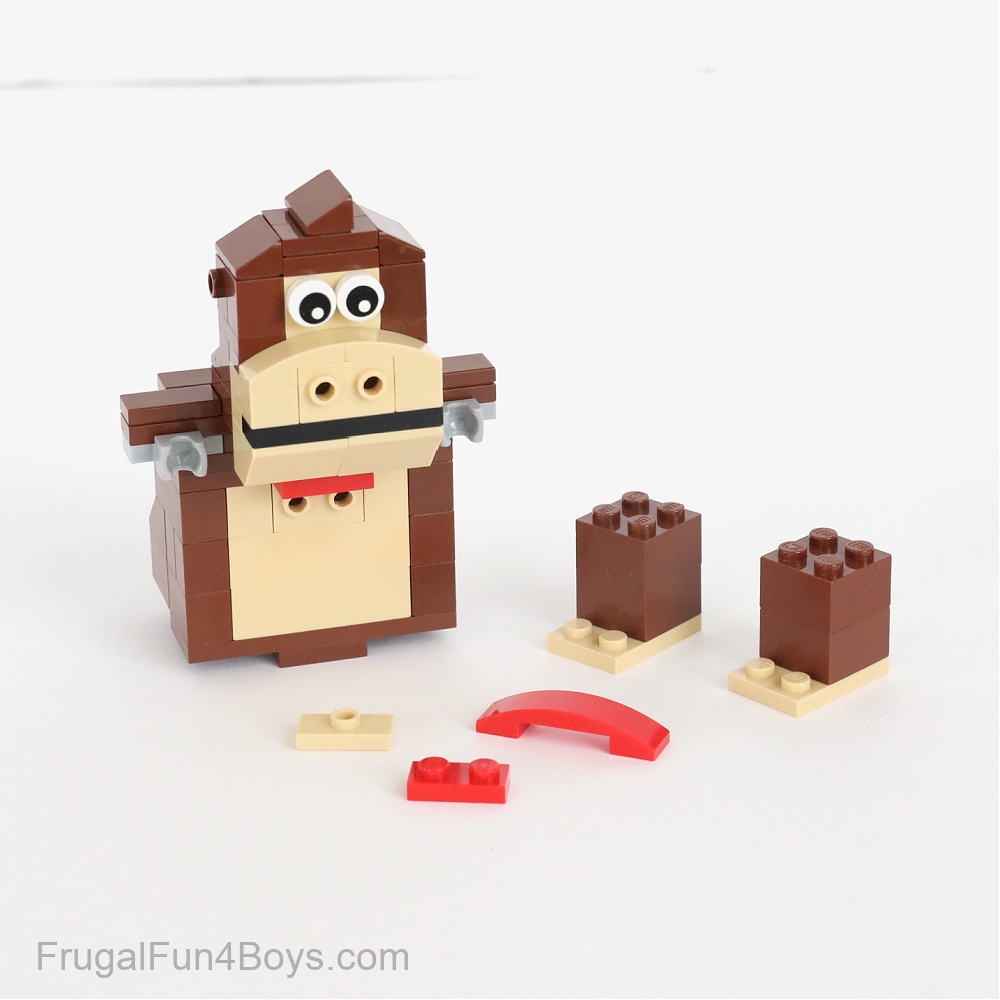
Use 1 x 2 plates with a ball and socket to give Donkey Kong posable arms. It’s easy to get him to hold a barrel! The barrel is three 4 x 4 brown round bricks and two 4 x 4 black round plates.
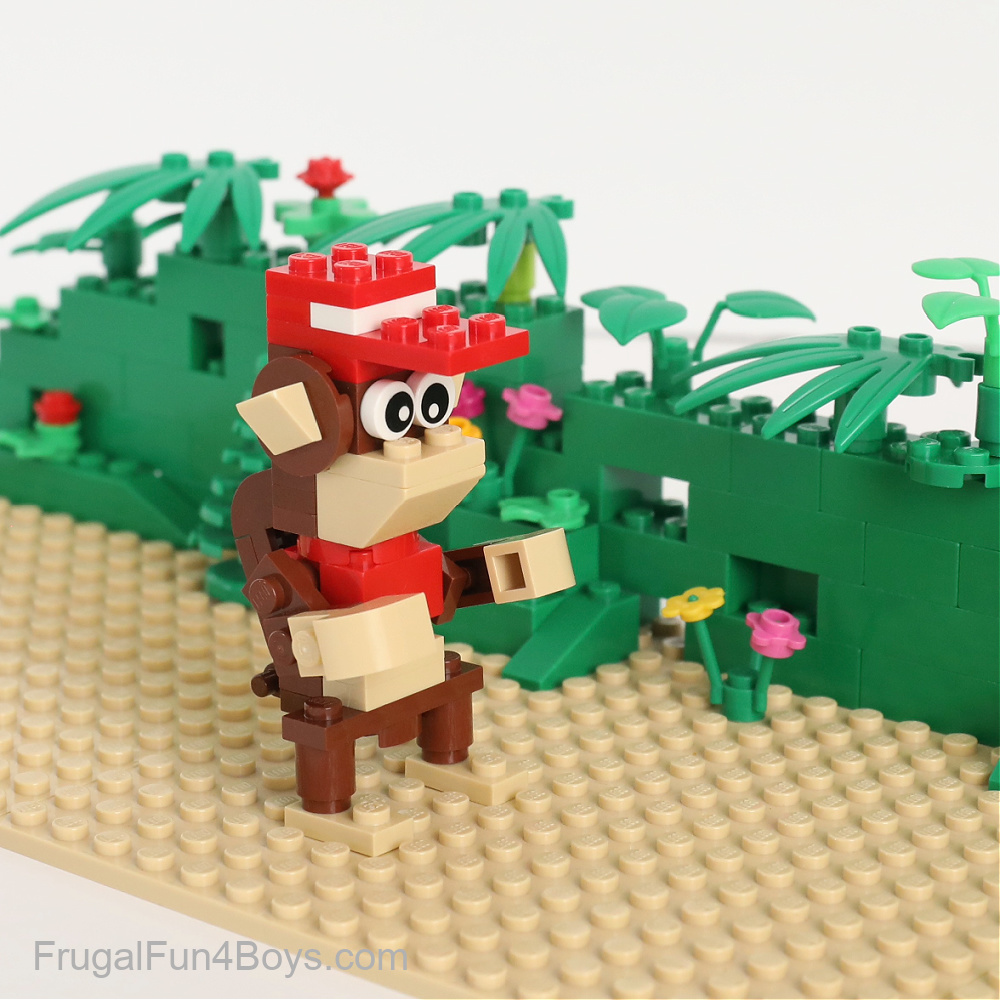
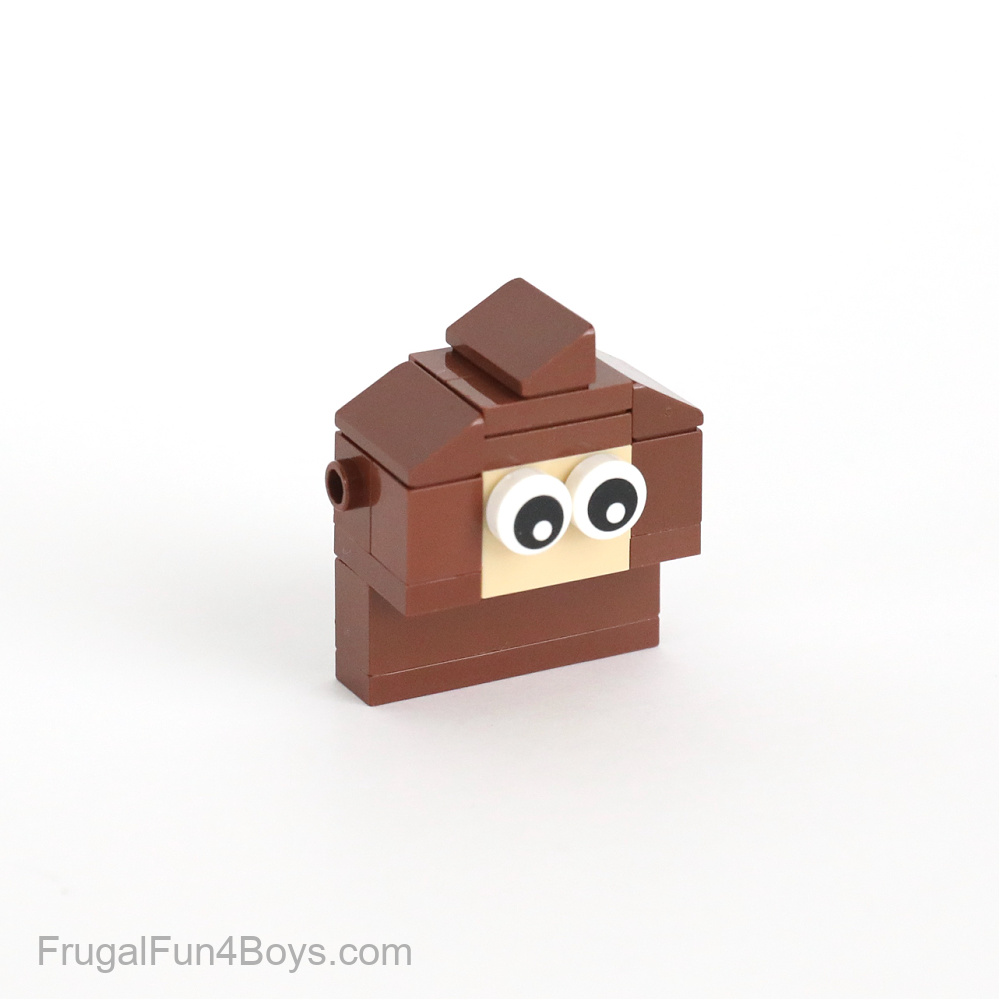
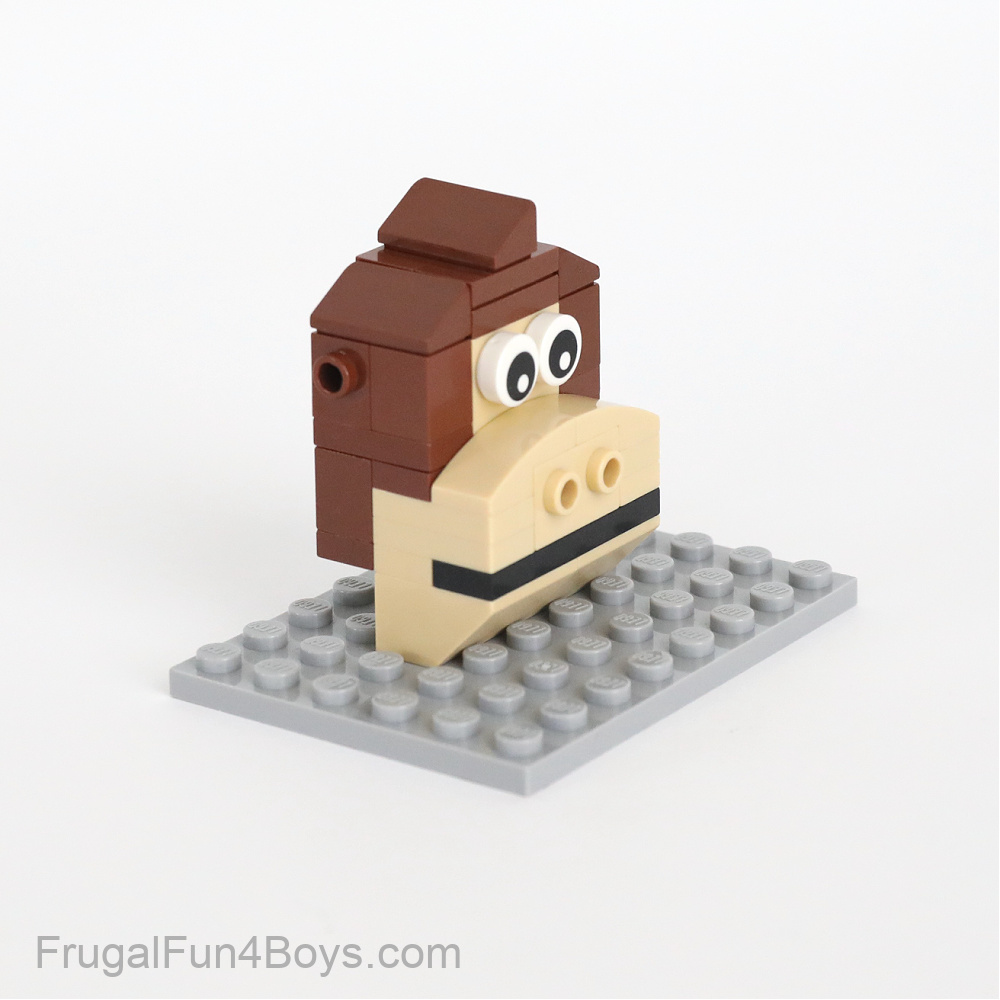
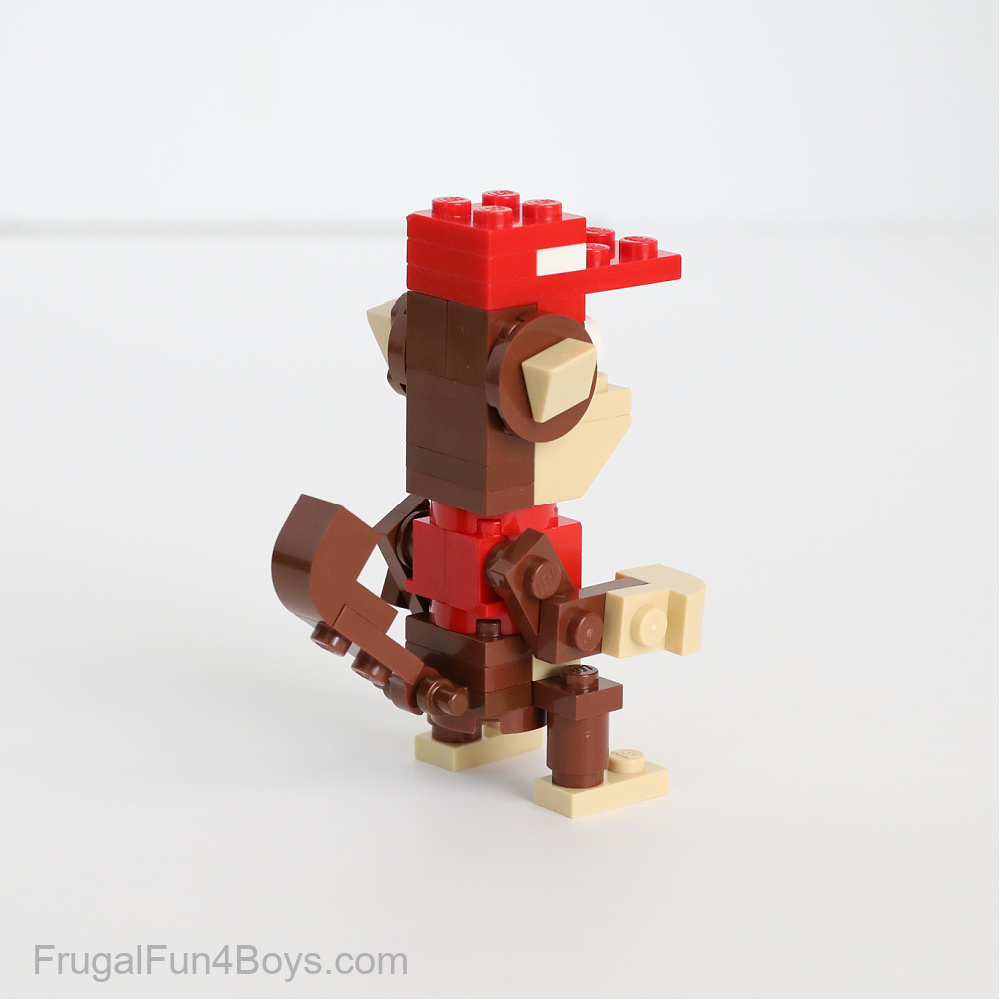
You can also build Diddy Kong! He’s so cute.
But first, let’s build Donkey Kong.
Ready to build your own LEGO Donkey Kong? Follow the building instructions below!
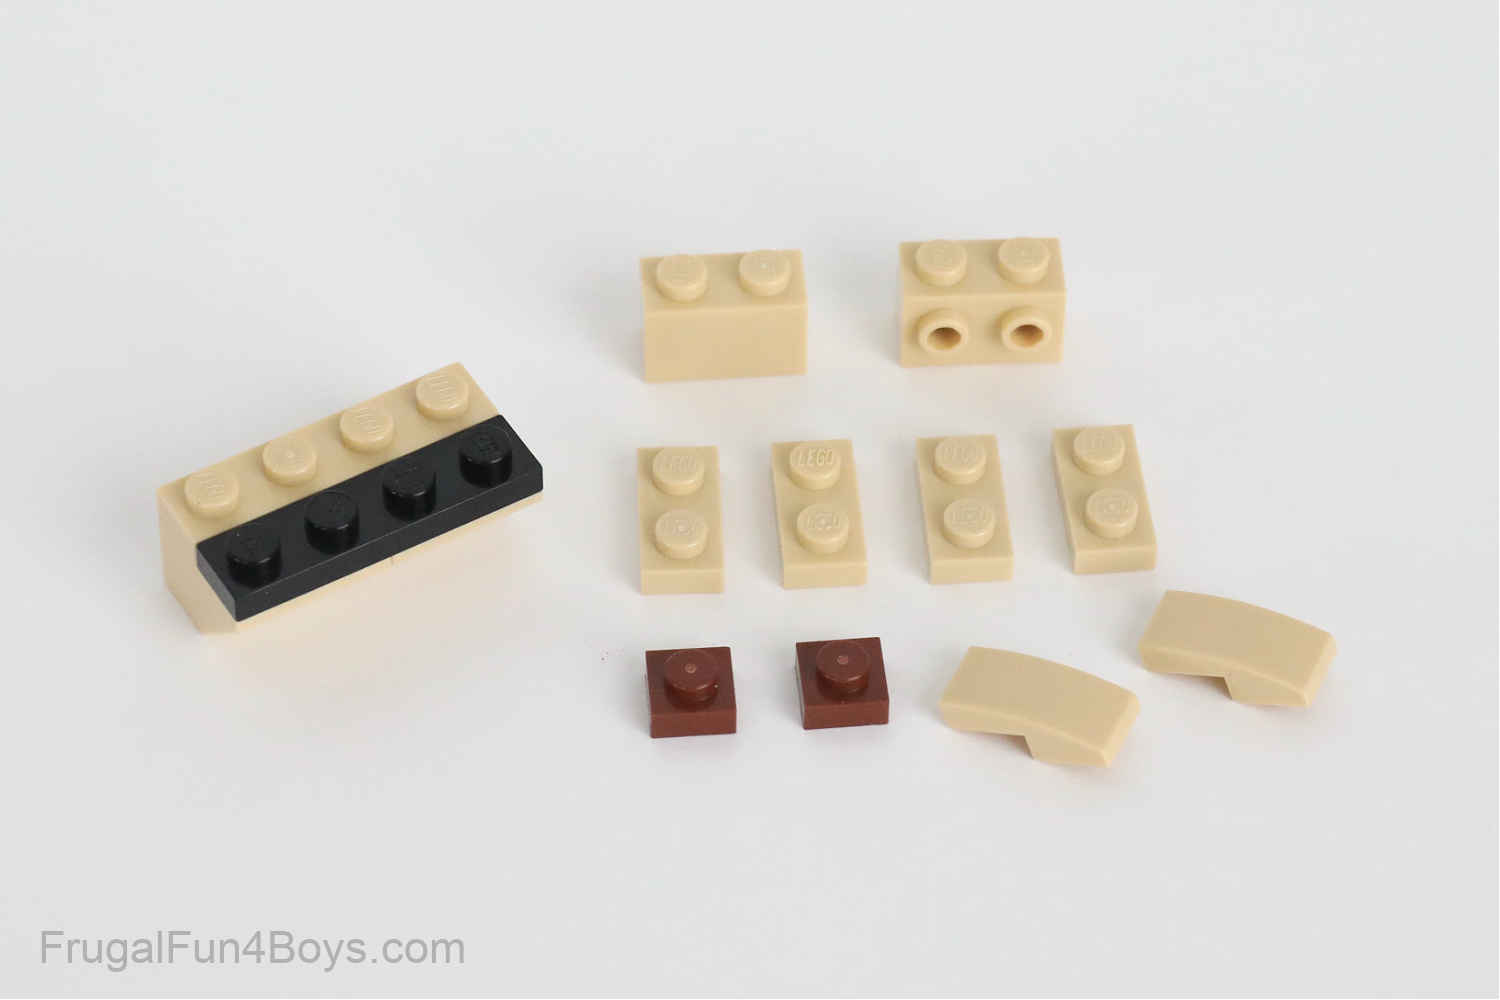
Step 1: Gather the bricks shown for building Donkey Kong’s head.
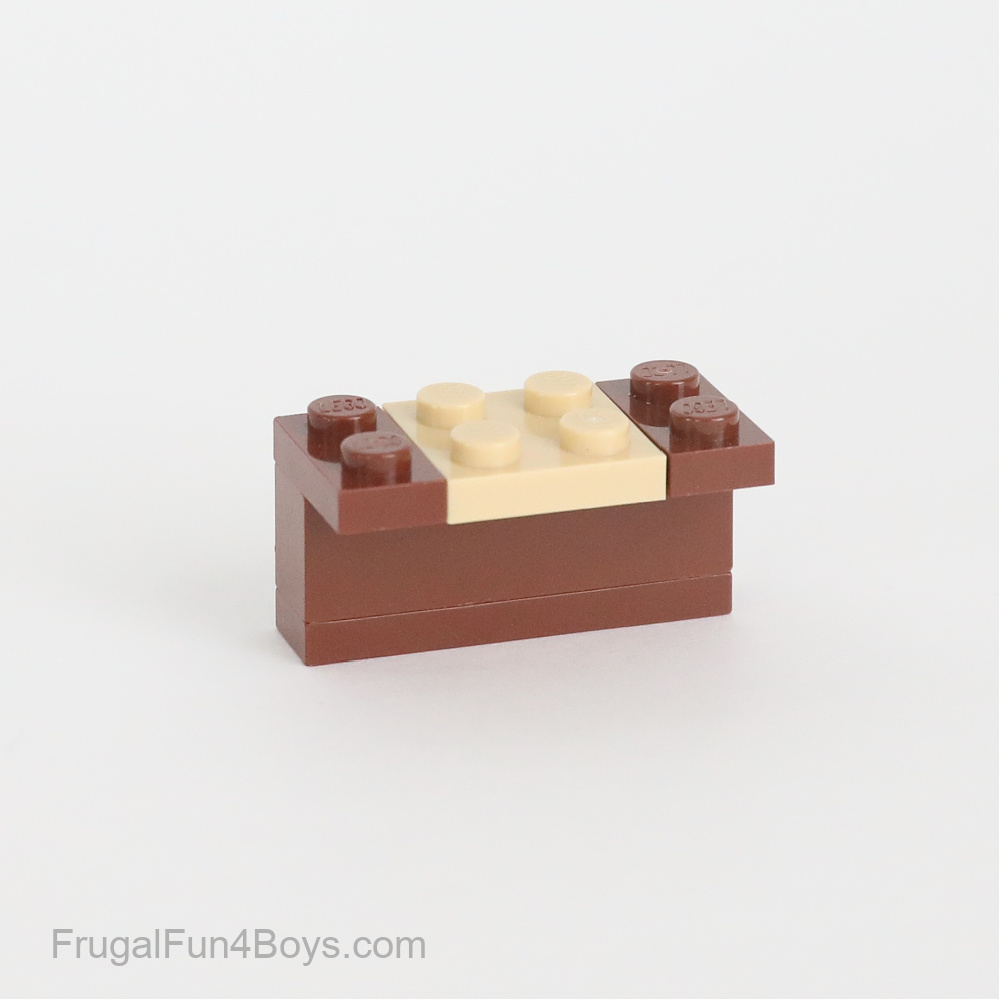
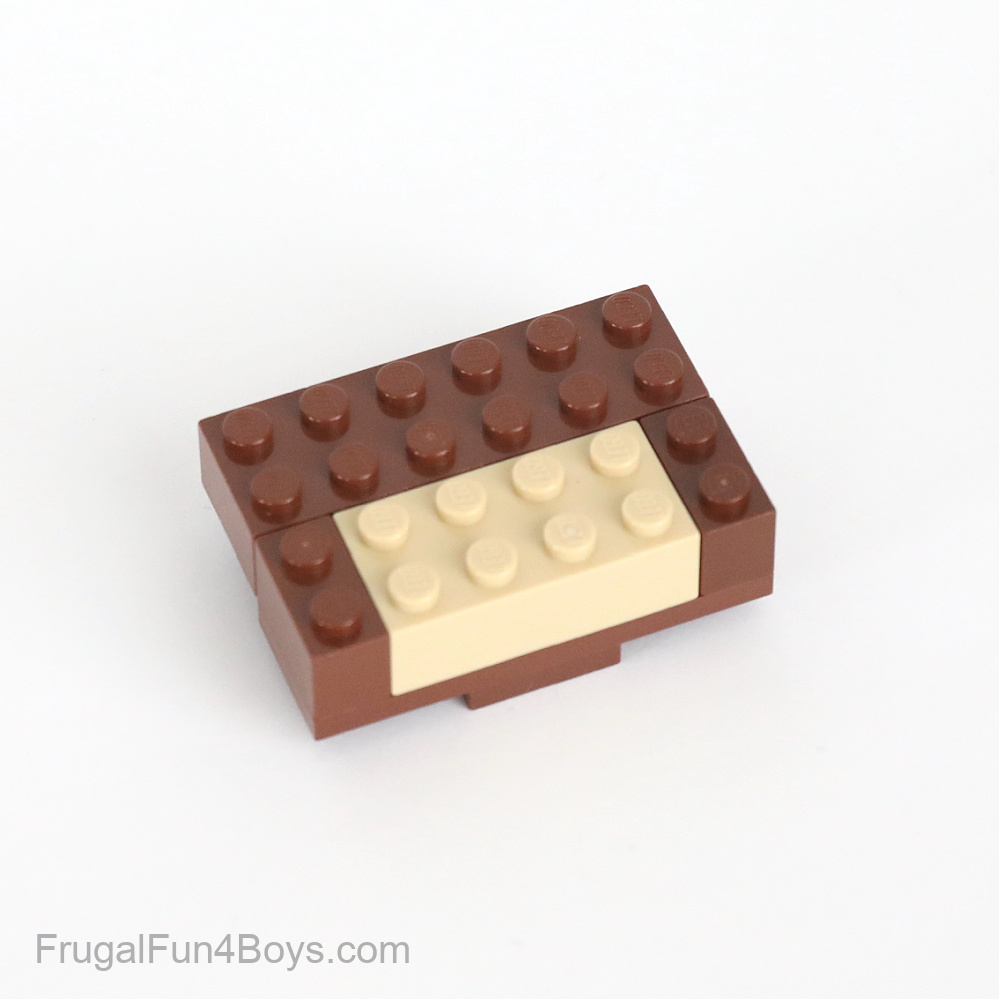
Step 2: Connect two 2 x 2 tan inverted slopes with a 1 x 4 tan plate and a 1 x 4 black plate. Then find the bricks shown.
Step 3: On top of these, add a 1 x 2 tan brick with two studs on the side and a 1 x 2 tan brick. Then place two 1 x 2 tan plates on each side.
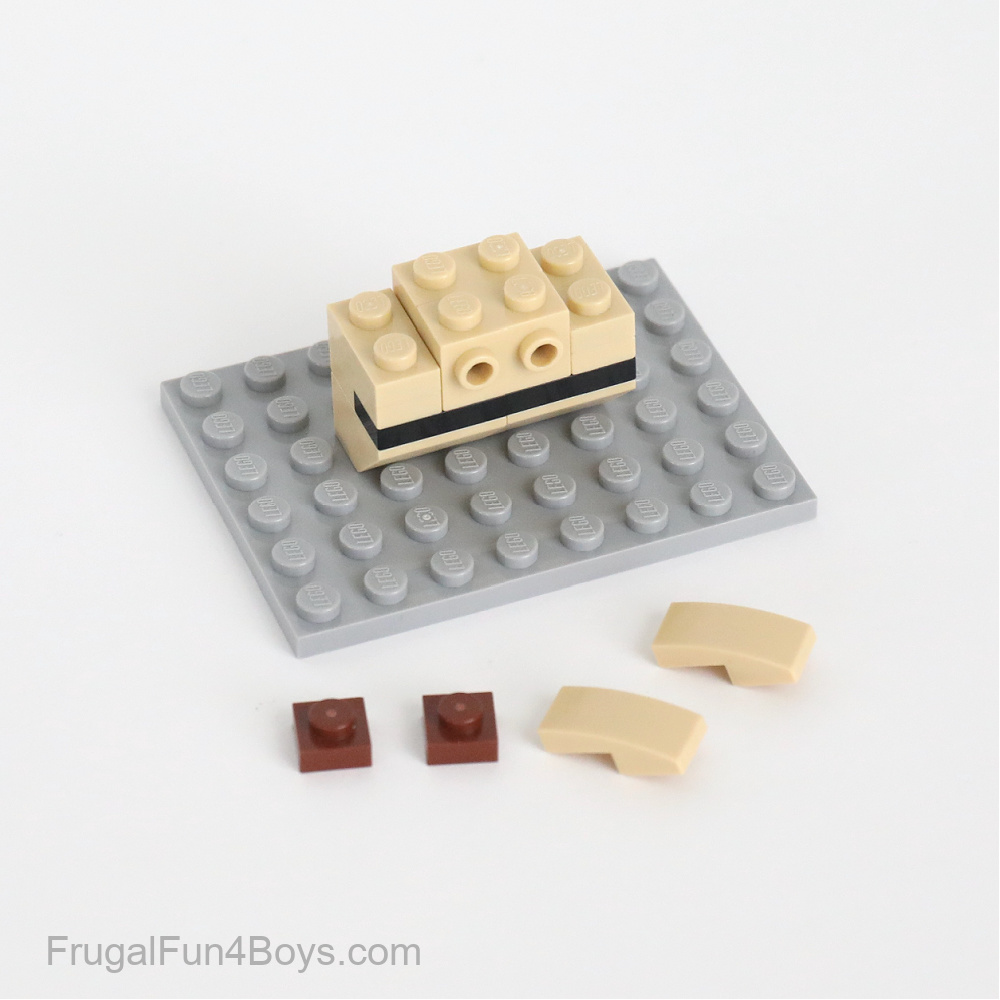
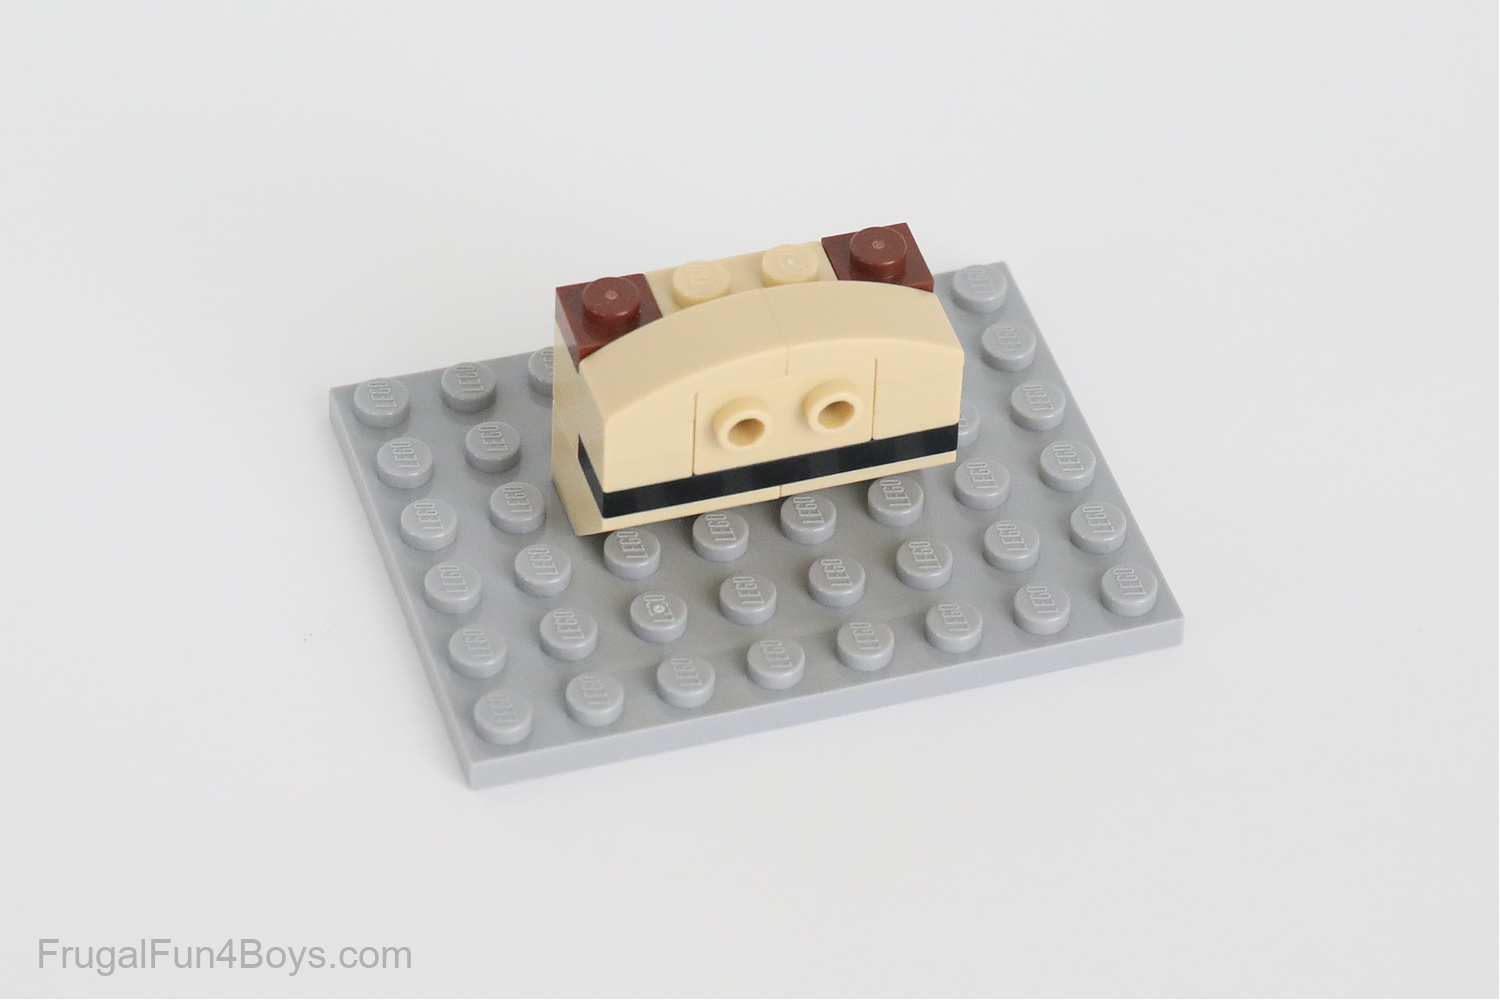
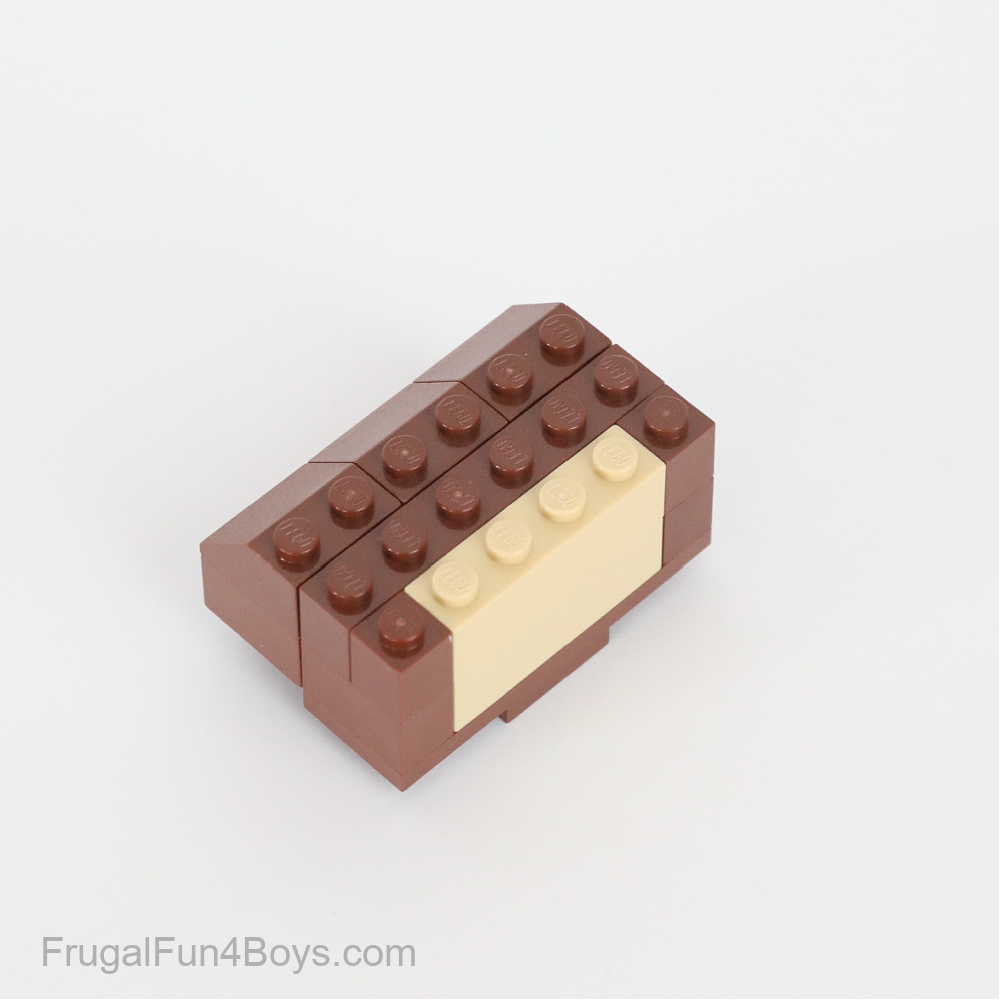
Step 4: Build the top of Donkey Kong’s nose by adding two 1 x 2 tan curved plates. Behind those, place a 1 x 1 brown plate on each side.
Step 5: Gather the bricks shown.
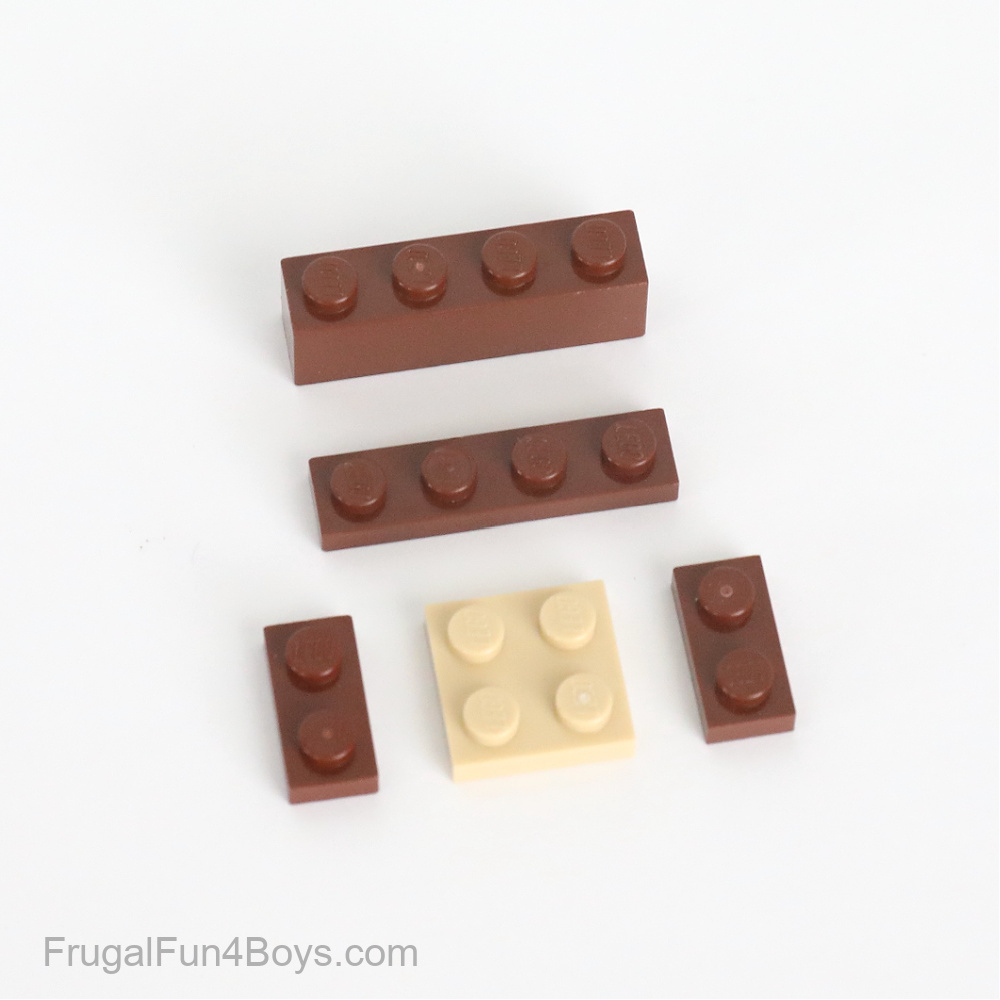
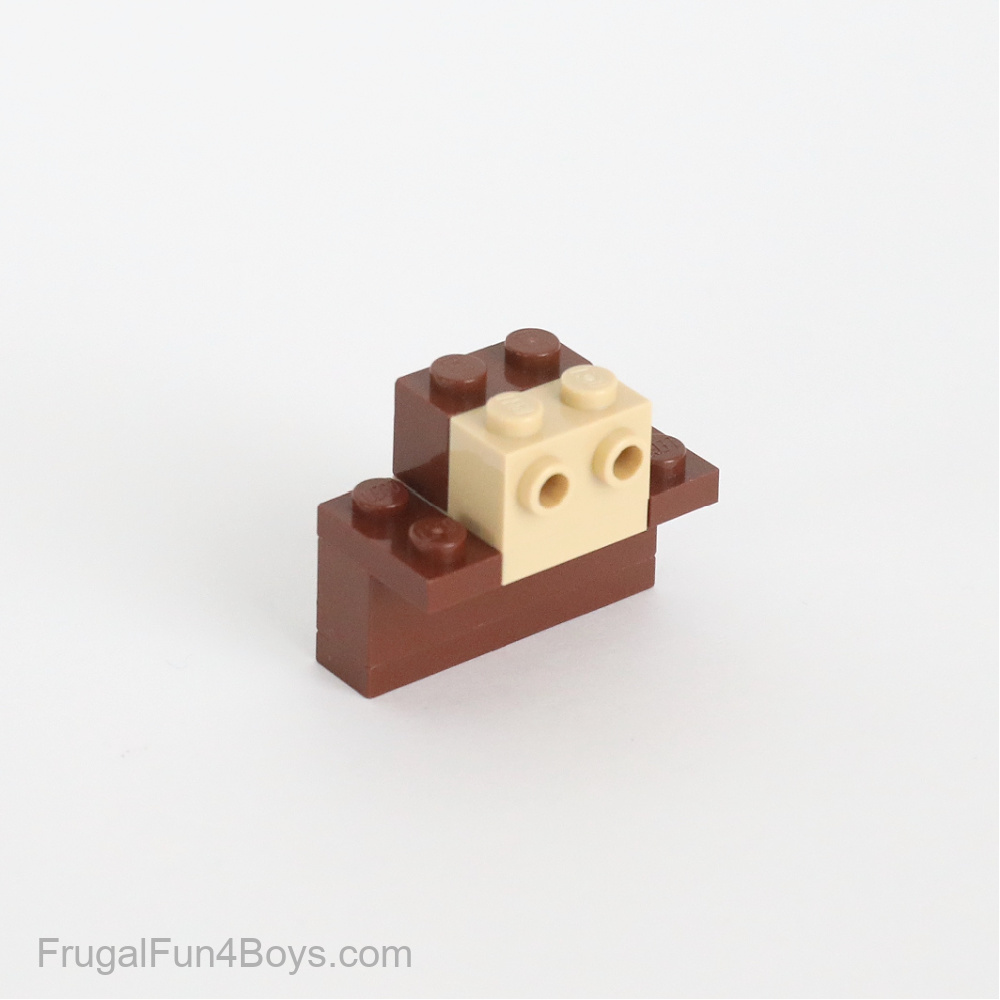
Step 6: Attach a 1 x 4 brown brick to a 1 x 4 brown plate. Then add a 2 x 2 tan plate and two 1 x 2 brown plates.
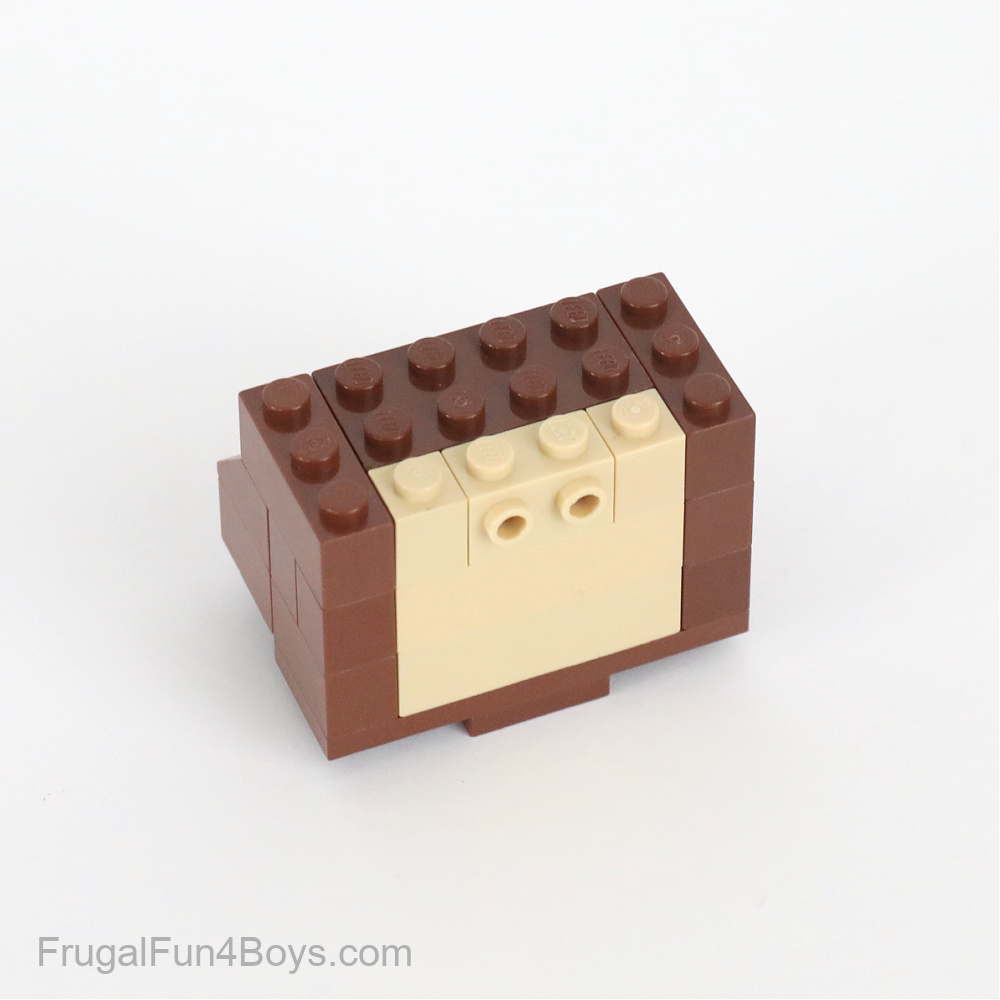
Step 7: Add a 1 x 2 tan brick with two studs on the side and a 1 x 2 brown brick.
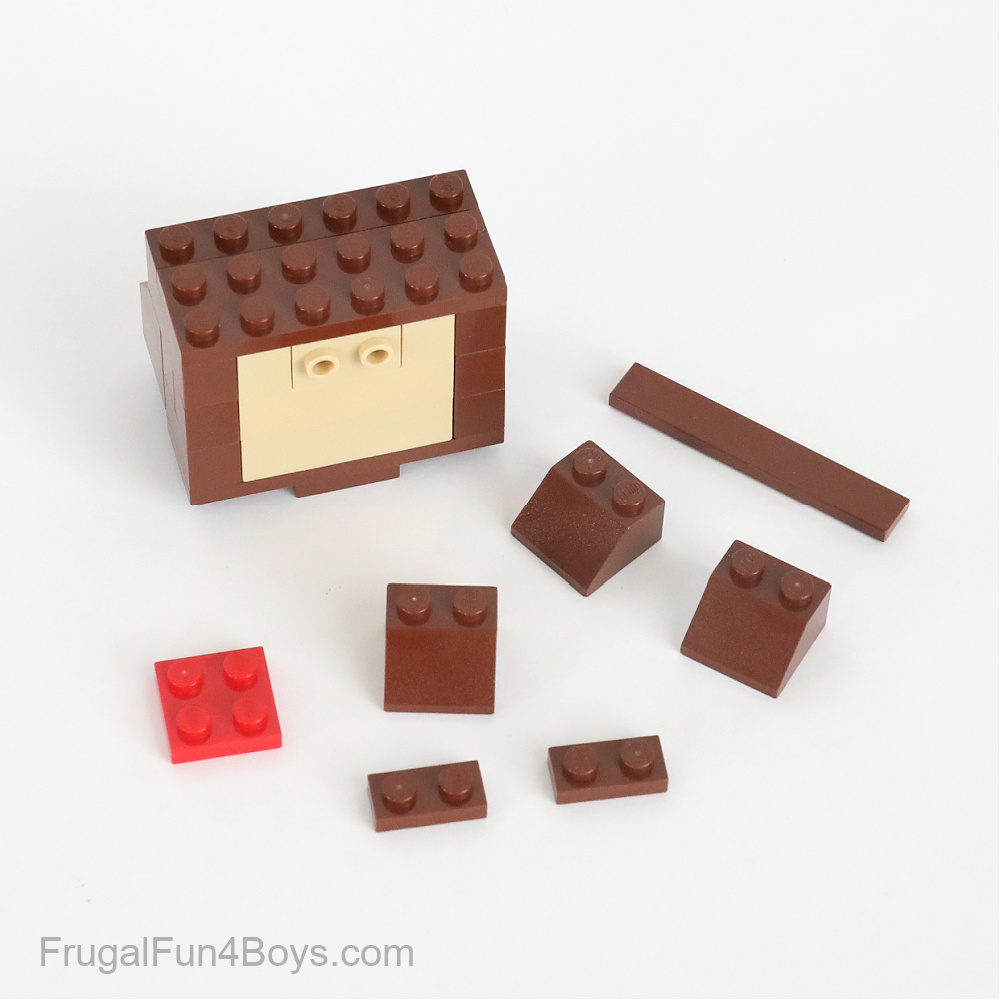
Step 8: Attach eyes to the studs on the tan brick. Then add a 1 x 1 brown brick and a 1 x 1 brown brick with a stud on the side on each side of the head. Gather the pieces shown.
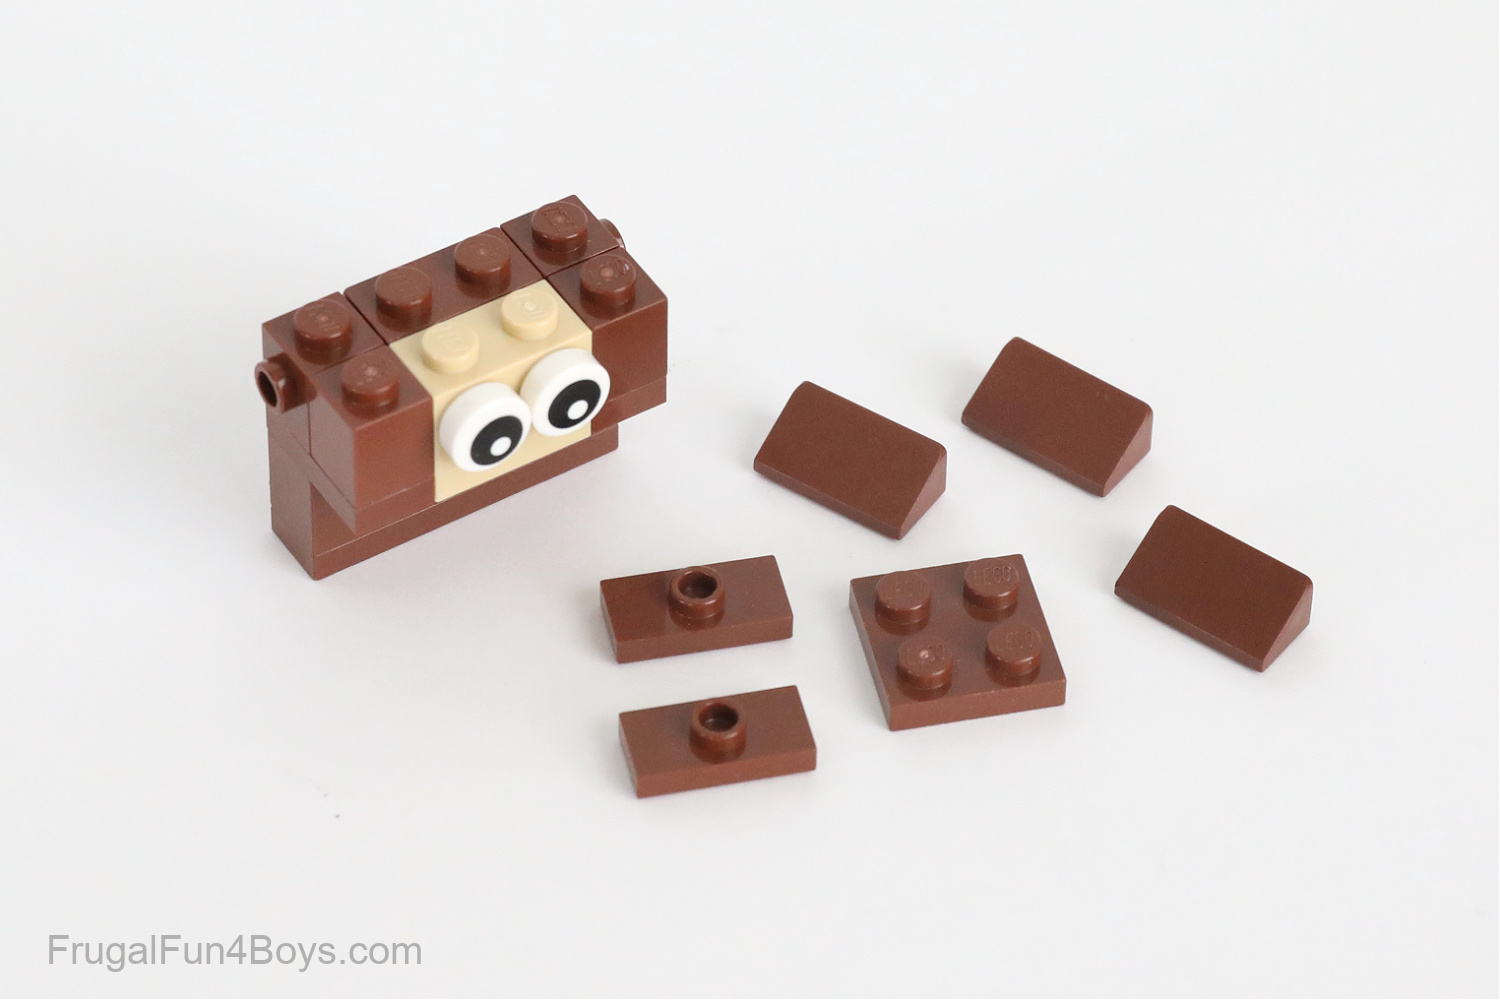
Step 9: Add shape to the top of Donkey Kong’s head by adding a 2 x 2 brown plate in the center and a 1 x 2 slope (30 degree) on each side.
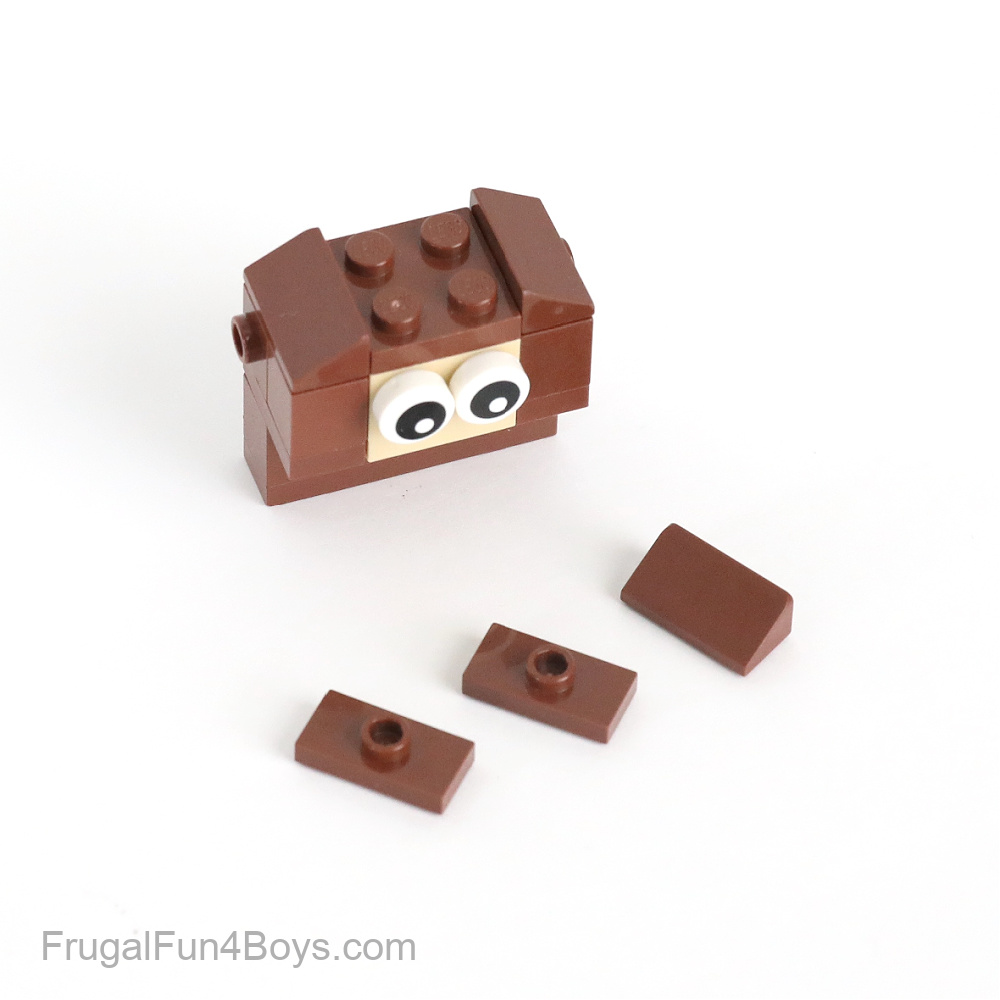
Step 10: Finish up the head by adding two 1 x 2 brown plates with one stud on top (also called jumper plates) and a 1 x 2 slope (30 degree).
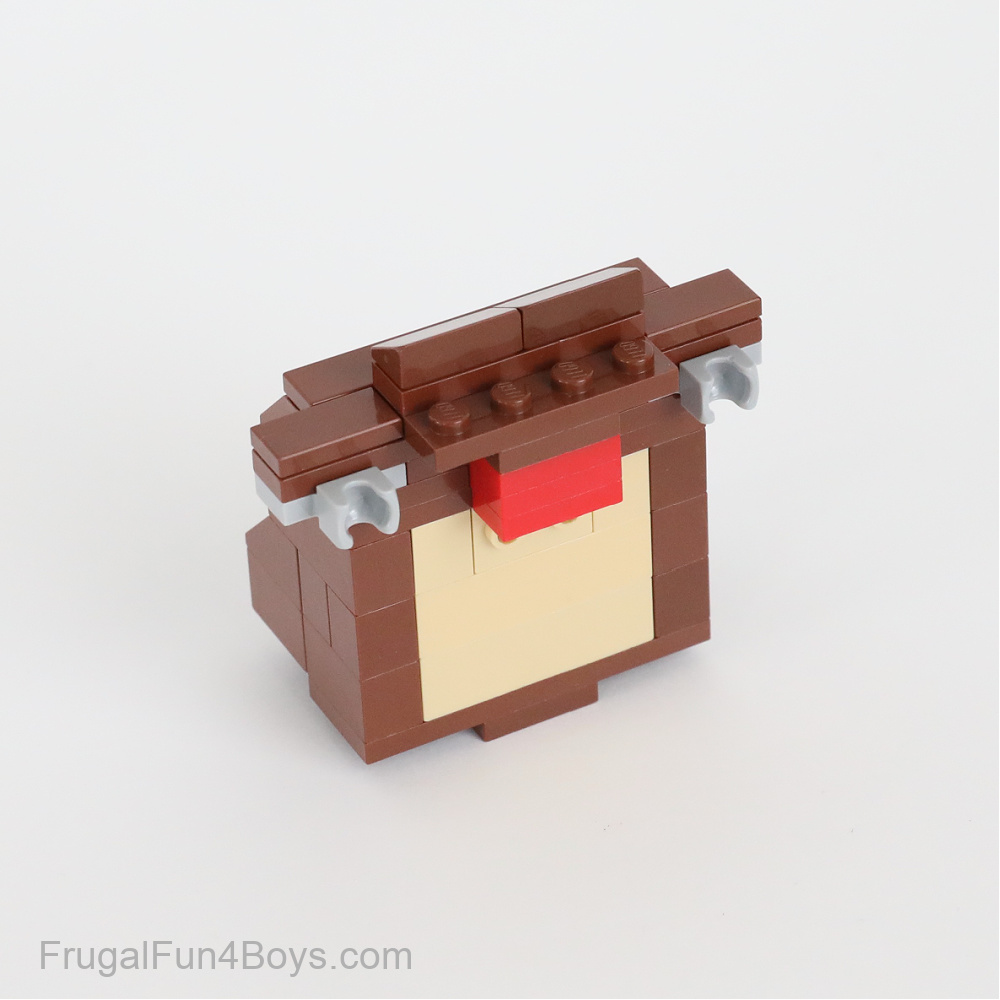
Step 11: Attach the eyes and head to the nose and mouth.
Step 12: Gather the bricks shown for building Donkey Kong’s body.
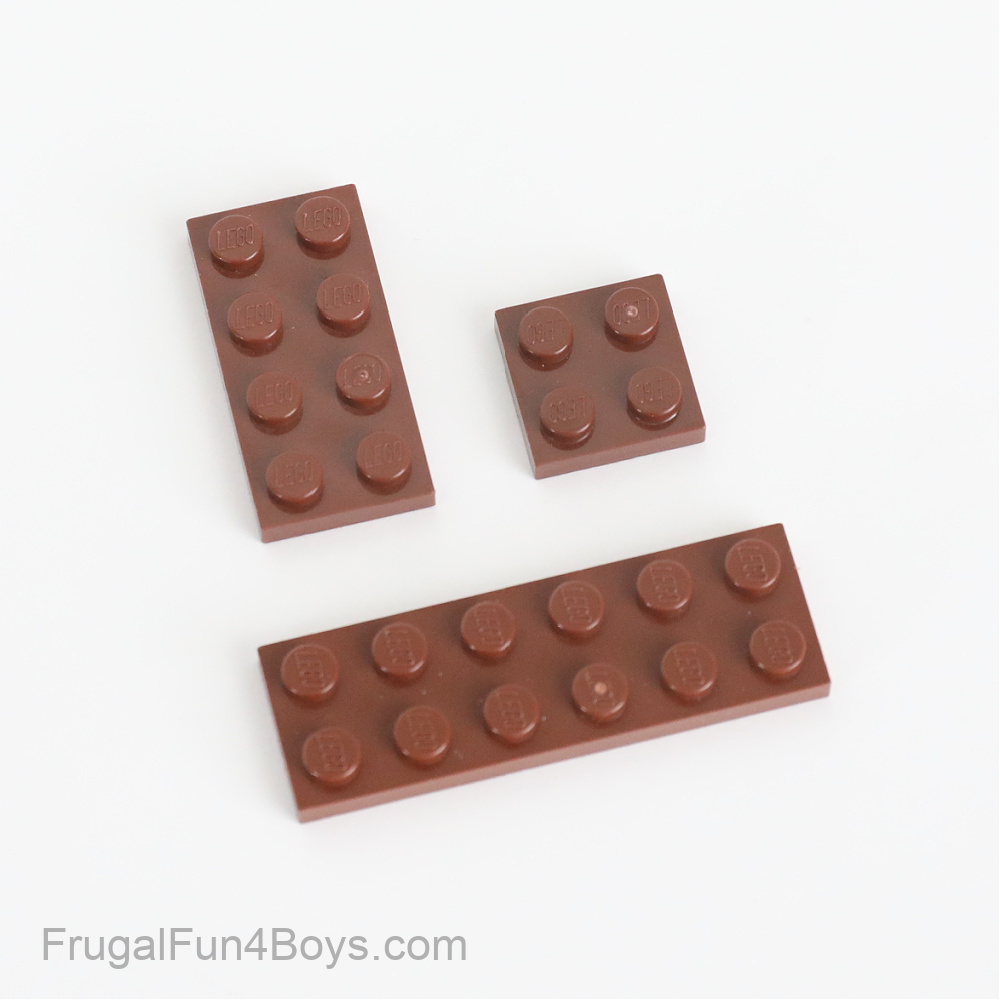
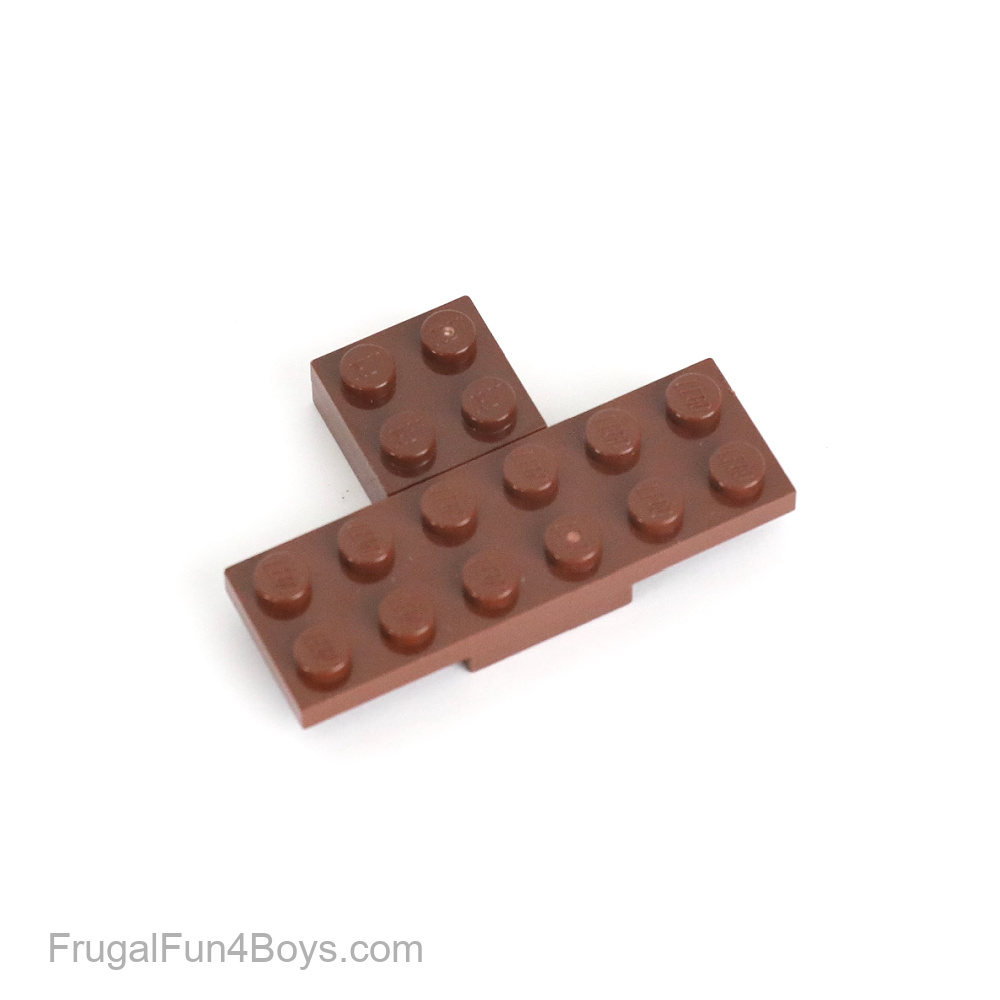
Step 13: Attach a 2 x brown plate and a 2 x 2 brown plate to a 2 x 4 plate as shown.
Step 14: Then add a 2 x 6 brown brick, a 2 x 4 tan brick, and two 1 x 2 brown bricks.
Step 15: Add another layer of bricks. Use three 2 x 2 brown slopes, a 1 x 6 brown brick, two 1 x 1 brown bricks, and a 1 x 4 tan brick.
Step 16: Secure the bricks by adding a 1 x 3 brown brick on each side. Then add a 2 x 4 brown brick, two 1 x 1 tan bricks, and a 1 x 2 tan brick with two studs on the side.
Step 17: Add a 1 x 6 brown plate and a 2 x 6 brown plate to the body. Then gather the bricks shown.
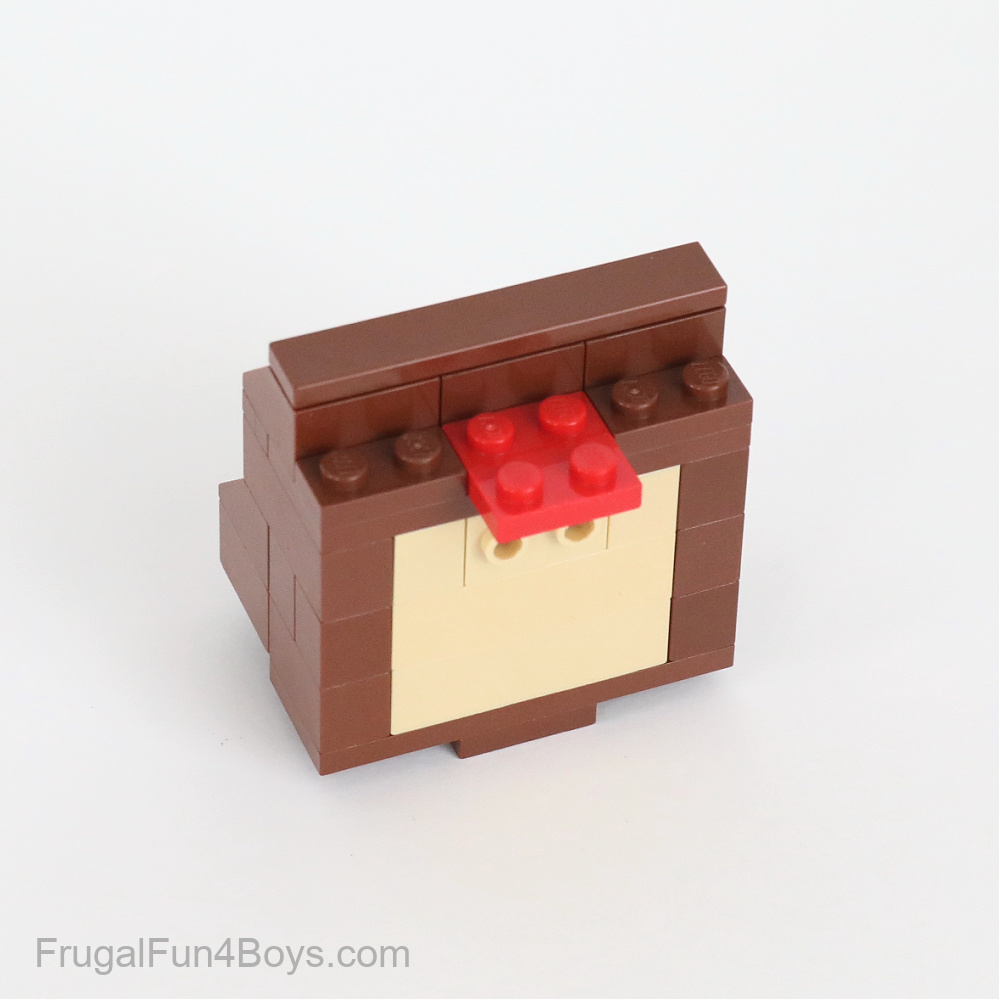
Step 18: Place three 2 x 2 brown slopes on the body so that they slope toward the back. Then place a 1 x brown tile on top of them. Add two 1 x 2 brown plates and a 2 x 2 red plate in front of them.
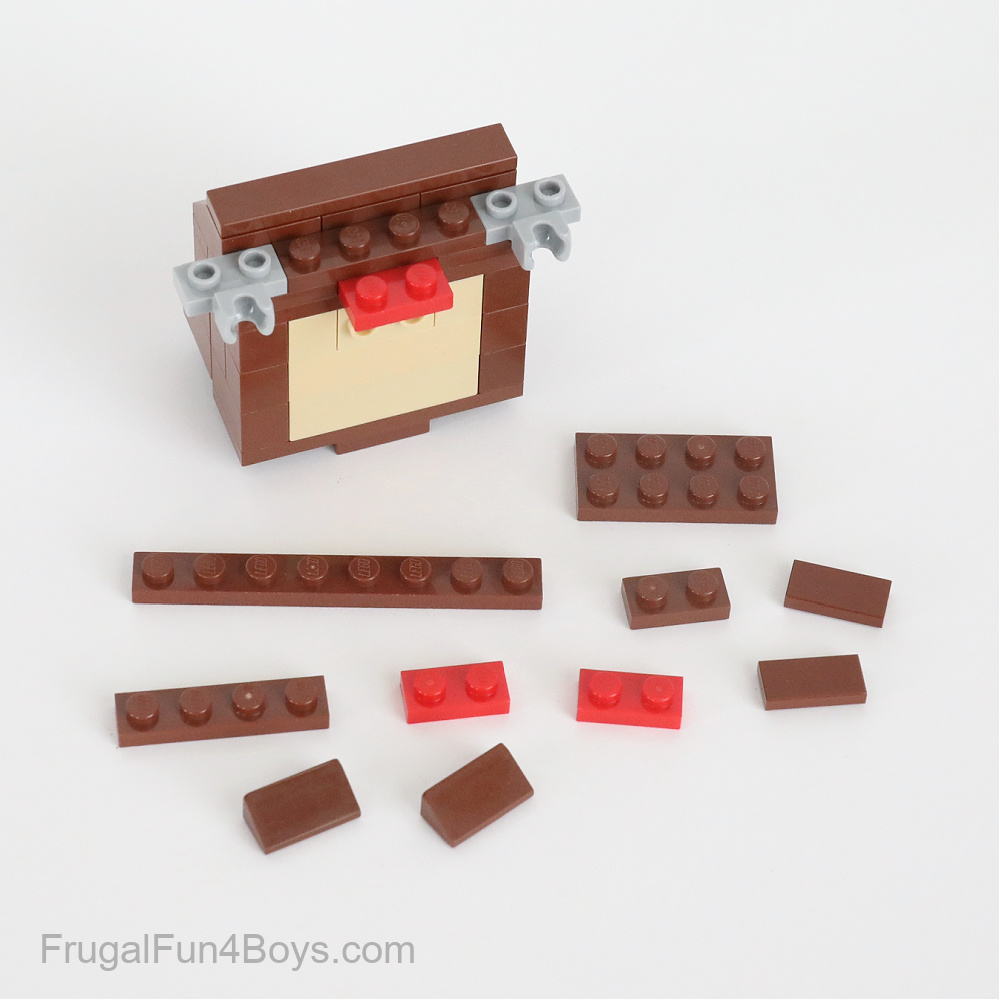
Step 19: Add a 1 x 4 brown plate and two 1 x 2 light gray plates with a socket on the side.
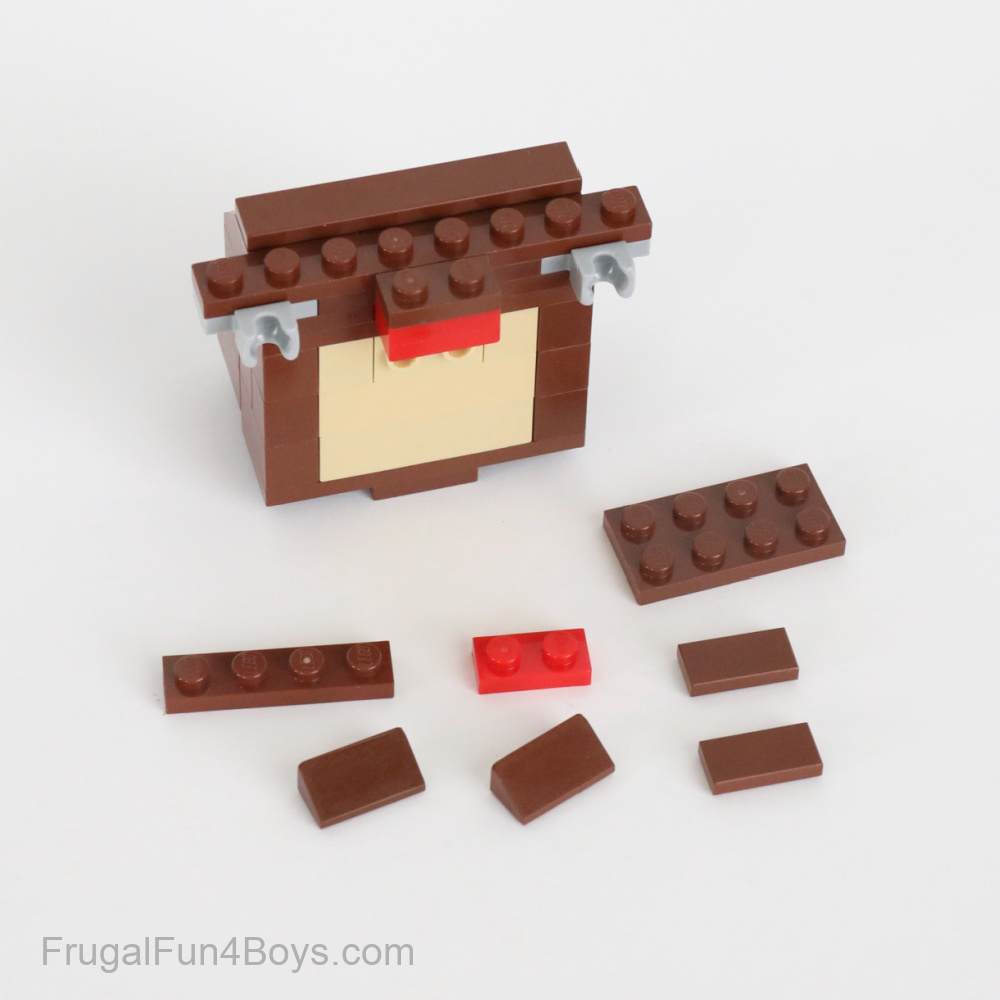
Step 20: Attach a 1 x 2 red plate to the UNDERSIDE of the red plate on the body. This makes the top of Donkey Kong’s necktie. Then add a 1 x 8 brown plate and a 1 x 2 brown plate.
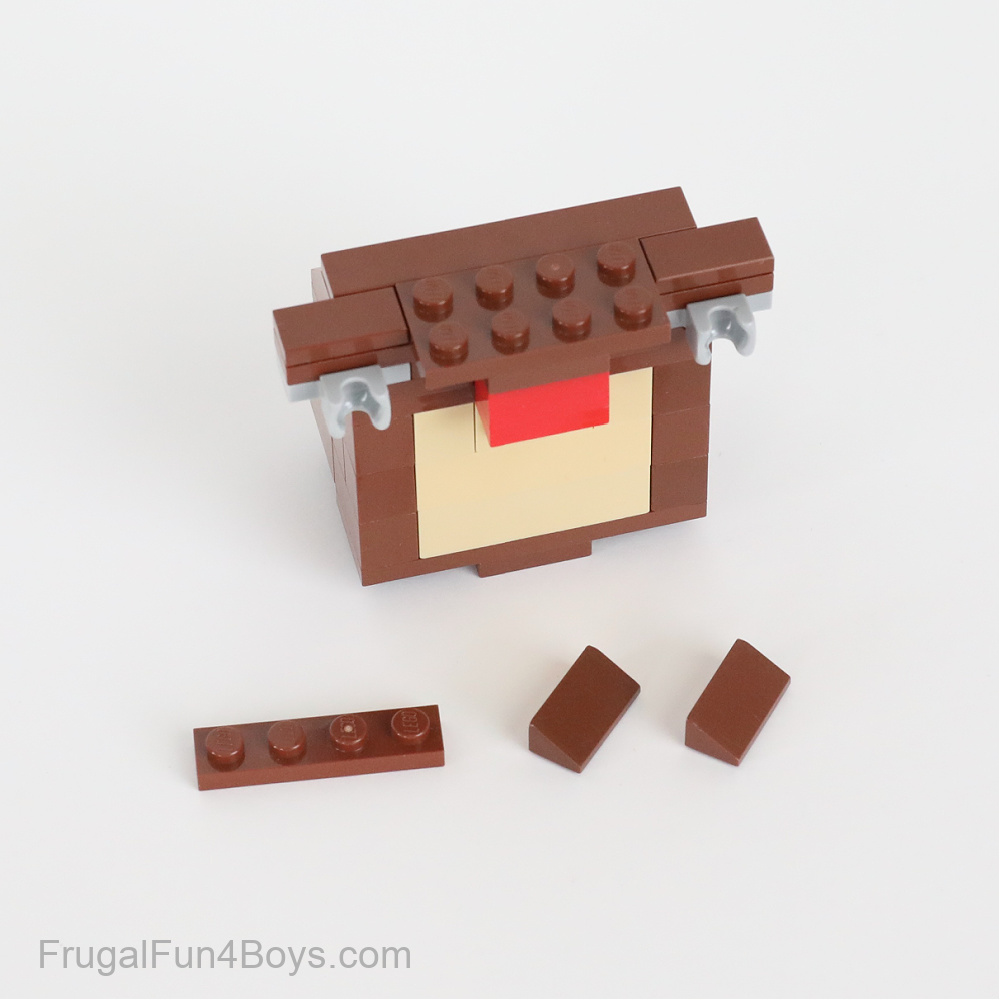
Step 21: Add the other red plate. Then add a 2 x 4 brown plate and two 1 x 2 brown tiles.
Step 22: Add a 1 x 4 brown plate and two 1 x 2 brown slopes (30 degree). These will sit right behind Donkey Kong’s head.
Step 23: Attach the head to the body. Then build the legs. Each leg is two 2 x 2 brown bricks and a 2 x 3 tan plate. Find a tan jumper plate, a 1 x 2 red plate, and a 1 x 4 red curved slope.
Step 24: Attach the legs to the body. Attach the 1 x 2 red plate to the 1 x 4 red curved slope. Place the 1 x 2 tan jumper plate on Donkey Kong’s body just under the red tie. Then add the red curved slope to complete the tie.
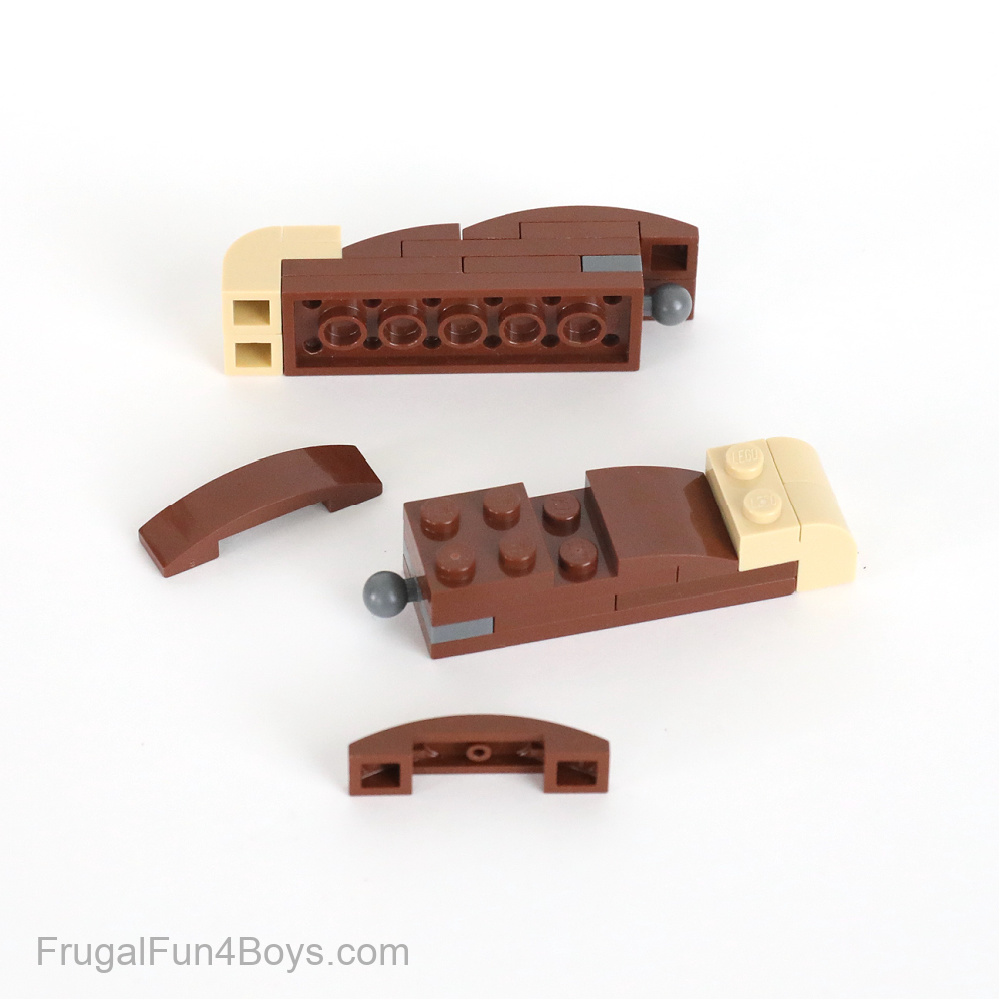
Step 25: Build the arms. It helps to start with a 2 x 6 brown plate for each arm, and then add a 1 x 2 dark gray plate with a ball on the side so that you can connect the arm to the body. The hands each have two 2 x 1 x 1 1/3 curved slopes with recessed stud. Place a 1 x 2 tan plate on top of them.
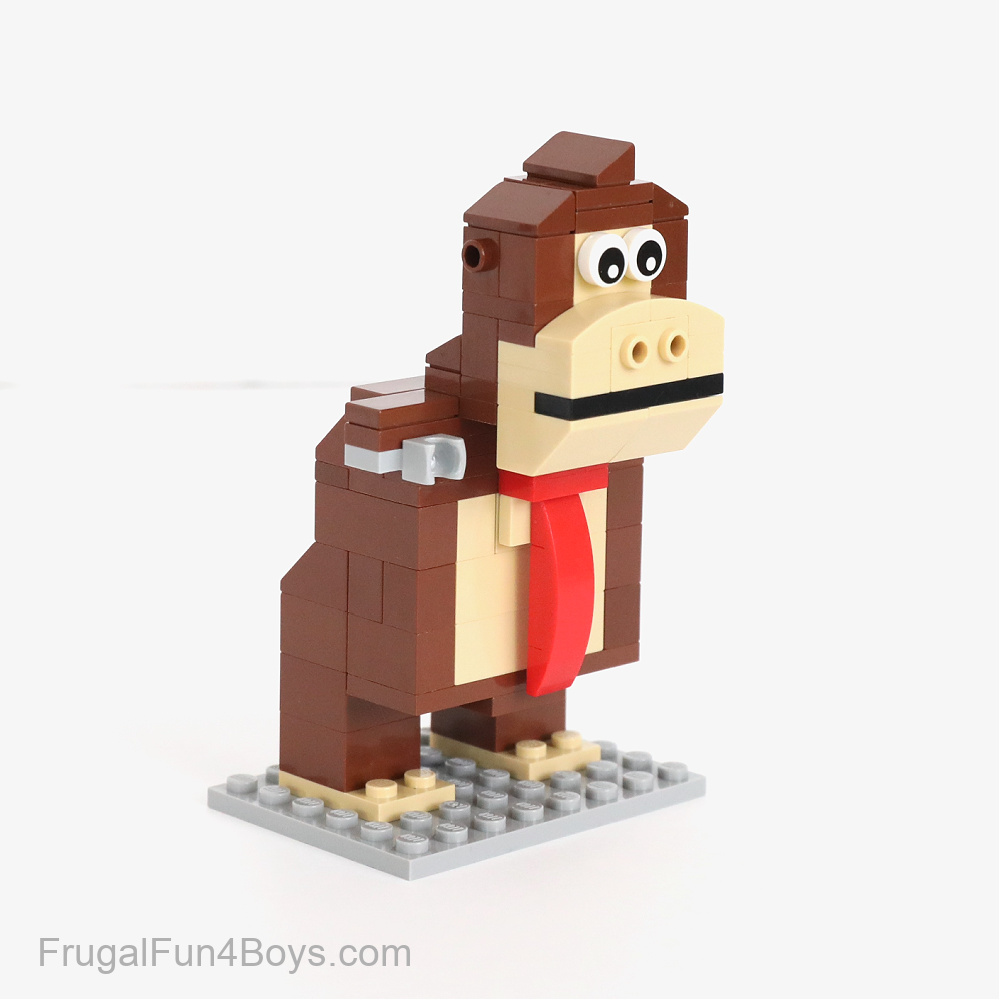
Step 26: Attach the arms and Donkey Kong is complete!
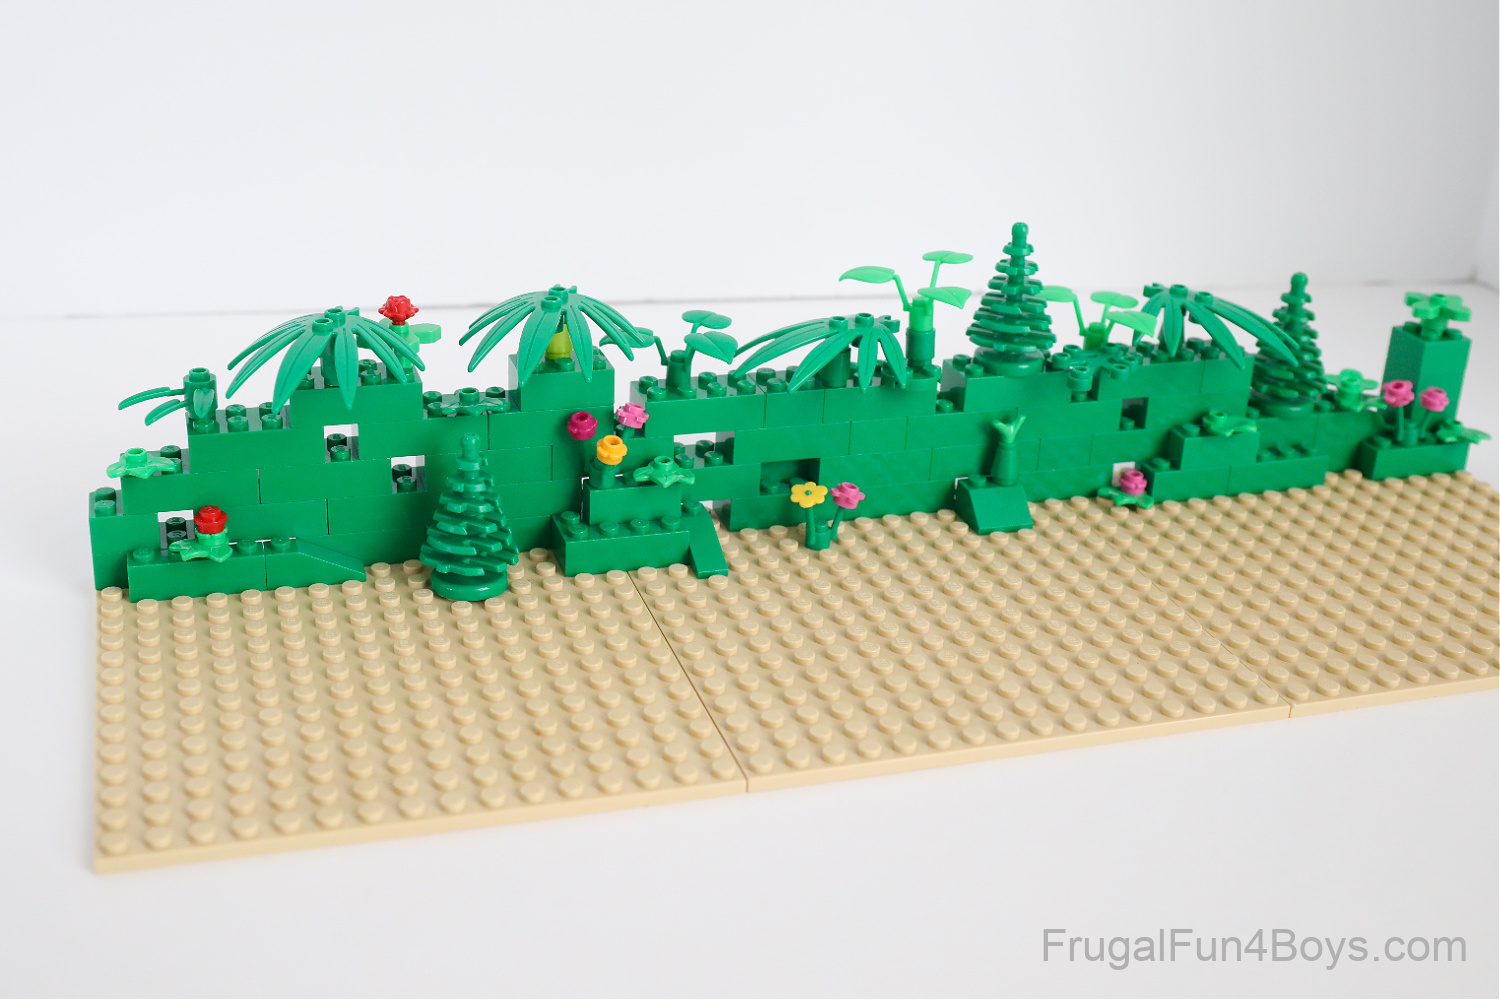
It’s fun to build a scene from Donkey Kong Country! Use whatever green bricks you have to build a basic structure, and then add flowers, plants, and trees.
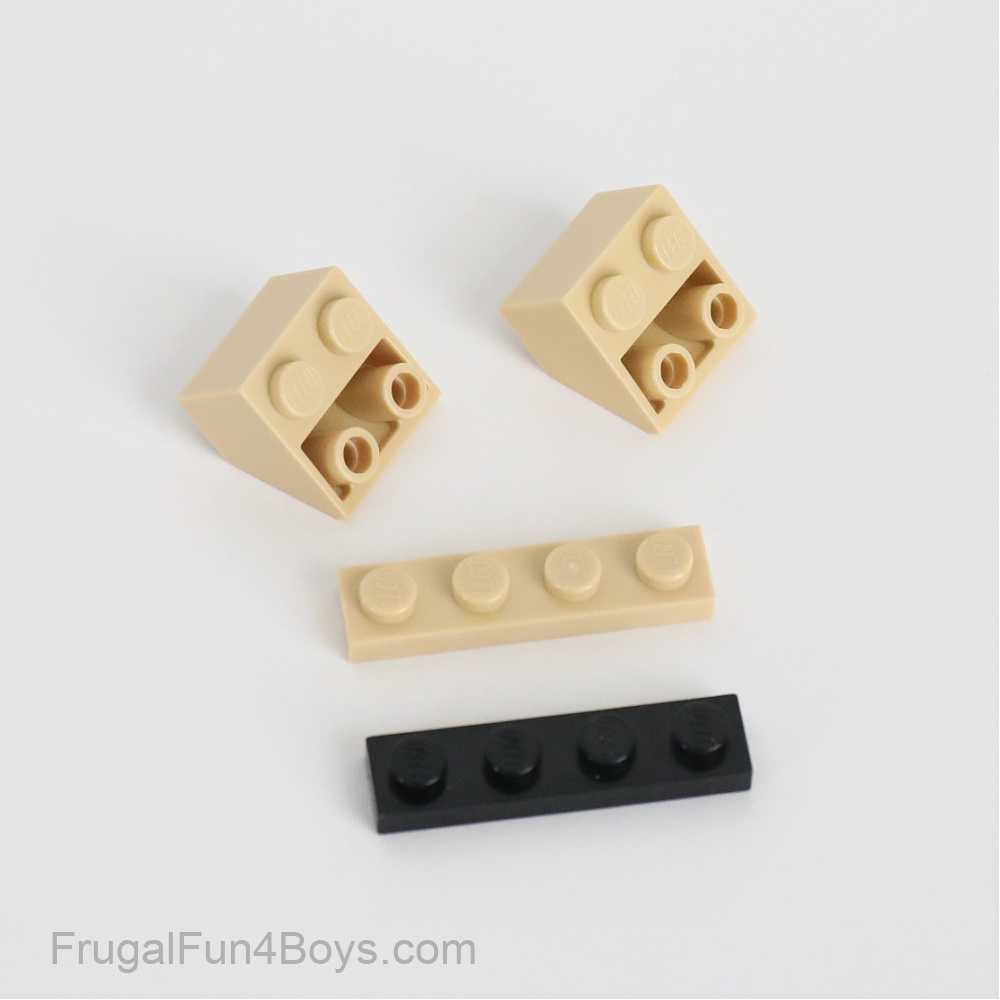
And of course, you have to add some bananas! Here are the pieces we used for building bananas.
The little clear piece is on Brick Link as a Minifigure, Utensil Posing Stand, Bar with Hollow Stud. We have gotten them with some of the series minifigures, especially superhero ones.
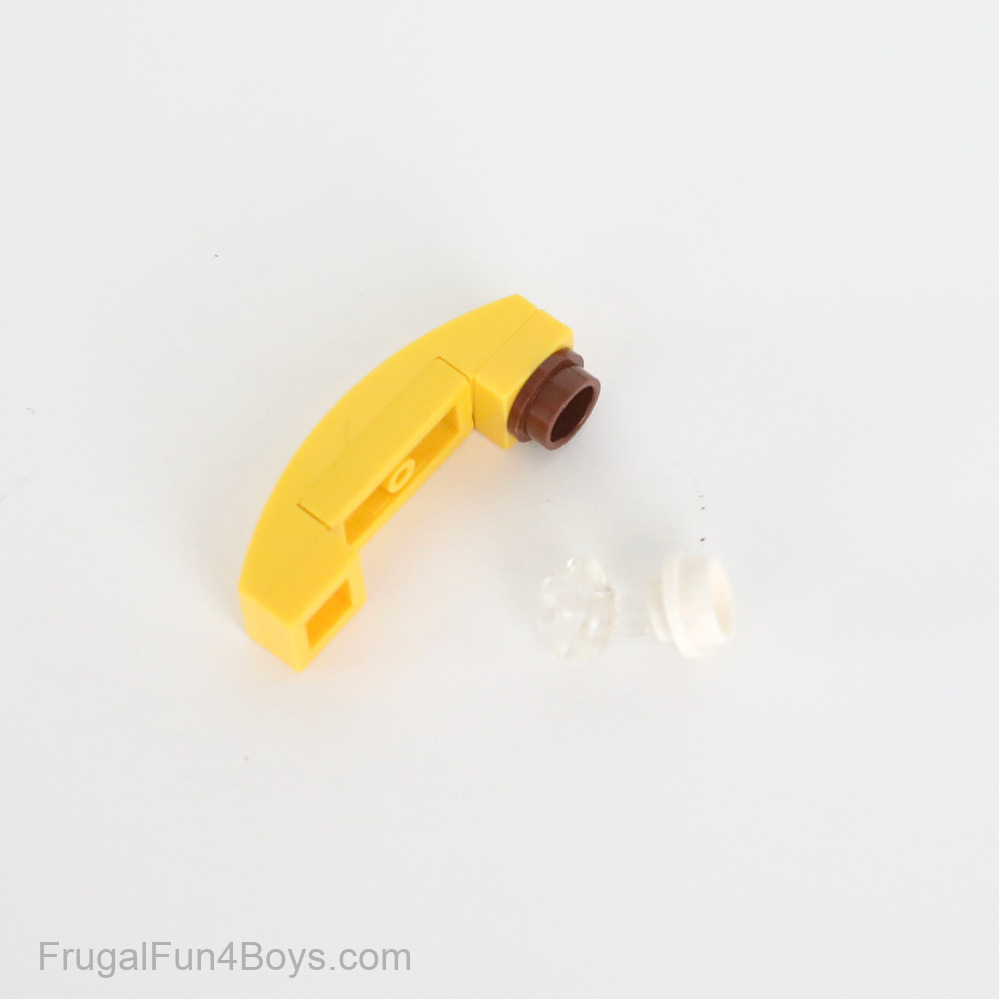
Here’s how to assemble the banana:
Unfortunately, I do not have time to add instructions for Diddy Kong, but he should be fairly easy to figure out from the photos.

Here’s a view from the back.
Have fun building LEGO Nintendo projects! Don’t forget to check out our Mario Building Projects.
0 Comments
Post a Comment