
Are your kids into Breath of the Wild? It’s one of the Legends of Zelda games. And that’s about all I know, because I don’t keep up with this kind of stuff. (Well, I know enough to know whether the games are appropriate or not… we’re picky about video game content!) I didn’t realize until recently, however, that Zelda is a princess. We didn’t have Zelda on our original Nintendo console in the 80’s!
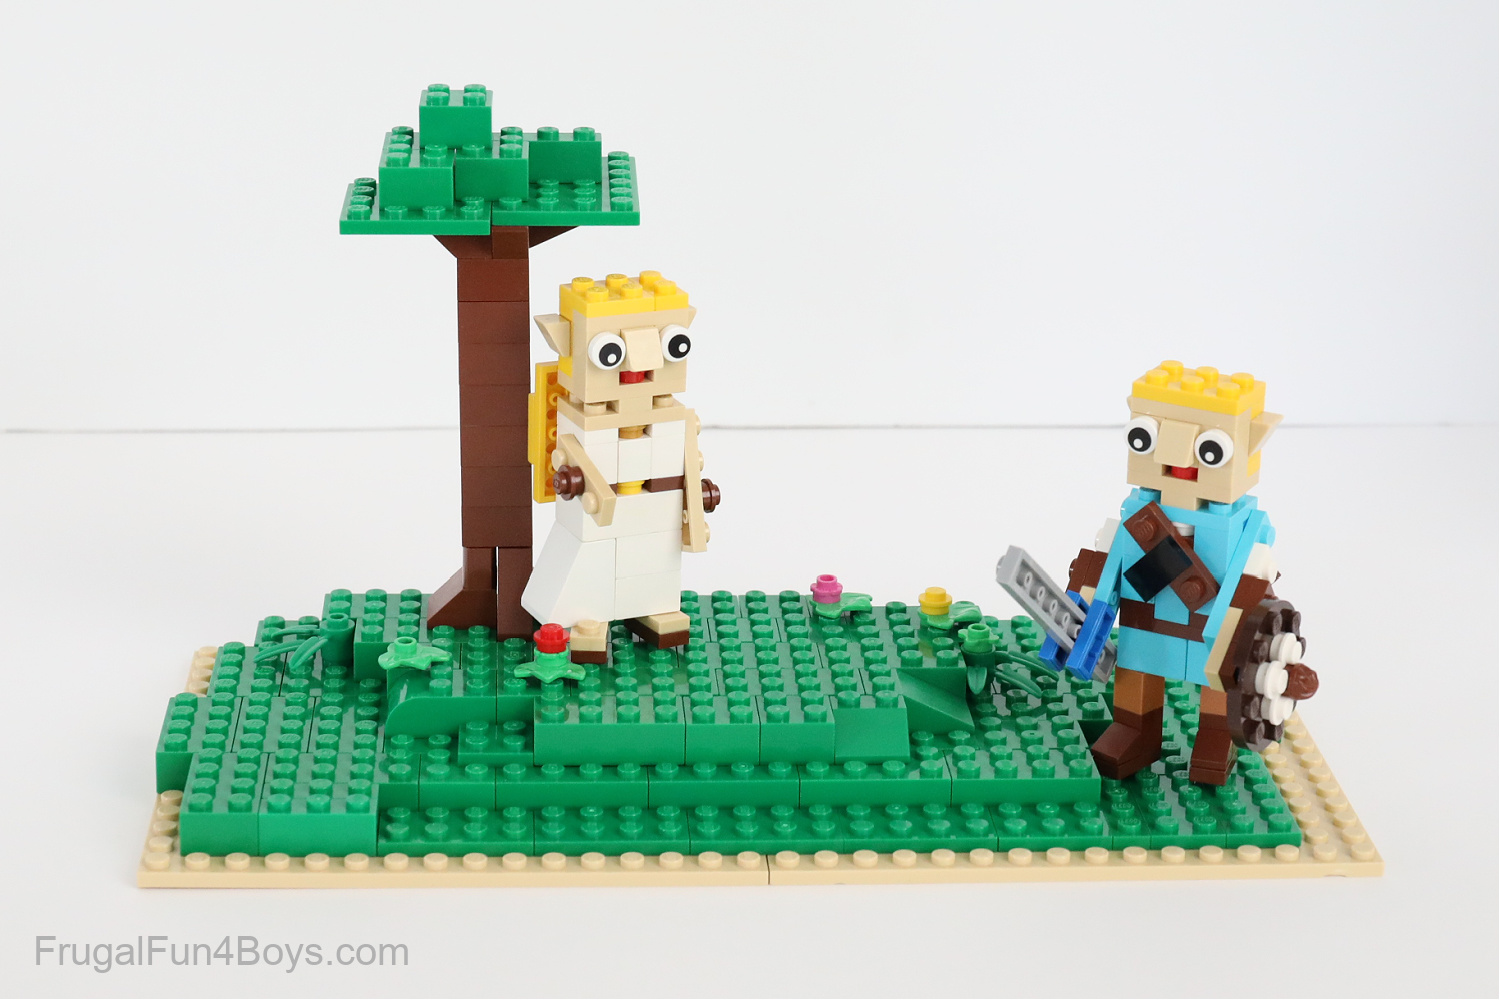
Anyway, my Breath of the Wild obsessed son wanted to build a Link and Zelda to share with you all, since these are their favorite characters. And I think they turned out pretty cute!
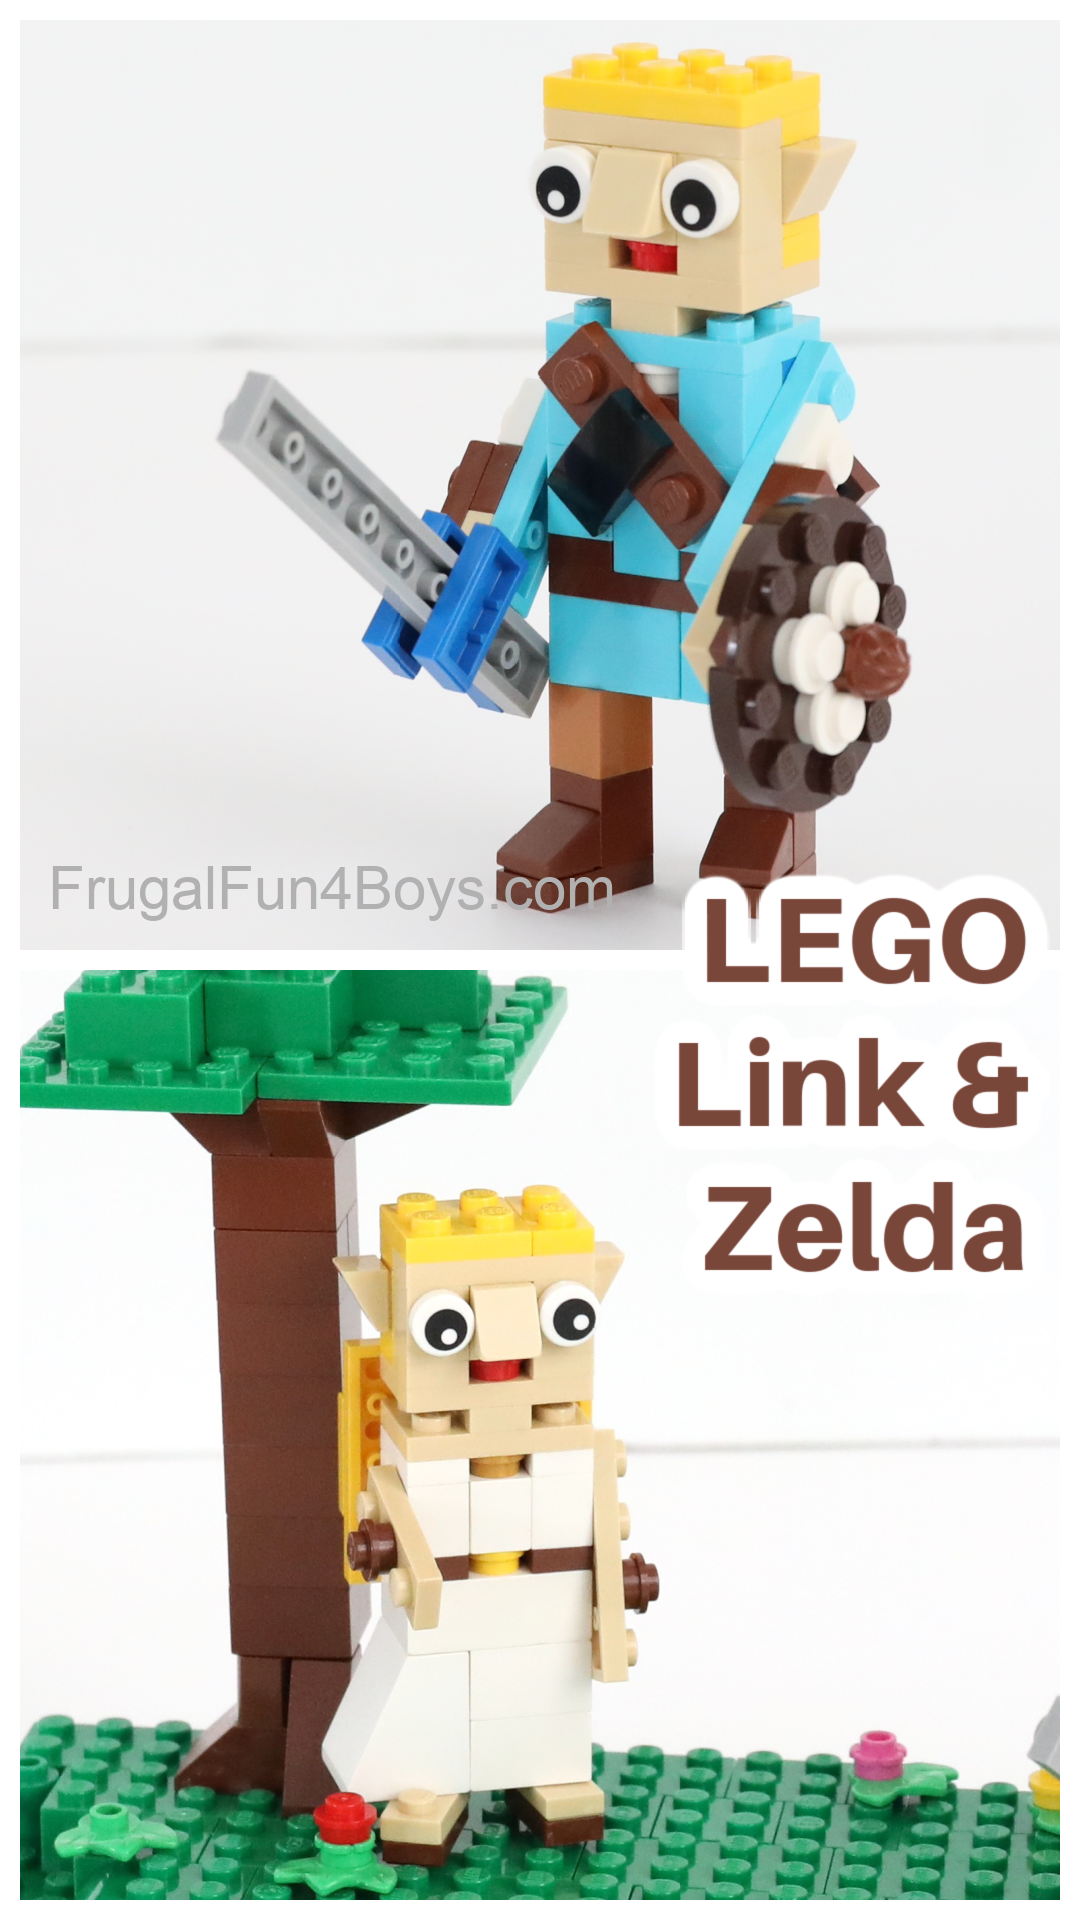
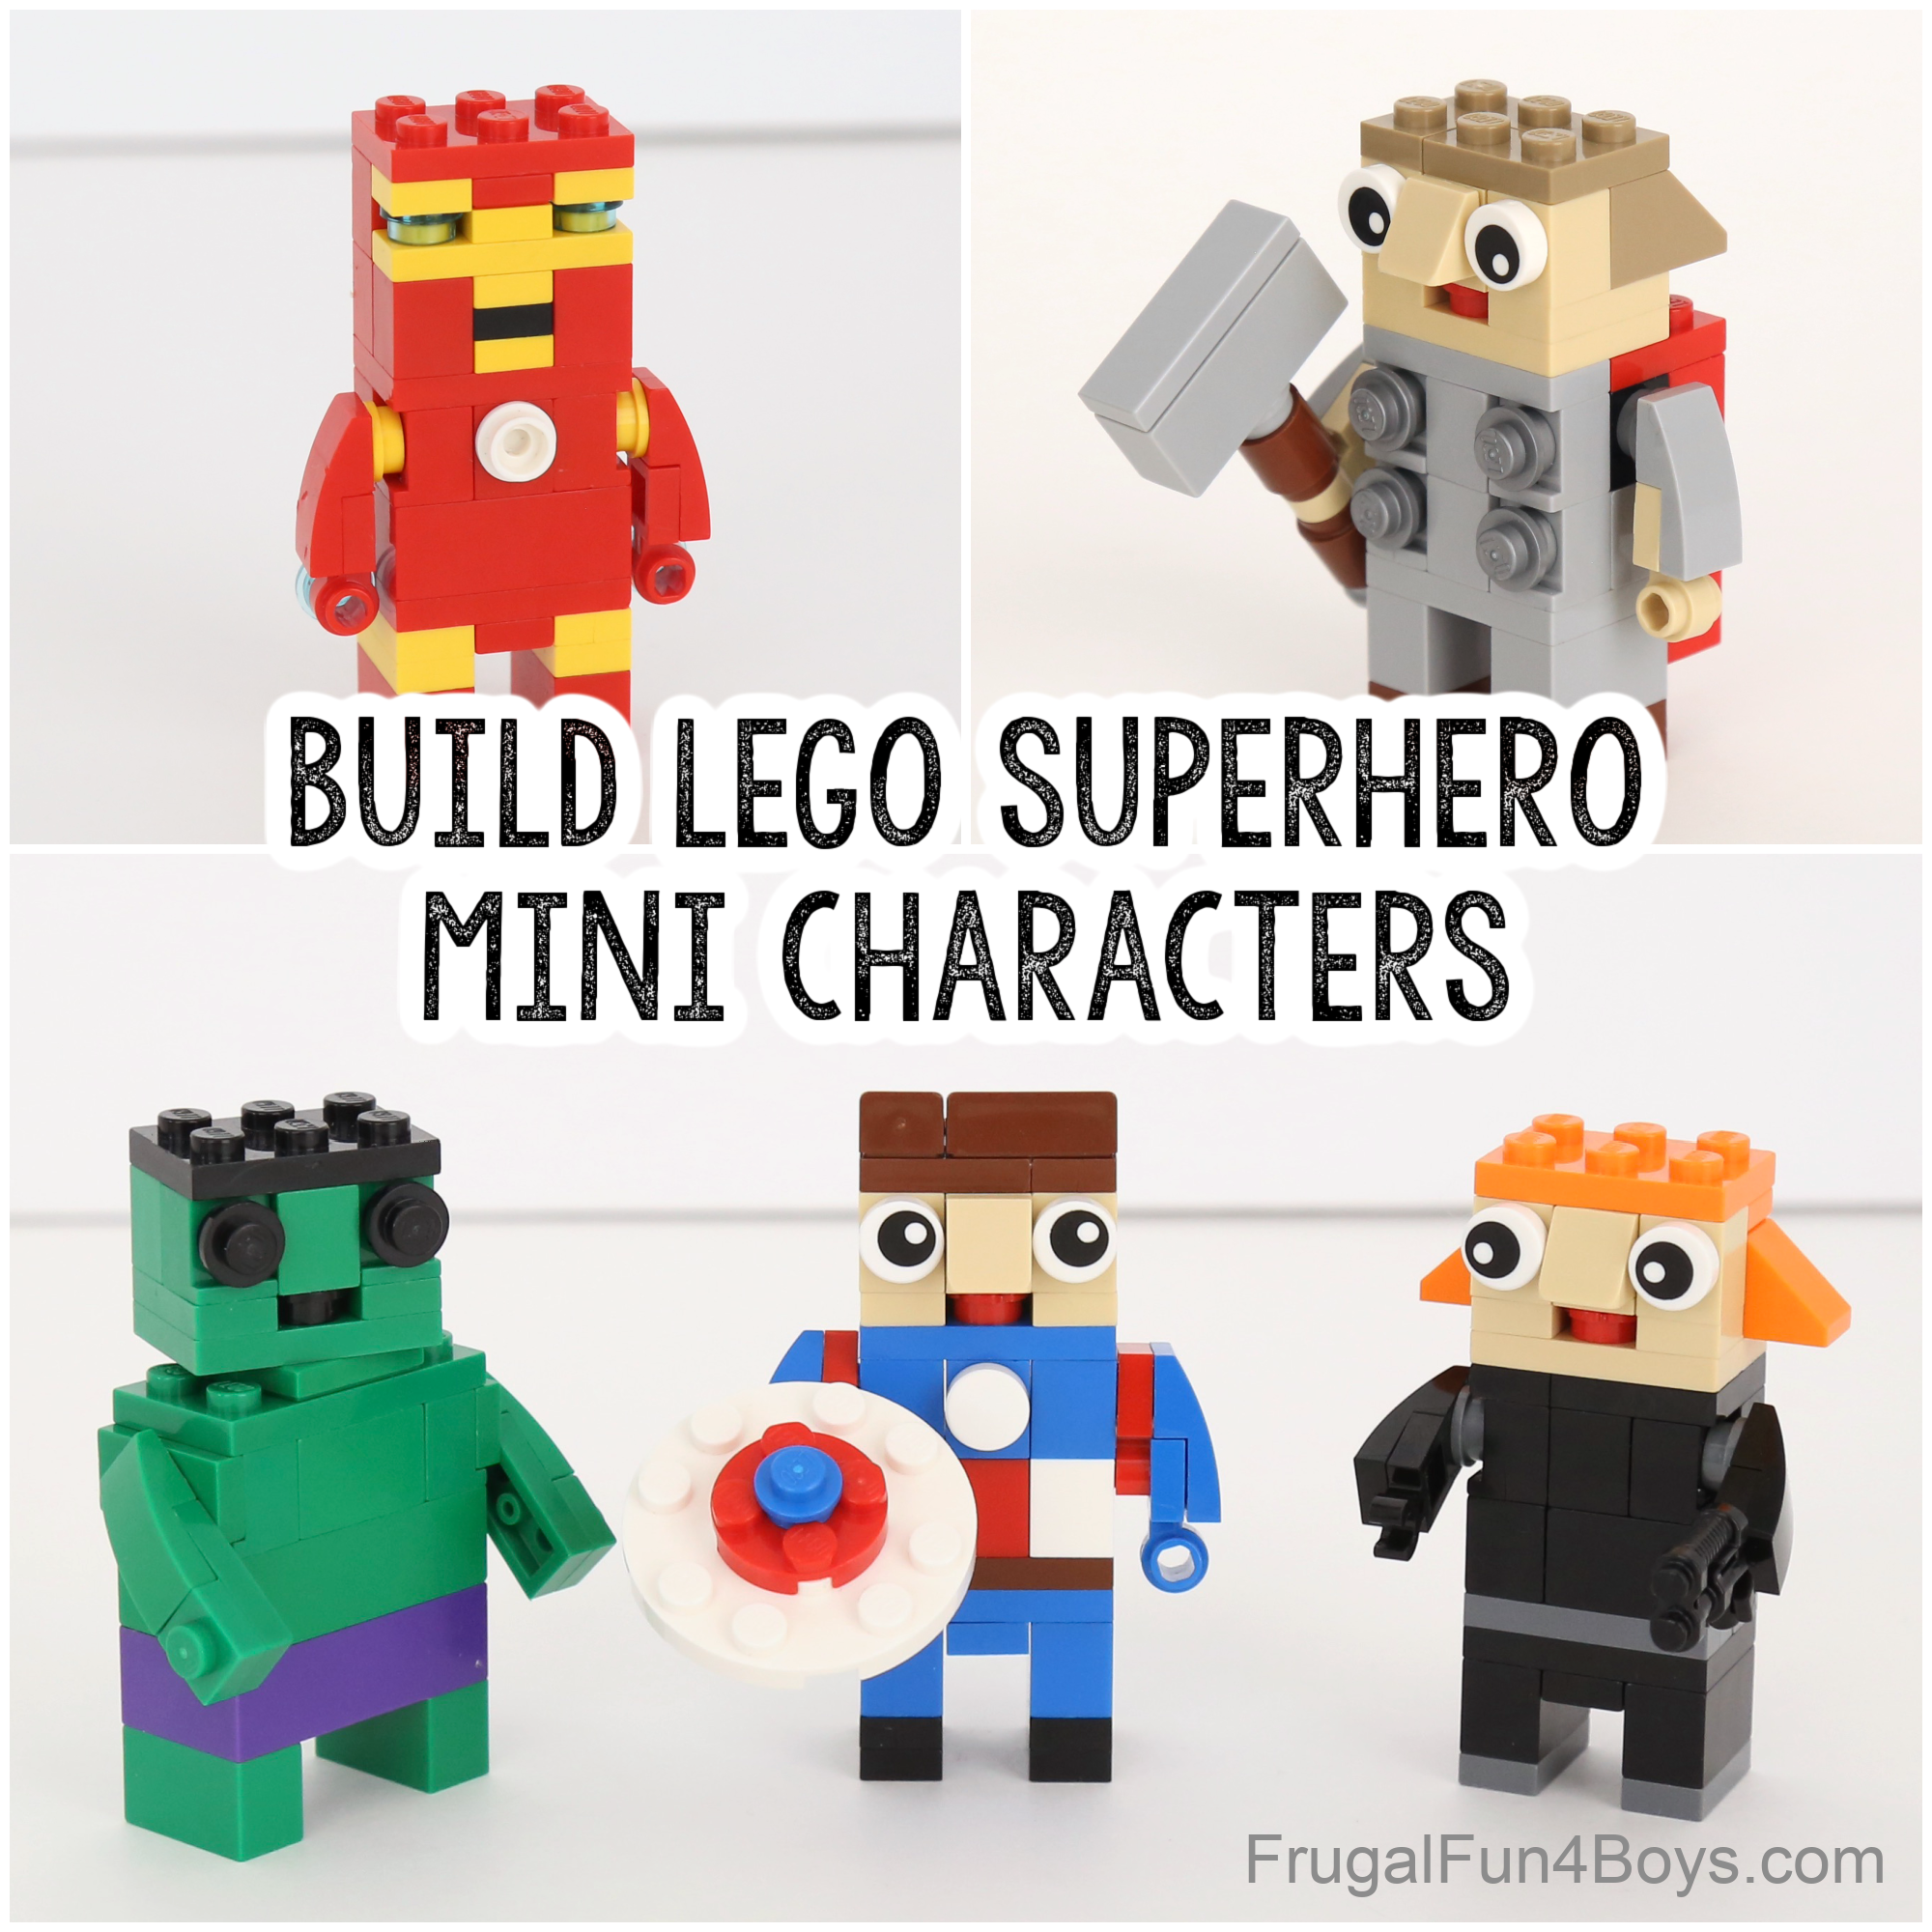
These LEGO characters are very similar in structure to our Marvel LEGO Characters and our Star Wars LEGO Characters. That head size just works really well.
My kids also have been creating Link minifigures by looking combining hair, clothing, etc. to look like Link. But none have been quite right, and it’s fun to just build the character.
Let’s get started building Link out of LEGO bricks!
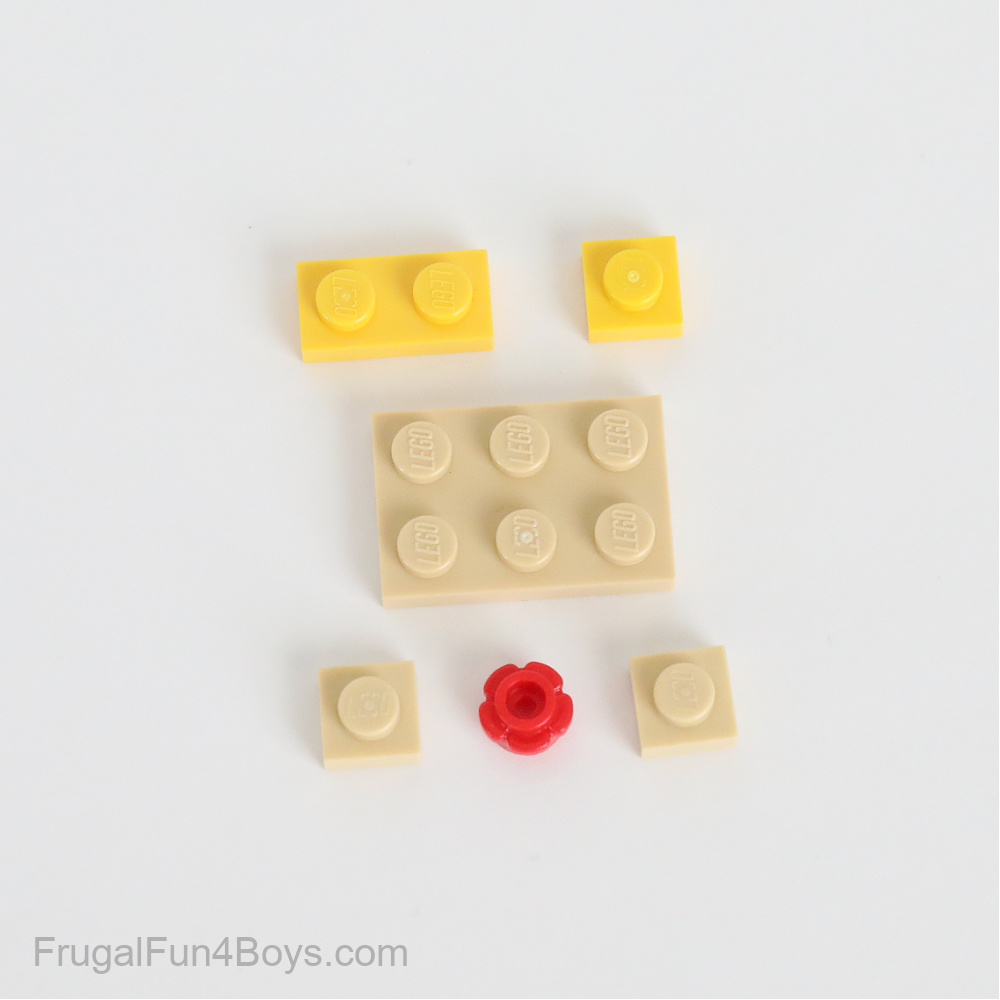
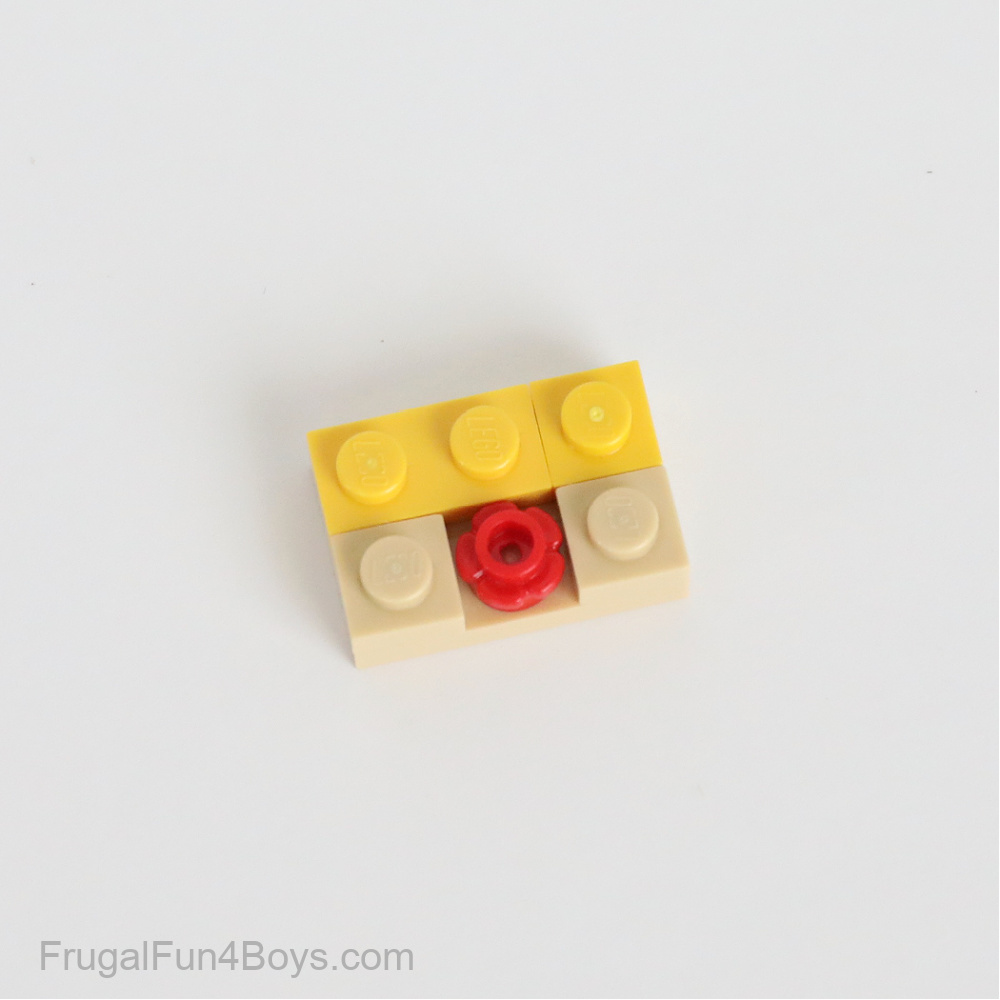
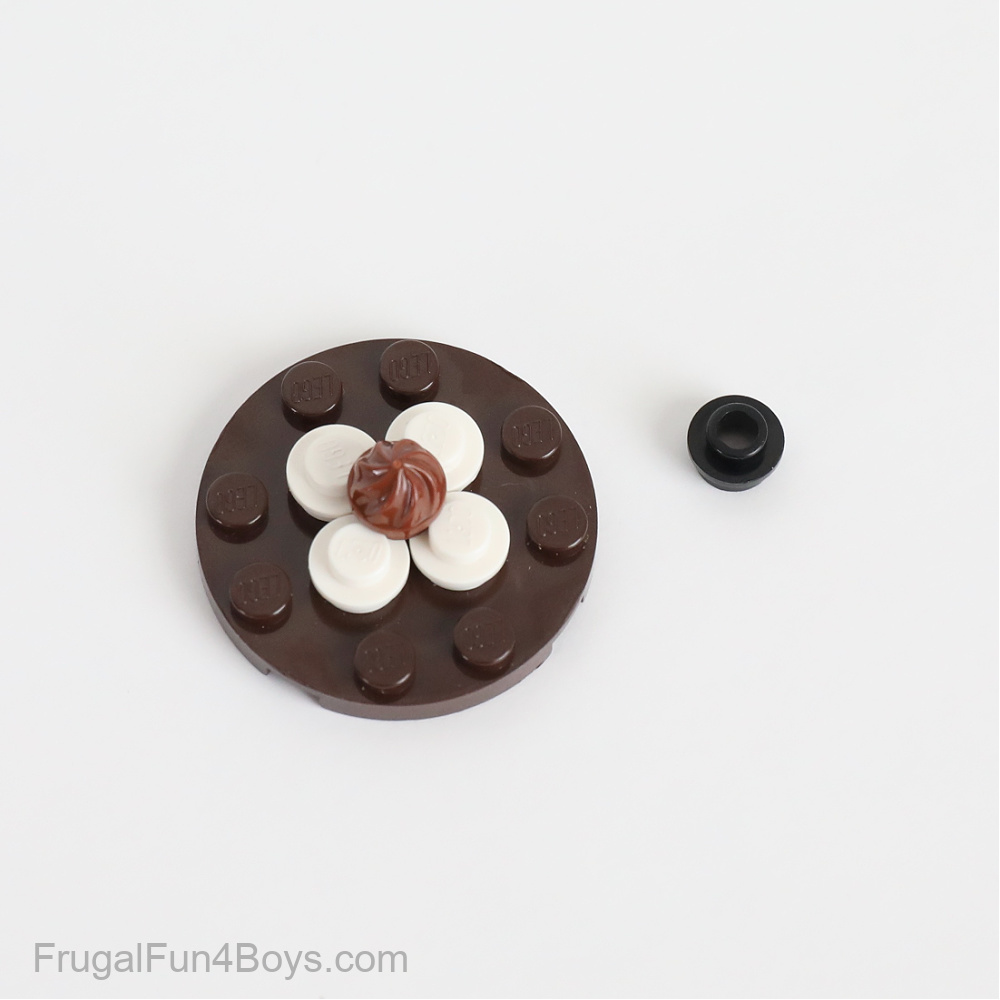
Step 1: Gather the pieces shown for starting Link’s head. A red 1 x 1 round plate will work just as well as the flower piece shown.
Step 2: Attach the yellow and tan plates and the 1 x 1 red plate to the 2 x 3 tan plate as shown.
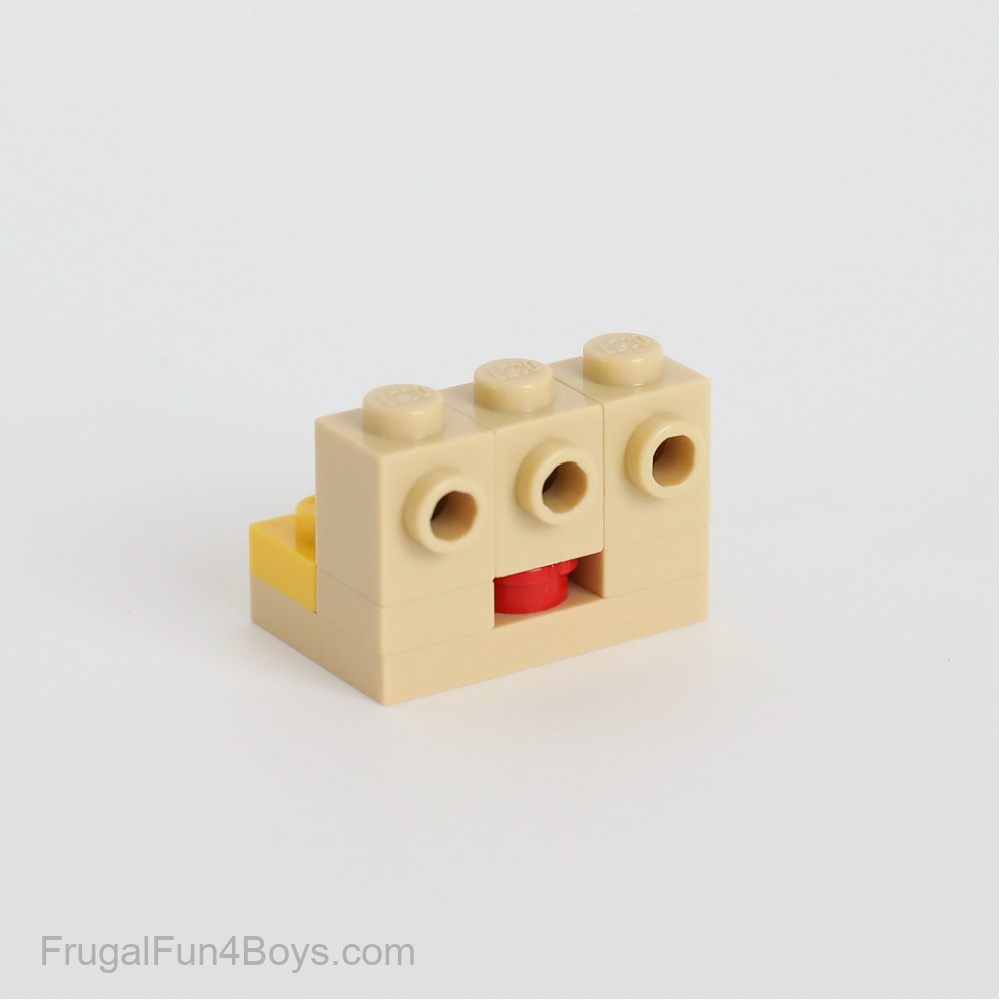
Step 3: Add three 1 x 1 tan bricks with a stud on one side. These will hold the eyes and nose.
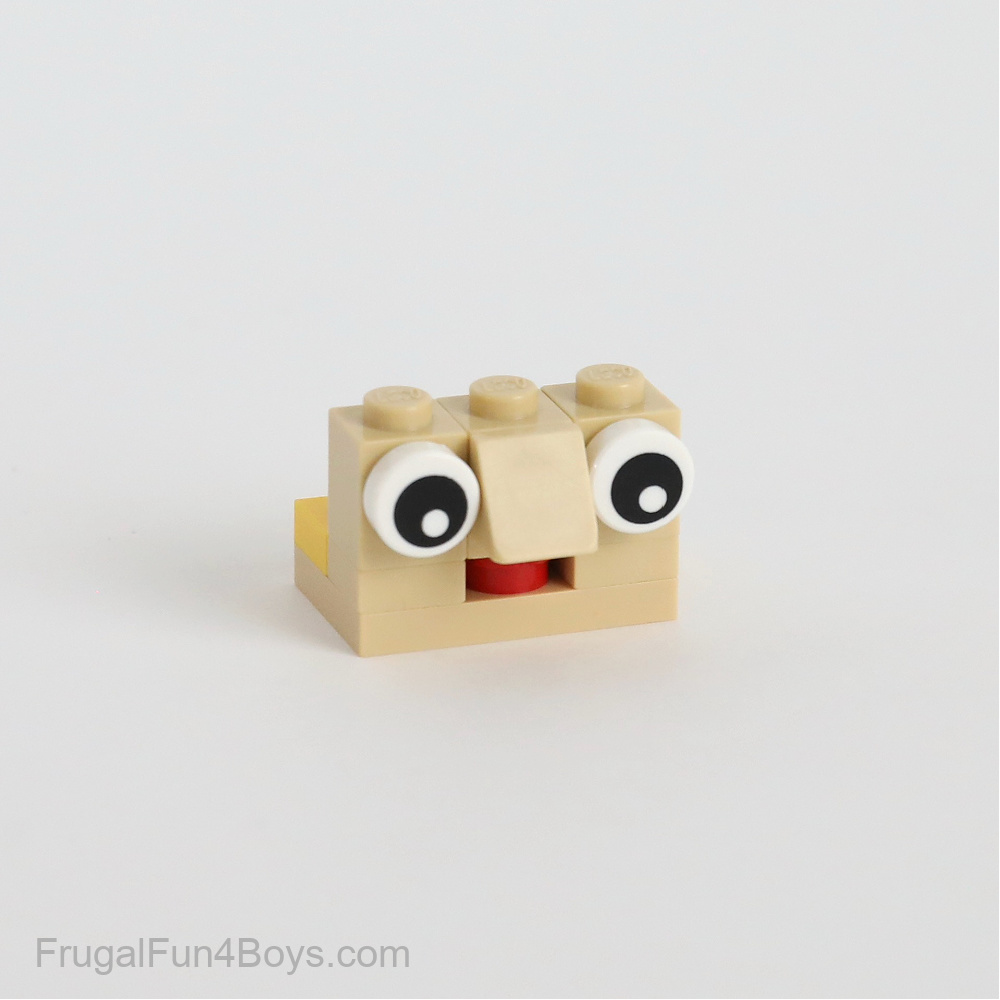
Step 4: Attach two eyes and a 1 x 1 tan slope (30 degree).
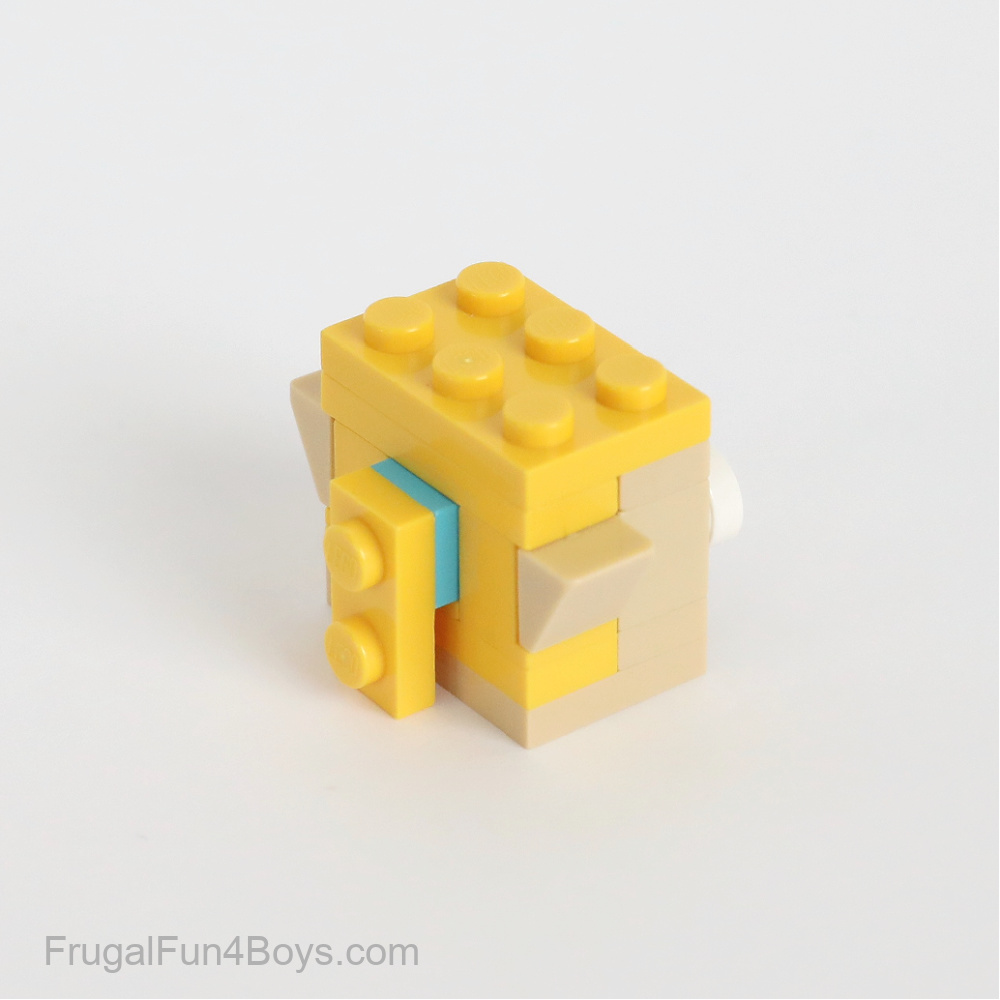
Step 5: Turn the head around and add three 1 x 1 yellow bricks with a stud on the side. These are the headlight style. Then find two 1 x 1 tan slopes (30 degrees) and a 1 x 1 medium azure plate.
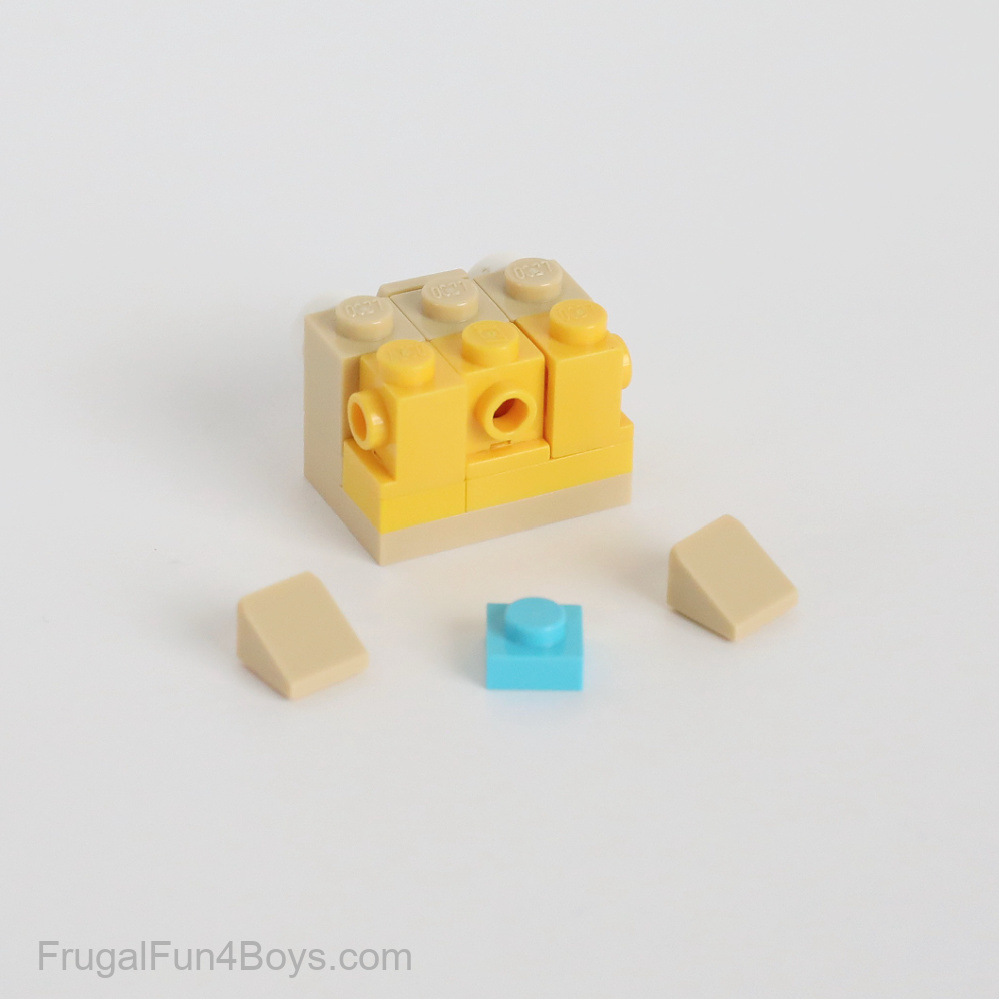
Step 6: Attach the tan slopes to make the ears, and attach the 1 x 1 medium azure plate to the back of the head. Then find the plates shown.

Step 7: Place a 1 x 3 tan plate on the top of the head (at the front) and a 1 x 3 yellow plate on top of the head at the back. Then place a 2 x 3 yellow plate on top of those. Add a 1 x 2 yellow plate to make the ponytail.
Step 8: Gather the bricks shown for building Link’s body.
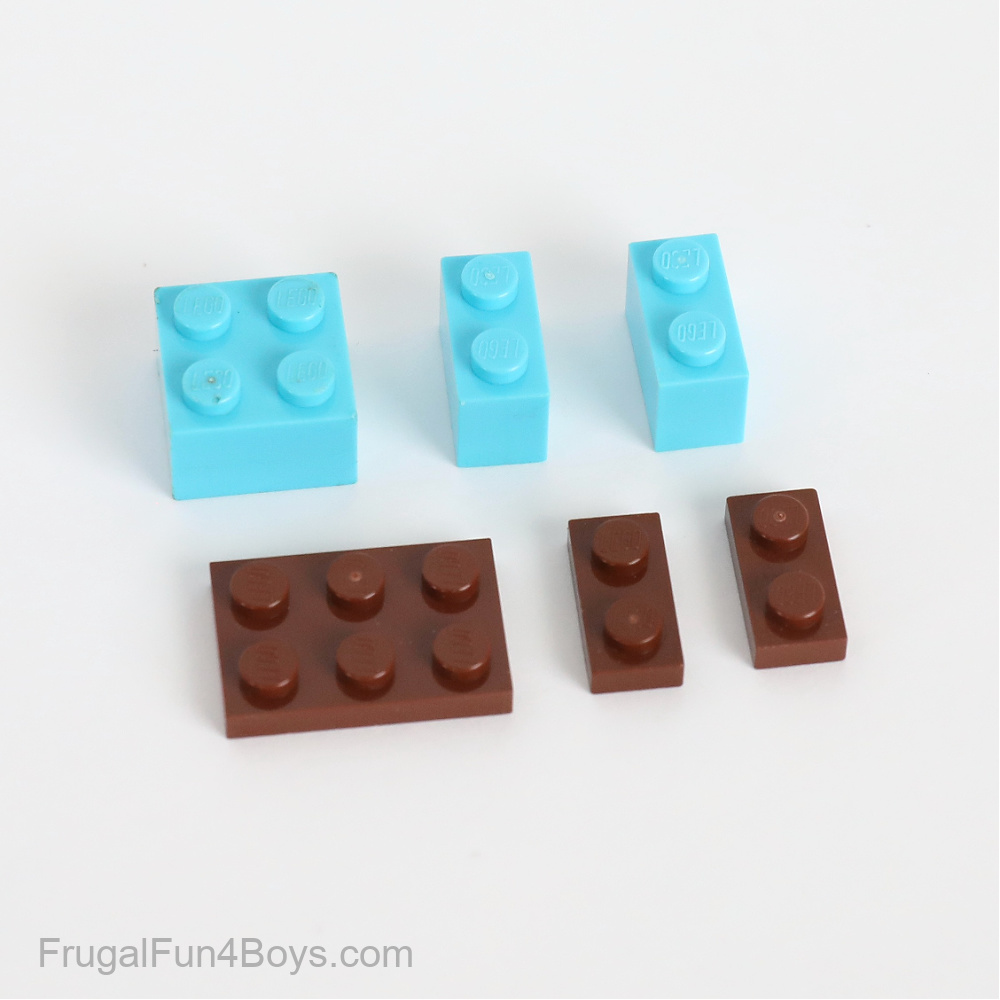
Step 9: Attach a 2 x 3 brown plate to a 2 x 2 medium azure brick and a 1 x 2 medium azure brick.
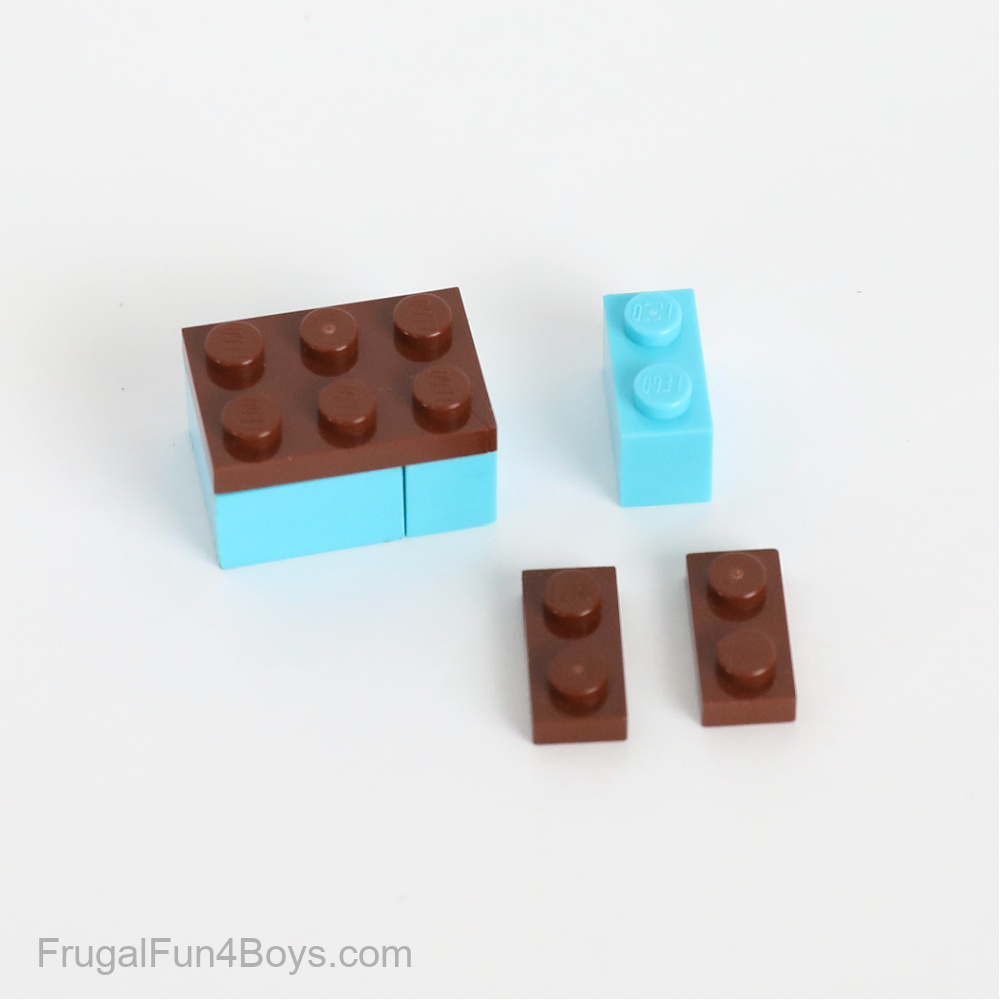
Step 10: Then add a 1 x 2 medium azure brick in the center and a 1 x 2 brown plate on each side.
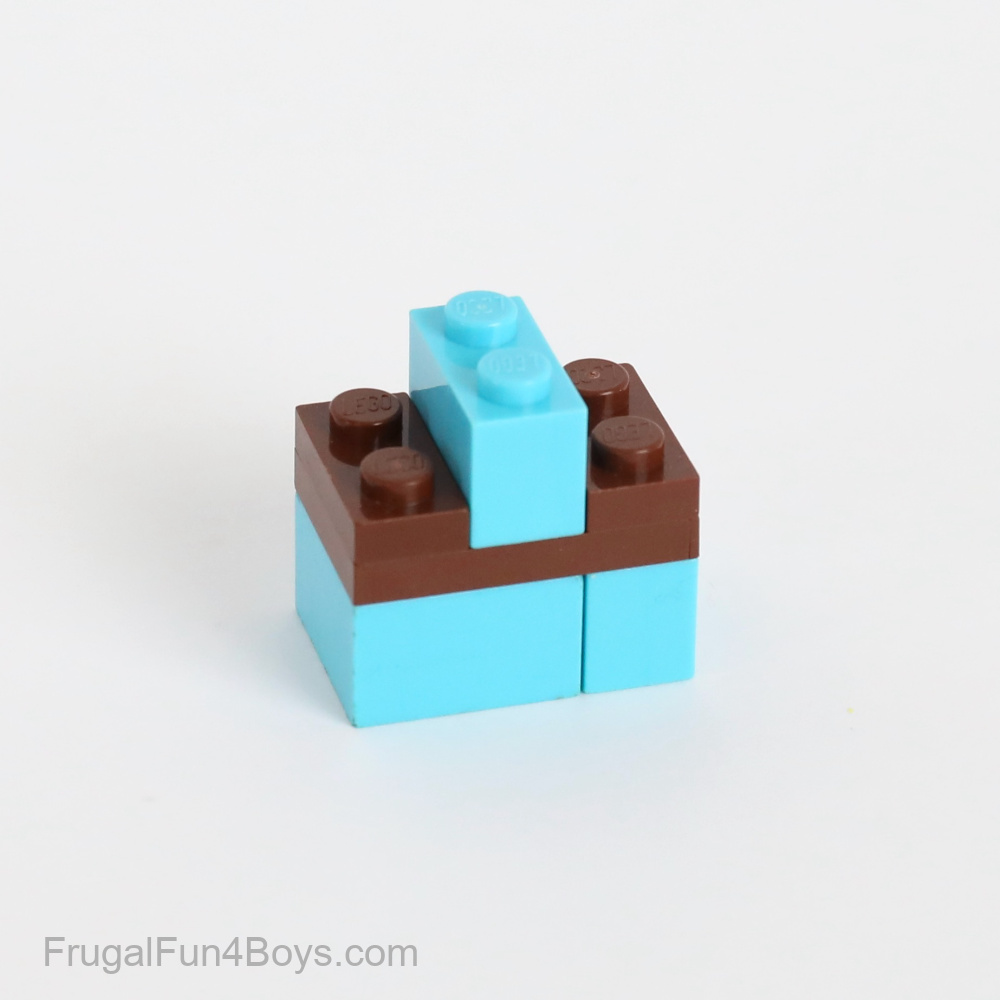
Step 11: Add two more 1 x 2 medium azure bricks, one on each side. Add a 1 x 1 brown round plate.
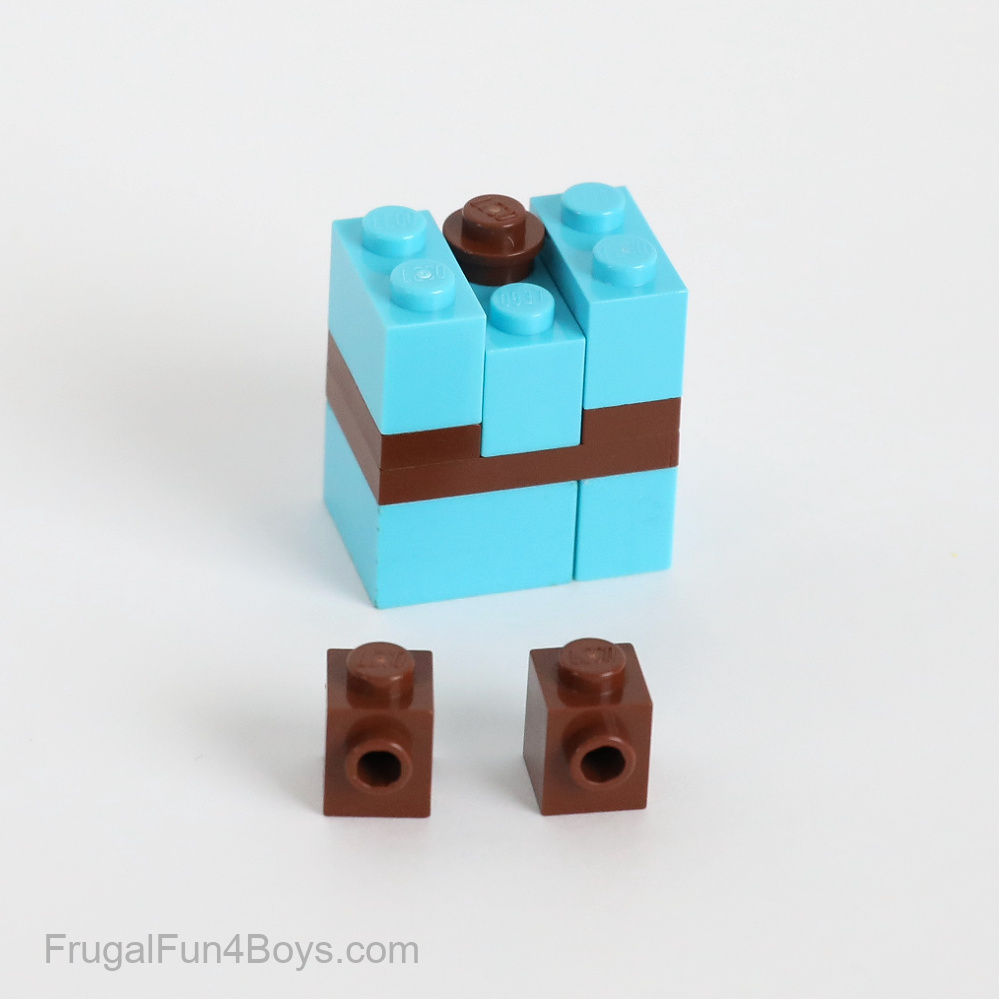
Step 12: Attach two 1 x 1 brown bricks with a stud on the side. One stud will face the front of the body and the other stud will face the back.
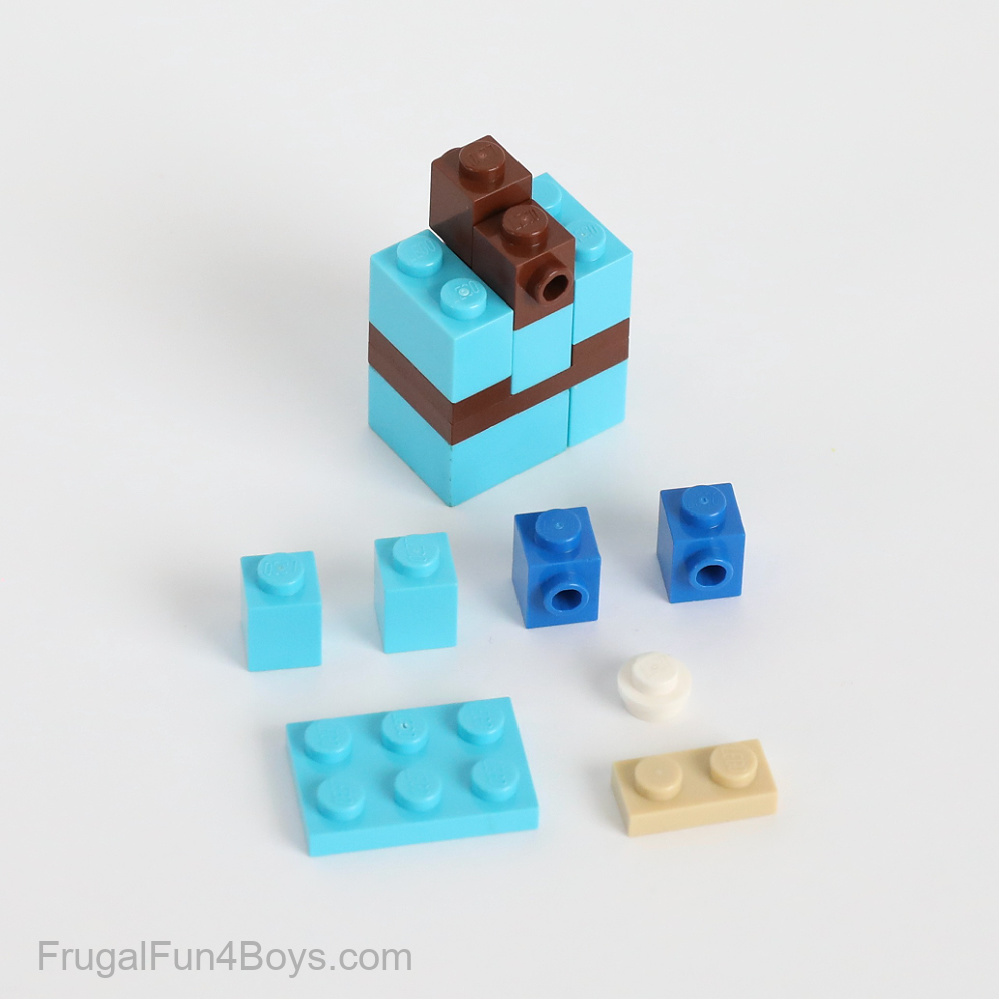
Step 13: Place a 1 x 1 medium azure brick and a 1 x 1 blue brick with a stud on the side on each side of the body. Then add a 1 x 1 white round plate.
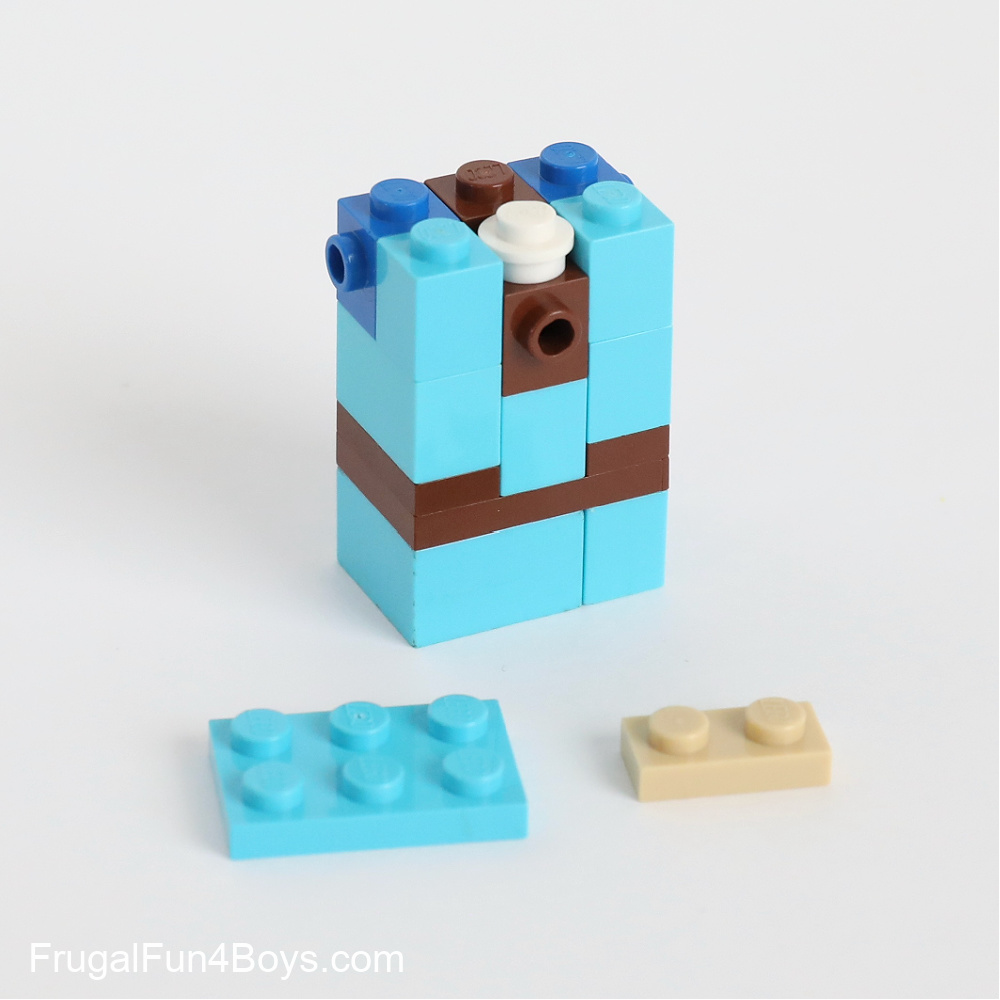
Step 14: Finish up the body by adding a 2 x 3 medium azure plate and a 1 x 2 tan plate for Link’s neck. Then build the arms. Each arm is a 1 x 4 medium azure plate with tan, brown, and white plates added as shown. You can modify this design if you want.
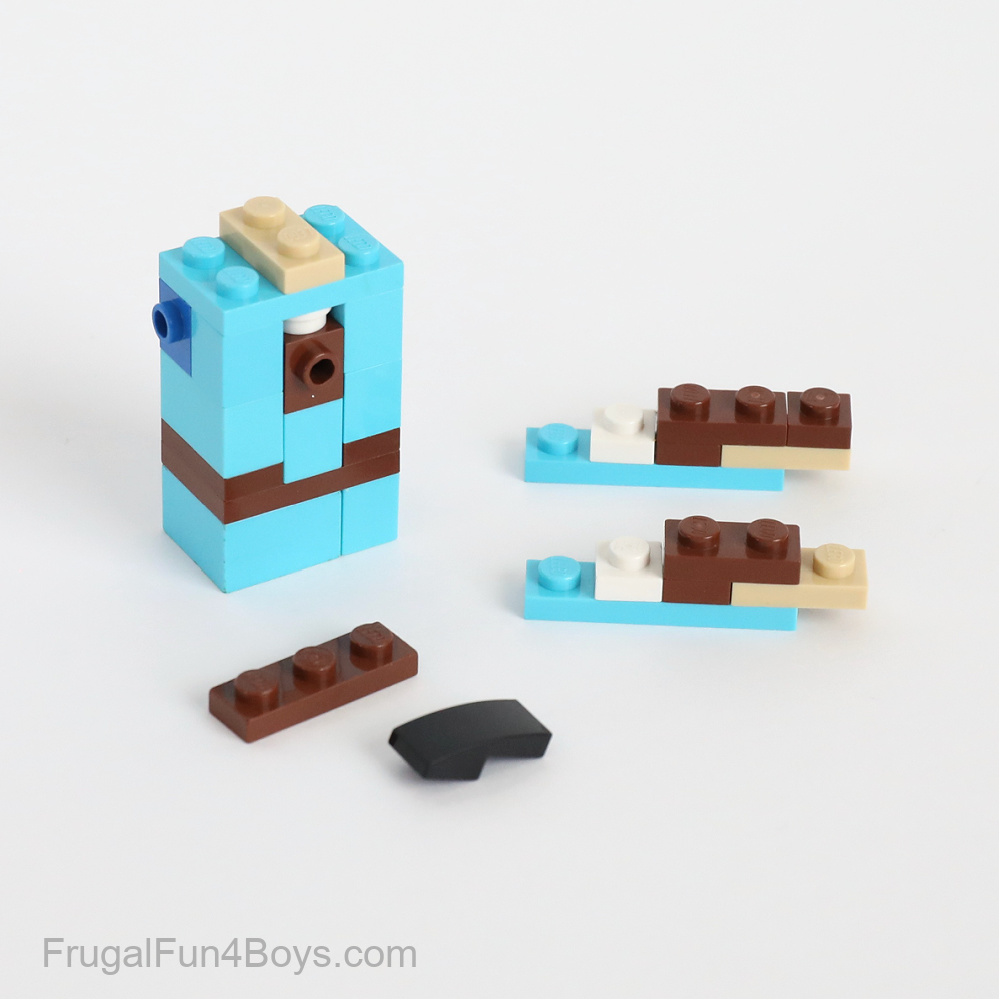
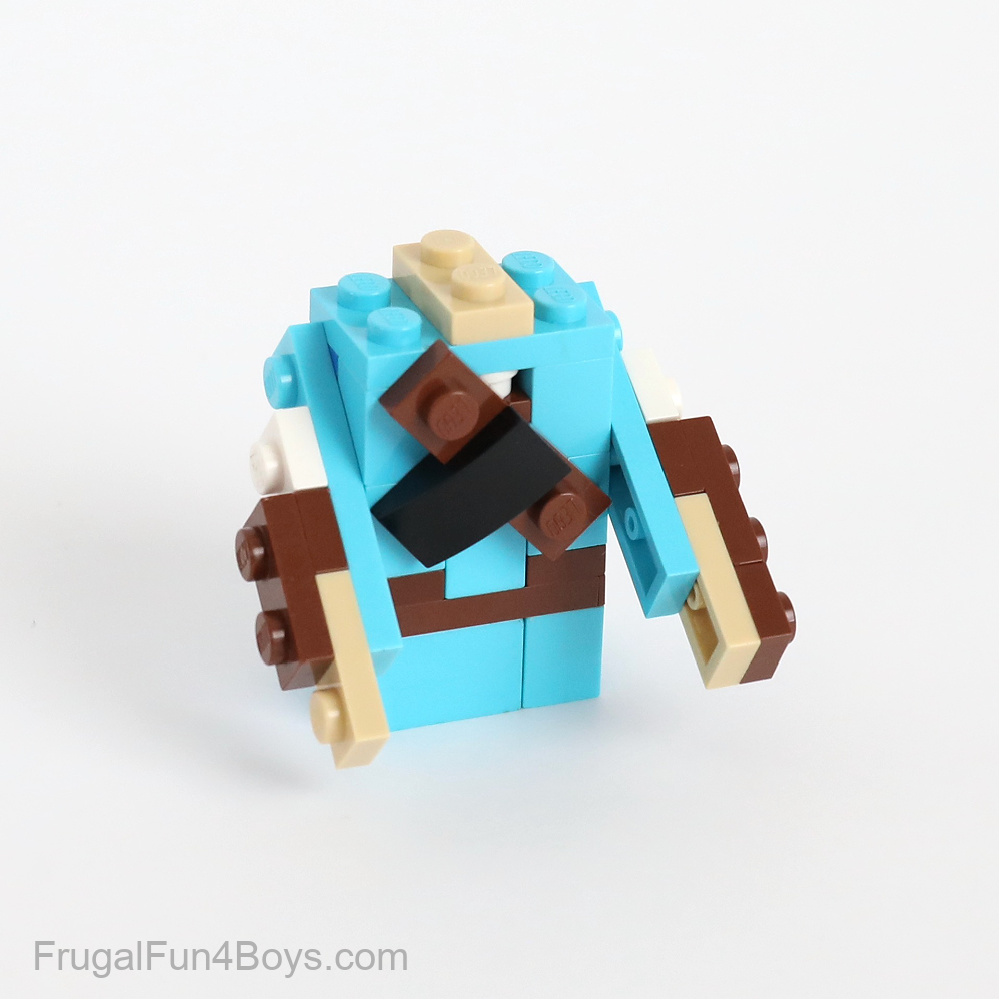
Step 15: Attach the arms to the sides of the body. Then attach a 1 x 3 brown plate to the front of the body. Add a 1 x 2 black curved slope.
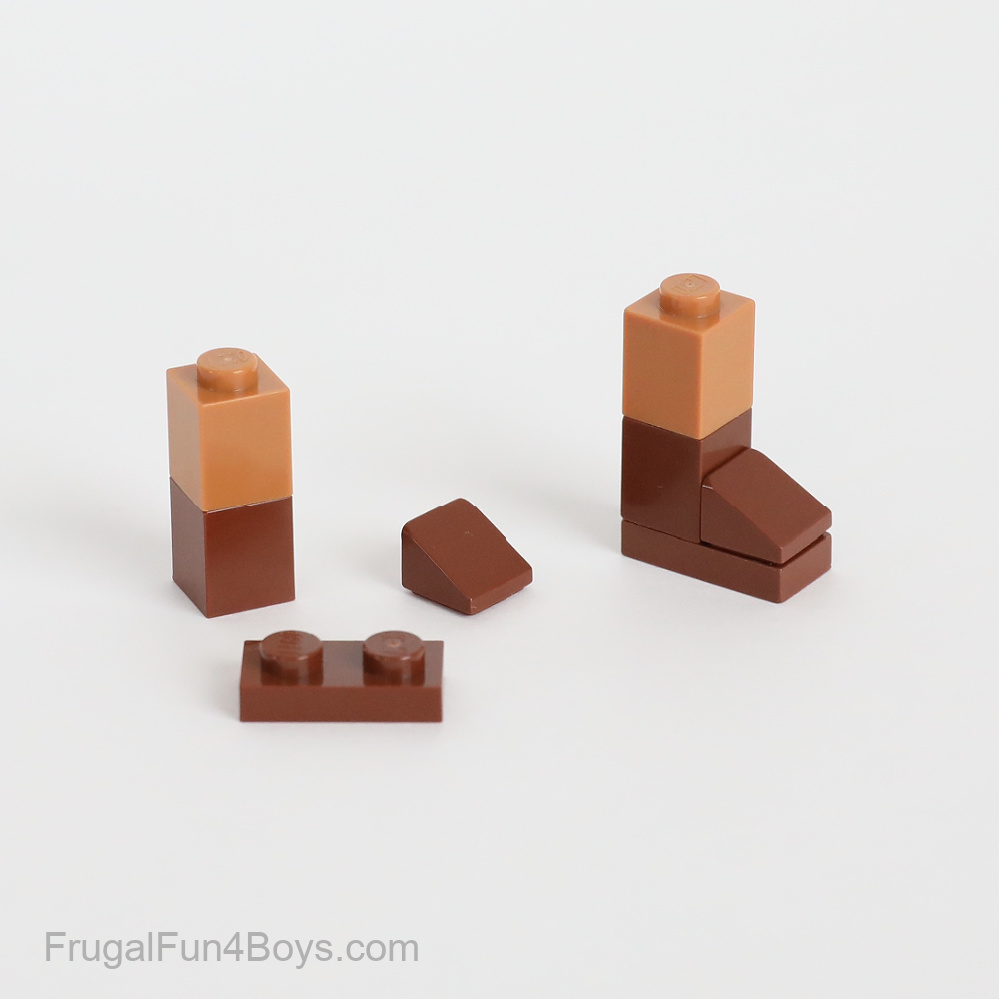
Step 16: Build Link’s legs and feet. Each foot is a 1 x 2 brown plate, a 1 x 1 brown slope (30 degree) and a 1 x 1 brown brick. Then add a 1 x 1 brick – the color is called medium nougat.
Step 17: Attach the legs and head to Link’s body.
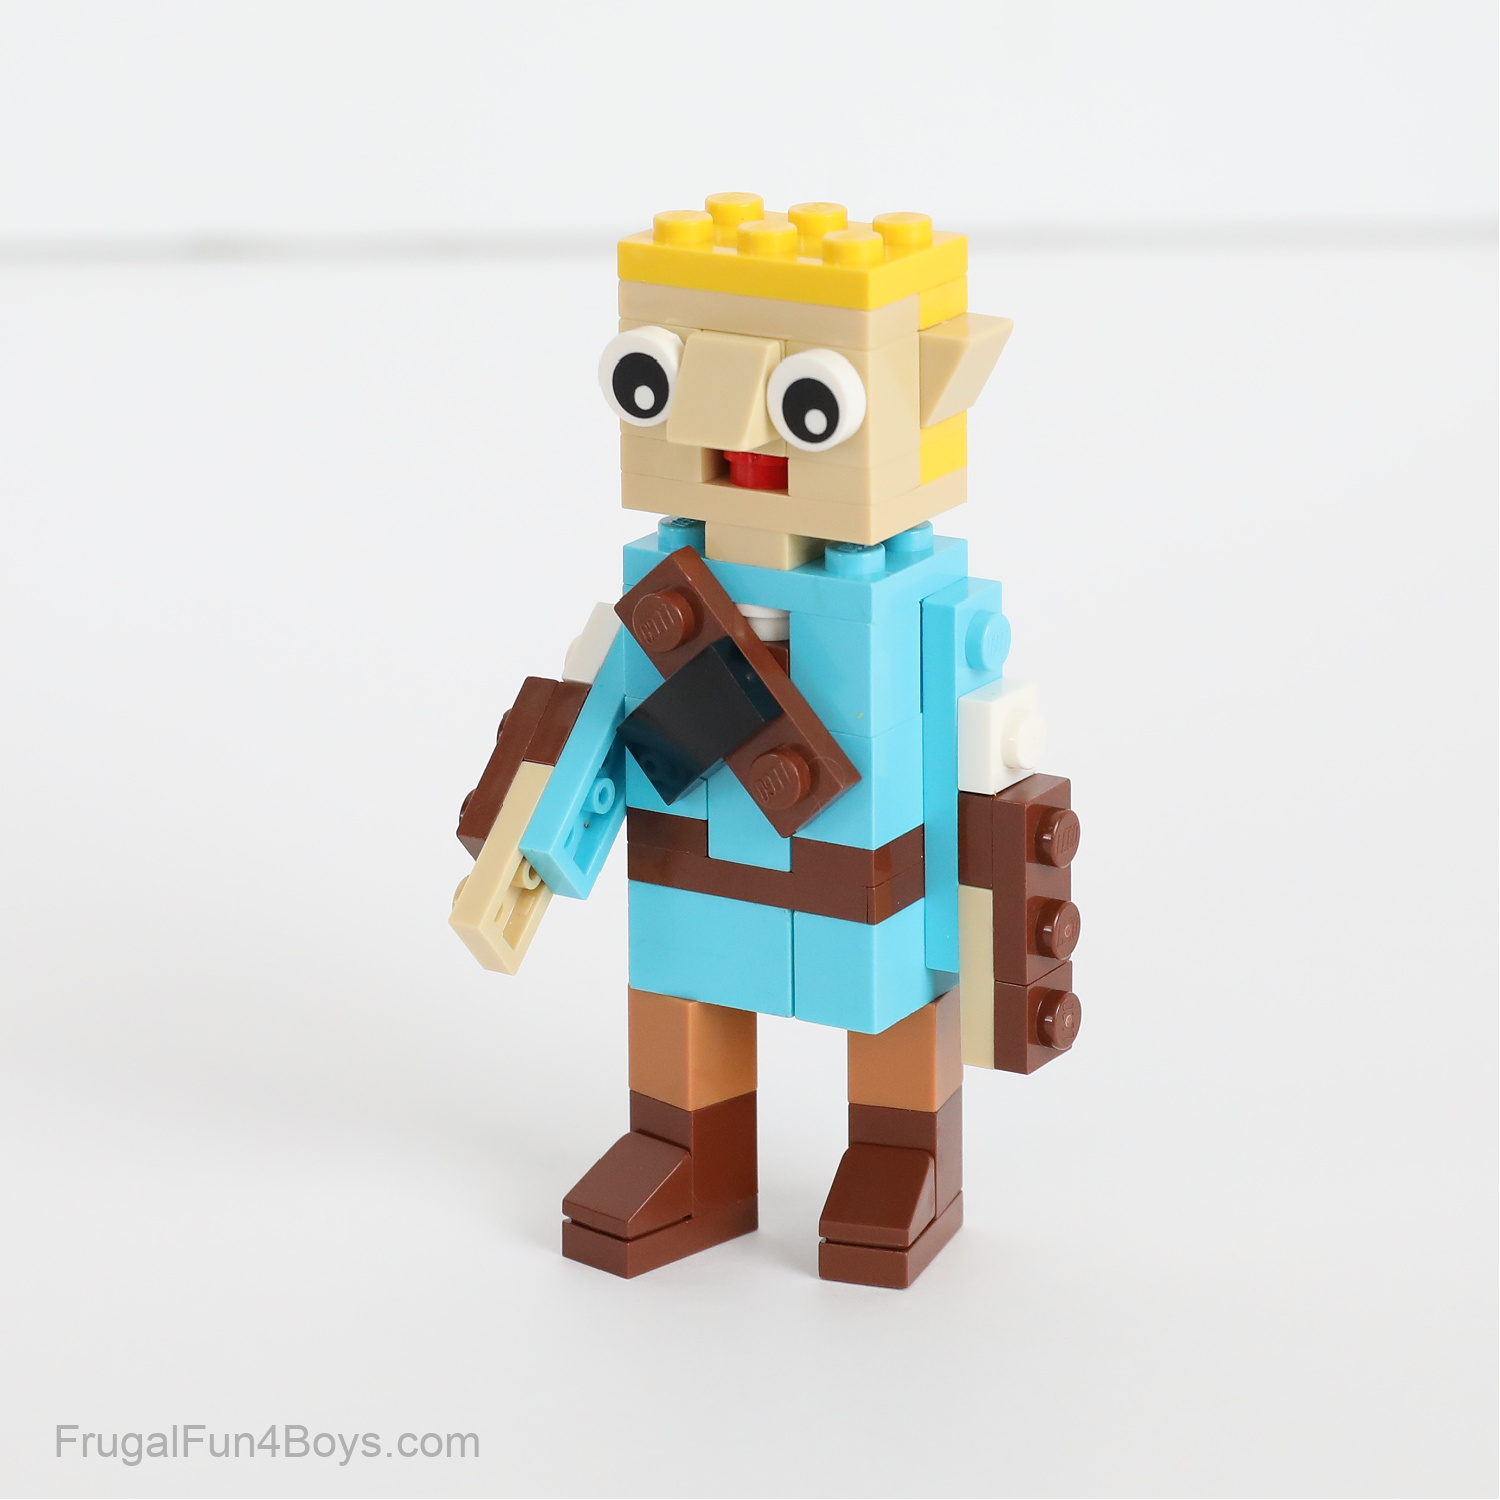
Step 18: Turn Link around and add a 1 x 4 brown plate to the stud on his back.

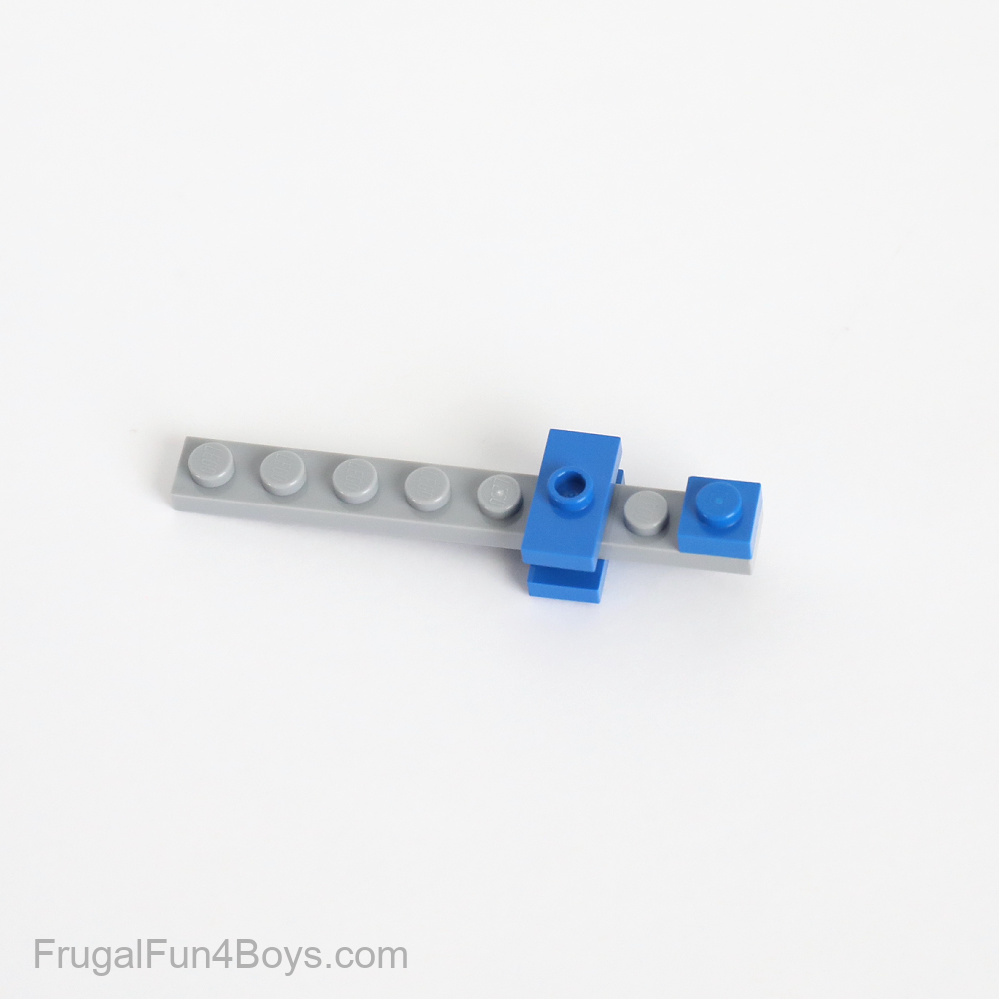
Step 19: Build Link’s sword! Find a 1 x 8 light gray plate, a 1 x 1 blue plate, and two 1 x 2 blue plates with one stud on top (called jumper plates).
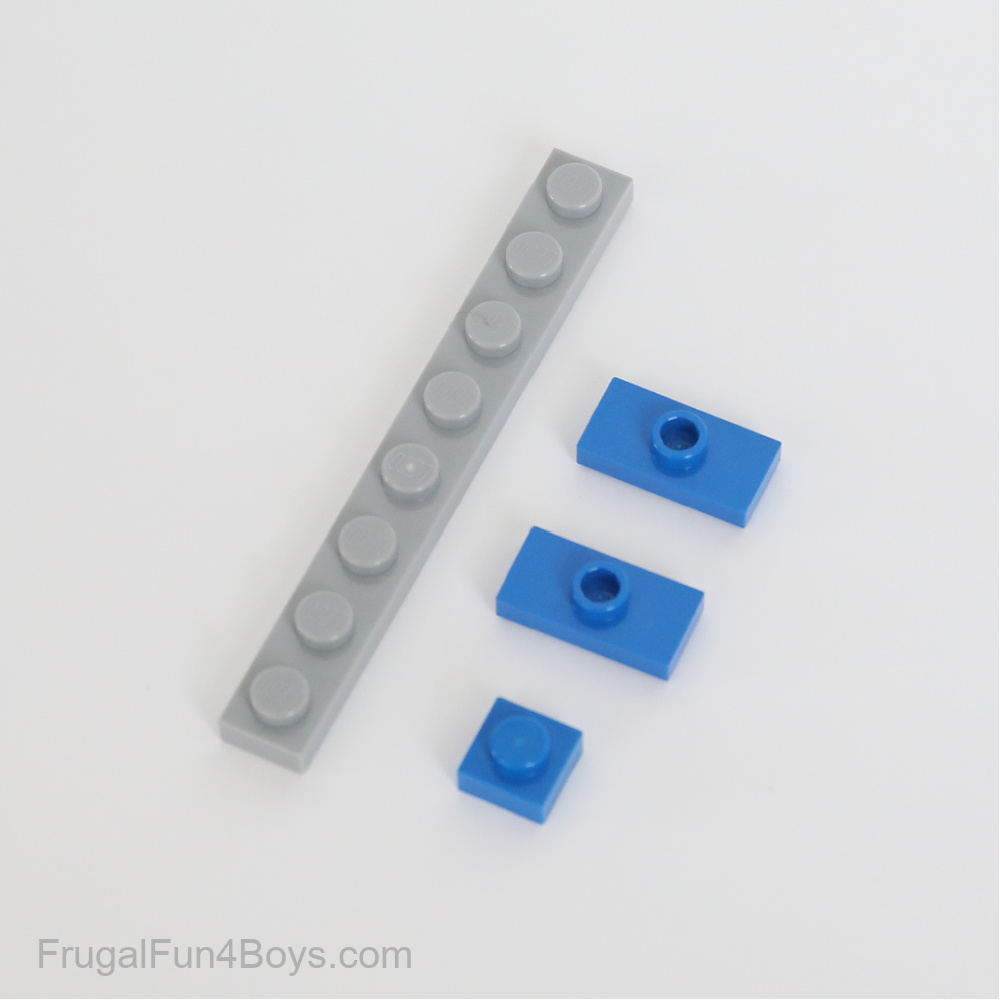
Step 20: Assemble the sword as shown.
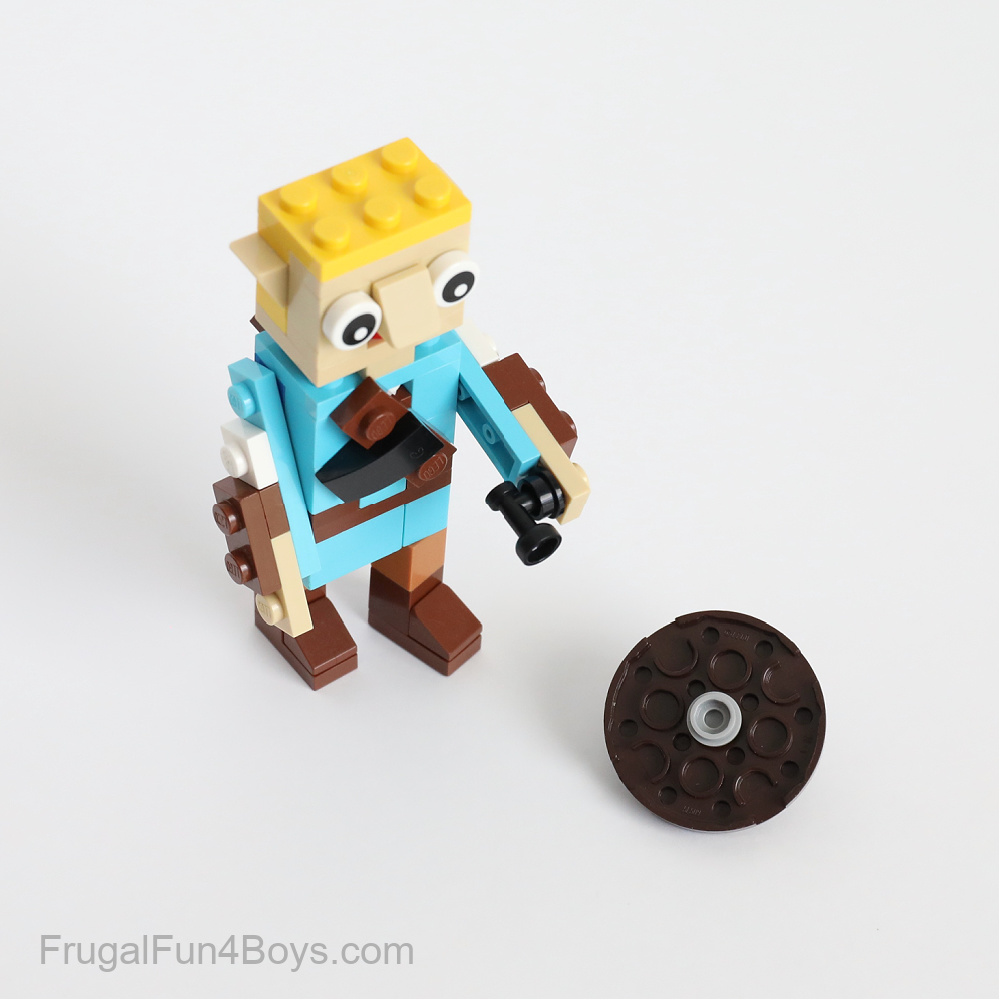
Step 21: Build the shield. We used a 4 x 4 dark brown round plate as the base.
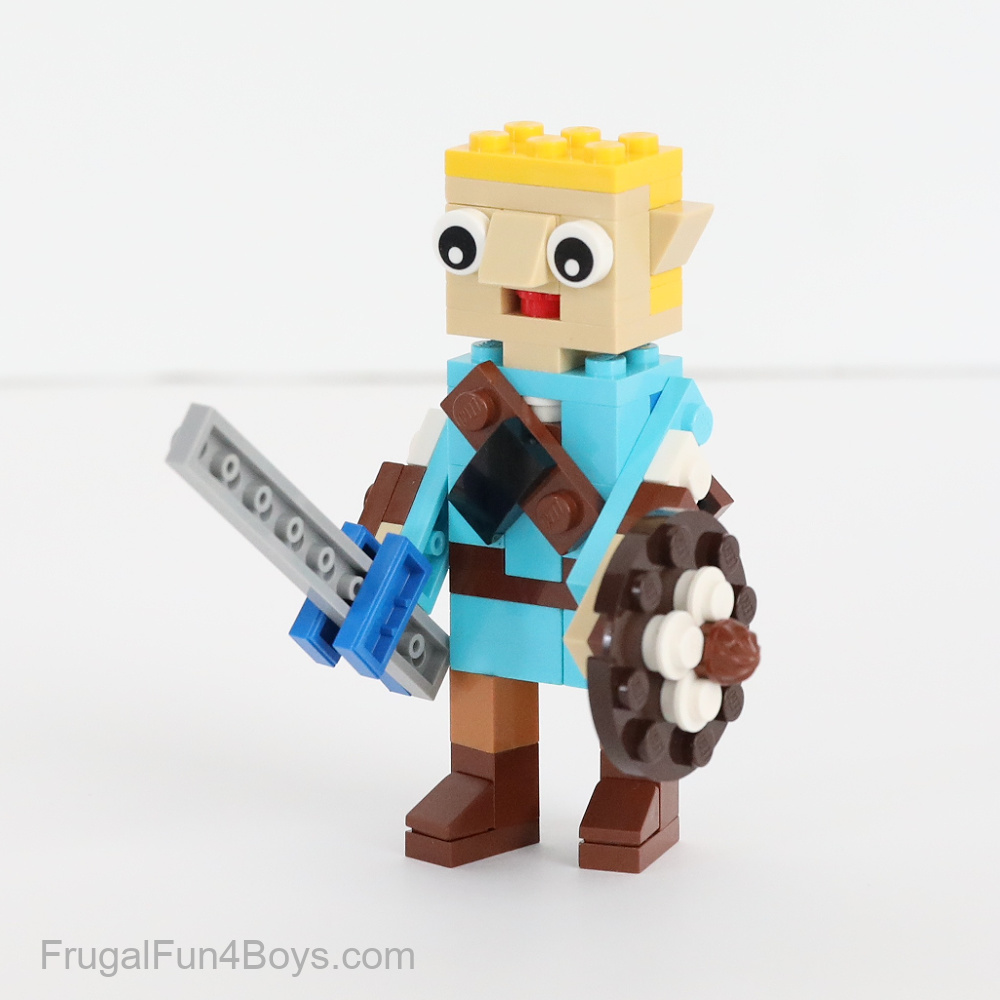
It’s easy to attach the sword and the shield to Link’s hands, as shown in the photo at the top of the post. You can also rig up the shield to attach at a 90 degree angle to Link’s arm. It looks really cool this way!

Here’s how we attached the shield. There is a 1 x 1 black round plate with a hole (shown in the picture above) attached to Link’s hand. Then, we inserted a black nozzle into the hole. The shield attaches to the nozzle.
How to Build Zelda
I’m not showing step-by-step instructions for Zelda because she is very similar. The head is almost the same.
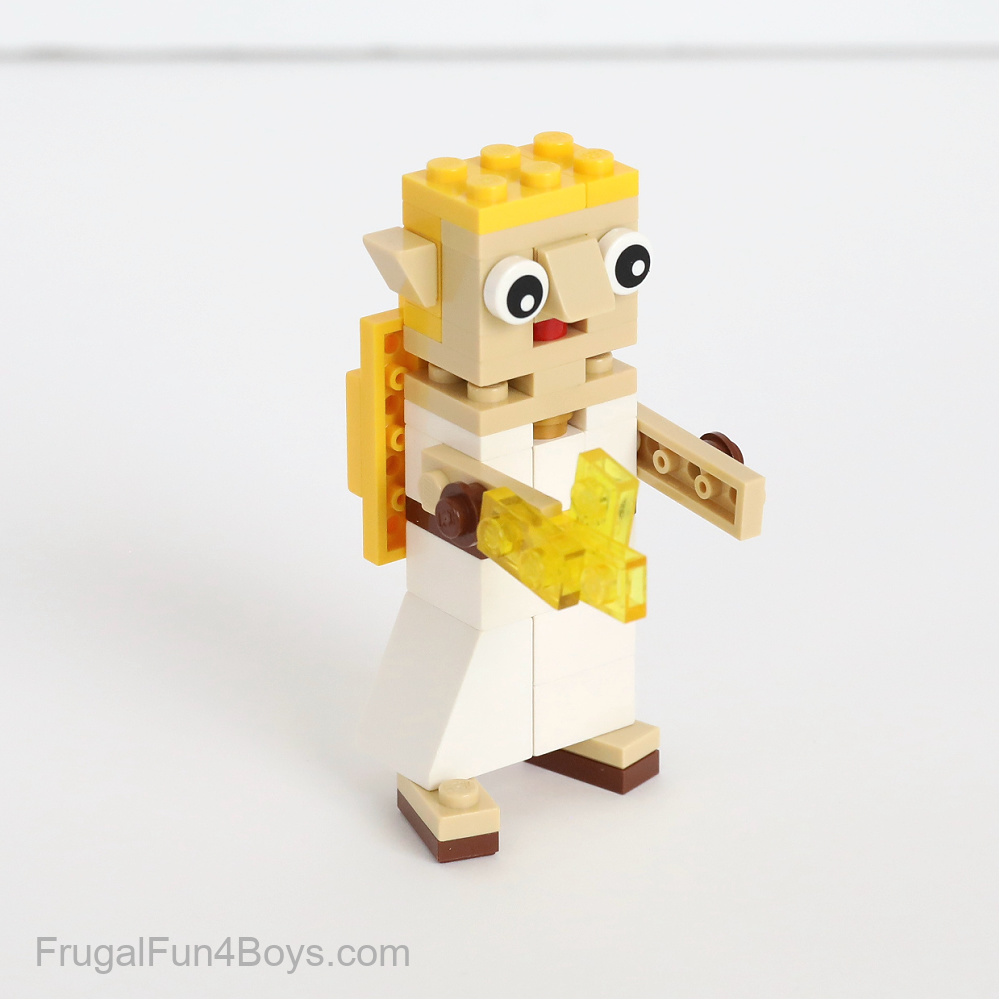
Zelda’s body is also very similar to Link. Add a 2 x 2 x 2 (two bricks high) white slope to make her clothes look like a dress.
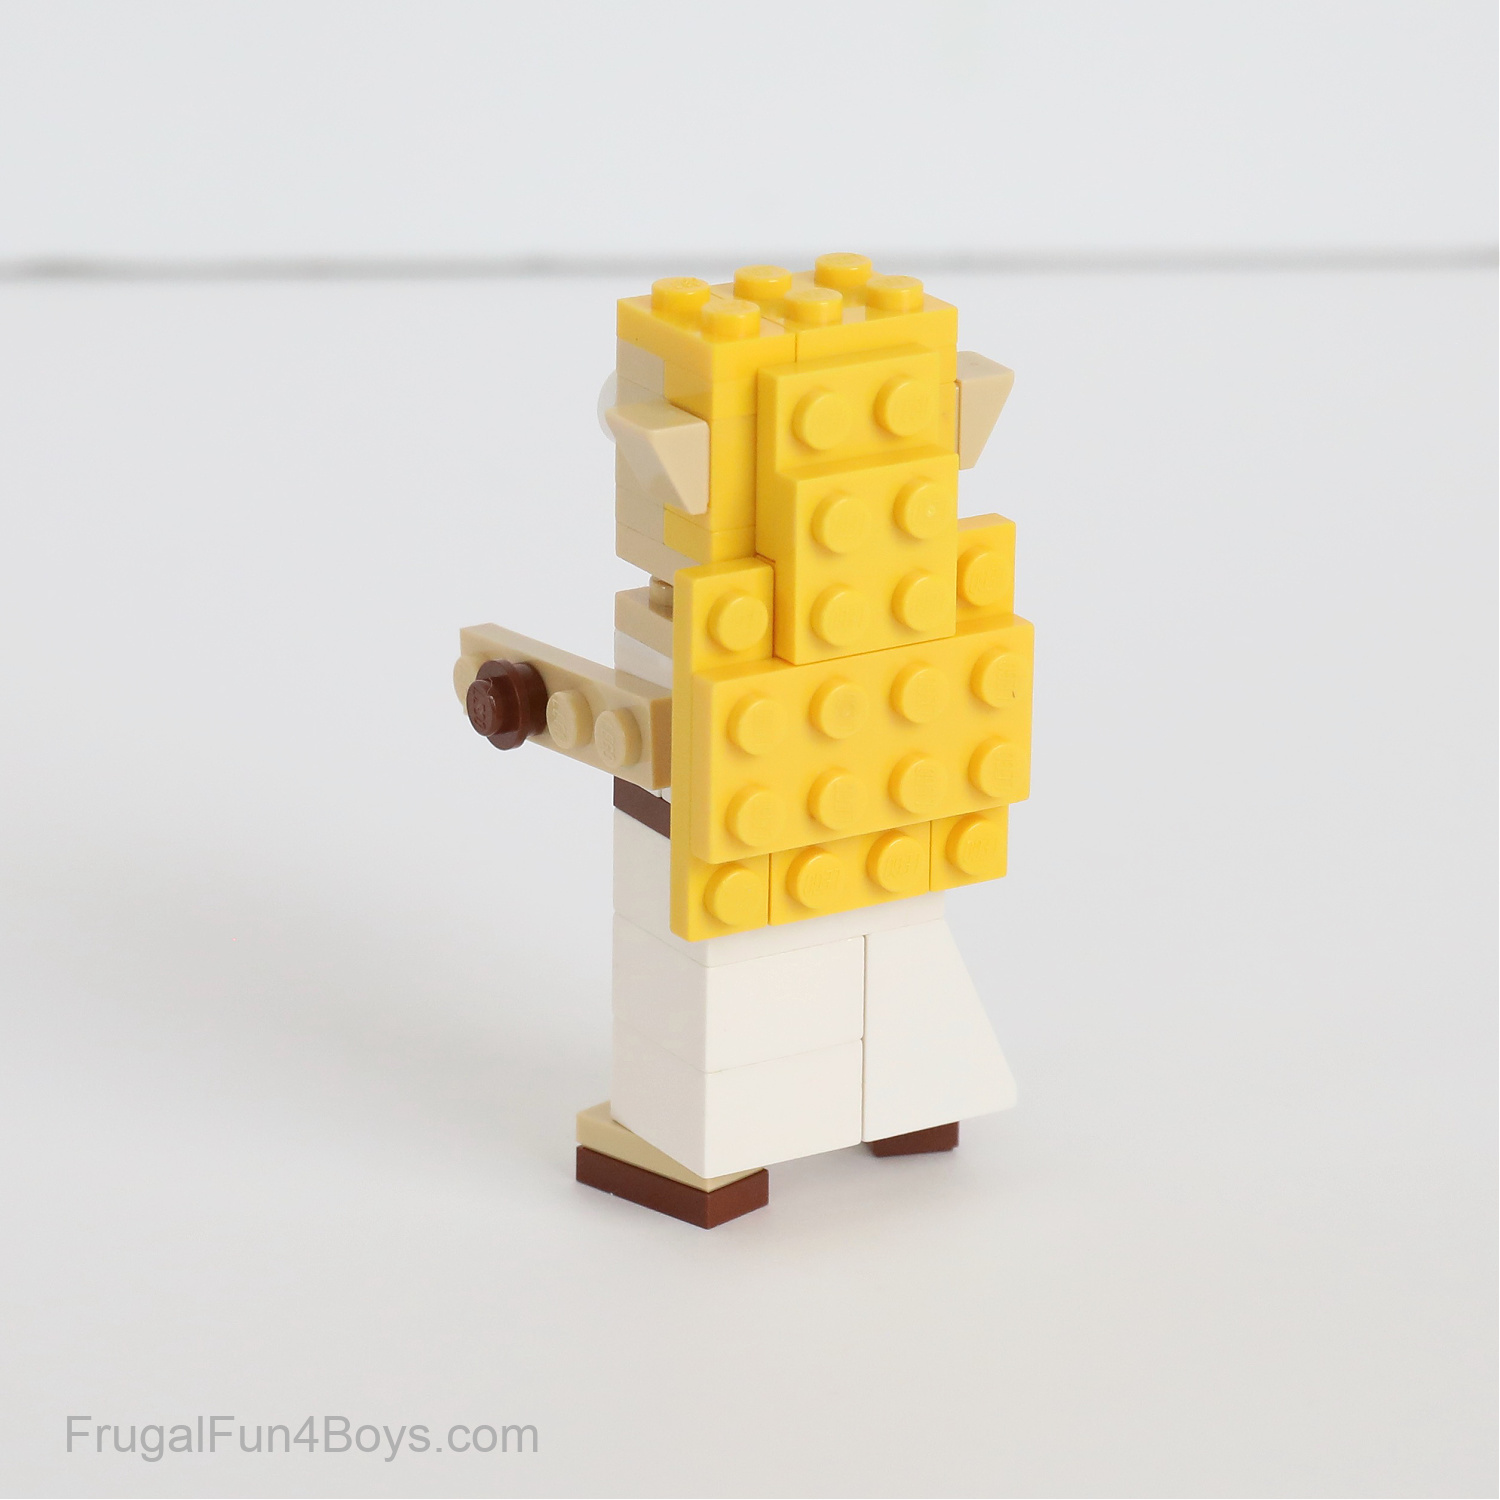
Place a 1 x 1 yellow brick with a stud on the side on the back of Zelda’s head so that you can attach her long hair.
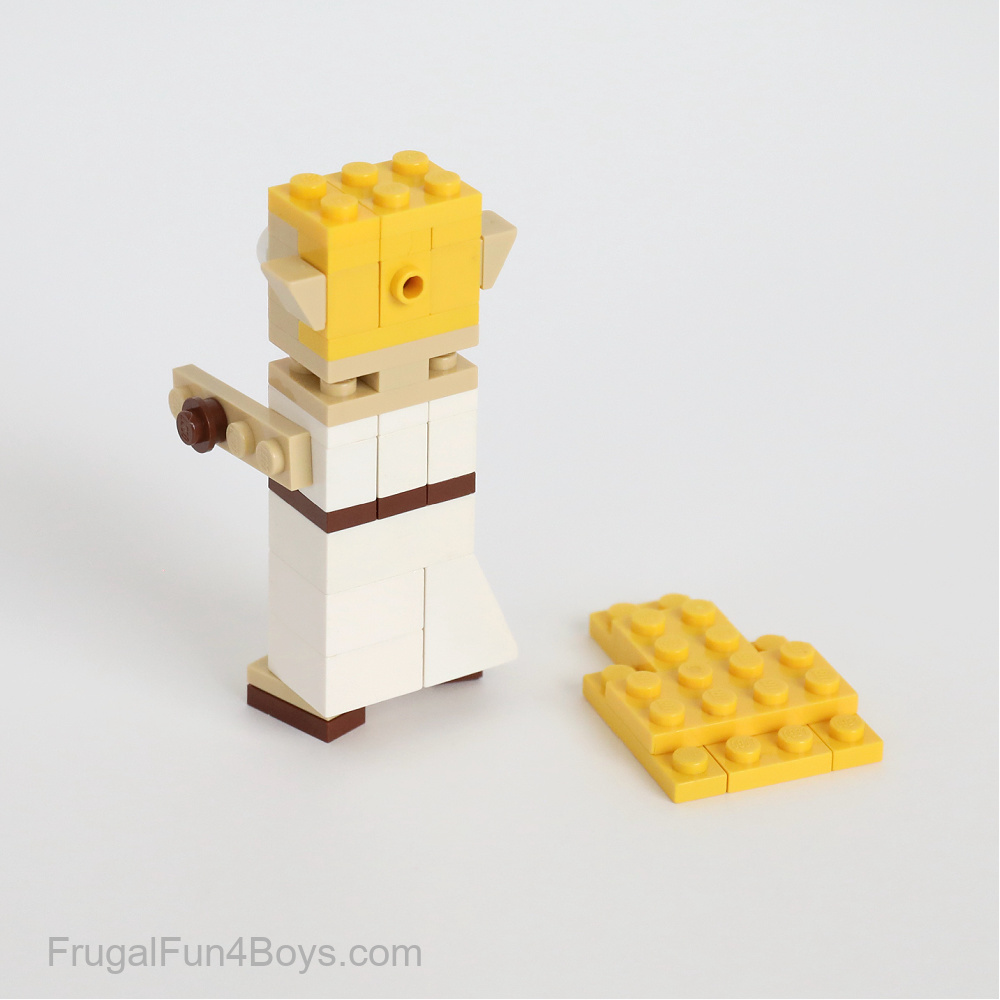
Here’s what she looks like with the hair attached.
Have fun building! If you need more LEGO building ideas, we’ve got tons.
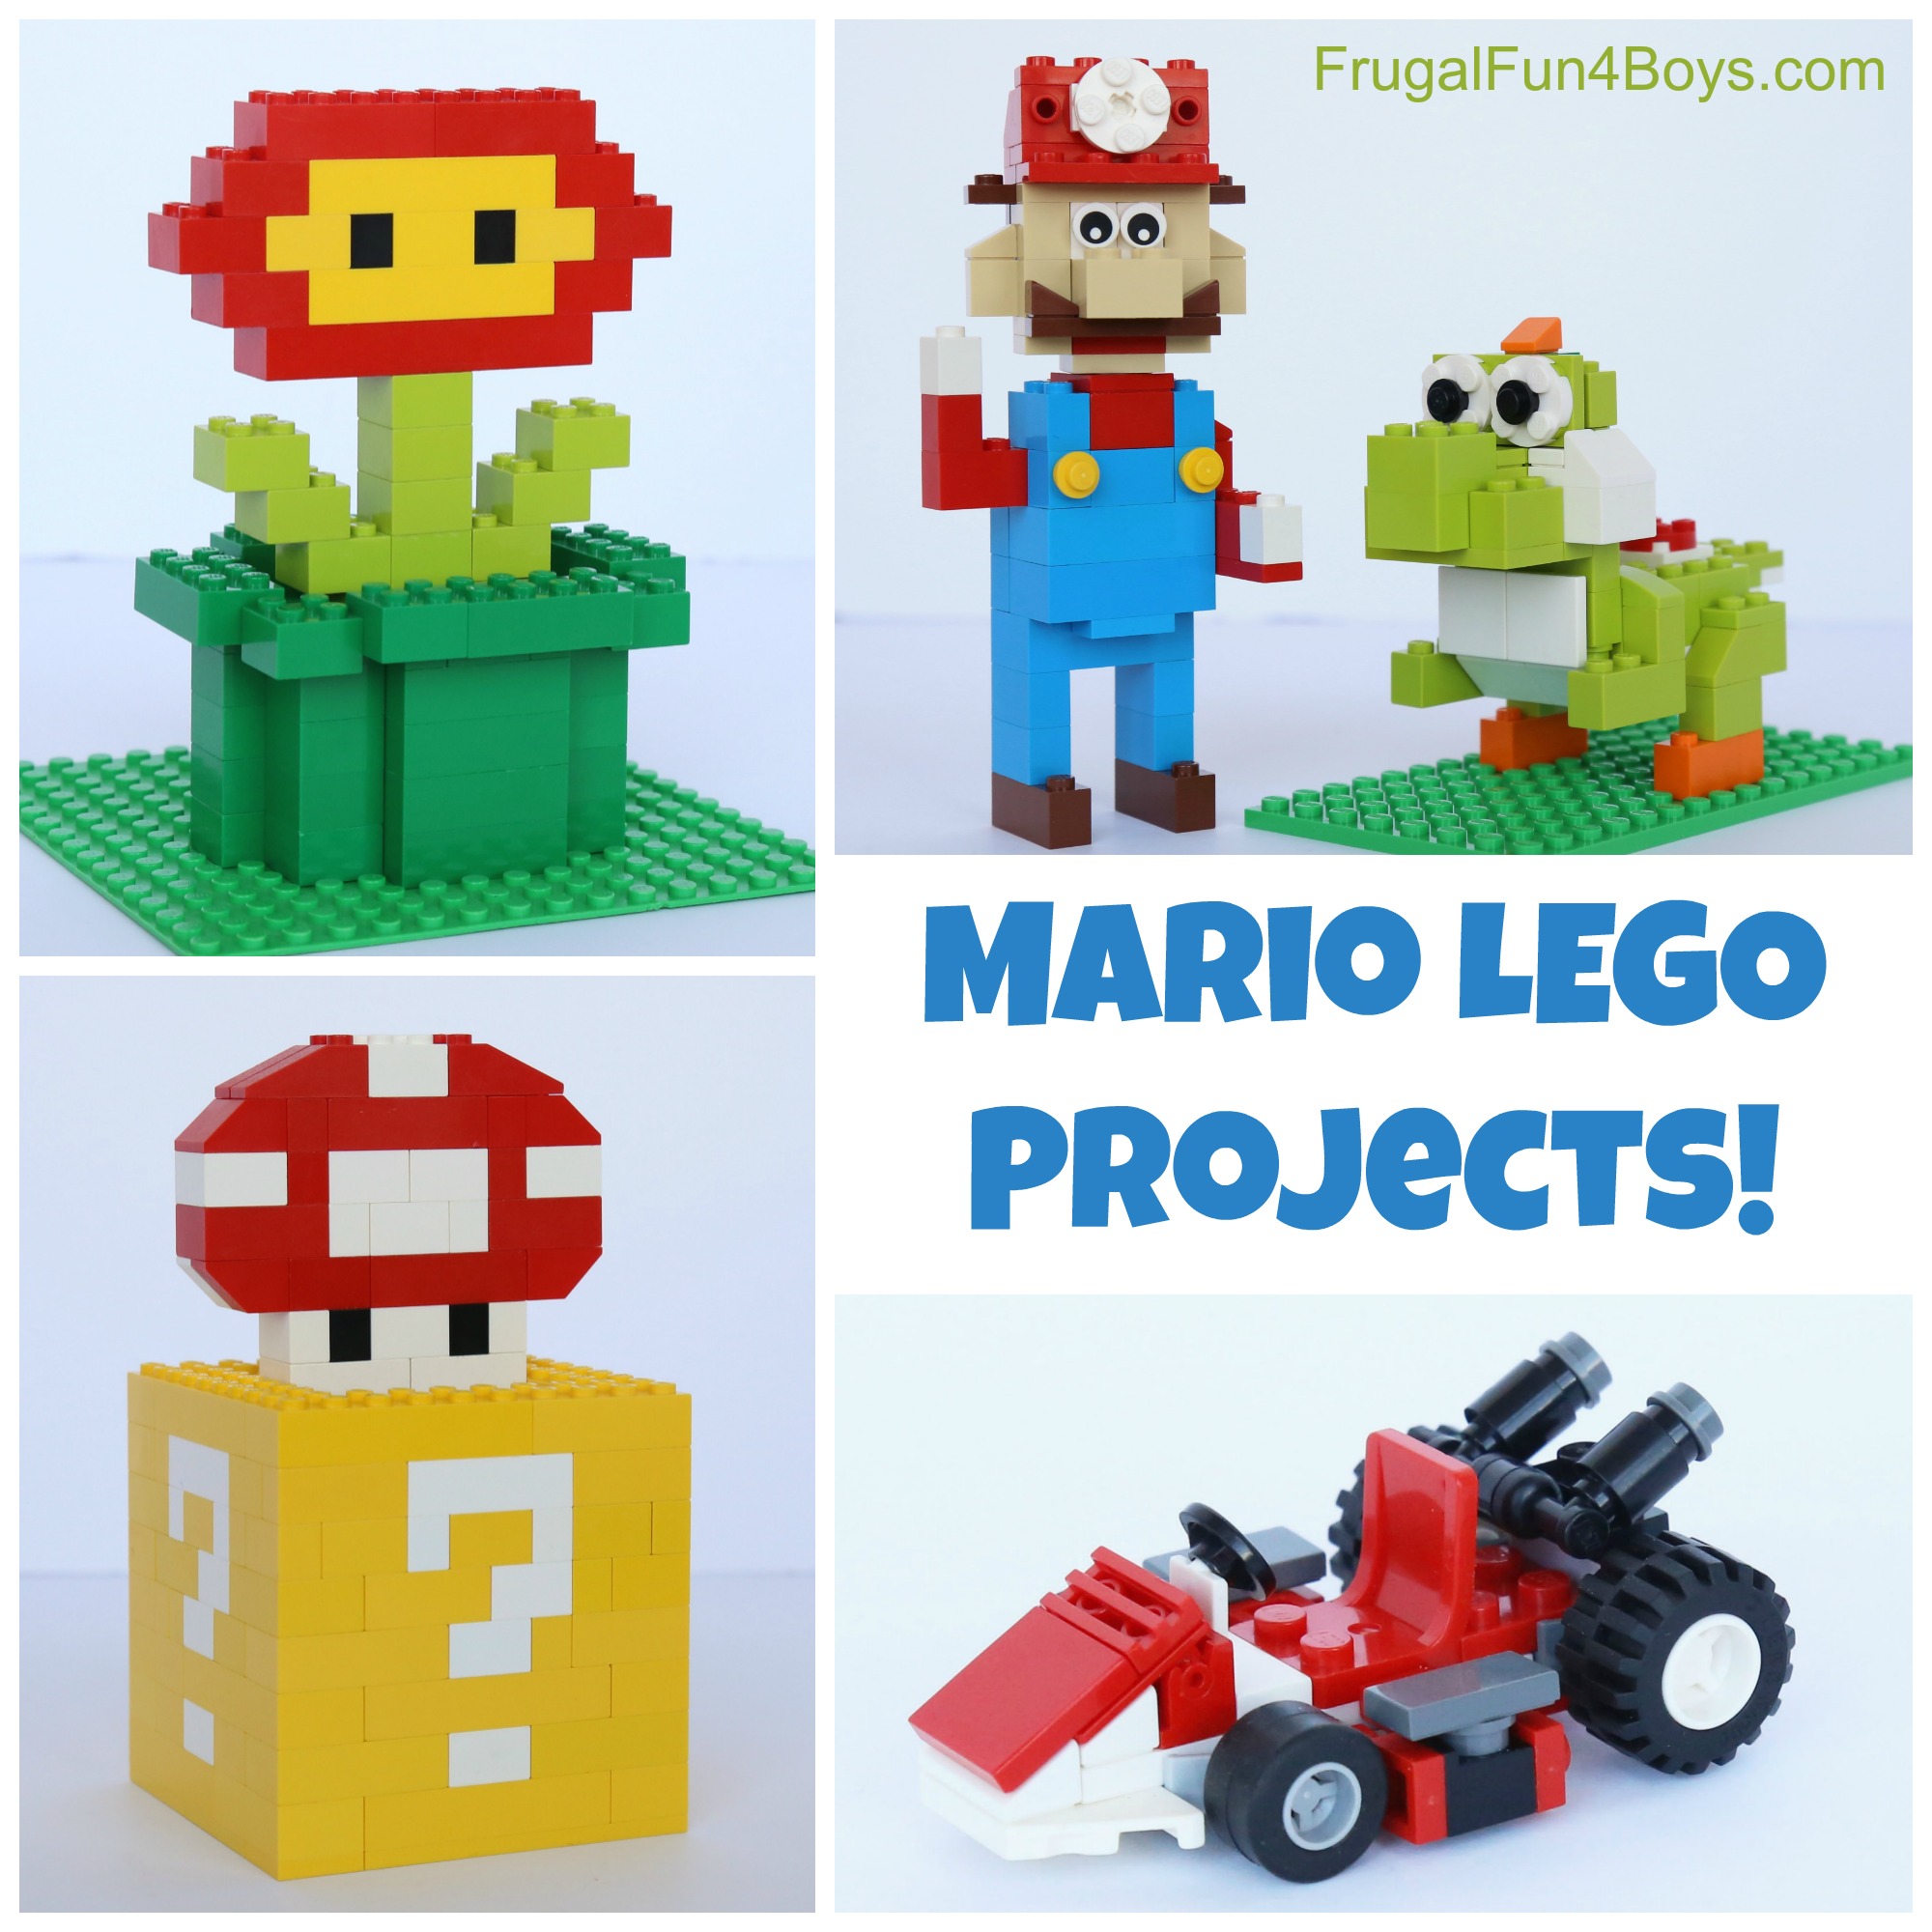
If you like Nintendo projects, here are some fun LEGO Mario Projects to Build.
Build LEGO Superhero Mosaics with these printable building cards!
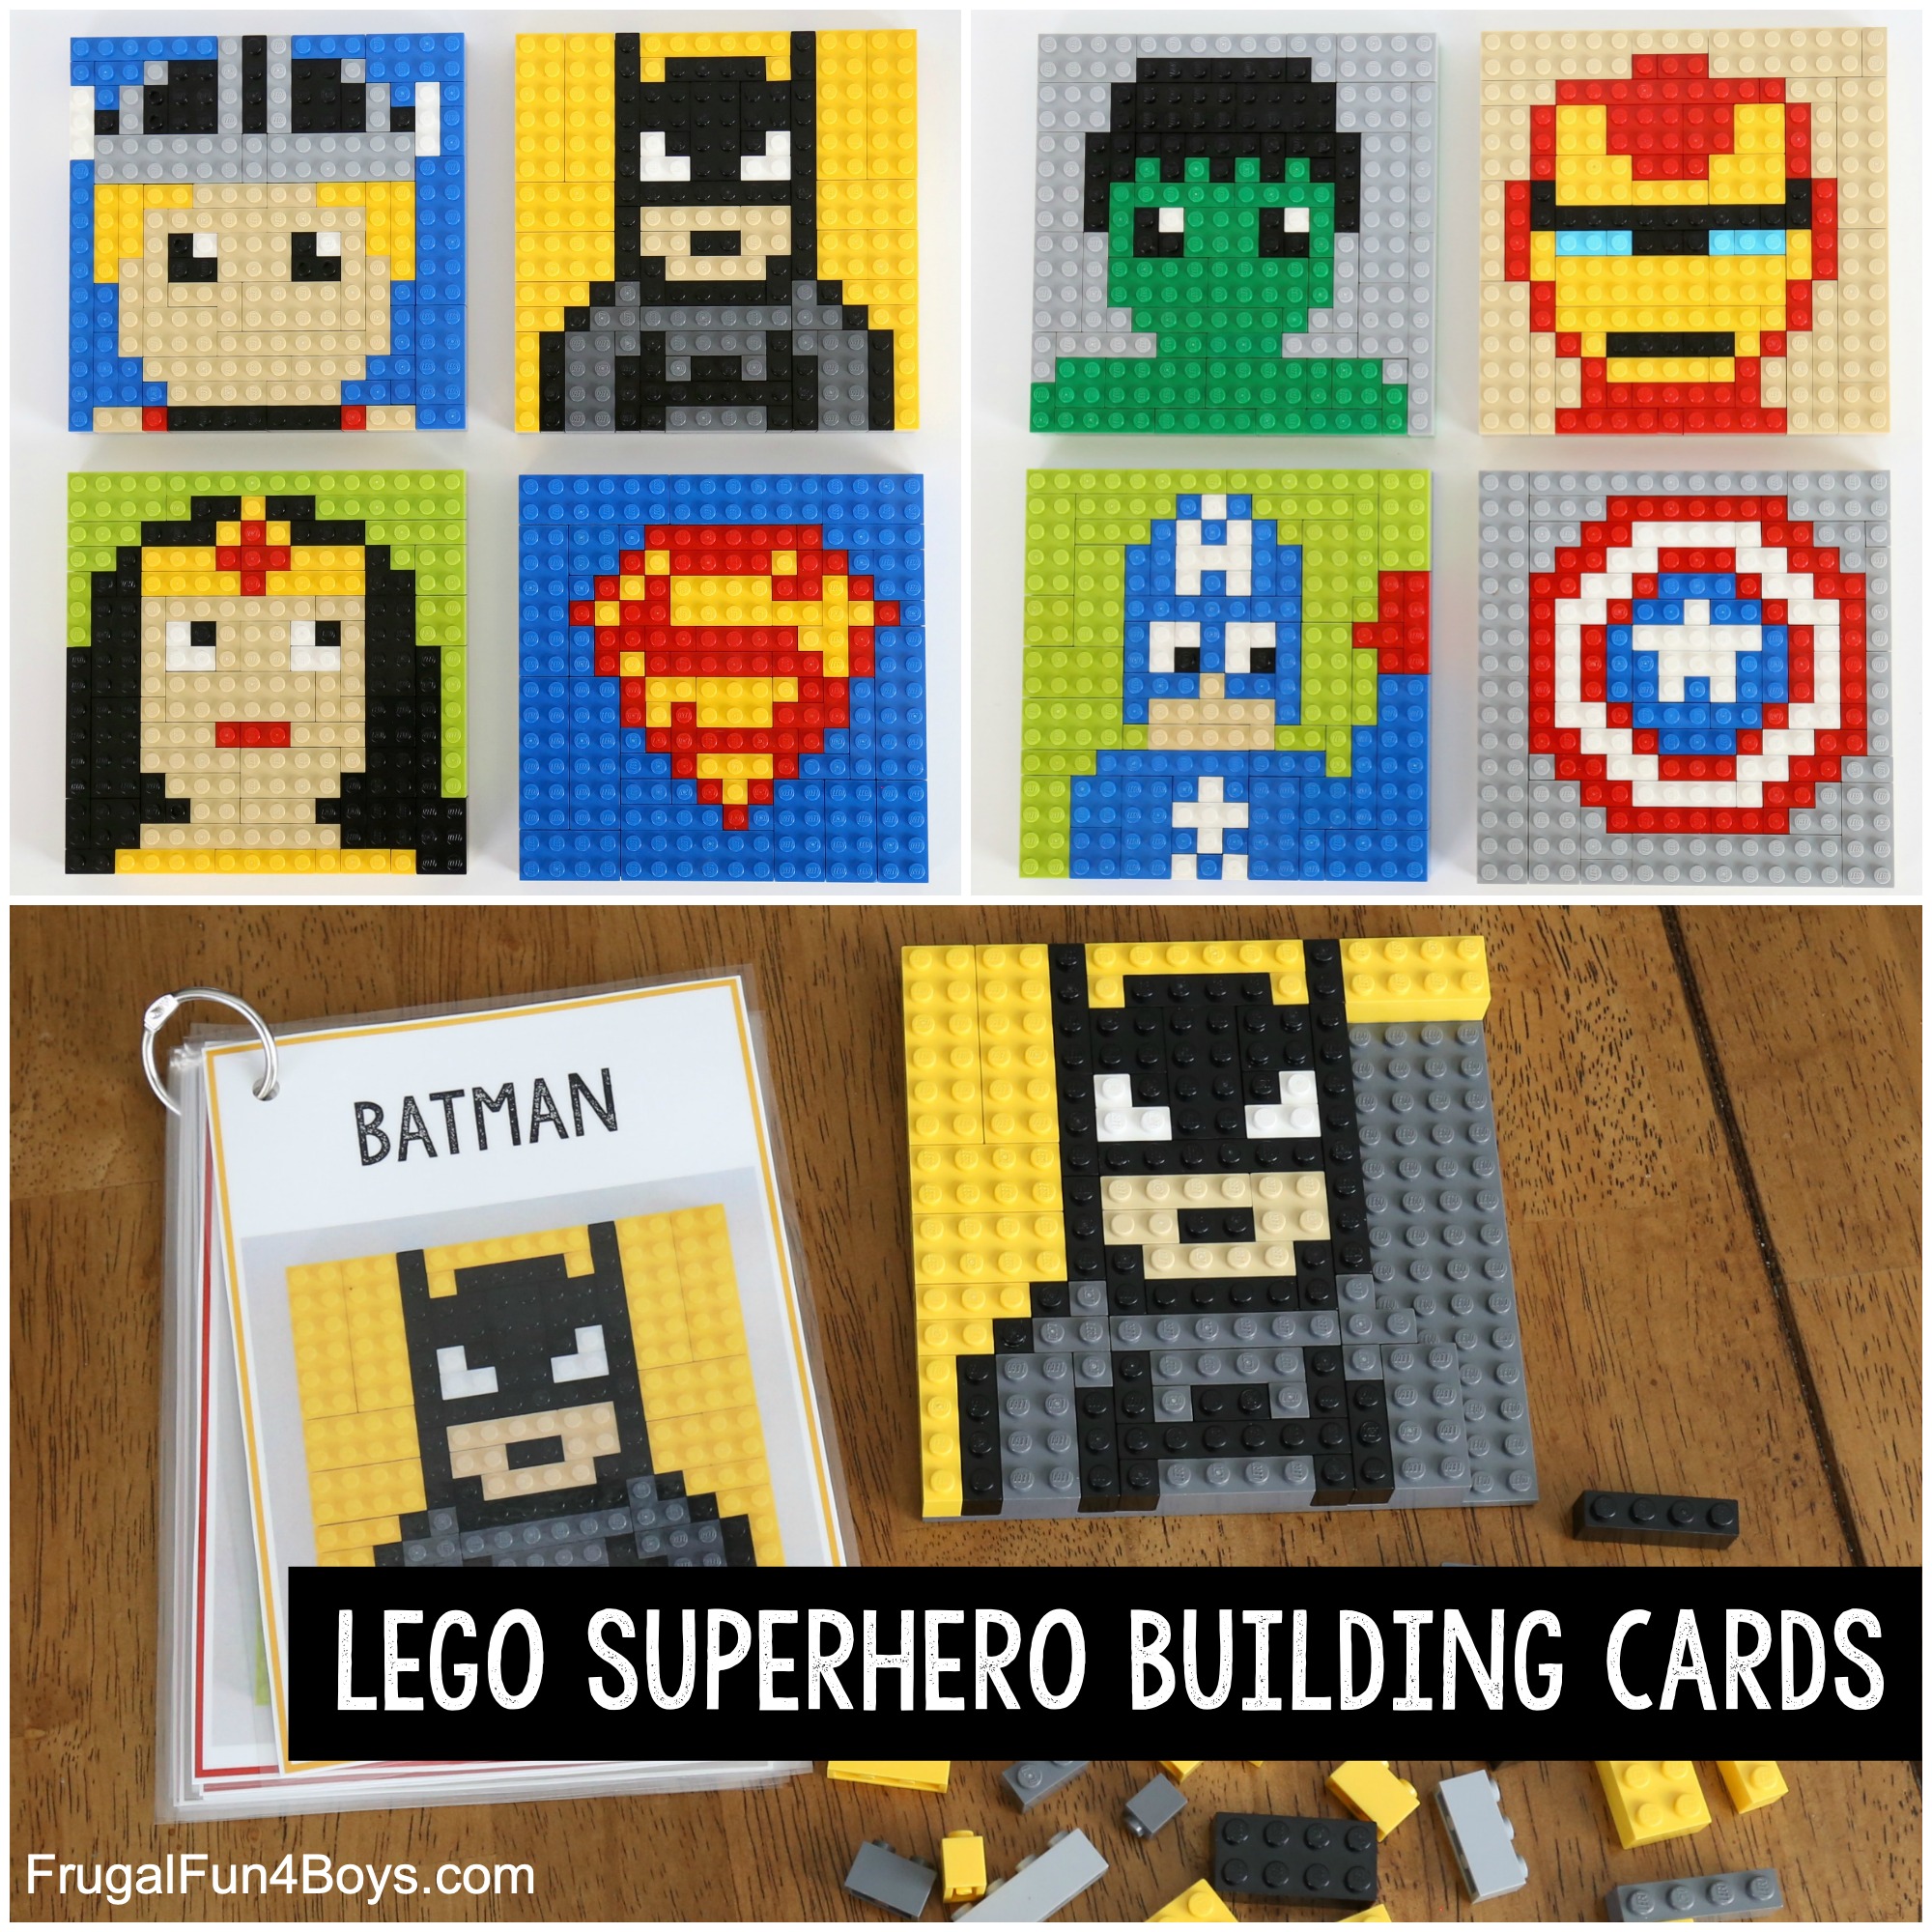
Or build these fun LEGO Superhero Mini Characters!
Have fun building!

0 Comments
Post a Comment