
Oooh, this is a fun project! Grab some craft sticks and other basic supplies, and we’ll show you how to make a cool rubber band gun that really works.
This is a fun boredom buster and would also be a great project to do with a class, birthday party, or scouting group. You’ll need to use hot glue, so just keep that in mind if you’re planning for a group. We have a low-temp glue gun that the kids can use successfully.
This craft stick rubber band gun is a lot of fun to shoot, but it does not shoot the rubber band with enough force to hurt or cause an injury.

How the Rubber Band Gun Works
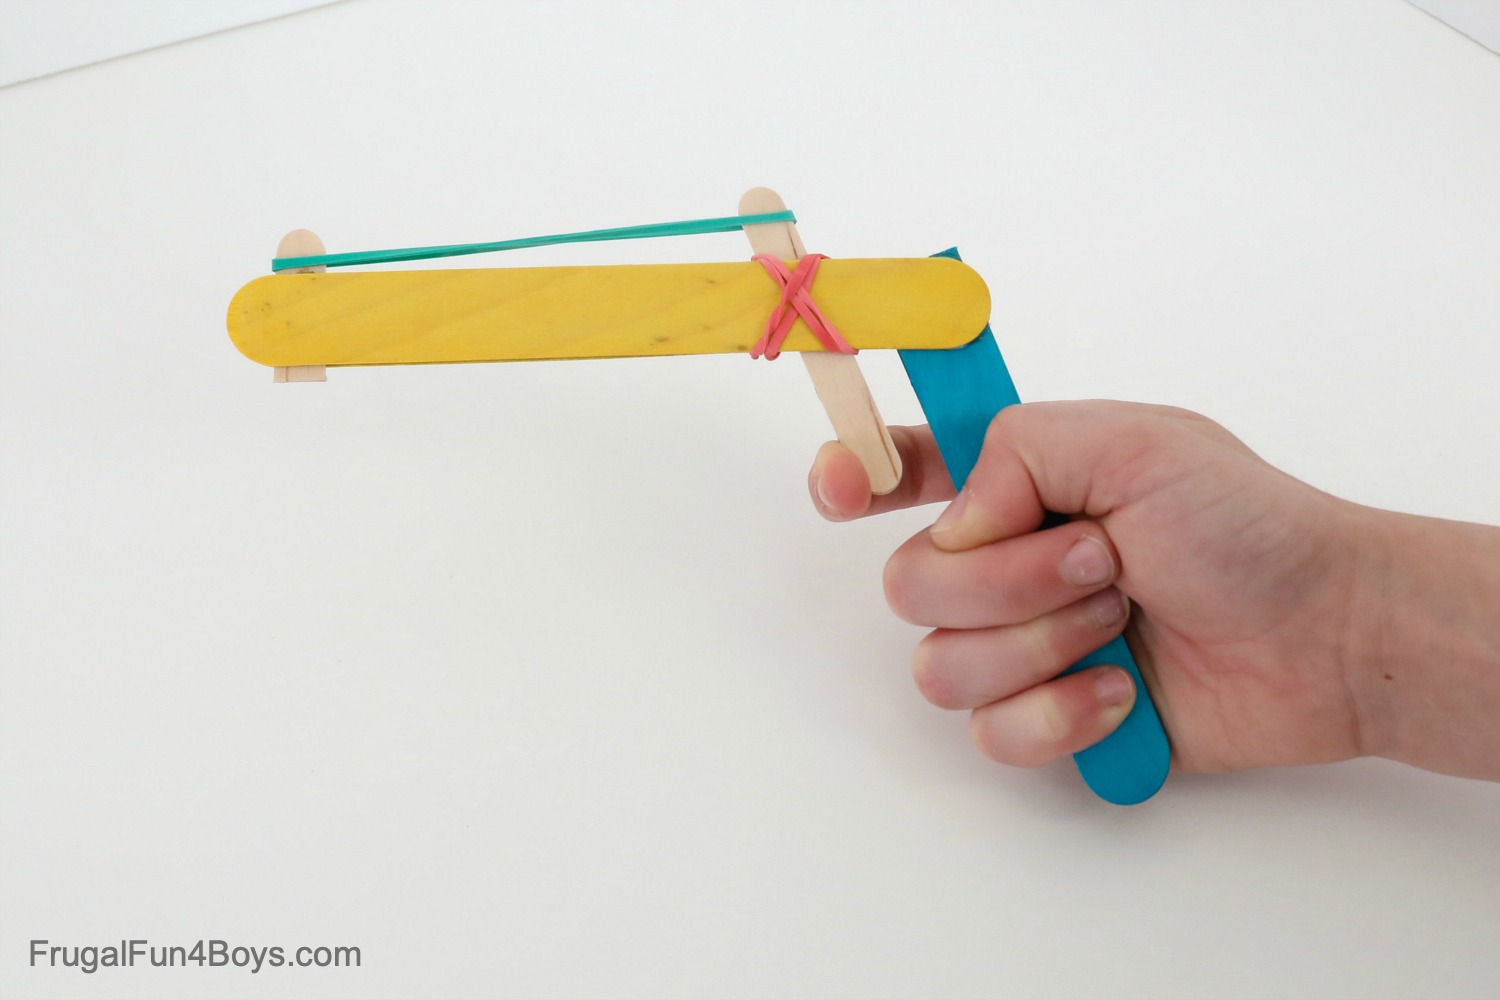
The way this rubber band gun functions is very simple. You’ll build a simple gun shape, and add a trigger that can pivot. When you pull the trigger back, the rubber band is able to slip over the top and go flying away!
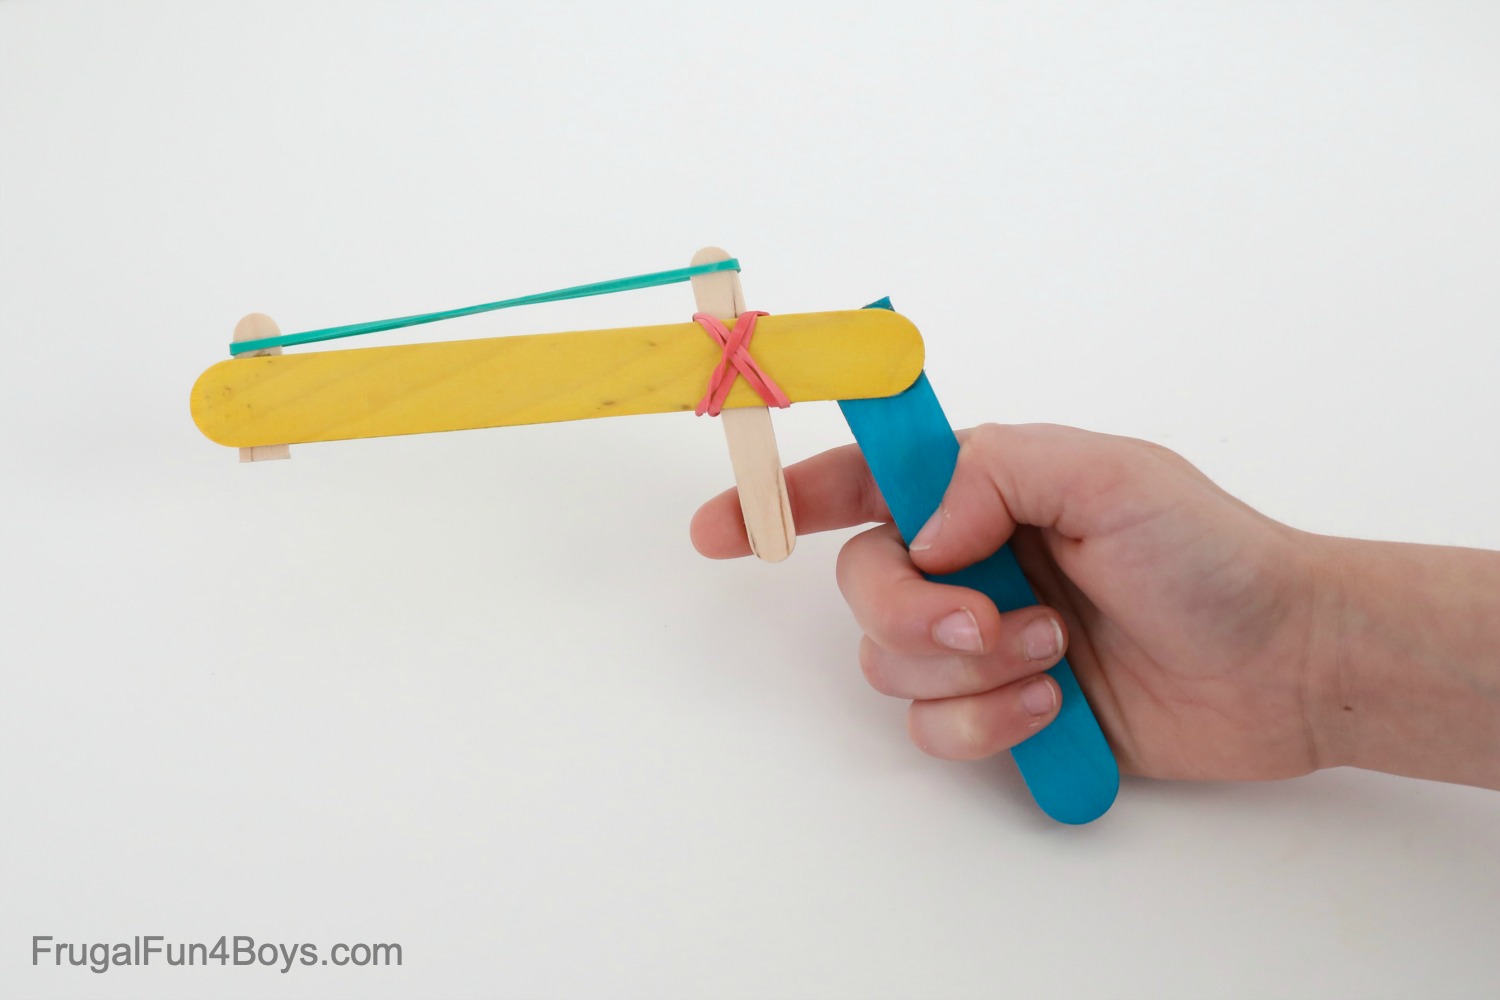
The trigger is made from two small popsicle sticks that are not glued to the gun. They are held in place between two craft sticks and attached with a rubber band.
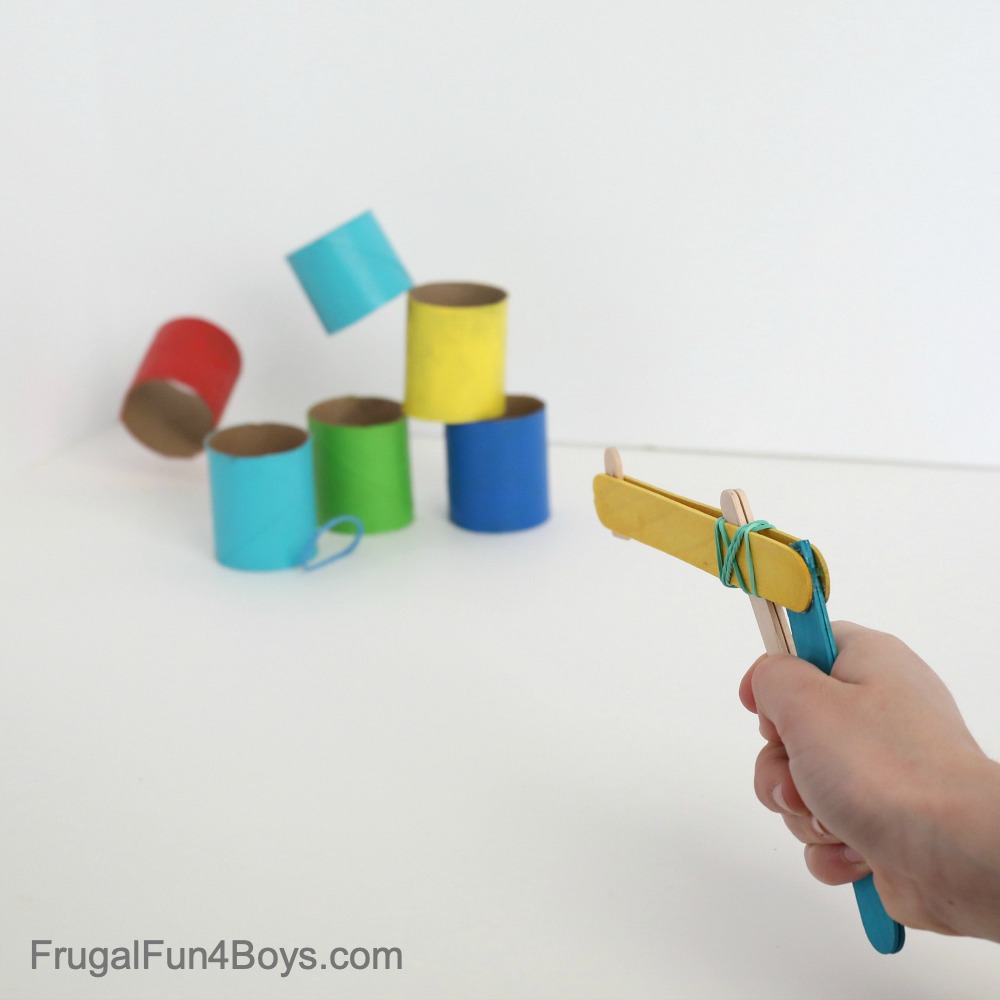
The rubber band guns are fun to play with on their own, but you can take it a step further if you want and design some targets! Small paper cups work well. We tried making some targets out of toilet paper rolls, and they were great. Any target you use needs to be lightweight.

Here’s a quick demonstration of our craft stick rubber band gun in action! Click the play button to start the video.
Ready to make your own Craft Stick Rubber Band Gun?
Supplies Needed:
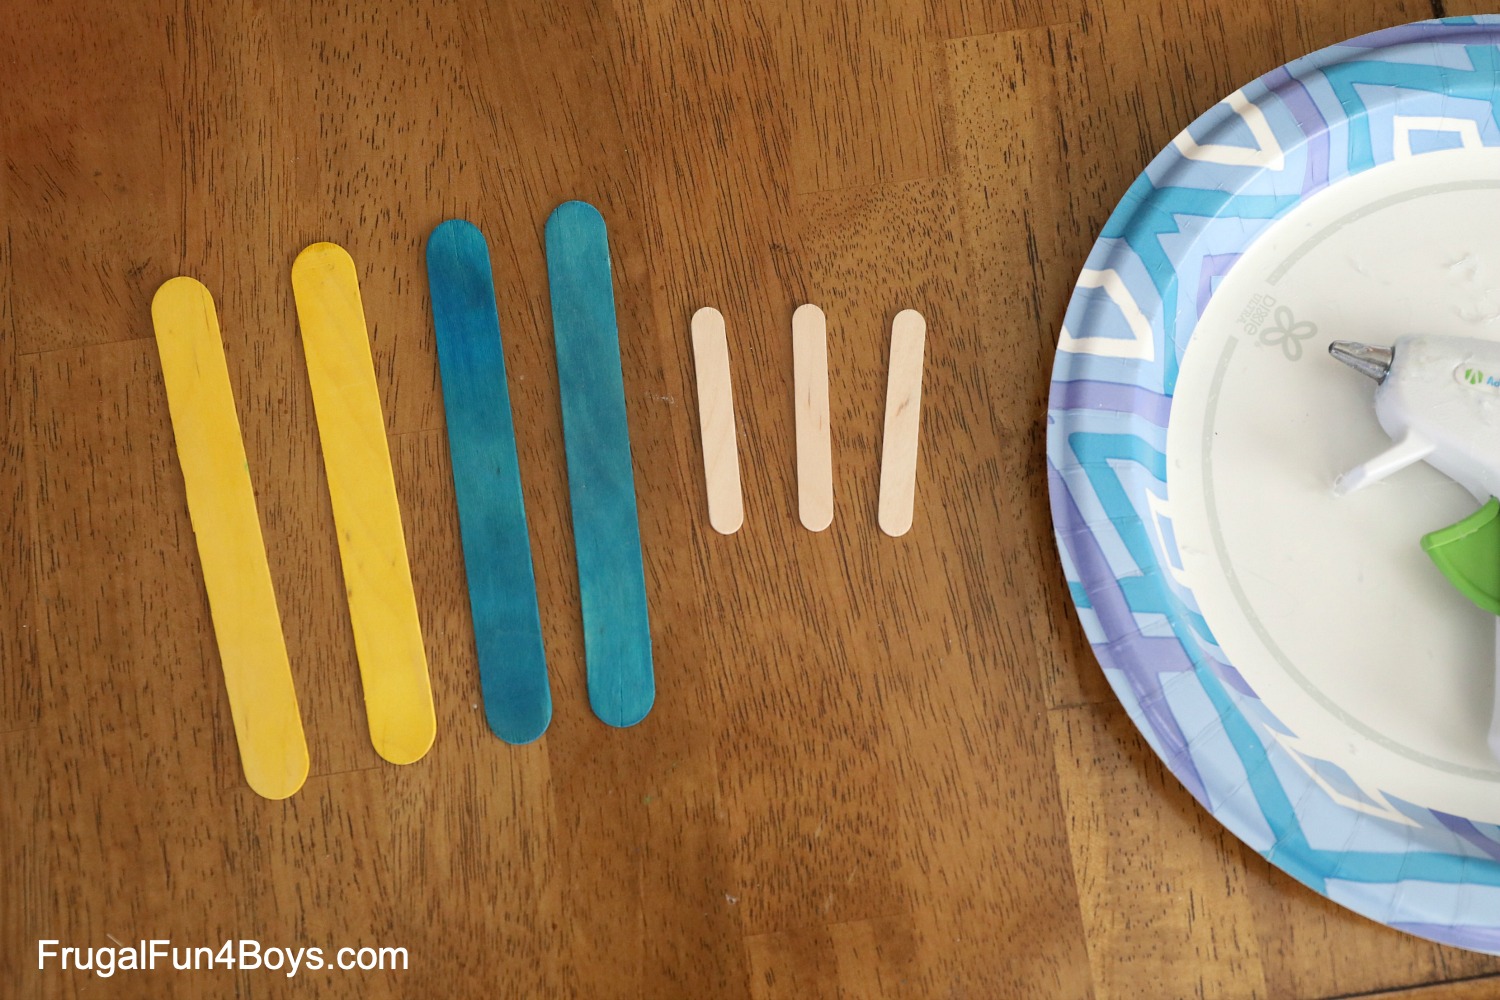
- Craft sticks – 4 per gun
- Popsicle sticks – 3 small ones per gun, or cut regular popsicle sticks with scissors (more on that down below)
- Rubber bands
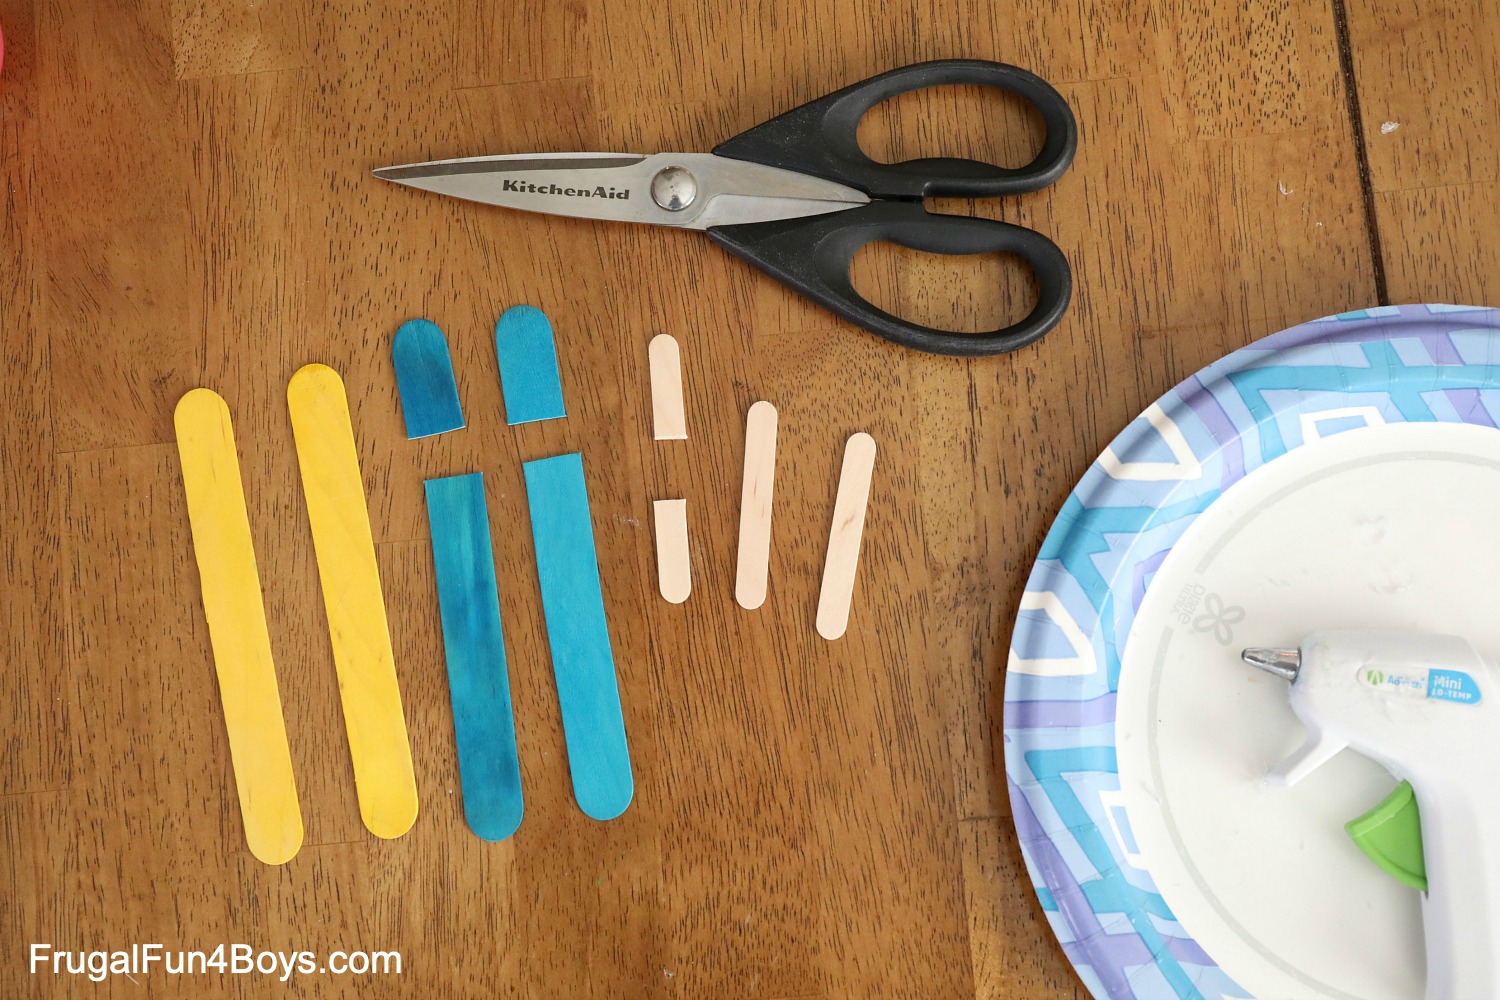
- Scissors
- Hot glue
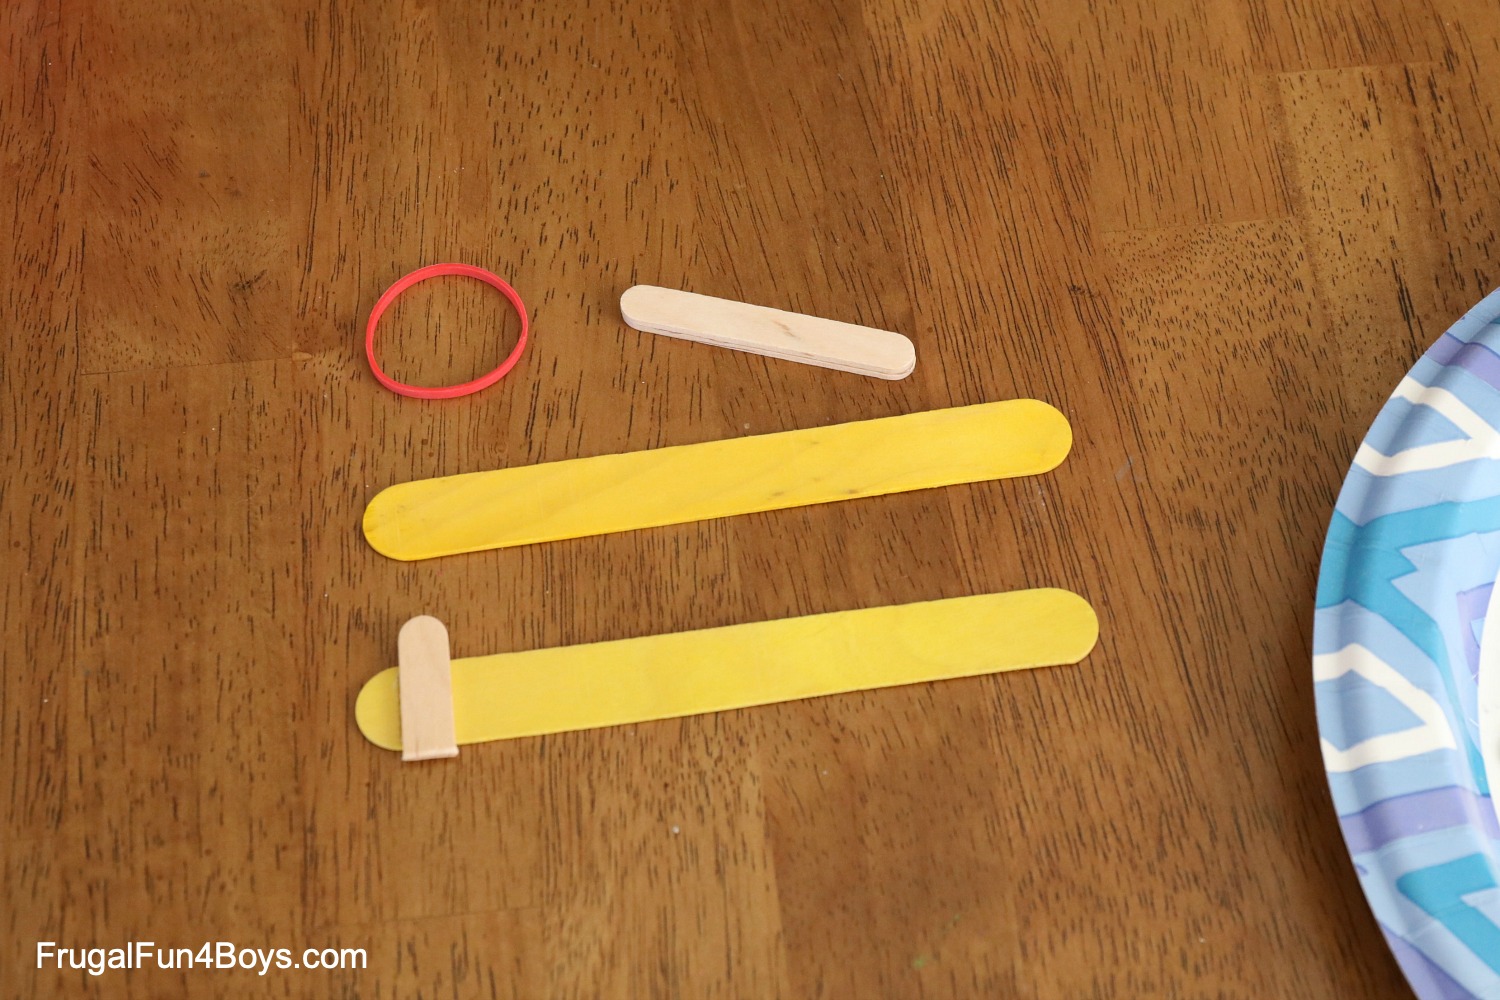
Start with for craft sticks and three small popsicle sticks. I think I bought these little ones at Hobby Lobby, but I can’t remember!
Trim two of the craft sticks with scissors to make the handle. Cut one of the small popsicle sticks in half. This is an adult job with strong scissors. I use my kitchen scissors for this, which is probably ruining them…
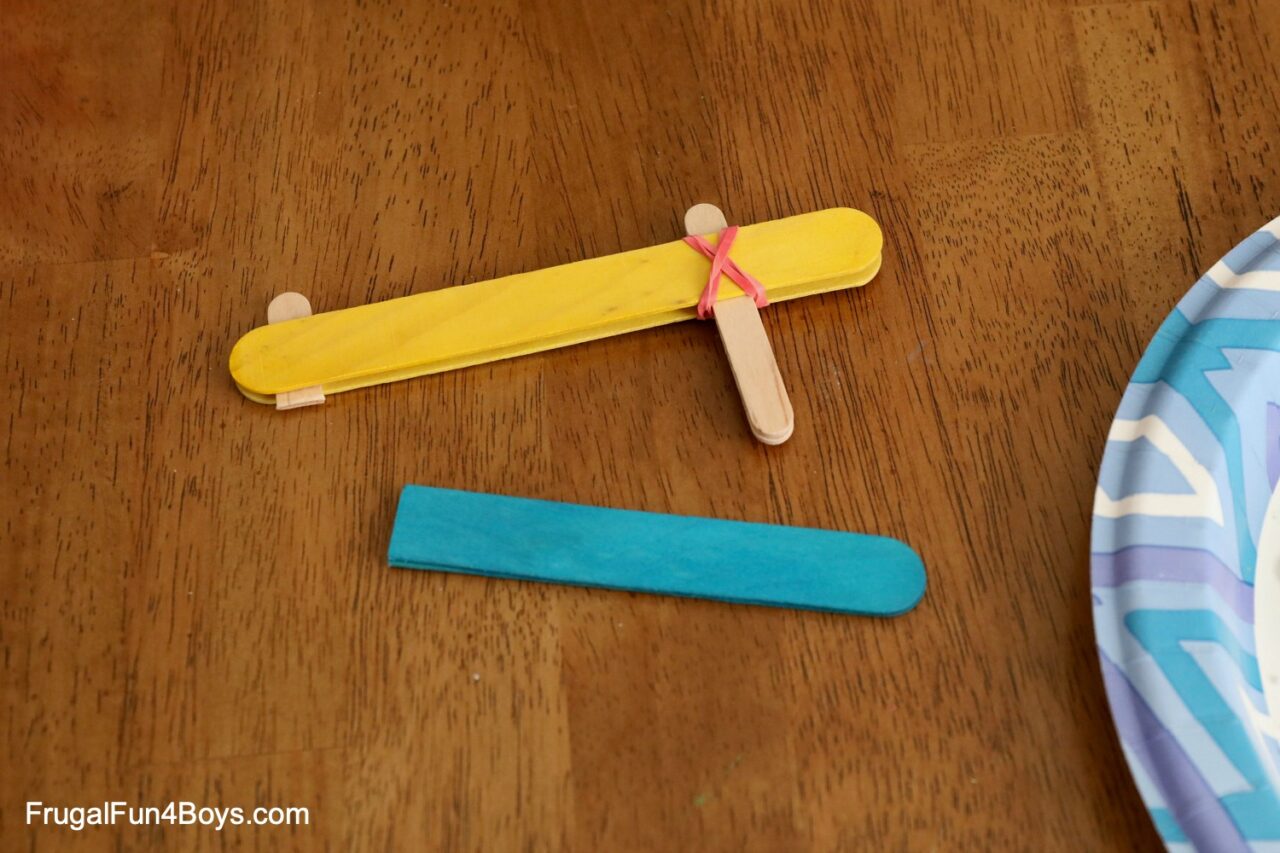
Then you’re ready to start assembling the gun. Glue one of the stick segments to a craft sticks as shown.
Glue two small popsicle sticks together. If you don’t have these short popsicle sticks, cut your own segments, and glue two of them together.
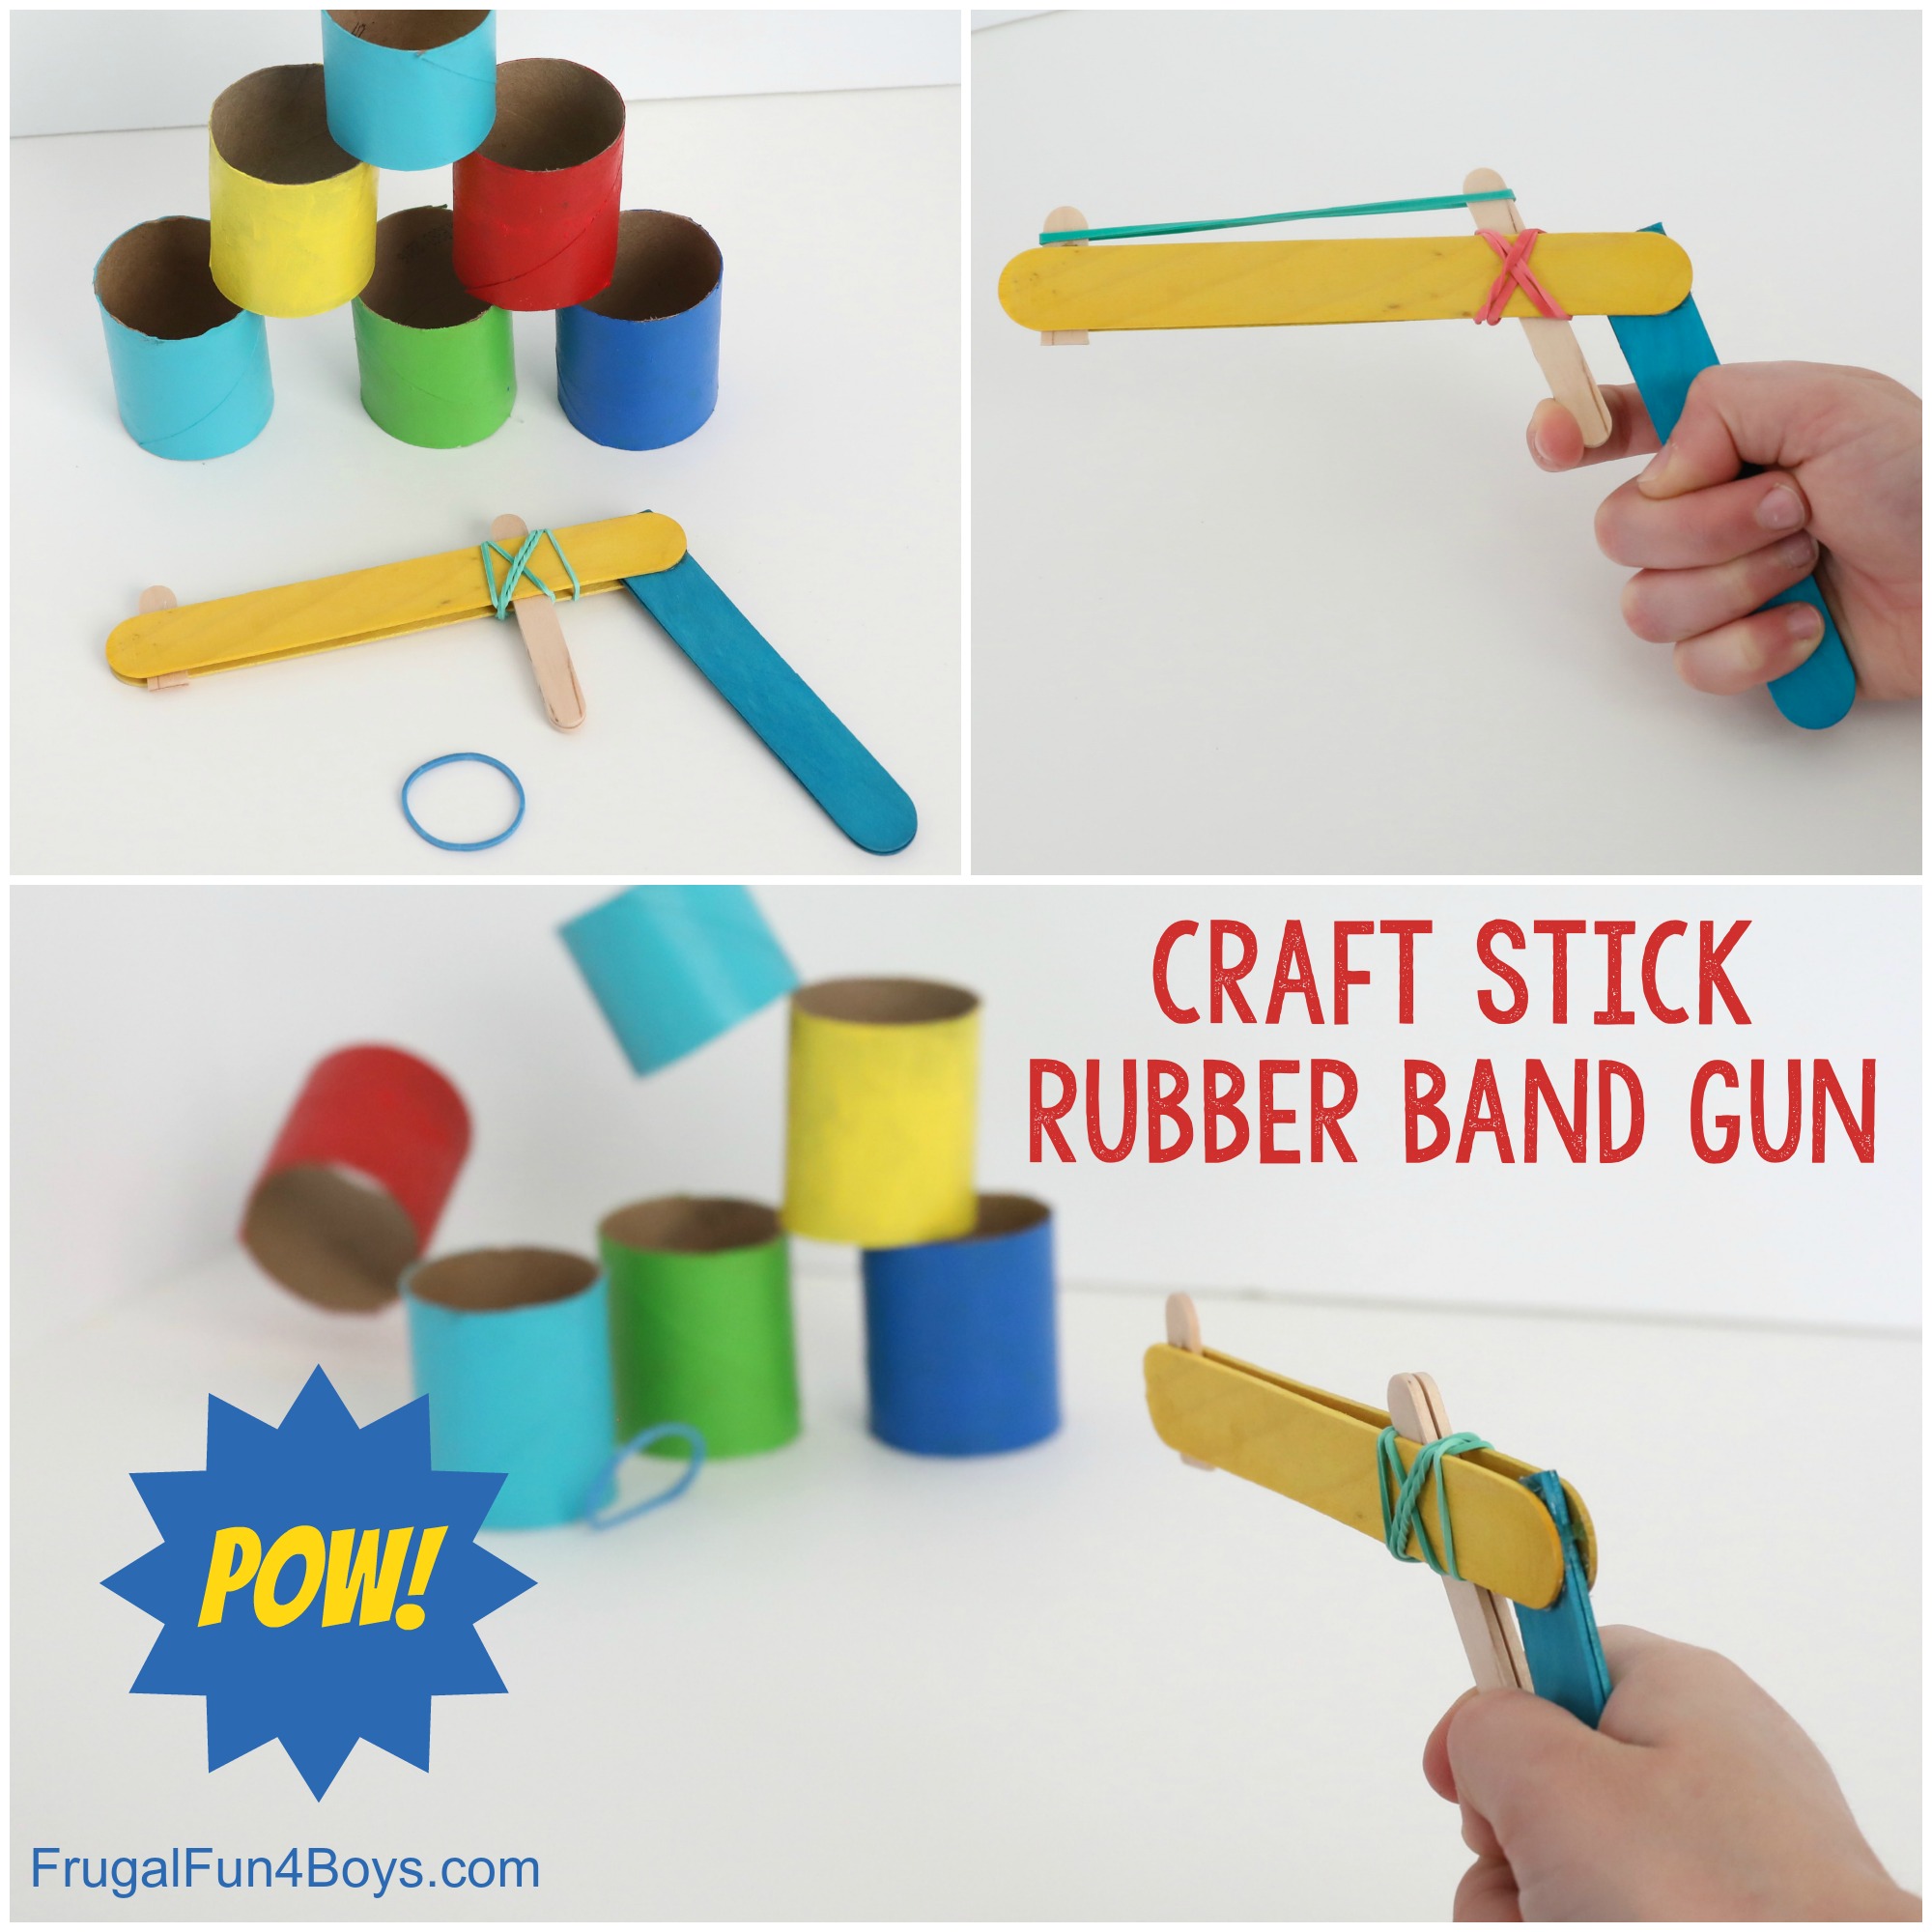
Glue a second craft stick to the front end of the gun. Glue it to the segment of popsicle stick that sticks up to hold the rubber band. Then slide the two short popsicles sticks (the trigger) in between the two craft sticks. Secure them in place by wrapping a rubber band around them. The popsicle sticks should be able to pivot.
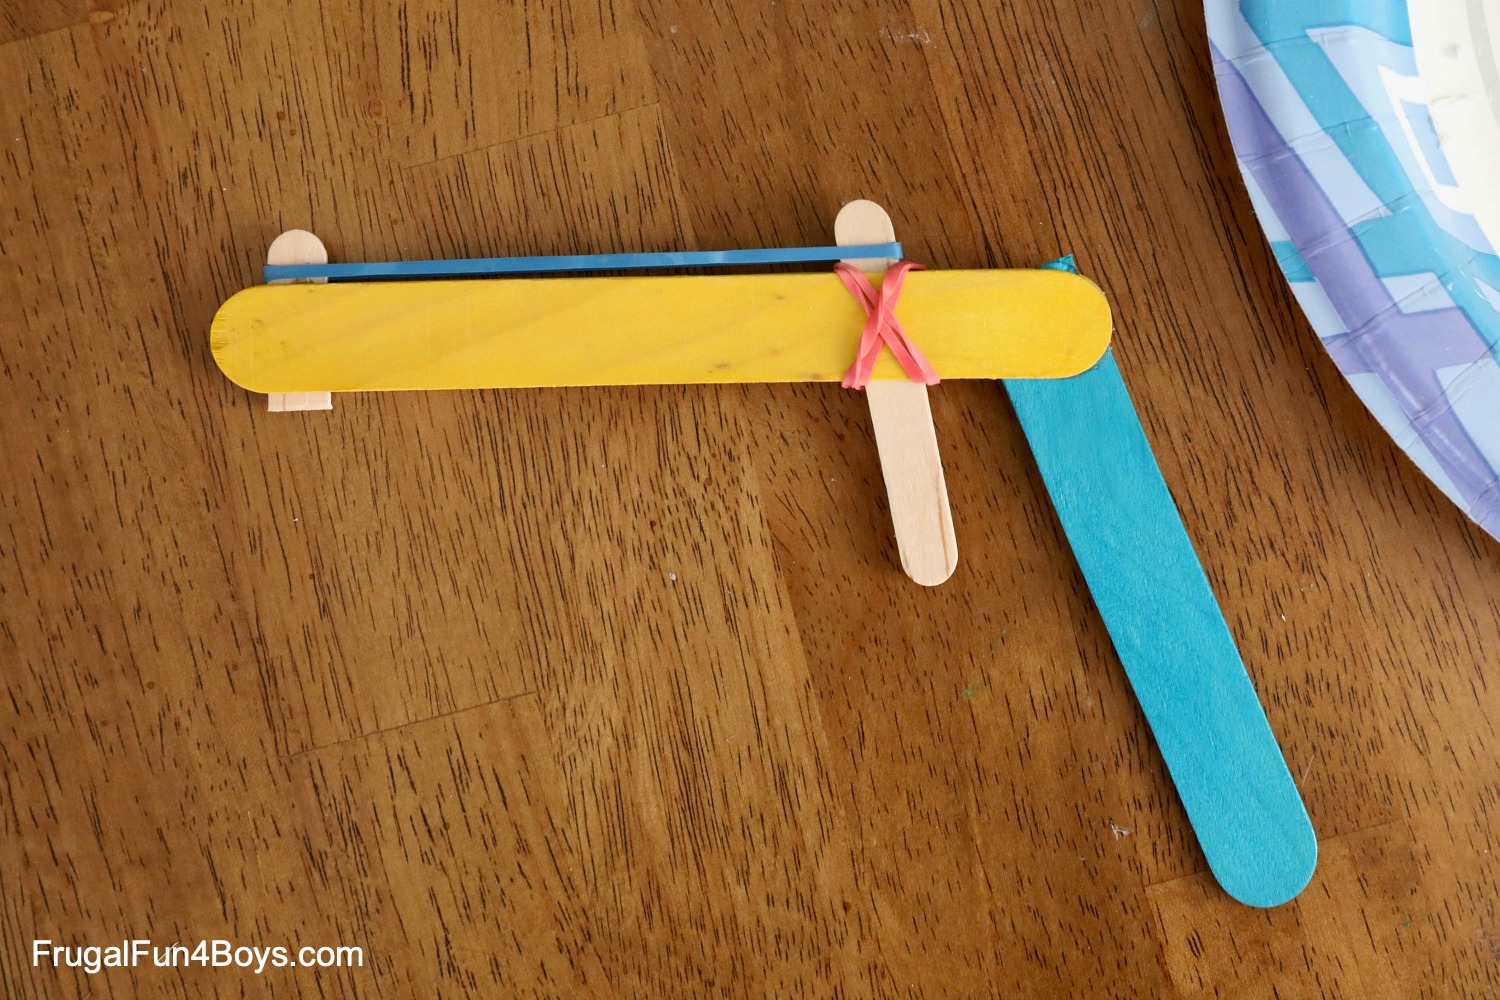
Here comes the tricky part… glue the handle in between the two craft sticks. It’s EASIER to attach the handle at the same time that you attach the popsicle stick at the front of the gun. However, it is then HARDER to wrap the rubber band around the trigger. So you can take your pick!
This finished rubber band gun should look like this.
We had fun making a few rubber band guns in different colors. I didn’t get photos of all of them, but Janie’s is all purple and Jonathan painted his sticks black to make an all-black gun.
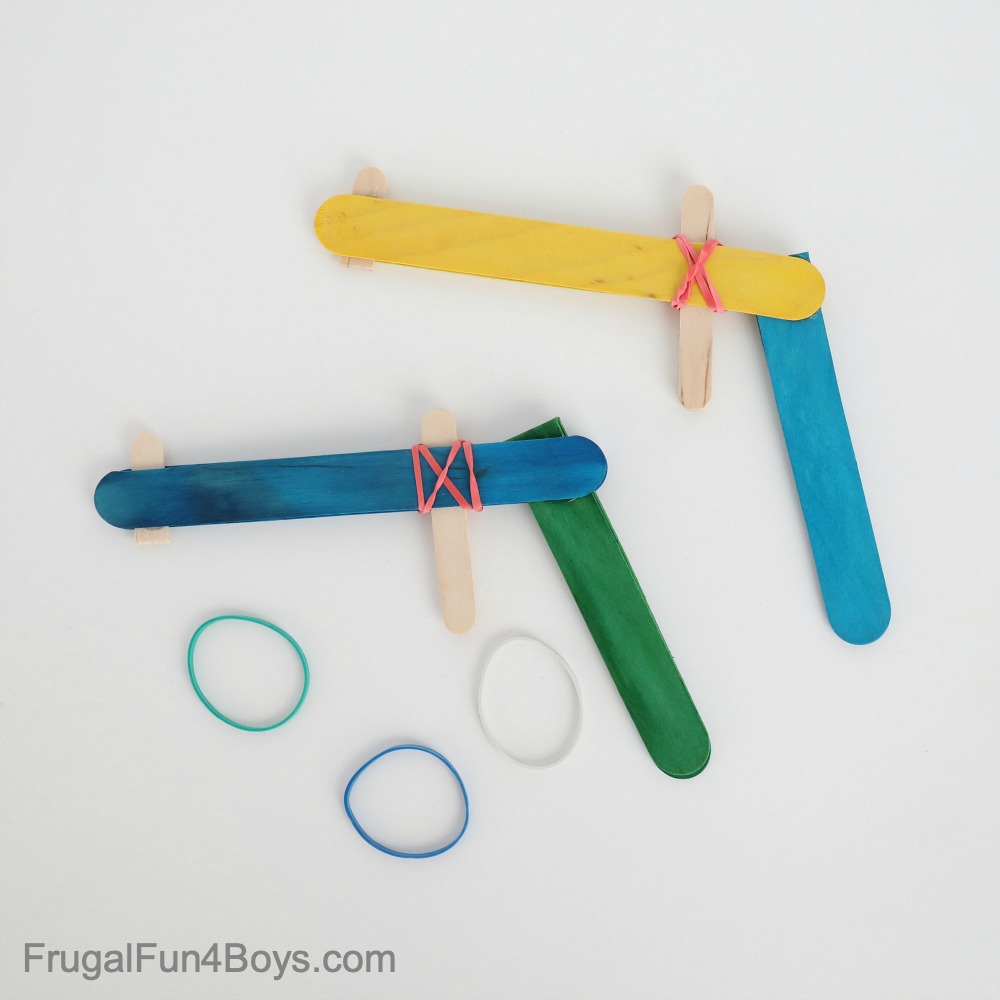
Once your rubber band guns are assembled, then it’s time to play!
Need more activity ideas? We’ve got other things that launch and shoot!
Here’s a fun LEGO Catapult with Building Instructions.
Build a cool Tissue Box Catapult – all materials from around the house.
This Paper Airplane Launcher is one of our favorite projects.
5 Comments
Rachel Wofford Apr 22, 2020
We tried this and hair elastics work really well for ammo too!
Evelyn May 20, 2020
Thanks for sharing about the hair elastics, because I was wondering if there would be a "safer" alternative to rubber bands (despite the post; sorry Sarah!); I can't believe I didn't think of that!
Sarah May 20, 2020
You'll have to try it to see, but rubber bands are truly not going to be dangerous! If the hair elastics are tighter, they may actually shoot with more force. I'd have to try them both to see.
Maheen Tahir May 11, 2020
Very enjoyable to play with it when board
christie Aug 24, 2020
Where can I find the very small wood craft sticks?
Sarah Feb 16, 2023
Hi, il thanks for this. Mine wouldn’t work at first but smaller elastic bands solved the problem! Also wanted to say that if you start by gluing in the handle followed by the trigger/elastic band then glue in the tiny bit last it avoids the dilemma you describe about whether to do the trigger or glue the tiny bit first. Makes it simpler i think.
Jake May 12, 2025
Hi, il thanks for this. Mine wouldn’t work at first but smaller elastic bands solved the problem! Also wanted to say that if you start by gluing in the handle followed by the trigger/elastic band then glue in the tiny bit last it avoids the dilemma you describe about whether to do the trigger or glue the tiny bit first. Makes it simpler i think.
Post a Comment