
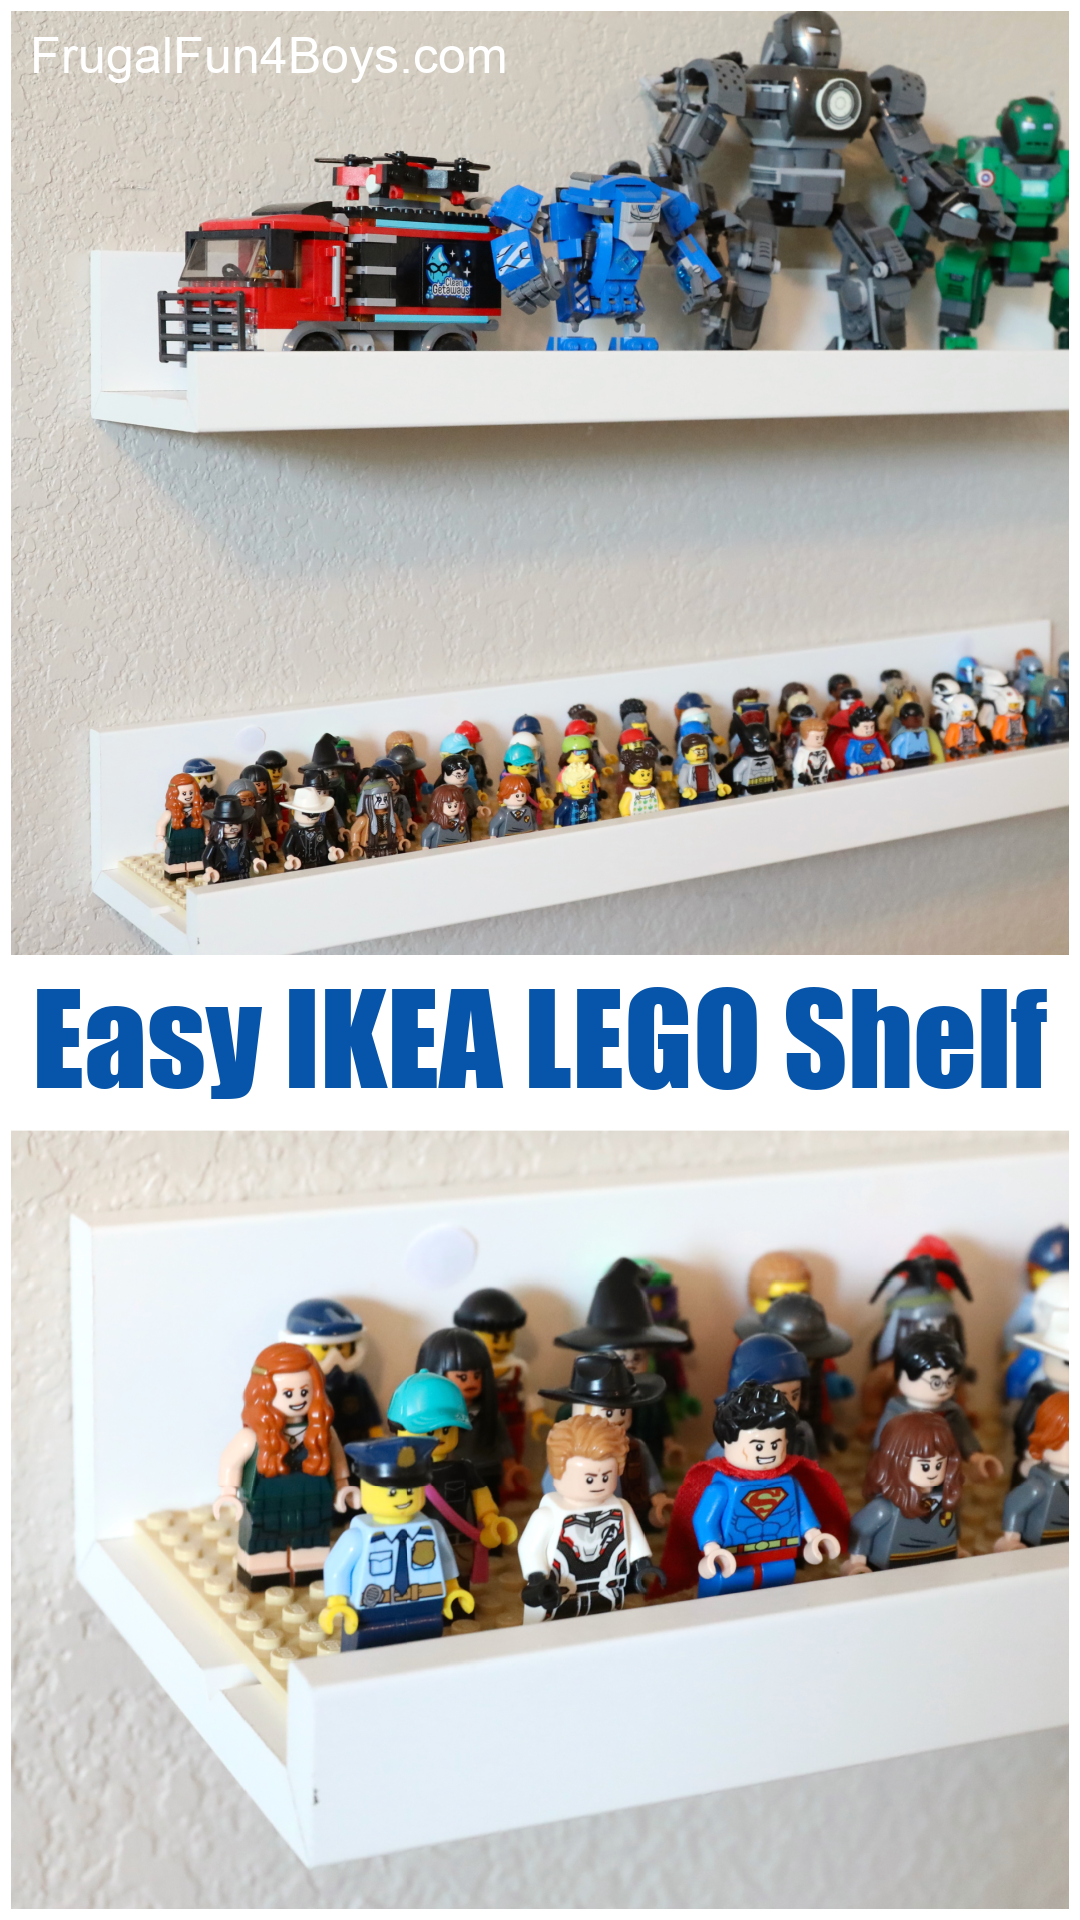
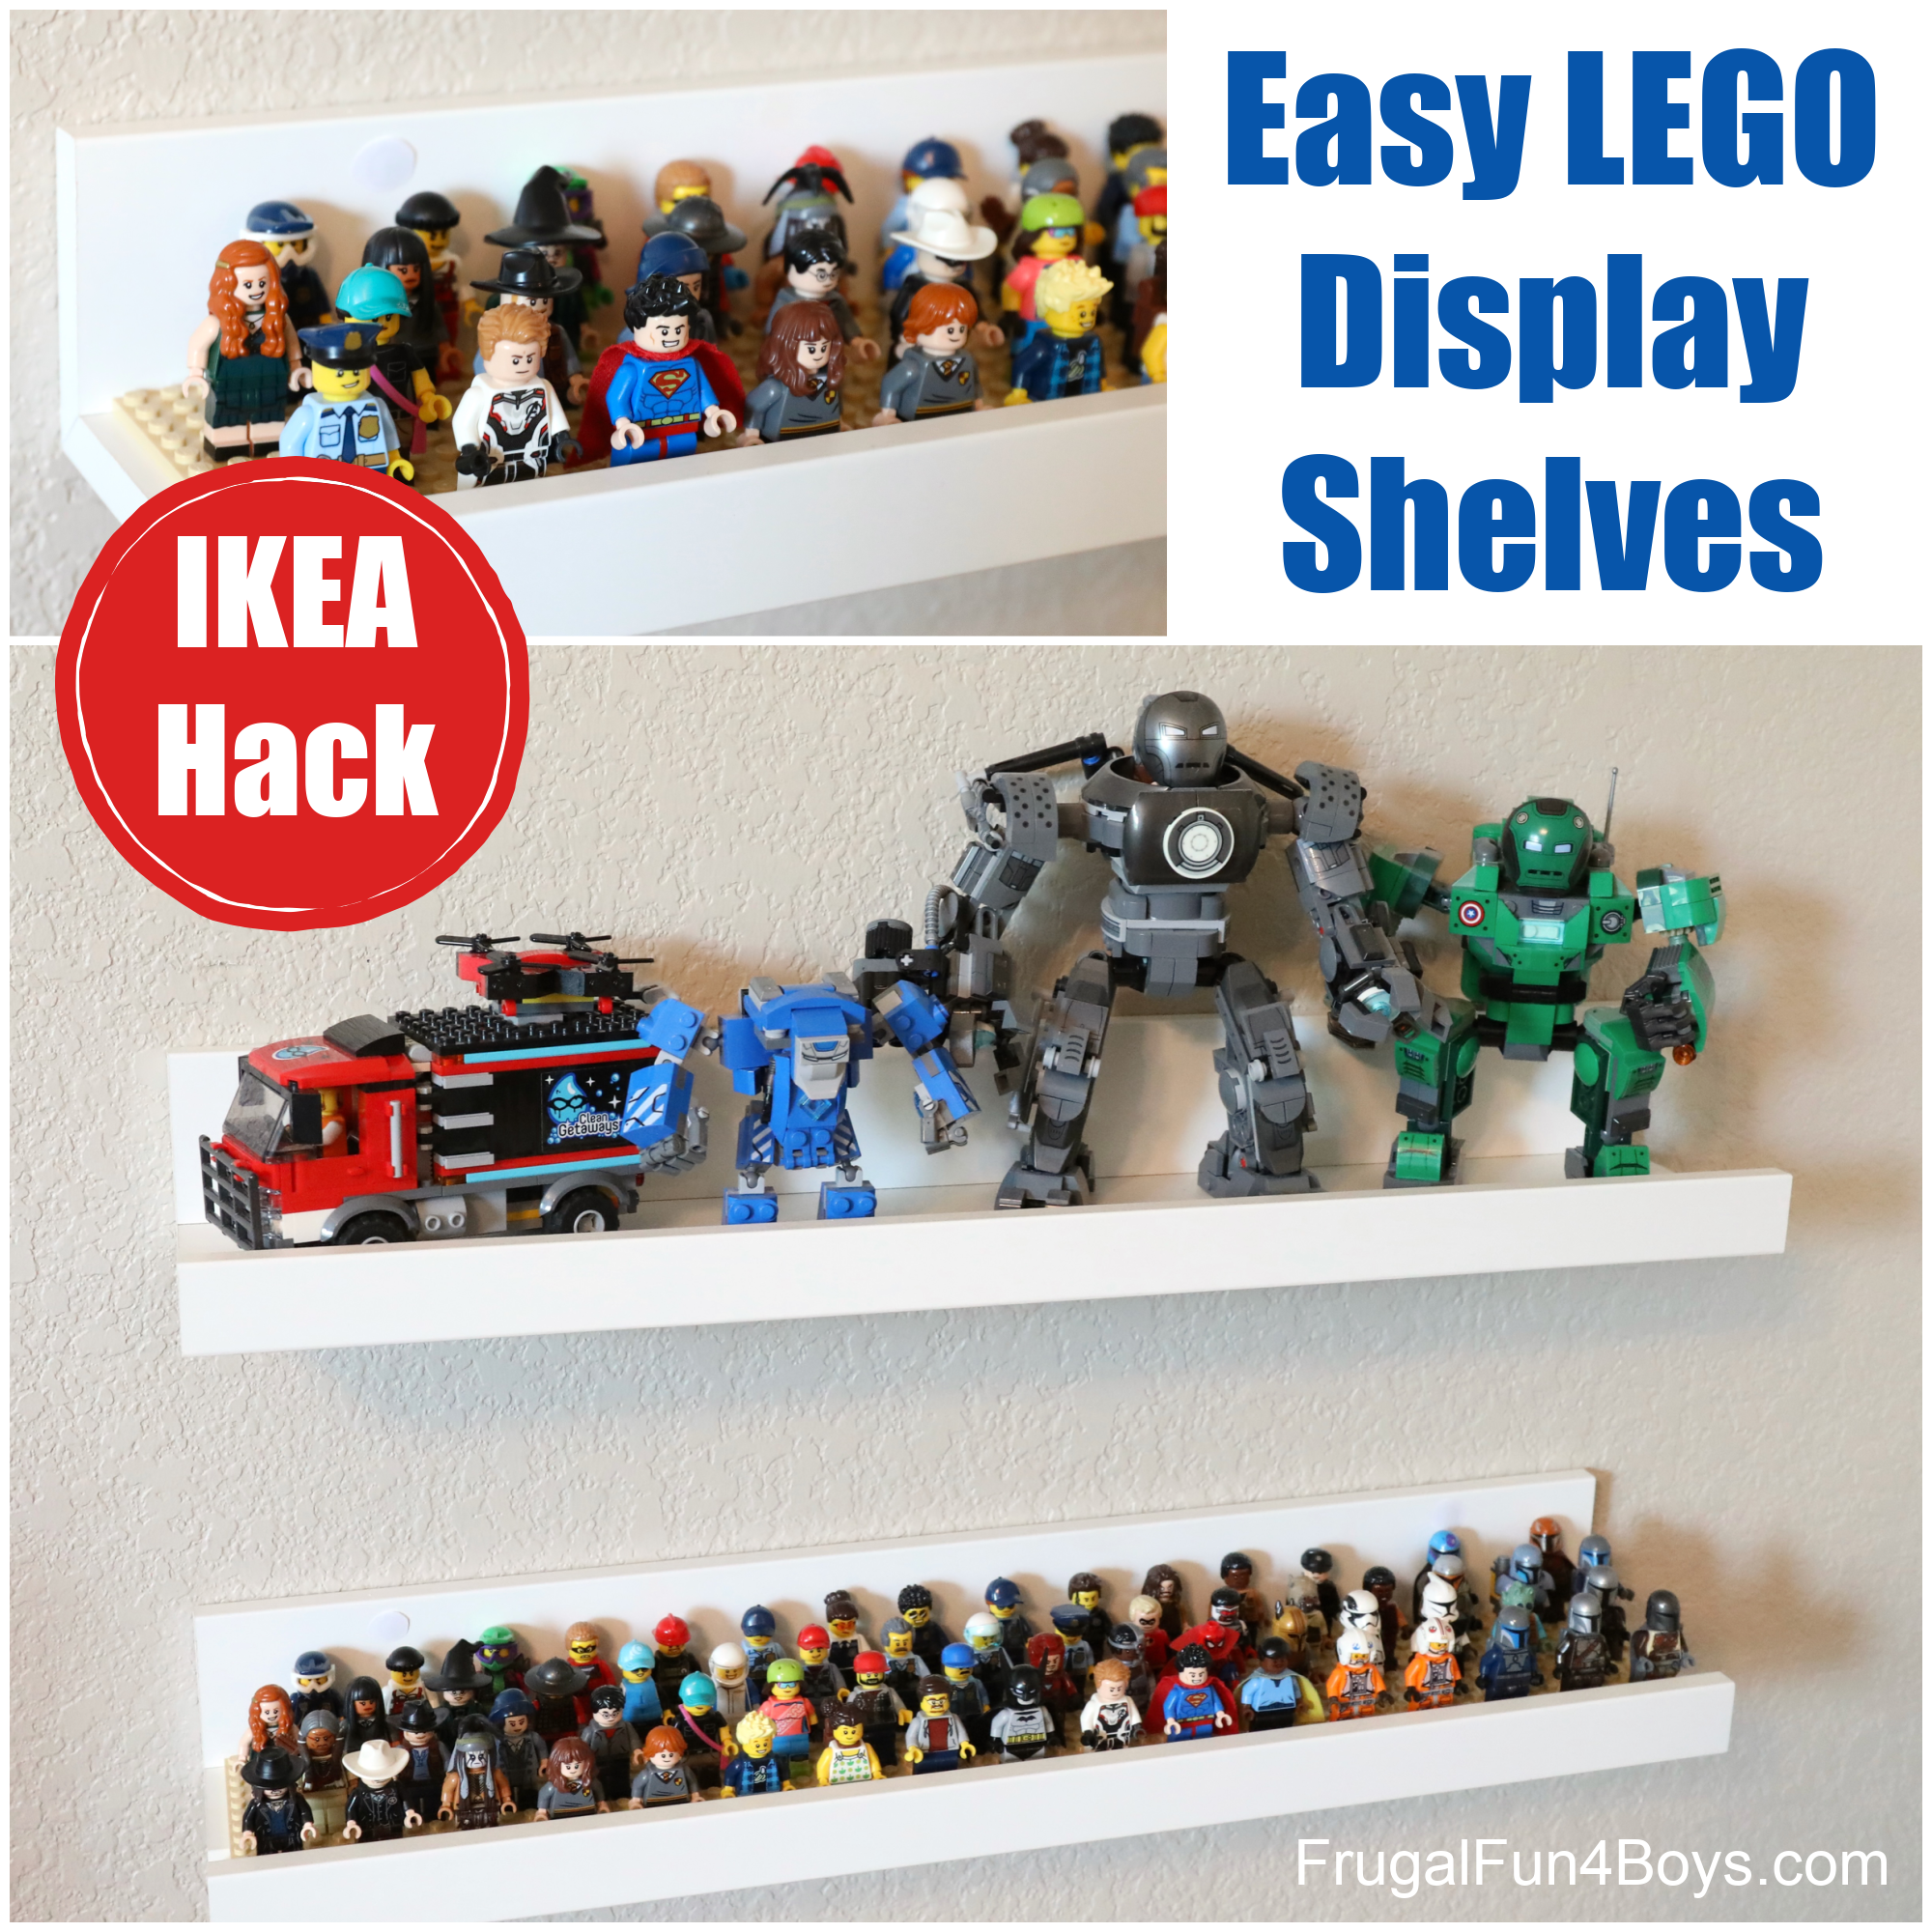
Looking for ways to display your LEGO sets and minifigures? Here’s an easy IKEA hack to make some cool looking shelves that can be used to display small sets and minifigures.
I added LEGO plates (flat bricks) to attach the minifigures to, and the whole process took me about 20 minutes. So simple!
We are always looking for more ways to store and display our LEGO sets. A few years ago, we made these fun LEGO minifigure displays with square IKEA frames. Now Jonathan (our youngest son) needs a way to display his minifigures, so we decided to try something new. We’re so happy with how it turned out!
We hung the shelves in our LEGO area (part of our game room), and they look so good! Let’s talk about how to make the shelves first, and then further down I’ll show you more photos of our LEGO space and organization system.
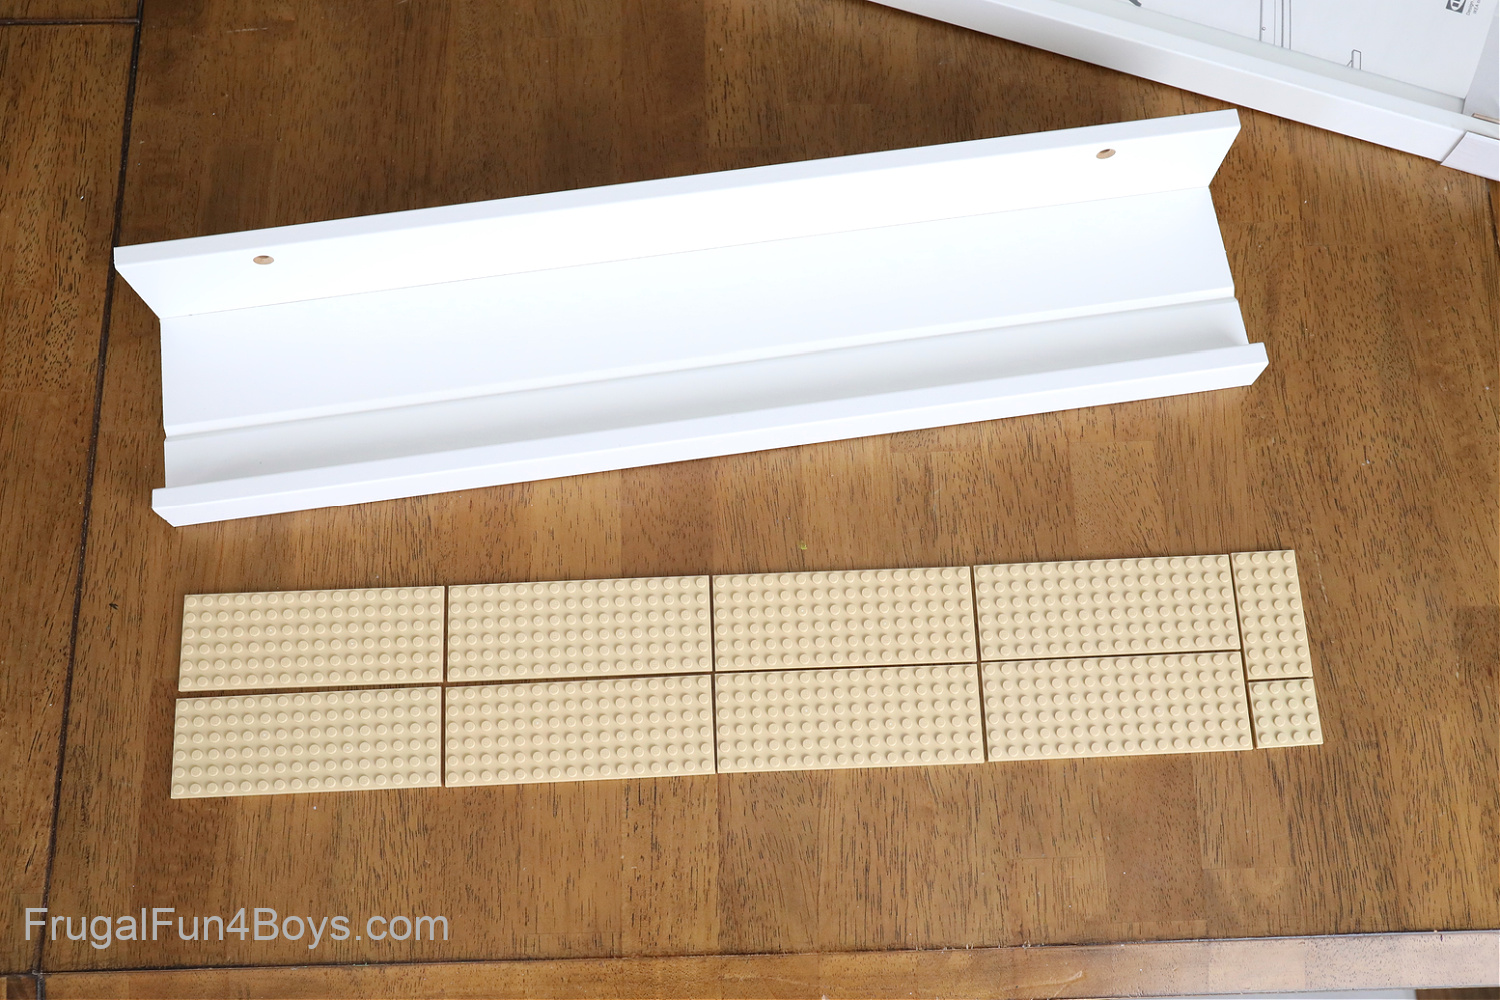
Supplies Needed to Make a Minifigure Shelf:
- MOSSLANDA Picture Ledge – we used the 21″ length
- LEGO Plates – We used four 6 x 16 plates, one 4 x 8 plate, and one 4 x 4 plate.
- Hot glue gun
- Screws – the shelf does not come with hardware
If you have LOTS of minfigures, there’s a 45″ option for the MOSSLANDA picture ledge! That would hold more than twice as many LEGO figures!
Also, the MOSSLANDA picture ledge comes in several colors. At our store, they only had white. But online you can order birch, white, black, pink, walnut, and a farmhouse looking white stain.
I used tan plates for our shelf. Light gray also looks great. White would be nice too, but would show dust more. Darker colors like blue or dark gray don’t provide as much contrast with the figures and don’t look as good overall in my opinion.
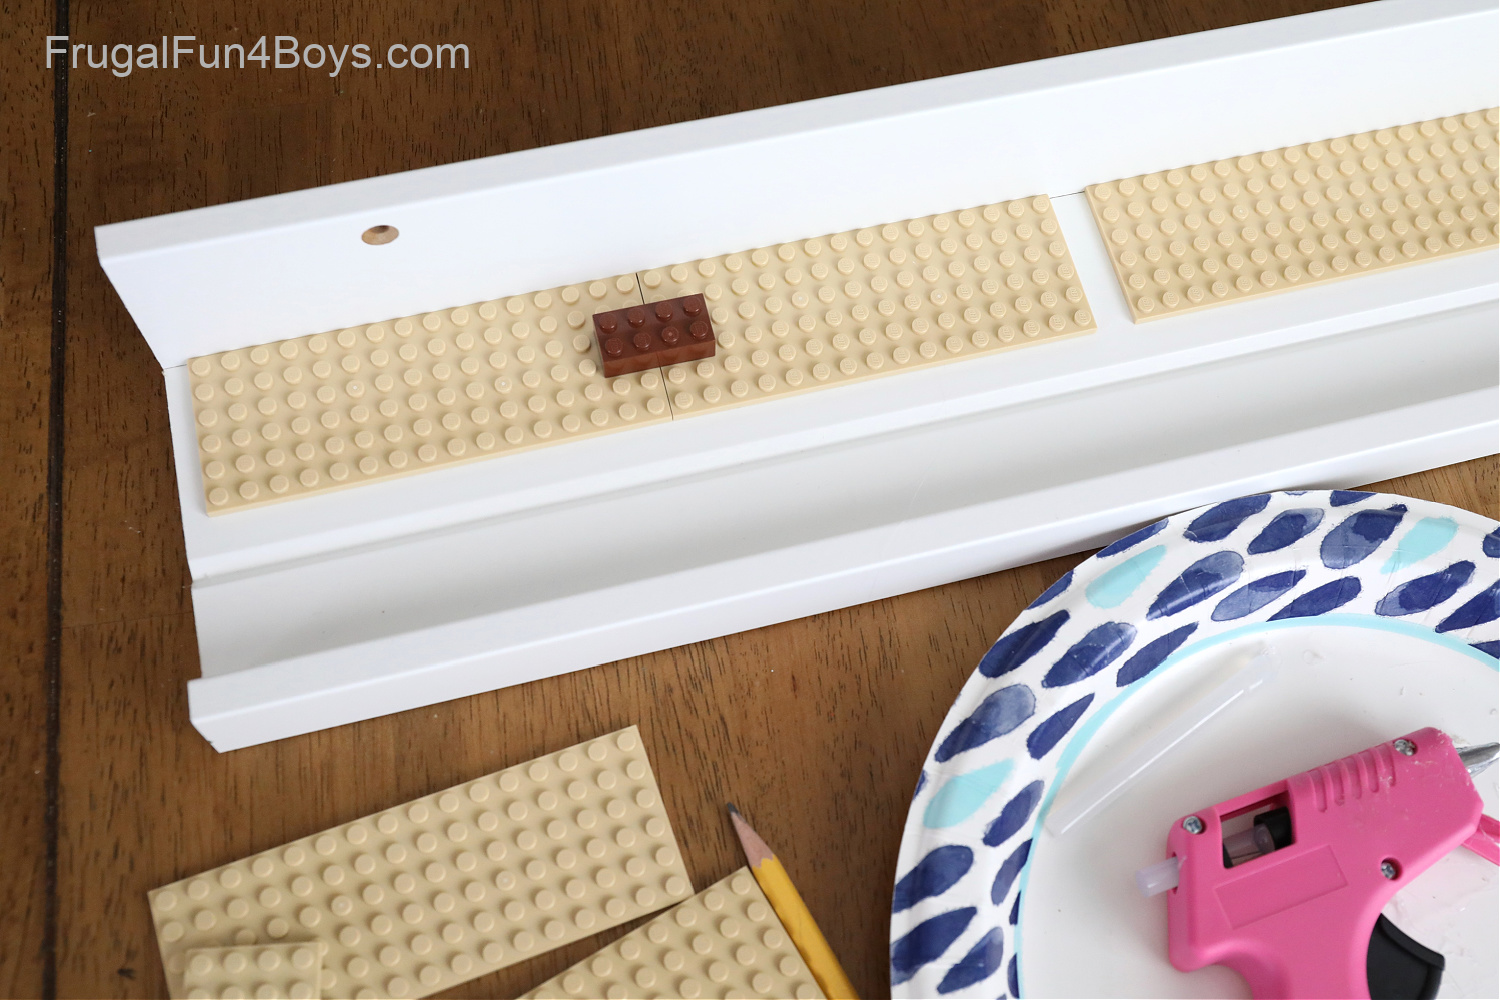
It took me less than 20 minutes to glue the plates to the shelf! Super easy project.
I applied hot glue to the backs of the plates. It works best to put the glue on the raised areas rather than down in the holes. Don’t use too much glue – you want the plates to sit flat.
BRICK SPACING NOTE: As you glue down the plates, use a LEGO brick to get the correct spacing between the plates. Attach a brick across two plates as soon as you set the second plate down and before the glue cools. The brick will slide the plate into the correct spacing.
I accidentally lined up my plates too close to one edge! They are not centered at all, but it’s actually not super noticeable now that the shelf is on the wall. You really can’t mess up this project!

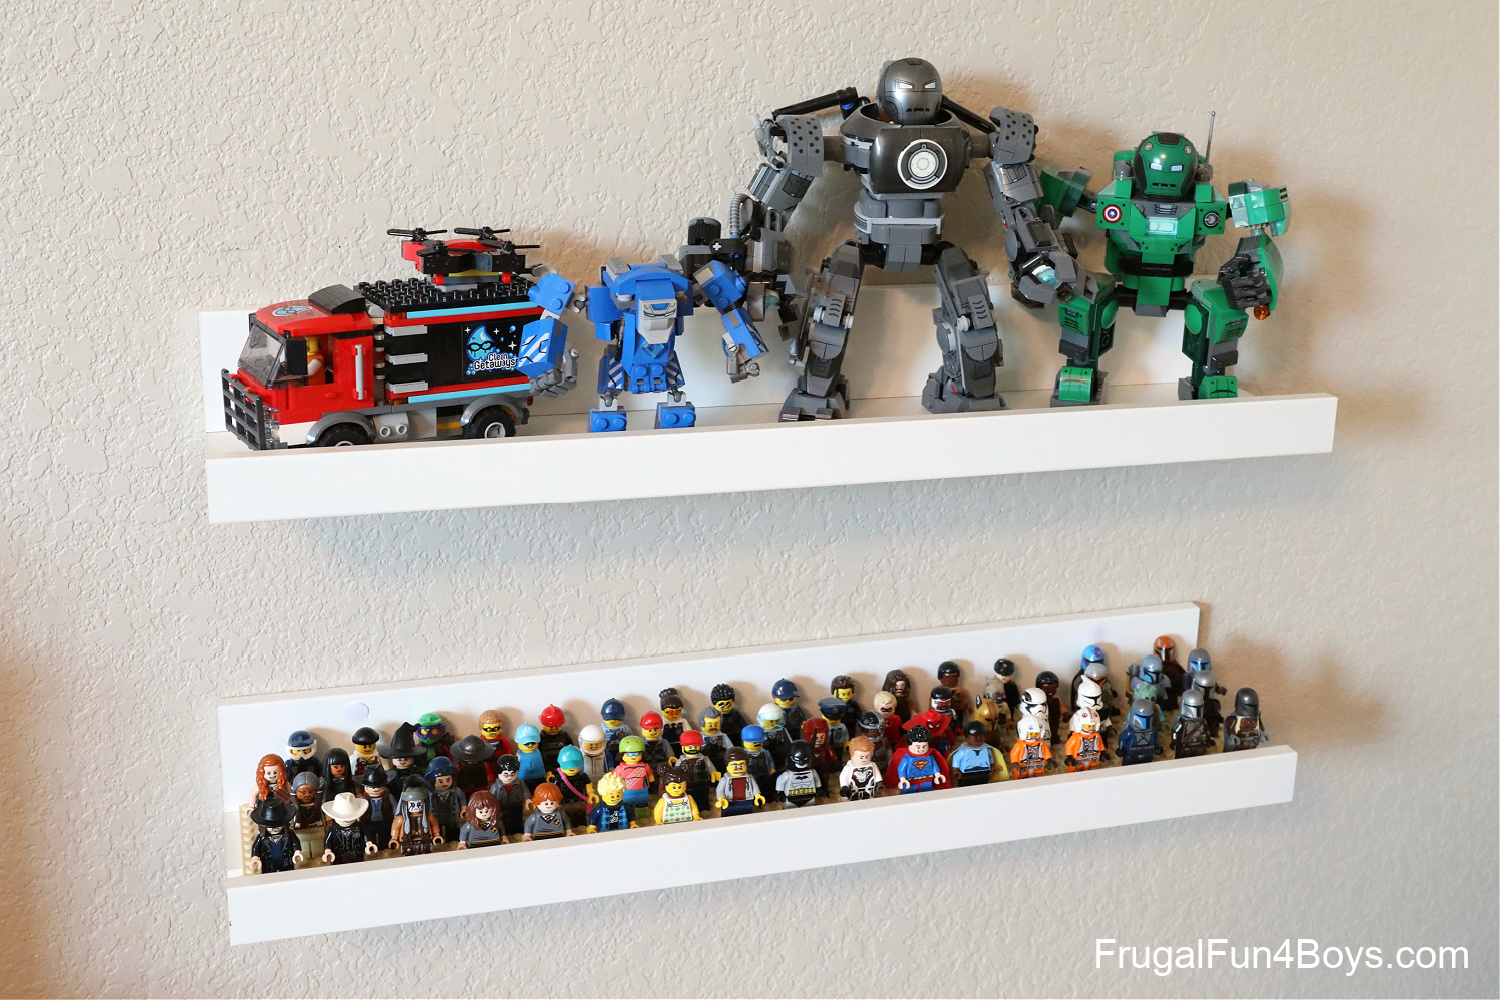
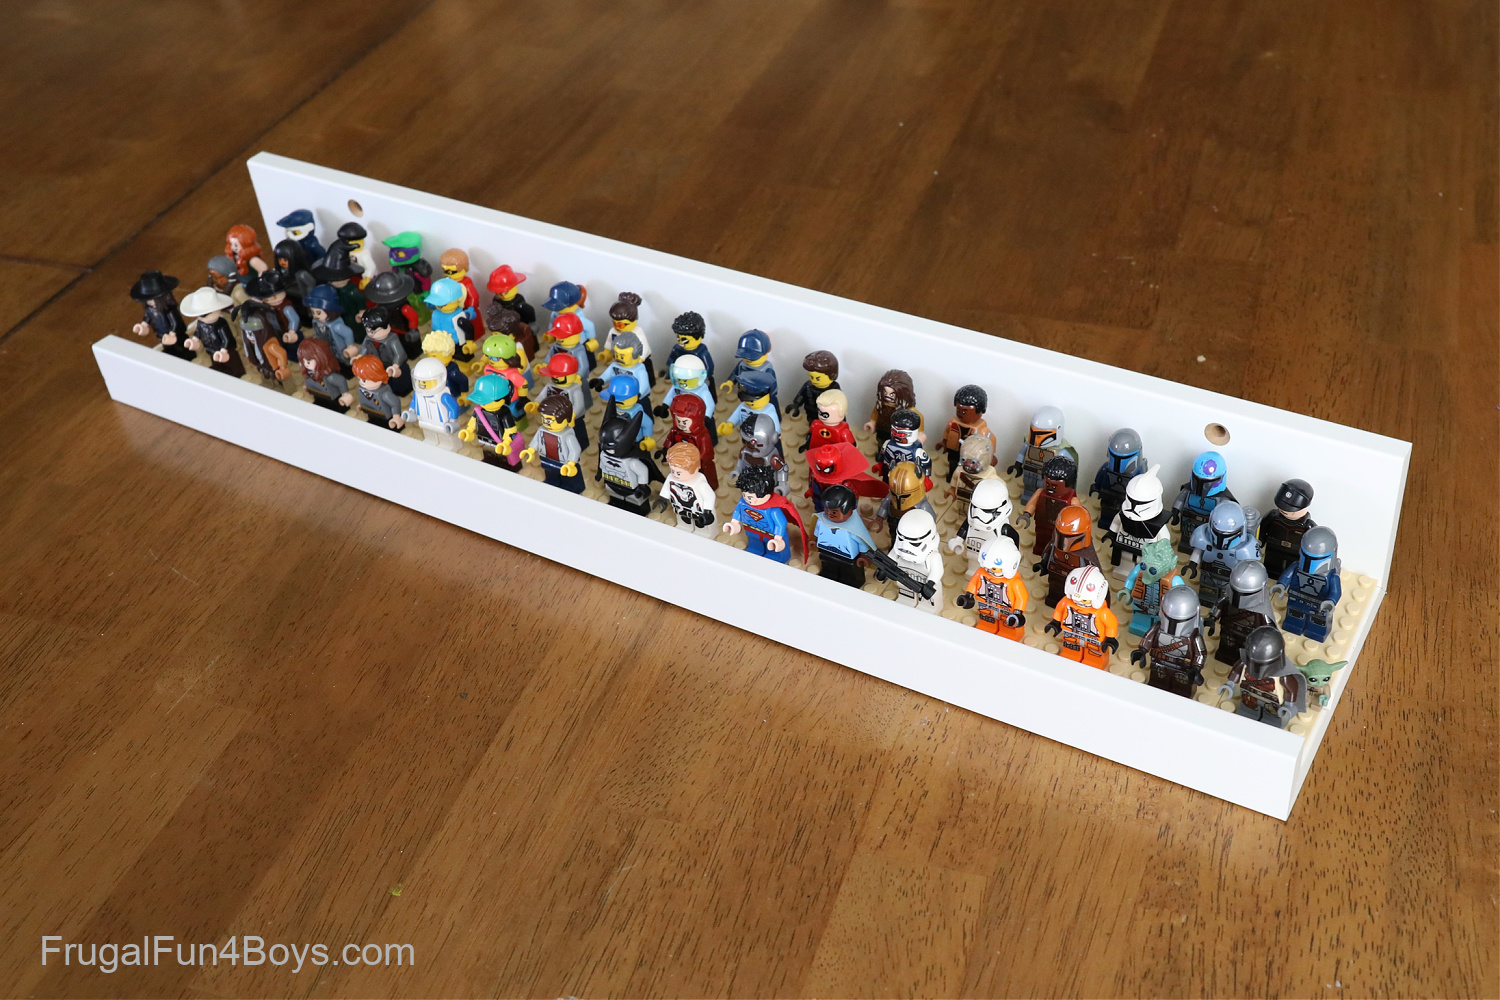
We were able to arrange 66 minifigures on the shelf! I staggered the figures so that the faces are easier to see. If you arrange each row the same, you can fit 68.
I did not put LEGO plates on our other shelf, and we’re using it to display small sets. It works well for vehicles and Marvel mechs!
I do wish I had bought a third shelf. We’ll probably add one more.
More LEGO Display Shelf Ideas
In this photo, you can see our LEGO area! On the tall bookcase, you can see our wood LEGO minifigure display stand.
We have IKEA Trofast units with boxes for storing our loose LEGO bricks. We also have an IKEA bookcase for displaying LEGO sets and projects that we are currently working on for our website and our LEGO books.
You can read all about our LEGO Storage and Organization system here! That post contains a video tour also. In the video, you’ll see how our kids display their LEGO sets also.

How do I keep LEGO sets clean?
One of the downsides of displaying LEGO sets and minifigures is that they collect a lot of dust! We have to clean our LEGO sets regularly.
Our favorite methods for cleaning LEGO sets are:
- Dry paintbrushes – use these to brush away dust from large surfaces or tiny details
- Canned air – spray dust off your sets
It works well to use both! We often clean sets with a paintbrush first to get the dust out of all the intricate details, and then blow the dust away with canned air.
5 Comments
Rosemary May 20, 2022
Wonderful Thank you so much for all your ideas There is now an 11 year span in our LEGO builders so organization and displays have become more important each year. I have loved your ideas and appreciate your help 🙏
Nicole May 20, 2022
Great idea!! Thanks for sharing.
Marklev May 22, 2022
I did similar but I put a standard 2x4 brick under it so it wouldn't be below the front of the shelf
Shez May 25, 2022
Wow that's the best hack for lego, cleaning mine is a pain in the butt!! Thanks for your ideas & info. Stay safe & love each other too :}
Anne Gillingham May 26, 2022
Oh wow. This page showed up in my Google feed.
So grateful. Thanks.
Post a Comment