
This sock snowman craft is the cutest thing ever.
And, it doesn’t require any sewing. This is the perfect winter craft for a snowy day! You’ll need plain white socks, but other than that, you can make use of things you have on hand.
We made our sock snowmen when we had a dear friend visiting, and we had so much fun!

We put rice in the bottom of the socks and then filled them the rest of the way with fiber fill stuffing. This makes them sit up really well on their own.

Ready to make your own sock snowman? We’ll show you how!
This post contains Amazon affiliate links, which means that I earn from qualifying purchases at no additional cost to you.
Supplies Needed:
- White socks – We used girls fold over socks from Walmart. Here’s an equivalent from Amazon: girls white fold over socks. I’d suggest the medium or large size.
- Colored socks for the hats – these can be old socks that you have around the house! (You can use white socks you already have as well, unless they are now dingy gray like ours… I was happy to buy fresh ones.)
- Black buttons
- Ribbon
- Pom poms
- Orange felt – just a tiny bit
- Rice
- Fiber Fill Stuffing
- Thread or rubber bands or both
- Hot glue
- Scissors
If you are making this craft with a group, I would plan on 1/3 cup – 1/2 cup of rice for each snowman, depending on what size socks you choose.
Here are the socks we used. Colored ankle socks are perfect for the snowman hats!

Step 1: Fill the bottom of the white sock with rice. We used about 1/2 cup of rice for each snowman, but this does not have to be exact.
The rice gives the snowman some weight and helps him sit up nicely. If you use only fiber fill stuffing, your snowman will be a bit tippy.
Step 2: Add fiber fill stuffing to the desire level of “stuffiness.” Ha.
Step 3: Tie a thread around the snowman’s body to separate the body from the head.
Step 4: Tie a thread or wrap a rubber band around the excess sock at the top of the head. Then use scissors to cut off the excess sock. You’ll cover up this ugly part with the hat!

Step 5: Cut the toe end off a colored sock as show below. This will be the snowman’s hat.

Step 6: Put on the hat and fold the sock over to make a neat edge. You can glue the sock to the head, or just stretch it on. Ours did not need any glue.

Step 7: Glue a pom pom to the top of the hat. Then cut some ribbon to make a scarf. Attach it with some glue.
Janie chose to cut fringe on the ends of her scarf. She also used the ankle part of the sock to make a band around the hat.

Step 8: Glue on some buttons for the eyes and the body, and then add an orange felt nose. That’s it!

Then make more snowmen with different colored scarves and hats! So fun!
Need more winter craft ideas? We’ve got lots!
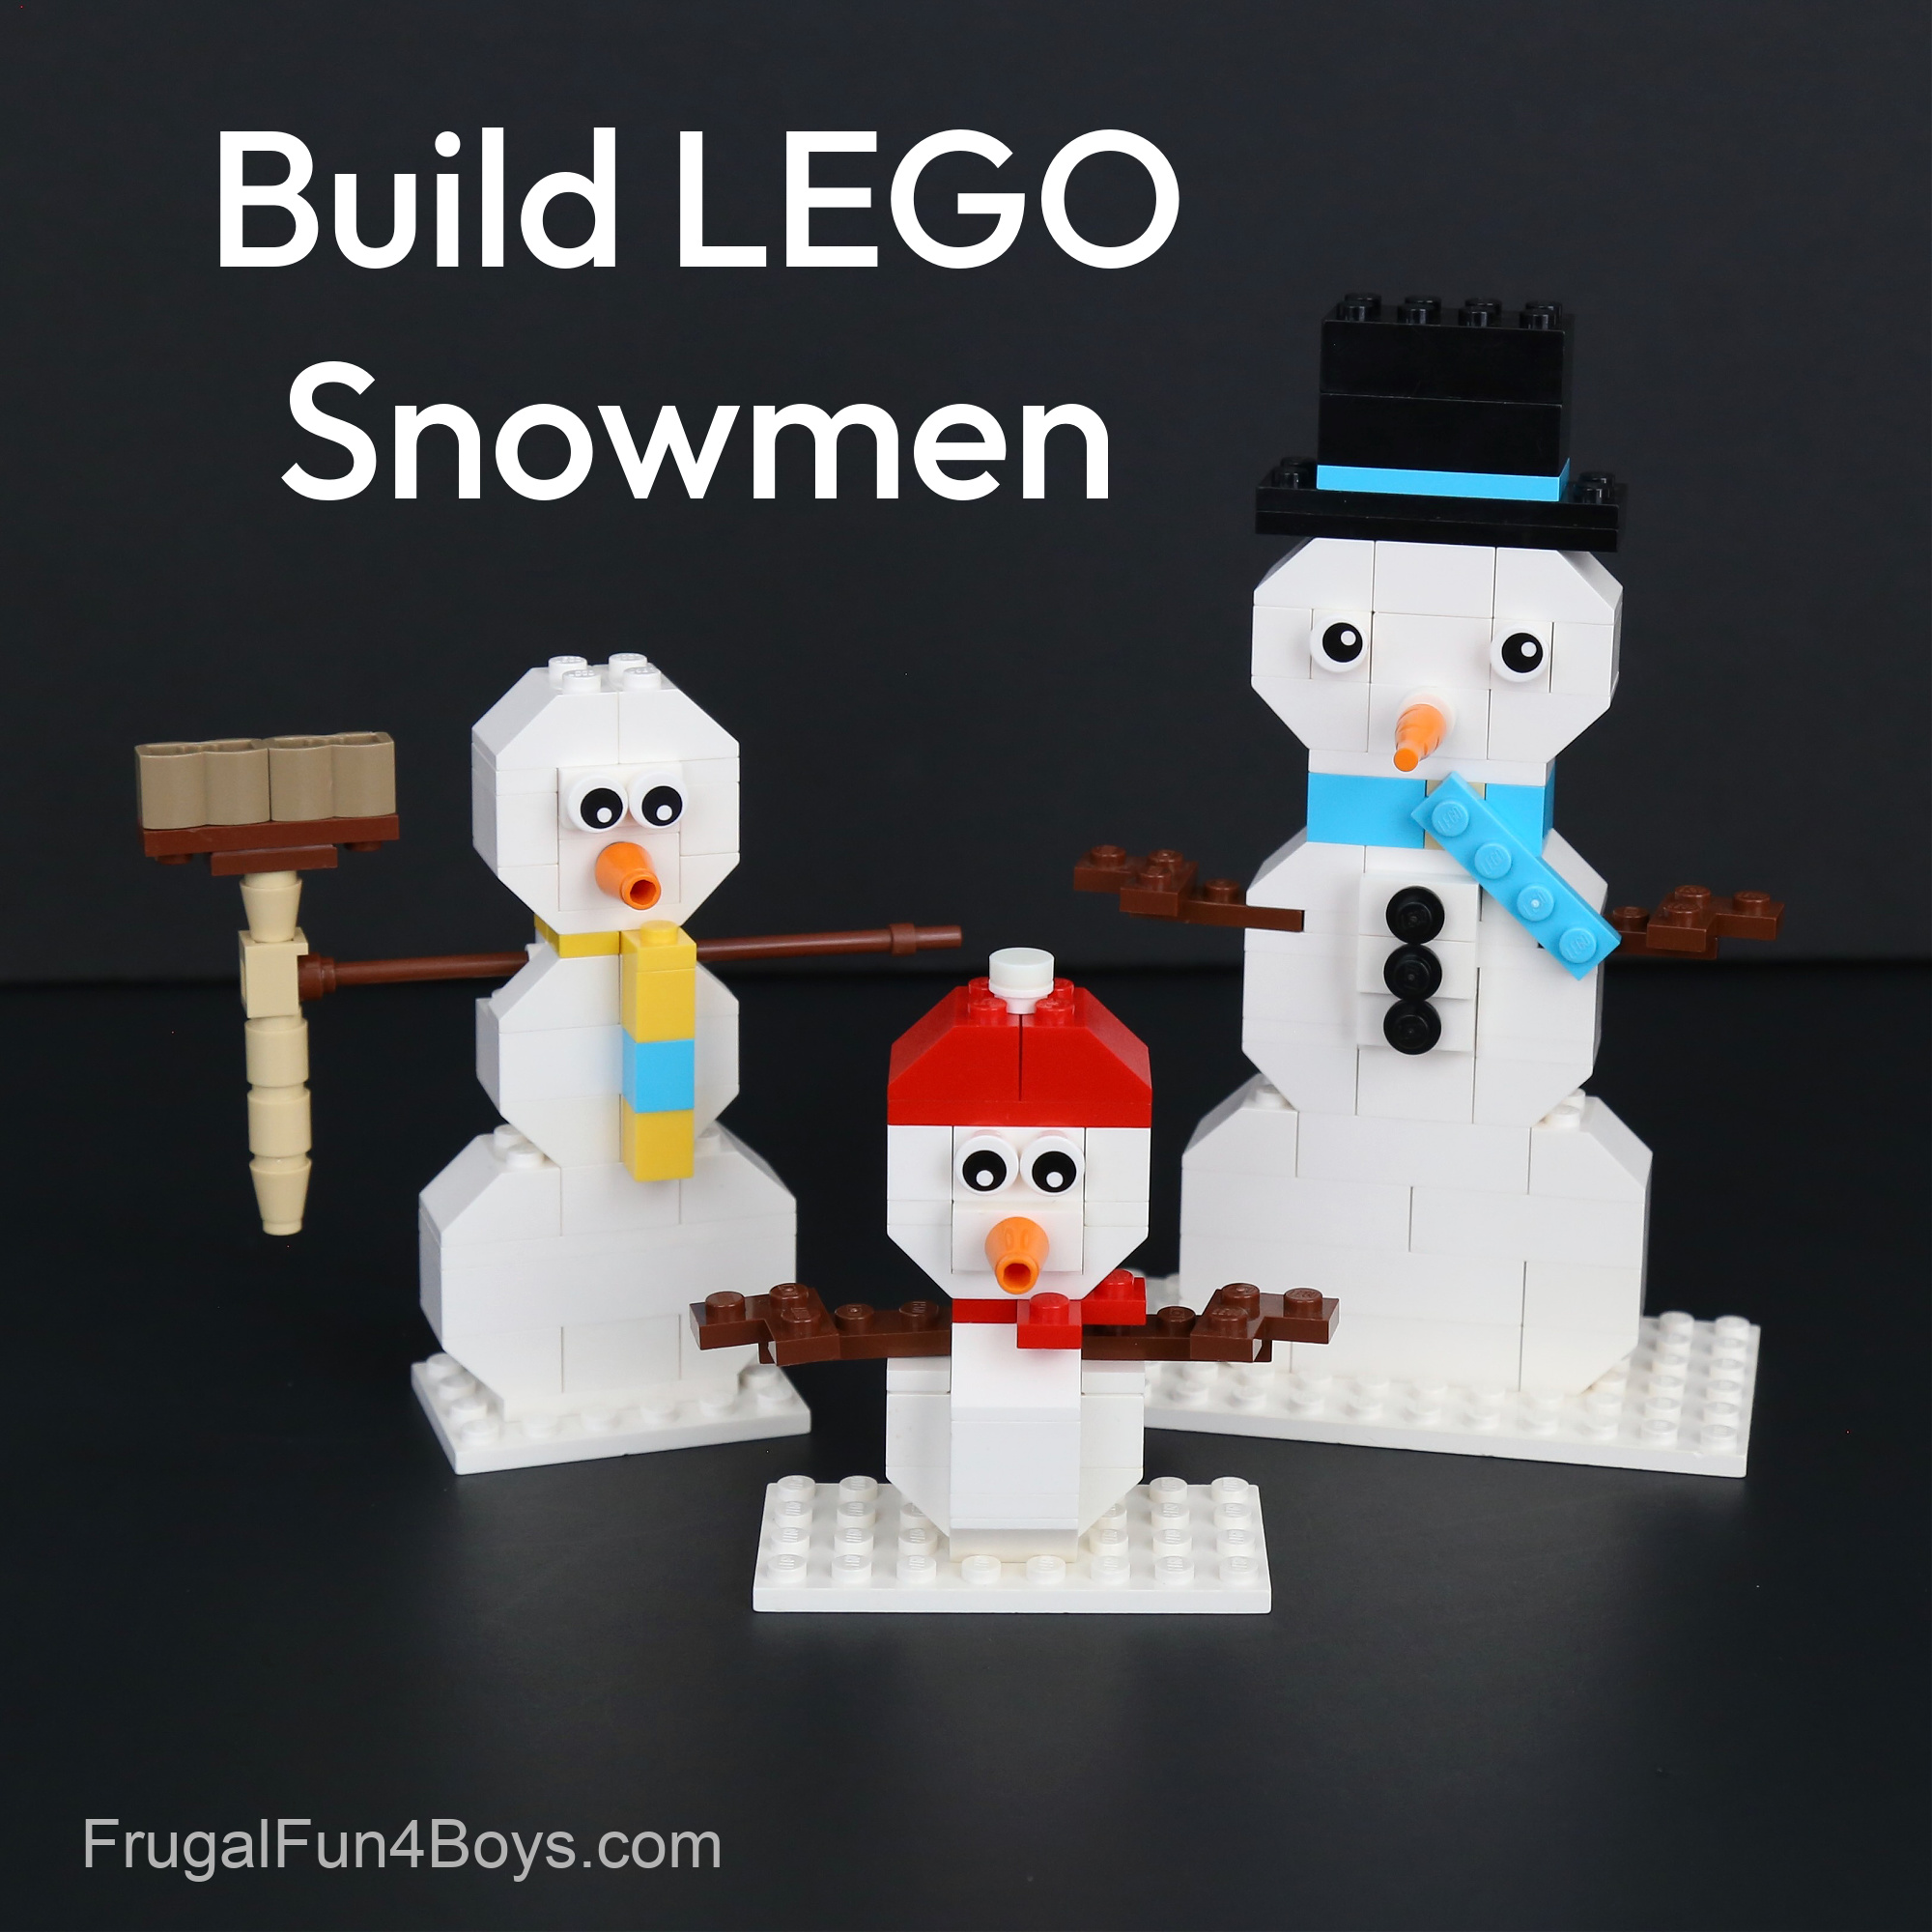
These LEGO Snowmen are so much fun to build. Instructions in the post.
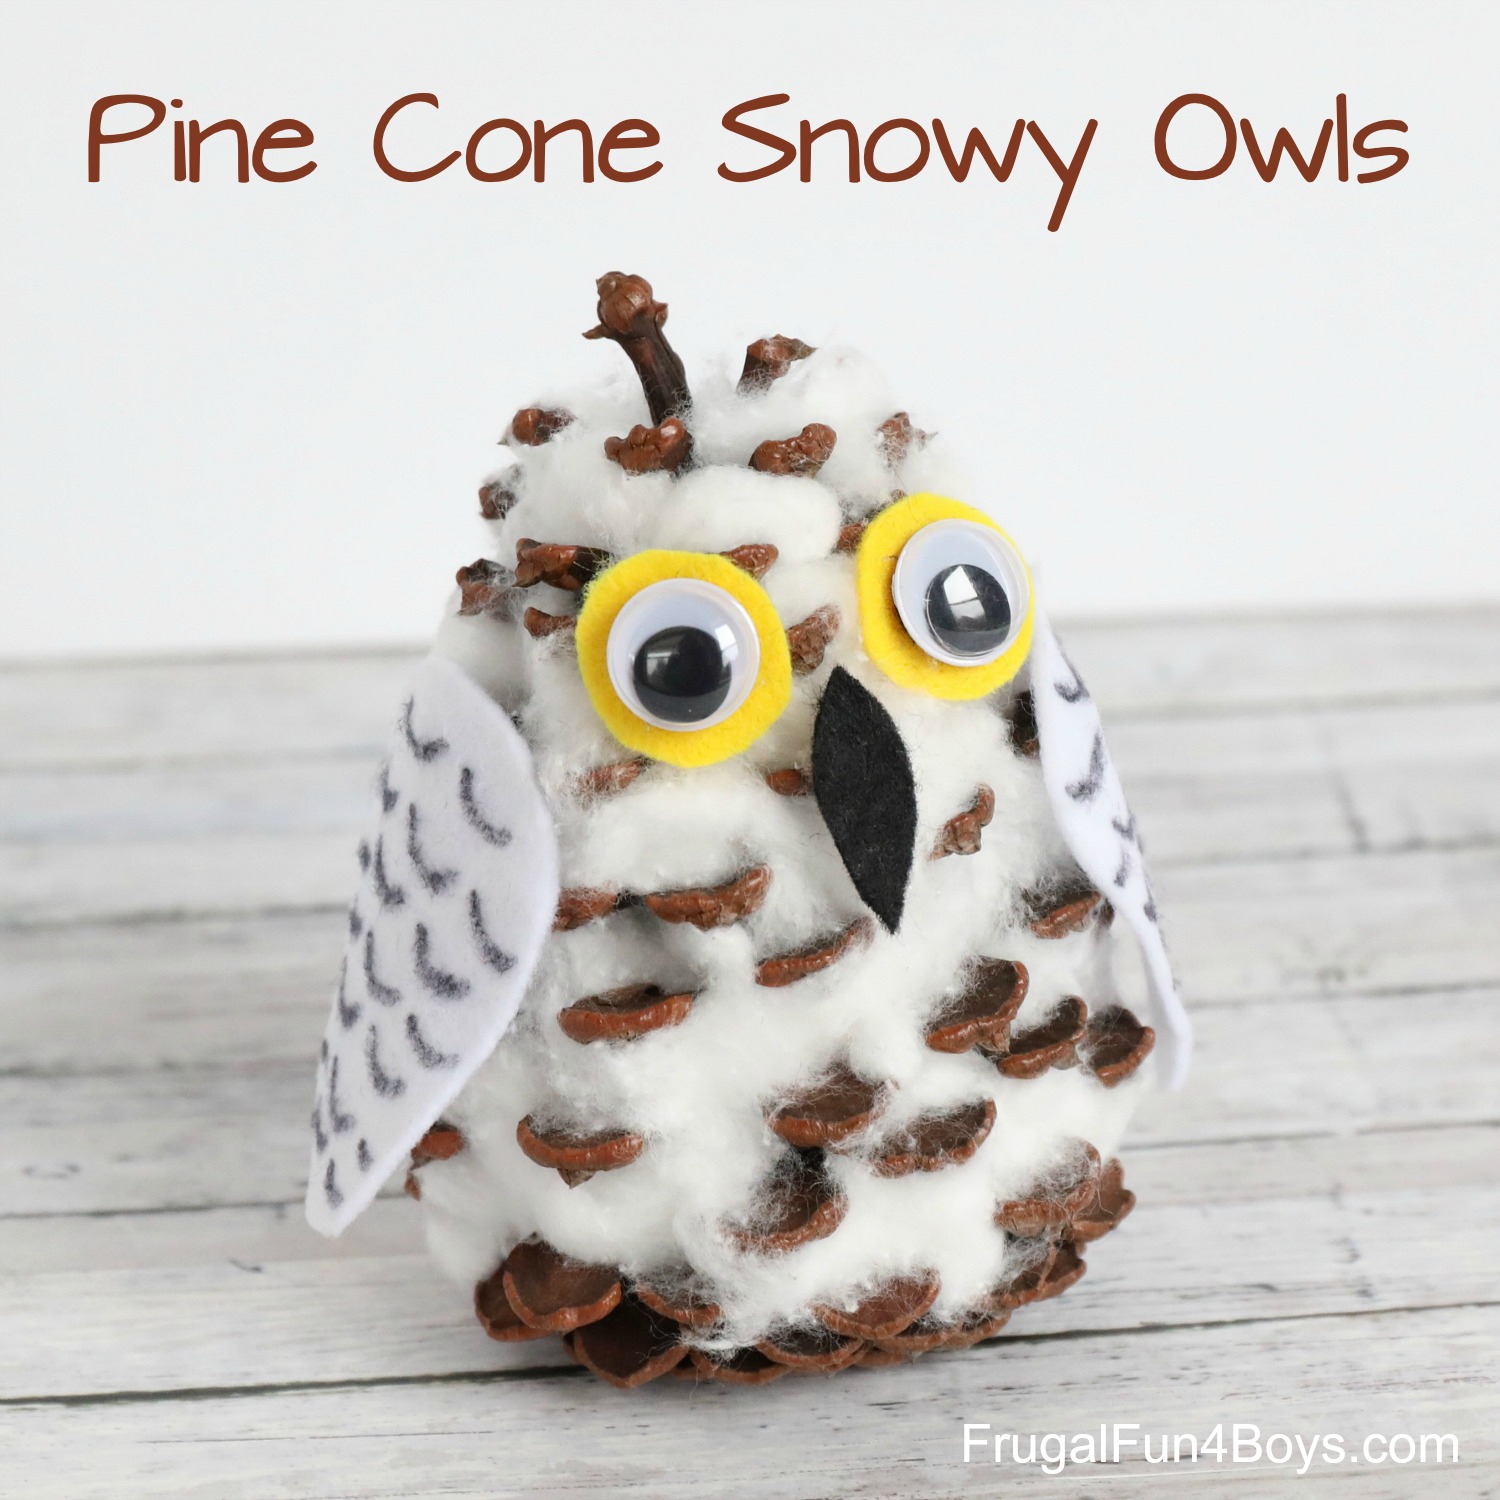
I also highly recommend this Pinecone Snowy Owl Craft. The process is really fun!
1 Comments
Carrie Jan 9, 2025
These are adorable! I plan on making them with my 2nd grade class.
What size buttons did you use? I will need to order some.
Thanks,
Carrie
Post a Comment