
Make a shooting star launcher! This is a simple toy that you can make with plastic cups, rubber bands, and a star that you can print at the bottom of this post. Adult help will be needed for younger kids, but my 4 year old had a blast launching this!
For each star launcher, you will need:
- Two plastic cups
- Two rubber bands
- Scissors
- Duct tape or other strong tape
- Scotch tape
- Star printable, or draw your own
- Crayons
Step 1: Color the star.
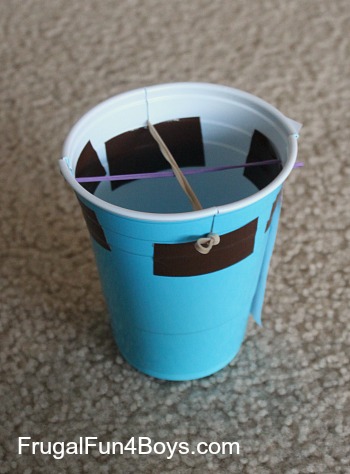
Step 2: Cut four small slits in one of the cups, one on each side. The slits should only be an inch or two long, but once you cut, it’s hard to keep the slits from growing! We used duct tape to stop them from ripping further.
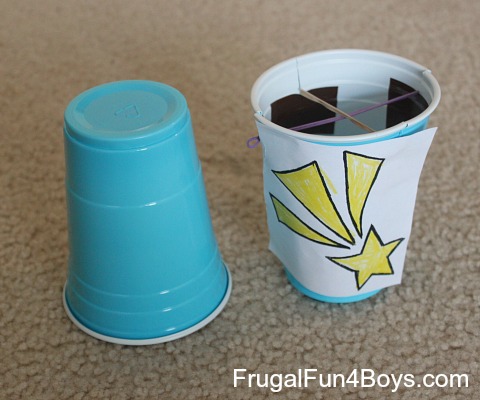
Step 3: Cut both rubber bands so that you have a long piece instead of a circle. Tie a knot in each end. Then, slide the rubber bands into the cup slits as shown. Tape the star onto this cup.
Step 4: You’re ready to launch! To launch your shooting star, push the star cup down on top of a plain plastic cup, and then let go!
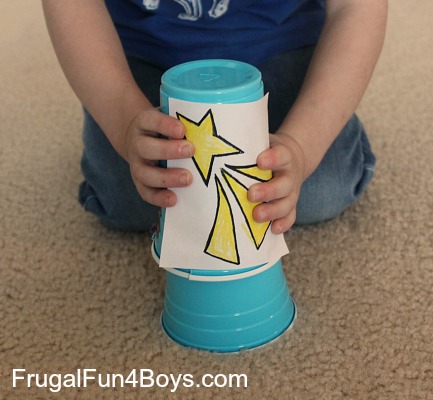
(I’m not sure what Owen was thinking about during this picture?)

Click below to print the star – there are two designs to color and cut out!
More fun ways to play:
6 Comments
Veens @ Our Ordinary Life Dec 23, 2013
So FUN! Pinning this!
Julie @ Creekside Learning Dec 28, 2013
We tried this today! It was great. My 5-year-old loved it. Thanks, Sarah!
Lynne Scotland Jan 7, 2014
I have shared this link on our childcare educators page for all the little ones who just love to and are interested in throwing and launching things. Reckon it will be well used :) and the kids will love it. Thank you :)
Robbi Jan 8, 2014
Such a fun and simple project! Would be fun to make it into a rocket, too.
JANE NEW Feb 18, 2014
It's fun for my 3 yr boy!
house foundation ottawa Mar 19, 2014
"Say, you got a nice article.Many thanks again. Fantastic."
Post a Comment