
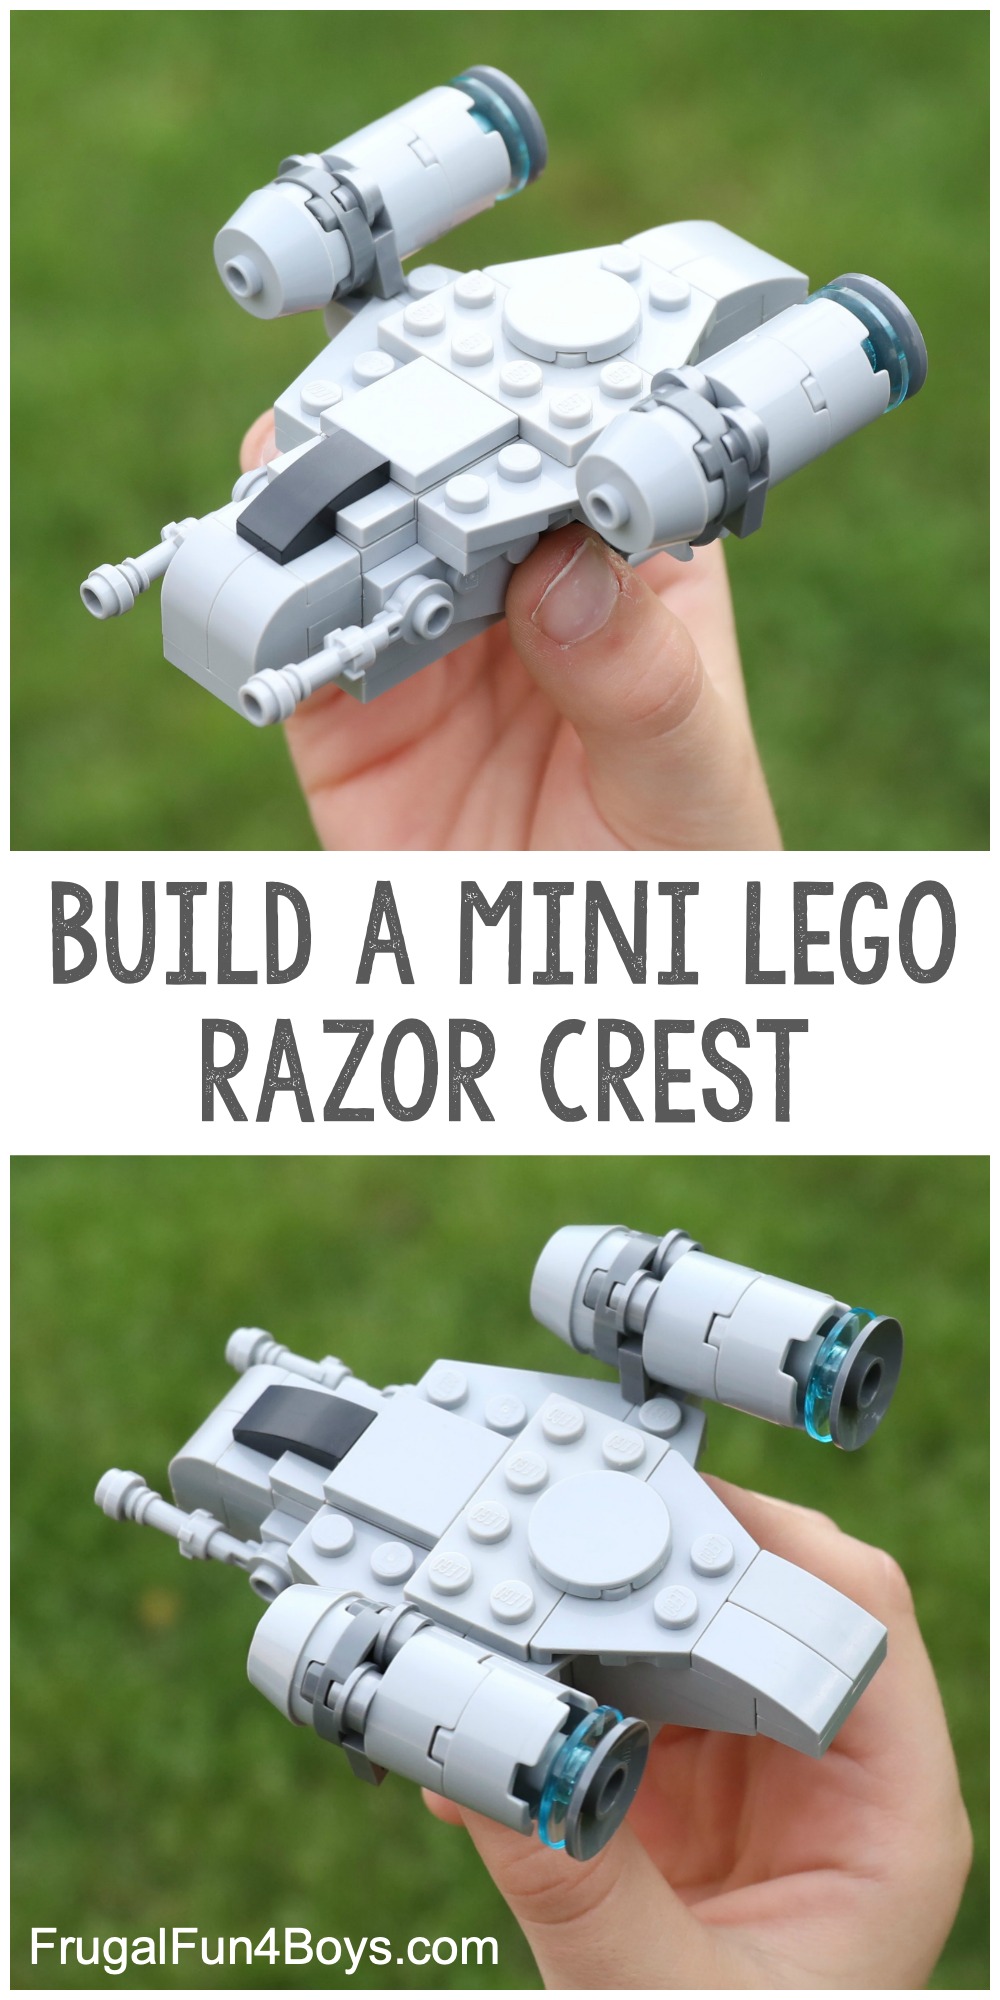
My kids have really enjoyed the new Mandalorian series on Disney Plus. In fact, we’ve already built a LEGO Baby Yoda (the Child), which you’ll definitely want to check out. My 13 year old decided that we needed to design a mini Razor Crest, which is the ship that the Mandalorian flies. I thought it was a fabulous idea! The final design for this ship was the result of myself and both of my teen sons making tweaks and modifications. It’s not an easy ship to design! However, the finished product should be easy to construct with fairly easy to find bricks.
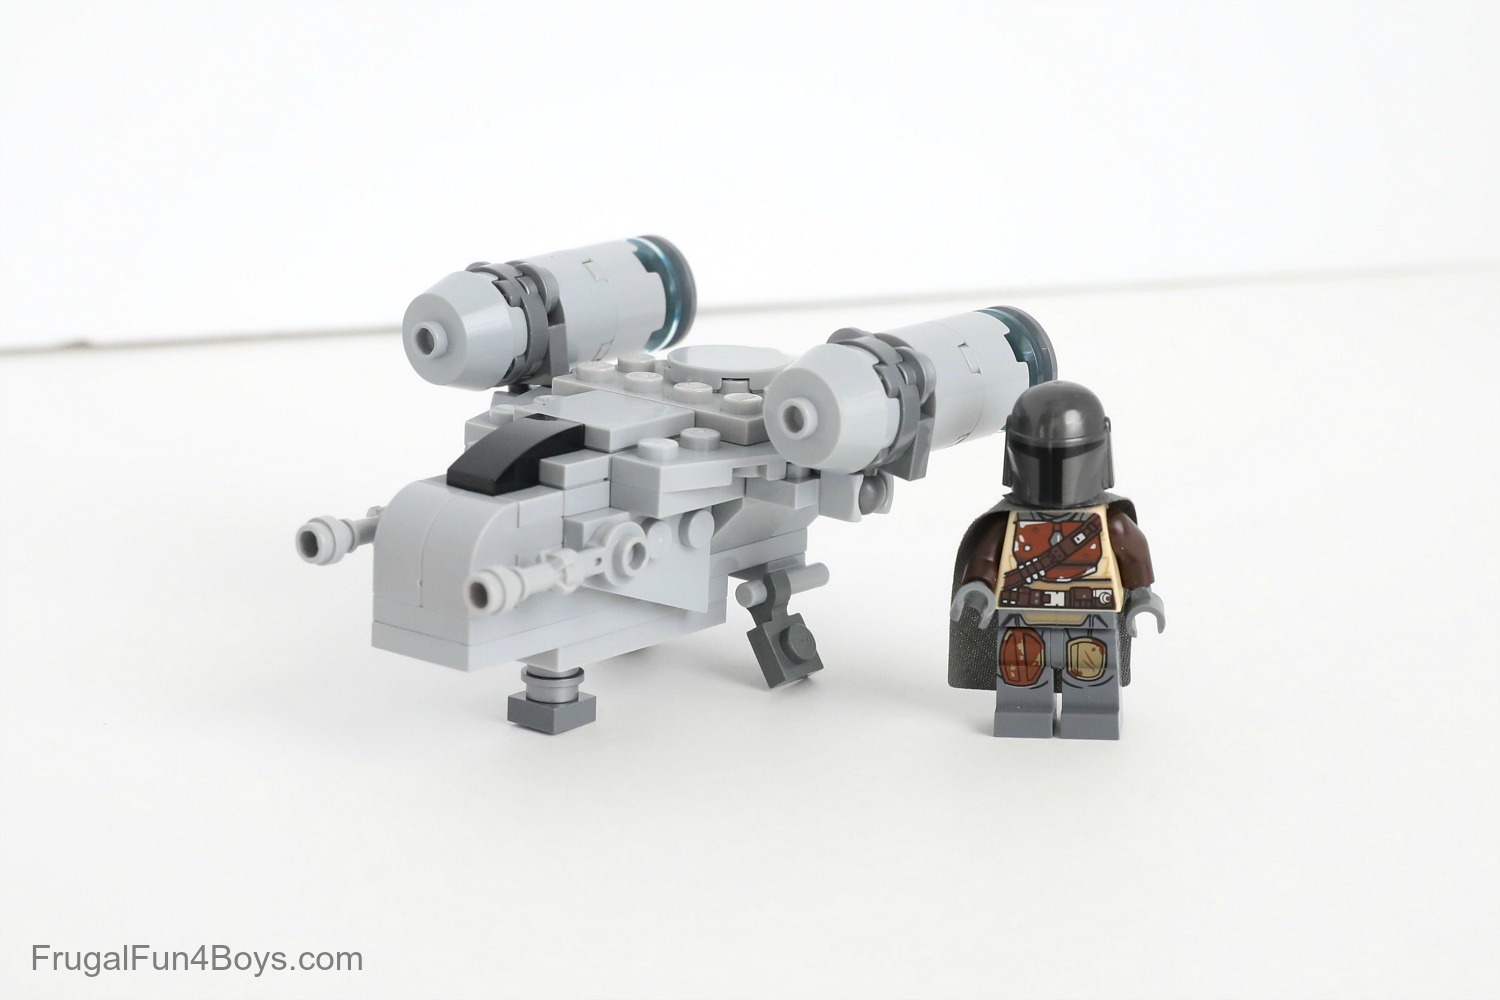
This Razor Crest is definitely mini size. I have the Mandalorian in this shot just for fun, but he certainly won’t fit in the ship!
We added landing gear to the bottom of the ship, which makes it look really cool. The back landing gear can fold up when the ship takes off.
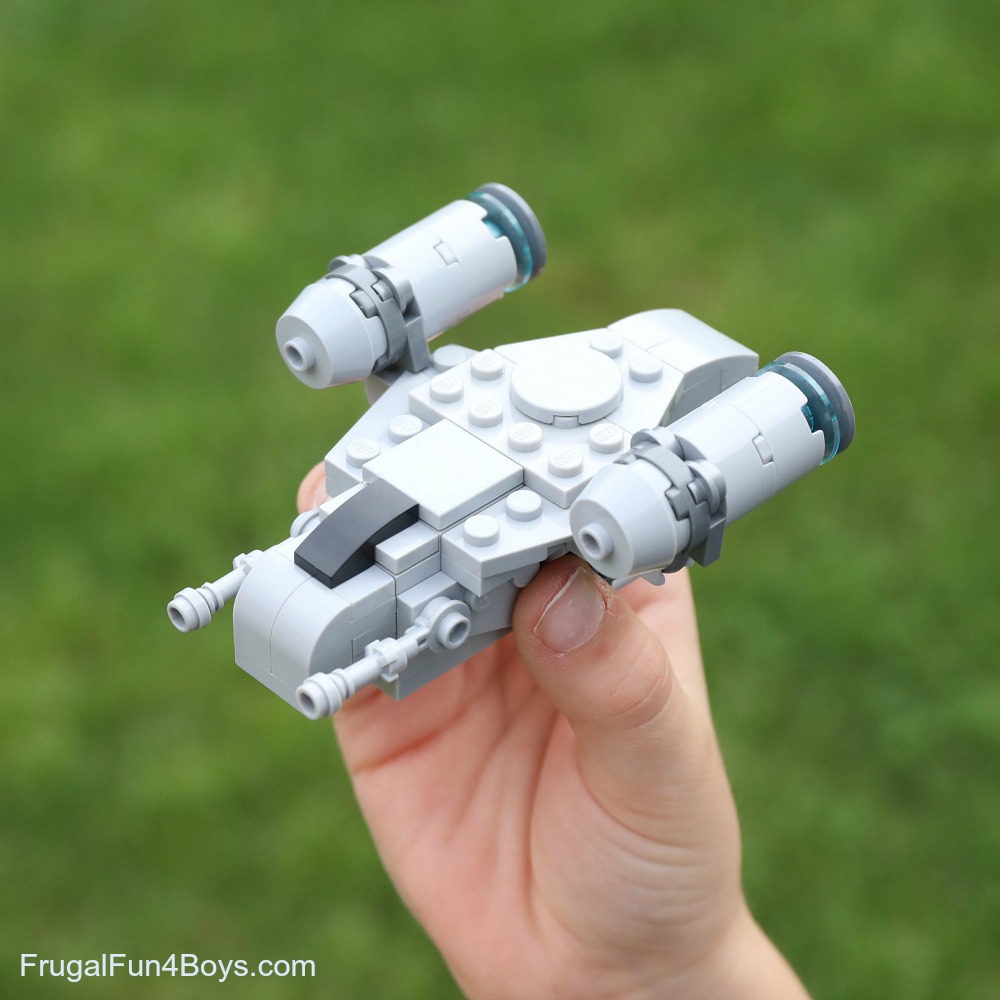
The shape was hard to achieve! We tried to find a balance between an accurate design and a realistic assortment of parts.
Once you finish building your LEGO® Razor Crest, it’s fun to build a scene for displaying it. We used a clear panel to hold the ship up and make it look like it’s flying.

Ready to build your own LEGO® Razor Crest?
Follow the instructions below.
Step 1: Start with a 2 x 8 light gray plate, a 2 x 6 light gray plate, and a 2 x 4 light gray plate. The 2 x 8 does NOT need to be a Technic plate with holes. That’s just what we had.

Step 2: Stack the plates as shown. The 2 x 8 plate is on top.

Step 3: Gather the bricks shown. There is one regular 1 x 2 brick, and two 1 x 2 bricks that have two studs on the side.

Step 4: Attach two 1 x 2 plates and two 1 x 2 bricks (with two studs on the side) to your stack of plates.

Step 5: Next, add a 1 x 2 brick, two 2 x 2 inverted slopes, and a 2 x 3 inverted slope.

Step 6: Add a jumper plate (a plate with one stud on top) on top of the two 1 x 2 bricks with a curved top.

Step 7: Gather the bricks shown for building the wings.

Step 8: Attach a 2 x 3 plate and a 1 x 2 jumper plate to a 2 x 8 plate.

Step 9: Then add two 2 x 3 wedge plates and a 2 x 2 plate. Note that the 2 x 3 wedge plates have a left and right orientation. You’ll need two of each for the wings.

Step 10: Flip the wing assembly over, and use a 1 x 4 plate to attach another 2 x 3 wedge plate on each side. The wedge plates are only attached with the 1 x 4 plates.

Step 11: Turn the wings back over. They should look like this.

Step 12: Attach two 1 x 2 curved slopes on the back so that they hang off by one stud. Then attach a 2 x 4 wedge plate and a 2 x 4 plate.

Step 13: Add a 2 x 2 round tile and a 2 x 2 tile. If you don’t have these exact pieces, substitute with whatever pieces you’d like to decorate the top of the ship.

Step 14: Flip the wings over one more time and add a 1 x 2 plate underneath the two 1 x 2 curved slope bricks.

Step 15: Grab the two sections of the ship and a 1 x 2 black curved slope.
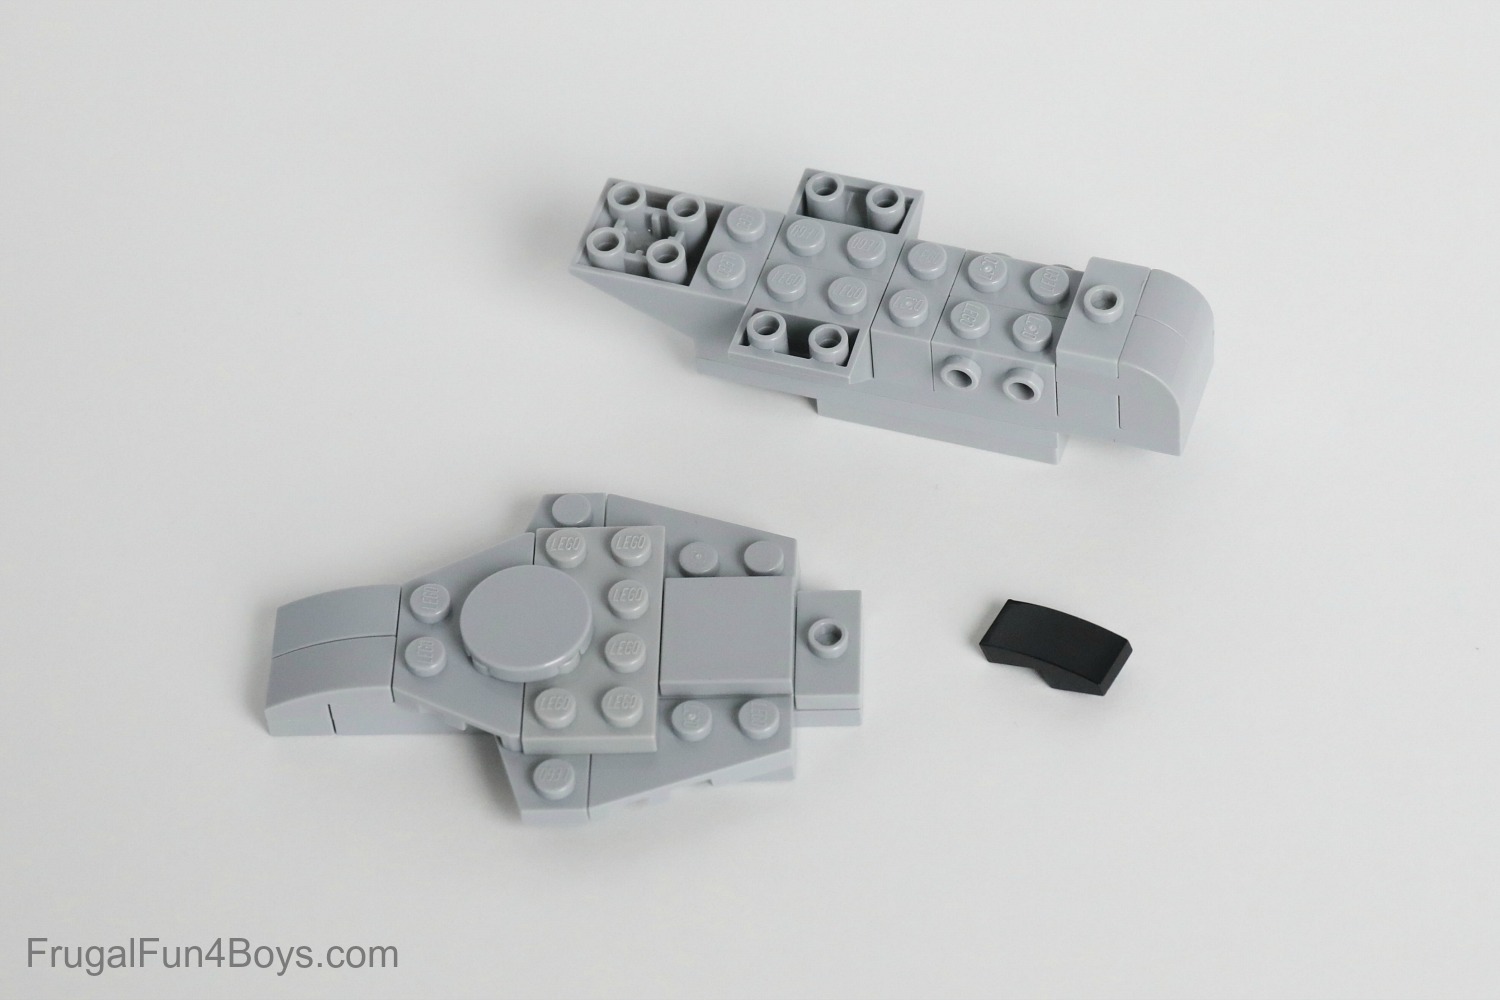
Step 16: Attach the wings to the top of the ship. Then attach the 1 x 2 black curved slope to the two plates with one stud on top.

Step 17: Gather the bricks shown for building the rocket engines. You’ll need two sets of the pieces on the right. A completed engine is shown on the left.

Step 18: Attach a 1 x 2 plate with a ball on the side and two 1 x 1 round plates to a 2 x 2 round brick.

Step 19: Then attach a 2 x 2 dark gray round plate. Place a 2 x 2 truncated cone on the top.

Step 20: The two finished engines should look like this.

Step 21: Attach the engines to the ship by attaching the 1 x 2 light gray plate with a socket on the side to the underside of the wings.

Step 22: Build some guns for the front of the ship. We used a lightsaber hilt and a bar with a round plate for each gun.

Step 23: Attach the guns to the side of the ship using the exposed studs.

Step 24: Build the landing gear. We used a 1 x 2 plate with two bars and two 1 x 1 plates with a clip. For the front, we used two 1 x 1 round plates and a 1 x 1 plate.

Step 25: Attach the landing gear to the underside of the ship, and your Razor Crest is complete!

Want more awesome LEGO project ideas?
Kids will enjoy building this cute LEGO Baby Yoda.
Build a LEGO Air Hockey Game that really works!
Make some awesome LEGO mosaics with these Printable Star Wars Building Cards.

4 Comments
Mason Apr 16, 2020
I absolutely love it!!!!!!!!
logan May 19, 2020
it's awesome (the razor crest)
Skye Nov 24, 2020
I love it it I so cool
Gracyn Dec 28, 2020
I love it!! It's so cool!!
Post a Comment