
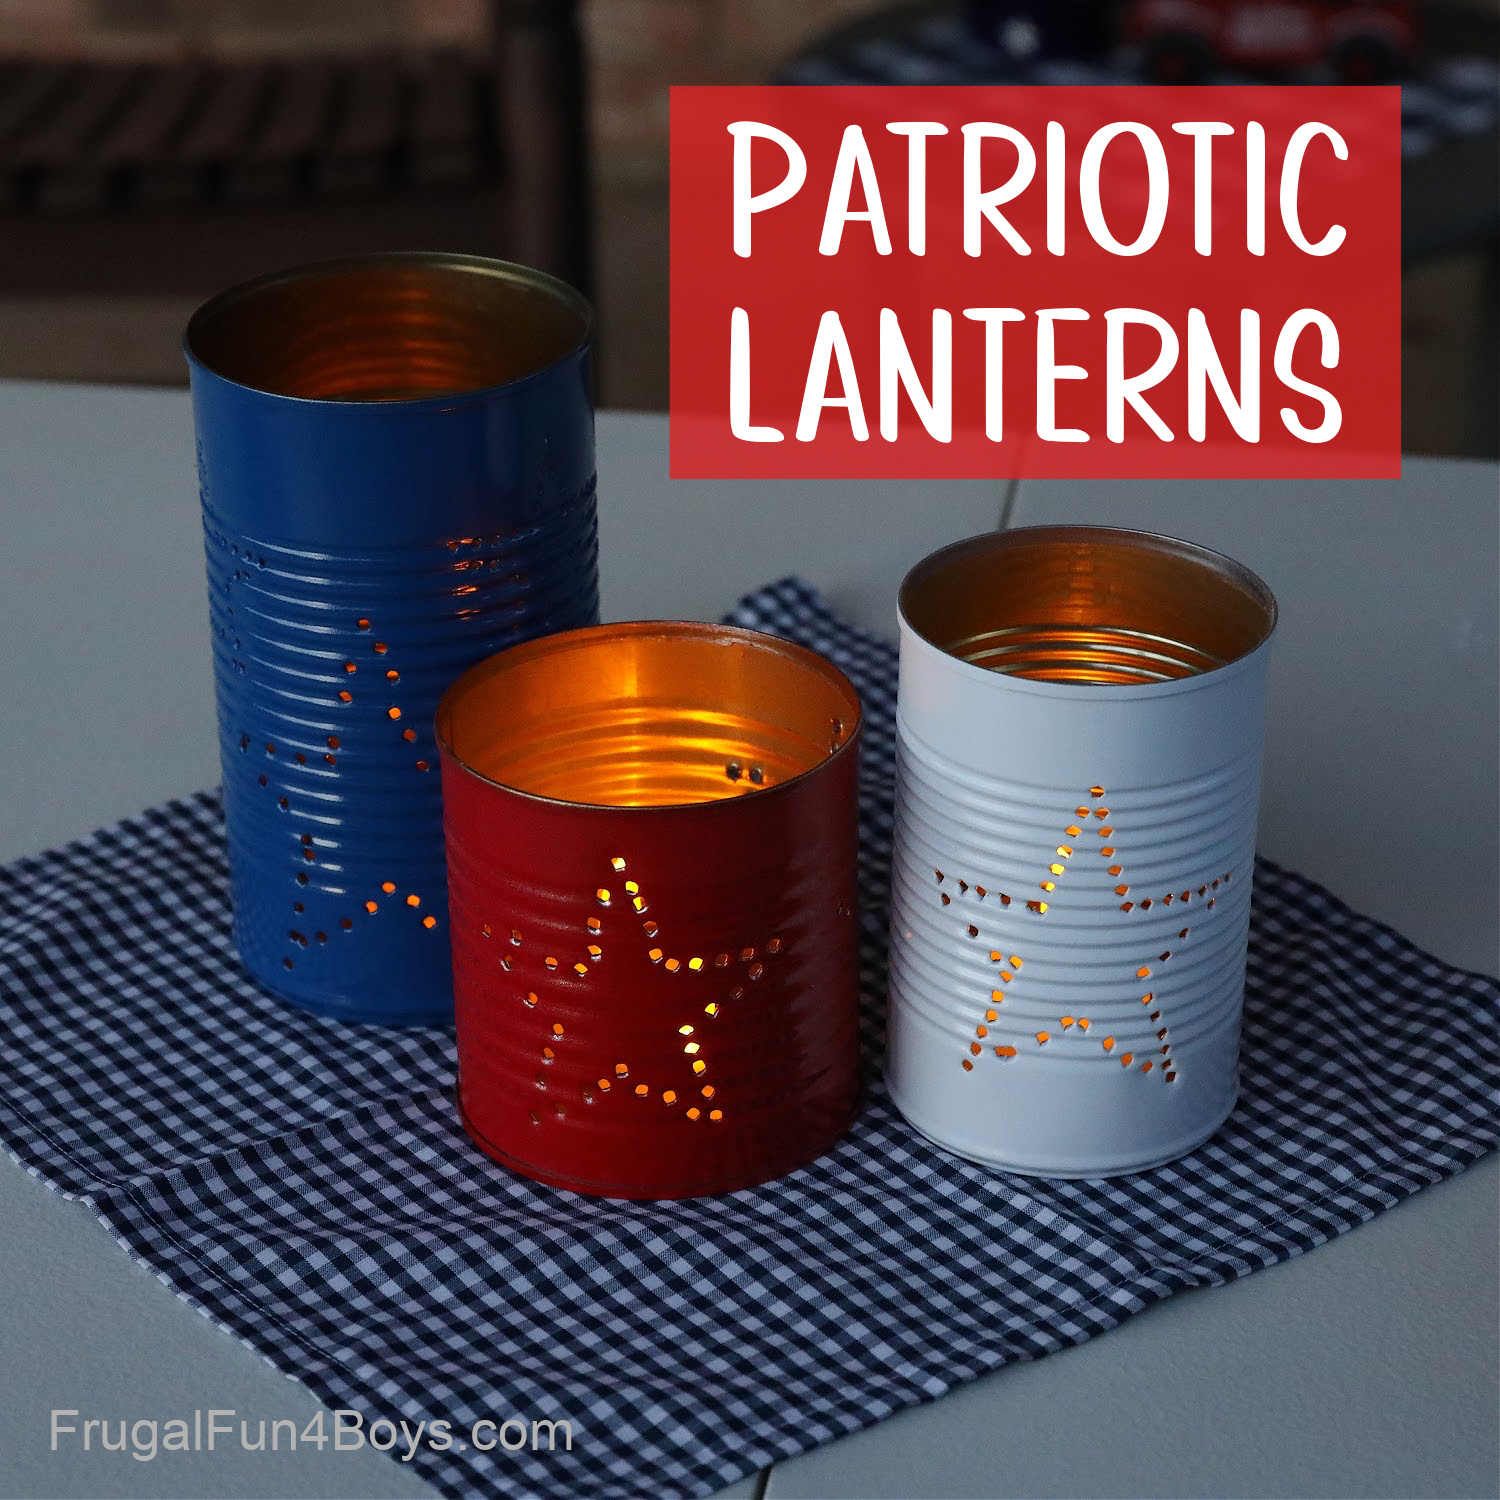
Grab some tin cans and make the cutest patriotic lanterns! This is a super fun 4th of July craft that kids will have a blast creating. And the finished lanterns look fabulous. They are perfect for decor at a July 4th cookout or picnic.
We decorated our lanterns with stars and painted them with patriotic red, white, and blue.
This is a great project for kids age 8 and up (or so), with adult help. They’ll need to be able to use a hammer and nail to poke holes in the cans.

We’ve made tin can lanterns in the past, but it has been a long time. Back in 2014, we made these Star Wars tin can lanterns. Jonathan and Janie were babies then, but this time they were old enough (age 8 and 10) to make their own lanterns.

Supplies Needed for Patriotic Tin Can Lanterns
- Clean, empty cans – any size
- Hammer
- Nails
- Water (you’ll see why in a minute…)
- Towel
- Spray paint
- Battery powered tea lights OR tea light candles
NOTE: It doesn’t work well to hammer on empty cans!
In order to poke holes in the cans, you’ll need to fill them with something.
If you try to drive a nail into an empty can, it will be difficult because there isn’t much resistance. You’ll also dent the can.
The two best options are to either fill your cans with wet sand and freeze them, or fill them with water and freeze.
We used frozen wet sand when we did the Star Wars lanterns. This time we used ice. Either one works, but I think I prefer the sand. It was a VERY hot day when we made our patriotic cans, and the ice melted quickly! We also had trouble with the ice breaking into chunks and falling out of the can. Then we were trying to hammer on empty cans. But it’s not like you can just fill them back up and freeze them again… because if you’ve already punched some holes, the water will just run out of the holes!
Now that we have that out of the way, let’s make some tin can lanterns!
Step 1: Fill your cans with wet sand or water and freeze.
Step 2: Choose a picture for your lantern. We made several different sizes of stars on PowerPoint and printed them out. Then we taped them to the cans.

Step 3: Use a hammer and nail to poke holes in the can. It helps to place the can on top of a towel to keep it from sliding around.
TIP: You don’t want to use a huge nail because your holes will be too large and your picture will be less detailed. But a tiny nail is very hard to hold onto. In the photo above, the nail on the left worked MUCH better than the small nail on the right.
If it’s hot and humid like it was for us, the paper will get soggy and wet. We just kept going, and it turned out okay! The wet paper sticks to the can, so you won’t lose your picture.

Step 4: Remove the paper and look at your star!
Then make more tin can lanterns! We used different sized cans and different sized stars. A couple of our cans have more than one star on them.

Step 5: Spray paint your cans.
We used large lawn bags cut apart as a surface for spray painting.
My husband saw this tip online, and it’s the BEST. Put something under your cans to boost them up. Then they won’t stick to the paper! We used soda cans (full cans). Empty cans will tip over easily, but you can always use empty cans with some water or sand in them for weight.

Let the paint dry, and you’re ready to display your lanterns! So adorable!

Light up your lanterns with either battery powered tea lights or tea light candles. Real candles will give a brighter light and make the lanterns look better, but keep in mind that the cans will get hot.
We used battery powered tea lights in the photos. I put two lights in the tall can.

Have a fun 4th of July!
Need more patriotic craft ideas?
These Patriotic Flag Cupcakes are so simple to make – topped with blueberries and strawberries!
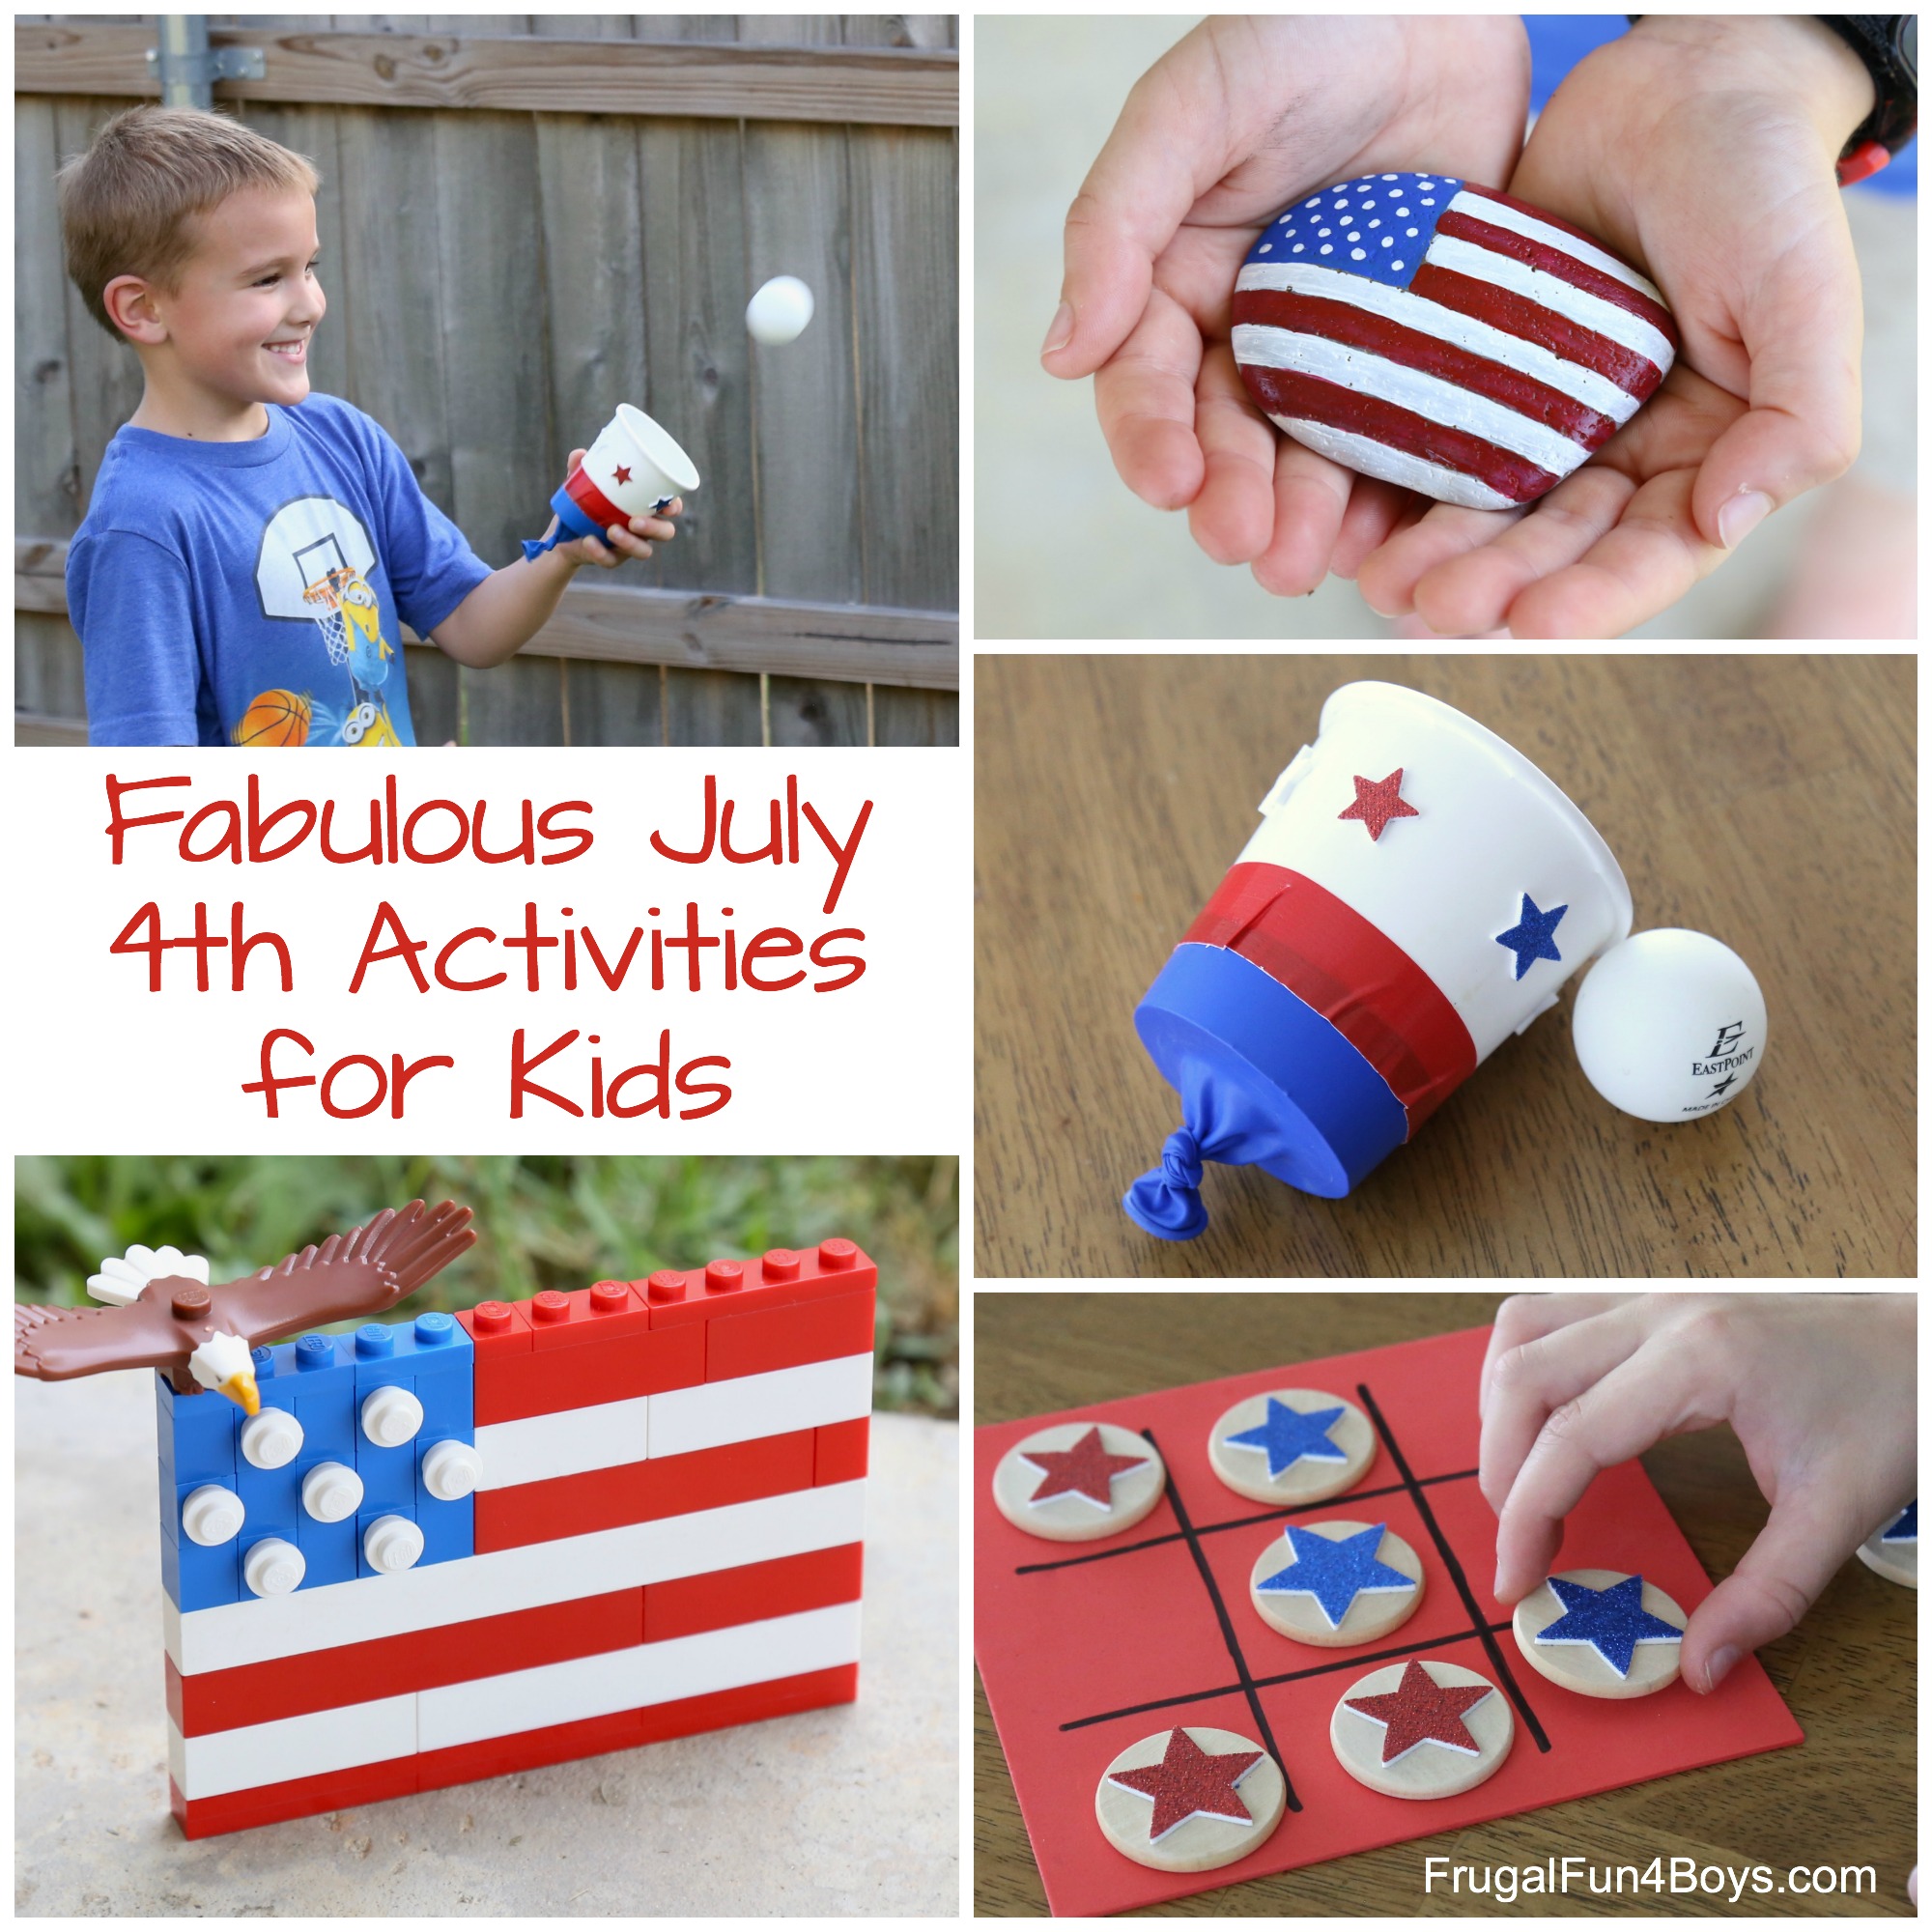
And here are more Fun July 4th Activities for Kids.
3 Comments
Floriana Brindle Jun 28, 2022
Good idea! My boys will love this project
Amy Tarvin Jul 5, 2022
Such a cute idea! We saved our cans and froze them. Where did we go wrong? They bulged on the bottom. We still want to make them as a fun craft. What do you suggest?
Sarah Sep 24, 2022
Oh! I should have mentioned this in the post. Ours bulged too, and we just used a hammer to make the bottom flat again.
Vickie Jun 25, 2025
I made these with my grandkids ages 10 and 11. They loved it! They got creative and made other designs as well. (I had extra cans ready in case of a "fail" but that didn't happen.
Thanks for sharing. Your posts are always fun, inexpensive and creative!
Post a Comment