
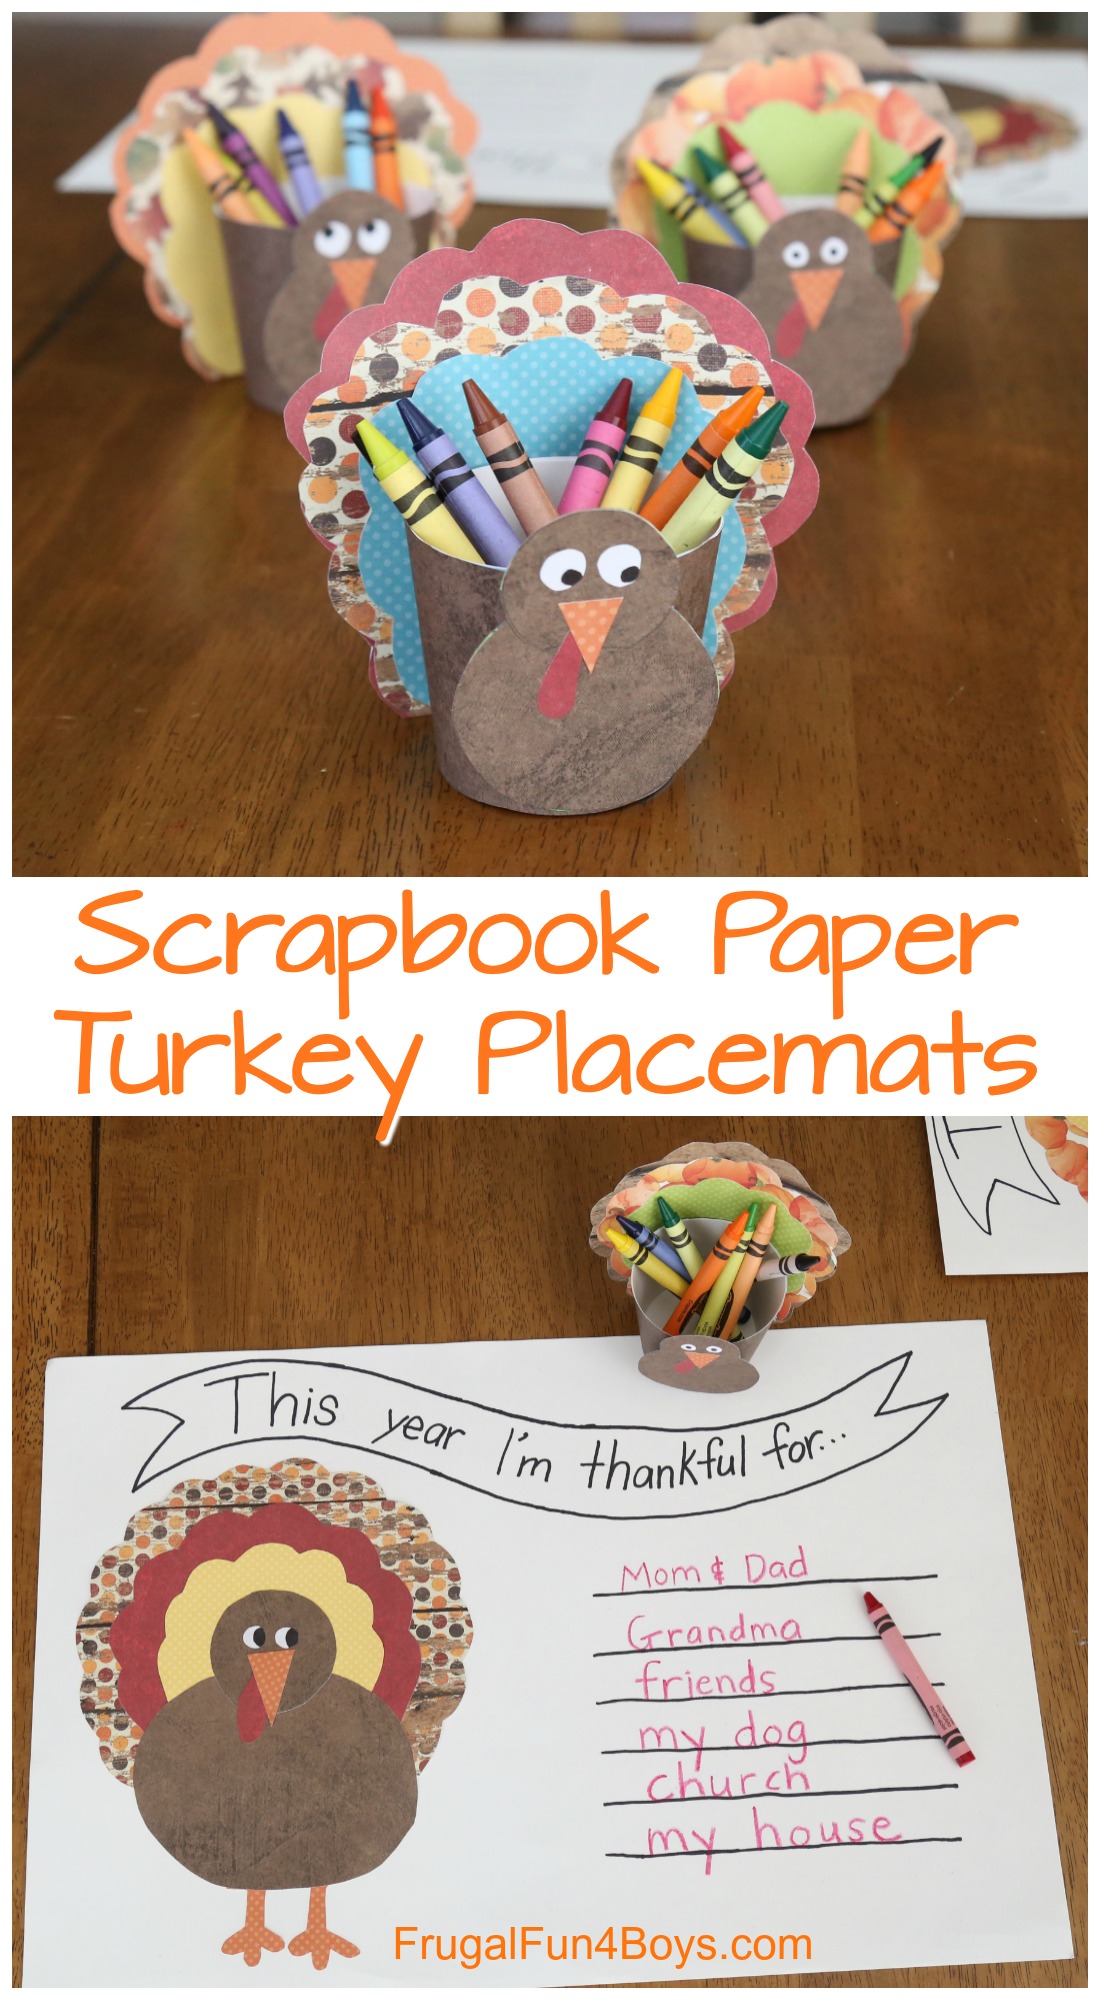
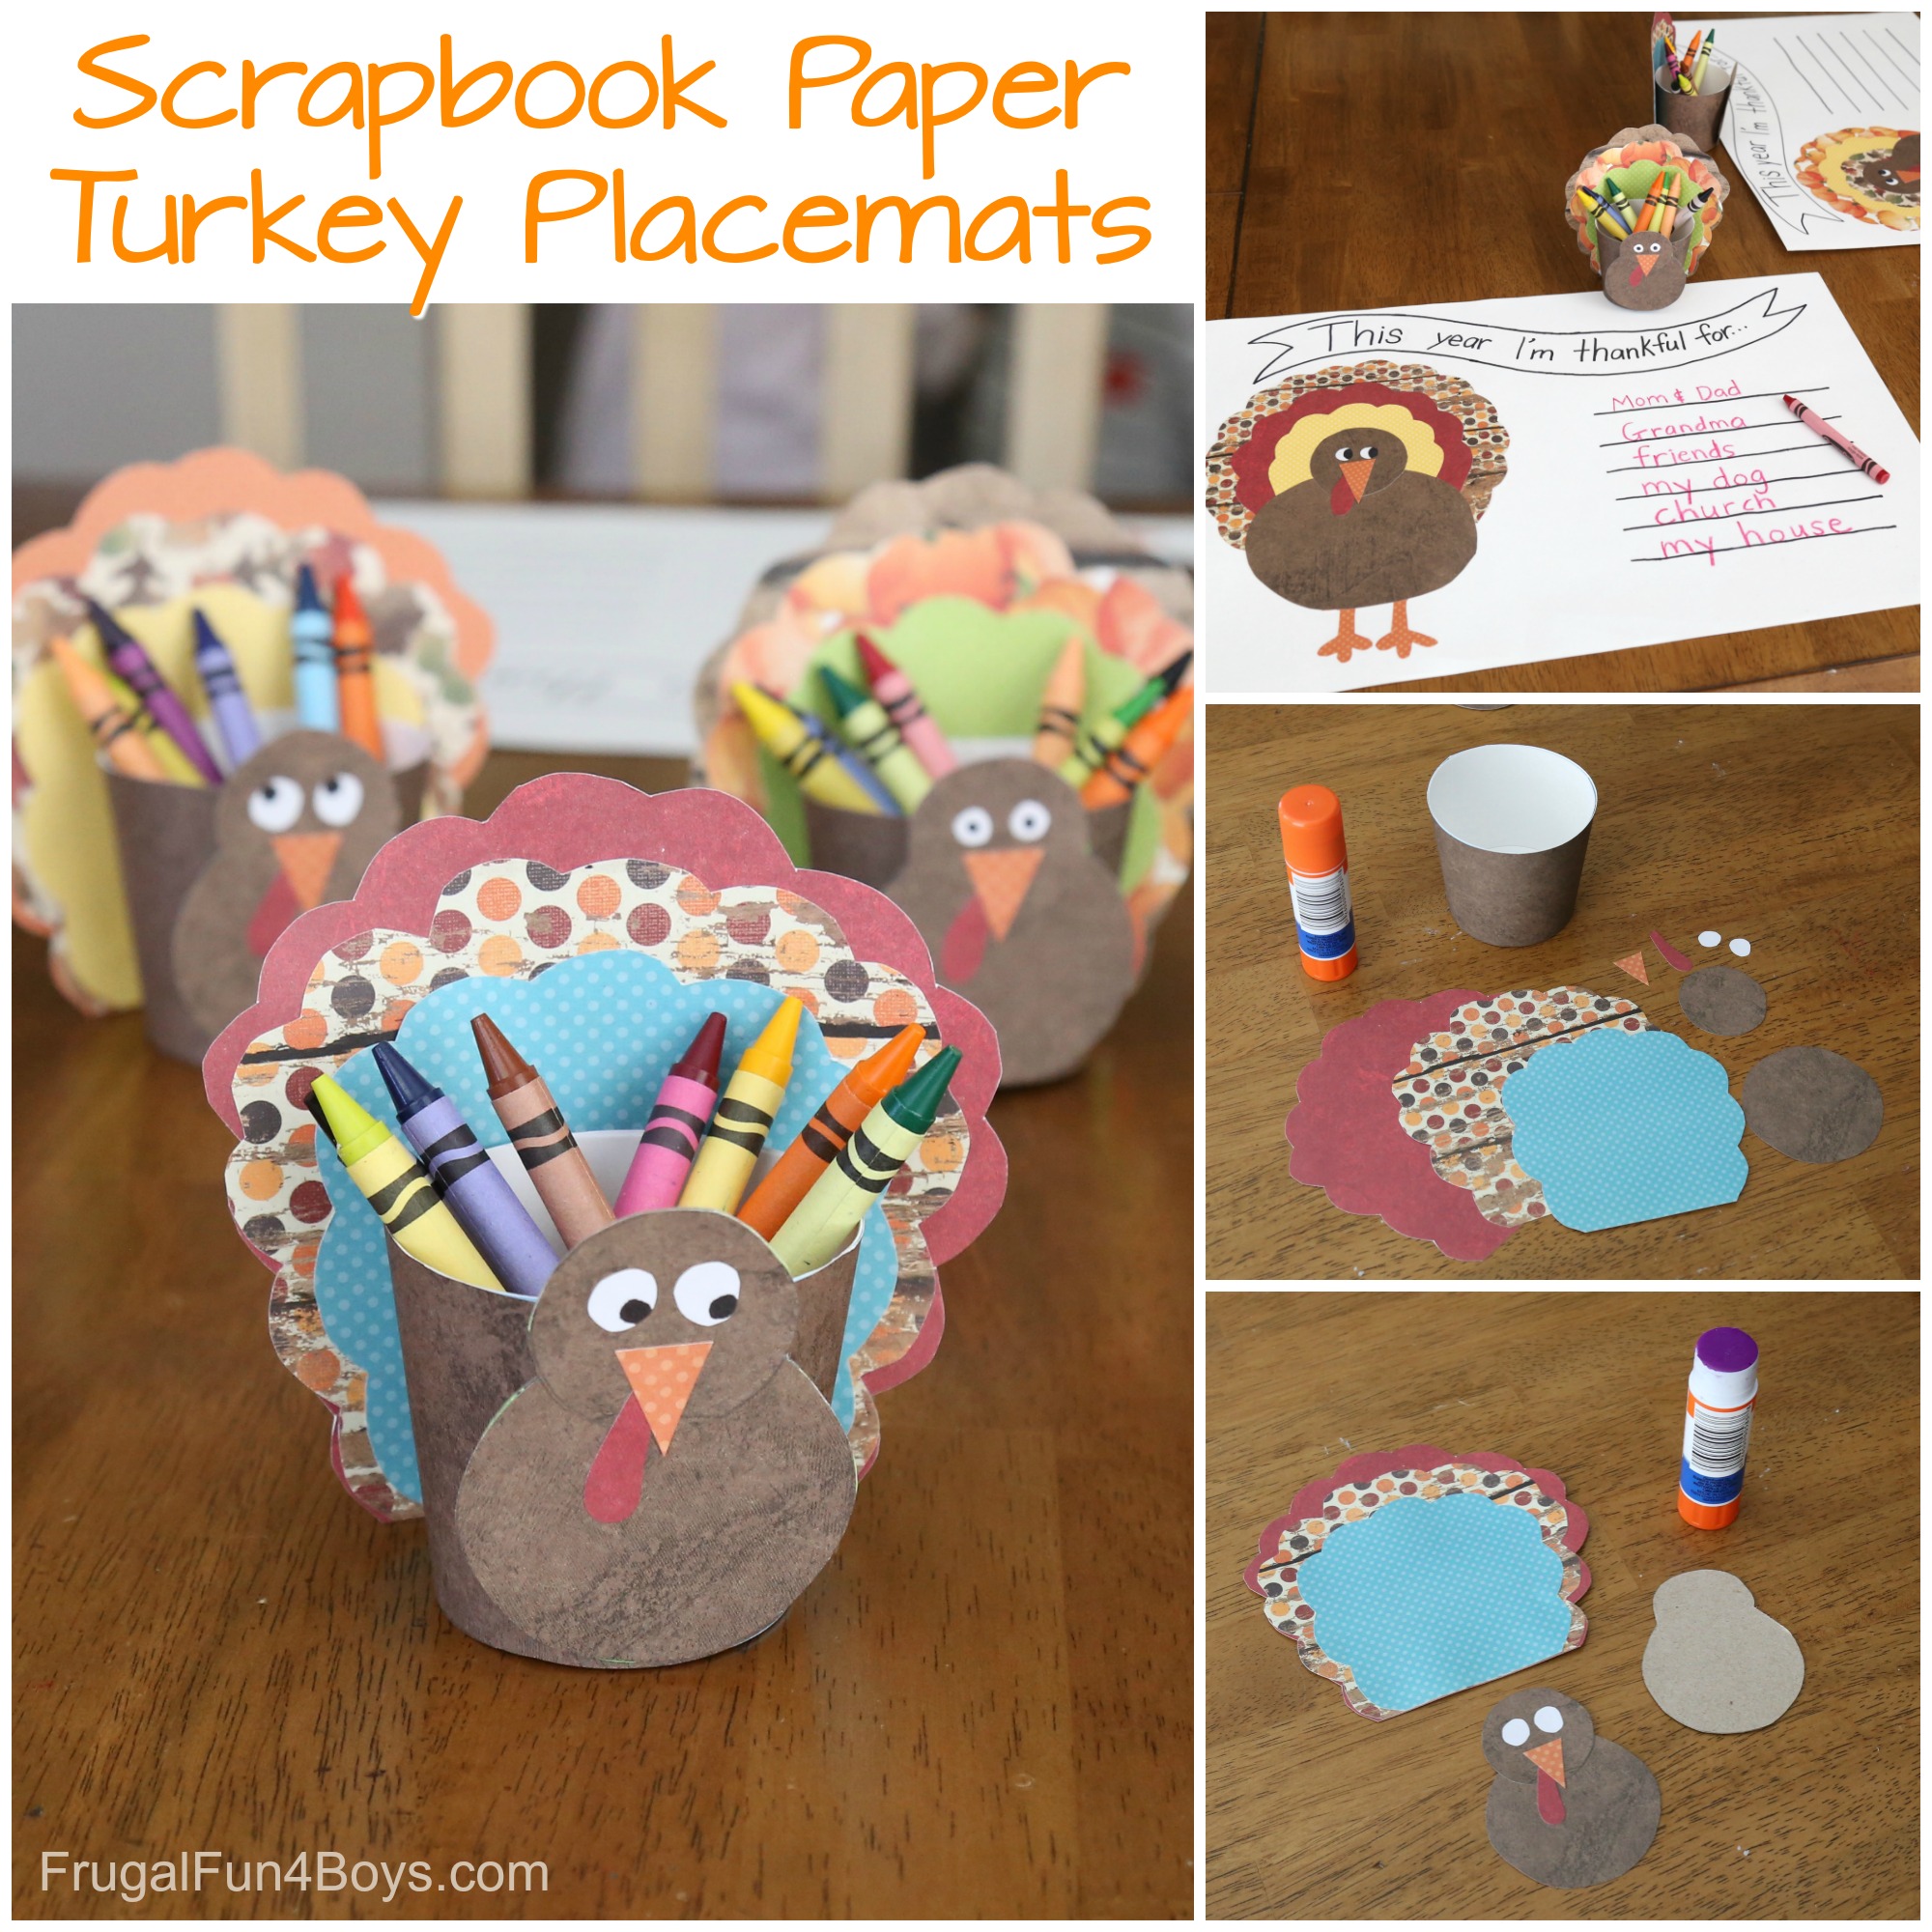
Make your Thanksgiving dinner table look adorable and festive with these turkey crafts! Scrapbook paper might be one of my new favorite crafting materials. There are so many fun colors, patterns, and designs.
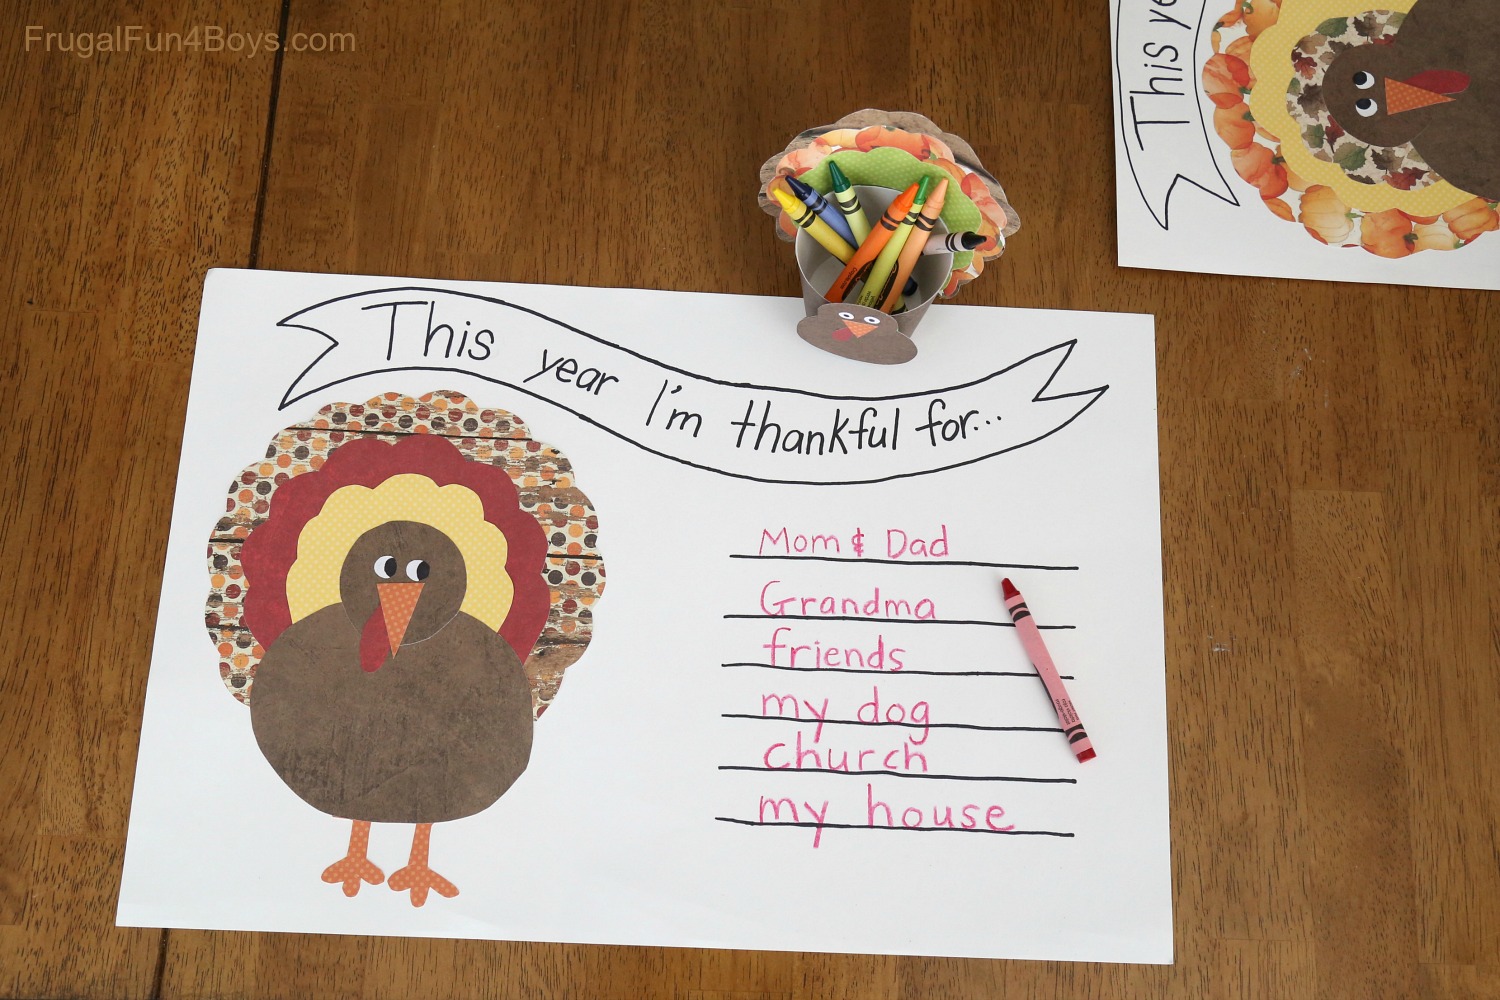
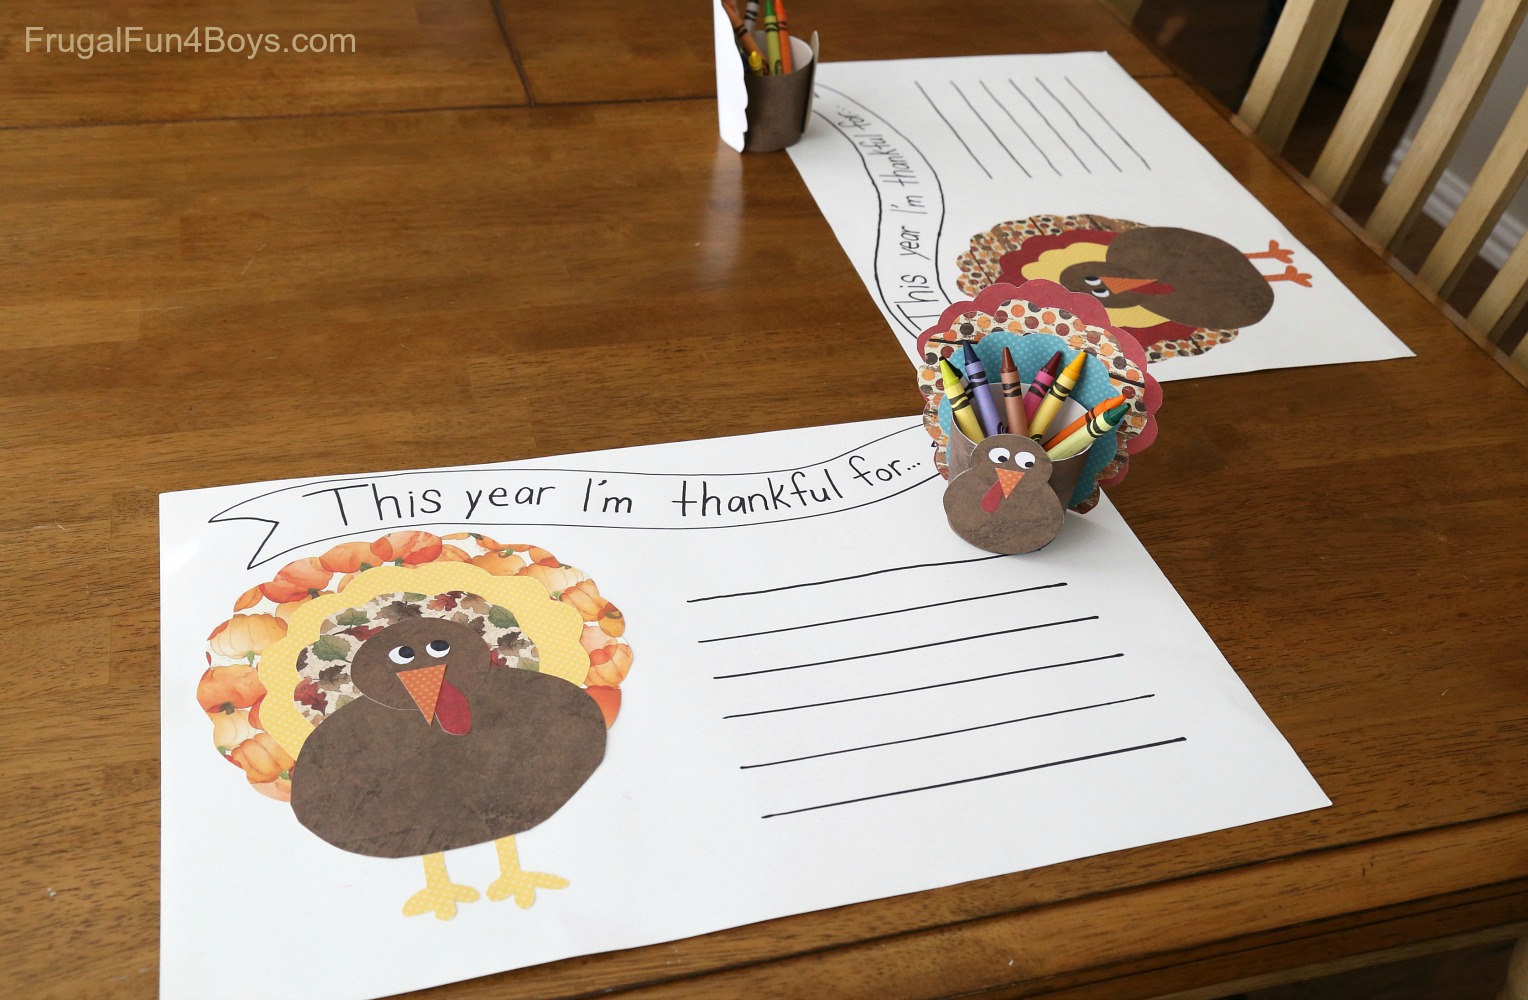
Kids can write directly on the paper placemats. Draw lines so that they can list things they are thankful for, or leave the space open for doodles and drawings. Make these with kids, or prepare them yourself to have at the children’s places for the Thanksgiving meal.
Print a pattern for all the pieces at the bottom of the post.
How to Make the Crayon Holders
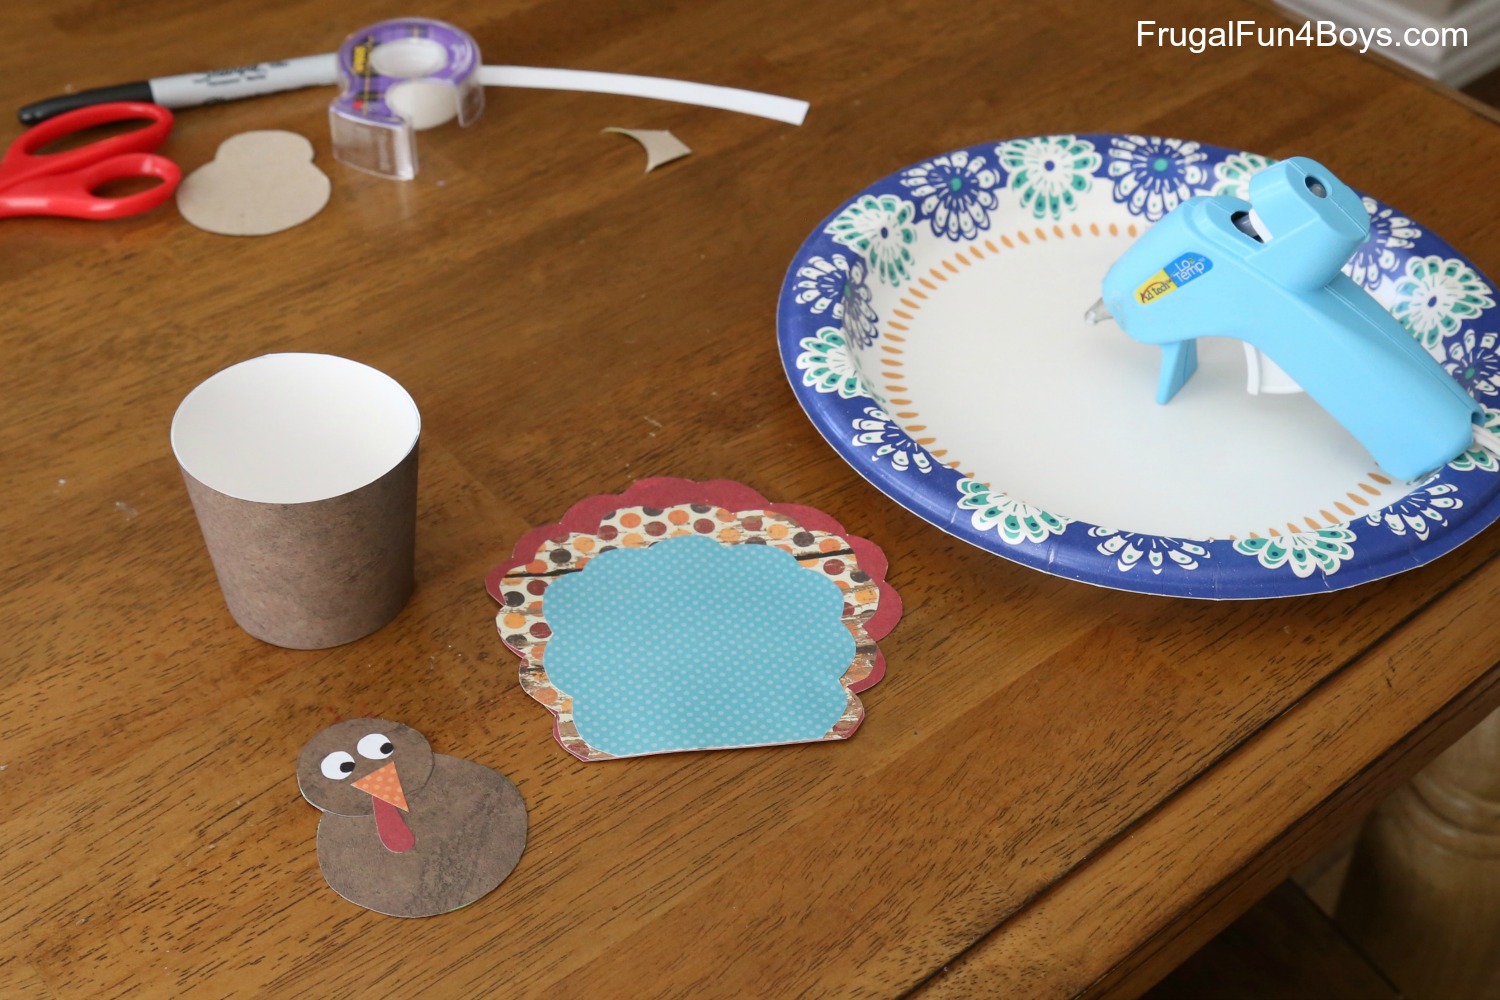
The crayon holders are made from paper cups. I cut the cups down to the height I wanted. Then I cut a piece of scrapbook paper to wrap around each cup.
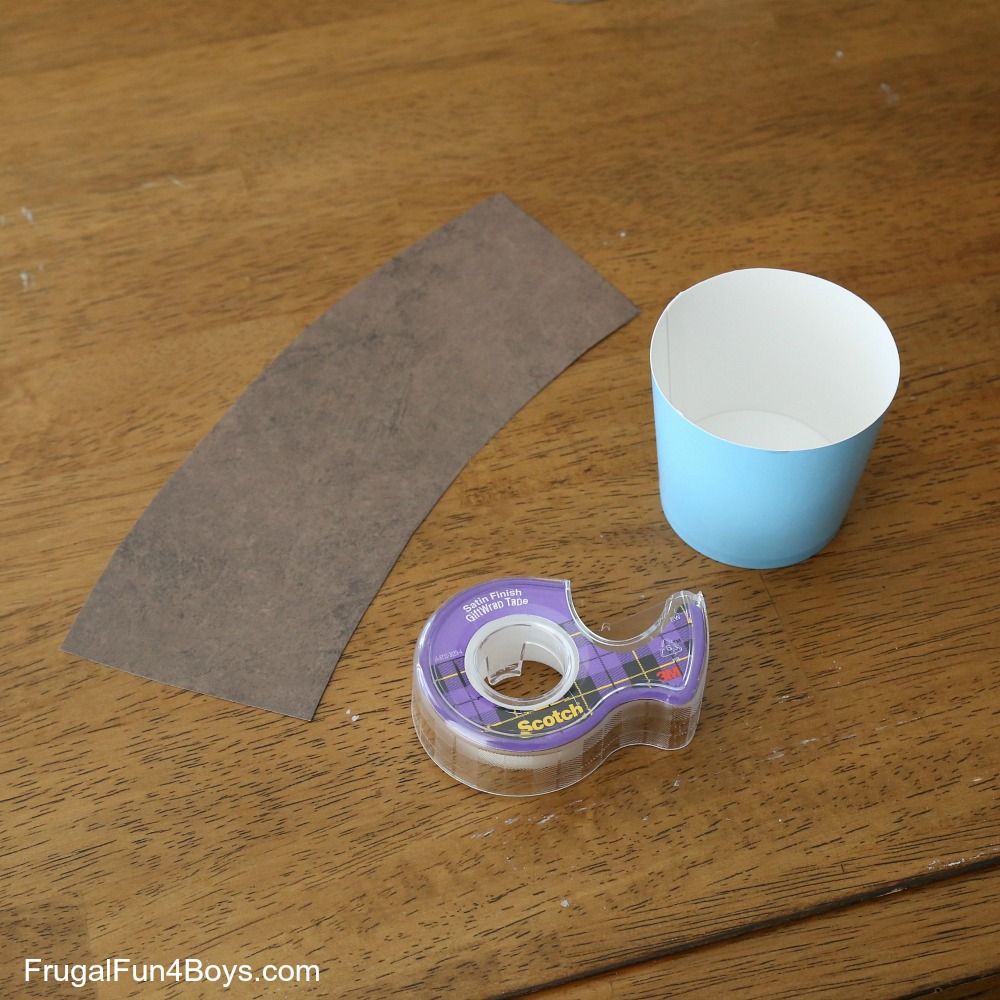
In order to get the scrapbook paper to lay nicely, you’ll want to cut it in a curved shape. The best way to do this is to trace the piece that you cut off the top of the cup. I needed to add a little height to mine to make it tall enough to cover the bottom of the cup.
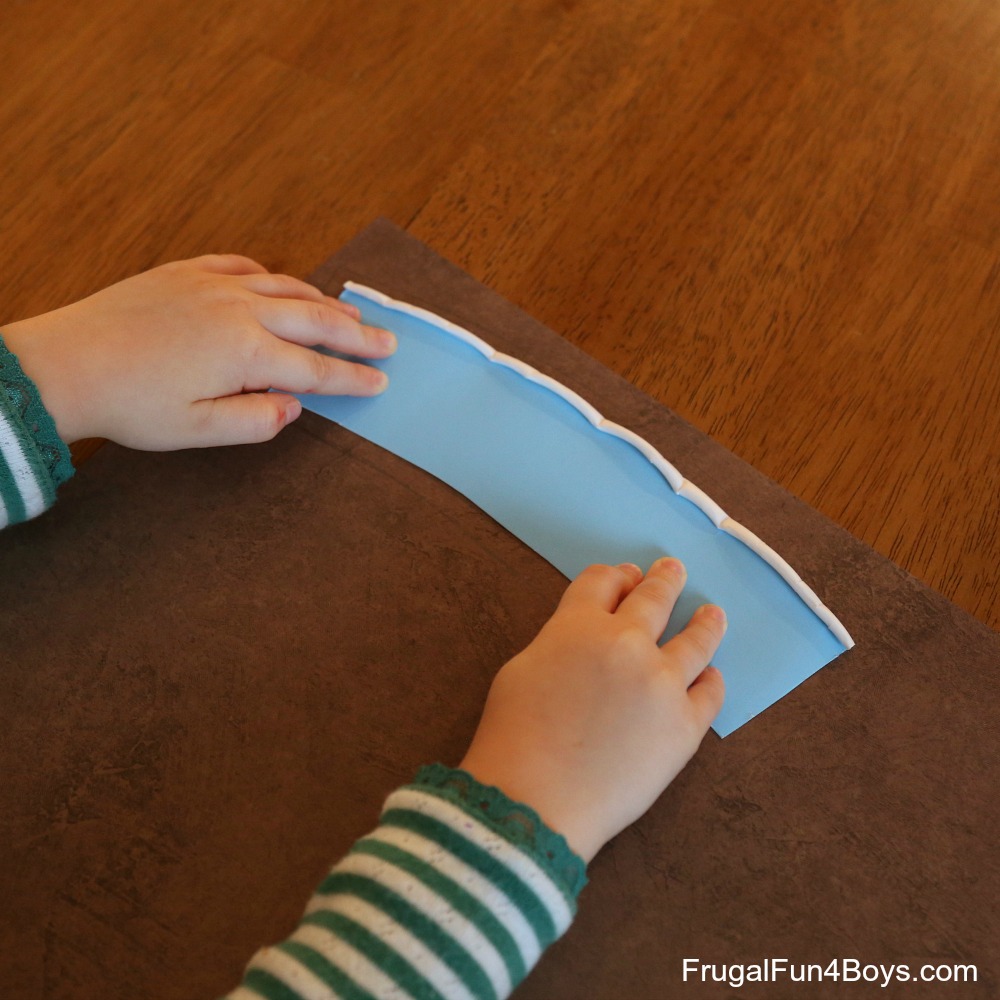
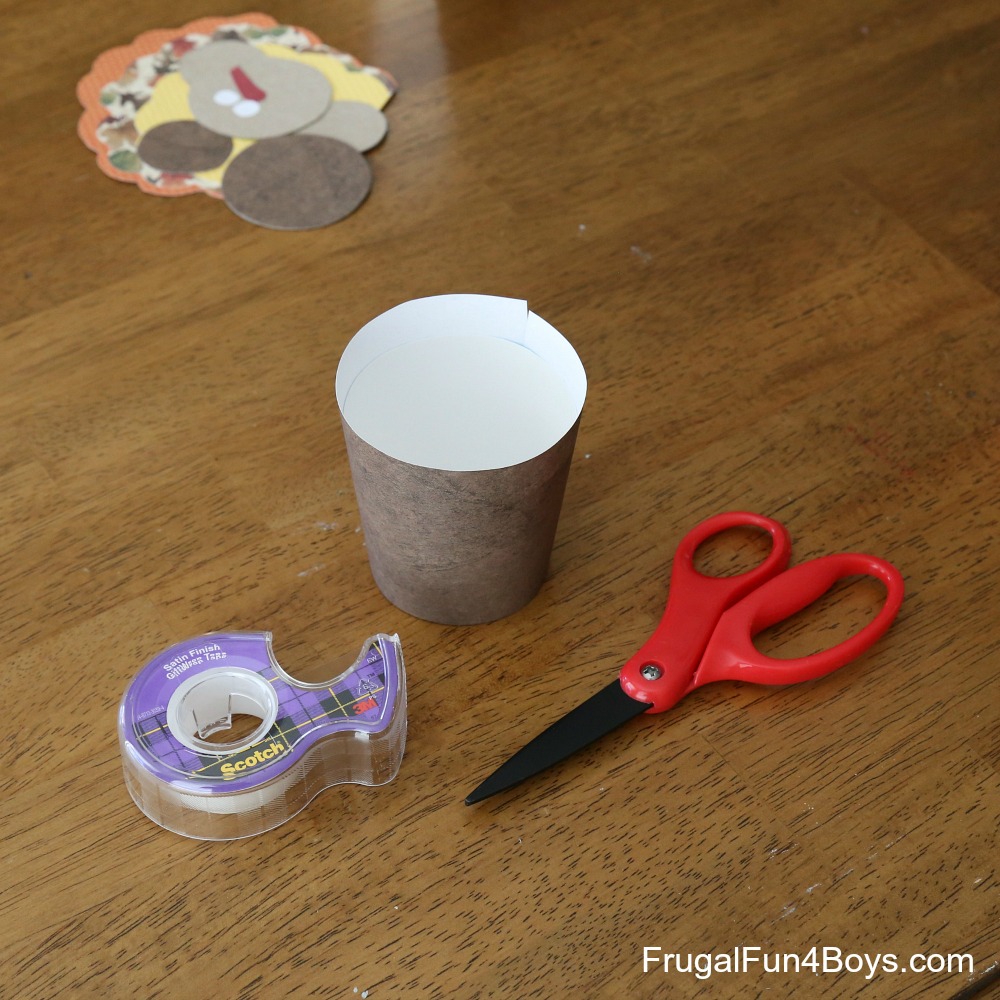
Wrap the paper around the cup and tape it in place. You may need to trim off some excess paper at the top, unless you cut yours better than I did.
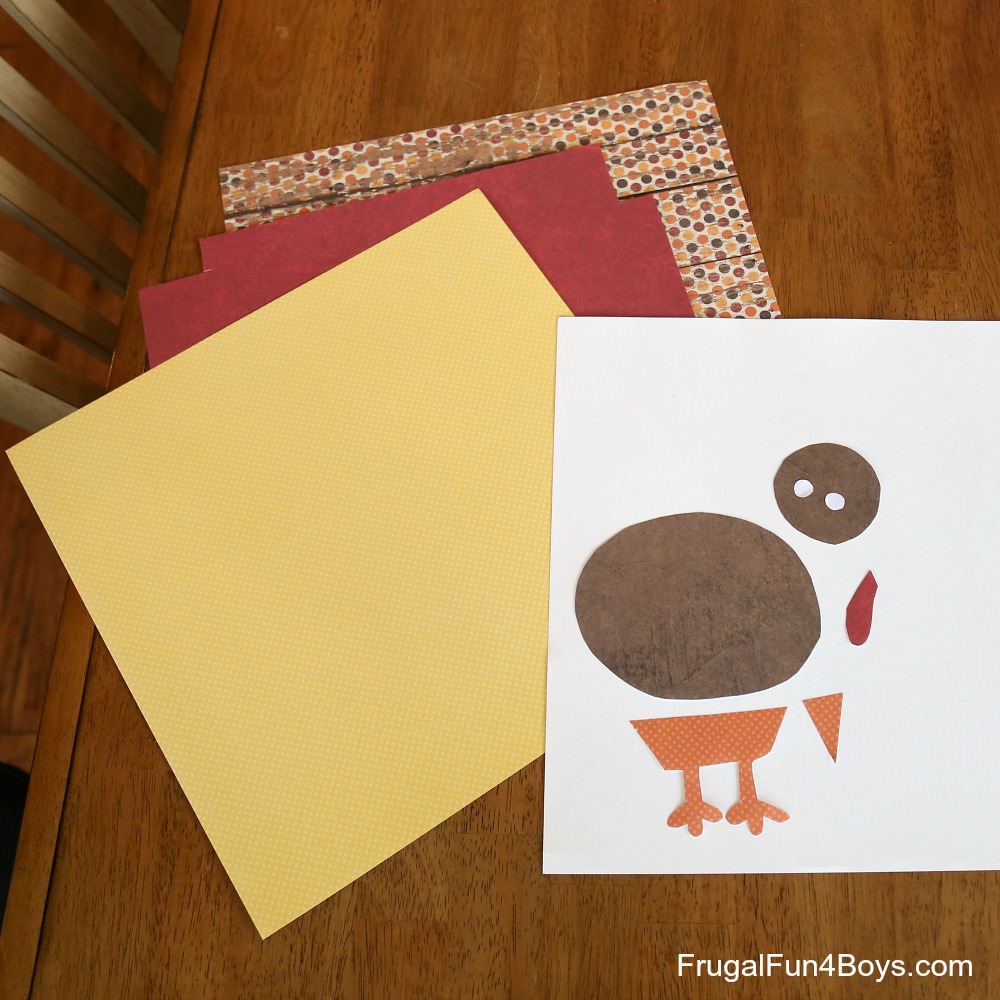
Use the pattern pieces to cut out the head, body, and tail feathers for the turkeys. Cut out tiny white circles for eyes.
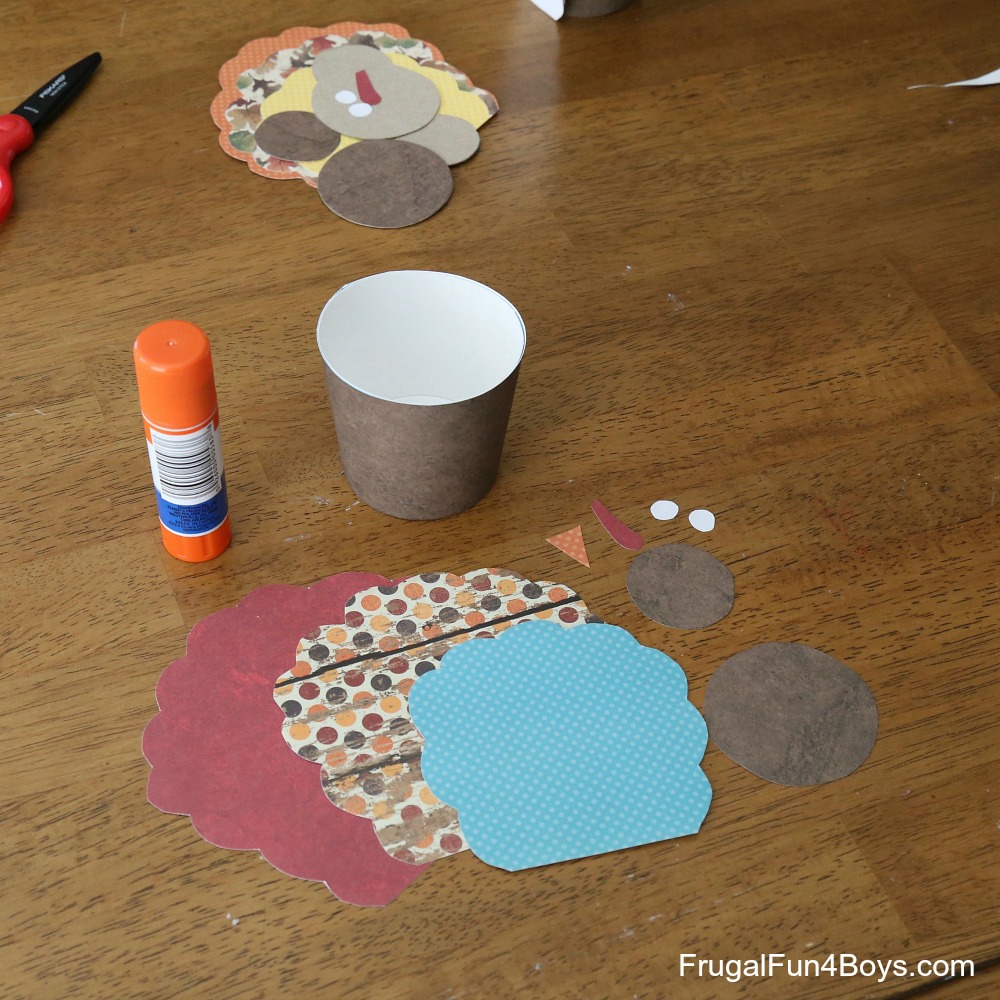
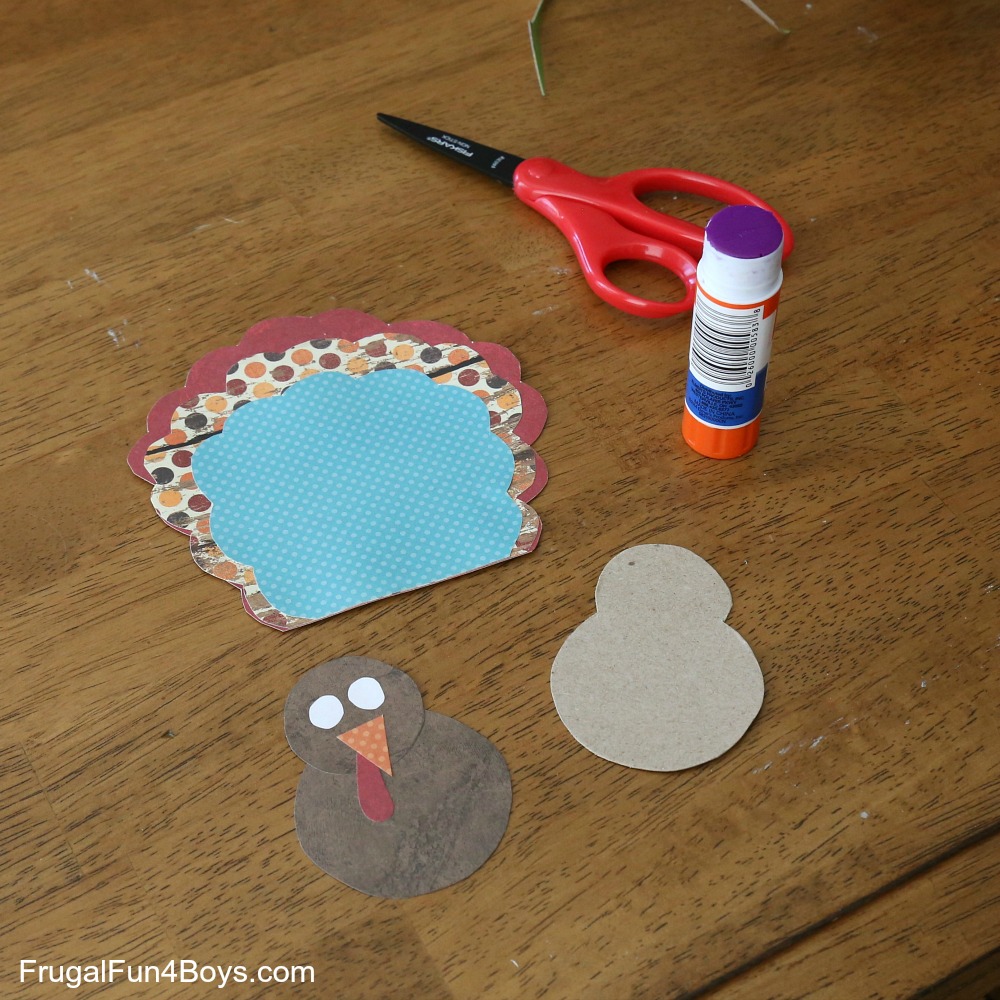
Glue the body and the tail feathers together as shown. I cut out a piece of cardboard (from a cereal box) to glue to the body of the turkey for added strength.
(By the way, there’s not a pattern for the eyes on either project – just cut out tiny circles!)
Use a black marker to make pupils in the turkey’s eyes.
Use hot glue to attach the turkey’s body to the front of the cup and the feathers to the back of the cup.
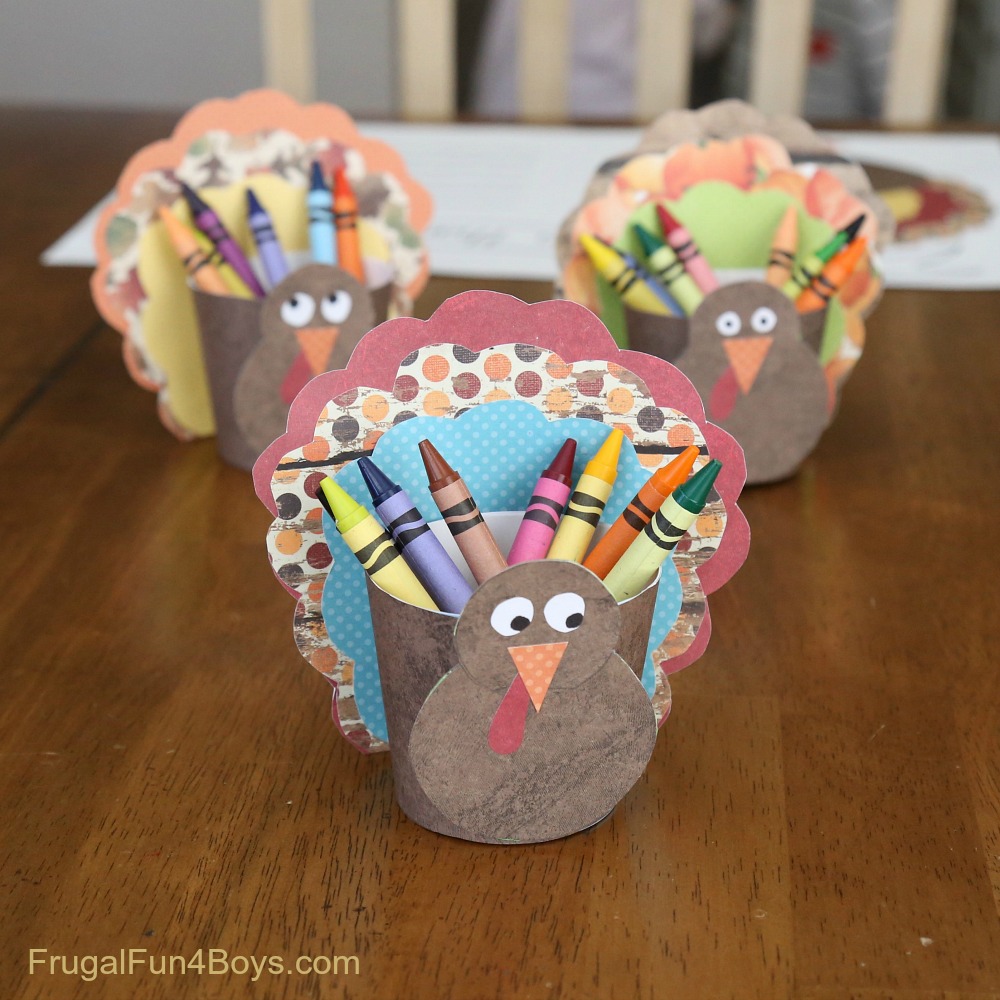
We made our turkeys in several different colors – SO FUN!
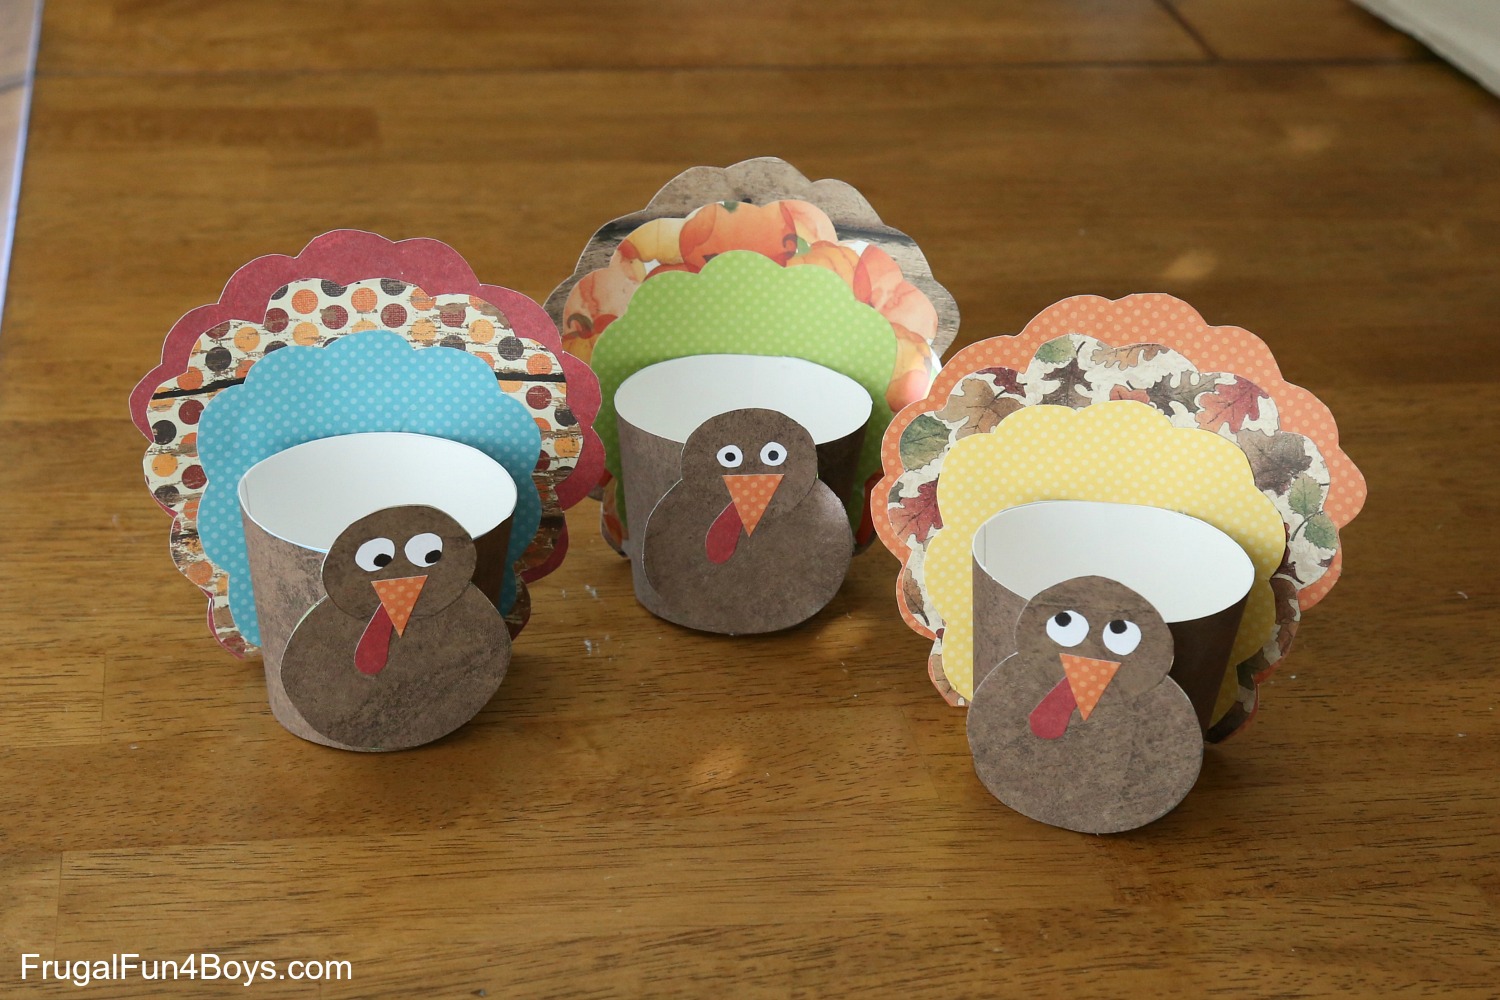
The turkeys can hold a few crayons for drawing on paper placemats or coloring some Thanksgiving coloring pages.
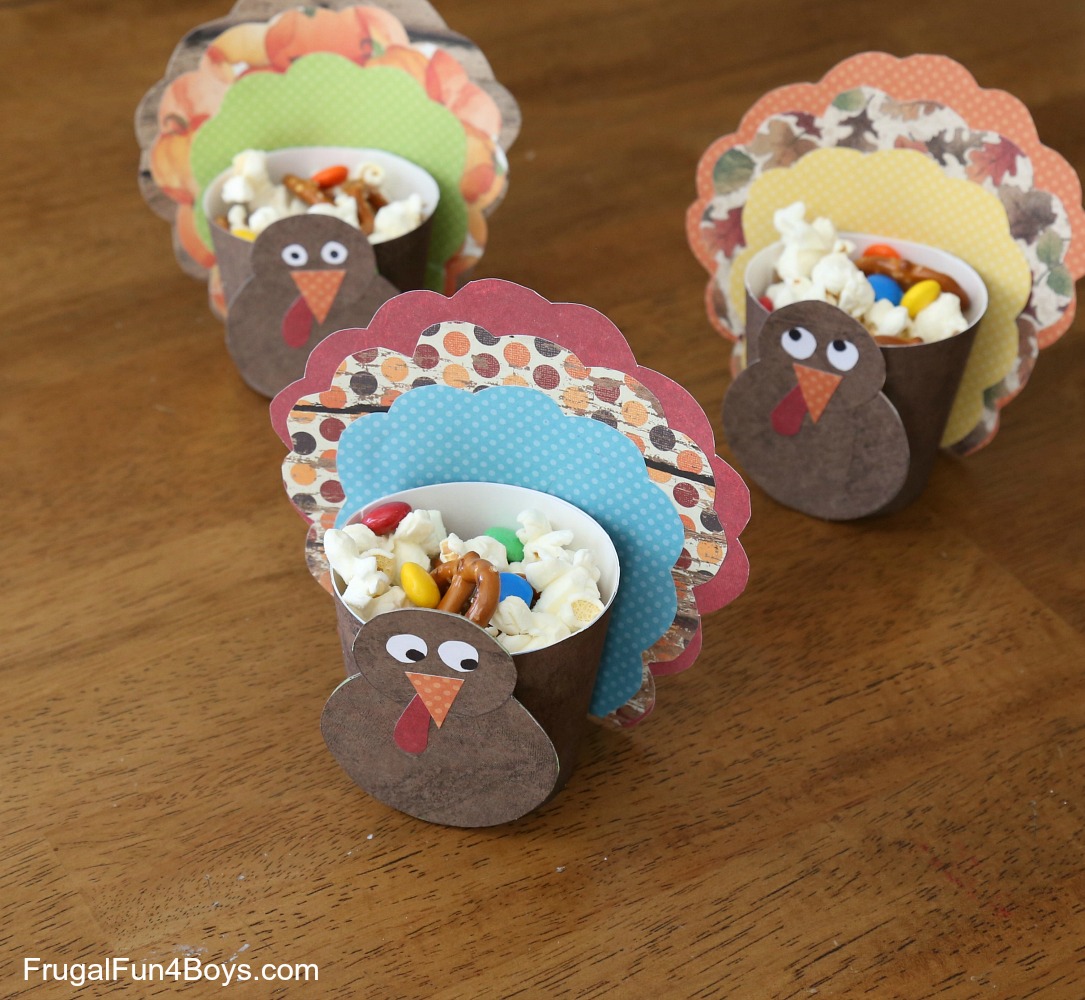
Another fun idea is to use these turkeys as snack cups!
Fill them with nuts and candy for the Thanksgiving table. Or use popcorn, pretzels, and m&m’s. Or maybe candy corn. You decide!
How to Make the Placemats
Cut out the pieces for the body and tail feathers.
Then just glue it all down! For the placemats, we used 12 inch by 18 inch mixed media paper that I bought in the art department at Hobby Lobby. It’s the perfect size.
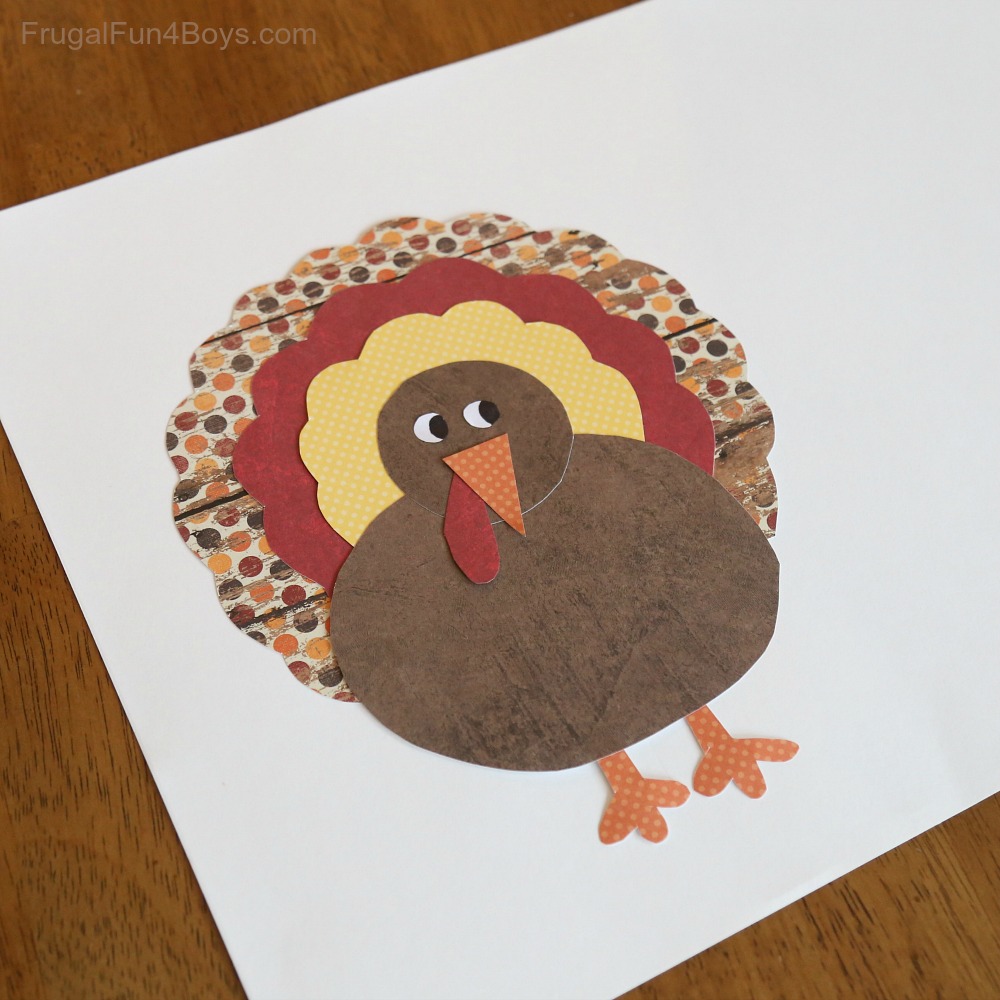
The finished table decorations are just so cute!
Like the crayon cups, it’s fun to mix up the paper designs for each turkey.
Print the Patterns
Okay, disclaimer. These patterns are just hand drawn and then scanned into my computer. Nothing fancy! If you’d like to download them, click below.
CLICK HERE: Turkey Patterns
Have fun crafting, and Happy Thanksgiving!
Looking for more Thanksgiving ideas?
- Printable Gratitude Journal – Here’s a great way to be intentional about gratitude this Thanksgiving. There are 7 short Bible readings and activities to complete. Great for elementary aged kids, through age 12 or so.
- Wood Slice Turkey Craft – these are cute enough to display!
- Paper Roll Turkeys – a fabulous craft for preschoolers.
2 Comments
Karen Jost May 6, 2019
I ran across this on Pinterest and saved it for the fall! These are super cute and the instructions make it easy enough for a stressed-out mother of three could still manage it. Thanks for sharing!
Deborah Myers Nov 12, 2019
Super cute idea!!!
Post a Comment