
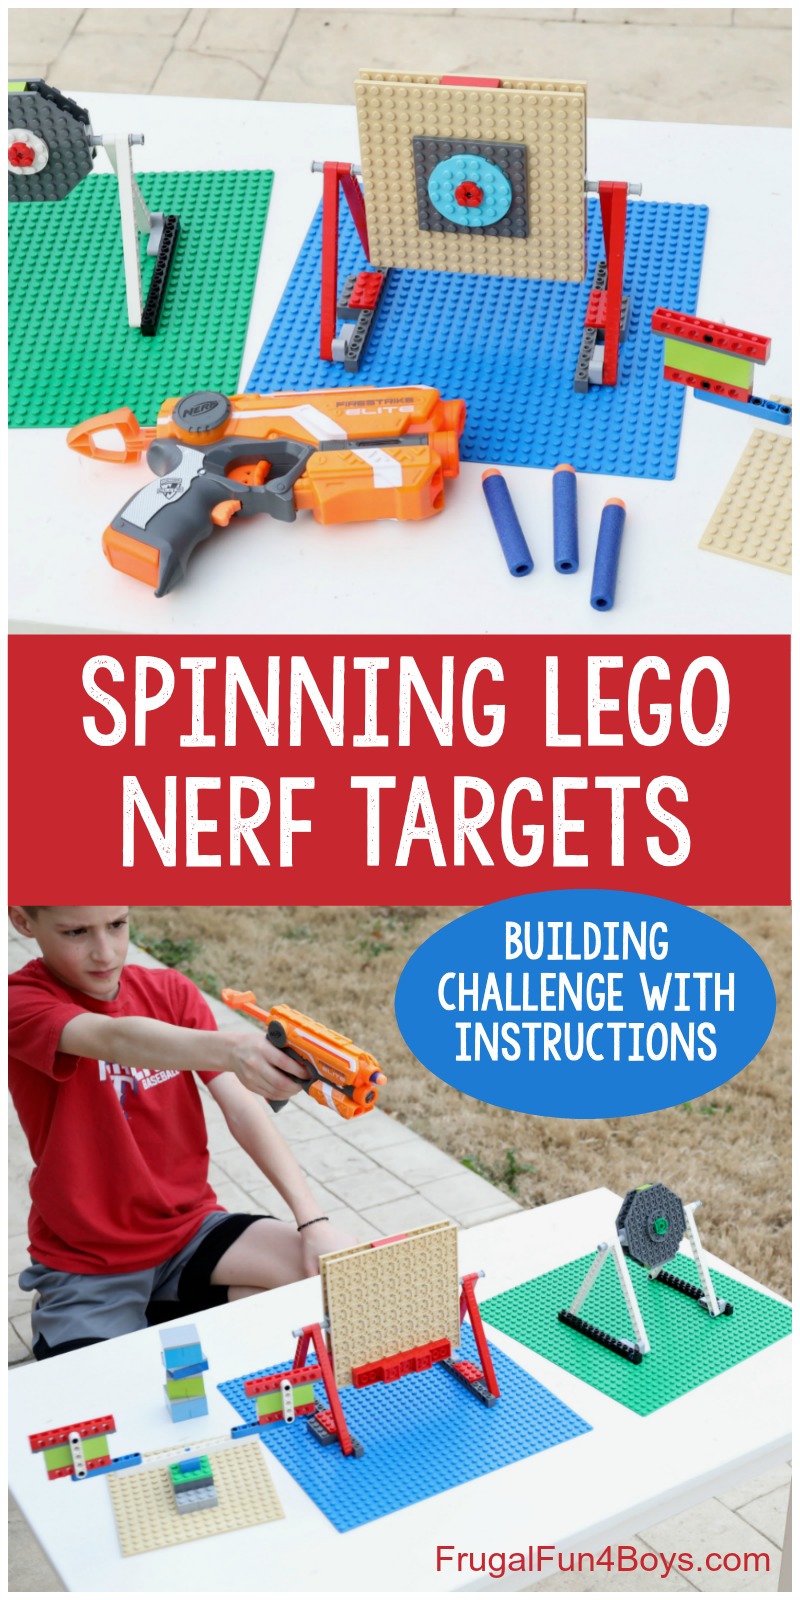
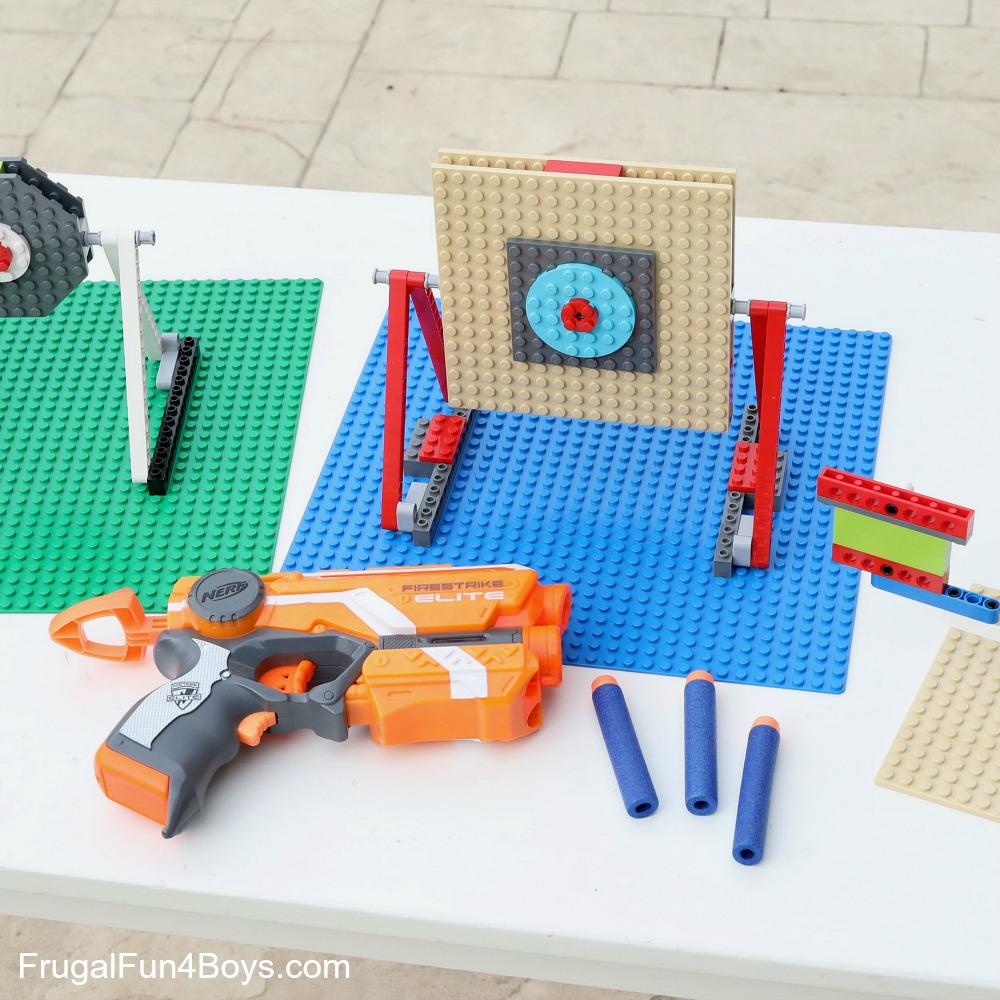
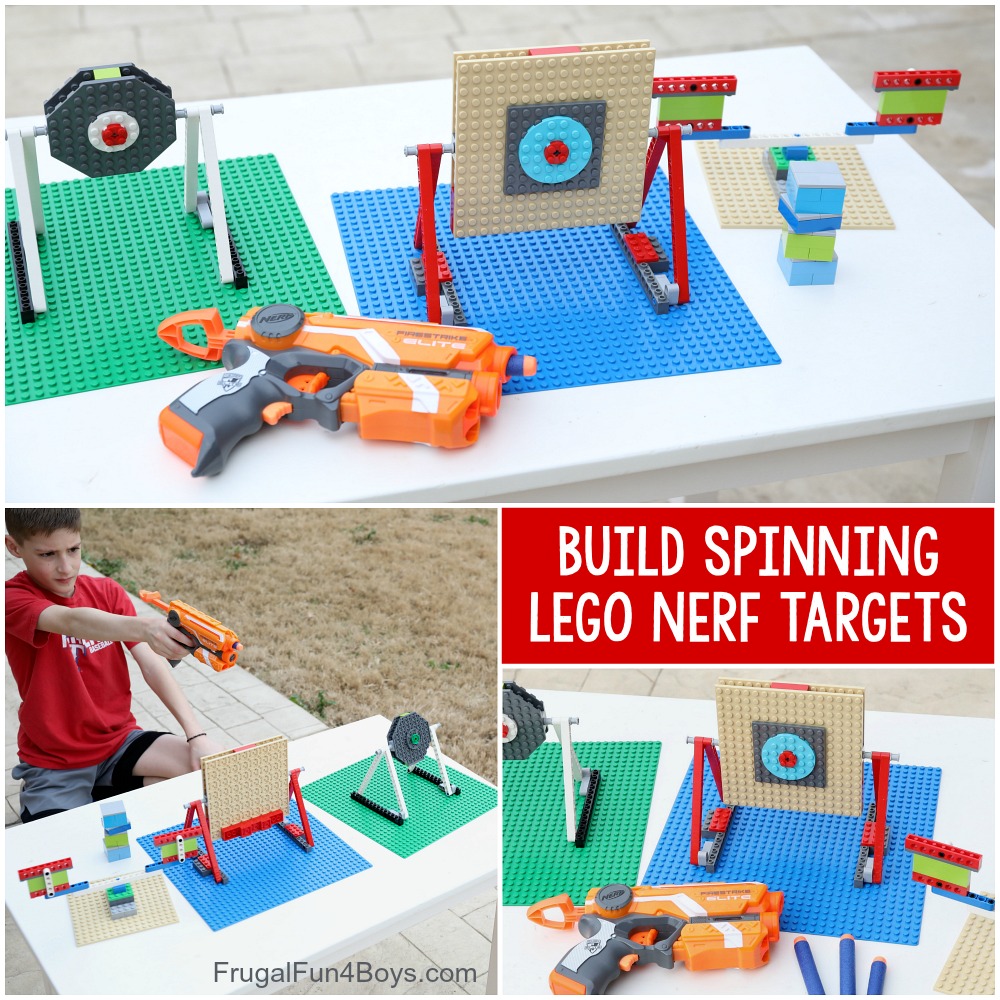
We’re combining two of our favorite things in this fun activity! Challenge kids to use their LEGO® bricks to build their own spinning Nerf targets. This Nerf gun game is perfect for a birthday party or an afternoon at home. Great boredom buster!
A few years ago, we made some fun LEGO® Nerf Targets that are perfect for beginners. You’ll want to check those out as well – there’s a cool frame with targets to shoot off. In this post, we’re going to take it up a level with spinning elements!
These projects require a few Technic elements, but don’t worry! Technic bricks and parts come in many regular sets, so you kids likely own what is needed for this post.
STEM Education through Building LEGO Nerf Targets
There is quite a bit of physics involved in creating Nerf targets, so it would not be a stretch at all to call this a STEM activity. Kids will quickly discover that the spinning targets need weight at the bottom in order to sit straight and balanced. However, if they are too heavy, they won’t spin when a dart hits them.
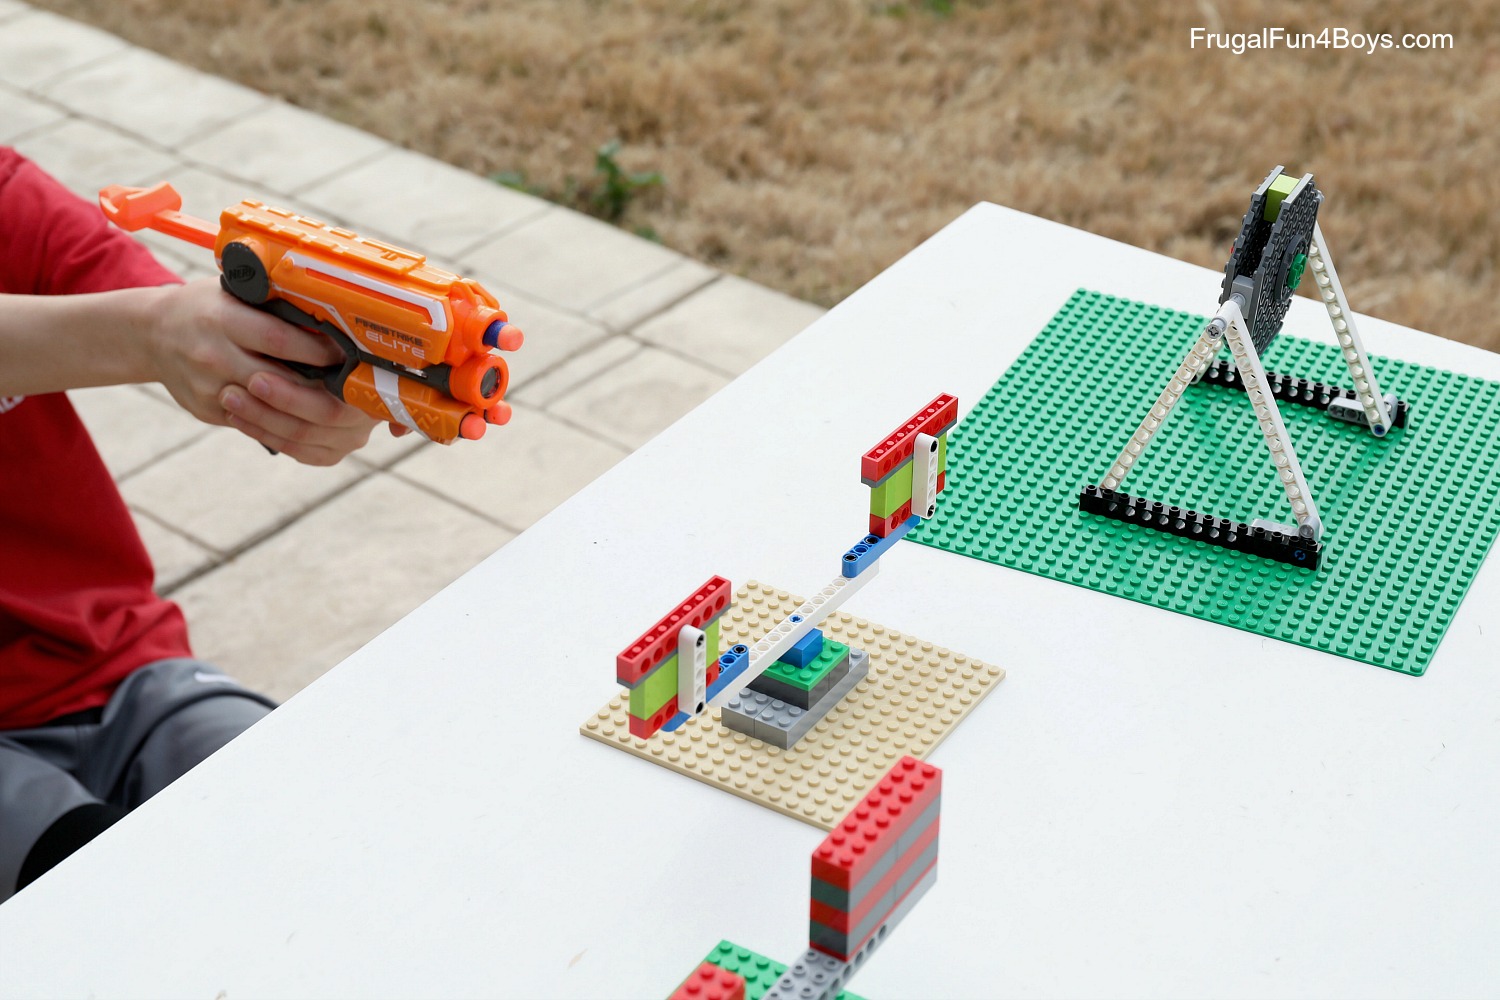
One of the targets we built is a stack of brick sections. Each brick section has tiles on the top so that it’s smooth. Stack up your bricks, and shoot them down! Except that these stacking bricks may not behave as kids expect! Demonstrate inertia by shooting the center of the stack. One brick section will fly out, while the others remain in place. The bricks at rest will stay at rest unless acted on by a force. Thus, the only brick that moves is the one you hit. You can see this in the video! It’s really cool.

Video Demonstration
See our LEGO targets in action! Click the play button in the center of the video box to play the video.
How to Build Spinning LEGO Nerf Targets
First, we’ll show you how to build a LEGO® Nerf target that spins horizontally.
Because of the force involved with Nerf guns, it’s very helpful to use Technic bricks and pins. Kids can modify these designs with basic bricks, but the target may fly apart when a dart hits it!
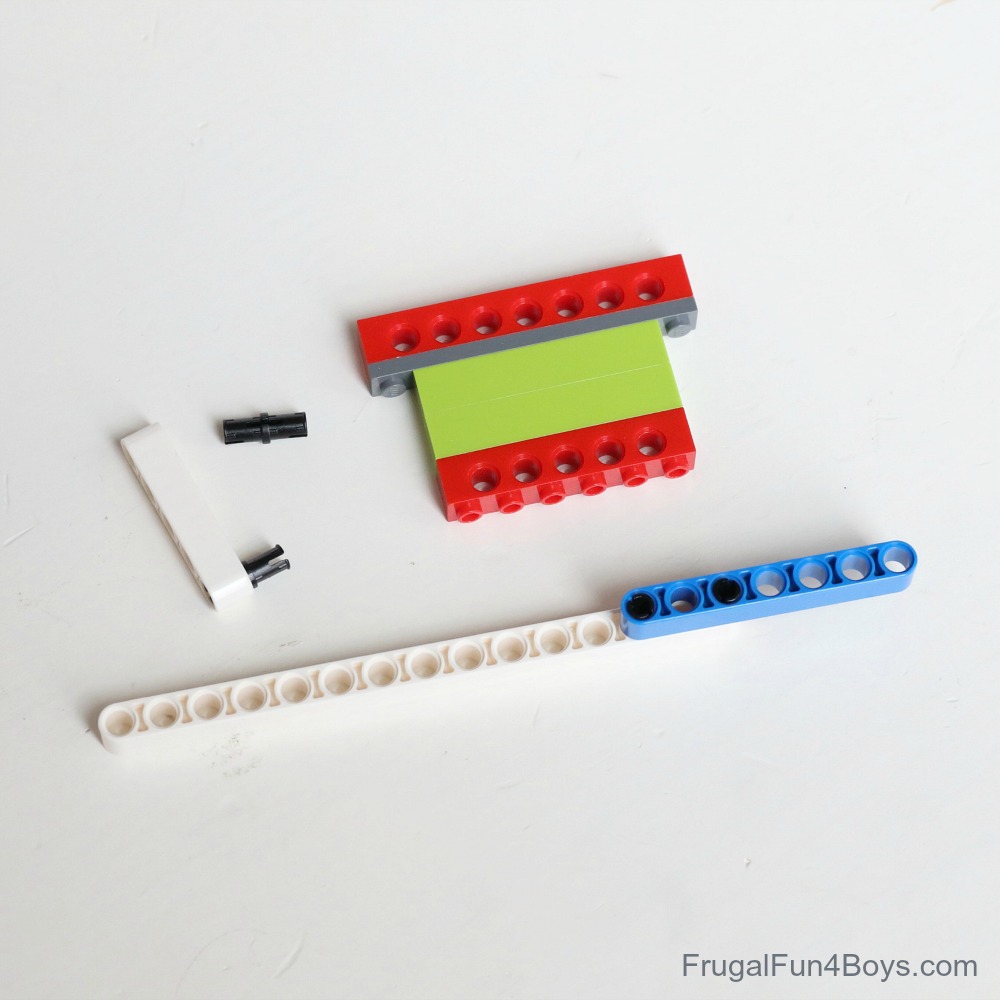
Gather the pieces shown. Insert to black pins into a 1 x 15 liftarm. (Liftarms are the Technic elements that do not have studs. That name is a Brick Link name. LEGO® calls them Technic beams.)
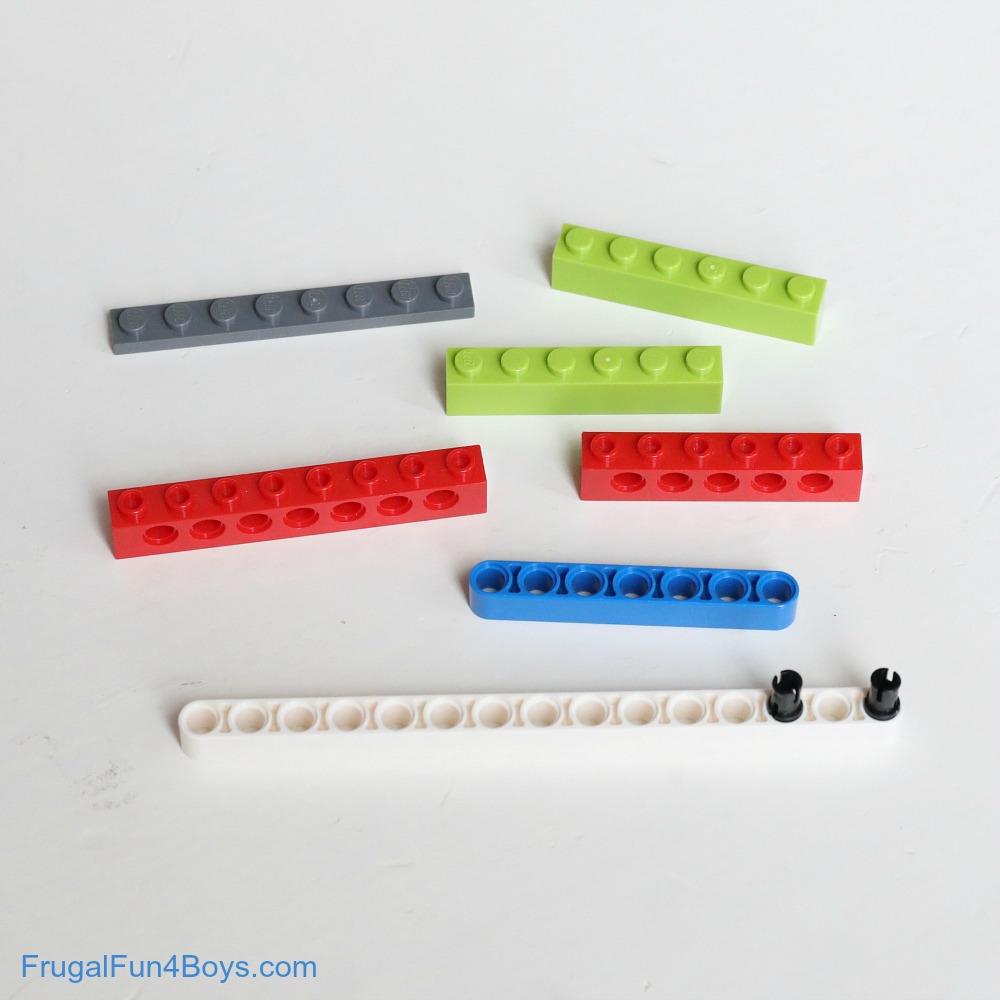
Then attach a 1 x 7 liftarm to the black pins. Connect a 1 x 8 Technic brick, a 1 x 8 plate, two 1 x 6 bricks, and a 1 x 6 Technic brick.
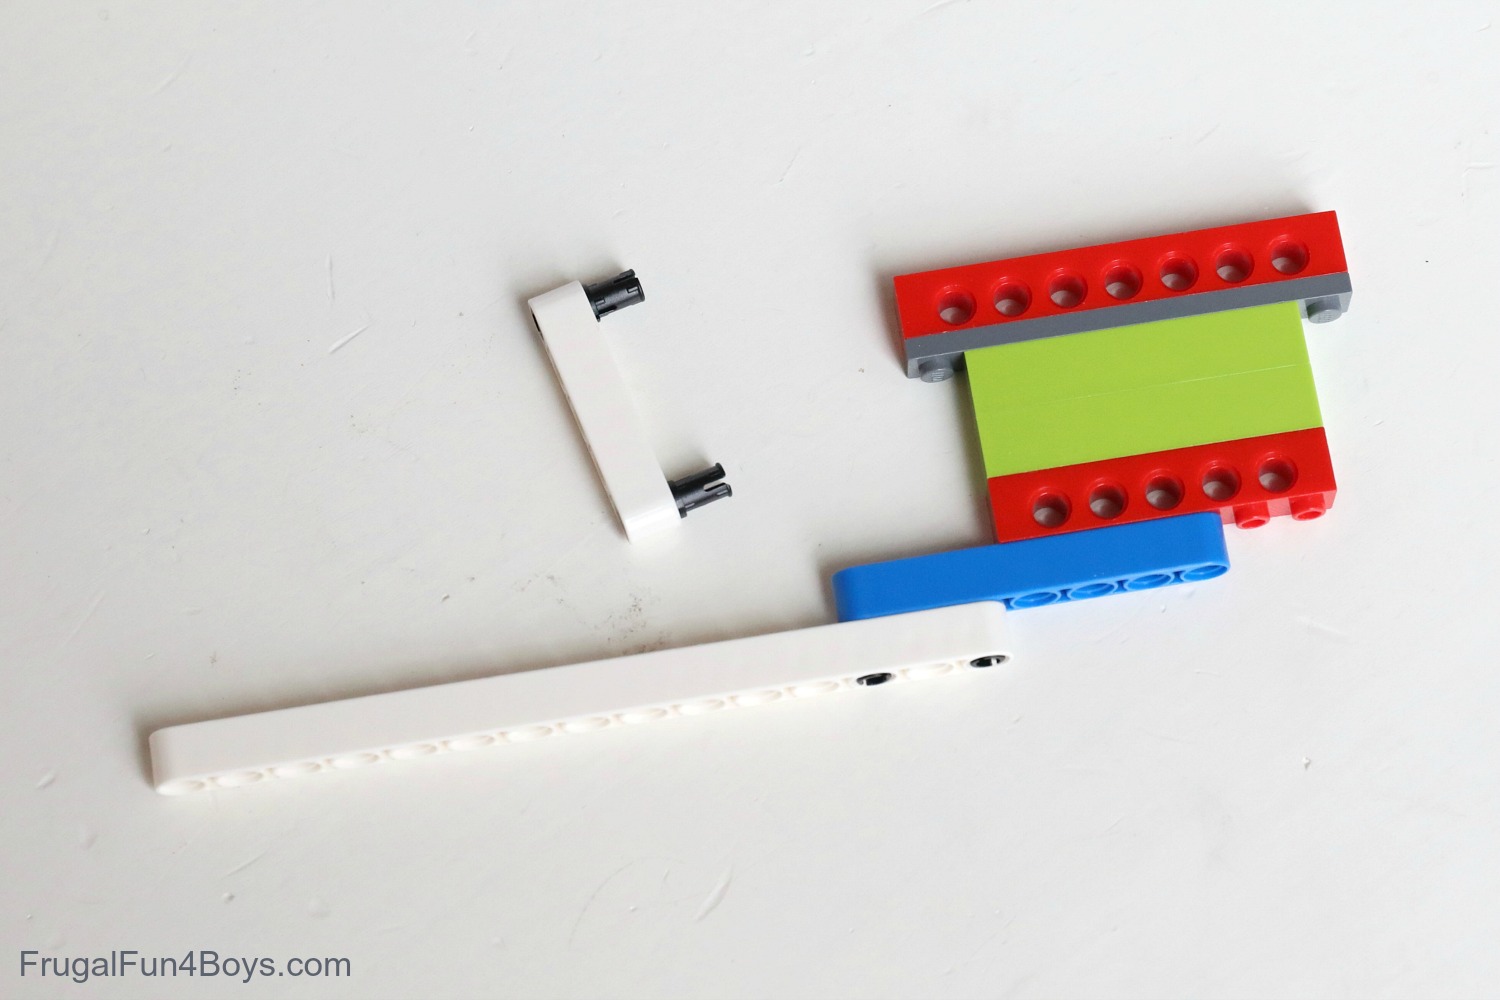
Insert a black pin into each end of a 1 x 5 liftarm.
Then attach the stack of bricks to the 1 x 7 liftarm. The studs will connect to the holes in the liftarm. It takes more effort to attach them, but it will be a secure connection.
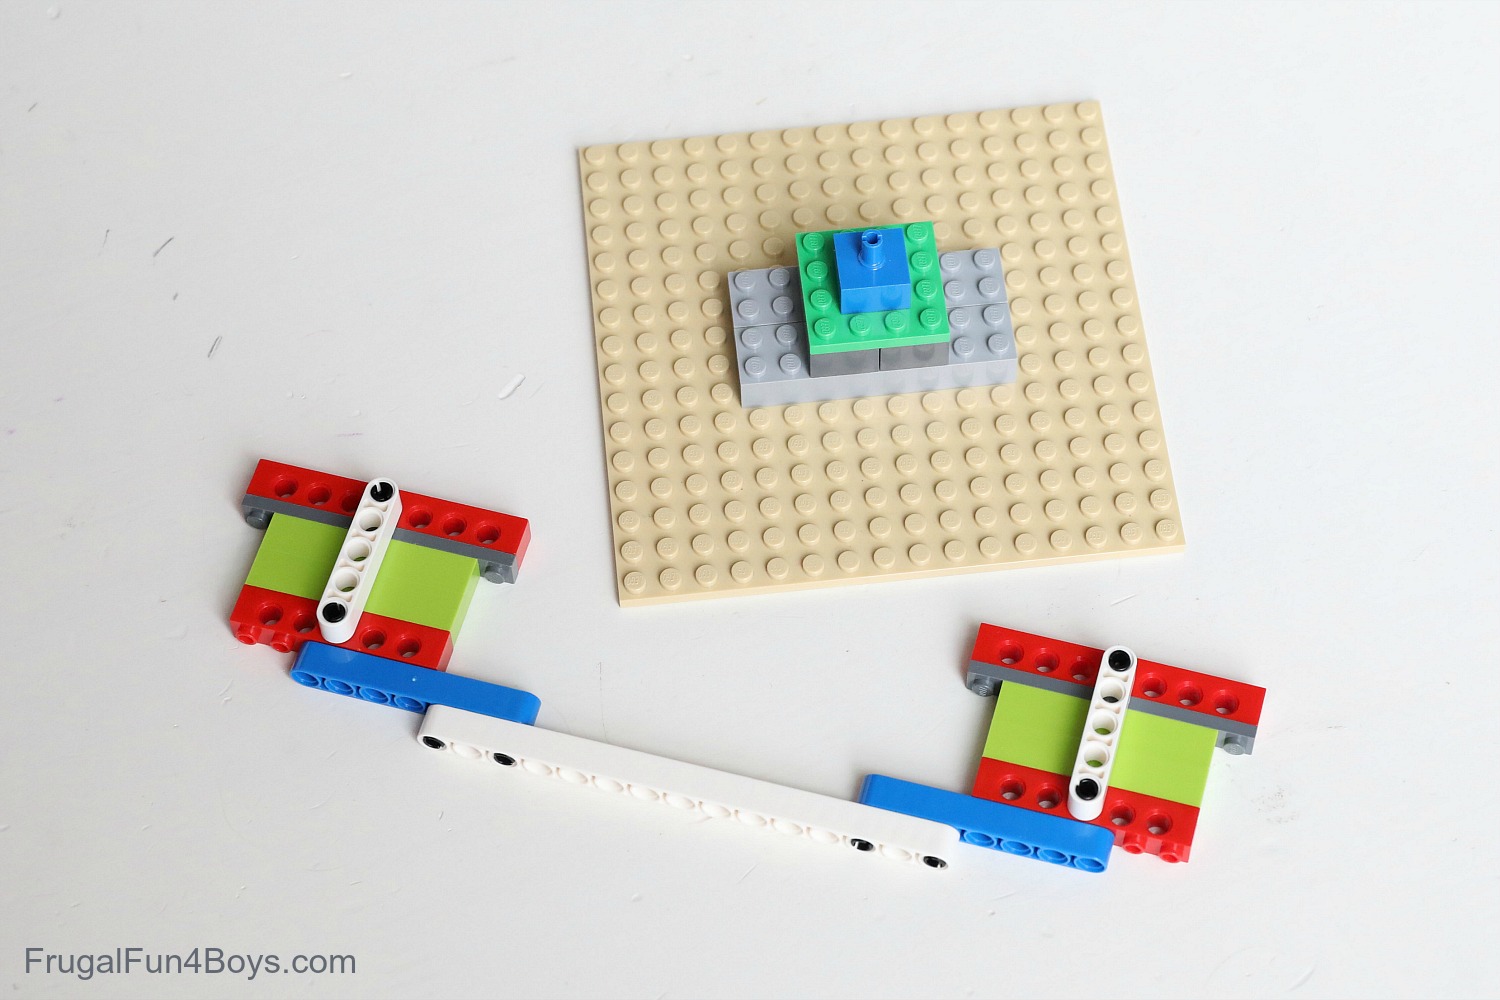
Use the black pins to connect the 1 x 5 liftarm to the two Technic bricks as shown. This adds more strength to the target. Build an identical target for the other side.
Then construct a base. It doesn’t matter how large the base is. Place a 2 x 2 brick with a pin (facing up) on the top.
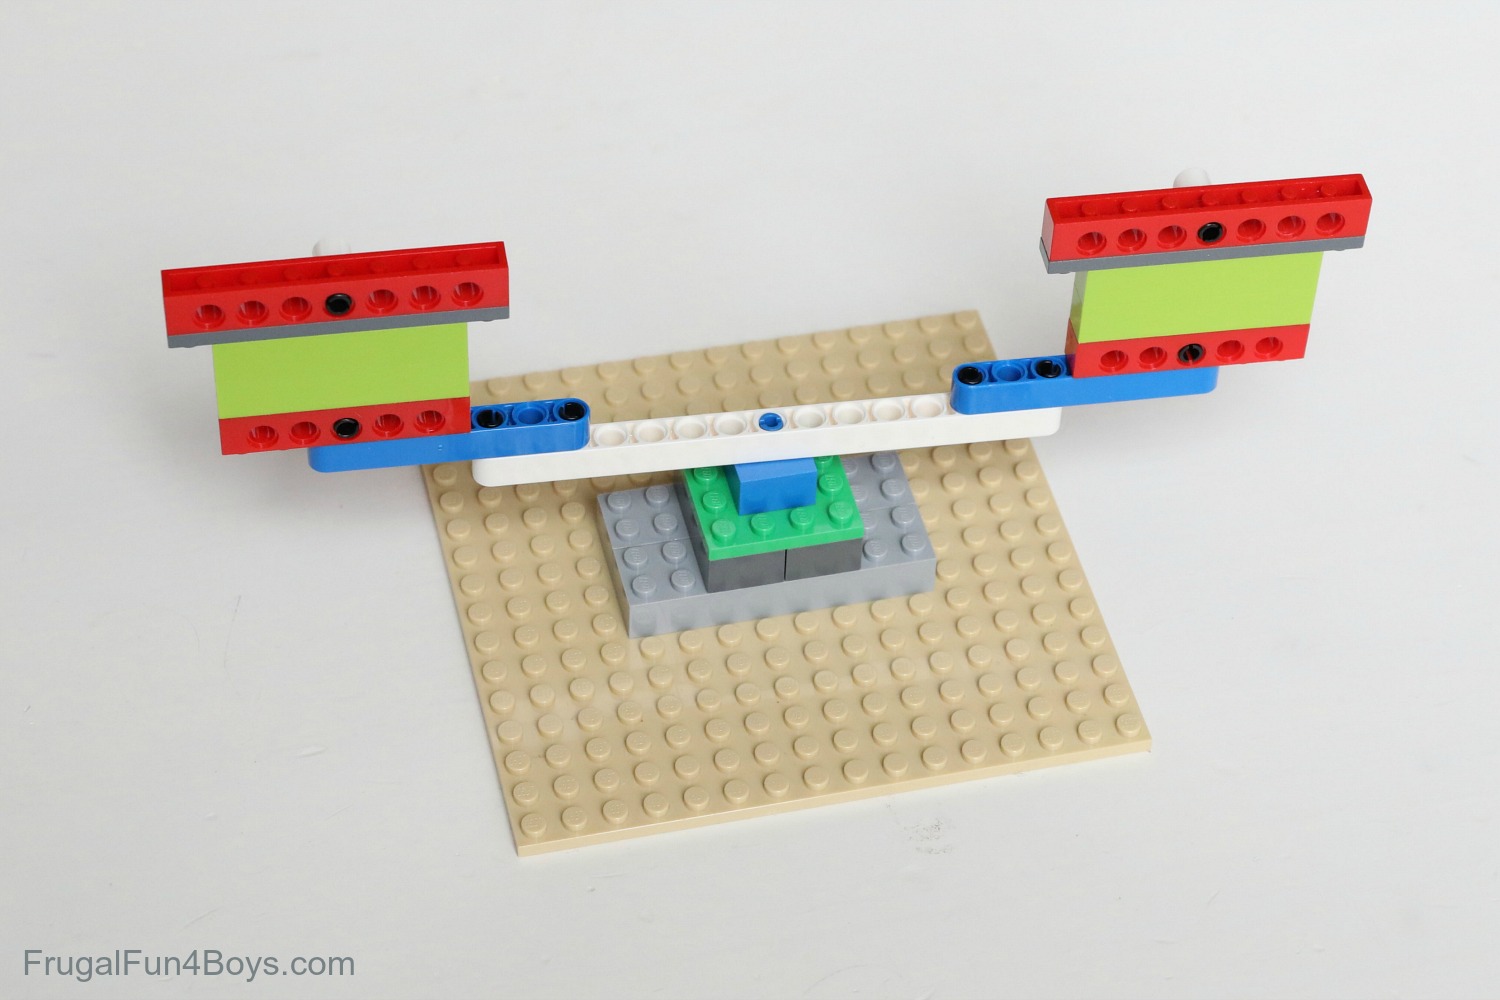
Attach the liftarm and targets to the brick with the pin. The targets should be able to spin freely. Then you’re ready to play!
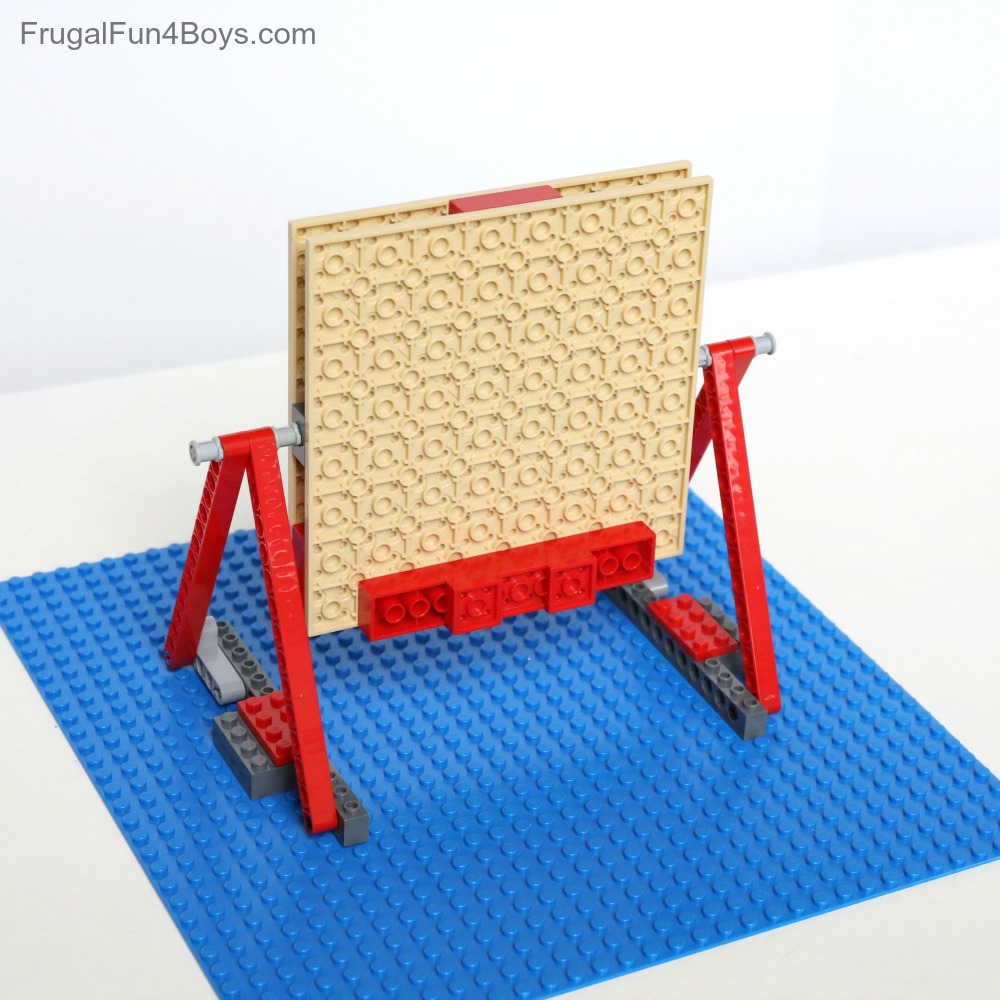
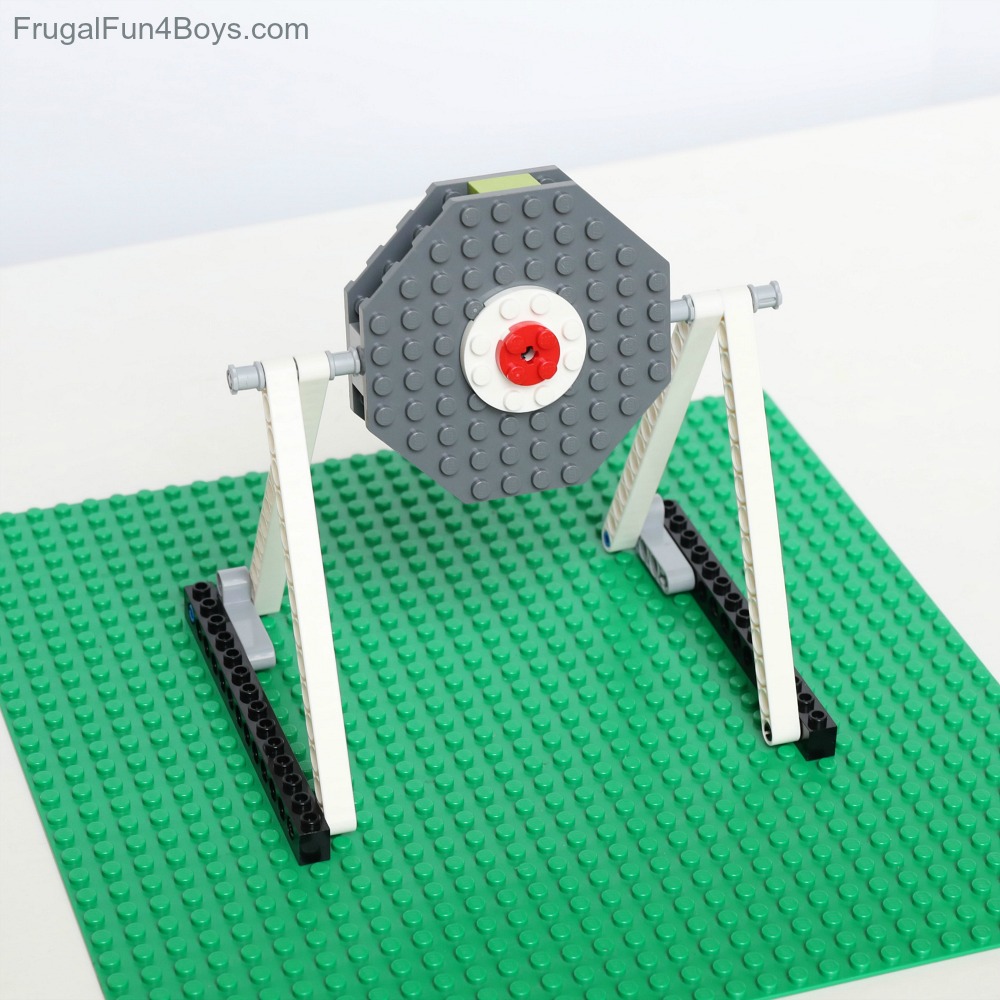
Now we’ll show you how to build a LEGO® Nerf target that spins vertically.
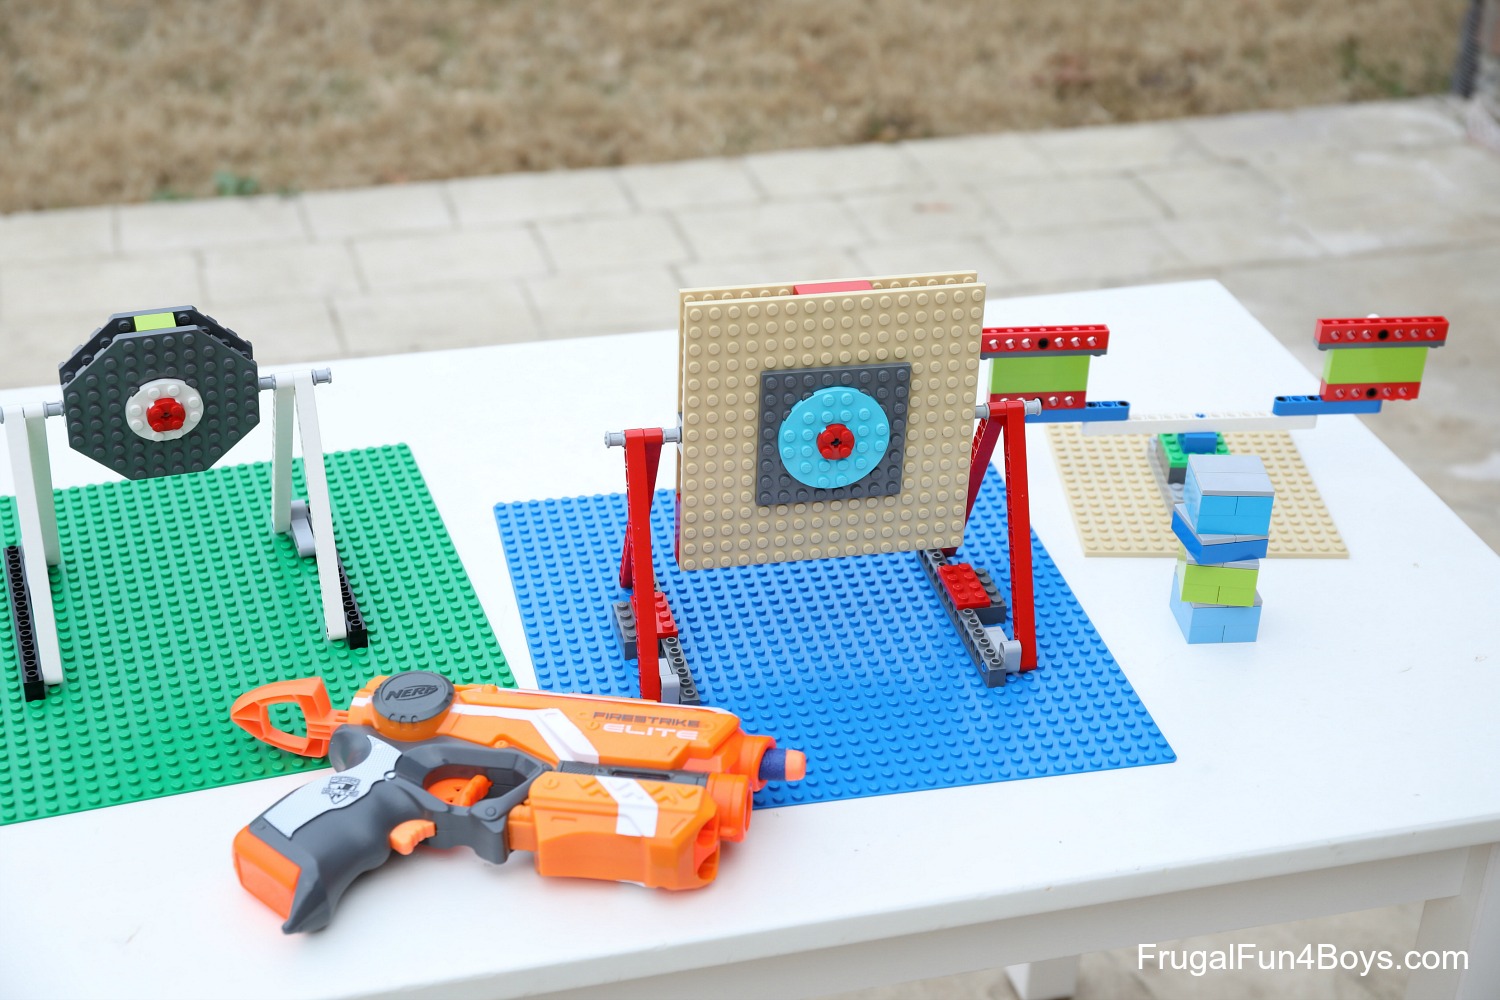
As you can tell from the video, the smaller target in the left of this photo spins much better than the one in the center because it’s lighter weight. Both targets are built the same way.
First, build the base for the target.
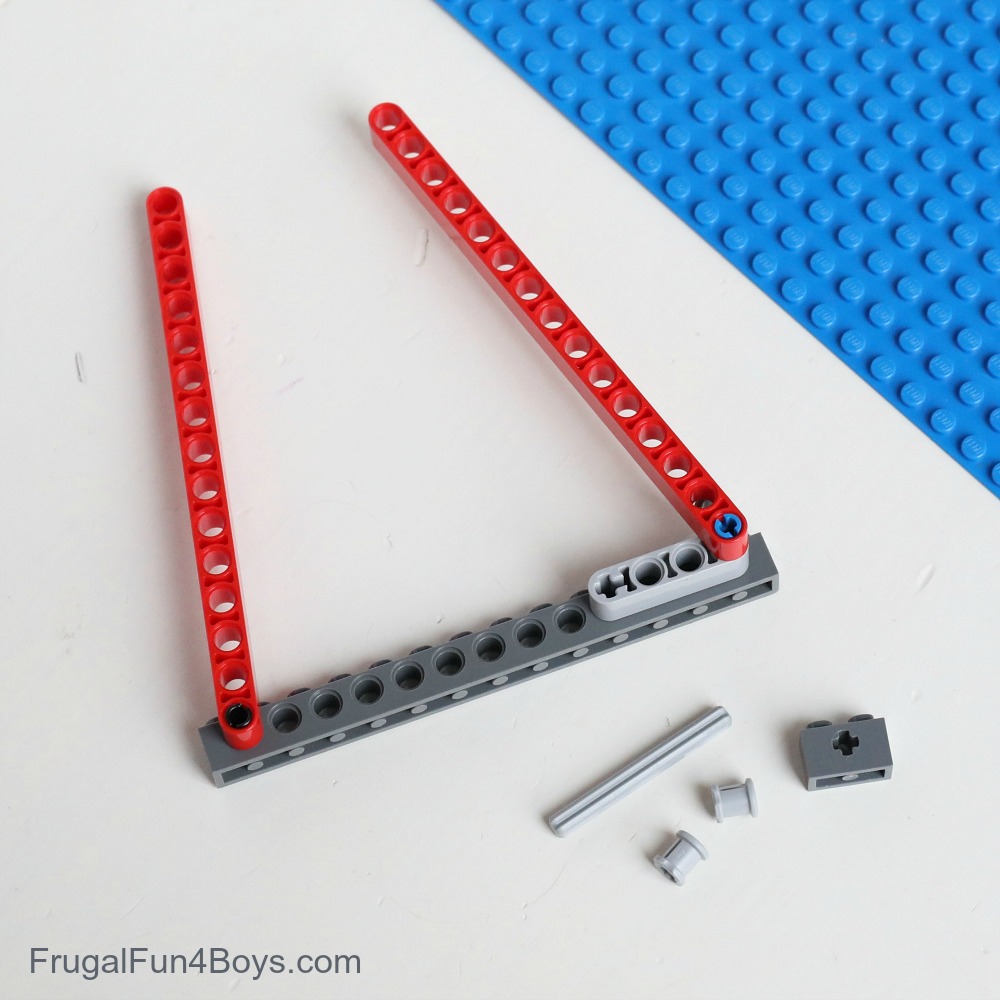
Grab a 1 x 14 Technic brick and two 1 x 15 Technic liftarms. You’ll also need a blue pin (3 studs long), a black pin, and a 2 x 4 L-shaped liftarm.
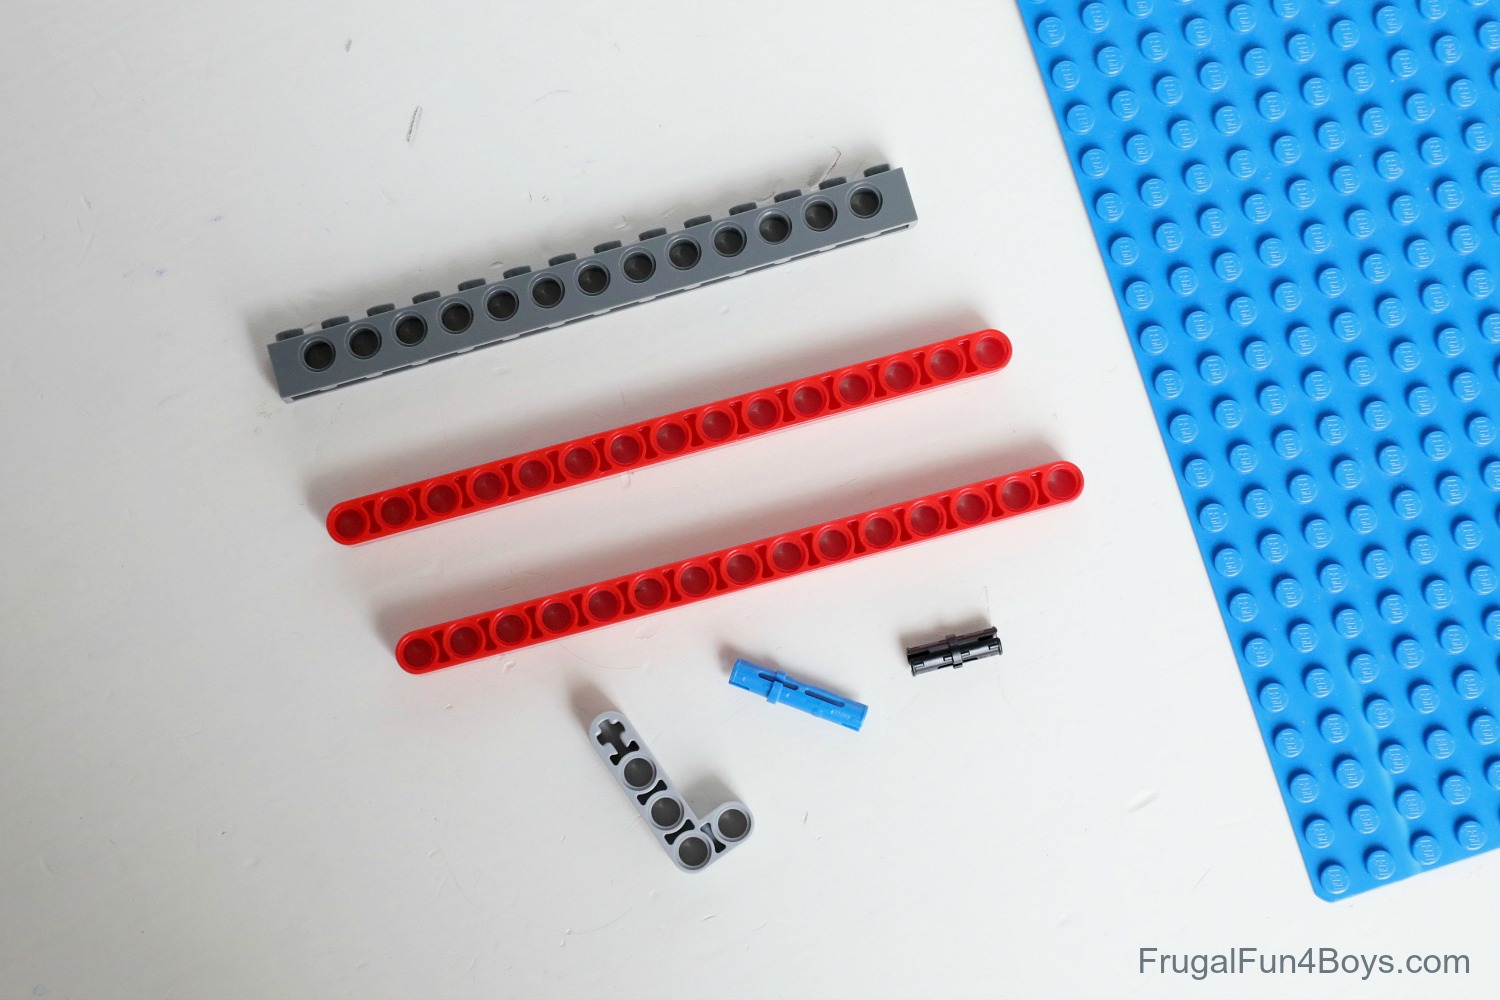
Insert the black pin and the blue pin into the ends of the 1 x 14 Technic brick.
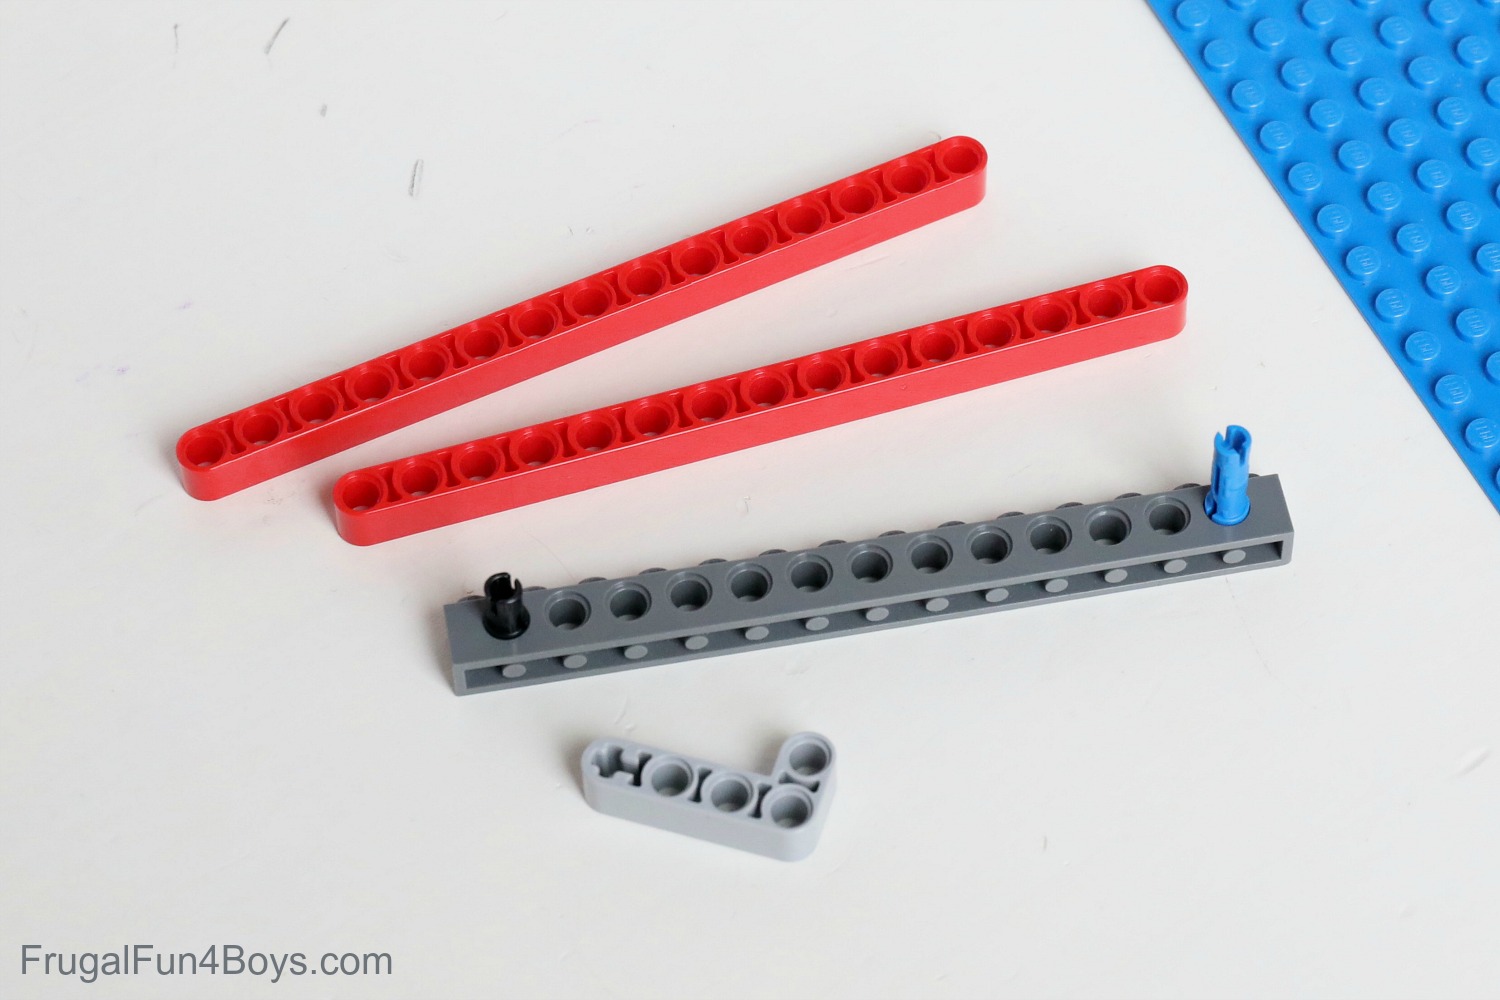
Then slide the L-shaped liftarm onto to the blue pin.
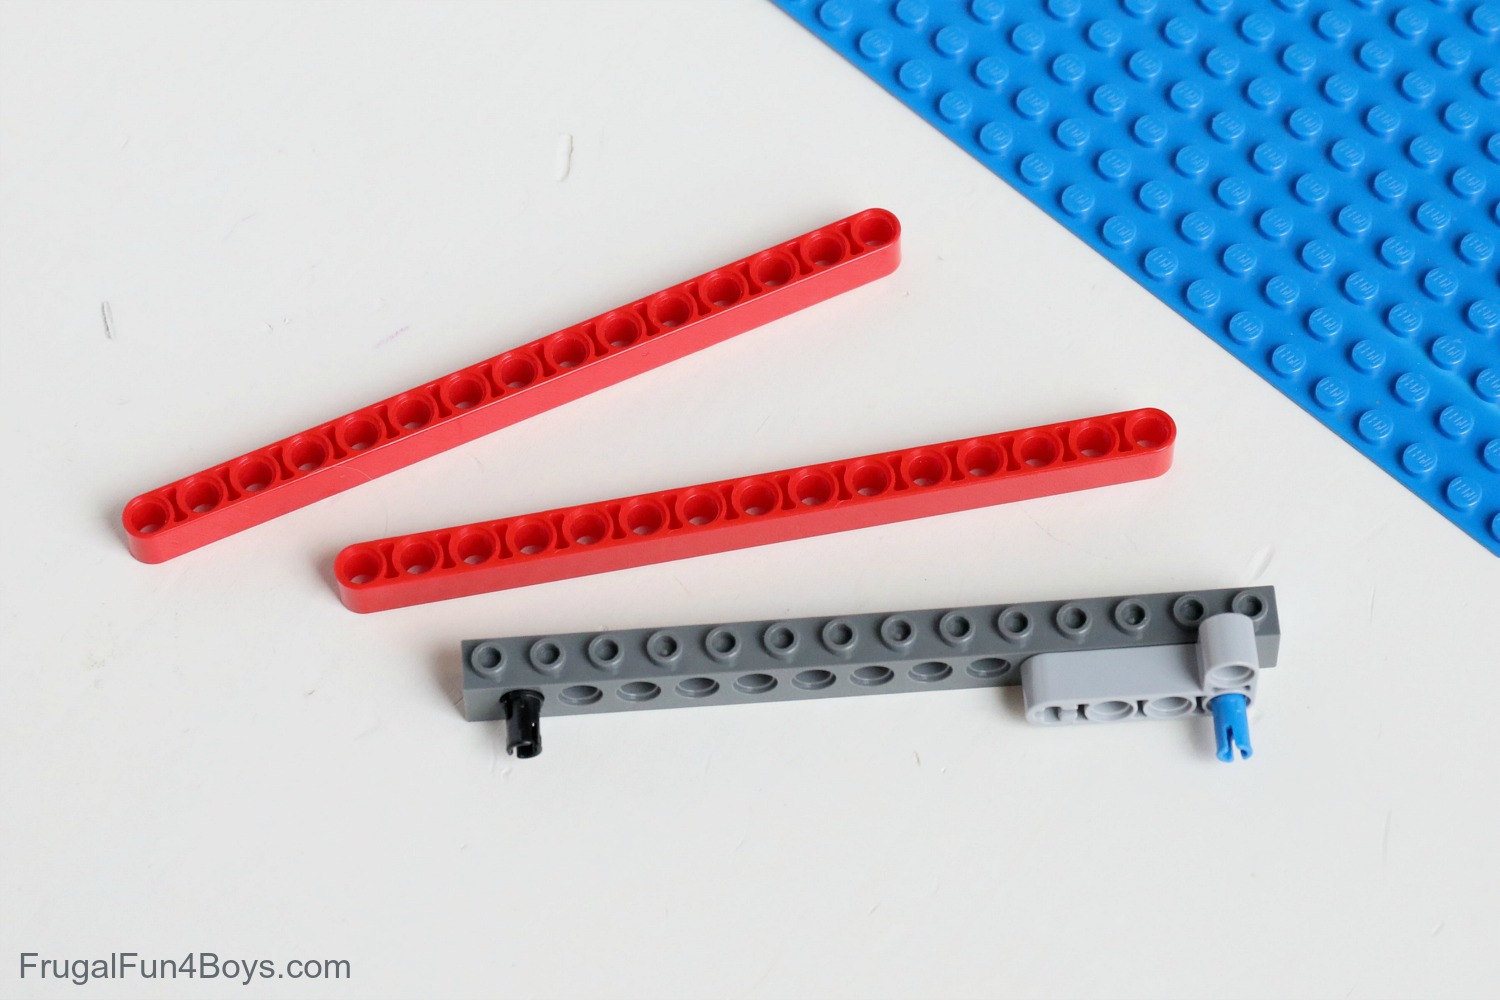
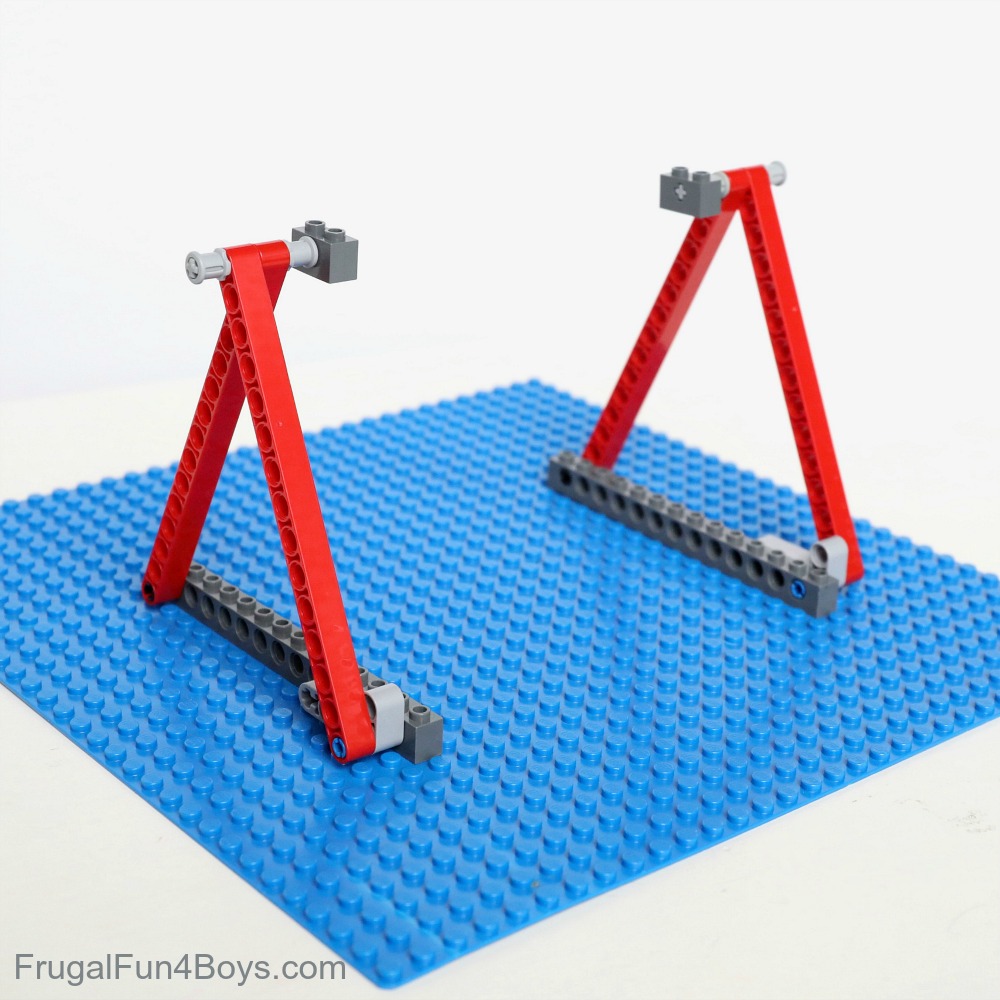
Attach one 1 x 15 liftarm to each pin. Then find a 1 x 2 Technic brick with an axle hole (x-shaped), two Technic bush, and a Technic axle that is 5 studs long.
Slide the axle through both red liftarms. Then slide a bush onto the axle on each side. Add a 1 x 2 Technic brick with an x-shaped hole. Then build the other side of the frame. It should be a mirror image of the first.
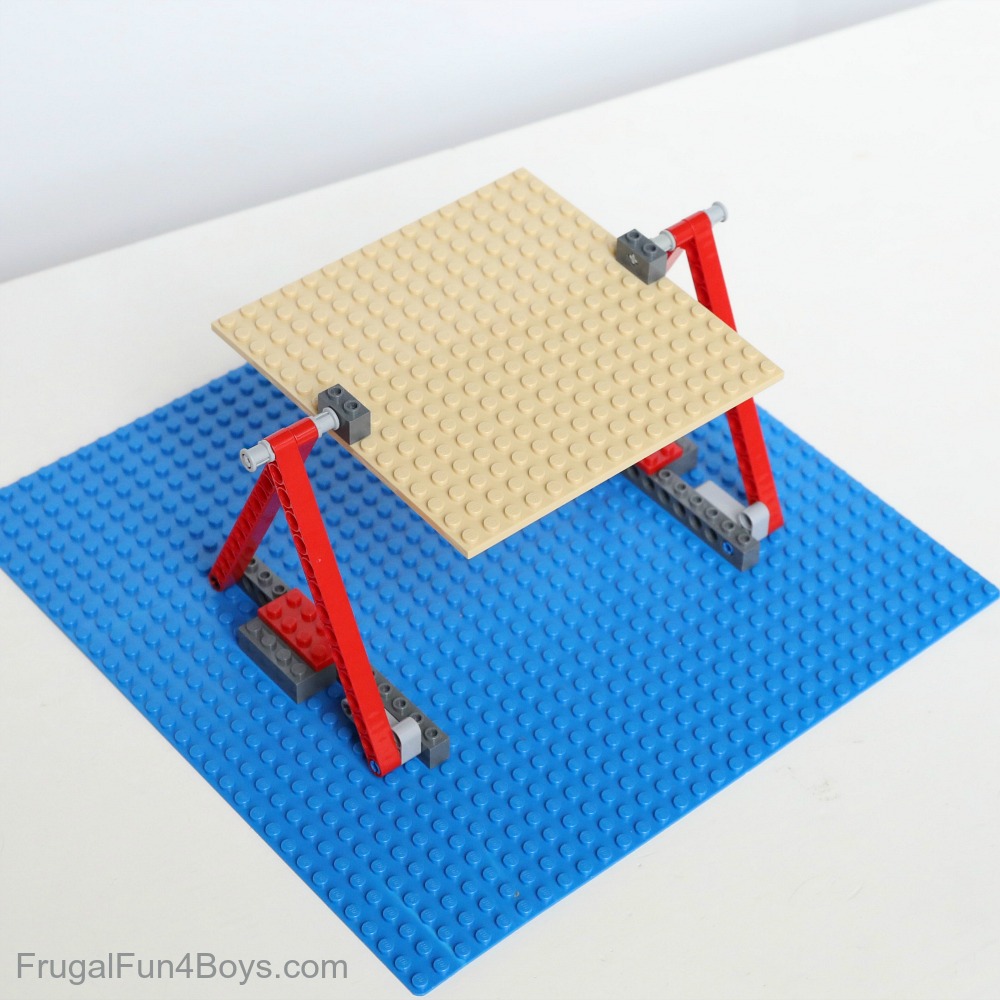
Attach a 16 x 16 plate to the two Technic bricks.
Or, move the base closer together and use any size plate! The hexagonal 10 x 10 plates work well for this.
Build the front of the target with another 16 x 16 plate. Put a few bricks in between the two 16 x 16 plates to attach them.
This is where some engineering comes in! Kids will need to be careful about where they add the weight, as this will affect the function of the spinning target.
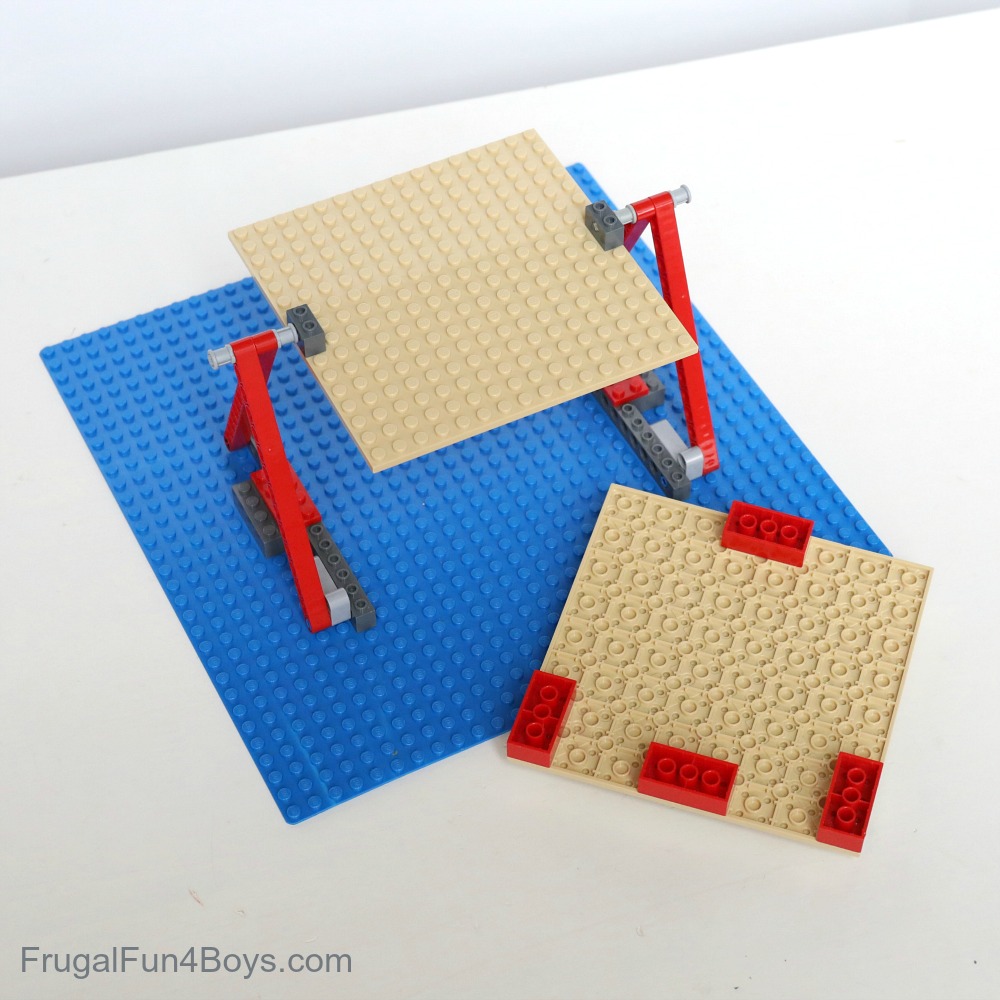
Attach the two 16 x 16 plates. There is more weight on the front of the target (because of the bullseye design), so it will not sit straight yet!

We added some weight to the bottom of our target (on the back), and this balanced it nicely.
As I mentioned above, this hexagonal target spins better. We balanced it by building the same bullseye design on the BACK of the target.
Need more LEGO building ideas?
We’ve got a ton of LEGO® challenges for kids to build with the bricks they have!
Here’s how to Build a LEGO® Mechanical Piano Player! Turn the handle, and his hands move up and down on the keys.
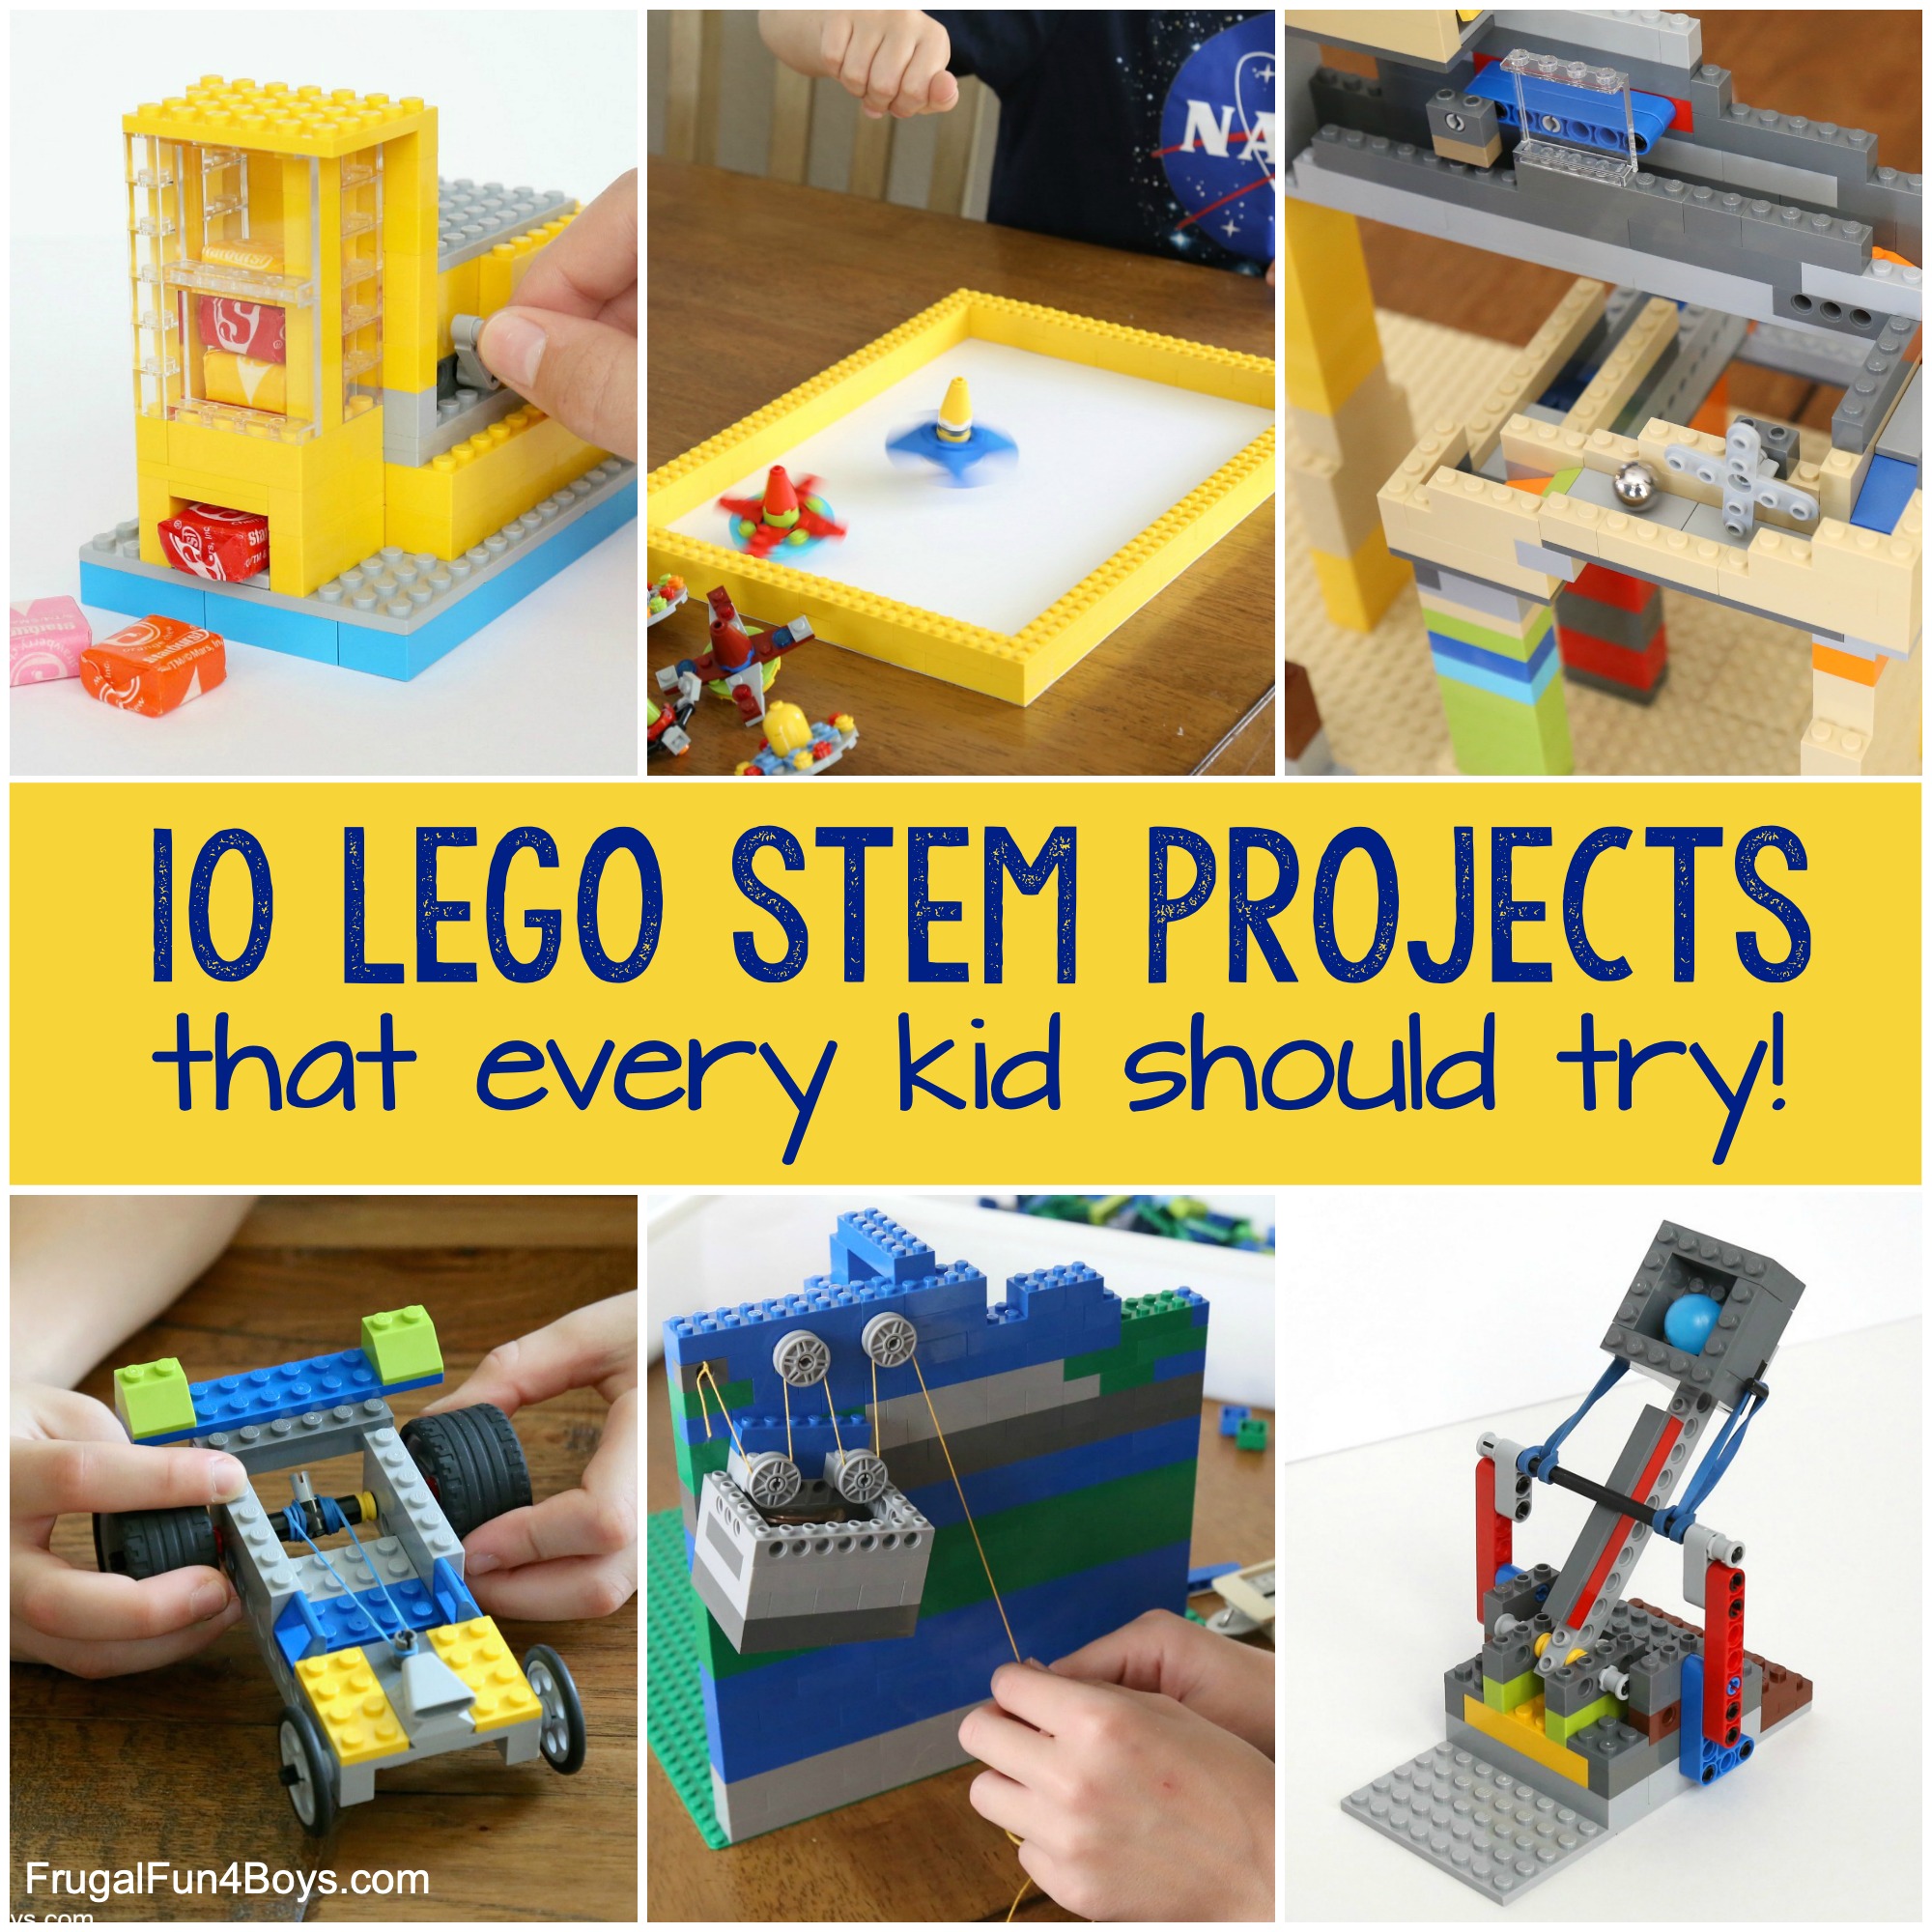
LEGO® STEM projects are a fabulous way to play and learn at the same time! Here are 10 LEGO STEM Challenges that Every Kid Should Try.
3 Comments
Eve Webb Dec 30, 2019
Having been on the wrong end of water pistols all week, I shall enjoy challenging my grandchildren to these Nerf games. As the "adults" have apparently perfected their throws of Nerf rockets over the roof, perhaps an adult versus child challenge is in order? It's fortunate we have no neighbours or fences to worry about. Thankyou once more for the ideas.
Lacy Jan 14, 2020
Do you have a buying link to show what set of technic bricks you got for this set? Thank you!
Eve P Novak Jun 24, 2020
Love this idea for a quarantine birthday party.
A buying list would be SoOoo helpful!
Post a Comment