
Make cardboard roads and a parking lot for Hot Wheels cars! This is a fun DIY toy that you can recycle when you’re done.
Have you noticed that the toy aisle at most stores is full of cheaply made, easily broken, lose-interest-quickly plastic toys? I highly recommend investing in a few quality toys and then making your own homemade toys from cardboard boxes and other supplies from around the house.
There are so many things that you can make to go with Hot Wheels cars, like this simple poster board playmat or this cardboard box race track. Today we’re going to make a cool parking lot and cardboard roads that you can arrange (and rearrange) into a city.

Supplies Needed:
- Cardboard boxes – a few large ones or several small ones
- Utility knife (adult tool!)
- Black, yellow paint, and gray – optional
- Four toilet paper rolls
- Hot glue
- Masking tape
- Clear mailing tape
First, cut out road pieces from cardboard. This is an adult job with a utility knife. If you have a good knife, it will work much better than scissors.
I made my roads 4.5 inches wide. This is a good width for two lanes and a center line. Cut a variety of lengths, and cut some curved sections as well. If you don’t want to mess with the curved pieces, you can make intersections out of the straight pieces.

After you cut out the roads, you can either paint them black and give them yellow stripes, or you can just leave them the cardboard color and use a black marker or white or yellow paint marker for the stripes. It’s up to you!
I had planned to use yellow paint marker for the stripes, but it didn’t show up on the black paint. So I painted yellow lines, and just didn’t worry about how perfect they were (or weren’t)!

It’s fun to build an elevated parking lot. You can easily make it a parking garage by putting a sheet of cardboard underneath with more parking spaces.
These are the pieces I cut for the parking lot. The cardboard tubes are toilet paper rolls.

Use hot glue to assemble the parking lot as shown below. I put low sides on three sides of the parking to keep cars from rolling off.

Use a Sharpie marker or something similar to draw the parking spaces. Be sure the cars you’re planning to use will fit in the parking spaces.
I painted the toilet paper rolls gray. Then I attached a short road section to make a ramp up to the parking lot.
Younger preschoolers may be tempted to put their weight on the parking lot while playing with it. If you think it will be broken too easily, you can skip the toilet paper rolls and just leave the parking lot on the ground.

Then it was time to play!
We got our lots of Hot Wheels cars and also our Melissa and Doug building blocks.

If you put a loop of masking tape under each road segment, it will keep them from sliding around as the kids play.

Use blocks to make houses, stores, and other buildings for your town. You can always make cardboard houses if you prefer!

It’s also fun to use blocks to make tunnels for the cars.


Have fun playing with Hot Wheels cars!
Need more activity ideas with toy cars? We’ve got lots!
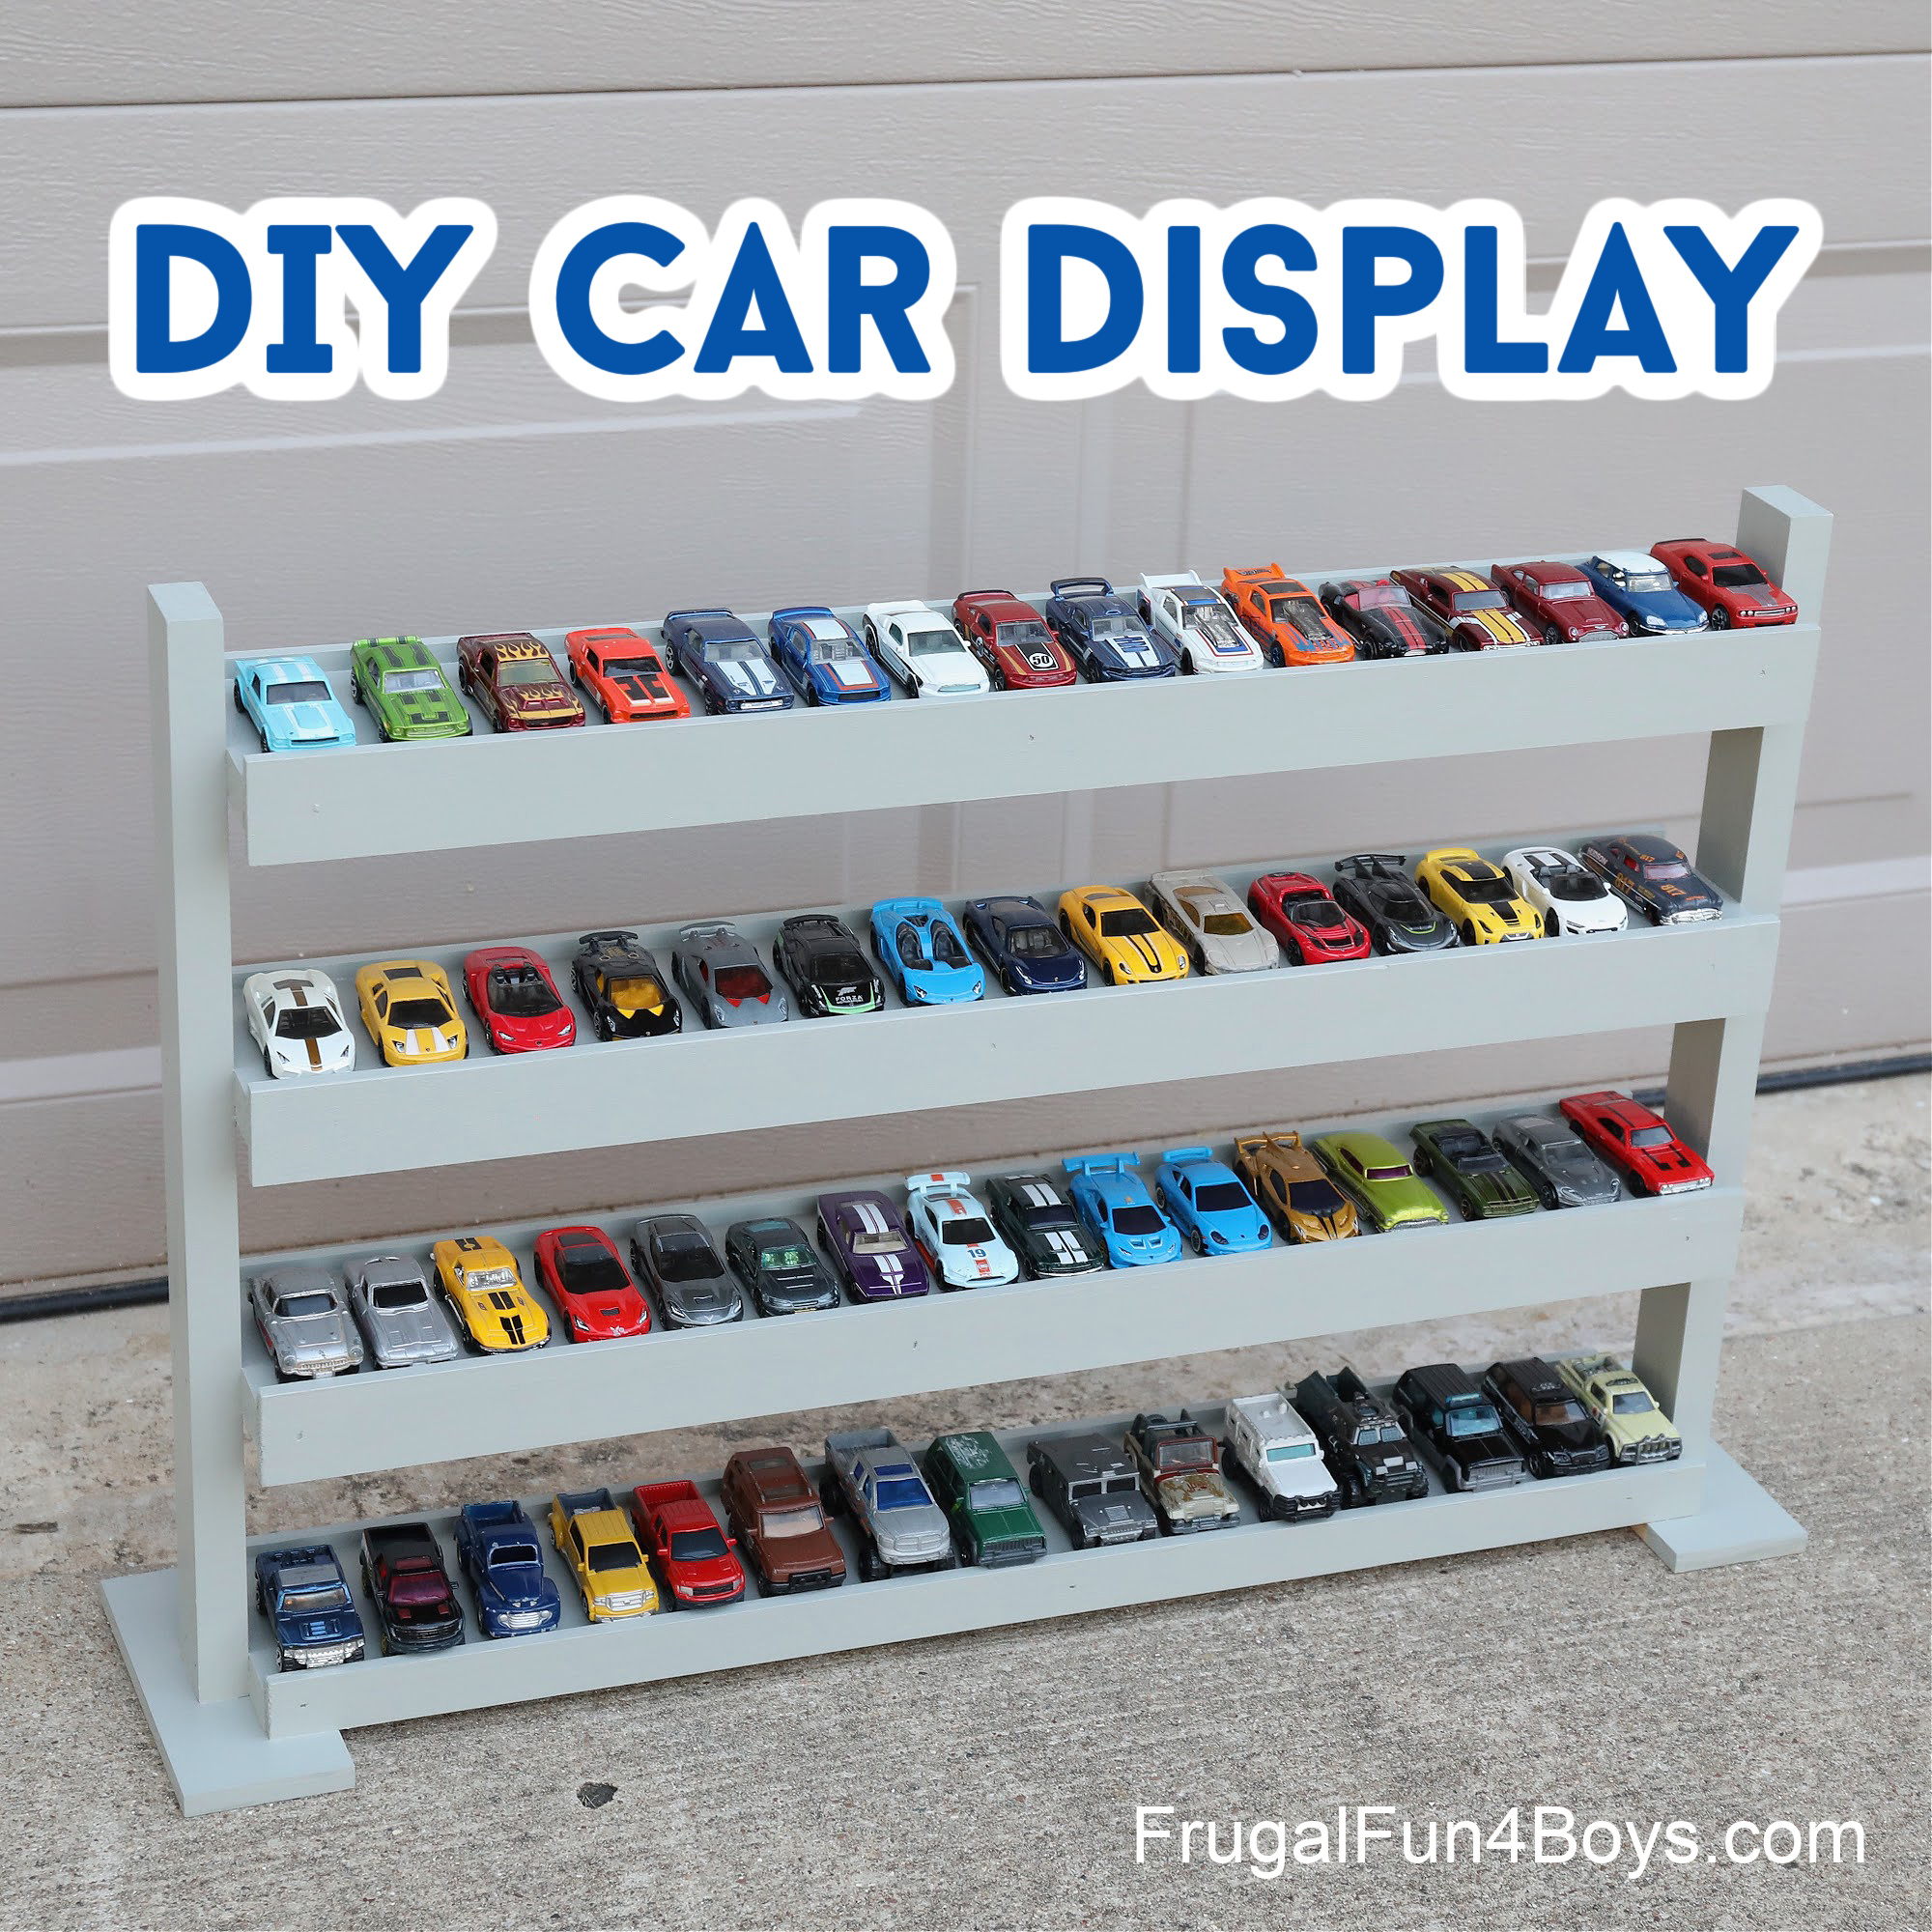
Got a big car collection? Build your own Hot Wheels Display Case.
Then here’s a collection of Car Ramps, Garages, and Play Ideas for Hot Wheels cars.

1 Comments
Evelyn Webb Jun 15, 2024
We've used cut pieces of paper towel rolls for everything from marble runs to bee homes, but never thought of a garage. We saw a boat storage much like this one day and I now have a rainy day project. Thankyou
Post a Comment