
A couple years ago, we added a collection of LEGO animals to this website. And now we’re back with MORE animals to build! These animal projects are not LEGO sets. Kids can build them with the bricks they have on hand.
Encourage kids to make substitutions if they don’t have the exact bricks we used. It’s okay to swap out colors or modify the design! All of the LEGO projects we share are meant to be springboards for kids’ imaginations, not strict rules to follow. I do understand, however, that people often want to build a project just like we have it. I’ll link to Brick Link for some of the key pieces in these LEGO animals!

CHAMELEON
My 17 year old son designed this cute little chameleon. The building process is unique on this one.

Here’s a photo that shows how it’s put together.
The head and body are made from 1 x 1 bricks that are laying on their sides. Studs on the sides of the bricks hold the legs, eyes, and back.
The lime green bricks that he used for the legs are 2 x 1 x 1 1/3 curved slopes with a recessed stud.

KANGAROO
This little kangaroo is fun to build with just a few bricks! Use different colors of brown or red if you don’t have the exact bricks shown.

Step 1: Gather the bricks shown for building the kangaroo’s head.

Step 2: Place two 1 x 2 black plates on a 2 x 4 tan plate to make the nose. Then add a 1 x 2 tan brick and two 1 x 1 tan bricks with a stud on the side. Attach the eyes.

Step 3: Place a 1 x 2 tan plate behind the eyes. Then add two more 1 x 1 tan bricks with a stud on the side.

Step 4: Attach two 1 x 2 tan plates to make ears.

Step 5: Grab the bricks shown for building the kangaroo’s body.

Step 6: Place two 1 x 2 slopes on a 2 x 4 tan plate. The color of the slopes is called medium nougat on BrickLink.
Use a 2 x 4 medium nougat brick to connect a 2 x 4 tan plate and a 1 x 2 tan plate.

Step 7: Place the 2 x 4 brick and plates on top of the other 2 x 4 tan plate. Then add a 1 x 2 medium nougat brick, a 2 x 2 tan corner plate, and a 1 x 2 tan plate.

Step 8: Add a 1 x 2 tan brick at the front of the body. Then add two 1 x 1 tan plates (or a 1 x 2 tan plate) and two 1 x 2 medium nougat slopes. Find the plates shown.

Step 9: Add two 2 x 2 tan plates to the body to make the kangaroo’s neck. Then add a 1 x 2 medium nougat jumper plate (plate with one stud) to the back of the body. This will hold the tail.
Make the legs. Each leg is a 1 x 4 tan plate and a 1 x 2 tan brick.

Step 10: Build the tail. From the bottom up, we used a 1 x 2 tan slope, two 1 x 1 tan plates, a 2 x 1 x 1 1/3 curved slope, and another 1 x 1 tan plate.

Step 11: Attach the tail and then add a 1 x 2 tan plate to make the kangaroo’s left arm. Then he’s complete!
Note: If you have two 2 x 2 corner plates to use for both arms, that’s better. I couldn’t find a second one!

ORCA
My 15 year old designed this adorable orca! I am not posting full instructions on this one, but you should get a good idea of how he built it by looking at the pictures.

Basically, grab all your black curved slope bricks and wedge plates (like the one for the tail) and see what you can do!

SNAKE
Here’s a simple snake build that kids can assemble in minutes!
Grab the bricks shown. Kids can use whatever colors they want.
Here’s a link to the 1 x 2 – 1 x 2 hinge plates.

Then here’s the assembled snake! Easy peasy. He can even slither because of the hinge plates!

RACCOON
My 12 year old built this one with a little help from me. We had so much fun with it!

Step 1: Start with a 4 x 6 light gray plate. Add three 2 x 4 light gray bricks.

Step 2: Add more plates on top. We used two 1 x 6 plates, a 2 x 4 plate, and a 2 x 6 plate.

Step 3: Create the raccoon’s back by adding two 2 x 4 dark gray slopes and two 1 x 2 dark gray slopes. Then add a 1 x 2 light gray plate with a socket on the side. This will hold the tail.

Step 4: Place two 1 x 1 white bricks with a stud on the side and a 1 x 2 light gray brick on the plate that sticks out from the body. Use a 1 x 2 black jumper plate for the nose (a 1 x 2 plate with one stud on top).

Step 5: Grab a 2 x 4 light gray brick. Place a 2 x 2 light gray brick on top. Then add two 1 x 1 light gray bricks with a stud on the side and two 1 x 1 light gray bricks. Use 1 x 1 slopes (30 degree) for the ears. Connect two eyes to two black jumper plates.

Step 6: Attach the eyes to the face.

Step 7: Attach the face behind the nose.

Step 8: Add legs and feet. We used a 1 x 1 light gray brick and a 1 x 2 black plate for each one.

Step 9: Build the tail using whatever black and light gray plates you have. We put a joint in the middle of the tail. Use a 1 x 2 dark gray plate with a ball on the side to attach the tail to the body.

Step 10: Attach the tail to the body and your raccoon is complete!

BROWN BEAR
This cute little brown bear cub has full building instructions in Epic LEGO Adventures with Bricks You Already Have, so I can’t post instructions here. But I highly recommend the book, haha!

Here’s another view. He’s so cute!

TIGER
This little tiger is based off the one I built for our first LEGO book, Awesome LEGO Creations with Bricks You Already Have. But I made a few changes with the body.

This photo shows how the head is attached. The 2 x 2 white tile with one stud on top allows the head to pivot.

Now is the PERFECT time to pre-order Awesome LEGO Creations with Bricks You Already Have! An updated and expanded edition of this book is releasing on October 1, 2024.

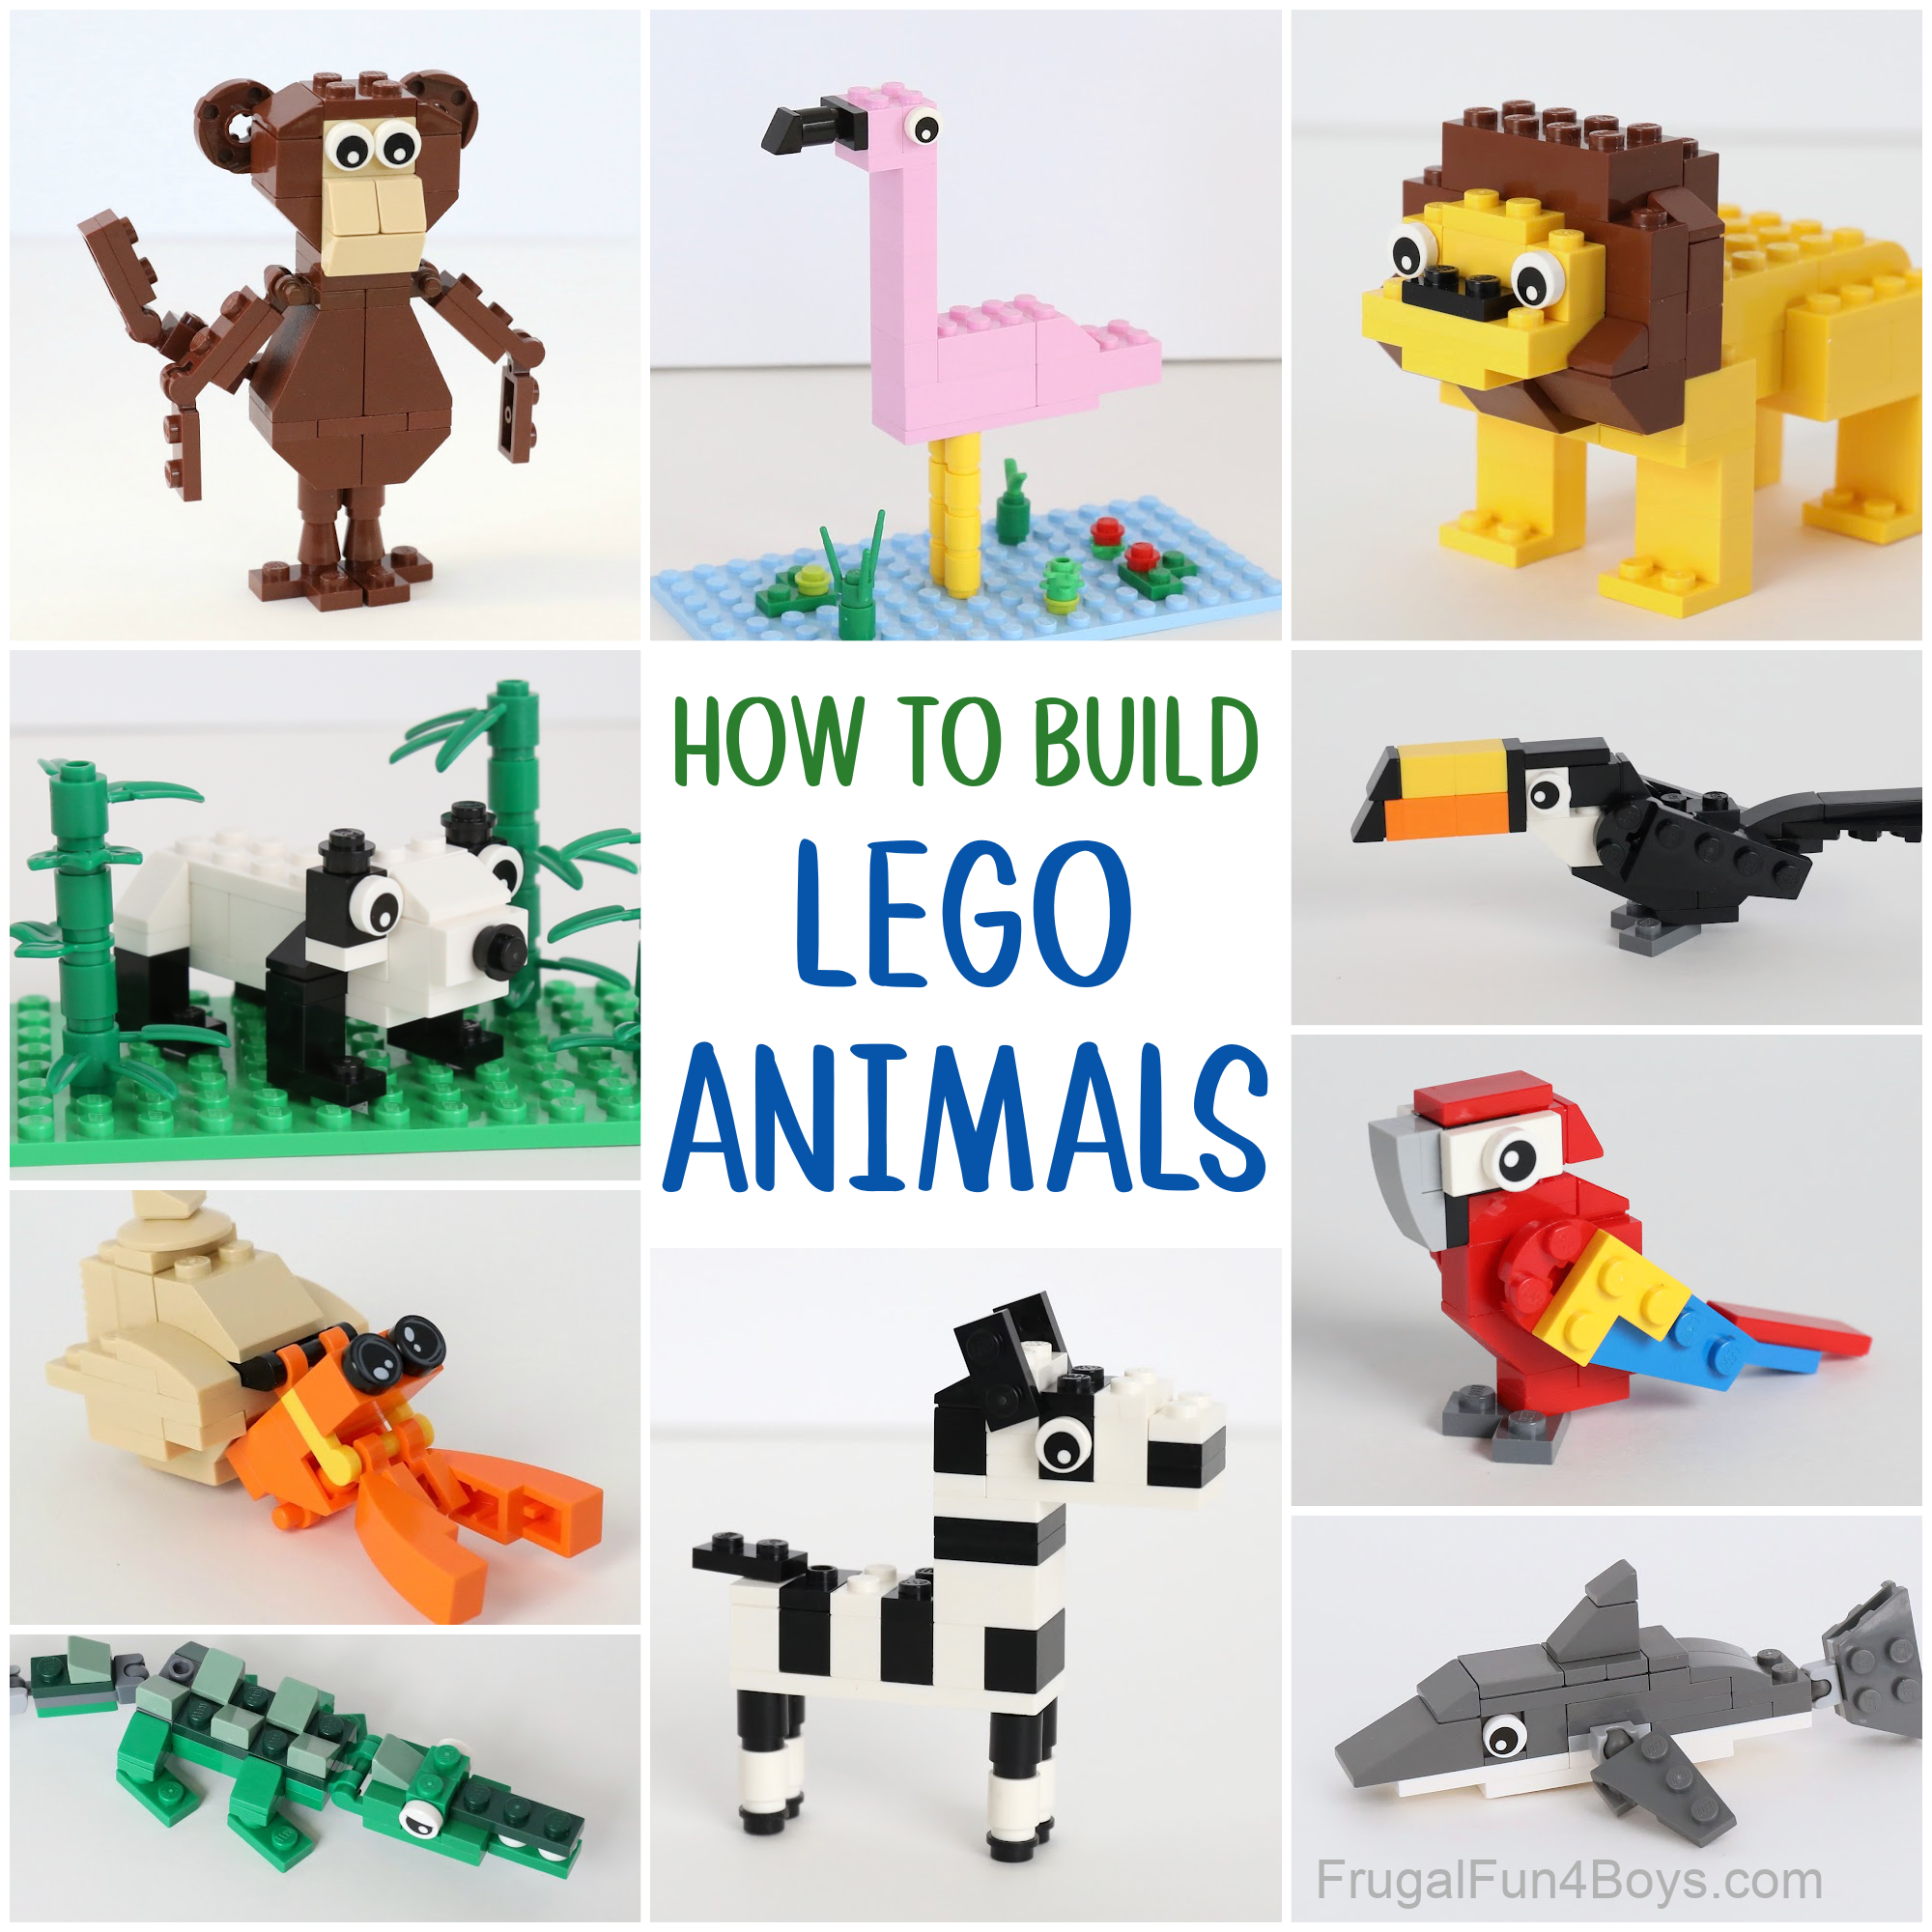
More LEGO Animals to Build
Here are more LEGO Animals to Build including a zebra, shark, parrot, and more.
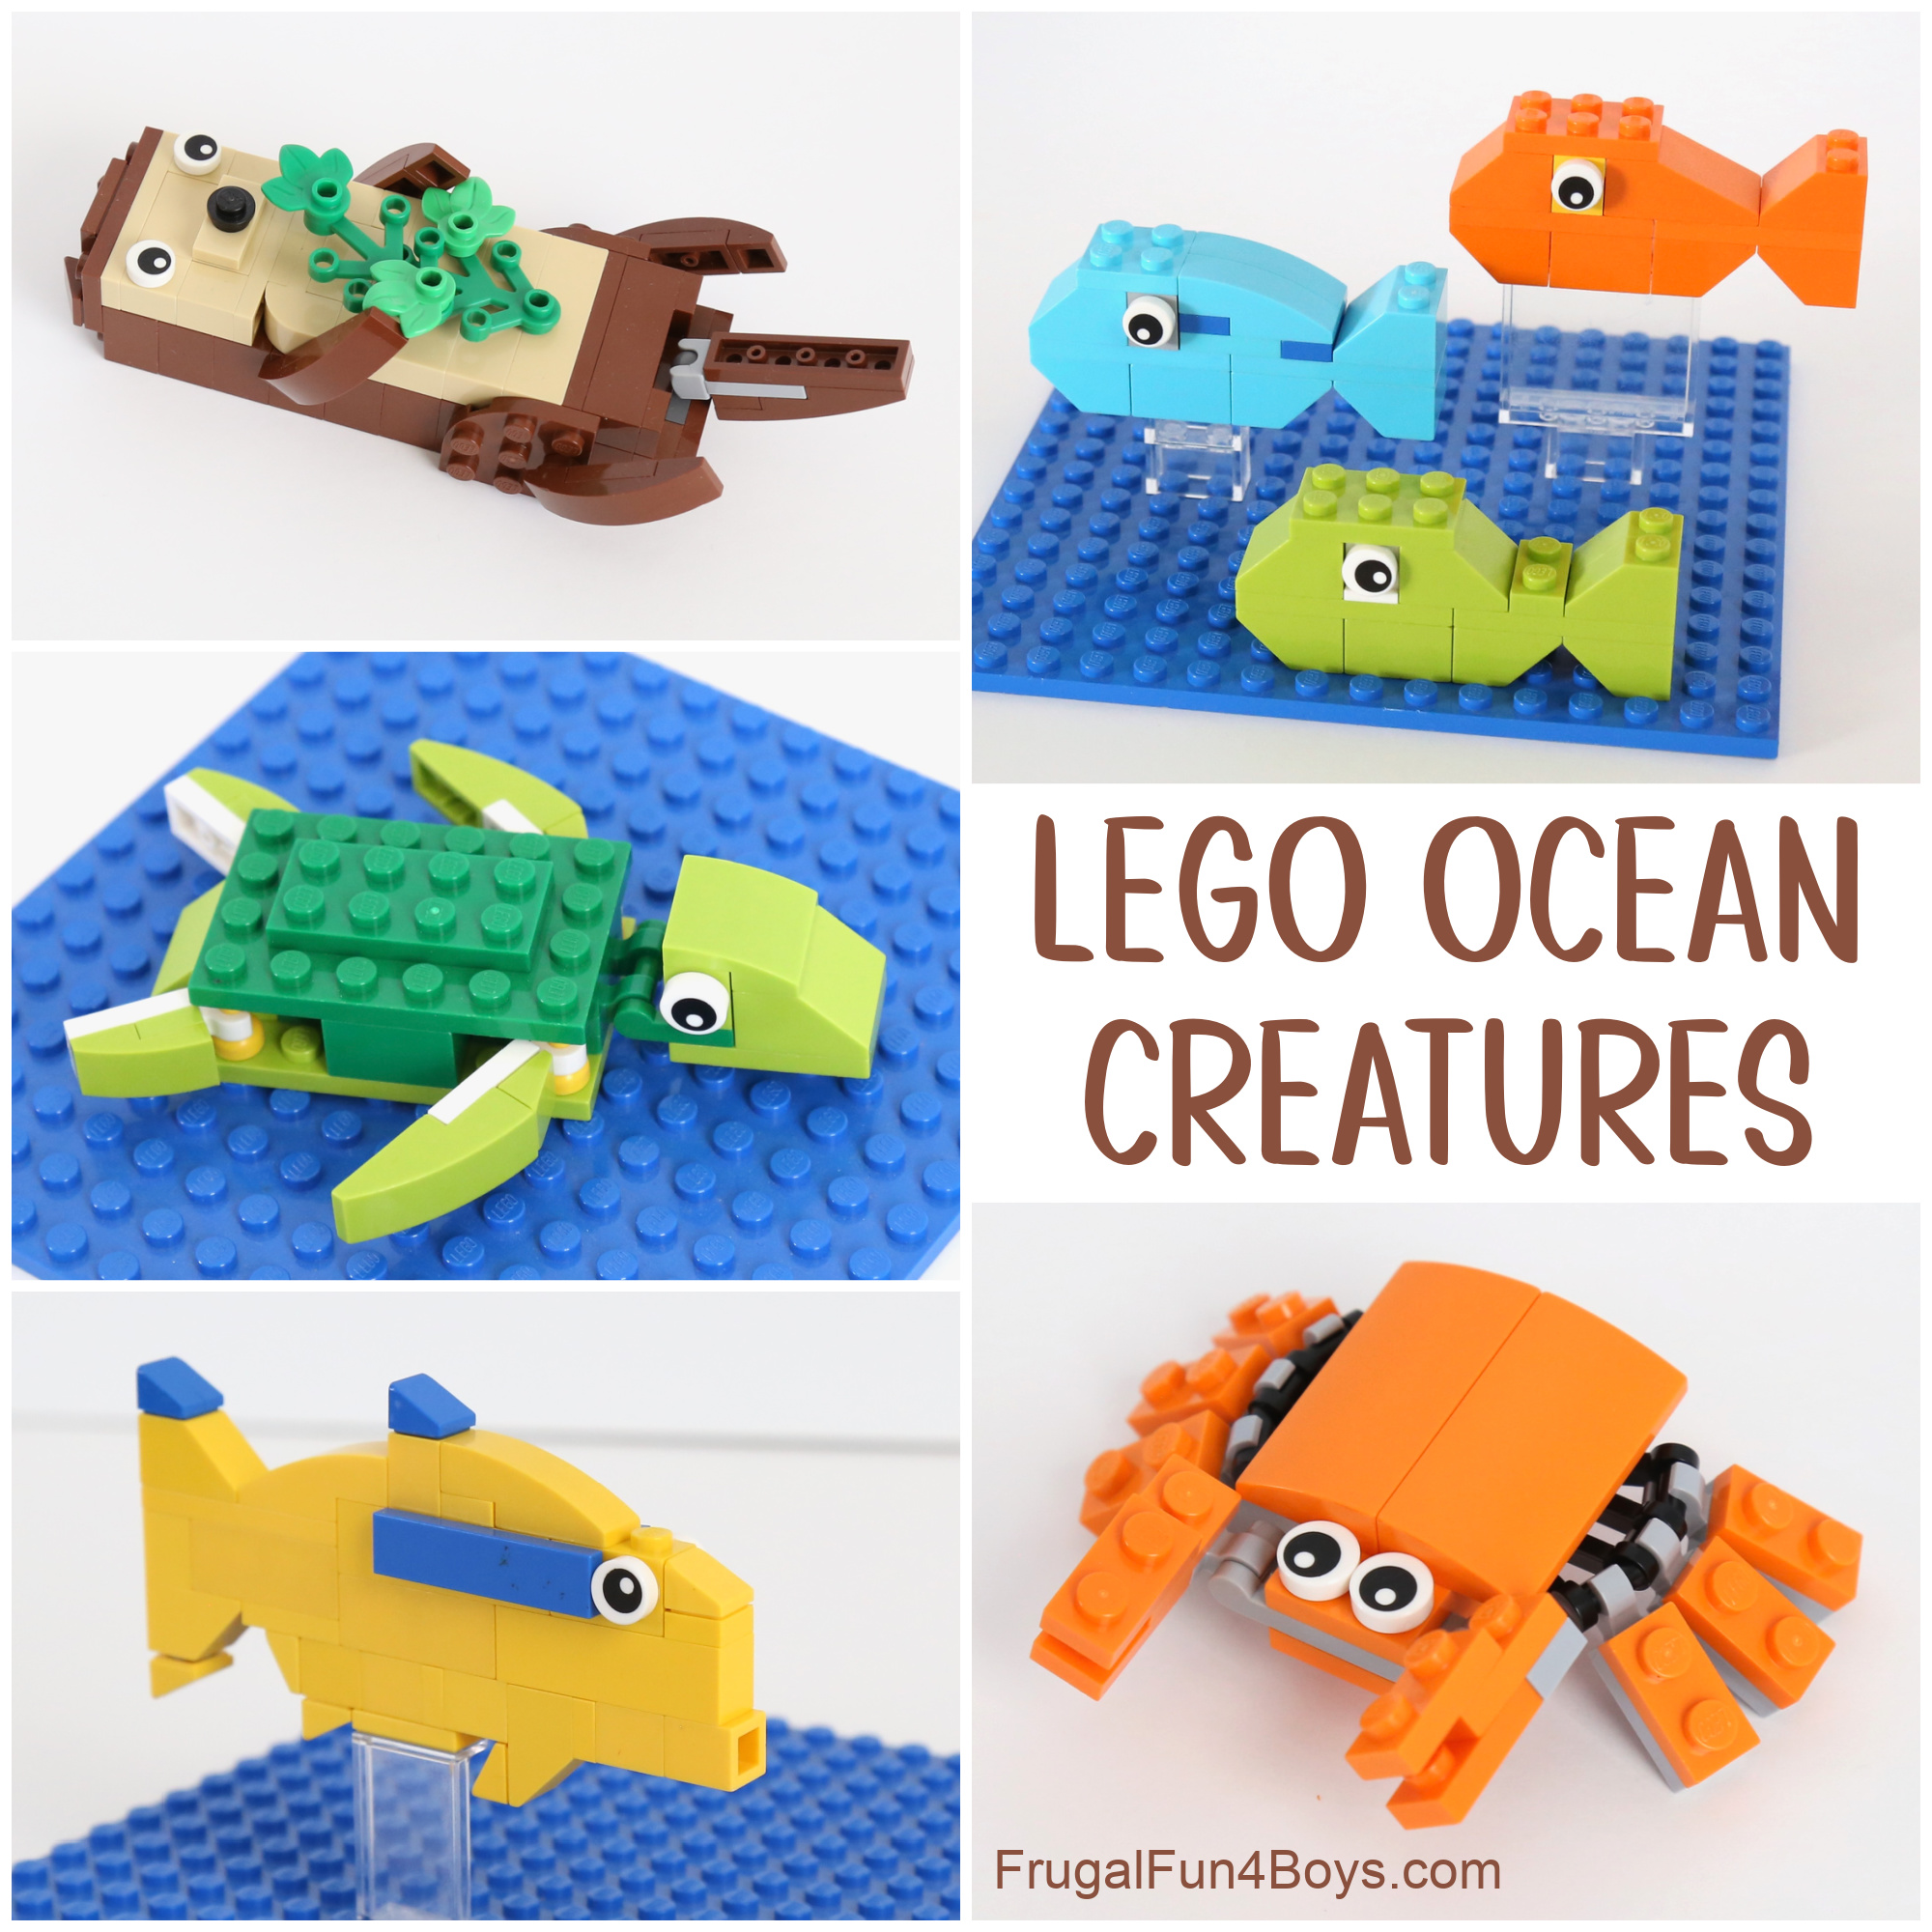
Then we also have a collection of LEGO Ocean Animals to Build.
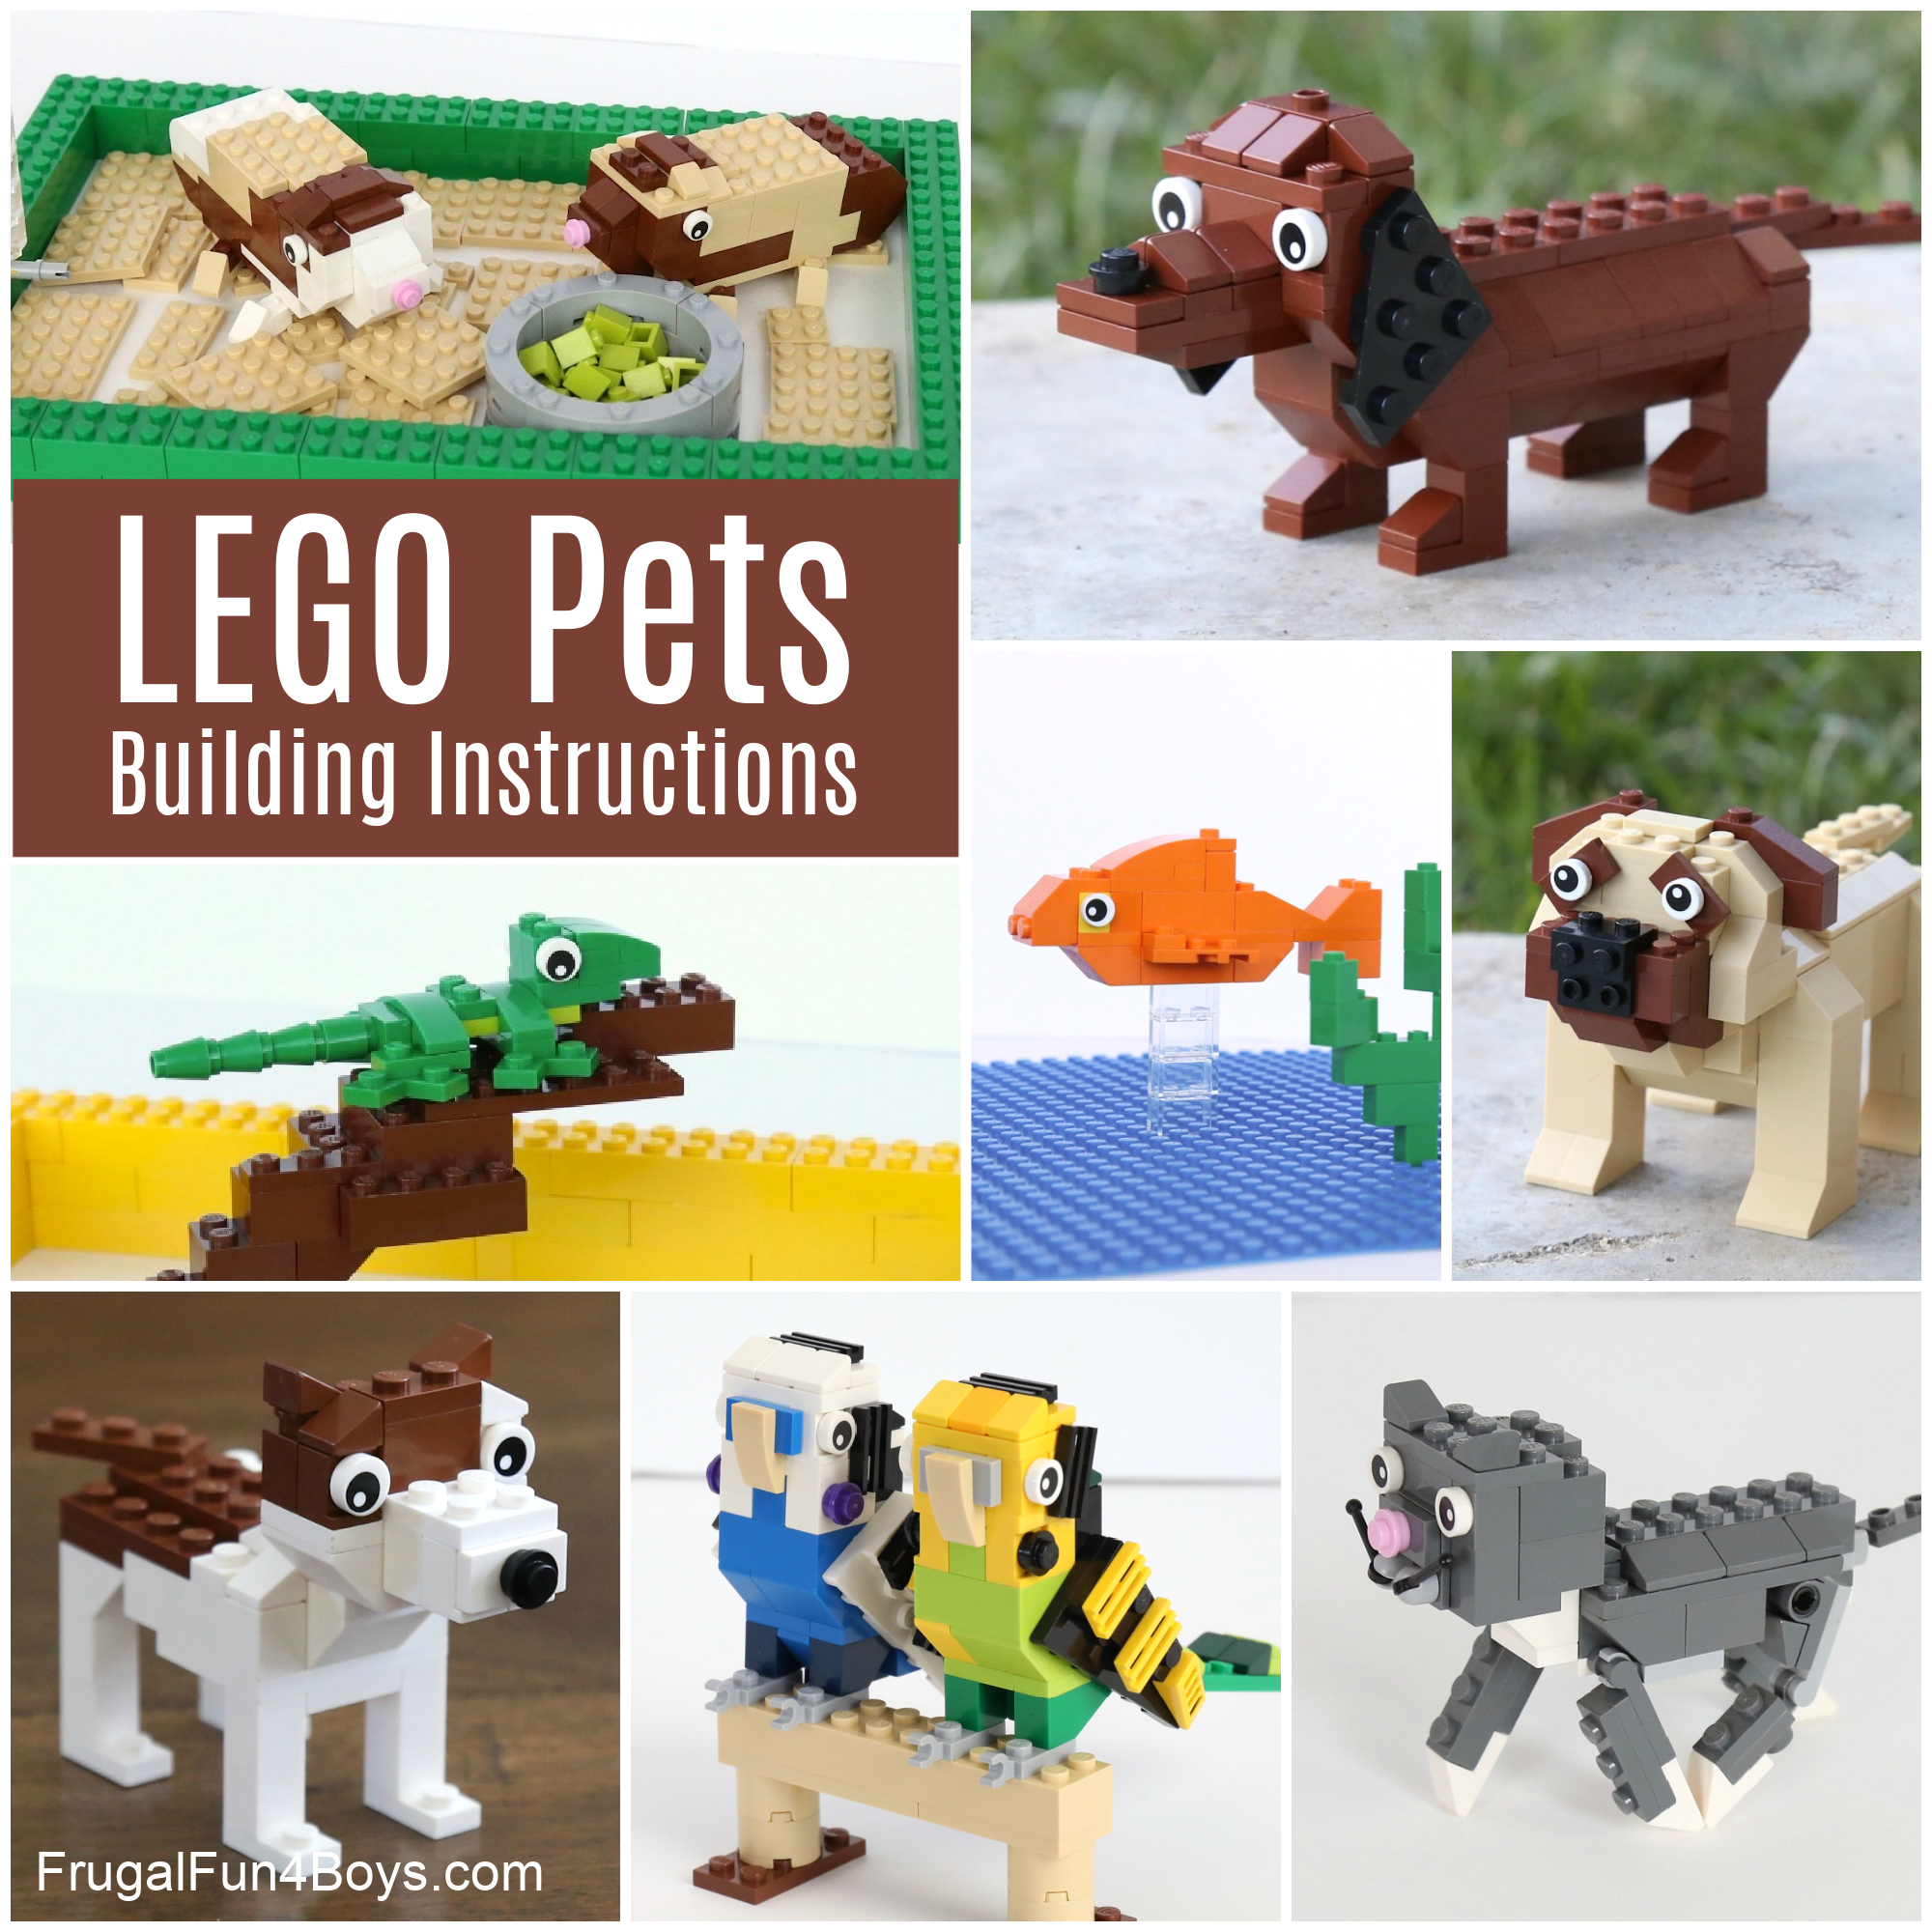
Here are some adorable LEGO Pets to Build. These pets don’t require feeding or expensive vet trips, and they don’t make a mess!
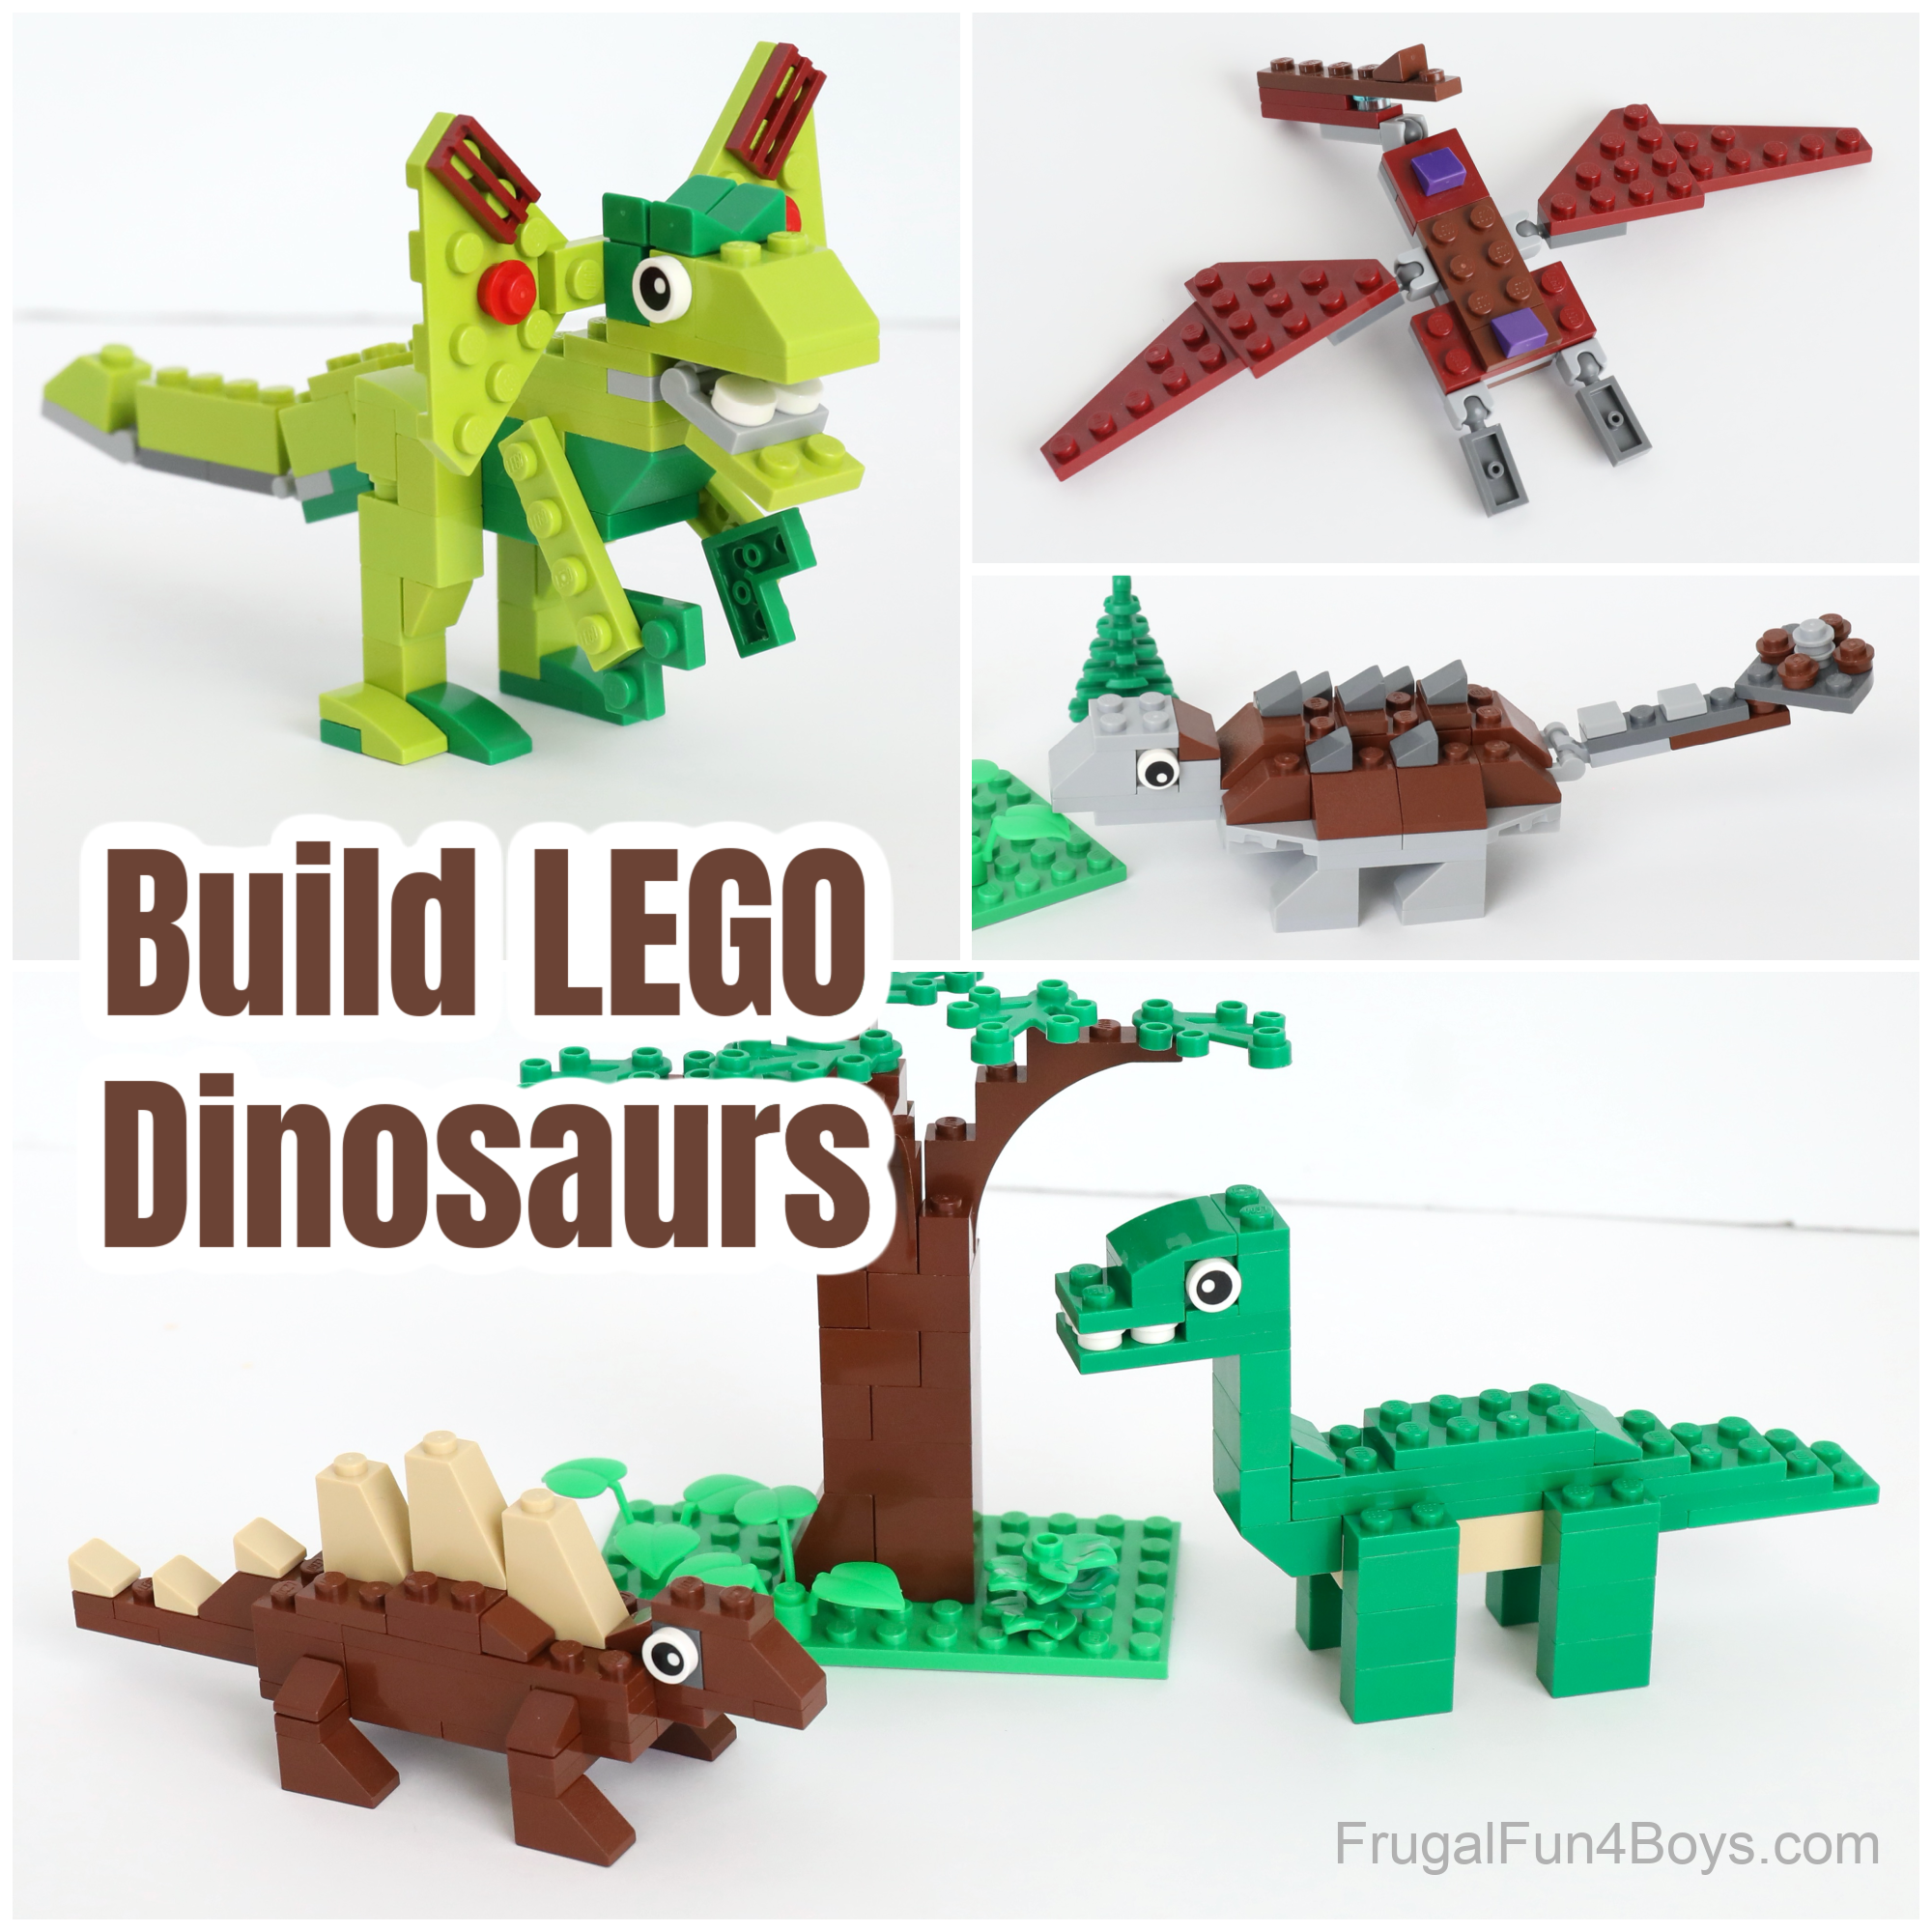
Or you might want to go with prehistoric animals! Here’s a collection of LEGO Dinosaurs to Build.
0 Comments
Post a Comment