
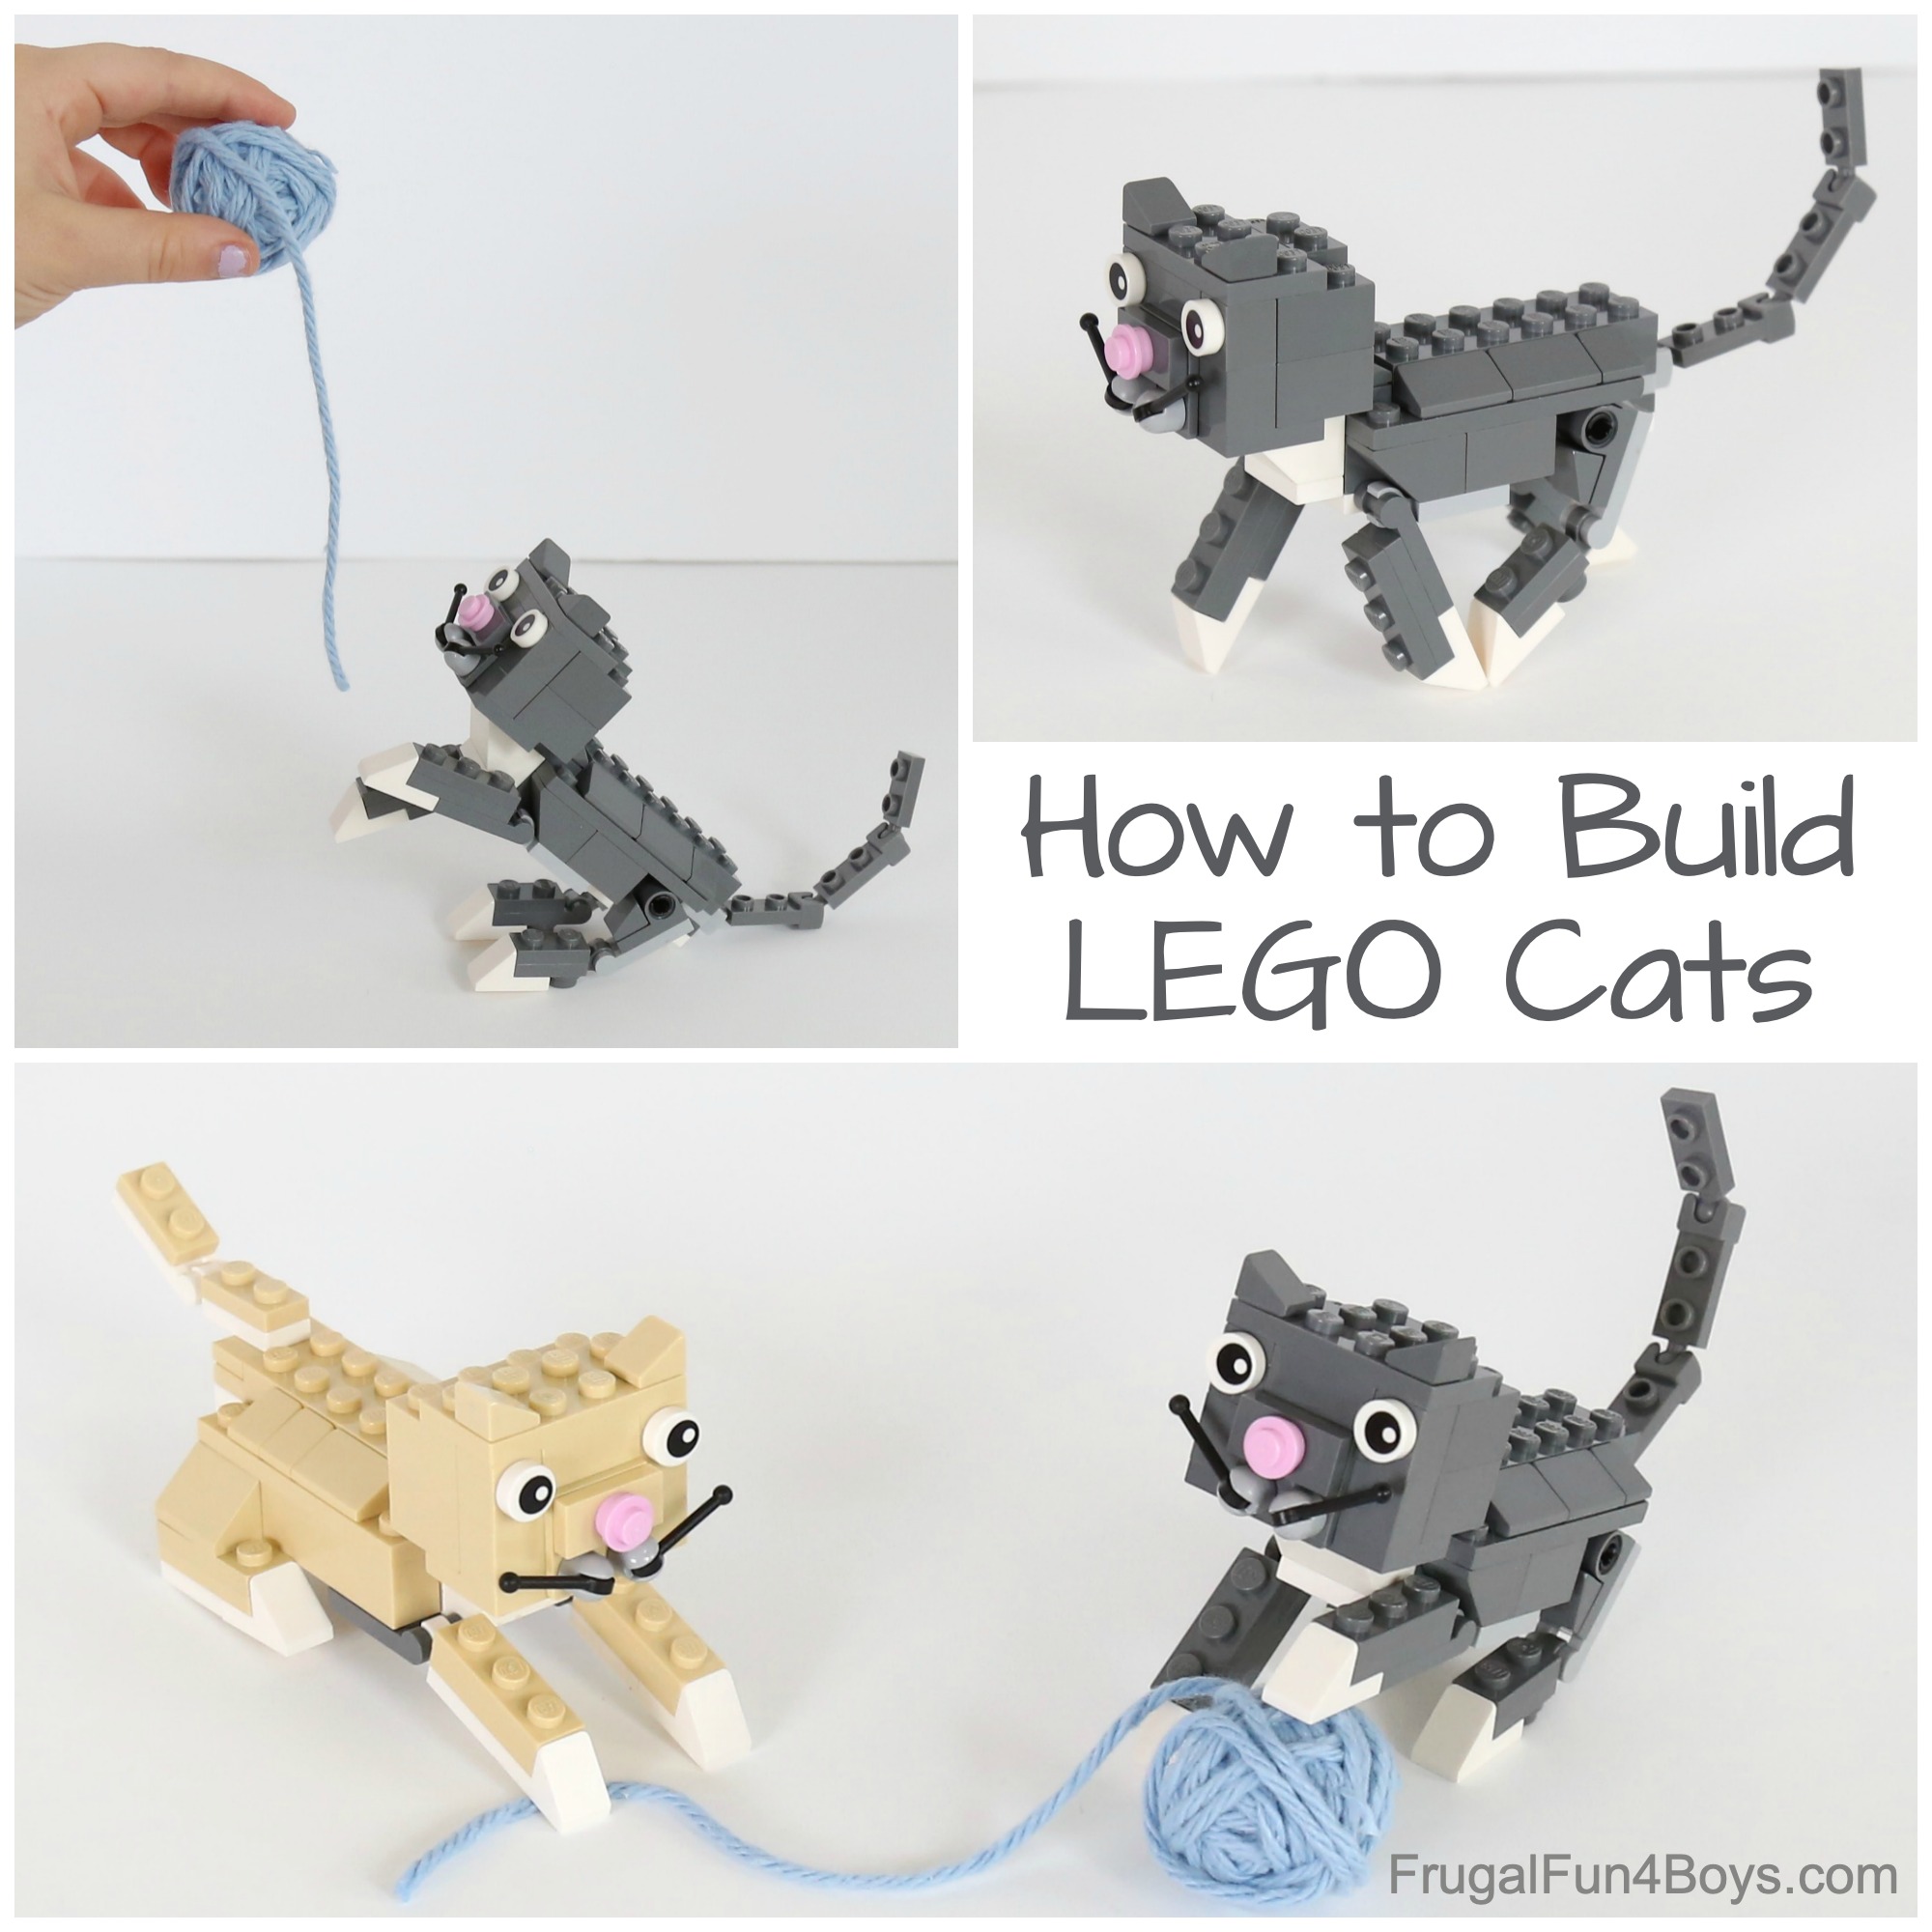
Use the LEGO® bricks in your collection to build some adorable CATS! This is such a fun building idea, and we’ve got step-by-step instructions in this post to make it easy to build your own super cute cats.
We love creating all kinds of cute LEGO® pets! You can also find instructions for LEGO® dogs and puppies on this site.
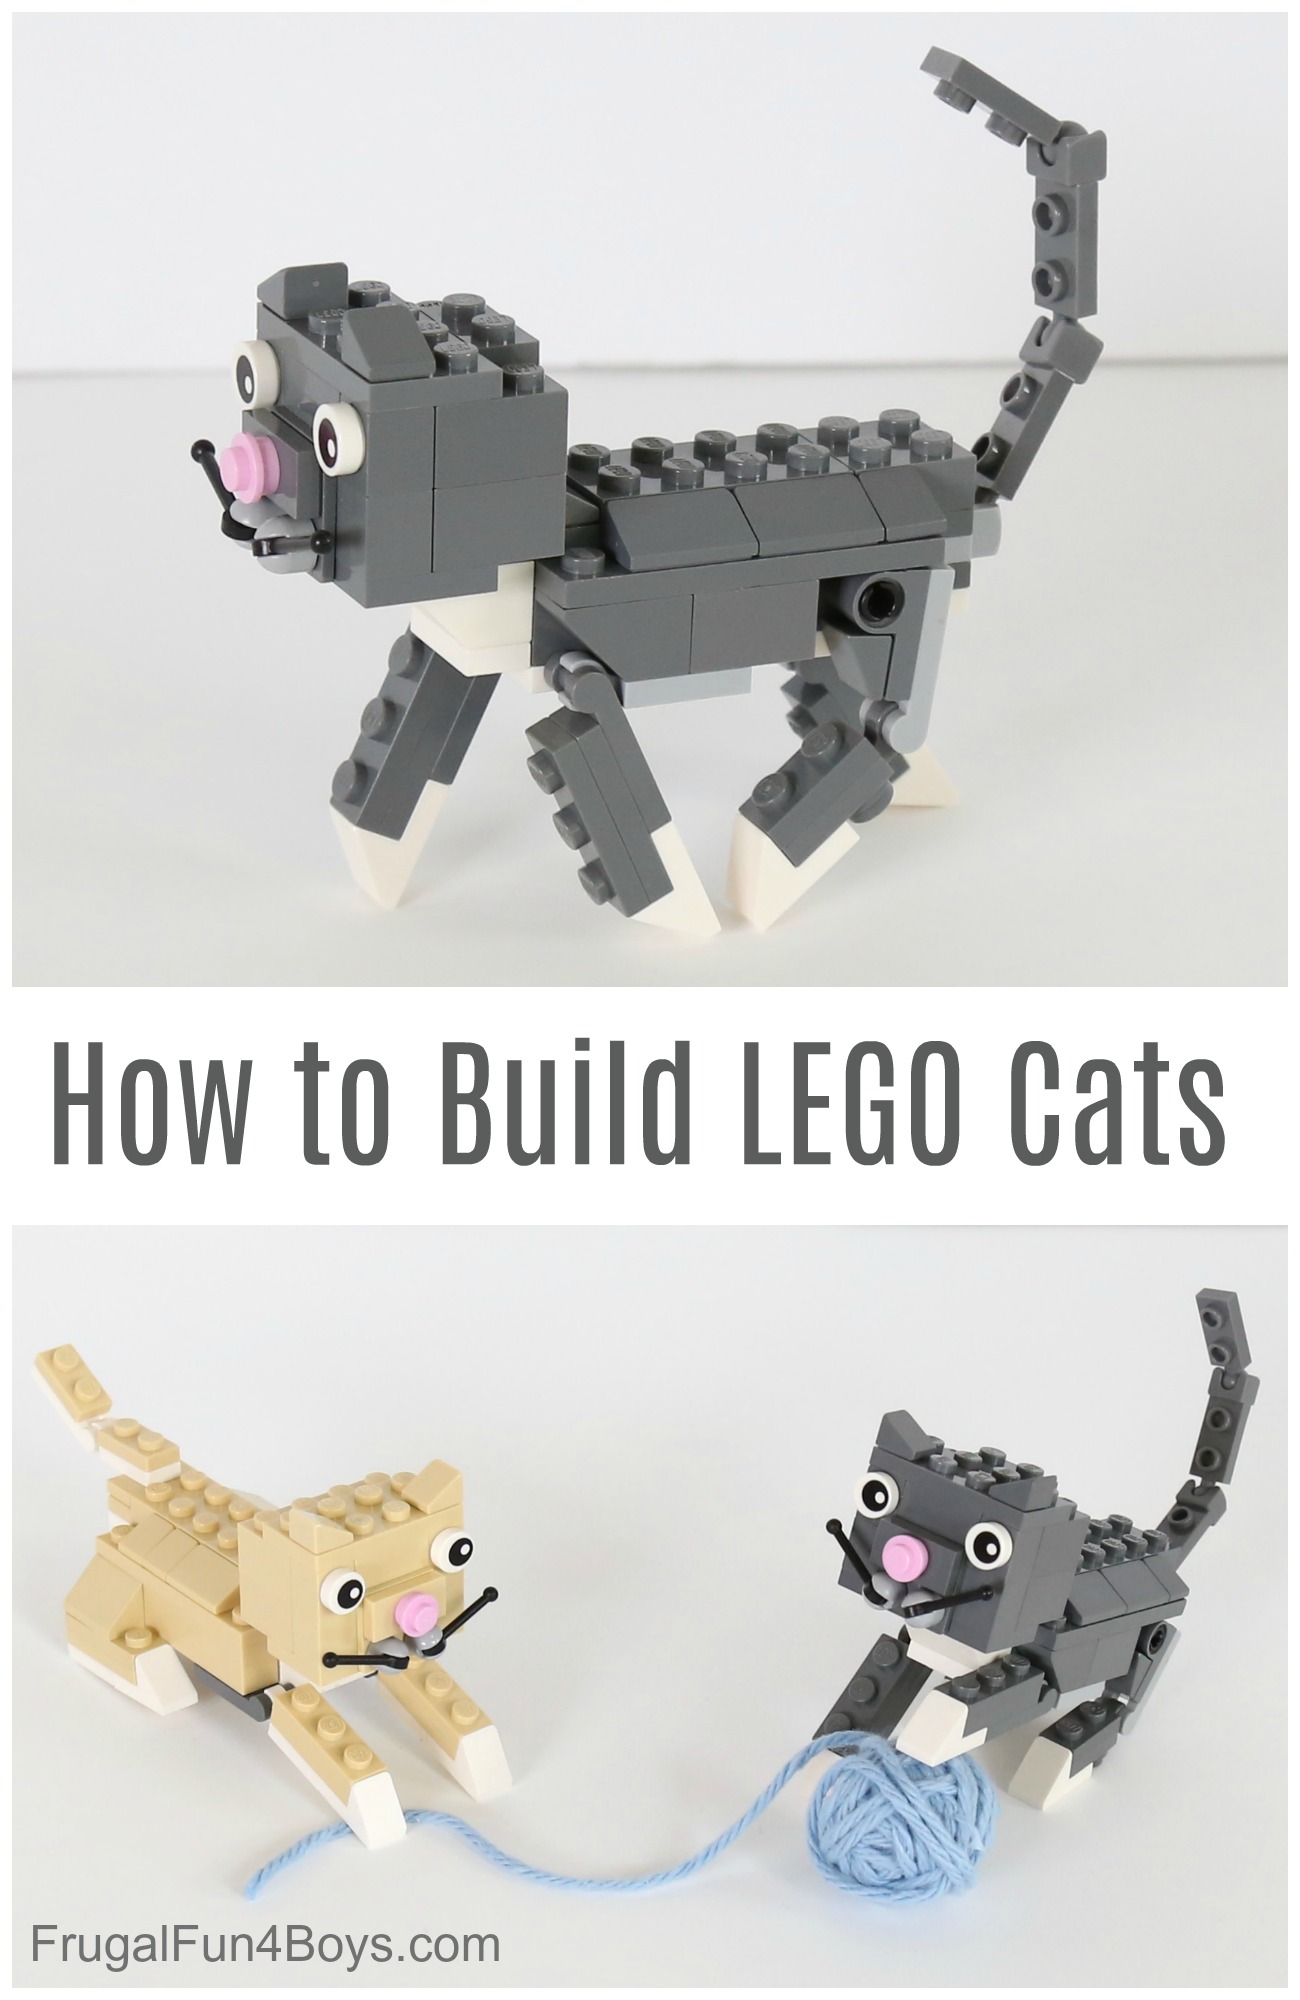
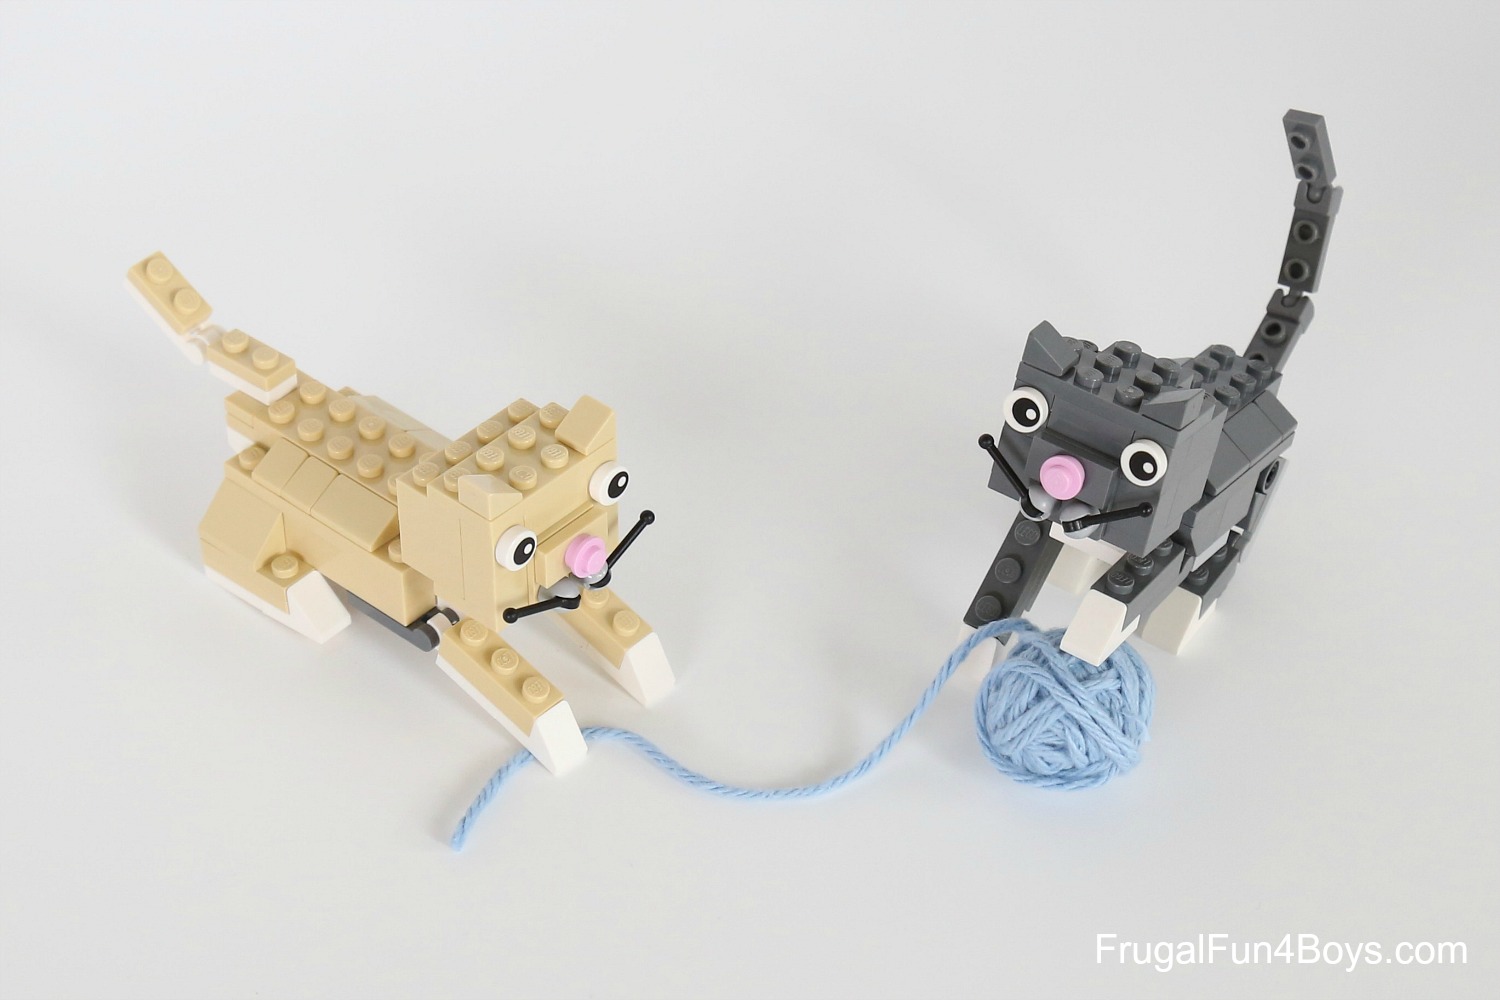
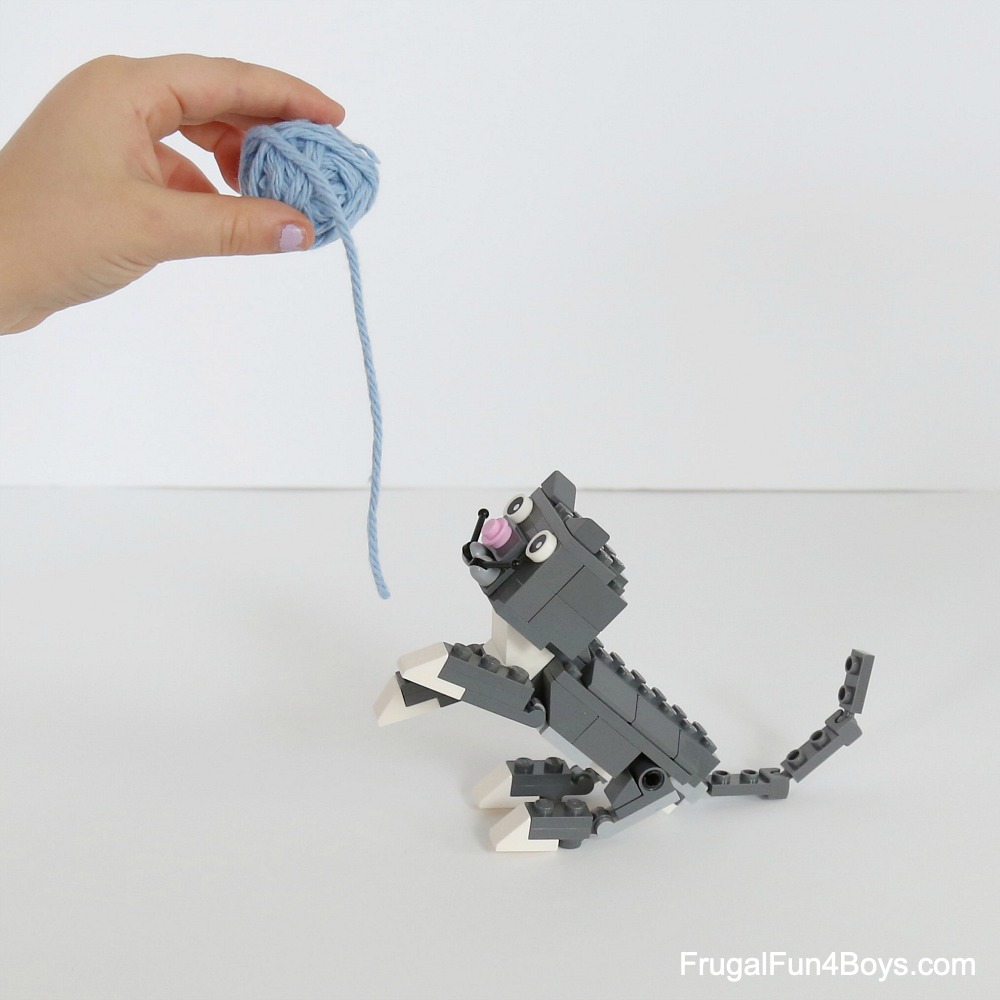
These cats are very posable, but the design is sturdy enough that they are not constantly coming apart – important for little hands!
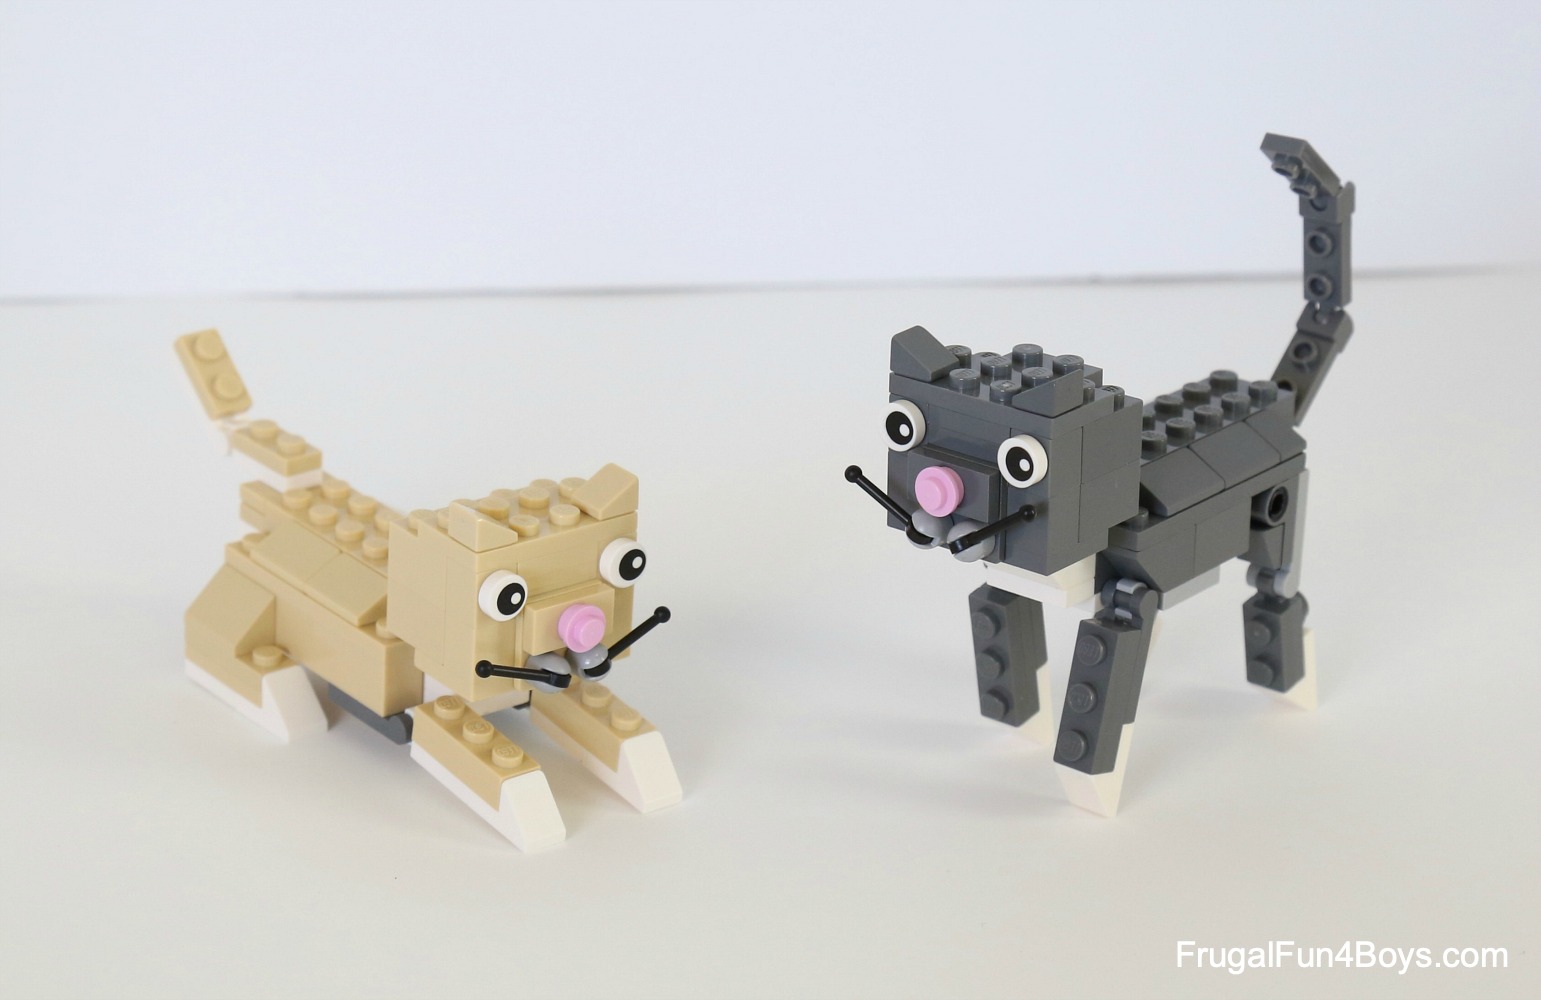
The white paws are a big part of what makes them so cute, in my opinion! We had two of these pieces from a police car set, and we ordered more from Brick Link.
The part name is white slope 45 2 x 1 with 2/3 cutout.
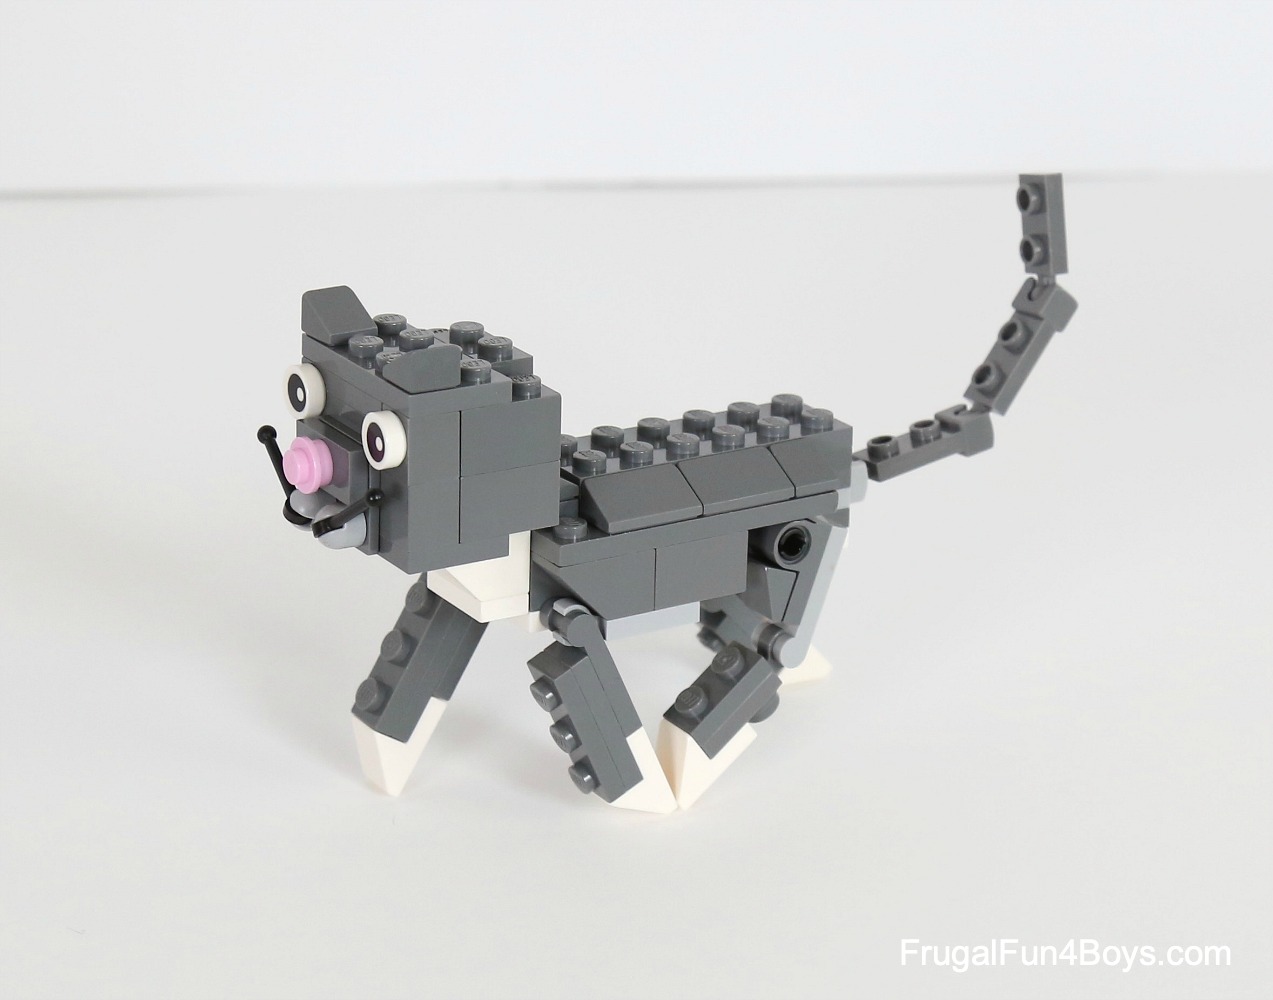
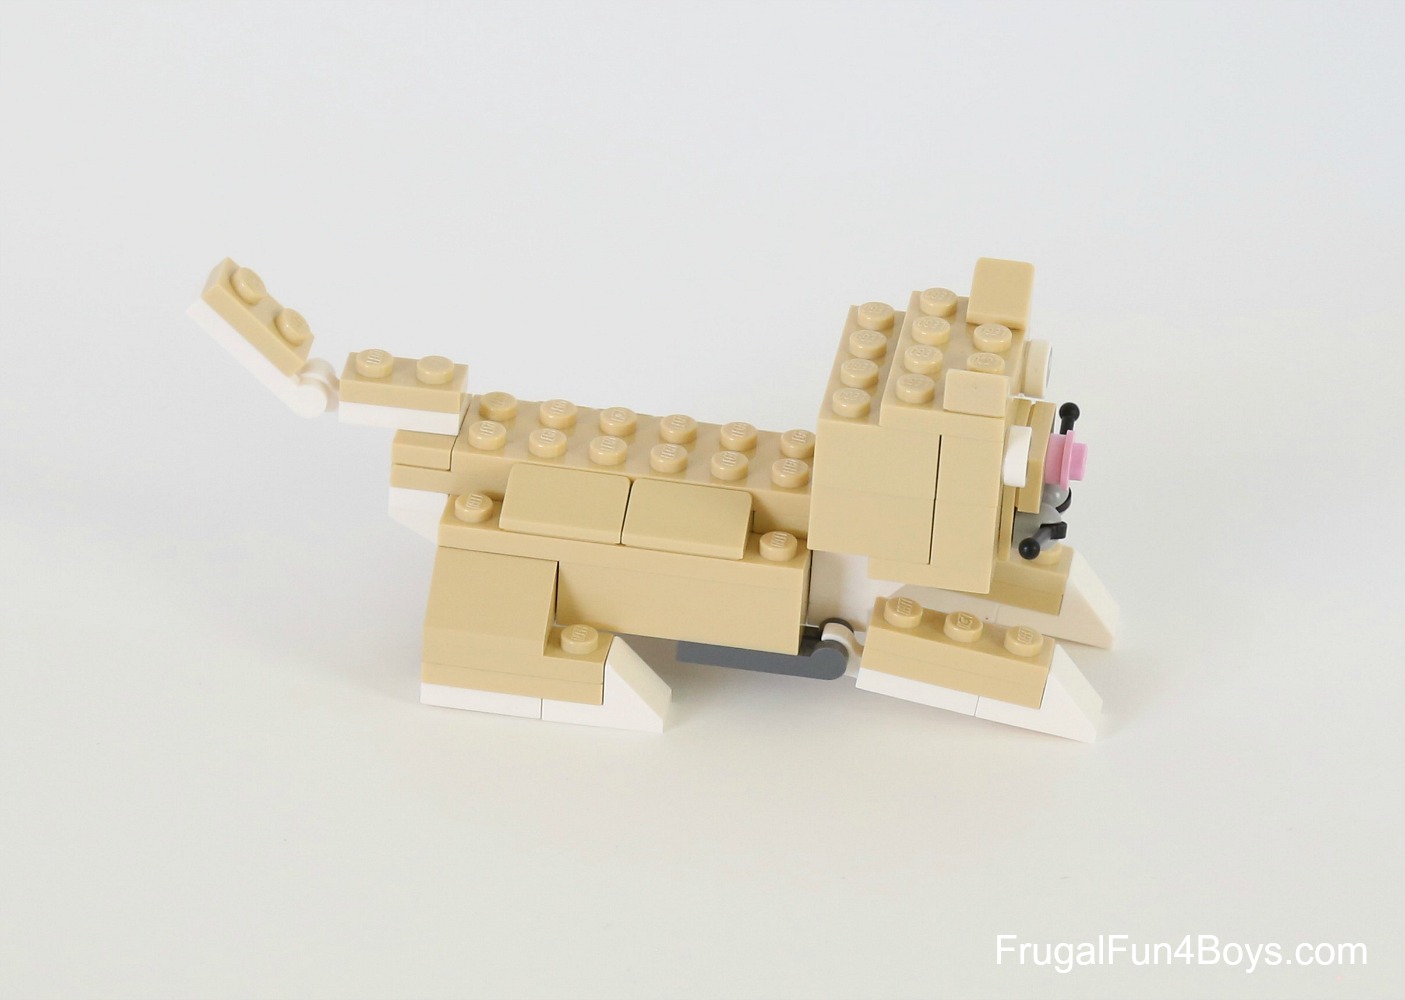
The gray cat has back legs that are fully posable. The tan cat has legs that are constantly lying down, but should be easier to build with more basic pieces.
Aren’t they SO CUTE? And no cat hair to contend with! Or claws. Or vet bills. Ha ha!
How to build the gray cat: (Make it whatever color you want!)
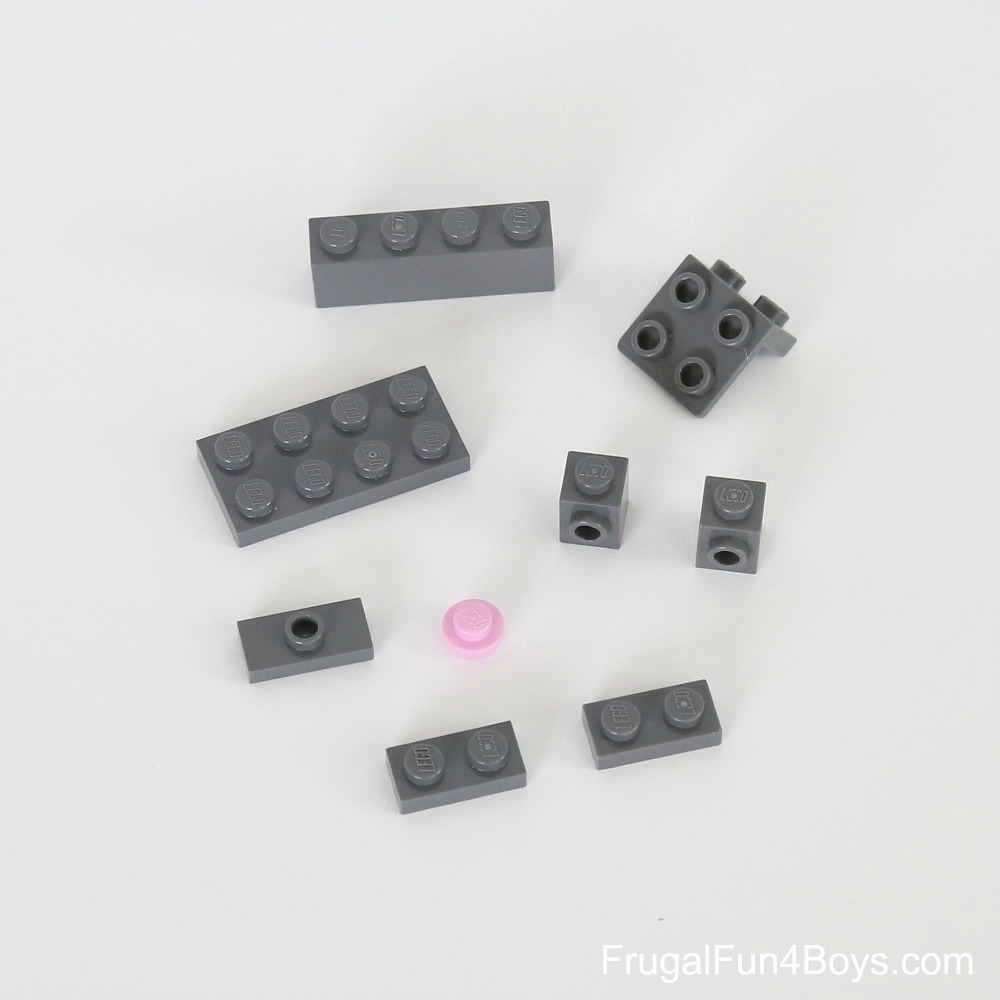
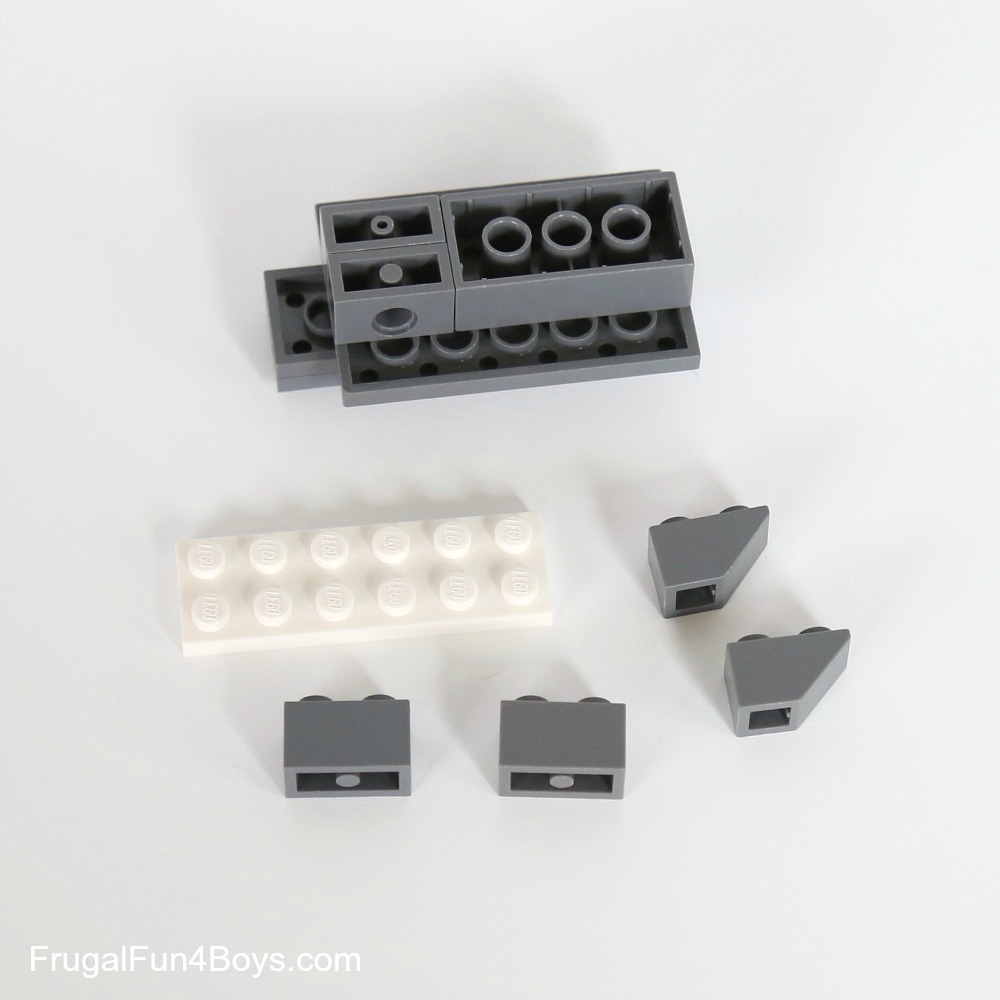
Step 1: Gather the bricks shown for building the cat’s face.
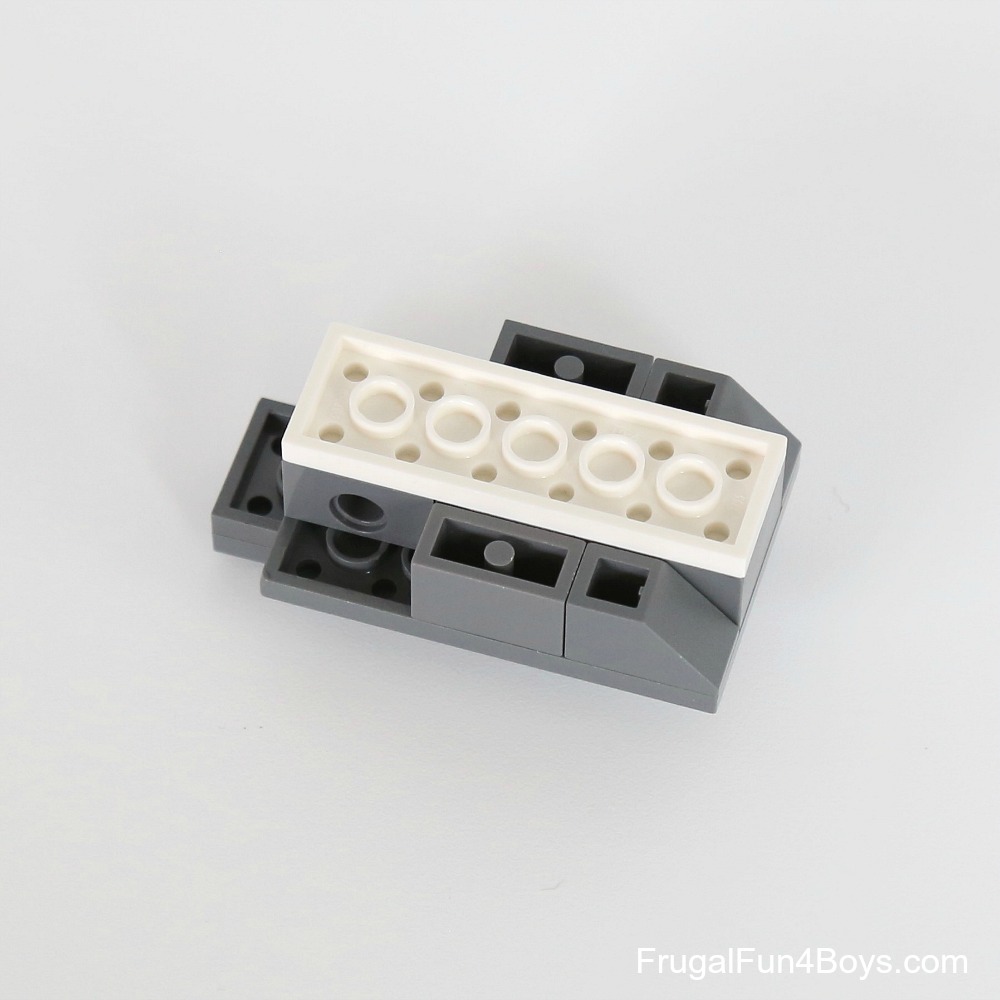
Step 2: Place a 1 x 4 brick on top of a 2 x 4 plate. Then add a 1 x 2 – 2 x 2 bracket.
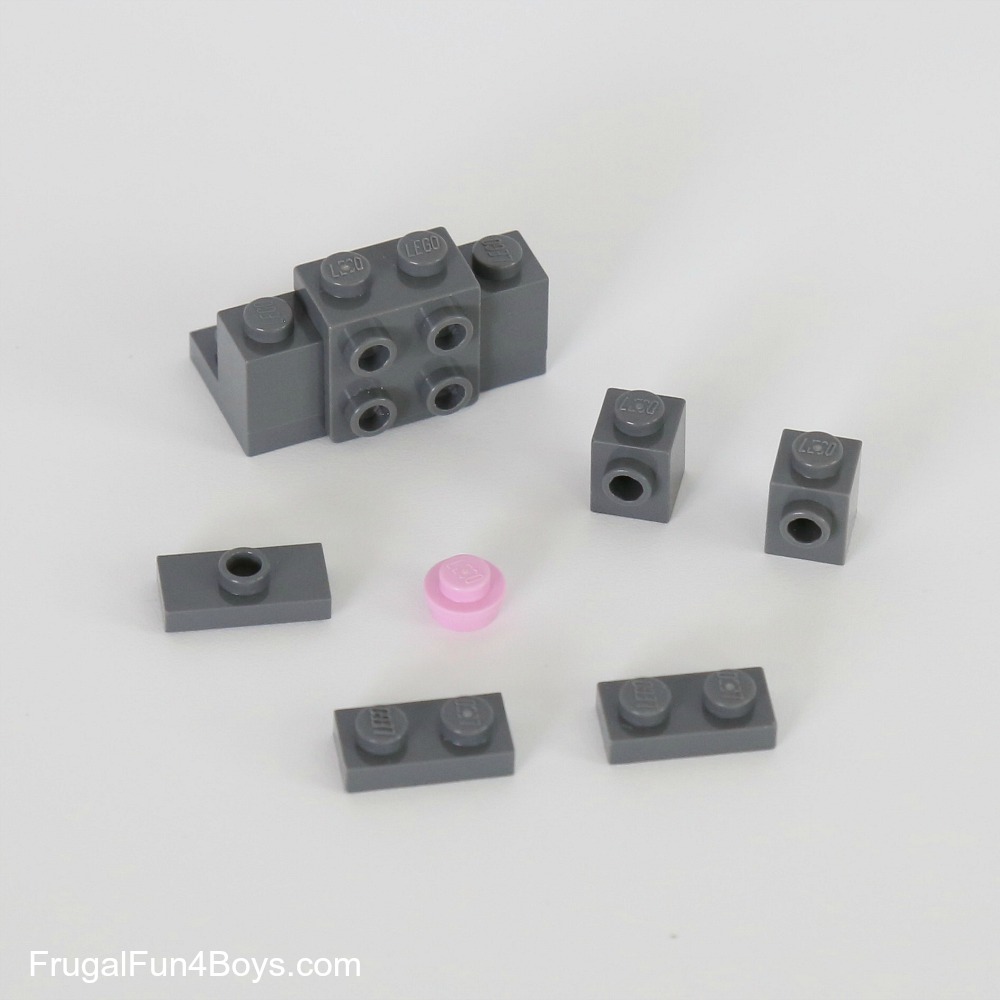
Step 3: Add two 1 x 2 dark gray plates and two 1 x 1 dark gray bricks with a stud on the side.
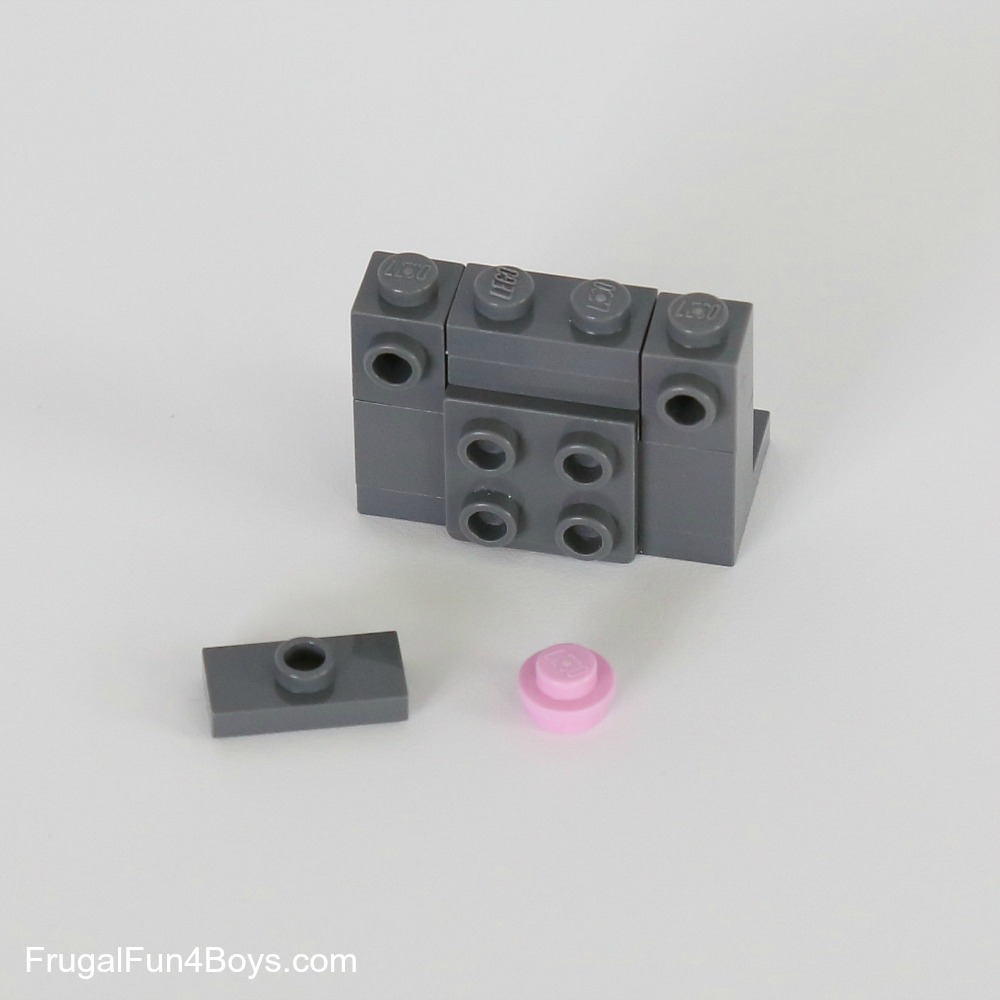
Step 4: Make a cute pink nose by attaching a 1 x 2 plate with one stud and a 1 x 1 pink round plate. Then find two eyes and two antennas to use for whiskers.

Step 5: Attach the eyes. Attach the antennas to the bracket. Then find the bricks shown.
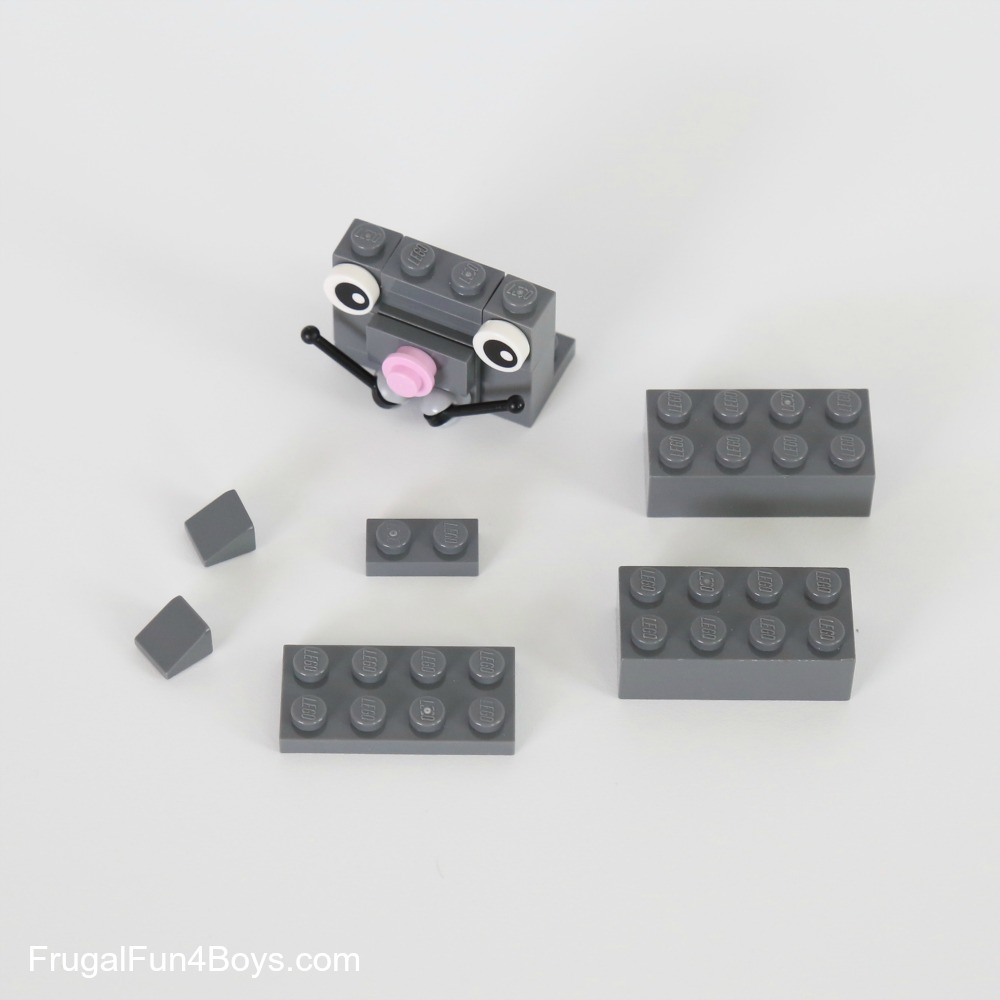
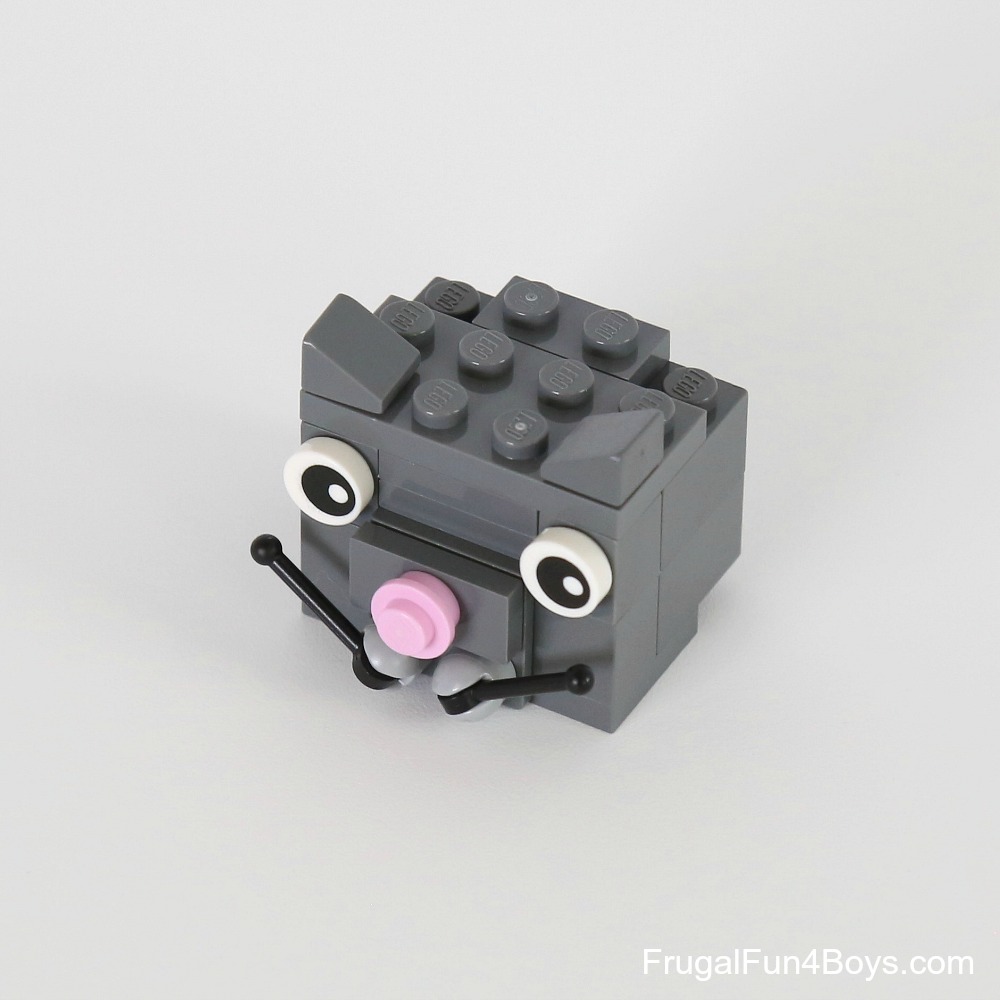
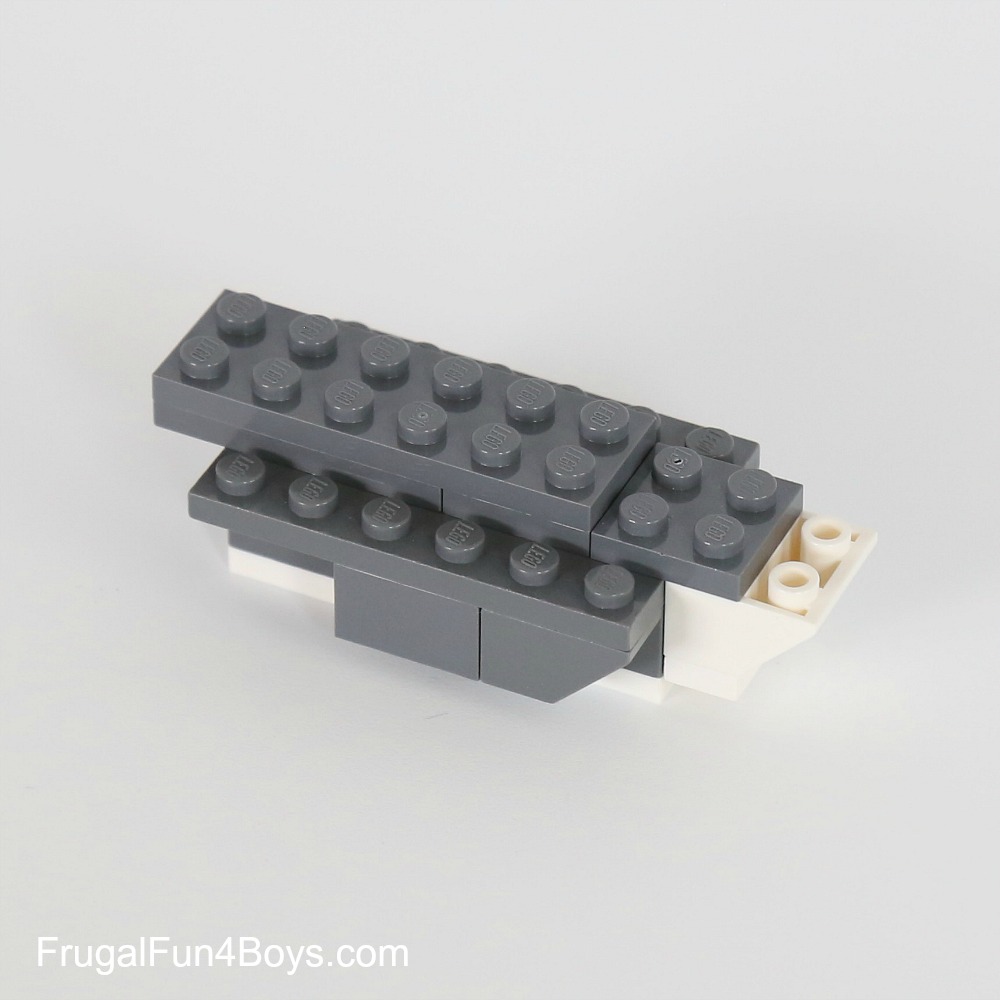
Step 6: Add two 2 x 4 bricks to fill in the head. Then add a 2 x 4 plate on the top of the head.
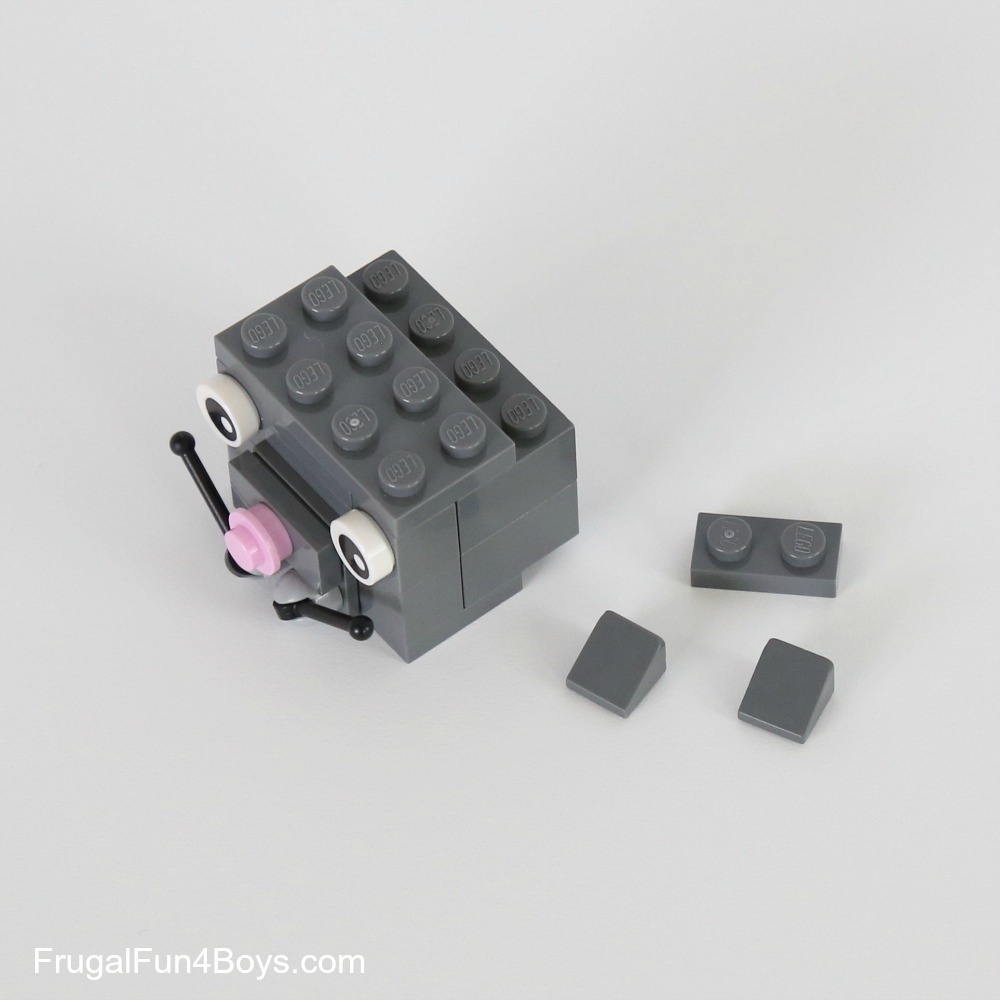
Step 7: Finish up the head with a 1 x 2 plate and two 1 x 1 slopes to make ears.
Step 8: Now build the body. Gather the dark gray plates shown.
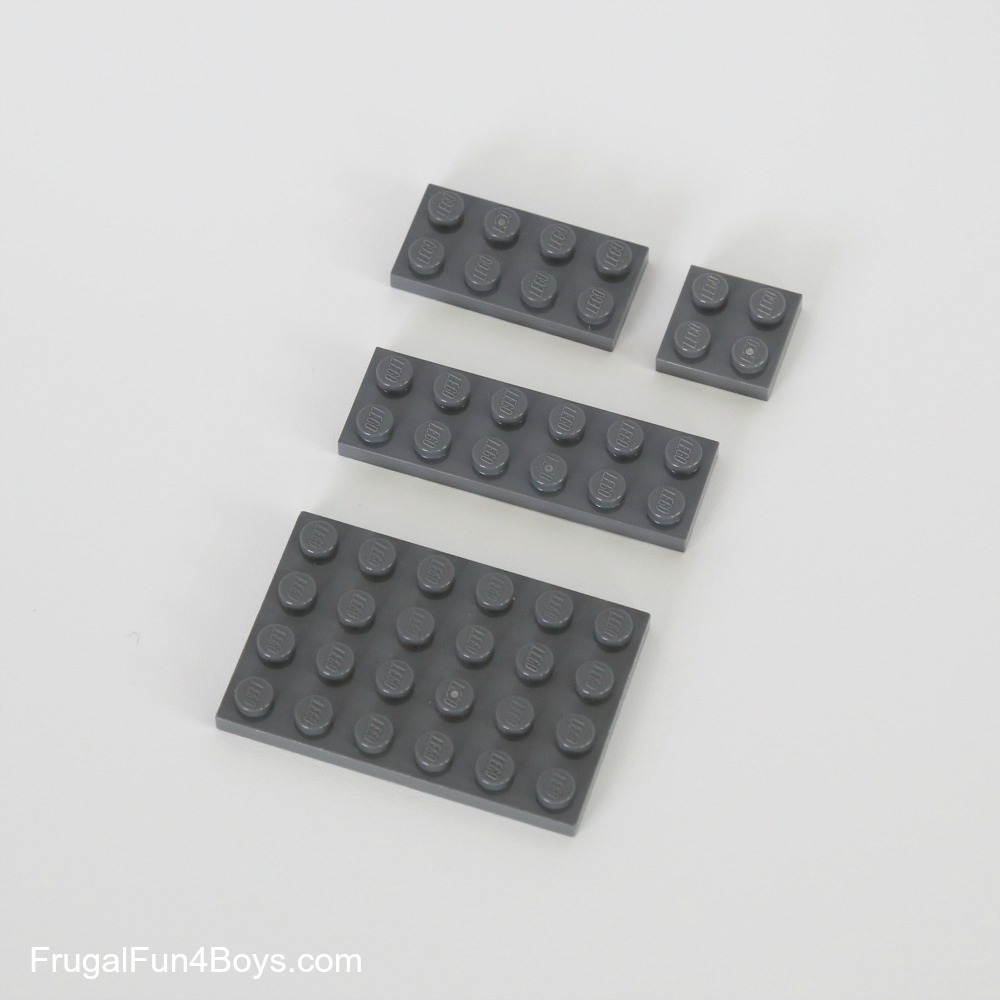
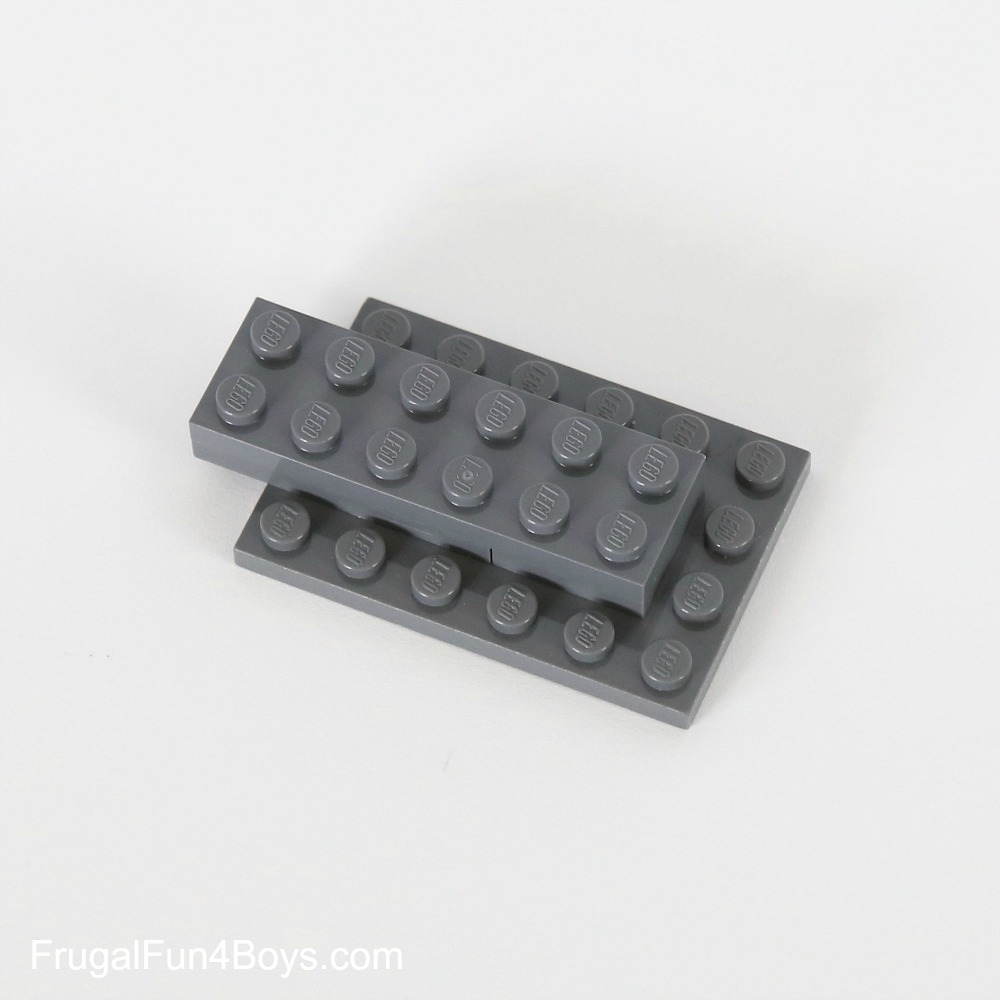
Step 9: Attach a 2 x 2 plate and a 2 x 4 plate to a 2 x 6 plate. Or, just stack two 2 x 6 plates. We had a lot of pieces tied up in LEGO book projects while I was taking these photos… and we don’t take book projects apart until the book goes to print! Or after! Ha. Then attach these to a 4 x 6 plate.
Step 10: Turn the body over and add a 2 x 4 brick and two 1 x 2 Technic bricks (with a hole). Then find the bricks shown.
Step 11: Place a 1 x 2 brick and a 1 x 2 inverted slope on each side of the body. Then place a 2 x 6 white plate in the center to give the cat a white belly.
Step 12: Turn the body over again. Use a 2 x 2 dark gray plate to attach a 2 x 2 white inverted slope. Then place a 1 x 2 white plate under the white slope. Don’t miss the 1 x 2 white plate!
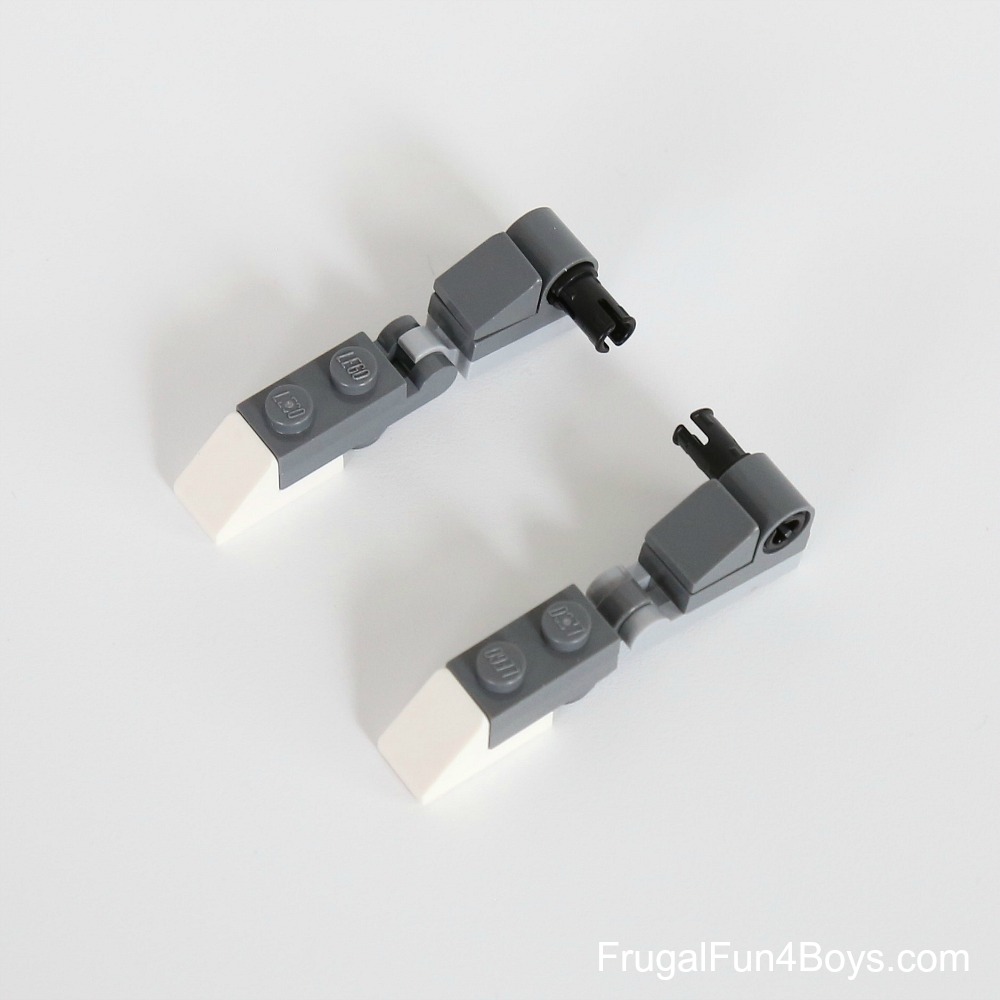
Step 13: Build the front paws as shown below.
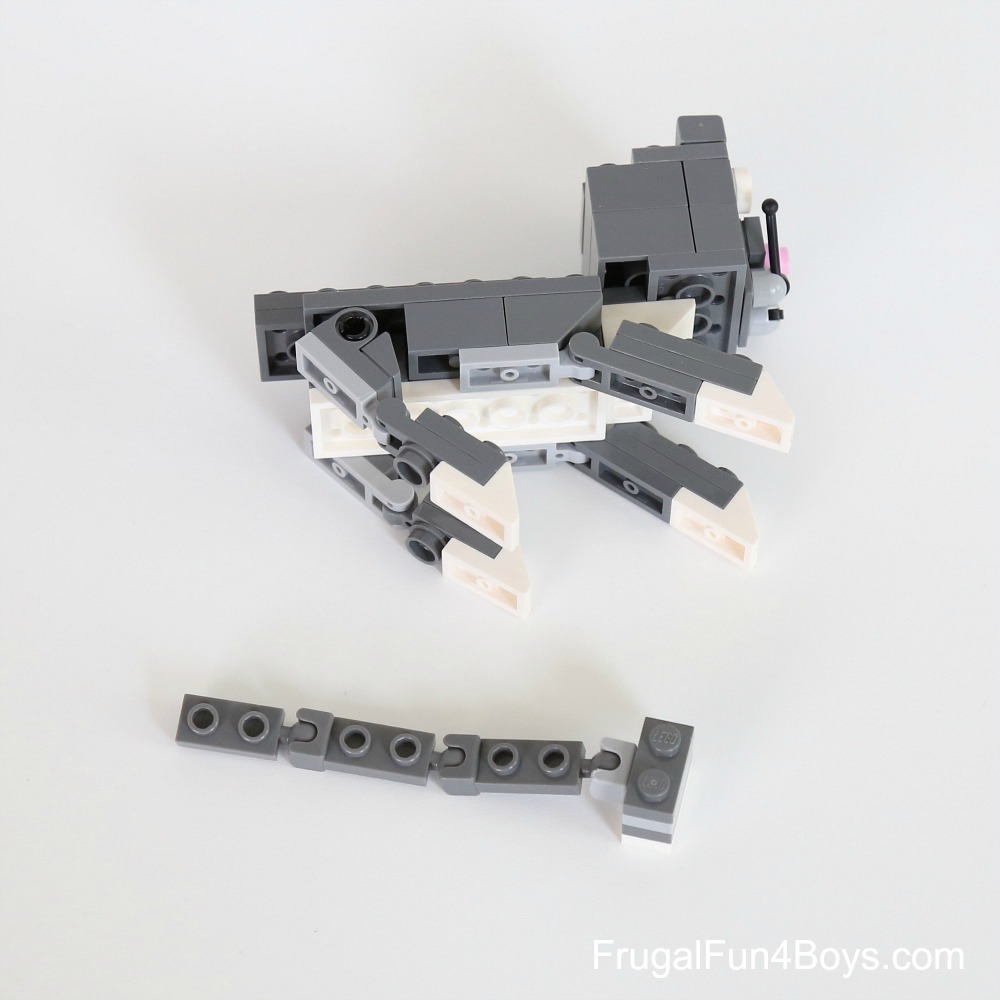
Step 14: Build the back legs with these pieces for the hip joint.
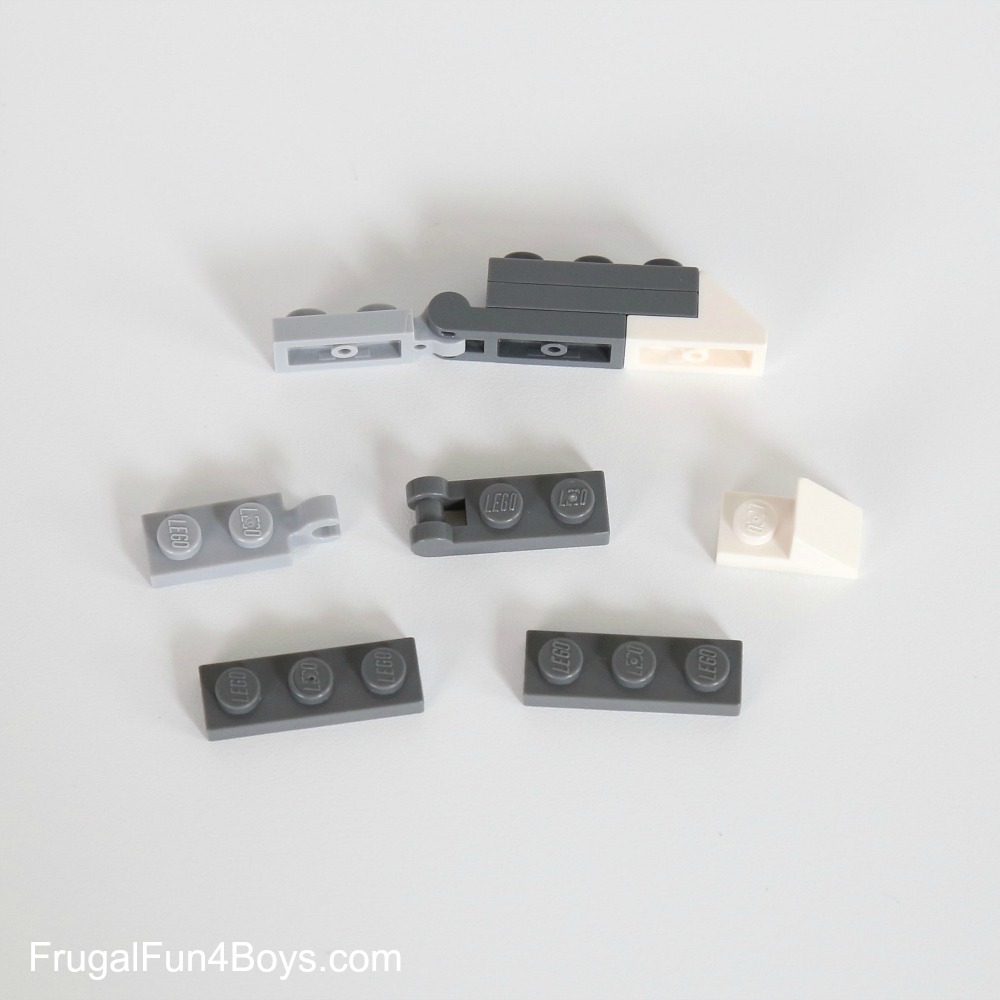
Step 15: Gather the bricks shown to build the back legs.
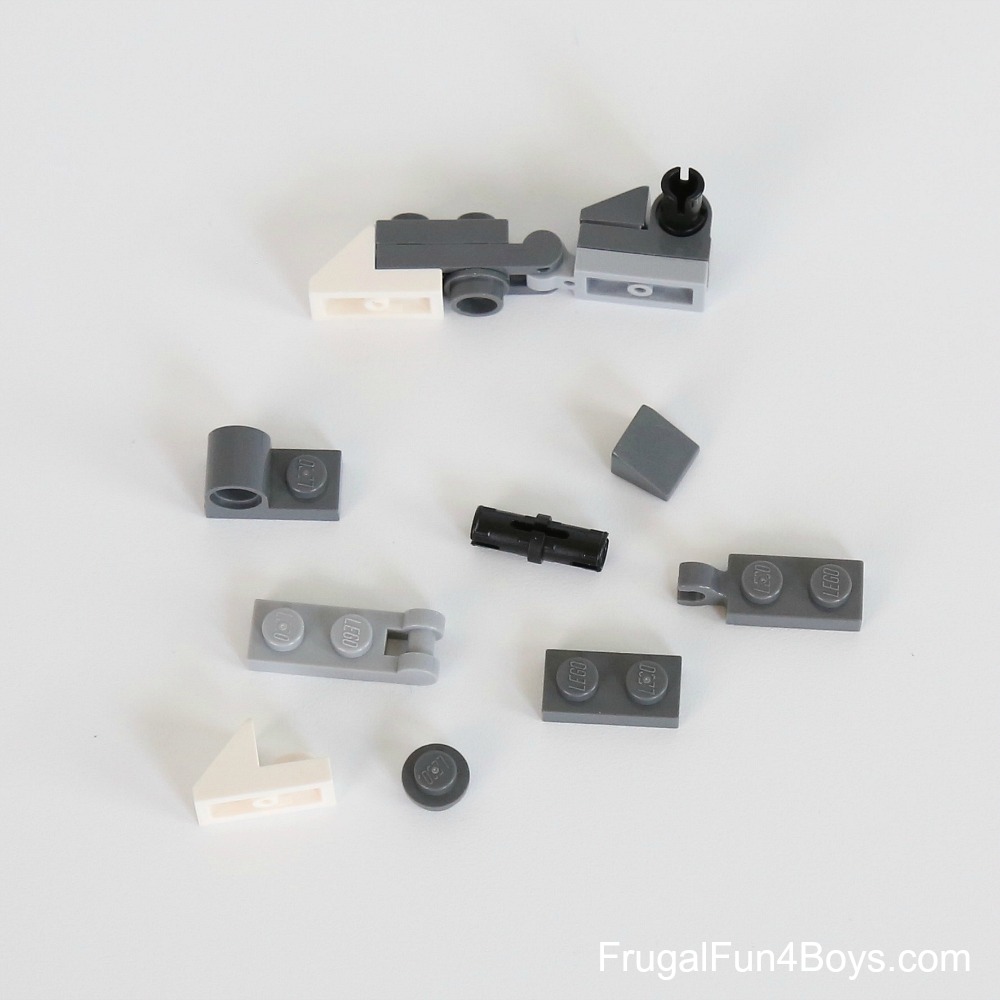
Step 16: Attach a 1 x 2 dark gray plate with a clip on the end to a 1 x 2 light gray plate with a handle on the end. Then add a 1 x 1 dark gray round plate and a 1 x 2 white slope with cutout.
Step 17: Attach a 1 x 2 dark gray plate with a pin hole to the light gray plate. Then add a 1 x 1 slope. Slide a black pin into the pin hole.
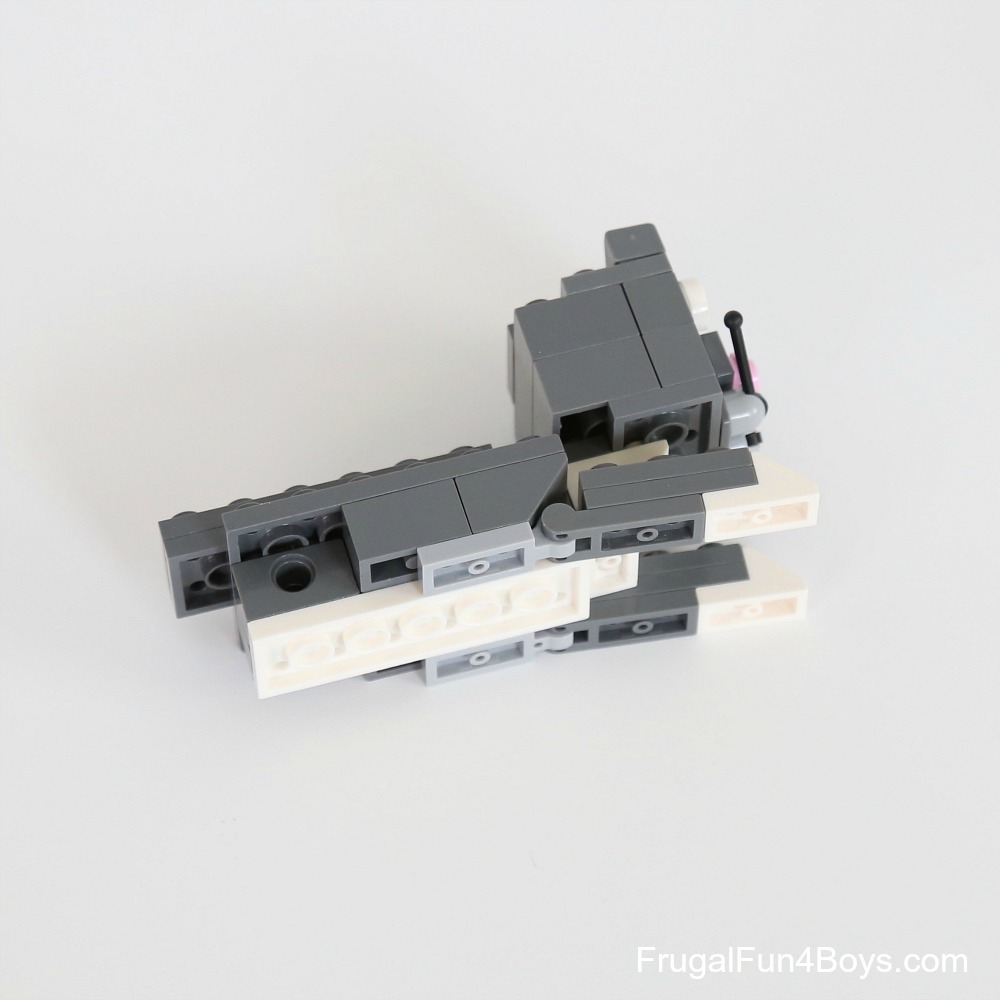
Step 18: Attach the back legs. Then build a tail.
The tail is a chain of 1 x 2 plates with balls and sockets. I put a 1 x 2 dark gray plate on both the top and the bottom of the final 1 x 2 light gray plate with a socket. Then I put a 1 x 2 white plate on the bottom.
Attach the tail, and your cat is finished!
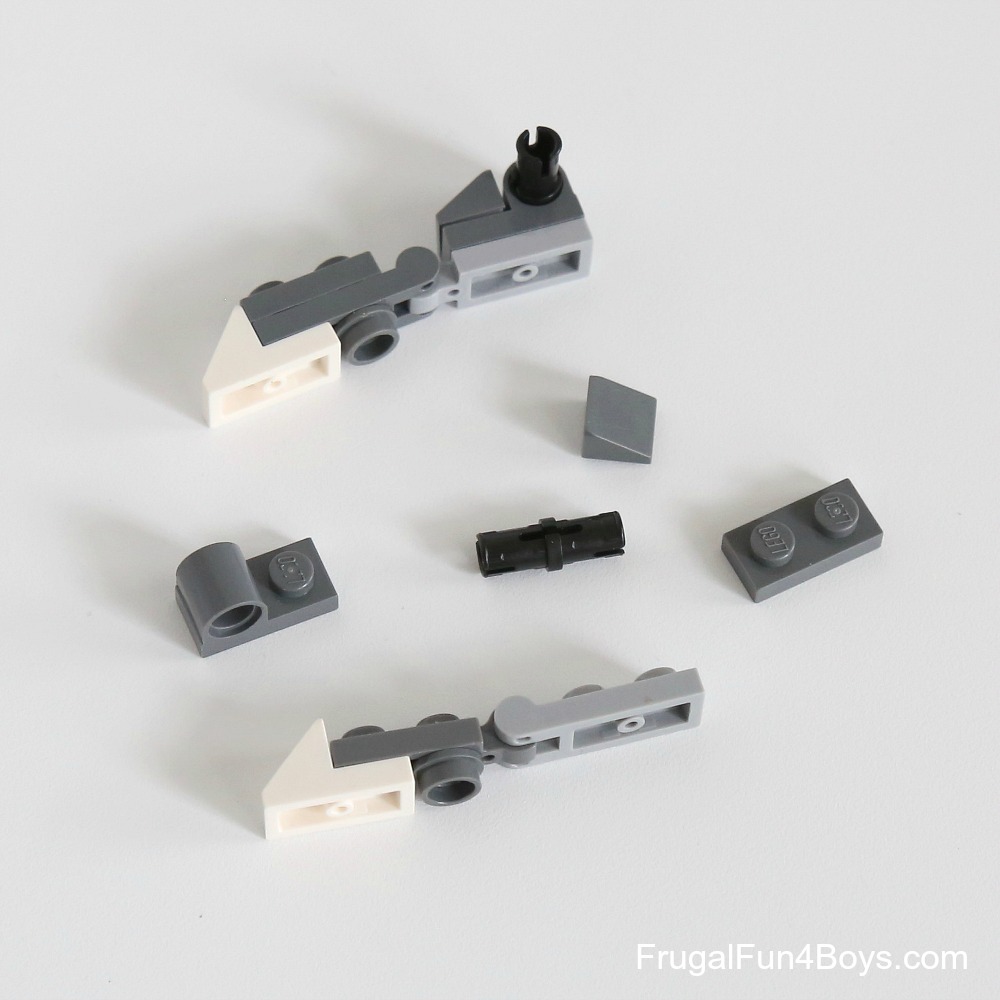
Here is the simplified version of the back legs for the tan cat:

Need more LEGO building ideas?
10 Comments
jj May 17, 2015
Awww they are adorable! I just love the posable legs, they really make these fun to play with!
JJ
www.dressupnotdown.blogspot.com
Lisa @ This Pilgrim Life May 19, 2015
Oh my goodness! These are so cute. I'm sure my kids would love them...if I gave them a turn ;-)
Sarah May 23, 2015
LOL! Yes, I just told one of my sons to go put the cats on my dresser... Not ready for them to tear them apart yet!
grey cat names Nov 18, 2015
I'm amazed, I have to admit. Rarely do I encounter a
blog that's both educative and engaging, and
let me tell you, you've hit the nail on the head. The issue
is something which too few people are speaking intelligently about.
Now i'm very happy that I found this during my
hunt for something concerning this.
Marissa Jan 11, 2016
Love this! My boys love to build new things with Legos - and now I can add this to an animal theme week! I would like to share this with my Children's Corner weekly post. Thank you
Jenni Giesler Feb 10, 2017
So cute! I love how the legs move! Thank you!
Sally Mar 26, 2017
Not having used Legos for decades, could you list the name of the un-named items you used?: i.e. the 'paws', the whiskers, etc. It's hard to order from the Brick Link if I don't know what the piece is called...
Lee Fehr Jul 12, 2018
Are there instruction for the tail? Also cannot find the brick and/or number for the one brick that might be a hip joint?
Teresa L. Haley Feb 15, 2020
I love your Lego builds! This cat is so cute! Thank you for sharing your skills.
Amy Apr 4, 2020
This was so great! As my son is building Lego Minecraft battle #1498 of the great stay-at-home Corona distancing, this was just what I needed to "play Legos" along side him and not completely lose my mind. Haha Thanks!
Lucy Sep 29, 2020
I am in love with cat
Post a Comment